


Likes
10
Share


@extraterrestrial1
Follow
-------------------------------------------------
Day 36
Water: N/A
Humidifier: 50% (LOW-MIST)
Dehumidifier: On
Fan Speed: High
Light on @ 19:00 (27.5° celsius @ 49% RH)
Light off @ 13:00 (22.6° celsius @ 51% RH)
-------------------------------------------------
Day 37
Water: N/A
Humidifier: 50% (LOW-MIST)
Dehumidifier: On
Fan Speed: High
Light on @ 19:00 (26.8° celsius @ 48% RH)
Light off @ 13:00 (23.6° celsius @ 50% RH)
-------------------------------------------------
Day 38
Water: 0.5 Gallon TT Water w/ 2ml/L Alaska Morbloom + 4ml/L Remo VeloKelp
Humidifier: 45% (LOW-MIST)
Dehumidifier: On
Fan Speed: High
Light on @ 19:00 (26.9° celsius @ 49% RH)
Light off @ 13:00 (22.7° celsius @ 48% RH)
-------------------------------------------------
Day 39
Water: N/A
Humidifier: 45% (LOW-MIST)
Dehumidifier: On
Fan Speed: High
Light on @ 19:00 (27.5° celsius @ 45% RH)
Light off @ 13:00 (22.6° celsius @ 49% RH)
-------------------------------------------------
Day 40
Water: N/A
Humidifier: 45% (LOW-MIST)
Dehumidifier: On
Fan Speed: High
Light on @ 19:00 (27.6° celsius @ 47% RH)
Light off @ 13:00 (22.2° celsius @ 46% RH)
-------------------------------------------------
Day 41
Water: N/A
Humidifier: 45% (LOW-MIST)
Dehumidifier: On
Fan Speed: High
Light on @ 19:00 (27.6° celsius @ 42% RH)
Light off @ 13:00 (23° celsius @ 49% RH)
-------------------------------------------------
Day 42
Water: N/A
Humidifier: 45% (LOW-MIST)
Dehumidifier: On
Fan Speed: High
Light on @ 19:00 (28.4° celsius @ 48% RH)
Light off @ 13:00 (22.5° celsius @ 48% RH)
-------------------------------------------------
Likes
10
Share


@Lady_NugWitch
Follow
Transplanted successful... She is looking amazing. Led by viparspectra!


Likes
3
Share


@MotasKush
Follow
Sunset Sherbet x Purple Punch from Ripper seeds. 👑🔥Low stress training 🙌😁, happy healthy plants... . Grow Your Own! 💚🍁💚 Love Cali strains, purple buds And trichomcity. 💜🤩😍
Processing
Likes
14
Share


@Weedig_Weedigson
Follow
Jetzt sind wir offiziell in Blüte. Die 2. und letzte Düngung mit BioTabs sind gemacht. Sehen gut aus bisher. Bin sehr gespannt. 😊
Edit:
Das letzte Bild und das Video sind 2 Tage nach dem Netz und Zeitumstellung entstanden.


Likes
20
Share


@apmcfly76
Follow
Wait on a Bigger tent set up that should be anytime this weekend upgrading to a 3x3 to give them more space to breathe and to grow one more 😜🤪


Processing
Likes
39
Share


Likes
21
Share


@Ultraviolet
Follow
Heyoka.
12x12=144, A dodecahedron is a polyhedron with 12 faces, and in coordination chemistry, it refers to a geometry where ligands surround a central metal atom (in this case, Magnesium) in a specific, 8-coordinate arrangement. Dodecahedrane is a hydrocarbon, meaning it's composed solely of carbon and hydrogen atoms. The carbon atoms are arranged at the corners of a dodecahedron, a 3D shape with 12 pentagonal faces. The water molecules in the dodecahedron form hydrogen bonds that are individually slightly weaker than in either the dimer or the tetramer. However, because three-quarters of the O -H groups in the dodecahedron form hydrogen bonds, it has a more negative energy per molecule than has either the dimer or the tetramer. Magnesium (Mg2+) is the essential, central metal ion in the chlorophyll molecule, crucial for photosynthesis by enabling light absorption and energy transfer. It is chelated by four nitrogen atoms within the porphyrin (or chlorin) ring structure. Chlorophyll appears green because it reflects light in the green region of the visible spectrum, specifically between 490 and 570 nm. The main resonance electronic frequency of a neutral Magnesium (Mg) atom corresponds to the transition from the ground state to the first excited state. Resonance Line Wavelength of Mg2+: 285.1nm (UVB light). The central atom of the chlorophyll molecule is Magnesium (Mg2+), which is coordinated within a porphyrin ring. The electronic "resonance frequency" of this central atom—meaning the frequency at which its electrons absorb energy—is primarily driven by the electronic transitions (ETR) of the surrounding conjugated chlorin ring structure, rather than a discrete atomic transition of the Magnesium atom itself. The resonant electronic frequencies of the chlorophyll porphyrin (technically, a chlorin) ring are determined by the energy required to promote π-electrons within its conjugated system, primarily appearing in the blue and red regions of the visible spectrum.
In standard physics, Chloryphyll b has peak absorption at 460nm (Blue). If we take the peak wavelength 460nm and a UV-B, UVR8 peak absorption wavelength 285nm Tryptophan-285 (W285) Sensing protein. 460/285=1.618 Φ, "natural harmony" and the "structure of light". The cryptochrome photoreceptor (CRY) is a UV-A/blue light receptor that shares this dual sensitivity with several other biological structures and functions, including significant sequence similarity and a common evolutionary ancestor with DNA photolyase enzymes. These are light-activated enzymes that use blue/UV-A light to repair DNA damage caused by UV-B radiation in plants.
Dodecahedrane (C20H20) is a hydrocarbon with a cage-like structure where carbon atoms form 12 pentagonal faces (a regular dodecahedron). It is highly symmetric (icosahedral), contains no delocalized electrons (no aromaticity), and has minimal angle strain, but significant torsional strain. Water Dodecahedron (H2O) forms hydrogen-bonded cages. While individual hydrogen bonds in this structure are weaker than in the linear dimer or tetramer, it has a more negative total energy per molecule. This is because three-quarters (75%) of the groups are involved in hydrogen bonding, creating a very stable, closed-shell configuration. a 3D carbon hydrocarbon (C20H20) to stable water clusters in hydrate, while the Magnesium ion acts as the central activator within a conjugated ring in biological systems, with its electronic absorption dominated by the ring, not the atom itself.
Effective quantum efficiency of photosystem II, often denoted as ΦPSII
In horticultural lighting, adding 730 nm (far-red) LEDs alongside standard red/blue lights has been shown to increase canopy photosynthesis by 20–30% in several crops by acting synergistically with shorter wavelengths. However, the limitation is that excessive, pure IR/Far-red light (without accompanying red light) can trigger the "shade avoidance response," causing plants to grow tall, weak, and spindly rather than robust. Knowing is half the battle however, engineering or utilizing infrared light (specifically the 700-750 nm far-red range) is a viable method to boost photosynthetic efficiency. It acts as a bridge to allow PSII to utilize a broader spectrum of light, breaking the traditional 700 nm barrier.
Extend, then multiply.
UVR8-mediated signaling (often in conjunction with CRY proteins) triggers protective mechanisms that maintain the stability of the photosynthetic apparatus (including LHCII and reaction center proteins), thus ensuring that the efficiency of Photosystem II remains higher in UV-B-exposed plants compared to plants lacking this receptor. ΦPSII indictates the rate of electron transfer from water to plastoquinone, which drives the production of ATP and NADPH. There is a close link between ΦPSII and the true rate of CO2 fixation (Φ*co2), particularly in C4 plants.
Effective quantum efficiency of photosystem II, often denoted as ΦPSII, represents the proportion of light absorbed by Photosystem II (ΦPSII) that is actually used in photosynthetic electron transport. It is a key indicator of how efficiently a plant is using light for photosynthesis, as opposed to losing it as heat or fluorescence. ΦPSII (effective quantum yield of photosystem II) functions primarily as a "multiplier" (a coefficient of efficiency) rather than an additive factor when estimating the overall photosynthetic electron transport rate (ETR). Multipliers are considered far more beneficial than additions because they generate exponential growth, leverage existing resources to their full potential, and create sustainable, self-multiplying capacity, rather than just incremental, linear increases.
Humans, and most other mammals, rely on other mechanisms, such as nucleotide excision repair, to manage and repair UV-induced DNA damage. As such, humans do not have the direct, light-driven repair mechanism that photolyase offers in plants.


Likes
44
Share


@Bretwalda
Follow
Gave her last feed yesterday, thinking tomorrow, maybe later tonight, i will start with a flush for 7-10 days going by trichomes some are still clear but i think most are cloudy and a couple ambers here and there.
Likes
15
Share


@chupacabra80
Follow
привет ребята,вот срезал мой куст, вроде не плохо вышло?! посмотрим сколько будет весить когда высохнут )))) амнезия мой любимый сорт,как только высохнут отпишусь какой будет результат )))
30,06,2021
вот и результат почти 90 грамм,на весах 40 грамм но это моя доля урожая ,я выращиваю в месте с другом так что моя половина 40 грамм сухих шишек и мы еще и покурили пока шишки подсохли, так что приблизительно у меня получилось 85-90 грамм сухих шишек,шишки выросли толстыми но они не плотные,потому и такой результат, посмотрите мой апельсин у него хорошие плотные шишки , он начал цвести в 60 дней , растение без проблем,кто не любит ждать этот сорт не для него )))
09,07,2021 мой урожай пересох, +35,3 с было очень жарко и я не мог контролировать температуру (( я ожидал результат лучше но не вышло, надеюсь дальше все нормализуется
Likes
35
Share


@Carlovska
Follow
day56: stable I am beginig second floor of scrogging :)
day57: she/he drunk 6lt of water. ph and ppm are stable as hell :D I will add 1900ppm of water to DWC ;)
day 58: I added 10 lt of water :) And did some major defoliation. I am begging for night temperatures drop to 14-15 celcius for trigger purple genetics. Best wishes 👊
day 61: I added 6 lt of 2300 ppm water which is prepared with the Lucas formula. She is happy :D
day 63: she is happy and fine
Likes
10
Share


@CanadianFillmore
Follow
Start of week 8 (week 7 feed for the super Lemon Haze, she's going one extra week in total (9)) th blueberries are packing on serious weight, size and stickiness, while also smelling dank as hell! The Super Lemon Haze is still nutrient hungry, I continue to feed her extra each week and she's packing on serious weight and size now as she goes into the last 2 weeks of her grow. Overall the last week 7 was great and the plants are looking good, approaching the end.

Processing
Likes
3
Share


@Wizardgreen317
Follow
This plant smell like lemonhead candy no lie the terp on this at night is crazy all I smell is lemons and gas ⛽️. My next door neighbors are fucking telling me it leaking and the can smell it lol .. I guess everything going good but yeah it you knw genetics then there’s nothing like getting same smell on all your plant it like a jackpot lol they icing up super just to be real and I hope I can grow this again lol I gotta clone or two off of it so I should be back in business lol .. long story short I like this plant in soil and I believe if this shit was in coco I would never got that lemon terp I been watering more and let that temp get down so the stretch would stop
Processing
Likes
27
Share


@Reaper
Follow
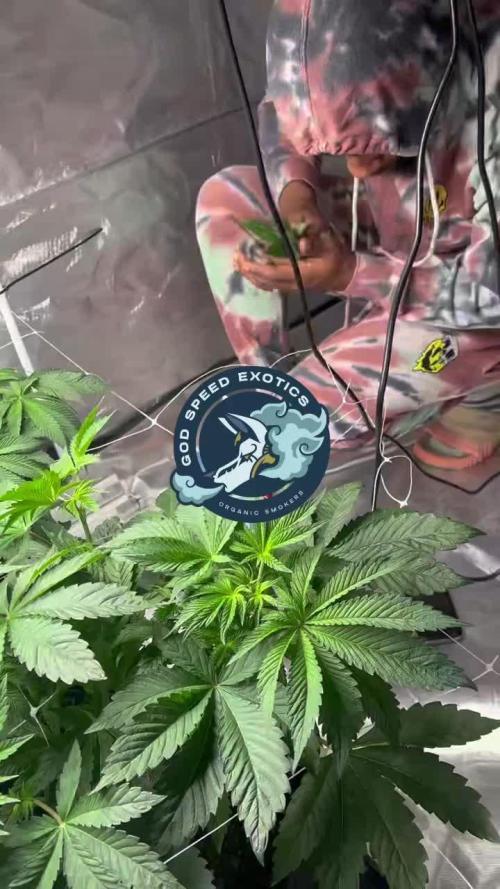
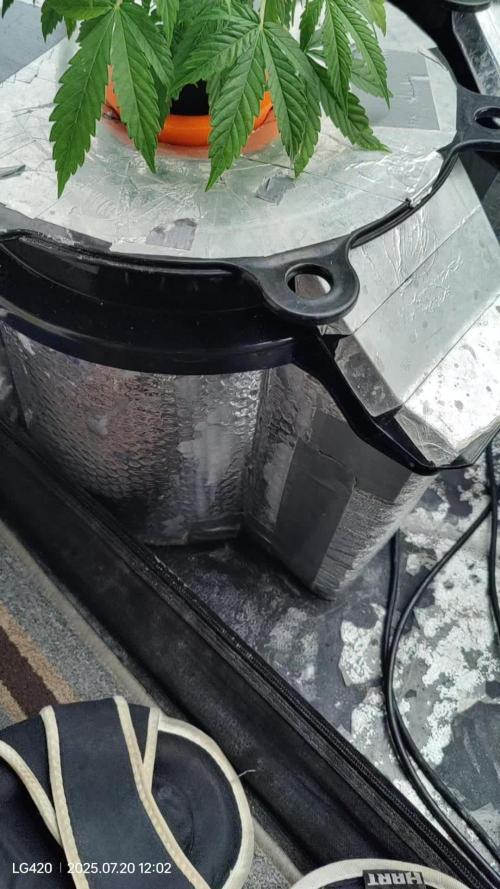
day 35 for the critical
day 28 for the coockies
the video in the dark, the first plant you see is one of my girl scout coockies, looks like big colas are forming up lol
the other plant with the calmag issue is one of the critical, i got 4 plants in total 2 from each species
the buds start to get bigger, ill stop the nutes for the critical and just give 1ml/l plagron green sensation, in other words ill cut the (N) out and just feed em water with bloom booster when they dry
see you on week 6


Likes
17
Share


@MoneyGrowup
Follow
The blue gelato 41is not doing so well, but I just made some recent changes.
Light has been switched to 20/4 from 12/12 from previous week's due to my last plant finishing up from first grow, from random bag seeds. This week I cleaned my tent lowered the light on the 24th of the month to 21 inches.
Purple punch and the gorilla zkittles coming along strong and healthy, however the gelato is still showing some symptoms, maybe over watering perhaps wasn't getting enough light, not sure but I will be transplanting soon so I hope she does better in a bigger pot. I already have the coco ready mixed with worm casting and couple of Gia Green's products, all purpose, Glacial rock dust and oyster shell flour.
Likes
5
Share


@Bread_n_Buds
Follow
Here our Zookies, as I anticipated, have started off great and are starting to give their best
In this diary you will find the plant worked with the techniques in this case the first topping was done, we cleaned everything else creating the Mainfold and we are going to work everything with the main lining. We are at the first topping and we have two mini branches growing.
The other one you will find in the diary next worked without the application of techniques that involve cuts to preserve its speed.
Comparison is the salt of experience.
We have started the Plagron fertilization program, we are in 100% organic configuration, the soil is recycled Promix + 1/3 fresh soil + 10% Perlite + RQS Mycorrhiza Mix (4gr in the mix, 1 gr under the small fiber pot).
We are administering // 1 ml/l of Power Roots - 1 ml/l of Pure Zym - 1 ml/l of Sugar Royal - 3 ml/l of Alga Grow
I have doubts about the compatibility of Pure Zym with mycorrhizae. If in doubt, ask the experts, do not mix too much at random.
https://plagron.com/en
The doubts about the compatibility Pure Zym / Mycorrhizae have been dispelled, they can go well together according to Plagron experts. If someone tells you that enzymes eat mycorrhizae, which in principle may seem possible, explain to them that it is not true.
https://www.royalqueenseeds.it/growing/452-easy-roots-mix-di-micorrhize.html
Try this variety, it is a top strain of the last few years very high level of thc ---- https://www.zamnesia.io/it/11174-zamnesia-seeds-zookies-auto.html
Brief description of Zamnesia // The result of the cross between Animal Cookies, GG#4 and ruderalis, this compact variety produces top quality buds, maintaining all the charm of a modern US hybrid. Thanks to the hard work of the Zamnesia genetics team, Zookies Automatic is easy to grow, fast flowering and exceptionally vigorous. Regardless of whether you grow indoors, outdoors or in a greenhouse, if you are looking for a stable autoflowering strain that is quick to harvest, Zookies Automatic is definitely the one for you.
Like all Zamnesia autoflowers, Zookies Auto promises rapid harvests of top-quality bud with minimal effort. And she delivers on that promise. After germination, Zookies Automatic plants grow vigorously for around 3–4 weeks. At the end of the pre-flowering phase, plants typically reach a height of between 90–110cm, depending on the size of the pot.
You can find the whole world of growing on Zamnesia and more, just check out the site and you will find "all the best that nature has to offer" in various shapes and colours.
The new strains are fantastic and the old ones are no exception... p.s. no hermaphrodites so far, can you growers say the same?
---- // www.zamnesia.com