


Likes
Comments
Share


@GroloCup
Follow
On to another week. She seems happy and the sip container is keeping her watered in her amended soil bed. We're getting to the fun time period for autoflowers so I expect to see a ton of growth in the coming couple weeks!

Likes
10
Share


@Stacy_smokez
Follow
New grow and with come its own issues I started nutrients to late and had a heat issue but all that has subsided this week a did a little defoliation and made sure to revamp nutrients


Likes
25
Share


@ImLegitMn
Follow
Mainline week!
Watering 5.8-6.2 Ph
Par dialed to 295 with apogee meter
Natures living soil+ natures pride veg+ recharge+ green amino acids+ brixs+ Mycos next week 400 Par water and pure water..
At Day 23: she’s looking a bit overwatered and stressed after her topping and mainline work she will bounce back on both fast end off week will have new cover crop showing and more growth will get pinned down to the bamboo!
Day 29 fixing some issues the ac infinity drop trays water too good and needed to switch them out for old ones. Pots were soaked heavily and the cover crop was removed will add at a later date when the soil is more dry but still wet and healthy. 5.8 PH will re apply bamboo to tie down tops later this week. Showing all my mistakes and learning as we go with some new gear. Thanks for following.


Likes
7
Share


@Famtreez
Follow
crazy week found drain gnats which explains the green hue of some of my plants the larve are attacking the roots raising the p.h. and the diffecencies are showing in the leaves being lighter and or brown dots on the leaves. using mosquito dunks and spraying neem oil washing the roots to help these ladies out. also im doing things different with the soil vs dwc, i havent done much if any defoliating with potted plants just letting them grow only mainlined once and since in flower very light if any defoliating. any questions comments information feel free to ask or inform im open to critque

Likes
8
Share


@CashiLashae
Follow
A few had issues with the 24 hrs light sa few plants were getting yellow tips resembling light burn. So I added a teaspoon of Epsom salt and coffee grounds. Looks like the plants have bounced back. That’s a sigh of relief!


Likes
2
Share


@JahGrowFr
Follow
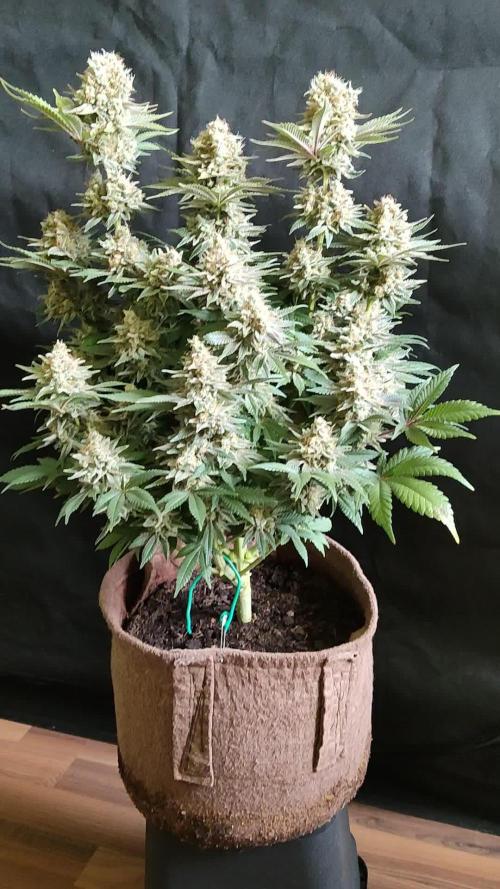
Week 9 ! ! The last week ! !
Trichomes continue to turning brown but still no signs of senescence... To hot maybe.
I Will flush her two times more.
Stay tune ! !


Likes
11
Share


@tangie
Follow
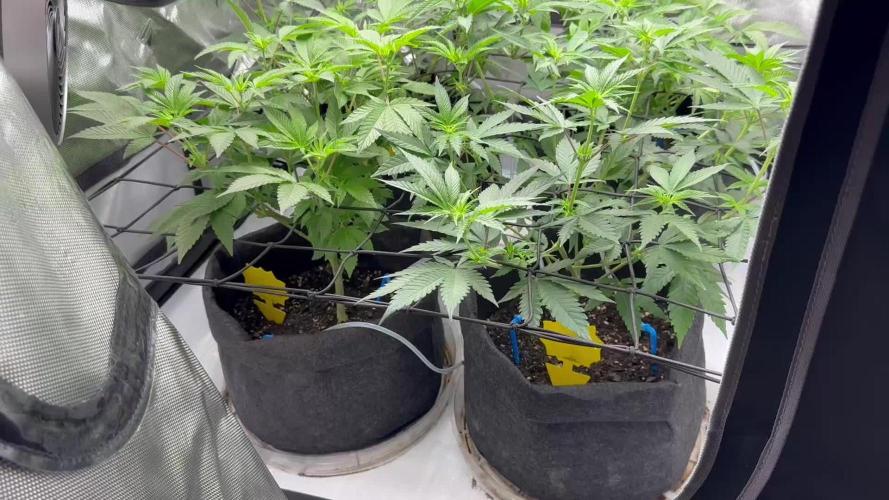
Chopped her two days into week 14.
What else. Buds. There are a lot of them. And they are quite large. And they look like they will require little effort to trim.
What more can I wish for? I am a very happy man.
Upd 1: Trimming is SO SIMPLE! Not much sticking out to begin with, because of the amazing bud structure and me plucking most bud node fans. Solid nugs which are not bothered by anything, so pulling smaller sub-bud fans is very simple too, while the buds are what I would call moist. I'll call this Moist Trim 😄
✂️✂️✂️ Went for the best trimming tools available on the market (well at least my research concluded so) and LOVING every minute of trimming with the B-500SRF. Why would I or anyone else use something less suitable or less comfortable for such a delicate and long job is beyond me, except if you cannot afford one right now, in which case I wish you to experience it one day.
Fiskars are also very good in therms of the blades, coating and cutting ability and precision, but the spring is just too stiff, like way, way to stiff for something that is to be used for hours on end. One might argue that such spring force helps overcome resin buildup, but please just rinse your instrument regularly in an appropriate solvent (ethy, iso, whatever — consider you instrument materials as well) and wipe it after. Why would you let significant amounts of resin to accumulate on such a gentle and precise tool? Kinda defeats the purpose?

Likes
Comments
Share

@MrGrOH1008
Follow
Snapped a maint branch but we’ll see if I can save her. Other than that just plucking here and there. They’re raving pretty good.

Likes
5
Share


@dfgh95
Follow
This week was great and full of gardening work
Sol and Luna are flowering well, I'm feeding them with Top Bloom (1.5ml/L) and some Humifort (0.5ml/L). I removed some leaves trying to improve light penetration to the lower canopi
Lola is getting in good flat shape and she is almost full green all along the branches and that's a good healthy sign
I topped Juli this week as you can see and some days later I started to train her, her branches are strong and well developed as well as Lola's and Violeta's, they all are really healthy so far, I'm really happy
Regarding Violeta, I also topped her this week and she is so alike to Juli, they are almost twins
This last two weeks have been really sunny so I Grabbed them out almost every morning to recieve sun light and that's worth to mention because they love it
Likes
39
Share


@GermGrowFox
Follow
31. März
Die Crit ist mittlerweile auch so gut wie gereift :).
Auch sie finde ich wunderschön. Sie wird in verlaufe der nächsten zwei bis drei Tagen ihren cut finden :)
Habe das Licht am Abend ausgeschaltet. Sie wird jetzt noch drei Tage im Dunklen sein bevor der Cut kommt

Likes
119
Share


@Tropicannibis_Todd
Follow
Well growmies ive been looking forward to the Strawberry Pie, the more she went into flower the more the frost would build up , and that's when the terps came out and they came out strong , there no stealth for this girl 👉 Stinky 👈 Buds are tight and full of frost 👈 Couldn't of asked for better Genetics 😉
The smell coming from this girl during the entire grow was just dreamy 👈.... Definitely got the strawberry terps backed by this gassy flav 😍
Amazing
👉 Big thanks to all my Growmies out there in GD land 👈 Much appreciated 🙏
Thanks To MarsHydro for the TS1000 x3
👉I used NutriNPK for nutrients for my grows and welcome anyone to give them a try .👈
👉 www.nutrinpk.com 👈
NutriNPK Cal MAG 14-0-14👉 All Weeks
NutriNPK Grow 28-14-14👉 Weeks 2 & 3
NutriNPK Bloom 8-20-30👉 Weeks 4 to 8
NutriNPK Bloom Booster 0-52-34👉 Weeks 4 & 9👌👌
Processing
Likes
16
Share


@ElegantBuds
Follow
Hello growers
This week was a good week. The plants are still growing good. Good color. Happy.
In a week i will switch!
See you

Likes
76
Share


@BB_UK
Follow
Start by saying 2 are in flush now! (Black cream and sunset sherbet) I used flawless finish on them and then water from then on! Started to see some fades within a few days with the black cream and sunset sherbet leaves have lightened up, just awaiting some fades! And I’m watching under a 50x loupe to aim for the perfect harvest! The aromas are crazy in there got all sorts going on until I touch one and identify it’s aromas but as expected everything is going to be full of terps and resin! On the end road now! Flush next feeds for the purple punch and forbidden runtz! I’ve added a picture of the royal creamatic I took out as it’s just jumped into flower! Glad I took her out now too as she has some coverage and I wouldn’t want to lose no light at this stage! End result with dynomyco! IS… use it highly recommend. I’m using it in all my grows from now on! It’s a great additive providing your plants with a lot more beneficial bacteria that aid the myco and allow the plant to uptake nutrients better and gain a lot more stability so it’s a must! Contest or no contest I’m glad I got to use it or how would I have known! Thank you Ari 🙌🏽🙏🙏🙏💚
Likes
29
Share


@All_our_small_plants
Follow
Bewässerung: 2500 ml jeden 3 Tag in der Vierzehnten Woche
pH-Wert: 6.3
EC-Wert: 0.2 mS/cm
Temperatur: 28ºC
Luftfeuchtigkeit: 50%
Schädlingsbekämpfung: Wir haben seit ein paar Tagen die Nematoden in der Erde und es sind schon deutlich weniger Trauermücken unterwegs.
PPFD: 600 µmol/m²/s
DLI: 38 mol/m²/Tag
Düngemittel: Sie bekommt ab jetzt nur noch Wasser.
Besonderheiten: Müssen jeden Tag Gießen durch die hohen Temperaturen. Haben wieder Raub Milben gekauft und sie an die Pflanze gehängt falls sich irgendwelche Schädlinge ins Zelt Trauen.
-Tag 92 Heute haben wir nochmal die Trichome angeschaut, es sind schon ein paar milchig :)
-Tag 93 Heute Wieder gegossen und die Zeit der Beleuchtung auf 10/14 gestellt damit sie sich etwas mit der Blüte beeilt.
-Tag 96 Da wir eine Baustelle im Growzimmer haben und keine andere Möglichkeit das Zelt aufzustellen, mussten wir improvisieren. Wir haben sie in den Garten gebracht und dort ein Dunkelzelt gebaut 😁 damit wir sie weiter mit 10 Stunden Sonnenlicht und 14 stunden dann im Dunkeln haben. Mal sehen ob das Funktioniert. Sie sollte so in 2 Wochen fertig sein. wir werden euch auf dem laufenden halten. 👊😉

Likes
11
Share


@julian100614
Follow
En general la cepa es bastante buena para cultivadores tanto expertos como novatos. Es una planta bastante resistente a los cambios y con gran fuerza en el tronco.
Durante todo su ciclo ella fue perfecta, tanto en tamaño como en producción. Tiene un tamaño medio y es gran creadora de resina 👌 si tuvieramos que poner algun pero sería sus cogollos que no erminaron de ser muy compactos, quedando algo desprensados cada uno de estos. Tambien haybque tener en cuenta que es una variedad automática y no feminizada lo que tambien influye bastante ya que no van a salir de la misma manera.
A rasgos generales puedo decir que la planta me ha gustado bastante y es un gran aliado para fumar de día y pasarlo mas alegre y feliz 👌


Likes
2
Share

@Bluetenfee_420
Follow
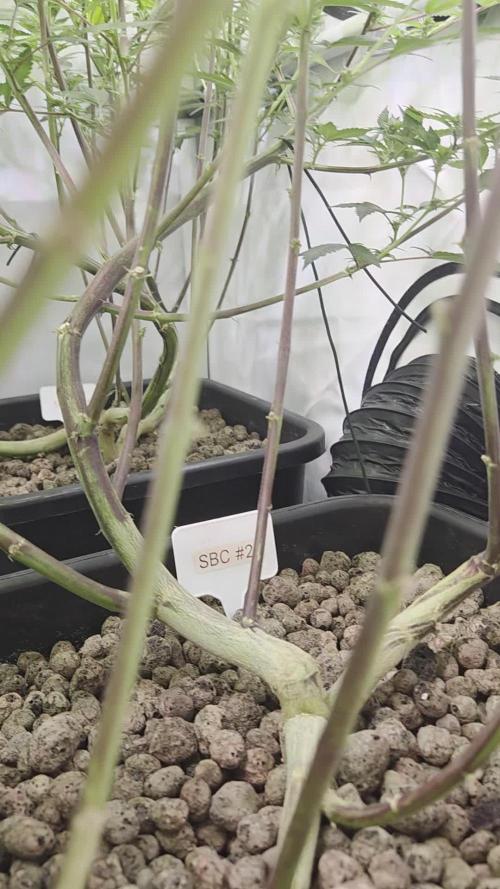
Die 3. Woche ist um, die Ladys haben kleine rot/lila Blüten gebildet und reagieren gut auf den höheren EC (2.1).
Likes
26
Share


@pifflestikkz
Follow
Day 22
22/07/24 Monday
Nothing new to report. Starting to see them beautiful fans appear that's all 😁✌️
Day 23
23/07/24 Tuesday
Feed today, giving them straight all nutes Inc flowering nutes.
I will update the dose as they grow and develop a bigger hunger.
(Not sure what's wrong with Overdose #2, bit mutated, we'll see how she gets on 😅)
Video updates 👌💚
Day 26
26/07/24 Friday
De-chlorinated watering pH 6 with 5ml calmag to 5L water.
Watered each with 250ml and had small run off.
I will continue to feed/water with small run offs to help prevent salt build ups.
Video update.


Likes
3
Share

@carlitoshaze44
Follow
Buenas tardes,noches a tod@s.
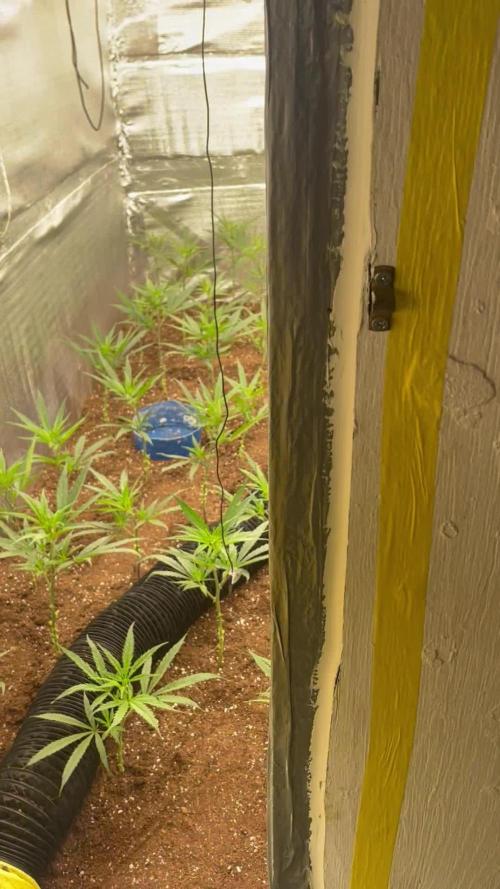
1 día de floración en marcha,vinieron dos compañeros a ver el proyecto de suelo cultivable en interior.
Quiero añadir que seguiré haciendo los riegos de manera manual,hasta que vea conveniente colocar el riego automático y con ello la red.
De momento por lo que puedo percibir,las temperaturas se han mantenido sin aire acondicionado durante varias horas en un rango de 24 a 18 grados Celsius durante las siguientes 7 horas después de el apagado.
El resto de horas a llegado a 16 grados.
Espero que vuelvan las temperaturas y pase esta pequeña ola de frío.
Saludos compañeros! Que disfrutéis de un buen mes.