
Likes
Comments
Share


@Grow_for_Happiness
Follow
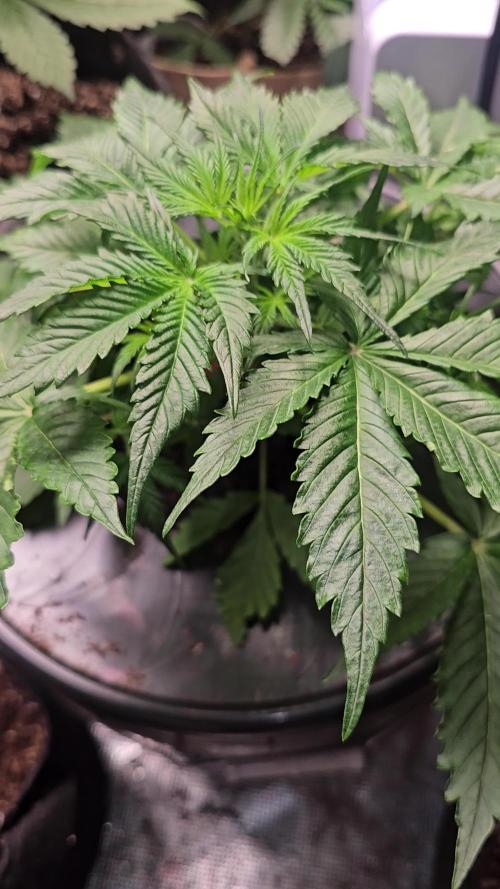
So at start of week i raised the three smaller plants and evened out the canopy. That lasted maybe two days and then back right took off and is again 6-8" taller than any other plant hahah. Was able to raise the reservoir and the water lines to maintain flow to all the pots. Rest of week was hands off as I had family in town for a few days so just kept the reservoir filled. Last day of the week gave the girls a decent defoliation and adjusted the ties, attempting to fill every spot in the tent. Now there is a slight space in the center, but it will fill in as the girls grow.
Starting to get a little worried with how big these girls are getting. Already they are 8-10" bigger than the Night Howler autos I grew last year, and those were my biggest ever with two plants ending ABOVE the lights!! Hope the big one stops soon, but as a precaution I have removed the filter and placed on end of exhaust, gaining another 8" of room to raise the light. Driver also outside tent this run, so will gain 2" over previous ones.
Plants are needing a bit more defoliation than normal, with their enormous leaves they fill the tent very quickly! Before defoliation was full shade under canopy, now getting light/air through.
Let's see what happens this week, I'm expecting some decent growth from left two plants, hoping to get them off the Milk crates soon and nice to have an even canopy for more consistent bud quality and whatnot.
Lights 80% 8-18" averaging 700-750 umol/s
4" Intake 50% + 1 passive vent open
6" Exhaust 40%
Upper Oscillating fan 30%
Lower oscillating fan 50%

Likes
10
Share


@Skully
Follow
🇩🇪
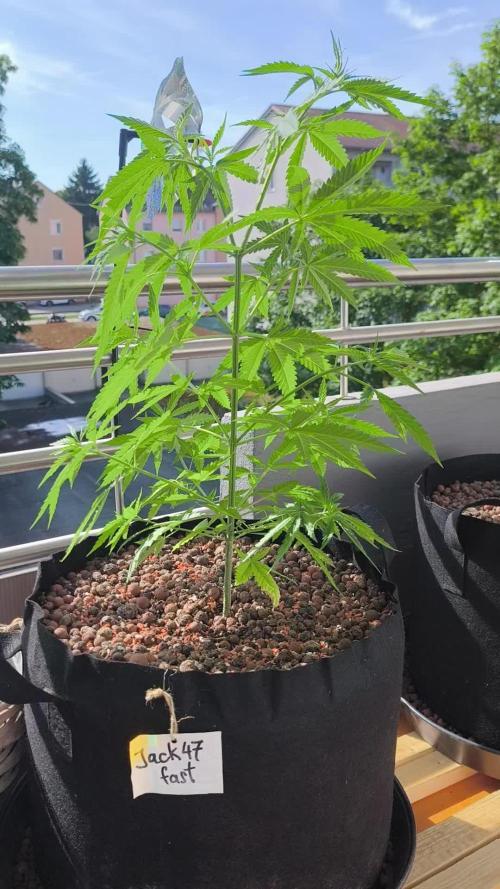
Heute das erste LST und leichte Entlausung, um gleichmäßiges Wachstum anzuregen. Vor ein paar Tagen hab ich sie getoppt.
🇺🇸
Today was the first LST and a light pest control to encourage even growth. A few days ago, I topped them.
🇪🇸
Hoy fue el primer LST y un control ligero de plagas para fomentar un crecimiento uniforme. Hace unos días las destocé.


Likes
48
Share


@PrairieFrostGrow
Follow
This was the first run of a FastBuds strain and I appeared to have picked a strain that works well with my grow style. She had nice wide indica leaves at the start of her growth and by two weeks over the sides of the pot. 3 gal seems to be a good pot size given her life span and her size. She flipped to flower as expected in week 4. From there she steadily gained weight in flower and was a struggle to keep her tied down with LST. Removing the lower bud sites on the side branches would also have helped to fill in her top colas so don’t be worried that she won’t fill in and you talk yourself into leaving them......cut them off😃👍She sets into a nice yellow fade on the leaves and the edges take on a purple colour. Add in red and orange hairs with everything covered in trichomes and she is a beautiful girl🤩🤩 Flush was over two weeks so expect a smooth smoke 🤞
Will follow up with more as she progresses through drying. In the box with temp at 62 to 66 degrees and humidity at 60%. Branches are not that long so I am expecting dry should be around 7 to 10 days.
*******Updated Mar 7/20*********
Dry went okay and she was in there for 9 day dry, Feb 25 to Mar 5th. Will be waiting until she has roughly a three week cure before I sample anymore. Did a little for not just to test her out.
Further notes from dry and trim........
Should have fed her another week for increased density. Smoke is smooth so far, I don’t mind sacrificing weight for smooth smoke but not sure it was a needed trade off with this girl. Find out next run of her, which will be very soon😀👍
Her high is nice and strong. Not much sampled so far........rather say more to come in a few weeks......sweet and impressive so far!!!!
Again a real pleasure to grow and I see more opportunity to do better with this girl😃 Very excited to go again and will definitely be in the next auto run again. Love how she grew and looked!
Already ordered more FastBuds genetics and will see Girl Scout Cookies with another Zkittlez for sure!!!
More to come in a few more weeks..........cheers fellow growmies and much grower love to you all!!
Likes
5
Share


@vilahaze
Follow
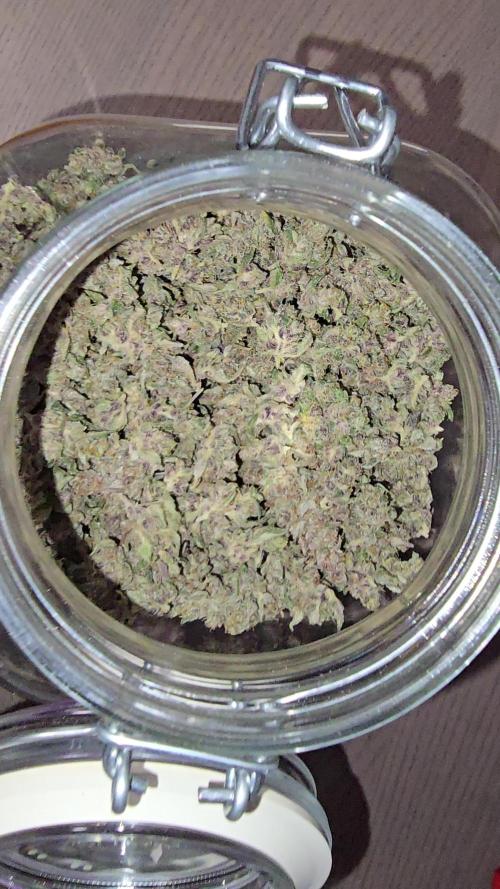
muy buena variedad , en las fotos de los cogollos se ve claramente que hay dos fenotipos bastante diferenciados el mas espigado para mi era el mas rico en cuanto a terpenos
Likes
19
Share


@Osrsbuddy
Follow
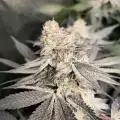
Pistils starting to turn a little Amber, buds filling in a little more and trichomes starting to have nice coverage, everything is looking good so far!

Likes
88
Share


@CBD_Sweden
Follow
My second growroom is built and the girls have moved in.
Medical Mass is a new medical cannabis strain with a high CBD content and a low THC level that provides good medical properties without a strong psychoactive effect. This is a mostly indica plant that contains 40% sativa and 60% indica. Critical Mass and CBD rich strain were crossed to create this amazing valuable variety.
The plant suits both for indoors and outdoors, for beginner and experienced growers. The strain grows up to 60 - 100 cm tall and produces good yields for such height of about 500 - 550 gr/m2. The plant demonstrates great results even in small spaces. The flowering time takes only 7-8 weeks and the harvest comes in late September.
The smoke brings very strong, intense flavors with sweet notes of honey and skunk and an intense pleasant relaxation. Medical Mass is the great choice for each medical user due its small height, ease of growing, fast flowering and of course great medical potency.
----------------------------------------------------------------------------------------------------------------------------
2017-12-25. Week 16, day 3. The girls starts to look better now and the buds are growing. Had to support the branches and did a defoliation and rearrange some of the buds so they get more lights. Added pics and video.
Likes
27
Share


@Hawkbo
Follow
They got moved into the 4x4 with the jimmy rigged 180w quantum board light built from ceiling tile grid. The tnb co2 is newish but I gotta get the heat up and bring in a more powerful light to take full advantage.


Likes
5
Share
@Smev1337
Follow
this is the end for this RF3 run with the Strawberry Gorilla strain! been really fun growing it but i need bigger stuff for next time 😎 i'm calling an monster grow 2.0 later this year! 😏👌 happy growing all! 😎✌️💚
Likes
14
Share


@Simsim
Follow
Hey Guys ! 😁
Buds are coming !
We are in the last week of feeding, next week, I will start flushing for about 10 Days before the Harvest.
This week was quiet, the plant ate a lot : EC in at 1.8 out at 1.4 > 2 times per days.
This week I will increase the EC at 2.0 to finish her.
She beginning to smell good and to make tricomes !
There is only one thing : I got 3/4 branches that seems to be less developped than the rest of the plant > Light reflection problem ??
See you soon, keep growing !🕉️

Likes
13
Share


@ThatItalianGuy
Follow
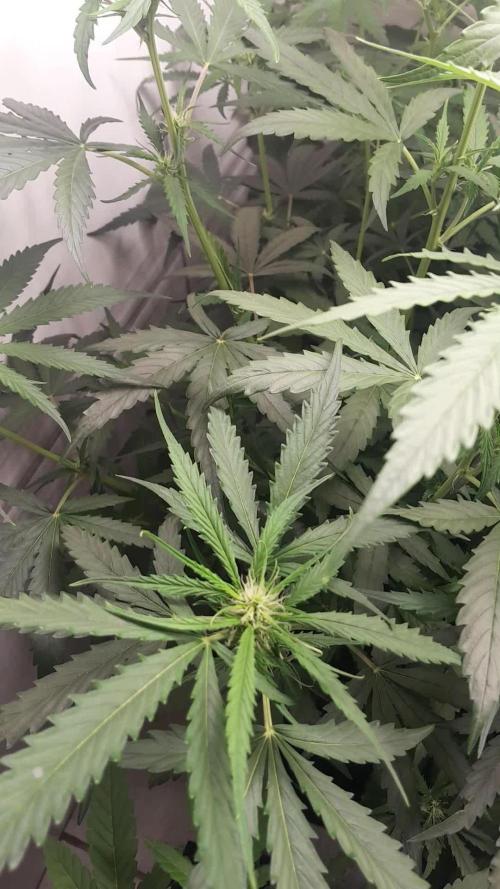
Start of the blooming Phase I don't know if I should lollipop the 2 little branches that are just in the middle of the plant. For now I just did a little Extra lst to get them more light.

Likes
1
Share

@BalconyBoy
Follow
08.06.26 die Pflanzen entwickeln sich weiterhin gut und hatten die vergangene Woche mehr Wind abbekommen, jedoch ohne Schaden. So darf es gerne weiterlaufen!
Likes
3
Share

@Jardineiro_Br
Follow
A Planta reagiu super bem ao LST desenvolveu muitos galhos que estao botando botões, galhos forte e.grossos para alimentar belas flores . Esta com uma boa altura devido a predominância sativa.


Likes
Comments
Share

@Samsationalseeds
Follow
the two BPP R3 in soil went into bloom. the dwc are starting to enter bloom slowly as well
36-42
The veg and seedling cycle on the three gallon pot was short and it's gone into bloom with very little stretching. All of the plants look healthy, they look fine, no nutrient. Or PH issues
Likes
32
Share


@Vega0284
Follow
Well kind of a shitty week. The weather has been garbage, it snowed twice... yeah snowed. There is not a whole lot of growth to report on due to the weather. The Grand Daddy Purple has a lot of space between it's nodes this week, to what I can only attribute to the poor lighting with it being over casted, cold and snowing all week.
The other 2 photo's are doing just as well as you can see, again not a whole lot of growth after the topping, but I'm assuming the environment for them has not been as favorable as needed, so they are just focusing all their energy on not dying. Which I'm totally cool with lol.
The mephisto's are growing well, I'm still training them around the pot trying to get more tops out of them. The ChemDawg is doing significantly better than the Sweet N Sour,
I haven't had to do hardly any watering this week as the soil is still damp, temps are cold and humidity is high. I did water and feed them today though as we are expecting temps and weather to reach mid 70
s this week.
The Girl Scout Cookies is still in her seedling phase, not sure why this strain is giving me so much trouble, but she's not dead, and first true leaves are just starting to poke out, I've got her in the indoor tent with my Auto grow soaking up some light and hoping that gets her hardy enough to bring her outdoors.

Likes
6
Share


@Ryno1990
Follow
The Purple Lemonade from fast buds is starting off week 3 awesome she has been blowing up with growth this last week an has been looking healthy an praying to the medic grow fold 6 every day
Ending week 3 the Purple Lemonade has started bushing out with growth she filled her pot up in a couple days an has been growing great with these cronk nutrients
Likes
15
Share


@SmokingBrownAndTalkingBrown
Follow
Last week of the vegetation stage for the ladies.
I added some urb to the nutrient mix and gave the plants two measuring spoons each of the bat guano as a top dress on 17/01/21.
I defoliated the plants and flipped the switch to 12/12 on 17/01/21.
