The Grow Awards 2026 🏆 


Likes
32
Share
@AsNoriu
Follow
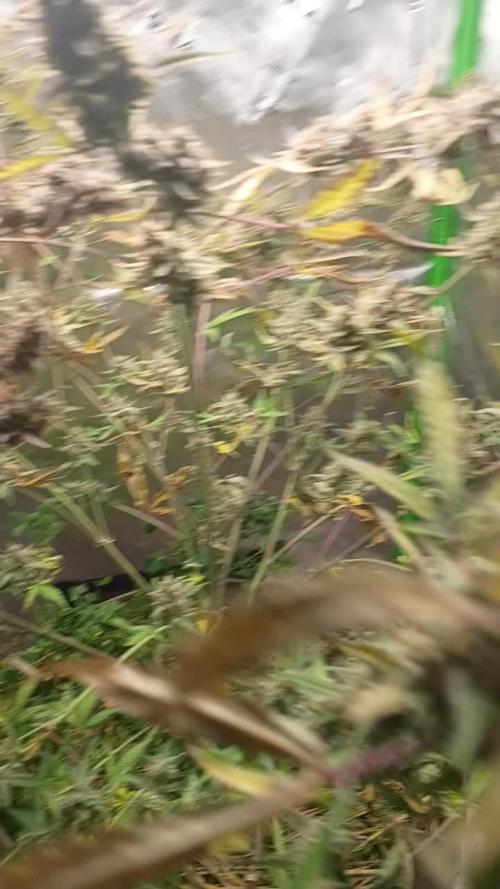
Day 23. Worst plant in my life - fact.
Cold temps don't help, but this girl is sad , so sad that I want to add next watering competitors product to revive her ...
Her 5 days younger sister kick ass same as oldest BTW...
Happy Growing !!!

Likes
2
Share
@deseed_uy
Follow
Ultima semana me parece.. ya hemos aplicado flawless y luego solo agua, una cookies ya quedó re colorida hermosa. Las otras dos les cuesta un poco mas porq tenian el ec ree alto.

Likes
4
Share
@Organic473
Follow
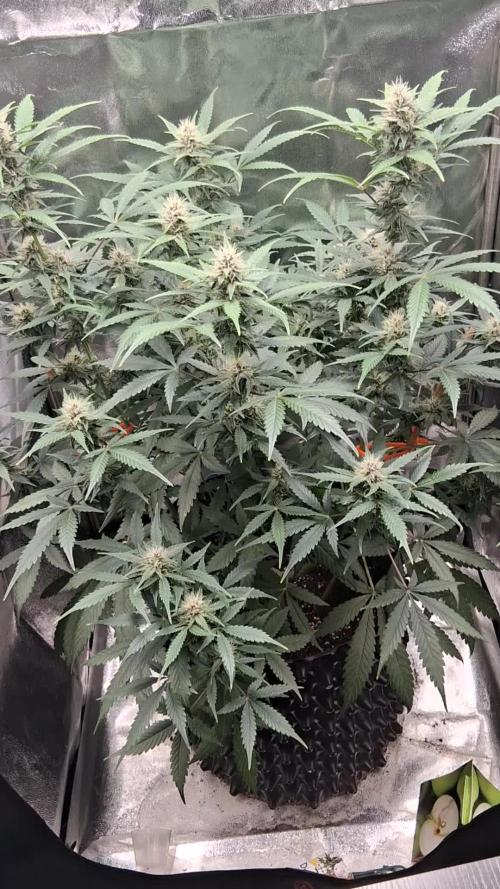
This girl is doing what she wants spreading out and loving the space I made for her with the 10 gallon pot.
There are pistils popping everywhere on her pre flower I guess I have to start flowering her for the next week.


Processing
Likes
3
Share
@cmstacker01
Follow
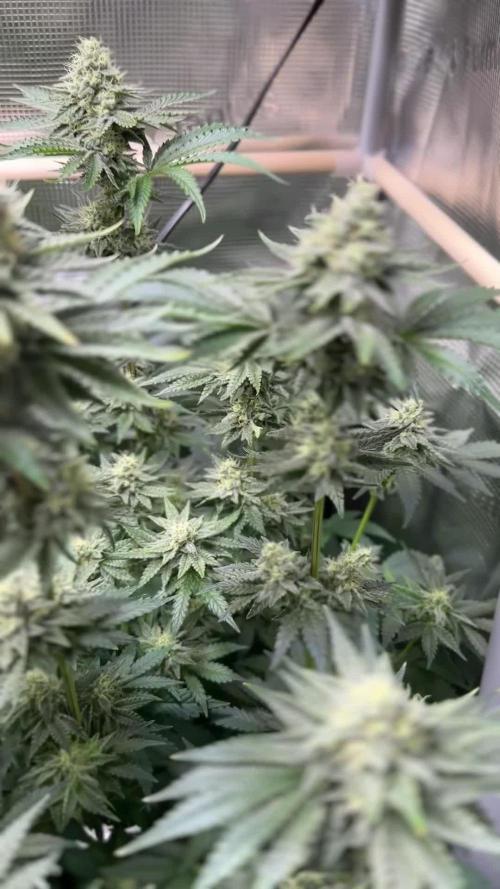
Week 3 flowering.
Buds are
slowly forming, plants still going good, cold weather is hitting my area now, hope it won't last long, might extend flowering period by a couple days if it stays this cold.


Likes
9
Share
@Johan2
Follow
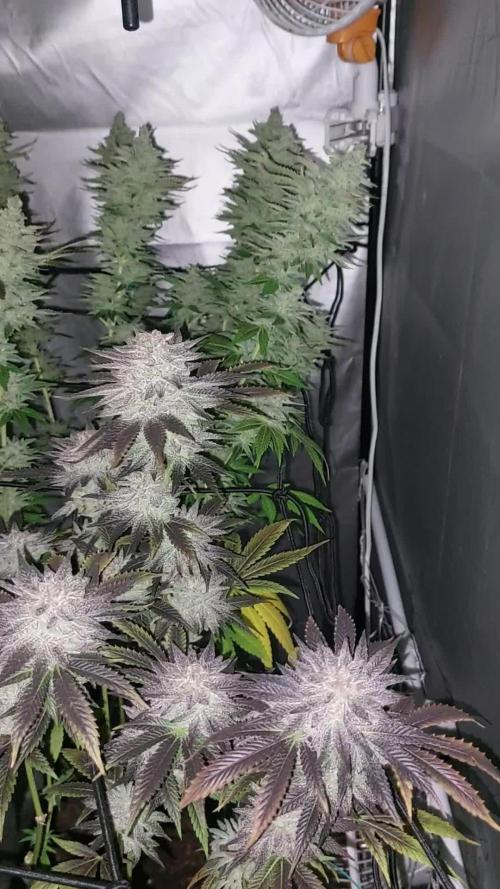
Day 56 of flower cloudy trycs no amber .
Flush with just calmag this week .
Hoping she will be ready in the next few days . It looks like it may have at least a week in her.
Fattening of buds daily more frosting every day . Will water stress . Not very thirsty only 4 litres of flush in a 6 days


Likes
5
Share
@DodieBurns12many
Follow
I haven't defoliated much at all through this entire grow, so I decided to do a thorough defoliation and cleaned out the entire lower canopy. I also removed the sucker branches and adjusted the nutrients for early bloom. I'm using Recharge and florakleen to flush between nutrient changes.
Likes
Comments
Share
@Del_grow
Follow
This strain is almost perfect, smell, look, resin production, bud structure, how little trouble she was in veg…etc…. even yielded really well for a smallish, bushy plant, the only thing letting it down was slightly lacking in flavour, flavour was nice don’t get it twisted but I had very high expectations because everything else was so good, and it fell short a little. I did cure some further for a few months and it was better. All in all I’d recommend this strain, another banger from Barney’s farm!

Likes
4
Share
@Bear_Grows_Green
Follow
Chopped her down this morning got her having in about 63degress and 59% humidity with a little fan running on the floor. Stinking up the whole house since the drying closet has no filtration.
Likes
10
Share
@StickyFingah420
Follow
Planta hermosa, por problemas de respaldo no tengo sus fotos finales y es una pena :( pero puedo decirles que es una planta que rinde bien, entrega frutos de calidad y no es para nada exigente.
Likes
Comments
Share
@eldruida_lamota
Follow
Vamos familia, actualizamos la octava semana de floración de esta Amaretto Tarmac de Seedstockers.
Empezamos abonando ya con varios productos de la gama Agrobeta para la floración.
Temperatura y humedad dentro de los rangos correctos, 12 horas luz, 12 oscuridad.
Una lástima que de todas solo aguanto una, y en concreto tiene un color espectacular aún así seguiremos con el diario hasta el final.
Agrobeta:
https://www.agrobeta.com/agrobetatiendaonline/36-abonos-canamo
Hasta aquí todo, Buenos humos 💨💨💨


Processing
Likes
12
Share
@UK420hydrogrow
Follow
ok so the critical mass x 3 and white widdow x big bud x2 have really exploaded in the last week i can see such a big differnce in just a week of growth. so i decided to do the plants first toppings from 4th node with great results applied this technique along with some light lst training cant wait to see hows these plants progress through the veg cycle im lil worried i may end up having space issues whixh is why im thinking of moving the barnys farm lsd clones outside soon

Likes
12
Share
@cheetah844
Follow
This one is going outside. It's a regular photoperiod seed, I'm hoping it's a female for some long awaited & needed flower.
This was the very first strain I ever ran out of several years ago, I'm ready to have this back in stock 💜. I remember it being very relaxing, dissolving my migraine & putting me in a relaxed but great mood.
Likes
4
Share
@fezzollas
Follow
That was the most difficult week. It was very cold and rainy, the humidity of the air reached 90% at most, but without sequels, thank God. On day 63, I defoliated and she is strong, fat and definitely smells like cheese.

Likes
9
Share
@Inganjawetrust
Follow
This was my first time growing a photoperiod and I decided to put her outside along with some autoflowers this past summer.
I started Purple Shot Photoperiod Fem. from Exotic Seeds in a one liter air pot and moved her into a 5 gallon phat sack on day 14 when she was 2.5 inches tall.🌱🌱🌱
By the start of week three she was 6.5 inches tall and looking quite happy in her new five gallon home. A short while later she was moved outside to adjust to her new environment.☀️☀️☀️☀️
By day 35 she was 16.5 inches tall and developing a nice bushy structure.
She started to flower towards the end of week 10
By week thirteen it was evident this girl was going to be making some nice tight lil nuggets 😁
By week fourteen I could hardly take my eyes off of her as she started to show her fall colors.
I harvested her on day 130 18wk 4d She was 43" tall and looking pretty as can be.
Her nuggets are not large but they are hard as rocks and sticky as fuck.
The original plan was to turn all the outside plants into hash but I like this one too much just the way she is 😋
After a nine day dry and month and a half to cure the dry weight for this girl was 78.50g / 2.80 oz
✌️😎💨
