
Likes
Comments
Share


@Farmer_Joe13
Follow
*Grow Diaries* ,you guys are doing a great job this is an awesome sight. Keep up the good work. I love looking at all these different grows and Diaries From great growers.
Booco Of different strains with so many Individual techniques.Such beautiful pictures makes it hard to leave the computer. No doubt an Experience every grower should know. Informative & Educational truly a learning experience . I have been growing for a while but never tried to measure document and record a grow Start to finish with pictures. I know this will be helpful for future grows I appreciate the opportunity To participate.
THANKS
Happy growing!
Farmer Joe

Likes
11
Share

@H0BBYGAERTNER
Follow
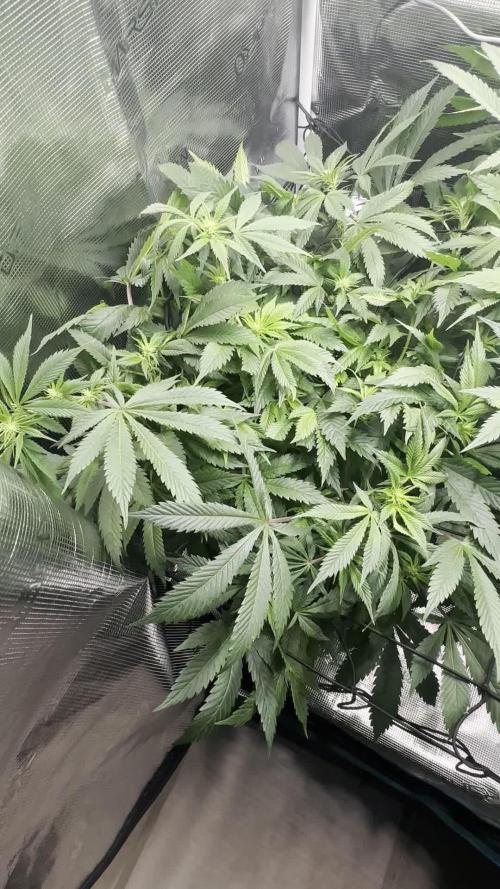
WEEK #13 - THE GLASS IS HALF FULL?
A bit more progress again, plants are now roughly 50cm in diameter and 30cm (Skywalker) / 35cm (Slush Mint Cake) in height. In fact, i was able to move some branches to the next "squares" of the net, which feels very pleasant/satisfying. As far is i can tell, Slush had in fact more stretch than skywalker, which seems due to the strain genetic.
Lots of leaves pressing towards the walls at the moment. Waiting for stretch to finish so i can remove them, and also the leaves blamable for, as well as the always shaded bottom shoots - no need for them when you have so many one on the sunny side.
Seems i need to check soil / bag weight more often as some leaves showed signs of being withered (which i removed). Well, it totally makes sense that plants of double the size need water more often and also drink more.
Opened the tent today and saw 3 of the tiny annoying flies, so immediately preemptively set up traps.
Smell: Still not stronger than before (yet), very faint and not very distinct ("green"). Although one definitely can smell something (or ist my imagination?).
Light: Still 35cm distance for appr. 800 PPFD/µmol/m²/s.
- - -
Question(s):
Ready for defoil, si o no?
Do you like the videos? Seem to provide a nice and better overview than single photos.

Likes
16
Share


@osmrducks
Follow
Day 57: Girls looking good and healthy. Got the HLG turned up 100% pumping 500 watt to em! We shall see. Still only given around 500ppm nutes.
Day 58: Got mostly cloudy with just a couple amber it looks like. I'm thinking I need to start flushing. Albeit, only on one plant. I will wait a few days more until I make a decision.
Day 59: Still looking beautiful! Buds are getting thicker! Decided I will give MOAB till week 10 and check the tric's at that time. Prob start flushing at that time. Only time will tell.
Day 60: Girls looking good. 👊 Not gonna lie, getting nervous as I do not want to cut em too soon or too late. This is a tough spot. The one has a ton of red hairs. It looked as if there was just a couple of amber that I found the other day. I was looking on the outside of the buds, also. So I know the inside is where I need to look. Just not wanting to jack with them too much. I will check again at end of week.
Day 61: Busy. No updates.
Day 62: These girls are starting to smell amazing!! I don't see any noticeable growth here lately. I'm hoping they start to bulk even more though as I think I am still seeing some clear trichomes.
Day 63: Welp, all is well and no new updates. I been feeding pretty heavy so I will back off and just water tomorrow.

Likes
3
Share

@Black_Widow
Follow
Привет садоводы !!!
началась новая неделя
прошло несколько дней после инцендента с PH и вроде растение немного отошло от стресса и вышло из анабиоза и расправилось
выглядит не так печально как несколько дней назад
цветок .что в земле я полил сегодня с удобрениями и добавил активатор цветения
собираюсь на днях перевести их на цветение


Processing
Likes
5
Share


@xxBudgetAutosxx
Follow
Started watering plants every 72hours with a pint of water.
Seem to be starting to grow faster now and I can now tell which one is the sweet tooth auto 😂😂😂


Likes
5
Share


@Rizza78
Follow
Made it to harvest w 2 so far! Oozecake is a couple extra days. Boy she tastes amazing! Will ice her tomorrow and put her in 48 hrs of dark before I harvest. What an experience it has been! Can’t wait to try after the cure.

Likes
Comments
Share


@Cannussy
Follow
7/3/25
Topped her twice since the start, also started to bind her down for even light distribution. Feeding at 50% strength (lucas formula) and keeping the ph between 5.7-5.9 only adjusting if it reaches 6 and more. Can't wait to flip
7/7/25
All good. The only thing worrying me is the roots turning a little brownish, no smell tho. It might be the micro or calmag, its my first time doing dwc and if anyone has an idea let me know!
7/10/25
Roots, PH and PPM! She is recovering well from another topping. The smallest plant in the tent but damn the smell on this one. Can't wait to flip in a week or two. I hope I will get a really nice pink flower out of this pheno, but I have another few seeds for a little pheno hunt I can pop in the future.
Likes
3
Share


@macrocefalo
Follow
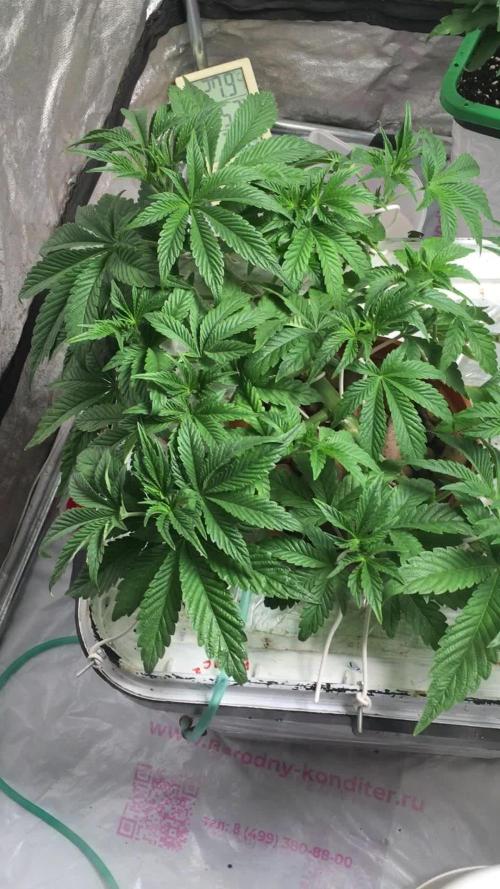
Another week for the first-time sailor. I started doing LST as I'm a beginner unfortunately my lack of skill took 3 leaves but the plants apparently did not feel the stress as they continue to grow and with the birth of new leaves. This week reduces the space for watering before 7 days to 5 days the growth is good but as everything in life can improve but I am happy with my performance and learning from my failures.
Likes
151
Share


@CANNASIM
Follow
------GENERAL COMMENT------
Everything going well, the AK47 is much more vigorous than the BB, let's consider that she was more stressed.
So i'm putting up the week timelapse, is a pain to do it but i found the result very interesting will try to put up one weekly. This week was a busy one, opted to a defoliation to be able to even the bud spots introducing a cage, and doing some LST, training to the cage to make a more flat pre flower spots in that way the flowering will be easier to control. So the plants grew in hight but was trained to be more bushy.
We have a week to go or something about that then i will switch to 12-12.
------SM.BB COMMENT------
She is more droopy than the AK, a bit less vigorous and picky, no tips even burned with the nutes given, all good in that point of view, topping went ok! She resumed growing the canopy is a bit less even also.

Likes
50
Share


@Mrs_Larimar
Follow
May, 15th 2021
All UMMME plants were transplanted into 3l
I added" Living Organics" during Transplant
They needed it, because some were yellowing,
Roots were well developed, now they can go on for a few more Weeks .
Keep Watering them with Beneficals, and spraying one time Daily with
"Fast Plants Spray"
Those foliar Feeding drives them very well

Likes
12
Share


@Skunkiest_bender39
Follow
Linke Seite Passion Rechte shaman, draußen keine Bedingungen mehr gegeben. Unwetter Sturm hohe Luftfeuchtigkeit dass seit Wochen. Zum Glück gibt es einen Wintergarten. Das Gewächshaus ist inzwischen zu Klein für alle damen. Werde es ordentlich vorbereitet im Frühjahr aufbauen und für die vorzucht nutzen 🐝


Likes
47
Share


@GWSD82
Follow
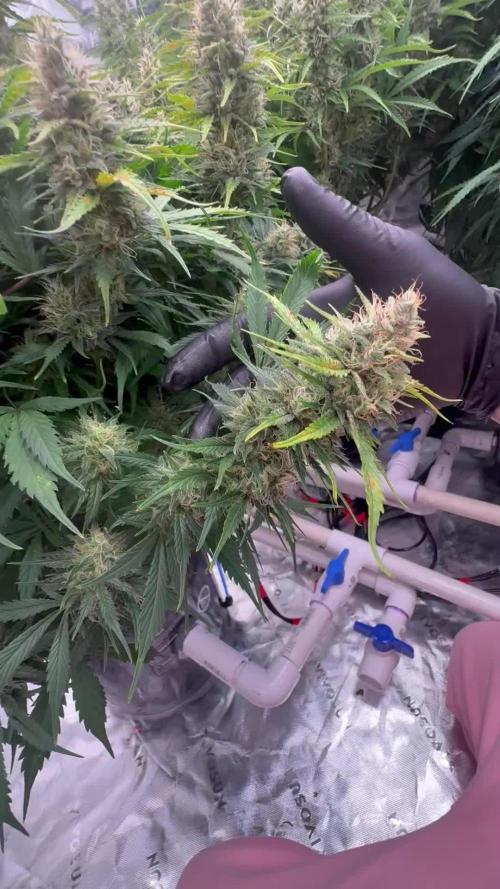
Another week down, time seems to be flying by.
Can we just take a second to talk about the smell. OMG the fucking smell. Intense, bursting with orange, it's like I'm being waterboarded with Sunny D! Every time I open the tent, the smell literally jumps out, kicks me in the nuts, throws me in the corner and then runs wild all over the house. It's more of a feeling than a smell - You know when you arrive in a hot climate from a cool one and you step off the plane to that wall of heat? It's like that, but on your nose :)
Nothing dramatic to report this week. Just beginning to ease off slightly on N levels. The week's schedule:
MegaCrop: 4.75g / gallon
Bud Explosion: 2g / gallon
Calmag: 0.5ml / liter
E.C: 2.1
PH: 6
Not really much to do other than light defoliation just to keep the air flowing. Buds are getting nice and fat and she seems healthy, I can pretty much be hands off from here on out.
Catch you all again in a week!
Likes
10
Share

@HOMEGROWBOOK
Follow
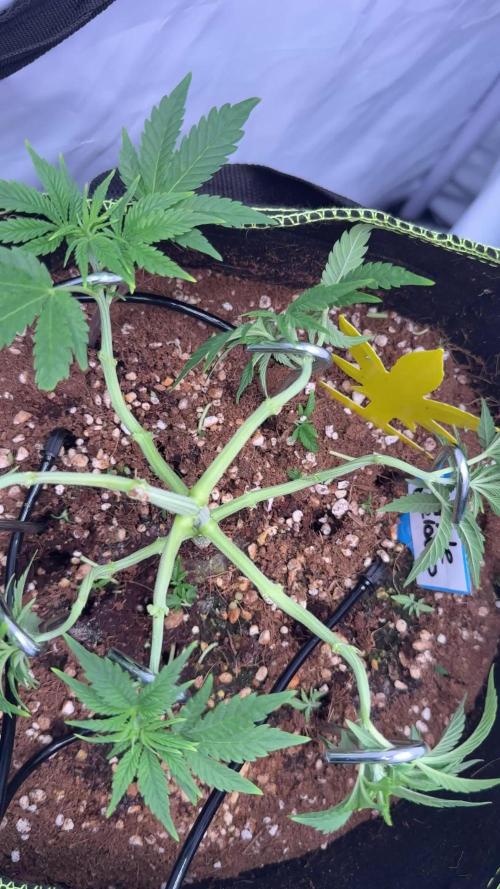
Week 4 was a very active training week for Apple Gelato. The plant received two topping sessions combined with FIMing to significantly increase the number of main growth tips. In addition, Low Stress Training (LST) was applied to spread the branches horizontally and create an even, open canopy.
Despite the intensive training, the plant handled everything extremely well. Recovery was fast, with no visible stress, drooping, or slowed growth. New shoots started developing quickly at all topped and FIMed nodes, showing strong vigor and good genetic stability.
LST helped expose lower sites to direct light, improving airflow and setting the foundation for a symmetrical structure. Leaf color remains healthy green, internodal spacing is tight, and overall growth is compact and controlled.
This combination of 2× topping + FIMing + LST has clearly prepared the plant for a bushy structure with multiple strong colas going into the next vegetative weeks.
Likes
14
Share


@Endzo
Follow
Girls officaly went into pre-flower and all are confirmed female. The Orion F1 is the strongest of the bunch. All three have grown almost double the size of the other 2 strains. Epsilon is 2nd strongest growing robust and strong and the Apollo F1 have been anything but tall. Apollo F1 is a stubby bush with almost no space between nodes. I will have to defoilate here pretty heavy over the next week or so and hope the stretch comes on strong with them. Making sure to feed them supplemental nitrogen this grow after noticing a hole in N from my past feedings. Everything is on the up and up and moving along great.

Likes
54
Share


@MadeInGermany
Follow
Hey guys :-)
The lady developed beautifully this week :-) .
She's starting to grow a lot.
Next week I will repot them in 8 liter cloth pots.
Watering was done twice this week with 0.5 l each.
Since I partially washed the earth beforehand so that there are hardly any nutrients, I have a small layer of vomit Added Green House Powder Feeding.
So she has a few nutrients until repotting :-) .
Otherwise everything was cleaned.
I wish you a lot of fun with the update and stay healthy 💚🙏🏻
👇🏼👇🏼👇🏼👇🏼👇🏼👇🏼👇🏼👇🏼👇🏼👇🏼👇🏼👇🏼
‘Powered by GreenHouse Feeding’
Copy the link for 10% off all Nutrients 👇🏼
https://shop.greenhousefeeding.com/affiliate/MadeInGermany_PassionGrower
👇🏼👇🏼👇🏼👇🏼👇🏼👇🏼👇🏼👇🏼👇🏼👇🏼👇🏼👇🏼
You can buy this strain at :
https://www.amsterdamgenetics.com/product/choco-cheesecake/
👇🏼👇🏼👇🏼
Use the coupon code: madeingermany
for 10% on all Amsterdam Genetics seeds
Water 💧 💧💧
Osmosis water mixed with Cal/Mag (24 hours stale that the chlorine evaporates) to 290 ppm and Ph with Ph- to 5.8 - 6.4
MadeInGermany


Likes
5
Share

@PhinolaGreen
Follow
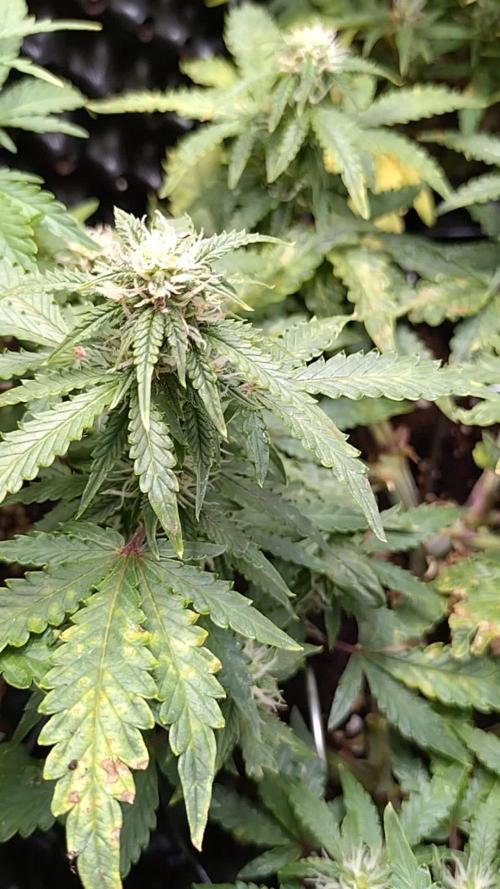
9. Woche
Ich hatte letzte Woche plötzlich massiv Probleme mit Magnesium aber habe es in den Griff bekommen 😁
