
Likes
Comments
Share


@EZgrower
Follow
day 69 - filling. ppm500. weight from 3150 to 4150. (1000ml)
day 70 - Happy X-Mas!
day 72 - water fillin. ppm60.
day 74- filling ppm520.weight from 2550 to 3600. (1000ml)
day 75 - filling ppm560.(1000ml)

Likes
8
Share


@Lord_21
Follow
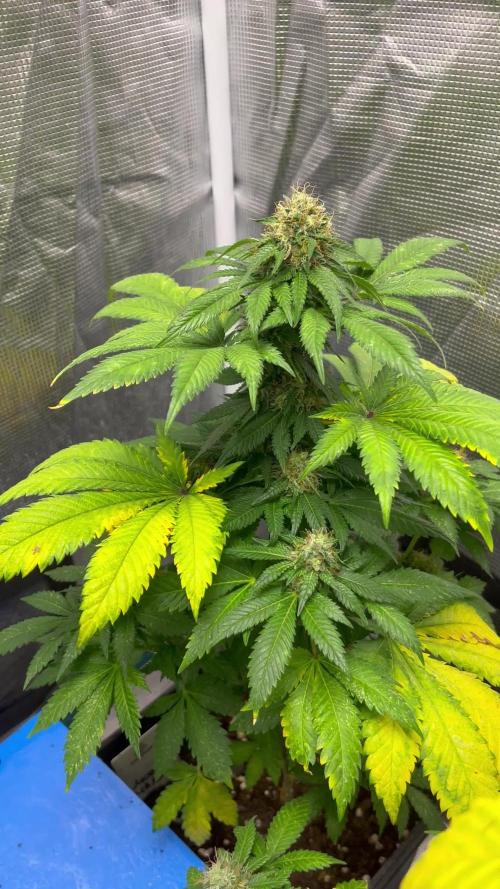
How do y’all think for my baby, brothers?
This is 9 weeks of my baby. Actually I can’t wait to hit this cuz of my first time. But I’ll. So let’s wait...

Likes
20
Share


@Hoodoo
Follow
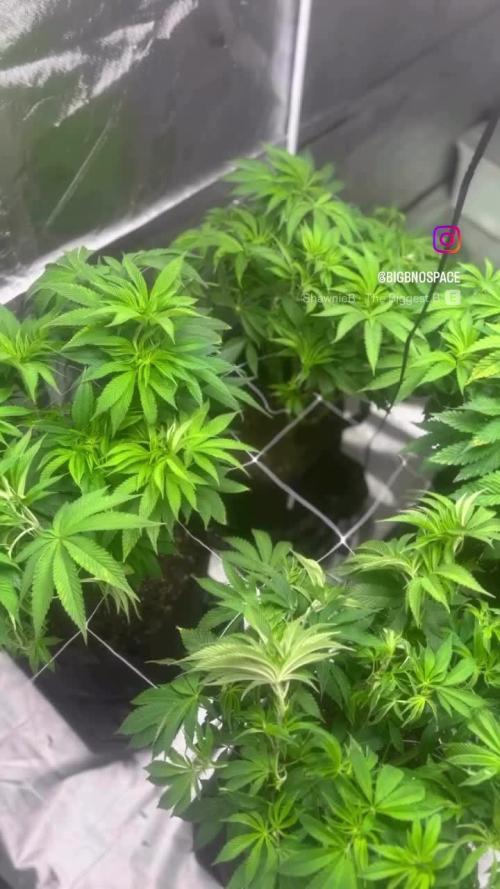
Another big photo dump! I've completely cut out the FloraGro now. Flowers are starting to fatten and the lowest buds look very mature already. Excited to see what happens in Late bloom!

Likes
2
Share


@TTerpz
Follow
Start of week 6!!
One more week until flip
All pits have been brought back up to ph range in the 6s

Likes
14
Share


@TrikesGrowLab
Follow
Besides the nutrients above, they received UAN 32-0-0, liquid worm castings, Neptune’s 2-6-4, Neptune’s seaweed 0-0-1, TPS chelated calmag, and molasses.
The roots seem to be bigger than the plant atm, from extra use of Mykos and azos... I would definitely expect exponential growth in the next 3 weeks.
The plants are exactly where I wanted them size wise for day 21. At least 10-12 strong bud sites already each plant and they definitely smell danker than most plants I’ve grown before.

Likes
9
Share


@Sudo17
Follow
4/24/23 @ 12:30pm - We did something a little different today. Both plants given 1 gallon of campden water + 1 TSP RECHARGE + 1 TSP Mega Crop + 2 TSP Bloom. This should act like a flush of sorts but the water is loaded with nutes so hopefully this helps the plants turn more green.
4/26/23 @ 9pm - I checked on both plants tonight and the first inch or so of soil felt dry so I decided to water. pH'd 6.5 campden water + 1.75 tsp MegaCrop + 1 tsp Bloom + 1 tsp RECHARGE. 1.5 Gallons per plant. Still some yellowing and wilting but the leaves have straightened out since the
wind burn adjustments. Hopefully they uptake all these nutrients, the smells are getting incredible.
4/28/23 @ 2:30pm - Checked on the girls today and I am happy to report they're finally starting to turn back to a nice shade of green. The wind burnt leaves have either died off or recovered. The smells are getting very strong and all the colas are super sticky. Hoping to see some fattening up over the next 2-4 weeks until harvest time.
4/29/23 @ 6pm - Both plants given 1 gallon of campden water + 1/2 tsp MC (4 grams) + 3/4 TSP Bloom + 1/2 TSP RECHARGE pH'd to 6.5 - First pistils starting to turn amber!


Likes
1
Share

@gse314
Follow
Did a lil experiment and clip the top of each was looking to see a increase veg

Likes
5
Share


@Unkraut
Follow
easy to grow with great yield!
when i touched the sticky buds my fingers smelled so awesome and i must say the results were more then great!

Likes
11
Share


@ArucambaAutoflowers297
Follow
So the budgrowth over the week has been insane!
All the girls are stacking like crazy!
Wedding Glue
Now in flush and will.be the first to come down around day 72.
Gorilla Cookies
Smelling and looking amazing. However since shes hidden in the back it took me a while to discover a calcium deficiency on her. I have flushed her with a light calmag feed and gave her a light feeding the next day. Seems like it has stopped spreading. This is usually what i do to see what is wrong as its usually a salt build up. If theres no progress a simple measurement and adjustment usually does the trick.
Mimosa Cake
Stacking beautifully and i can already see shes gonna be a frosty one! And a top yielder!
Forgotten Cookies pheno1.
Ive had this one twice before. She has a really sweet terpene profile and she can turn into a beast given the right circumstances.
Forgotten Cookies pheno2.
Ive had this pheno before in the organic run. Extremely frosty like her sibling smelling really pungent and sweet. Smell is easily recognizable
Solero
Turning out to be a monster with all her budsites covered in bud. I can see her buds have swollen up everyday i open the tent. She smells really fruity with a hint of mojitos
Strawberry Gelato
Straight gelato terps coming of this one! As you can see shes really focussing on swelling up!
Likes
5
Share


@Bluemels
Follow
Tag 32: Die Triple G zeigt ihr Vorblüte.
Tag 35: Zeit zum entlauben und ich beginne mit LST.
Tag 38: Die Pflanze hat meine Maßnahmen sichtbar gut überstanden und ist wieder wohlauf!
Likes
8
Share

@eldruida_lamota
Follow
Que pasa familia, vamos con la séptima semana de floración de estas Monster Maker feminizadas de Sweetseeds.
Vamos al lío, las plantas se trasplantaron a macetas de 7 litros.
El ph se controla en 6.5, la temperatura la tenemos entre 24/21 grados y la humedad ronda el 50%.
El ciclo de crecimiento puse 12h de luz, el foco está al 100% de potencia.
Tengo visitantes, trips que combatiremos con control biológico.
Me gustaría estar más encima este cultivo pero la salud me está impidiendo un poco este 100% con el proyecto.
- os dejo por aquí un CÓDIGO: Eldruida
Descuento para la tienda de MARS HYDRO.
https://www.mars-hydro.com
Hasta aquí todo, Buenos humos 💨💨💨

Processing
Likes
3
Share


@Barcelona_Farmers710
Follow
Buenas farmers!! Después de pasarnos tres dias con sólo agua volveremos con la mitad de nutrientes durante los próximos dos riegos, ya empezamos a prepar nuestras plantas para la fase final ! Un olor espectacular y mucha resina espero guste buenos humos family!💚


Likes
3
Share


@123Grow
Follow
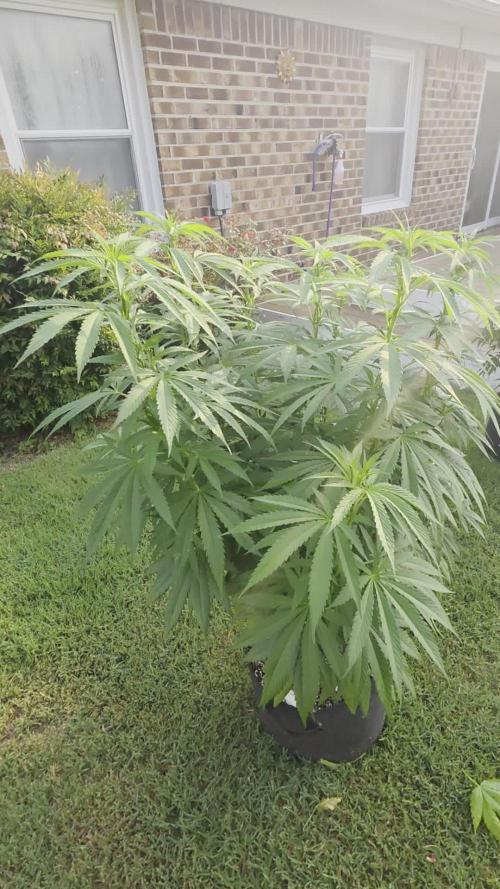
Kinda a leggy one. Leaves are okay, stalk not mis-colored, just trying to get the conditions right. I have other beans going, but this one seems to be lacking something. No, issues, so I’m not going to push it.
We relocated the family to the basement. I have a trellis that is almost full and I think I’m past the point I needed to be. The temps are a little lower so we will see what happens.


Likes
13
Share


@FUH20
Follow
Technically this is veg week 2, currently still going. Had some cal mag issue so I started to put nutes flush with pH 6 then fooliage spray with cal mag 1 ml per 300 ml. Also nutes at 550 general hydroponics trio.
So ending of this week 2 veg about 21 days since I planted the seeds, had issues with nute burn I gave double ppm by mistake thinking it would help the cal mag issue but ended up burning some baby leafs, so far looks like it grew out of it but I'm guessing yield will be effected greatly. Lesson learned

Likes
49
Share


@Roberts
Follow
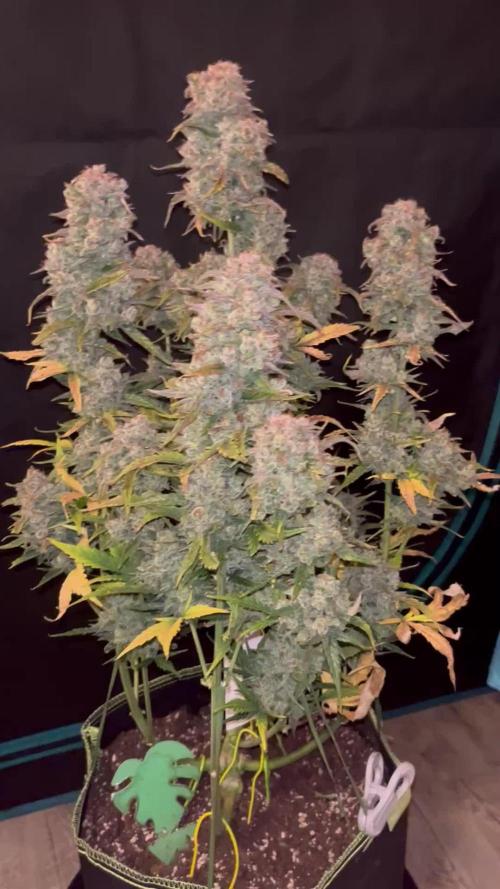
RSV11 has gotten very big with her vigorous growth. She is in the middle of bulking and has forned a nice layer of resinous frost at her colas. I can't smell at the moment, but I am sure that is progress as well. She was kinda hungry at one point which caused her to get a little more pale then I prefer. Beside that everything is looking great. Thank you Terpyz Mutant Genetics, and Spider Farmer. 🤜🏻🤛🏻🌱❄️🌱
Thank you grow diaries community for the 👇likes👇, follows, comments, and subscriptions on my YouTube channel👇.
Thank you Happy Growing 🌱🌱🌱
https://youtube.com/channel/UCAhN7yRzWLpcaRHhMIQ7X4g
