
Likes
Comments
Share

@Hashy
Follow
********************************************
📋 Comments
I really like the structure of this plant, and I'm tempted to do another just because she looks awesome.
📋 Data
Seed to havest=114 days.
Veg time=28 days.
Flower time=86 days.
Wet weight=805g
Dry weight=86g
📋 Smoke report
This smoke is nice, slight skunk taste with a bit of a sour lemon after taste. Strength wise I'd guess she'd be around the 25% THC mark.
📋Grow stats for GDG 23
#1 Runtz=50g
#2 Fat Bastard=86g
Total=136g
Lights on.
20hrs×7days=140hrs
18hrs×21days=378hrs
12hrs×86days=1032hrs
Total hours=1550hrs
Light power=159.09Kw
Rad power=105.69Kw
Extractor=39.93Kw
4 gang=50.91Kw
Top fan=21.36Kw
Total electricity=376 98KW
Electricity cost @£0.25/Kw=£94.25
Average light power a day=1.4Kw
Average watt per hour=102w
g/watt=(136÷102)=1.33g/w
£/g=£0.73/g
📋Final word.
Trimed on the 14/6/25. Trimming was quite easy, not to long in trim jail. 86g of solid nugs and 7g of nugs I couldn't be bothered trying to trim, they can go with the trim for hash. I would highly recommend growing this strain.
Back soon.
Take it easy.
********************************************

Likes
8
Share


@Abreuvoir
Follow
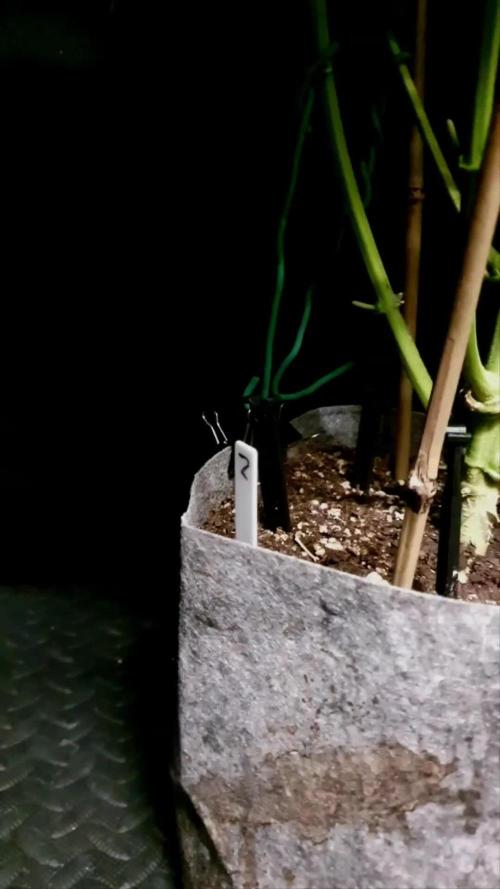
Day 28-35
Mistake d28-29 (videos)
Shortly after transplantation, I tried to LST the plants by making a bend in the main line.
However, I did it too quickly and without proper preparation.
This ended up more like a HST.
The poorly developed roots suffered from the force coming from the bending.
I also happen to have increased the DLI from 25 to 30-32 which surely didn't help.
The result of this was stomped growth plus leaf scorch mainly caused from roots damage and lack of hydration/nutes intake.
Fortunately, they did a nice comeback during the following days.
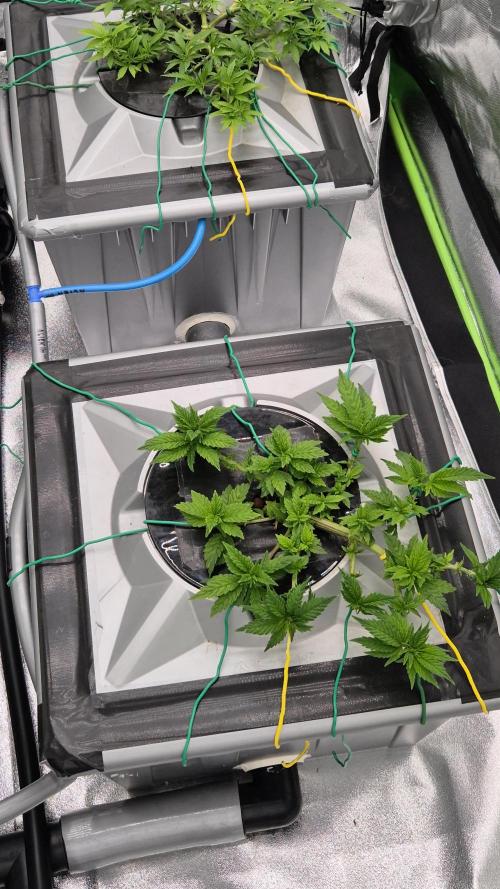
Plants 1 and 3 survived the pinching d31
Plants 2 and 4 were topped from severe pinching d31
Grow room was updated to final setup d34
They are drinking like healthy plants d34
Controls setup:
DLI 32mol
RH 60%
Temp 24.8°C
Plants fan 30m/15m - on/off
Extract fan >= 25.3°C


Processing
Likes
13
Share


@Bloom_Room_By_Jared
Follow
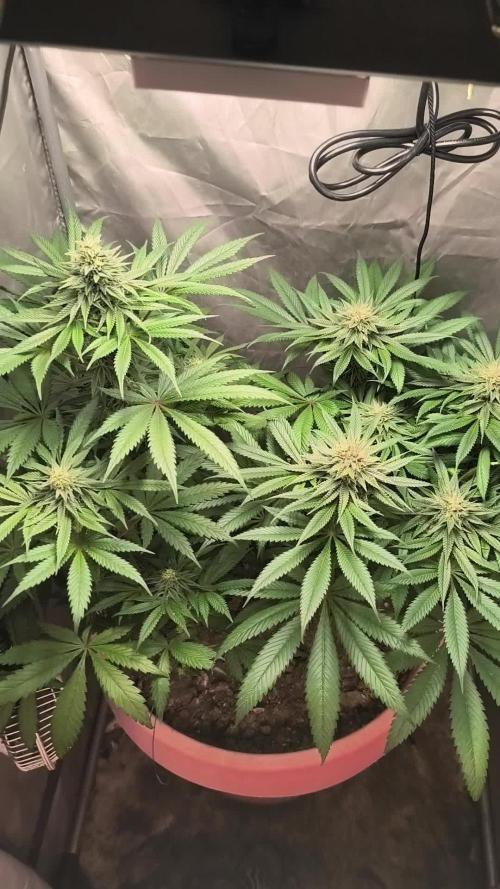
4/16: I love her structure as I said before, now she’s doing weird shit. The last few days some fan leaves have been turning yellow and falling off like it’s starving for nutes so I upped the anti hopefully that’ll fix this issue.......also a few buds started to fucking foxtail on me probably due to heat a few days ago it was 97 degrees in my tent good thing I caught it early
4/17: Today I noticed purple spots on some of the leaves mostly just on the ends.....seems like I may have a purple pheno
4/18: Giant fan leaves are still dropping off I don’t know if it’s the strain itself or not enough nutes, I’m not noticing any type of deficiencies even though I’m still new to this (my 7th grow) but the sugar leaves seem to be doing fine while increasing triches day after day
4/20: The colours are getting beautiful on this here sexy girl.

Likes
2
Share


@Kali_DC
Follow
Peach Sherbet OG 21"
Peach Sherbet OG 17"
Mimosa x Orange Punch 17"
Permanent Marker Auto 14"
Glookies Auto 14"
Glookies Auto #2 - 3"


Likes
19
Share


@LittleBigTrees
Follow
This plant was germinated along side three other strains , it stayed short and compact ,it was very leafy and compact .
If I was to grow it again I would spread and thin out the canopy and defoliate more heavily .
This strain was in a10 litre pot and produced 90g of dried trimmed bud .
It was a low producer but the flower is really nice , a very enjoyable evening flower through a volcano vaporizer.


Likes
11
Share


@biggreens420
Follow
girl scout crack was a monster to grow she grew well and easily tripled in size during stretch the light issue could have had something to do with it did think she was going to turn out poor but she surprised us and filled in pretty well and buds formed well would recommend to anyone to try as iv also seen a few different phenos of this strain thanks for reading happy growing guys

Likes
84
Share


Likes
31
Share


@THCpapa
Follow
What an incredible journey this has been! From start to finish, these plants dazzled at every stage. The drying process was a bit of a marathon – 21 days of suspense. But now, they are absolutely perfect. They snapped off the stems with a satisfying crunch – straight into my rolling paper for, ahem, "quality control" purposes.
I'm beyond excited to have 2 more seeds ready for the future. Though I won't be growing them in my next round, I can't wait to see what they'll do next time. These gorgeous ladies have rewarded me with a whopping 248 grams dry! I'm in absolute weed heaven.
Now comes the hard part – keeping my hands off while they cure and reach their full potential. My trusty humidor will help make sure they become everything they're meant to be. Here's to a fantastic harvest and many more green adventures ahead! 🌿🎉


Likes
3
Share


@Mr_nugs_lover_David
Follow
Big tops! She's got a lot of rocket colas thanks to the training techniques that were applied, she smells exactly like her sisters, very sweet and floral, I'm starting to feel the cherry 🍒 notes on the smell of the buds, very good strain to grow, only 2 of the 5 phenos are 100% percent purple but tje other ones show purple on the leafs like this one because of the cold temperatures


Likes
13
Share


@Robeeriegenetics
Follow
Everything is going ok no roots yet on the clones but we got a week b4 we need to worry
Temps steady humidity steady will be topping of res with more nutes todau


Likes
6
Share

@RBG
Follow
Week 6, here we are.... finally after 6 months of repeated losses and lessons, we've finally made it! Secret ingredient that no one told me. Uv sterilizer and pythoff
Overall I think Grape og is doing well. Notice that in early veg she handles stress, topping and lst nicely but further down in veg she had more temperament, showed more nute burn, slow growth from defoil and topping but bounces back rather quickly even after a complete cut down to her bareback of stems.
Light went from 60% to 90% over Week 5 to Week 6, next 2 days she'll be at 100% ready for flowering.
2 set AC infinity bar lights will go in over this week as well as my scrogg net.
Nutrients this round
Floramax veg1
Floramax organabud
Floramax flowering enhancer ( 1/4 ) dose
Flairforms roots
Sleepz with the fishes ( pythoff )
Cyco platinum series silica
Floramax Calmag
E.c 2.2
Ph 5.9-6
Will continue to keep doing lst and defoilation. I like to keep my lst on for my whole grow due to the way I LST, this will be the first time using a scrogg net to help with spread management, if I feel confident and comfortable ill remove lst in later flower if scrogg net will hold in place other the lady will curl in on herself


Likes
3
Share


@CannaGods
Follow
The plan is coming along nicely and it is flowering, there is a slight smell but it is not too strong. Last week I had switched the nutrients to 1-2-3 ratio.. I do not do any weaning there is no need.
I allow the plant to use up the majority of the nutrients and then readjusted it for flower, there is no reason to waste any water unless there is root problems or root debris.. you can solve this by getting a two-dollar fishnet from your local pet store.
I did notice that from boosting the nutrients to a high level that the strain has met its limits at 700 PPM the tips started to curl, I corrected this a day later by removing 4 gallons of solution, and re-diluting the correct amount. Please keep in mind that there have been zero fluctuations in pH during this whole grow the plant's routing system has reached homeostasis. The chemicals that I am using have adjusted the H2O to a perfect 5.8 to 5.9 pH. I am still spraying the plants with diluted Epson salts for magnesium. As well as adding it to the root system. I do not check EC unless I see severe problems in leaves.


Likes
6
Share


@Kannamar
Follow
Well that was a special day, it always make me sad in a way, but this time, I enjoyed the moment a lot.
As I wrote in a reply to a comment, things can always be better, and they are with good decisions at the right time.
These are the smallest and the biggesr plant, one seed didn't germenated and that's why I had to put a Red Gorilla.
Not sure I will try a main mlinning on auto flowering strains any more.... but I think I did it wrong, first I took the one that seemed less strong for the experiment, and having 2 other plants to compete for lights.
FIM is definetly a technique I will reuse if needed.
It's so nice to have these genetic contrasts, colors, aromas, shapes.
Many thanks for all the help you gave, precious.
19/04/2024 lower popcorn buds seems dried already! But still branches don't crack on bends. Will check again on Monday.
I finally have received, lately a portable microscope, will be more ususeful next year! But this confirms that lower buds might have need more maturity but did the choice to not over complicate by harvesting in 2 times, my indoor tent is also my drying tent, and I wouldn't have any other place to dry the upper buds separetly while allowing the remaining to harvvest with more maturity.
In general I think I might have began the Final part too early.
BTW, we smoked the popcorn bud, and it's very promissing, we liked it.
Likes
4
Share


@Xabii
Follow
The seeds that I thought I found were a false alarm, looked a lot like seeds built up and was super hard in texture but this week it popped and it was just some weird foxtailing I guess.
Trichomes are about 20% clear 60-70% milky and very few ember.
Very certain that I will chop her next week, this time for real.
This grow is a rollercoaster of emotions, that is for sure.
Values are average of the day.
DATE - EC(us/cm)
20250604 1559
20250605 1588
20250606 1610
20250607 1630
20250608 1654
20250609 1668
20250610 1722
DATE - PH
20250604 5.86
20250605 5.86
20250606 5.85
20250607 5.85
20250608 5.85
20250609 5.85
20250610 5.86
DATE - ORP (mV)
20250604 151
20250605 217
20250606 241
20250607 248
20250608 237
20250609 235
20250610 224
DATE - °C - RH% (Tent Temp/RH)
20250604 25.6 48
20250605 25.4 53
20250606 25.2 53
20250607 24.7 55
20250608 24.5 54
20250609 24.2 48
20250610 24.8 52
DATE - °C (Reservoir)
20250604 21.5
20250605 21.5
20250606 21.3
20250607 21.0
20250608 20.8
20250609 20.2
20250610 20.8
DATE - CF
20250604 15.59
20250605 15.88
20250606 16.10
20250607 16.30
20250608 16.54
20250609 16.68
20250610 17.21
Likes
7
Share


@Leofongrow
Follow
29/10/2018 Girls looking awesome, I named them Piggy sisters.
31/10/2018 Ripen nutes bath (5mlL Ripen, 1mlL greenfuse bloom, 1drop4.5L SuperVit)
02/11/2018 Poored girls with solution (5mlL Delta Nueve, 2mlL Ripen, 2drop6L SuperVit)
