Likes
7
Share
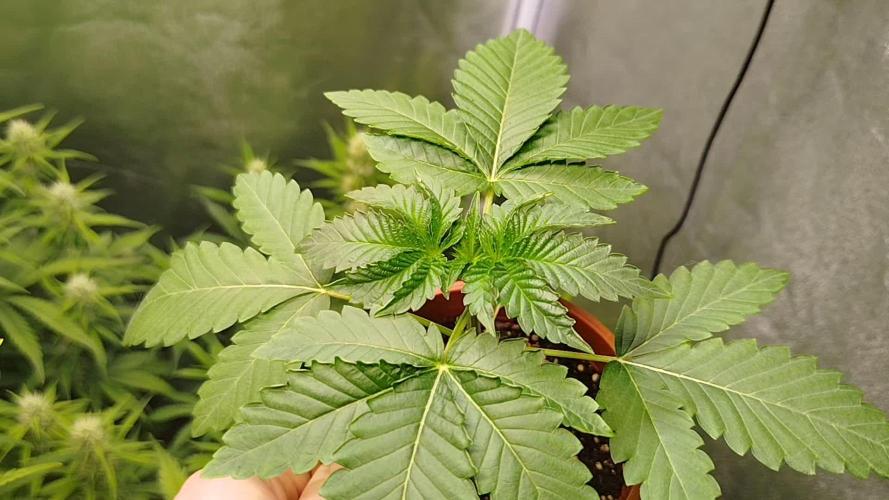
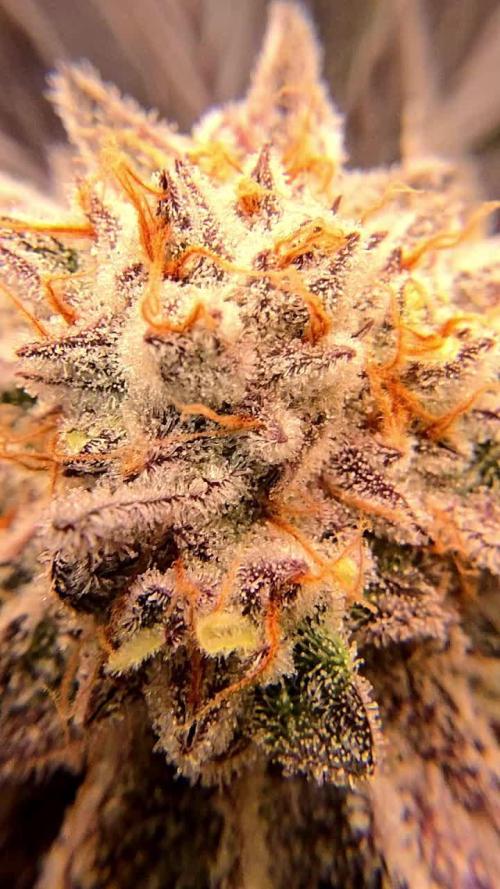
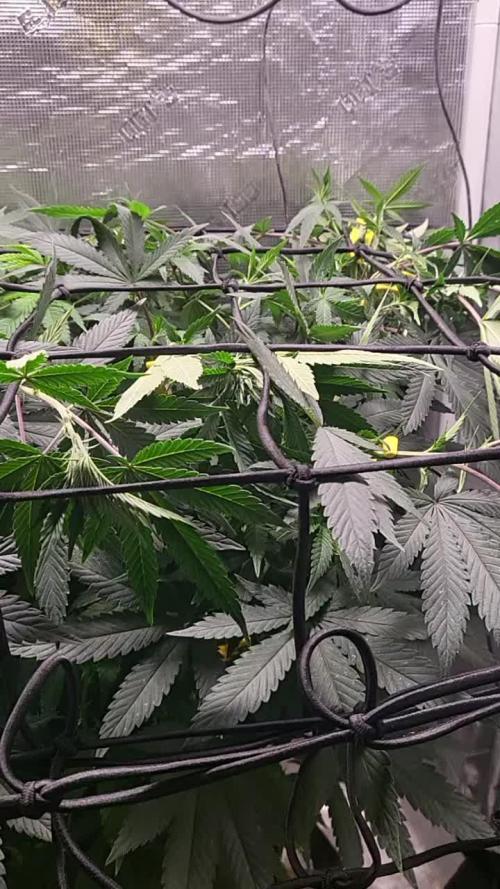
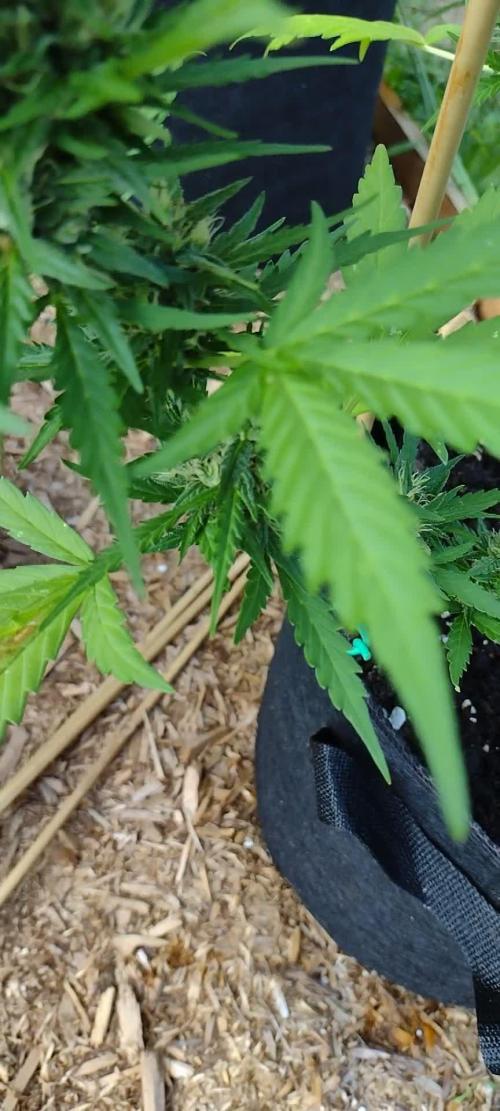
Era pra ser duas plantas, tinha espaço coloquei mais uma , elas estao com uma semande diferença entre elas , da para perceber os estágios nas fotos.
Likes
8
Share
Hello everyone, brother gardeners. I had to skip a couple of weeks because unfortunately some content was lost due to a device out of order, but I managed to save the last few weeks stay tuned for the harvest
Likes
44
Share
**Encontrarás la traducción a español al final de la descripción** From/Desde: 10/05/19 || To/Hasta: 16/05/19 From day/Desde día: 78 || To day/Hasta día: 84 You can find the Money Maker Diary here: ** Podéis encontrar el diario de las Money Maker aquí:** https://growdiaries.com/diaries/25667-gorillamakingmoney-gorilla-vs-money-m -----IMAGES & VIDEOS----- 5 - HomeMade Organic & Cheap CO2 generator (more info in week summary) 9, 10, 11 & 12: The bud on the right is a Gorilla one, the buds in the left or/and in the middle are Money Maker ones. 15 - Same Gorilla plant buds, one affected by CO2 in the roots and the other not. -----WEEK SUMMARY----- The smell is more sweet and intense every day, friends that came home turned them eyes into crystals when they see this little babys. The size isn't awesome, but the high ammount of buds full of crystals plus the strong sweet aroma makes them awesome. Buds are growing and fattenning very very well. This week i added a boost of HomeMade CO2, i never measured the results of this invention so i can't give CO2 measurements. This method is widely used in home aquariums and there is where it comes from. For those interested i'm going to write here more detailed instructions. The 4 liters i've made will last for about 2 weeks. ---NEEDINGS--- - 250 ml Bottle - 6~10 l Bottle - 400 g Sugar / l water - 1 Envelope of organic baker's yeast / l water (CHEMICAL WILL NOT WORK) - 3 mid plastic tubes 40~50 cm - 1 short plastic tube 5~6 cm - 4 tube adapters - Hot glue to seal adapters The process of creating CO2 is simple, mix water, organic yeast and sugar in a bottle, and the sugar will free CO2 in the process of fermenting to alcohol due to the yeast. 1. Make a hole in the center of the big bottle cap, insert an adapter and secure it with hot glue 2. Make 3 holes in the small bottle cap and glue the other 3 adapters 3. Link both caps with one of the mid tubes and insert the other tubes on free adapters 4. Insert a short tube in the bottom of the small cap in the adapter that came from the big cap 5. Watch the Video!! -----WATERING CALENDAR----- Plants are beginning to drain the pots a bit faster so from now on i will raise the water ammount on each watering day 0.25 l. 11/05/19 - 1,5 l with All week nutrients -(Nirvana & Blombastic) also Big Bud half dosed @ PH6.4 & 2 E.C. 14/05/19 - 1,5 l with Bud Candy, Big Bud, Nirvana, B52, Bud Factor-X, Sensizym & Blombastic @ PH6.4 & 1.5 E.C. *****ESPAÑOL***** -----IMÁGENES Y VÍDEOS----- 5: Generador de CO2 casero, barato y orgánico (más info en el sumario semanal) 9, 10, 11 & 12: El cogollo que sale a la derecha es de una Gorila, el de la izquierda y/o el de en medio son de una Money Maker 15: Dos cogollos de la misma planta, uno afectado por CO2 en las raíces y el otro no -----SUMARIO SEMANAL----- El olor es más dulce e intenso día a día, los amigos que vienen a casa a verlas se quedan ojipláticos al verlas. El tamaño no es una maravilla, pero la gran cantidad de cogollos llenos de cristales añadido al aroma que entra por las fosas nasales las hacen increíbles. Los cogollos crecen y engordan de maravilla. Esta semana he añadido un boost de CO2 casero, nunca he hecho mediciones de los resultados por lo que no puedo darlas. Este método es ampliamente usado en peceras caseras y de ahí saqué la idea. Para aquellos interesados dejo aquí instrucciones más detalladas. Con los 4 litros de agua que he preparado yo da para unas 2 semanas. ---NECESITAMOS--- - Botella de 250 ml - Botella de 5 a 10 litros - 400 g de azúcar por litro de agua - 1 sobre de levadura de postre orgánica (LA QUÍMICA NO FUNCIONARÁ) - 3 tubos de plástico de tamaño medio 40~50 cm - 1 tubo de plástico de tamaño pequeño 5~6 cm - 4 adaptadores para los tubos - Cola caliente para pegar y sellar los adaptadores El proceso de generar CO2 es simple, mezcla agua, levadura orgánica y azúcar en una botella, y el azúcar liberará CO2 en el proceso de fermentación a alcohol. 1. Haz un agujero en la tapa de la botella grande, inserta un adaptador y séllalo con cola caliente 2. Haz 3 agujeros en el tapón pequeño y haz lo mismo con los otros 3 adaptadores 3. Conecta los 2 tapones con uno de los tubos y conecta los otros 2 tubos a los adaptadores restantes 4. Conecta el tubo pequeño en la parte libre del adaptador del tapón pequeño que viene del tapón grande 5. Mira el vídeo -----CALENDARIO DE RIEGO----- Las platas comienzan a secar los tiestos un poco más rápido, asi que de ahora en adelante incrementaré 250 ml de agua adicionales en cada riego. 11/05/19 - 1,5 l con todos los nutrientes semanales -(Nirvana & Blombastic) BigBud mitad de dosis @ PH6,4 & 2 E.C. 14/05/19 - 1,5 l con Bud Candy, Big Bud, Nirvana, B52, Bud Factor-X, Sensizym y Blombastic @ PH6,4 & 1,5 E.C.
Likes
155
Share
@deFharo
Follow
Bienvenidos cultivadores de marihuana clandestinos y también a los que tienen la fortuna de no serlo!🖐️👨‍🌾👍 Este es un relato semanal de técnicas, experiencias de cultivo y Bio preparados orgánicos caseros, los cuales llevo experimentando dos años en cultivos de marihuana interior. Esta semana voy a escribir sobre: CARBÓN VEGETAL ACTIVADO CON MICROORGANISMOS DE MONTAÑA. esta es una práctica avanzada pues al menos se necesita tener el inóculo sólido de Microorganismos de Montaña (MMS), aunque al final intentaré dar otras opciones para aquellos que no tengan MMS. Puedes consultar en la semana 3 la manera de hacer Microorganismos de Montaña Sólidos (MMS): https://growdiaries.com/diaries/134104-grow-journal-by-defharo/week/725879 El carbón vegetal es un excelente componente para toda clase se mezclas de sustrato, tiene varias propiedades muy interesantes, ayuda a la estructuración del suelo y la creación de humus, es un regulador térmico en lugares fríos, favorece la expansión de las raíces y su estructura de microporos promueve la retención de humedad y nutrientes, se dice que en 1cm cúbico de carbón puede contener de 8 a 30 millones de Microorganismos. Y es precisamente la propiedad de retención de humedad y nutrientes, de la que se aprovecha esta práctica. El carbón vegetal llamado "activado" que se usa en filtros de agua o aire, tiene mala fama entre los aficionados a las peceras, porque se dice que roba nutrientes, principalmente Nitrógeno, esto tiene una explicación y no es un problema para cultivo en macetas, el carbón seco tiende a absorber humedad y los nutrientes que se encuentra en el sustrato o en los riegos, porque es muy poroso, y de repente, tiene que saturar todos sus microporos, pero esto apenas va a tener incidencia en un cultivo. En mi caso lo que hago es mezclar el carbón con los Microorganismos Sólidos y después lo humedezco con agua y melaza para activar la Microbiología del inóculo, dándole la energía necesaria, de esta manera tengo un carbón inoculado con Microorganismos de Montaña, y una vez en el sustrato, con humedad, estos MM, se propagarán. En este caso el carbón, de momento, no captura nutrientes porque está saturado, pero después de unos riegos, será la casa perfecta donde los Microorganismos y los nutrientes convivirán ofreciendo una fuente extra de nutrientes, para que las raíces se alimenten en periodos de escasez de alimento o humedad. Supongo que quien tenga inóculos bacterianos comerciales, podría usar esta práctica para multiplicarlos. INGREDIENTES BÁSICOS: Agua pura: 500ml Carbón vegetal, para usarlo en macetas conviene que los trozos de carbón no sean grandes. 750 gramos. Melaza: 75g Microorganismos de Montaña Sólidos (MMS): 225g PROCEDIMIENTO: Se mezcla el carbón y los Microorganismos sólidos. Se disuelve la melaza en el agua. Se humedece el carbón lentamente, mezclándolo bien, porque el carbón vegetal puede almacenar mucha humedad y necesita tiempo para saturarse. Se guarda a oscuras durante un mes en un recipiente cerrado. Hasta aquí la fórmula básica, yo hago algunos añadidos, como se puede ver en las fotos. Añado 260g de Leonardita, que es un carbón vegetal con millones de años y en el proceso de convertirse en mineral, aunque todavía no lo es, es además, la mayor fuente de ácidos húmicos y comparte las propiedades del carbón. Añado Microorganismos de Montaña Activados (MMA) de forma líquida para aumentar la inoculación de microbiología, también un lacto fermento de frutas que aporta muchas vitaminas, nutrientes y enzimas... en la última foto se ve el recipiente después de un mes. Siguiendo el principio de saturación previa de los poros del carbón, para mezclas de sustratos, y sin tener acceso a microbiología, se podría, por ejemplo, saturar el carbón con alguna mezcla nitrogenada para el comienzo del cultivo, después el carbón seguirá cumpliendo sus funciones de estructuración de suelos, creación de humus y para retener humedad y nutrientes. Hasta la próxima... SALUDOS A TODOS LOS CULTIVADORES... 🖐️👨‍🌾
Likes
10
Share
This week I didn't fill the reservoir, so they were still using the solution from the last week and then the remaining moisture from the soil. I spotted some sus looking parts in the Glookies and since it looks done and started fading very quickly once the reservoir was empty, I decided to chop it on day 70F (first day of week 19). The others, especially the GMO, look like they can keep going a bit longer, so I gave them a watering directly into the pot.
Likes
27
Share
Gave this girl a big defoliation mid week, I mean really went to town on her stripped off nearly every leaf an she’s bushed out with in a couple days still going strong 💪🏽 on the nutrients an she’s still glugging them down 🤤🔥💨🌴👍🏽Happy growing peoples stay happy 😁👊🏽
Likes
9
Share
@Drtomb
Follow
Started these gals into the flush cycle. Straight water until they are ready, about 1-2 weeks max before take down. The end is near. The plants will continue to swell as they ripen.
Likes
6
Share
Die Naughty Dawg zeigt eine starke Performance. Nach der Umstellung auf 12/12 hat der Stretch begonnen, wobei die Pflanze durch das vorherige Training eine hervorragende Form aufweist. Das Blätterdach ist schön gleichmäßig entwickelt, was eine ideale Lichtverteilung bis in die unteren Bereiche ermöglicht. Die Internodienabstände sind stabil und die allgemeine Vitalität verspricht einen erfolgreichen Übergang in die generative Phase.
Likes
24
Share
SWISS DREAM ROSE 🌹 CBD AUTO KANNABIA SEEDS WEEK #11 Overall Week #8 Flower This lady is Beautiful she really stands out with her amazing purple buds covered in trichomes she's definitely gonna get your attention and catch your eye!! Stay Growing!! Kannabia.com SWISS DREAM ROSE 🌹 CBD AUTO
Processing
Likes
13
Share
@GeOMaTTiC
Follow
Figured I would start a part two, since GD doesn't go further than 32 weeks. I only have about 6-8 weeks left, so this won't be a long one, but it will be detailed.
Likes
52
Share
@Roberts
Follow
FBT2403 has a sweet fruity smell. I did a solution change on her today. She had minor damage due to ph jumps. So I figured she was ready for a fresh mix to bulk on. She is growing good outside of that ph issue. A few more weeks and she will be ready for harvest. Thank you Agrogardens, Medic Grow, and Fast Buds. 🤜🏻🤛🏻🌱🌱🌱 Thank you grow diaries community for the 👇likes👇, follows, comments, and subscriptions on my YouTube channel👇. ❄️🌱🍻 Happy Growing 🌱🌱🌱 https://youtube.com/channel/UCAhN7yRzWLpcaRHhMIQ7X4g If anyone needs to purchase fastbuds here is a link for my affiliate program https://myfastbuds.com/?a_aid=60910eaff2419
Likes
18
Share
Long time connoisseur, 1st time grower. I started thinking I wanted to do outdoor, but where I live, it’s pretty cool until almost mid June. So in July I committed to indoors, and have been slowly figuring it out, while consuming TONS of content and advice from forums. High Hope’s! 😎
Likes
23
Share
little bit of yellowing on a couple bottom leaves going to give some cal/mag and see if that helps have been slowly clipping leaves off the plants as needed trying to keep from stressing her out so i have been tucking when i can
Likes
44
Share
@RakonGrow
Follow
Note : jegliches Zubehör wird in der GermniationsWoche aufgelistet . Day 29: + PPFD 550 * 20h = DLI 39.6 + Flaschenwasser mit Canna-Boost 1.5Liter Die war komplett Trocken ... kaum zu glauben lol Day 30: Sie alles recht normal aus . Es entfaltet sich noch . Day 31: + Flaschenwasse 2L EC 0.26 PH 7.3 + + mit Dünger EC 0.7 PH 5.7 + Drain 0.25L mit EC 0.9 PH 6.8 Fazit : ich übe noch mit dem Dünger und dem "zuviel" an Urgesteinsmehl :)) Day 32: Das Wetter ist eine Katastrophe . Draussen ist es 21°C mit 90%rH . Hier drinnen sind es im Zelt 26°C und 67%. Im GrowRoom ,also praktisch meine 1 Zimmer Wohnung mit 2x2m Niesche hat so 25.5°C und 60%rH. Luftentfeuchter läuft , sonst geht hier gar nichts, aber der produziert Abwärme . Will ich nun kalte Luft von draussen wirds hier mit 77%rH geantwortet aber die Temperaturen gehen runter :)) Lass ich es bleiben und entfeuchte , ich habe eine undichte Hütte was die Luftfeuchtigkeit betrifft , dann steigt die Wärme wieder . ES IST EIN TEUFELSKREIS :)) Aber wie gut das ich weiss das auch die ganzen CSC's und auch die Profis ihre liebe mühe haben die Temp und Luftfeuchtigkeit zu regeln . Und nein , ich werde mir keine Klimanalage einauen die beides regeln kann. Ich wollte nicht ewig viel Geld für das Gras ausgeben :)) Also liebe Brüder und Schwester des gepflegten Ganja komsumes und Produzenten , wir sitzen alle im selben Boot . Und jeder versucht der beste Kaptain zu werden :)) P.S. ich weiss, ein neues Bott wäre gut :) Aber dadurch ändert sich nicht das Meer :)) Day 33 : Das Spiderfarmer Zelt 70x70x140x200cm ist fertig und Einsatzbereit . Meine kleinen Zwerge ziehen um . Im großen Zelt läßt sich die Luftfeuchtigkeit und Temperatur besser regeln. Klingt komisch , ist es auch :)) Aber Ihr müsst auch nicht in denkbar schlechtester Bausubstanz leben und gärtnern :)) Day 34 : + Flaschenwasse 2L EC 0.26 PH 7.3 + + mit Dünger (Terra Vega 3.8ml/l , Rhizotonic 2.0ml/l , Boost 2.0ml/l , CannaZym 2.5ml/l ) = EC 0.7 PH 6.5 + + Final PH 6.1 Nach einigen Problemen mit der Abluft und der Umluft und die Luftfeuchtigkeit , versuchen die Zwerge sich jetzt im neuem Zelt zu aklimatisieren . Ich drück die Daumen . Day 35: Die Düngung war genau richtig . Meine Luftfeuchtigkeit geht auch . Temperaturen sind etwas hoch . Aber Sie entfaltet sich . Videos gibts heute Nacht. P.S. Da ich mal wieder zu schusselig bin eine Zeitschaltuhr und das Sanlight DIM System richtig zu nutzen , haben wir ein paar Lichtaussetzer gehabt , somit sind nicht an allen Tagen 20h Licht . In der nächsten Woche kommen 18h * PPFD 750 + 1h sonnenaufgang und + sonnenuntergang wird zu DLI 46.29 was etwas über das Limit von 45.00 geht . Schauen wir was passieren wird :))
Likes
8
Share
@Northfork
Follow
9-21-25 Apple fritter is doing great can’t wait for her to finish.
Processing
Likes
16
Share
@Andres
Follow
they are taking shape in their flowering but one of them requires urgent nutrients ... tomorrow comprare.biobizz ... although I am finding that I only use organic material ... she needs it .. I hope that my work trips do not affect my babies.... the other pack its height is 160 cm
Likes
150
Share
I am glad to welcome you again from Russia, my friends from different parts of the world. I thank everyone who follows my progress or subscribes to my diary. Your support and attention motivates me to do better and more beautiful. In my tent came 14 week Neville Haze Auto. This plant is great for commercial secret cultivation in the room, as it has almost no smell. Maybe I will grow this cannabis variety again on a large scale. But it requires a lot of patience and work in terms of trimming and LST training. Since I still have marijuana and a bit of Afghan contraband hashish, I decided to give my girls an extra week of life. My girls ' puberty is coming to an end, but has not yet reached its peak, as there are still light hairs. The smell of those girls doesn't bother me at all. So let them live another week, and I will smoke the works of Afghan planters. Soon I'm planning a new diary. Until next time, good luck!
Processing
Likes
11
Share
Love this 1st grow. Even though its small. Hope I got good weight out of this. Smells great whenever I open my cupboard. Cant wait for my next grow green gelato auto. 😁