Likes
Comments
Share

@I_roll_my_own_420
Follow
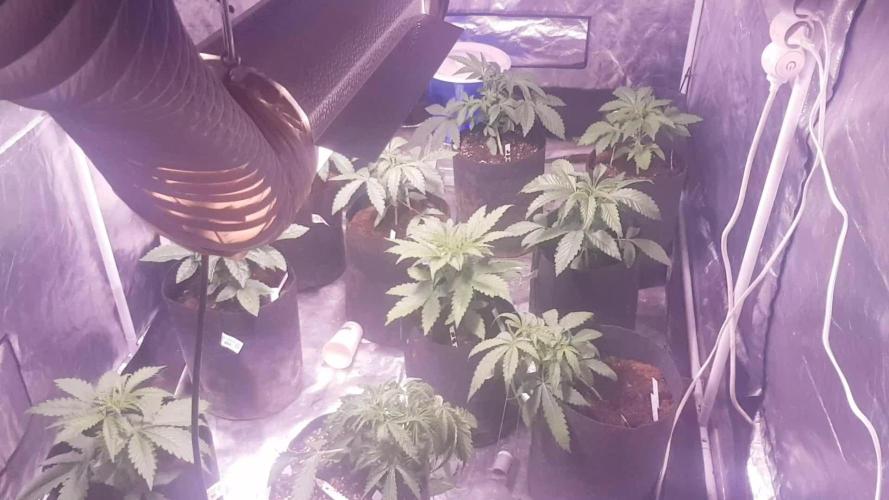
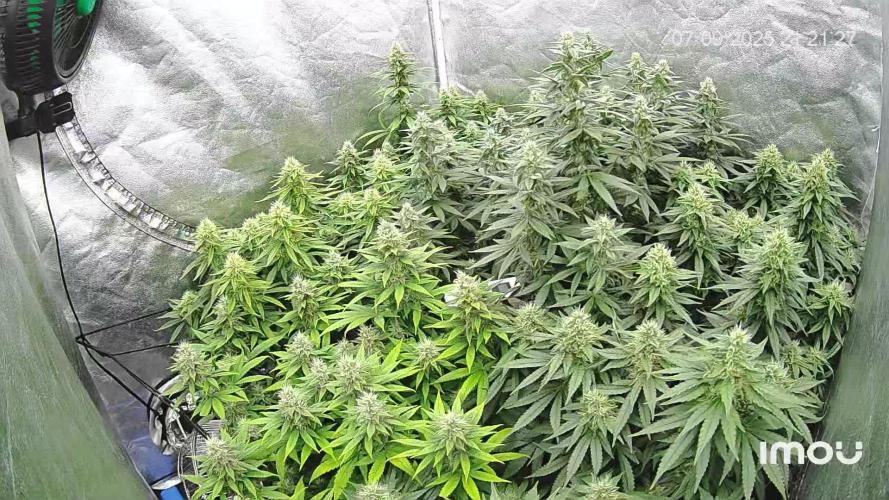
I have changed nutrients to Advanced Nutrients.
Plants are watered automaticly 2x a day. 0.5L each watering. Humidity is around 41%.


Likes
93
Share


@Natrona
Follow
FBA2502 Plants 1-6
Week 7 May 11– 17
FLOWER 3
Nutrients :
Micro 25 ml
Gro 10 ml
Bloom 30ml
CalMag 30 ml
Recharge 10ml
Green sensation 16.5ml
Power buds 7.5 ml
5/11 PH 6.56, PPM 1560, temp 69
2ltr each
5/12 PH 6.31, PPM 1120, temp 68
1 ltr each
5/14 PH 6.66, PPM 1280, temp 70 1 ltr each
5/15 PH 6.66, PPM 850, temp 72 1 ltr each
5/11 Defoliation, feed, pics & videos
I made 4 gallons, used 3 to water then poured the runoff back into the rest in the bucket. The next feeding, I added a gallon of tap water to residual and ph to 6,31 temp 69 & PPm 1120. Did the same on 5/14 and 15 using up the remainder of the feed solution.
I must monitor and control the tent environment manually. For the past month, the humidifier has been an issue putting out way too much humidity; often leaving water in the bottom of the tent. In addition, the temperatures are also out of control. I added an AC last week to keep the temperature below 80. I finally determined the exhaust vent is also broken and has been for some time.
I have been giving good reviews on the AC infinity system. However, during the time I’ve owned this tent (2 yrs), I had to replace the lights twice, fans, humidifier and now the vent twice also. Everything but the tent containment has been replaced. AC infinity does stand by their products, but they are in California, and it takes at least 2 weeks to receive the replacement. This is extremely frustrating at the critical transition to flower for my equipment to fail again. For the time being until a replacement arrives, I pulled the 4” exhaust vent from my 3x3 and hooked it up. I have the AC pushing air in and the exhaust pulling air out. This should create a neutral pressure tent environment-neither positive nor negative. I do have 3 circulating fans in the tent to move air around the plants.
It looks like growth spurts have slowed and plant height has been reached. Now is the time for buds to fatten and frost up. All of them (6) are short remaining less than 3 ft. They range from 15 to 31 inches. The tallest #4 &5 and #6 have very light leaves and appear nutrient deficient compared to the shorter phenotypes. Pictures taken later in the week show fading on a few the older leaves. All are receiving the same solution and are in the same soil blend. Moving the gals in and out of the tent for their glamor shots, I bent one limb and snapped another. The bent one I taped with a splint and the snapped one I medicated manuka honey and wired it back to the main stalk.
Leaves look like sativa leaning. I hope FBA2502-2 is a good daytime. I’m getting excited to see what develops in the next month or so. News Break: I’ve been informed that 2502 is FastBuds New Frostbanger and is indica for nighttime. I’m disappointed that I didn’t get a sativa to test because I really need a daytime strain. The 2 Blue Cheese plants I just grew are also nighttime.
Upon opening the tent, a faint odor was detected, and some stickiness was observed during the process of defoliation. Pictures of the puffy buds even show differences. #4 &5 buds hairs are different from the others being crinklier and the others are straighter. Some like #2 &5 are showing frost on the leaves. Wow at the beginning of flower to have that much frost. They are living up to the new strain’s name.
I’ve noticed that when I water, sometimes water shoots out of the side holes I the air pots. I will pack the soil firmly into the sides for future runs.
Measurements:
#1 15”
#2 20”
#3 17”
#4 30”
#5 31”
#6 24”
Your likes and comments are appreciated. Thanks for stopping by.
Growers love 💚🌿
💫Natrona💫
Likes
10
Share


@Aekarath
Follow
ช่วงนี้เป็นช่วงที่น่าตื่นเต้น เนื่องจากต้นได้กลับมาฟื้นปกติ ผมได้ย้ายกระถาง กระถางใหญ่ 5 แกลอน แต่ผมใส่ดิน 5 กิโล เลยอยู่ประมาณ 3 แกลอน นะครับ ให้ปุ๋ยปกติ แล้วก็น้ำ 1 ลิตร ทุกๆครั้งที่หน้าดินแห้ง

Likes
7
Share


@Guerillafarm
Follow
Day 94 Harvesting and making Hash with the cut leaves.
5weeks of veg and 9,5weeks of flowering
Pot size 6L


Likes
92
Share


@DogDoctorOfficial
Follow
Week 6 Flower Report: Maturation in Full Swing!
🌟 Welcome to the week where the magic of maturation takes center stage! 🌟
The garden has reached a pivotal moment as the trichomes are bursting with potential. Each one a glittering universe, they are the undeniable stars of this show, taking over every surface with their frosty brilliance. ✨ Watching them evolve is like witnessing art being created in real time – it’s a reminder of the beauty and patience this craft demands.
Trichomes: The Frosty Frontier
This week, the focus is all about those frosty beauties!
• Trichomes are the key indicators of ripeness and cannabinoid production. Watching their progression from clear to cloudy to amber provides the ultimate insight into maturity.
• Currently, we’re seeing a fantastic mix of cloudy trichomes with some clear still hanging around – a perfect sign that they’re gearing up for their final push.
• Fun fact: Trichomes serve as the plant’s natural defense mechanism, protecting it from UV rays and pests while being our treasure trove for cannabinoids and terpenes.
Spectrum Tuning: The Science of Light
Light plays a major role in shaping the maturation process, and this week, we’ve dialed in the spectrum for optimal results. Here’s the breakdown:
• Whites: Running at 77% to maintain robust overall growth and trichome density.
• Deep Reds, Far Reds, and UV: Maxed out at 100% to mimic the end-of-season spectrum, signaling the plants to finish strong.
• Deep Reds: Enhance photosynthesis efficiency through the Emerson effect.
• Far Reds: Promote stretch and flowering hormone production.
• UV: Stimulates trichome production for an extra boost of frost!
We’ve also added a timing twist:
• Reds & UV start 15 minutes before whites to simulate sunrise.
• Reds & UV finish 15 minutes after whites to mimic sunset, creating a more natural light transition.
These subtle timing tricks help reduce stress while optimizing light absorption, ensuring every photon counts! 🌞
Environmental Conditions: Precision is Key
Here are the dialed-in parameters for the week:
• Temps: 26.3°C
• RH: 70.1%
• CO2: 800 ppm
• VPD: 1.03 kPa
With these numbers, the ladies are thriving in their sweet spot, absorbing nutrients efficiently while maximizing trichome development.
Lighting Power:
• Lower layer at 800 PPFD and the upper layer shining bright at 1500 PPFD. The canopy coverage is perfect for even development throughout the garden.
Nutrition: Balanced and Boosted
We’ve stuck with the tried-and-true nutrient mix this week but with some strategic adjustments:
• Removed Breaking Powder to focus on trichome maturity.
• Introduced K-Boost at 0.5 ml/L, giving the plants the potassium edge they need to pack on weight and enhance terpene production.
• Feeding solution details:
• pH: 6.2
• TDS: 755 ppm
• Temp: 20.6°C
In the Autopots, the medium stays perfectly hydrated at 100% with:
• TDS: 580 ppm
• Temp: 22.2°C
Shoutouts and Gratitude
A huge shoutout to the amazing genetics and these incredible ladies, and a big thanks to Trol Master, Aptus Holland and Pro Mix for the stellar products that are elevating this grow to new heights! 🌱💪
To all growers out there, remember: Patience is the secret ingredient. Watch, learn, and trust the process – the results will always amaze you.
Here’s to another week of growth and gratitude. Onwards to Week 7 with hearts full of joy and gardens full of frost! 🌟💚
Growers Love,
Your Grateful Gardener
Discount Codes so you can save big on your next check out 💚💚💚
Kannabia - DOGDOCTOR 30% off
SeedsmanSeeds - DOGDOCTOR 10% off
CannaKan- DOGDOCTOR 15% off
terpyz.eu - DOCTOR 15% off
The Neutralizer - PORKIT5-DOG 15% off
Fast Buds - DOGDOCT 15% off
As always thank you all for stopping by, for the love and for it all , this journey of mine wold just not be the same without you guys, the love and support is very much appreciated and i fell honored and so joyful with you all in my life 🙏
With true love comes happiness 💚🙏 Always believe in your self and always do things expecting nothing and with an open heart , be a giver and the universe will give back to you in ways you could not even imagine so 💚
Friendly reminder all you see here is pure research and for educational purposes only
Growers Love to you all 💚💚💚


Likes
37
Share


@MrJones
Follow
Cream Mandarine XL-Auto #2 / FOOP Nutrients
======WEEKLY GOALS =======
🌞Environment - 80F and 50%Humidity - using Humidfyer as needed.
💧 Feeding - Feeding with FOOP Canna Organic Nutrient Line
🍃Training / Keeping Stems Stable and Strait
🕷️ IPM - Will be using Green Cleaner" 1 OZ per Gallon, and CannControl from Mammoth alternating between product each month for Integrated Pest Management.
🔅 Vegetation & Flower Kingbrite 240W QB288 v3 LM301H 4000k+ 660nm Red x2 - Maintianing 575 PPFD
========Plant Update===========
🌱 Plant - Week 6 started today, the plants are doing great very healthy, will need to do another IPM treatment in the mornting.
===========================
▶️Monday 03.29.21 / These girls are re well into flower, they are soundly in the 9/10 week glide path, they should start building up this week, may need to remove a few more leaves.
▶️Tuesday 03.30.21 / These look great every day, and have gotten too tall!! Feeding about 30 ounces per day.
▶️Wednesday 03.31.21/ Decided to cut the FOOP to 60%, feeding 30 ounces per day.
▶️Thursday 04.01.21 / Decided to cut the FOOP to 60%, feeding 30 ounces per day.
▶️Friday 04.02.21 / Decided to cut the FOOP to 60%, feeding 30 ounces per day.
▶️Saturday 04.03.21 / Decided to cut the FOOP to 60%, feeding 30 ounces per day.
▶️Sunday 04.04.21 / Decided to cut the FOOP to 60%, feeding 30 ounces per day.
Likes
9
Share


@LoSBigBlue
Follow
Week 2 Day 1 - She was ready for some water this morning, 500mL pH?, Week 2 BioBizz sched @ .25%. Yeah the question mark after the pH is not a typo, hung over from a going away party last night I totally spaced checking the pH. Oh well should be alright, I hear that with organics it is not that big of an issue but I still want to be in the 6.2 ballpark, I know my tap water runs about 7.4ish so thats what she got plus or minus whatever the BBzz contributed.
So 3 hours after lights on she is looking just fine, a bit droopy but she always is after her 4 hour dark period. 6th set is on its way and plenty of growth is popping out in the lower branches. If there is an issue with the pH blunder I think it would of shown by now, 12 hours later.
Week 2 Day 2 - doing fine, she will be ready for transplant tomorrow into the 7 gal.
Will be hanging the insulation today which will be a huge help to the electric bill, currently able to maintain 25C° in the tent, 21C° for the room with the AC set to 18C°, RH running 55%, lights 500µmol / 36DLI
Week 2 Day 2 PM - Decided to transplant this evening, she was in need of a drink. Into the 7G she goes, 1000mL 6.2pH. Her rootball looked very healthy so I am very pleased with the results of transplanting an autoflower, now twice.
Day 3 - Looking good this morning, a bit droopy perhaps from her new home and that she is a bit dry so 1000mL 6.2pH water she got. 28C° 60%RH 565µmol 40DLI.
Her lime essence is really putting out now, smells awesome!
Week 2 Day 4- She is really doing well, taking in 1L per 24hrs at the moment. Started LST today.
Day 5 - She had another LST session today and the usual 1000mL she has been taking daily lately, this time another round on BioBizz WK2 @.25%, 6.3pH
Week 2 Day 6-7
Day 6 was a rest day for her, been through a lot this week and her vigor was slowing a bit. She got transplanted, started LST, and got 2 doses of BioBizz WK2 @.25% this past week.
Day 7 the new growth as a result of the LST is coming along nice.

Likes
11
Share


@Chow_13
Follow
Aug 19 - Temp(High/Low) 29/17 Rain(mm) 0.0
Aug 20 - Temp(High/Low) 30/18 Rain(mm) 0.0
Aug 21 - Temp(High/Low) 29/19 Rain(mm) 8.9
Aug 22 - Temp(High/Low) 27/20 Rain(mm) 0.8
Aug 23 - Temp(High/Low) 24/19 Rain(mm) 0.0
Aug 24 - Temp(High/Low) 28/17 Rain(mm) 0.0
Aug 25 - Temp(High/Low) 24/18 Rain(mm) 0.0
This week she is starting to show some purple. Buds are looking nice. Its been hot and humid all week.
Likes
16
Share


@Jungle_James_Grows
Follow
Just molasses and ph'd water she nice and cloudy but no amber's yet. Be another week till the chop.
17/1 chopped her tonight she had 24 hours of dark before the end.
Likes
16
Share


@JohnnyBlaz3
Follow
CLOSE!!!!!! she is absolutely friggin caked with trichs!!!! just need her to plump up a little so we got some weight to her but she definelty looks potent af!!!!! only issue this run really was the stretching. I have a theory about why this happened and will test it out next crop, got the next ladies germed up already. I think removing the third fan allowed it to be to calm in there and the ladies to stretch more, this is just a theory i'll test out. If i had the space, i wouldnt mind the stretch but being in my little 5.5 x 5.5 tent i cant waste any space!!! am i going to break the tent record of just under 800 grams dried? probably not lol but lets hope for 600+


Likes
5
Share

@GrowWithFlow
Follow
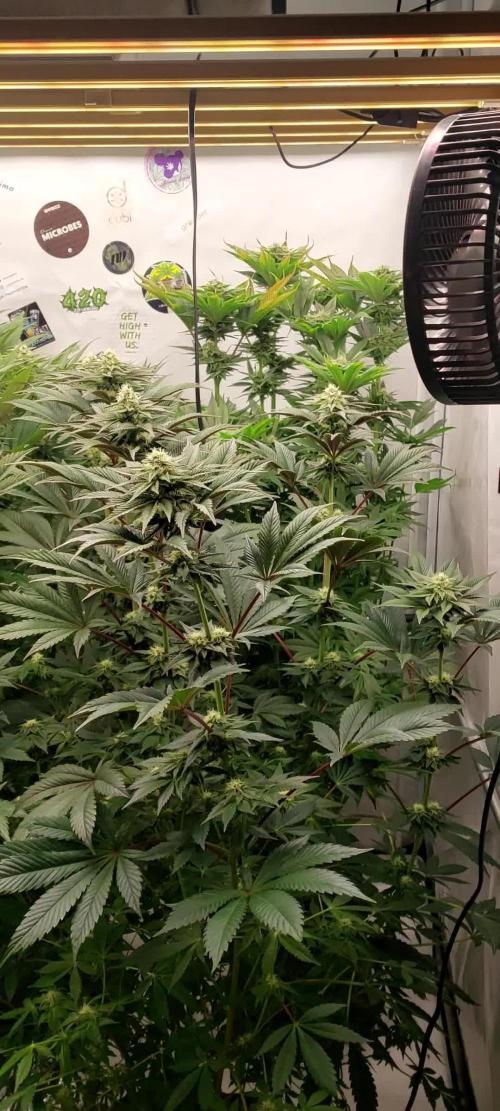
So far so good 👍 in front permanent Marker x Tropicana Cookies, back left - Mental Rainbow F1 Fast Flowering, back right - Hindu Z Valley.
Permanent Marker x Tropicana Cookies starts to stacking up and she starts to purpz.
Mental Rainbow is a absolutely beast 💪 , for end of flower week 5 she have huge colas . She starts to purple to . The craziest thing on her is the smell . Wow she smells pure like mango . And yes she is super super fast . Need her again .
The Hindu Z Valley is stacking up to but she have a bit problems. But I the same problems with this pheno before. And I don't know how to handle her . Shit happens....
All in all I'm happy and let's see how they will perform the last week's.
Big Bigger Aptus @aptusholland 🌱💚🤝
Processing
Likes
16
Share


@GRow_M8s
Follow
* Cold temps early this week, lights 24/7 from day 31 to keep temps steadier (24-25c°).
* GWK #2 leaves pointing down day 32-33 , cold soil and a little underwatered the next day.
* Watering 700ml/pot with 6.5 ph, 19 c° temp tap water with,
~ Active vera (biobizz), EM microorganisms, co2 tablet.
* Organic NPK to the others two ( Stomper #3, SODK day 33 ss, 28 day SODK. 25 gr/ pot.
* Smells not something special yet, LST going good, we ll keep pushing it a few more days.
¤ 🌱Stomper #1 with aggresive LST starting day 14, not a good idea, small stretch so far, burn tips with no extra food maybe its light burn tip.
¤🌱 Stomper #2 starting LST week 3, more nods, bigger plant better performance for this style.
¤🌱 Stomper #3 the stressed one, no techniques here just a bit of defoliation.🤞
▪️︎🌿GWK #1 starting LST day 14, good reaction, taller nods than stomper.
▪️︎ 🌿GWK #2 starting LST day 21,not a big difference with #1, great response,bit sensitive to cold temps ( 2 days to rehab).
☆ 🌴SODK with different style of leaves, more indica dominant, but lighter green colour, starting LST n defoliation day 21, probably will stay in tent alone more than a week.🤪
* Day 34 -> foliar spray with Acti-vera (biobizz) 2ml/l.
* Not much stretch this week, maybe the cold temps at the beginning of the week or just the genetics, healthy plants till now, no defficients.
🔚 Last day of this week released the 4 of them (stomper #1,2 & GWK #1,2) from LST to get stretchy + second weeks 5 watering at 23c° with EMs and 0,5ml/l snake poison (boron + other minerals).1
🌱 Healthy leaves n buds progressinge except GWK #2 cause stress earlier this week. 💧1ltr each n 600ml for stomper #3. 1st watering with 700ml at day 32.
🍃Last update -----> Day 35 ✅

Likes
6
Share

@GoodTimesOrganics
Follow
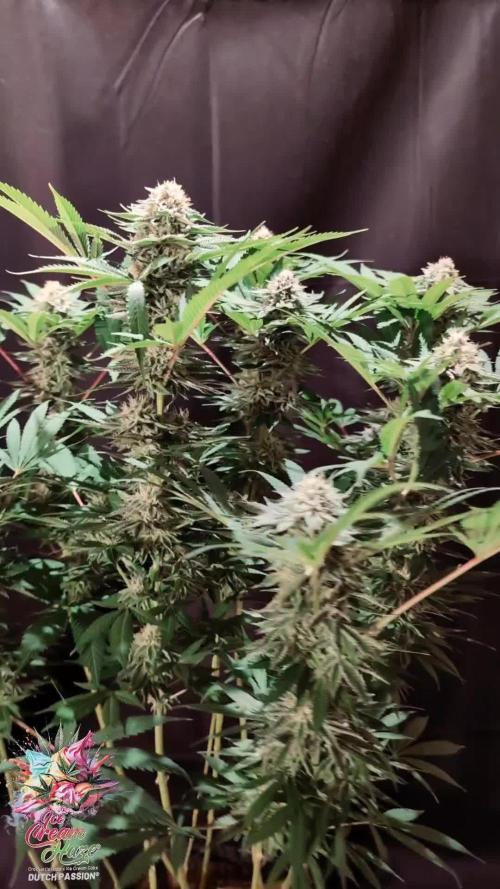
Hi liebe Community! 💚 Nach der fünften Blütewoche schreitet dass Blütenwachstum richtig vorran!
Ein Dichter Tepich aus Stigmen überzieht die Blütenansätze und es bilden sich sehr viele richtig Trichome aus, was der Pflanze einen unfassbar schönes frostiges Aussehen verleiht.
Die Blütenstruktur zieht sich nun den Großteil des Stammes entlang und es entsteht ein dich besiedelter und immer dicker werdender Blütenteppich.
Dies Woche kam zum Boostern der Pflanze noch der Biotabs PK Booster Compost Tee zum Einsatz, welcher sich meiner Meinung nach bei einem soliden Organics Grow nicht mehr weg denken lässt.
Hierzu muss auch gesagt werden dass sich die Blüten sehr rasant entwickeln.
Die Buddichte beträgt bereits 7 cm an der dicksten Stelle.
Insgesamt ist die Pflanze sehr Vital und hat eine sehr schöne und geradlinige Blütenstruktur😉
Sie liefert eine sehr gute Performance ab
Die Wachstumsbedingungen im Growzelt sind weiterhin am Optimum und Stabil:
———————
🌞 Temp: 24,3°C
🌚 Temp: 20 °C
💨 RH: 56%
VPD: 0,97 kPa
😎PPFD: 830 mqm
———————
Stay Tuned! 💚


Likes
21
Share


@PeterSage
Follow
wonderfull colours and smell, plant is looking fine, i see another 2/3 weeks from now, for a full development of the buds.
heavy and frequent rain occurring, didn't have to water so much, hope it get better from here to the cut.
i am gonna decrease on the nutrients, to make them disappear in 10-15 days and a have a full week on just pure water.
the quality of the smell is incredible, very sugar-candy like, not so citric.
Processing
Likes
6
Share