Likes
Comments
Share
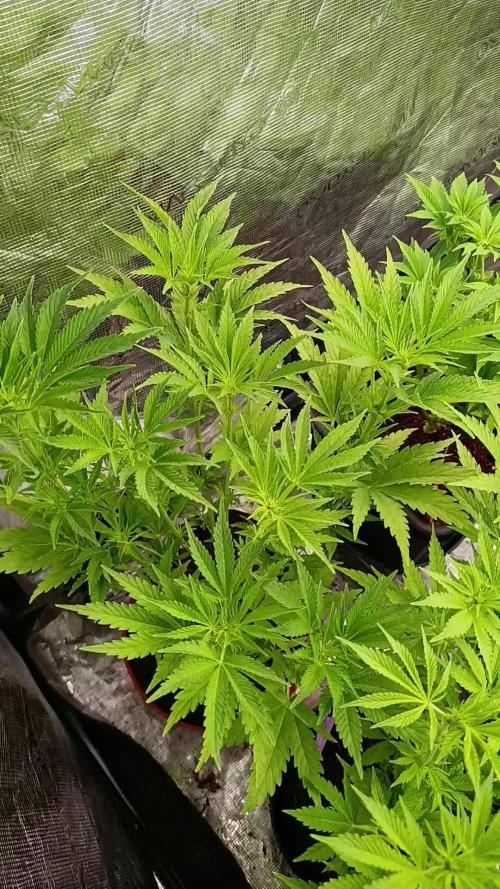
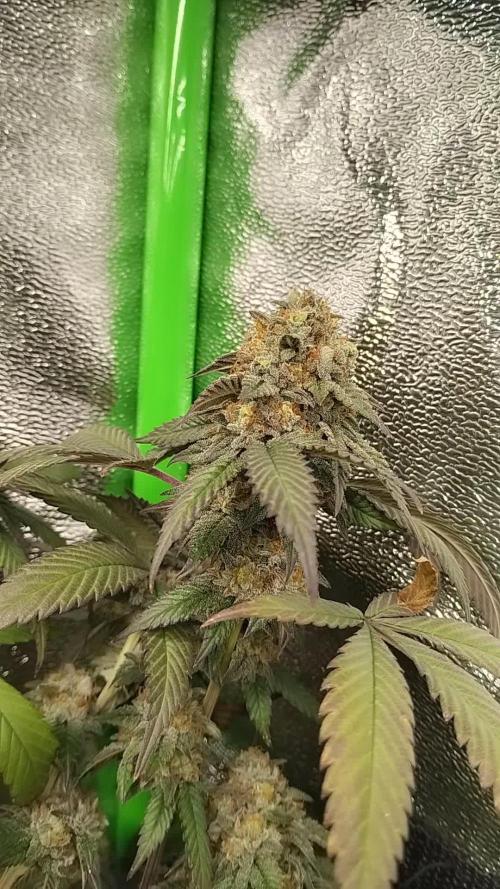
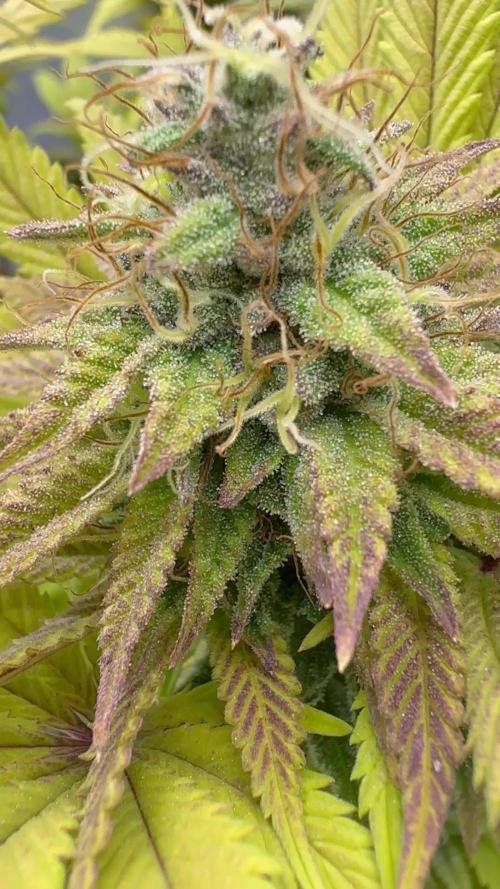
Hallo zusammen 🤙 Sie wächst sehr schön und macht keine Umstände.
Processing
Likes
27
Share
@CannaBury
Follow
As week 8 started, buds are gaining size. Plant is drinking lots of water. About. 3/4 a gallon a day to day 1/2. Added a second light to setup now. Hoping to help the flowering buds with extra light. Relocated my fan to help circulate air flow around more of the taper colas. Should have a around 3 week a left til harvest. Can’t wait to see how this first grow turns out and what to learn from it overall at the end.
Likes
7
Share
@BudXs
Follow
Im not filling out the stats on all fucking active diaries. Will do it later.
Likes
64
Share
- The trichomes photos have been taken just before the harvest. - Drying was made at 20°C and around 52% of humidity (4 days). - Curing done with humidity in jar between 60-63%, temperature around 20°C (2 weeks). Veg time : 46 days Flowering time : 51 days Total time from seed to harvest : 101 days Height : 108cm Pot size : 26l
Likes
9
Share
Starting my flush this week using 10ml of Clearex per Gallon of water flushed down to 450EC or 225ppm, going to now continue watering with ph'd balanced water when dry with about 10-20% runoff. Going to keep an eye on the trichomes but I'm thinking I'm gonna harvest early to mid of next week. I'm going to try and bring out even more of the colors in the flowers this last week or two and I'm going to start watering with ice cold water not sure if it'll help or not but I'm gonna give it a shot. End of Week 13/Week 8 of Flower it went well the plants are flushed and are fading, going to chop in a few days.
Likes
5
Share
🌱 SLH - Day 47 - 📅 24/02/2025 🔆 PPFD: 620 💧 Watering: 150ml 📈 Summary: The plant continues to grow vigorously, with well-developed lateral shoots and a balanced structure. LST is ensuring an even canopy, improving light distribution. The stem is getting stronger, and the leaves remain healthy with no signs of deficiency. 🚀🌿 🌱 SLH - Day 45 - 📅 22/02/2025 🔆 PPFD: 600 💧 Watering: 250ml 📈 Summary: The plant continues to show strong and compact growth, with lateral shoots expanding steadily. The structure remains balanced, with LST helping to create an even canopy. The leaves are healthy and well-spread, maximizing light absorption. Internodal spacing remains ideal, with no signs of excessive stretching. The stem appears noticeably thicker, indicating vigorous development. 🚀🌿 📸 Perspective: 1️⃣ Side view highlighting the compact structure and balanced growth. 2️⃣ Top-down shot showcasing cola distribution and even light penetration. 🌱 SLH - Day 44 - 📅 21/02/2025 🔆 PPFD: 580 💧 Watering: 250ml 📈 Summary: The plant continues its evolution in the vegetative stage, showing a more open and structured growth response to LST. Lateral shoots are more developed, and internodal spacing remains balanced, allowing better light penetration. The upper leaves are standing strong and healthy, indicating good nutrient absorption and efficient photosynthesis. The transition to the flowering phase is approaching, and careful nutrient monitoring will be essential to maintain plant health. 🚀🌿 🌱 Grow Diary - SLH: Day 42 🚀 📊 Observations & Adjustments 📈 Comparison with Day 41: The 6th node reached the ideal stage for topping, and the first topping was successfully performed today. This will encourage lateral growth and a more structured canopy. 🌱 Growth Progress: After the topping, the plant is expected to redirect energy to the lower branches, promoting a more robust structure. 💧 Irrigation Update: A 300ml watering was applied evenly, ensuring proper hydration without over-saturating the soil. The automated watering system continues to be tested for consistency. 🔆 Light: PPFD remains at 550 µmol/m²/s, supporting post-topping recovery and vegetative development. 📷 Photo Perspectives SLH - Day 42 - Top View SLH - Day 42 - Side View SLH - Day 42 - Close-up of Topping Cut ✂️ Topping Performed The main apex was removed at the 6th node, officially initiating the first topping. This will help develop multiple main colas and improve light distribution across the canopy. 📌 Next Steps ⚠️ Monitor the plant’s response to topping and adjust environmental conditions if needed. 💧 Continue observing automated irrigation efficiency to maintain stable soil moisture. 🌿 Track lateral growth to ensure a balanced canopy and guide future training. SLH handled the topping well and received a uniform 300ml watering for optimal hydration! 🚀🌱 🌱 Grow Diary - SLH: Day 41 🚀 📊 Observations & Adjustments 📈 Comparison with Day 38: Noticeable increase in leaf size and internodal spacing, indicating steady and vigorous growth. 🌱 Development: The 6th node is almost fully formed, approaching the ideal moment for topping. 💧 Irrigation Automation: Automated watering system is being tested to ensure consistent soil moisture. 🔆 Light: PPFD maintained at 550 µmol/m²/s, promoting healthy growth without signs of stretching. 📌 Next Steps ⚠️ Monitor the 6th node's development to time the topping correctly. 💧 Evaluate the efficiency of the irrigation system and adjust as needed. 🌿 Track the plant’s response to environmental adjustments to ensure balanced growth. SLH continues to progress well, showing stable growth and responding positively to adjustments! 🚀🌿 🌱 Grow Diary - SLH: Day 38 🚀 📊 Observations & Adjustments 📈 Growth: The plant continues to develop well, showing a balanced structure. 🌱 Development: Leaves are expanding, and the stem appears to be strengthening. 💧 Soil Moisture: The soil retains adequate moisture, so watering was postponed. 🔆 Light: PPFD set to 550 µmol/m²/s to ensure efficient absorption without stretching. 📌 Next Steps ⚠️ Monitor the plant’s response to the watering interval and adjust as needed. 🌿 Track stem strengthening to prevent the need for additional support. 🌱 Plan the first light nutritional boost (Juicy Root & BioBizz Haven) in the coming days. The plant is progressing well, growing healthy and responding to adjustments. Tomorrow will be another day to monitor its evolution! 🚀🌿 📅 Growth Schedule (UPDATE!) 📌 Phase | Week | Start of the Week | End of the Week 🌱 Vegetative | 1 | 09/01/2025 | 15/01/2025 - ok 🌱 Vegetative | 2 | 16/01/2025 | 22/01/2025 - ok 🌱 Vegetative | 3 | 23/01/2025 | 29/01/2025 - ok 🌱 Vegetative | 4 | 30/01/2025 | 05/02/2025 - ok 🌱 Vegetative | 5 | 06/02/2025 | 12/02/2025 - ok 🌱 Vegetative | 6 | 09/02/2025 | 15/02/2025 - ok 🌱 Vegetative | 7 | 16/02/2025 | 22/02/2025 - Current 🌱 Vegetative | 8 | 23/02/2025 | 01/03/2025 🌱 Vegetative | 9 | 02/03/2025 | 08/03/2025 🌱 Vegetative | 10 | 09/03/2025 | 15/03/2025 🌱 Vegetative | 11 | 16/03/2025 | 22/03/2025 🌱 Vegetative | 12 | 23/03/2025 | 29/03/2025 🌱 Vegetative | 13 | 30/03/2025 | 05/04/2025 🌱 Vegetative | 14 | 06/04/2025 | 12/04/2025 🌸 Flowering | 1 | 13/04/2025 | 19/04/2025 🌸 Flowering | 2 | 20/04/2025 | 26/04/2025 🌸 Flowering | 3 | 27/04/2025 | 03/05/2025 🌸 Flowering | 4 | 04/05/2025 | 10/05/2025 🌸 Flowering | 5 | 11/05/2025 | 17/05/2025 🌸 Flowering | 6 | 18/05/2025 | 24/05/2025 🌸 Flowering | 7 | 25/05/2025 | 31/05/2025 🌸 Flowering | 8 | 01/06/2025 | 07/06/2025 🌸 Flowering | 9 | 08/06/2025 | 14/06/2025 💦 Flush | 10 | 15/06/2025 | 21/06/2025 ✂️ Harvest | 11 | 22/06/2025 | 28/06/2025
Likes
8
Share
@Bryankush
Follow
Proseguendo... Giorno 6 annaffiata con 2L di acqua
Likes
4
Share
Transplant from a 2 gallon into a 25 liter Hercules pots . No rush .I marked with three yellow crosses for the plant that was transplanted second
Likes
8
Share
This Pink Certz I might take cuttings from to veg and flower but the main idea of this plant is for breeding with Jet Fuel Gelato. It’s doing well although I’m keeping it in the solo cup, reason being is to keep it small and if I decide to not take cuttings I’ll place her to flower sooner!
Likes
3
Share
@DrBud420
Follow
31.05 yesterday was the end of the fifth week for the plants, some were transplanted yesterday, some today, and some not yet, but most of them were transplanted and topped for the first time... I was late with the topping because I didn't want to top before transplanting.. I topped most of the plants between the sixth and seventh nodes instead of between the fifth and sixth, some I even topped between the seventh and the eighth, but what's up... the weather normalized for a day and immediately started with severe heat... in the sun now it will be 40+ degrees C, until the other day it was 15, this is definitely not normal...the pictures and video are from yesterday, in the next update I will post pictures from the site Stay high ‘n’ keep growing!!!
Likes
70
Share
In all this was a terrible harvest, and because I also do videos for my YouTube channel I don't update on Grow diaries properly which I will start doing with future grows.... Well on my next harvest will definitely do a better job of documenting my harvest details. But in regards to the Dark Phoenix, yeah not a strain I'm a fan off. At first I kept telling myself that I done a terrible job that's why i don't like it... But I need to keep in mind that I'm not going to like all strains, all strains are different and we all have different preferences. Some people might like the Dark Phoenix, me personally I'm not a fan. It has that earthy taste to it... Hashy/kushy...... Smoking it as I'm typing that's why 😅 and even with a longer cure I doubt it would make much of a difference to make me like it. But in all still a nice smoke, good high from her, the high hits you straight away and keeps you active and creative.... Don't know what else to say about her really, just trying to give you guys the best most accurate review that I can without bringing my own personal thoughts about the strain. I might not like it but its still a good smoke. 👍🏾😎
Likes
5
Share
Starting to gain a lot of trichomes and I’m loving the purple colors
Likes
10
Share
@chrizzle
Follow
went a bit down with ‚Autoflower Supermix‘ (22ml/10L) 7.06.2026: reduced light to 18hrs because some of the upper leaves were tacoing
Likes
9
Share
Likes
1
Share
Hung for 8 days. 75f 50-65%rh. The smell off the blueberry literally smells like if somebody blew a blueberry flavored vape in my face. I dry trimmed it and it was smelling ripe let me just say. Put it in jars and had to get rh down was floating up to about 70 but every time I opened that jar the smell got better and better. Round nugs like golf balls I smashed mine while they were wet still a little bit out of excitement and checking for dry but this bud is awesome and was strong enough to survive me so.. hope thst says enough
Likes
Comments
Share
@Lontra
Follow
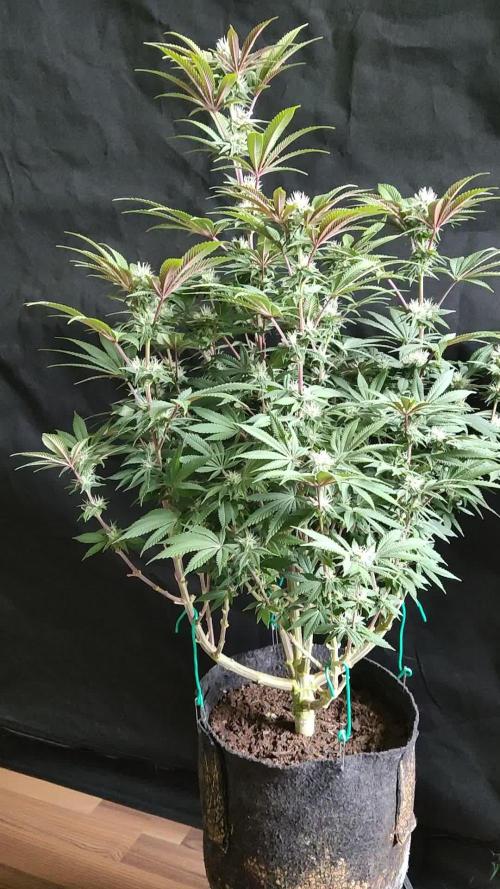
Nach langer Pause und einigen Umbauten an meiner Growbox wird mal wieder ein neuer Grow gestartet. Das Grow Setup: Meine Eigenbau-Growbox (0,51m x 0,51m x 1m) ist als gewachsenes Hobbyprojekt zwar mittlerweile ziemlich verbastelt, aber bevor sie vielleicht mal irgendwann komplett neu und sauber aufgebaut wird, dient dieser Grow noch mal als Test für die zuletzt umgesetzten Änderungen an meinem Setup. Diese sind u.A.: - neue Software für das HMI zur Gesamtsteuerung der Anlage - neue Firmware für die verwendeten Microcontroller - neuer Abluftventliator: Aygrochy, Ø 100mm Rohrventilator Regelbar, EC-Motor Rohrlüfter 221m³/h, - neue Aktivkohlefilter: Airontek, Ø100mm x 20cm, 240m³/h - neue automatische Bewässerung, bestehend aus einem 5L Camping-Kanister als Tank, 12V Auquarienpumpe + 12V Magnetventil, Top-Feeder Einheit (Eigenkonstruktion, 3D-Druck) - kleinere Änderungen wie Schleppkette, neues Gitter für Umluftlüfter und Webcam-Halterung aus 3D-Drucker Sonstige Features: - 2x 80mm be quiet! Lüfter für die Zuluft - 1x 140mm be quiet! Lüfter für die Umluft, oszillierend, höhenverstellbar - Airontek Ultraschall-Mini-Luftbefeuchter 2,3 Liter - Mars Hydro TS1000, 150W, Vollspektrum-LED-Pflanzenlampe Die Sorte: Ich habe mich dieses Mal für eine photoperiodische Sorte entschieden, da ich vorhabe die Pflanze etwas aggressiver zu trainieren (Stichwort Mainlining) und der Pflanze somit zum Einen mehr Regenerationszeit zwischendurch geben kann und zum Anderen hoffentlich auch die Höhe etwas besser steuern kann, wenn ich entscheide wann es Zeit für die Blüte wird und nicht die Pflanze selbst. Die Wahl fiel aufgrund des THC-Gehalts und der geringen Höhe im Indoor Grow dabei auf die Gelato feminized von Zamnesia. Die Keimung: Den Samen habe ich am Abend des (09.07.26) zur Keimung zwischen 2 feuchte Küchentücher in eine kleine Tupperbox gelegt. Sobald die Keimwurzel 1-2 cm lang ist, kommt der Samen in die Erde. Bis dahin habe ich heute mit den sonstigen Vorbereitungen begonnen: Als Pflanzbehälter verwende ich wieder meine modifizierte Aufbewahrungsbox (ca. 11 Liter). Diese wurde gründlich gereinigt und anschließend eine Drainageschicht aus Pflanzton eingefüllt (bodendeckend, ca. 2,5 cm). Nebenbei habe ich damit begonnen das Hydrogel vorzubereiten, welches ich bei diesem Durchlauf testweise unter die Erde mischen möchte. Das Hydrogel soll der Erde dabei helfen, Feuchtigkeit und Nährstoffe länger zu halten und sollte daher ein etwas selteneres Bewässern ermöglichen. Da die Packung auf bis zu 30 Liter Erde ausgelegt ist, habe ich nur 1/3 verwendet und lasse dieses in einem Eimer mit ca 3,3 Liter Wasser etwa 24 Stunden aufquellen. Als Erde verwende ich einen Mix aus BioBizz All Mix und All Mix Peat free, da ich von beiden noch angefangene Säcke da habe, die ich aufbrauchen möchte. Der Samen war am Nachmittag des 12.07.2026 bereit eingepflanzt zu werden. Zunächst wurde die Erde mit dem gequollenen Hydrogel vermischt und in den Pflanzbehälter gefüllt. Anschließend habe ich diese noch mal mit etwa 1 Liter Wasser angegossen: - Temp: 22,4°C - EC: 0,74mS/cm - pH: 6,35 - Dünger: 0,4ml/L Root Juice + 0,2ml/L Acti-Vera + 0,134g/L Bittersalz Danach wurde der Samen mit einer Pinzette in ein ca. 2cm tiefes Loch in die Erde gelegt und vorsichtig mit Erde bedeckt. Das Licht wurde eingeschalten, damit der Keimling direkt Licht bekommt, sobald er aus der Erde bricht: - Zyklus: 18/6 - Entfernung: ca. 20cm - Leistung: ca. 20% - DLI-Wert ~12 Auch die Automatik für den Luftbefeuchter wurde direkt aktiviert, um dem Keimling von Anfang an ein angenehmes Klima zu gönnen: - rel. Luftfeuchtigkeit: min. 60%, max. 75% - VPD-Zielwert: 0,4-0,8kPa Etwa 32 Stunden nach dem Einpflanzen des Samens hat die kleine Lady ihren Kopf aus der Erde gestreckt. Damit ist dies für mich der letzte Tag der Keimungsphase und wir gehen über in die Sämlingsphase, welche ich im Rahmen dieses Grow Diary der Wachstumsphase zurechne. Update: Da Sämling Nummer 1 an Tag 3 einfach umgefallen ist und sich leider nicht von seinem Schwächeanfall erholt hat, war der erste Versuch leider schon nach wenigen Tagen gescheitert. Ich gehe davon aus, das ich einfach viel zu früh damit begonnen habe zu Gießen. Das Substrat war zwar oberflächlich bereits getrocknet, doch vermutlich durch das Hydrogel unter der Oberfläche noch so feucht, dass mein frühes Gießen einfach zu viel war. Auch war das Licht zu Beginn vielleicht etwas zu schwach, was zu einer schwachen Basis des Stils führte. Zusammen mit dem trotzdem recht schnellen Wachstum und der vielleicht etwas zu stark eingestellten Umluft, war diese Kombination anscheinend tötdlich für den Sämling. Ich verbuche das unter: Wieder was gelernt! Zum Glück habe ich noch einen Samen der gleichen Sorte da. Diesen lasse ich gerade Keimen. Hierzu habe ich diesen als kleinen Startboost für ca. 6 Stunden in ein Wasserglas gelegt und anschließend in ein Cocos-Quelltab eingepflanzt (17.07.26), welchen ich mit ph-reguliertem Leitungswasser habe quellen lassen. Sobald das erste Grün das Licht an der Oberfläche erblickt, kommt die Anzuchtschale in die Growbox und ich lasse den Keimling erst mal ein paar Tage den Quelltab durchwurzeln. Anschließend wird dieser dann wieder in das finale Planzfgefäß gesetzt. Dort werde ich jedoch die lokale Anzuchtzone vom AllMix-Hydrogel-Mix befreien und dafür mit etwas BioBizz Light Mix ohne Hydrogel wieder auffüllen, um die Gefahr lokaler Staunässe zu minimieren.
Likes
Comments
Share
@deseed_uy
Follow
Enamorada de lo enormes q son estas locass😍 Esta semana aplique cannazym luego de varios riegos solo de agua, dejando q drene bastante algunos dias y solo un poco otros dias.. para q se vaya lavando el exceso mientras siguen creciendo re lindas y sanitas, estoy en duda de si hacer transplante o no, estan en maceta de 3lts capaz las cambio a 7 o 9lts antes de la flora, tambien se vienen podas q ya no dan mas
Likes
265
Share
Week 2: The adjustment Hello dear growers and groweresses, it’s time for an update on my grow. My plants have completed the second week and have continued to grow. But they also faced some challenges that I will tell you about. The adjustment My plants have adapted to the new conditions in my room this week. I realized that I had my lamps too close to the plants and that they got too much light and heat. This resulted in them not developing as well as I had hoped. I therefore hung my lamps higher and reduced the intensity of the light. I lowered the PPFD (Photosynthetic Photon Flux Density) from 400 to 280, to give the plants a more comfortable environment. The PPFD is a measure of the amount of light that the plants receive per square meter and second. The higher the PPFD, the more light the plants get, but also the more nutrients and water they need. The plants accepted the change very well and recovered quickly. They started to grow stronger again and formed more leaves. They also got a nicer color and look healthier. One plant that suffered a lot was the Frosty Nightmare. She was overwatered and had trouble developing. She was smaller and weaker than the others and had yellow tips on the leaves. I therefore gave her less water and moved her away from the other plants, to give her more space and air. She recovered and grew again. She is still the smallest of all, but she has potential. I also increased the temperature in my room by 1 degree, to give the plants more heat. I set the temperature from 22 to 23 degrees Celsius, which is still in the optimal range for the plants. The plants liked that and showed me that by their growth. I let them vote democratically, by observing the plants and interpreting their reactions. :D The water filter I also want to introduce you to my water filter from Watertrim, which I use for my grow. It is a great product that saves me a lot of time and money and is also better for the environment. The water filter has only two connections: an inlet and an outlet. So it has no waste water, which would otherwise go into the drain. It has different options of the filter, depending on how much water you want to filter and how high the EC value of the tap water is. The EC value is a measure of the electrical conductivity of the water, which depends on the dissolved minerals. The higher the EC value, the more minerals are in the water, which are not always good for the plants. My filter filters at an inlet EC of 1.0 1000 liters, before it needs to be renewed. Since my tap water has an EC of 0.5, I can filter 2000 liters with it, until I have to renew it. That costs about 100 euros and works easily and quickly via the post. The flow is almost 1 to 1 in speed, so no more waiting. I can tap the water directly from the filter and use it for my grow. I use the filter as follows: I tap water at the filter. I pour normal tap water on it, until I have an EC of 0.3. I add fertilizers etc., depending on what the plants need. I check the EC again and adjust it if necessary. I also adjust the pH value, which should be between 6.2 and 6.5, to ensure optimal nutrient uptake. I give the water to my plants. The water filter is really a great product, even if it is not very cheap in the purchase with once of 240 - 390 euros. But it pays off in the long run, as it saves me a lot of work and costs and also improves the quality of my water. u can find it here : https://watertrim.de The outlook I am very satisfied with the result of the second week. My plants have adapted well and recovered from the problems. They have grown further and formed more leaves. They have recovered well and showed a great growth. I am very excited about the next week, where it goes to the repotting and the ladies can try fertilizer for the first time. I will fertilize this run only a little late, even if I use osmosis water this time. The soil from BioBizz is really great and can carry the first weeks well alone. I look forward to your visits and the next weeks. I will continue to provide you with information and photos and let you participate in my grow. I wish you a nice day and a good grow! 😊
Likes
4
Share
@ValtripOG
Follow
Mucho ventilador para poder garantizar grosor en el tallo y mayor crecimiento
Likes
7
Share
As always it's just a pleasure to grow this sativa dominant strain which definitely reminds me of a great indica with her extremely fruity and tropical sweet terpenes, very happy to have her in my garden and to be able to smoke such a high quality strain once again, hope you guys have enjoyed as much as me!