Likes
Comments
Share
@Sid93
Follow
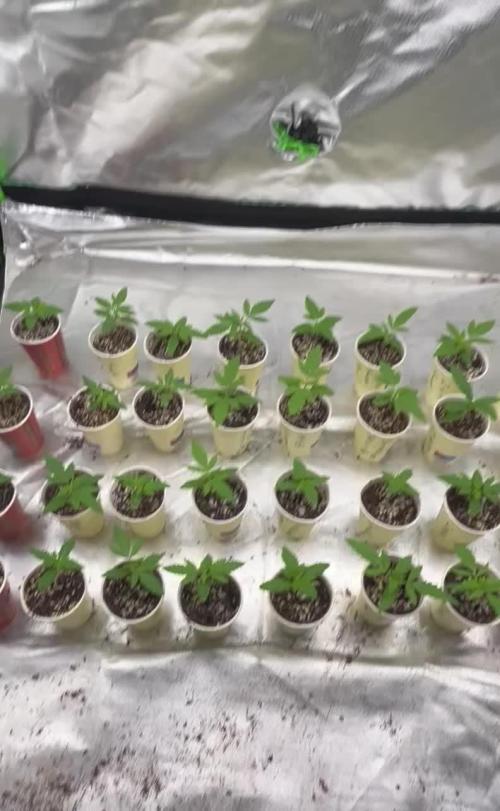
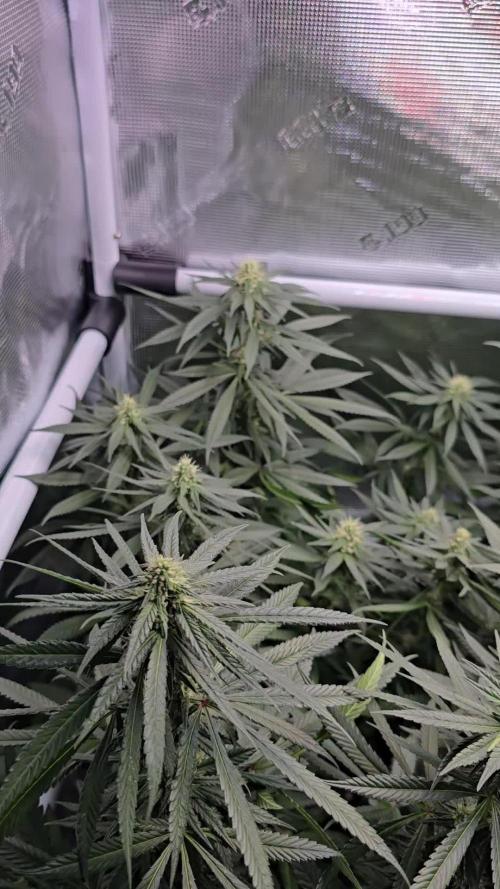
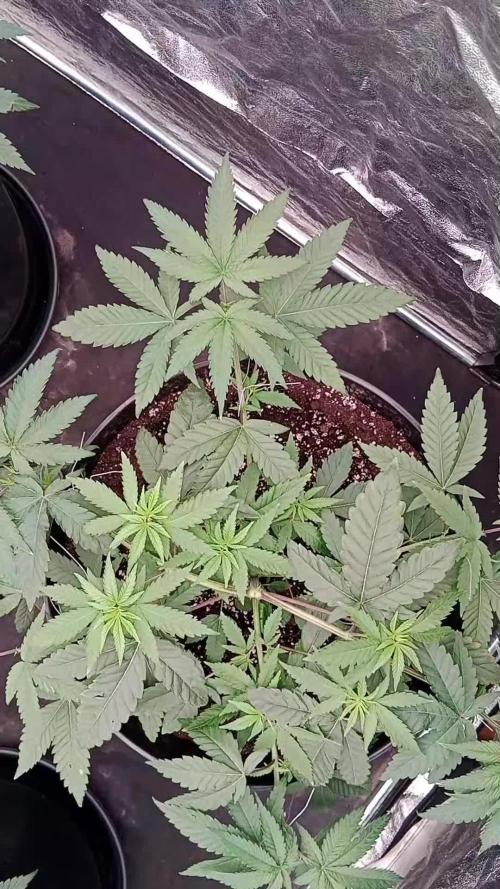
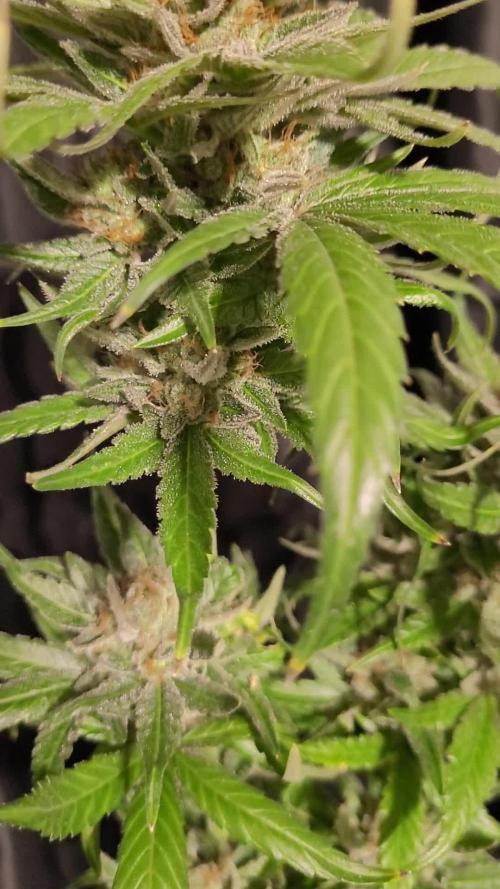
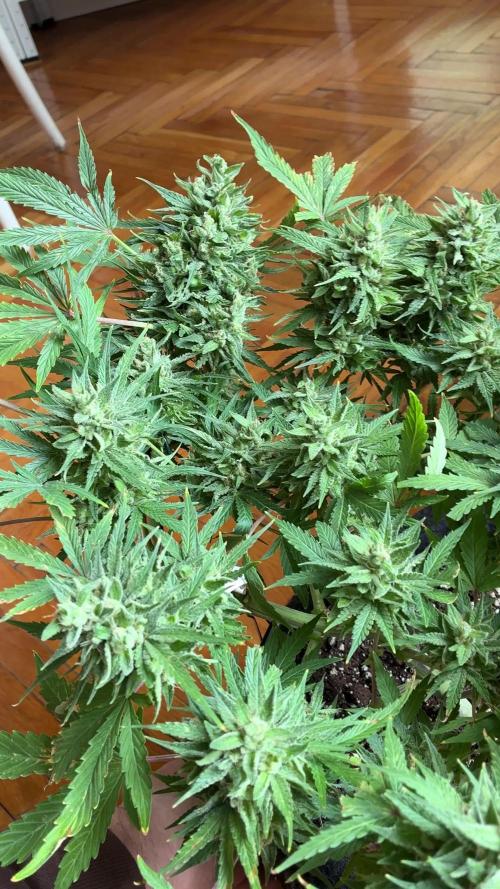
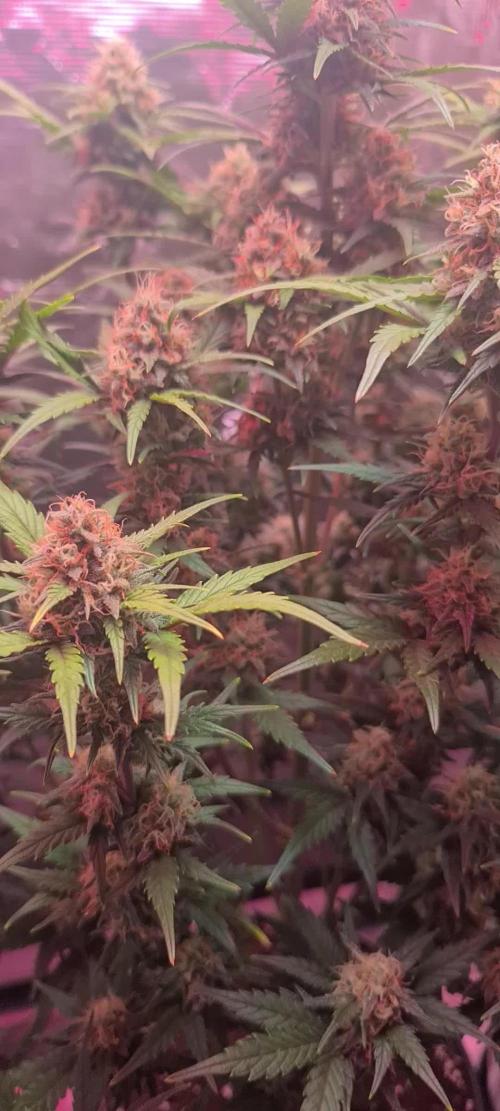
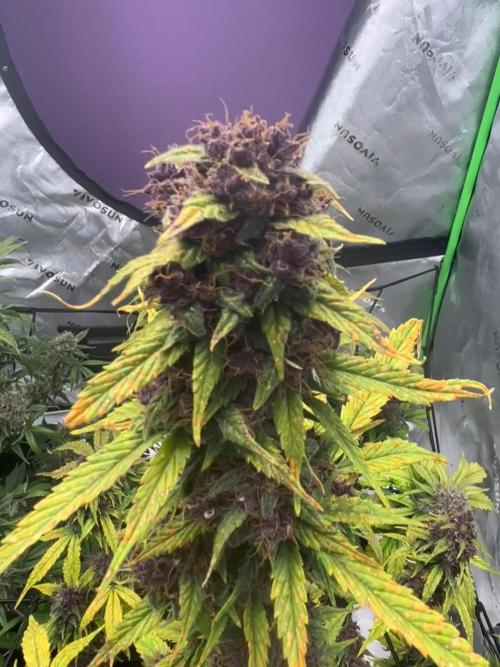
Amazing smell sticky crystal I started giving Big Buds and hopefully in a few days they will be greasy and big 🔥🔥🔥
Likes
1
Share
Week two went good there was a bit of underwatering on my part, these ladies drink! The breeder did warn me about that though. Beside the underwatering things look good. Next week they'll be transplanted to final 11L fabric pots. Happy Growing!
Processing
Likes
5
Share
@DodgyOG
Follow
Growing tall. Kuchi is growing half day indoor and half day outdoor. check out the micro-topping slowmo!😵
Likes
2
Share
Going very well divine seeds
Likes
35
Share
Bonjour à tous les padawans et les maîtres jedis Pour cette semaine je prévoit de pratiquer comme technique spéciale le LST et juste un arrosage. Pour cela comme à mon habitude j'attend le cinquième noeud ou que je juge la plante robuste. Je profite que cette semaine qui va être relativement calme pour faire un LST appliqué et vous faire un rappel de ce qui est pour moi la meilleure technique pour arroser une autofloraison et la façon dont je pratique le LST. En suivant ces quelques simples conseils vous obtiendrez un résultat optimal tout au long de votre culture : Le cannabis est une plante qui n’aime pas recevoir un léger arrosage en continu. Il est impératif de l’arroser en grosse quantité, puis d’attendre que la terre soit bien sèche avant d’arroser à nouveau! Pour calculer la quantité d’eau nécessaire à chaque plante, suivez cette règle : Le volume d’eau à donner lors de chaque arrosage doit représenter au moins environ un quart du volume du pot !! Exemples : pour un pot d’1L, donnez 0,25L d’eau à chaque arrosage pour un pot de 4L, donnez 1L d’eau à chaque arrosage pour un pot de 12L, donnez 3L d’eau à chaque arrosage pour un pot de 30L, donnez 7,5L d’eau à chaque arrosage !etc… Pour donner un tel volume d’eau, il est souvent nécessaire d’arroser en deux (voir trois) fois, lentement et uniformément sur toute la surface. Disposez de bonnes coupelles sous les pots, celles ci se rempliront d’eau qui remontera dans le pot par capillarité en moins d’une journée. Il est également très important d’utiliser un bon terreau de qualité, avec une bonne capacité de rétention d’eau mais qui assure également un bon drainage (celui ci doit contenir de la perlite, et/ou de la coco, etc..) Il vous faut alors maintenant attendre quelques jours en sous-pesant régulièrement les pot avec vos bras. Quand ils seront redevenus très légers, vous pourrez arroser à nouveau !! En effet, comme l’eau pèse beaucoup plus lourd que la terre, un pot gorgé d’eau pèse plusieurs fois le poids d’un pot d’une plante prête à être arrosée. Avec un peu d’entraînement, vous apprendrez donc très rapidement à sous-peser vos pots pour savoir quand une plante a soif. C’est une technique à la fois très facile et très efficace, et qui peut être appliquée à toutes les plantes en pots ! En arrosant de cette façon, en général vous devrez arroser vos plantes tous les 3 à 6 jours. Pour cette semaine 3 au jour 17 ma plante fais 12 centimètres et son cinquième noeud apparaît je décide donc de pratiquer un LST sur ma plante. Pour ce j'utilise du fil de fer galvanisé que je plante directement dans le substrat en faisant attention de ne pas endommagé les racines car n'oublions pas que ce qui pousse dessus pousse aussi dessous. Jour 17 je pulvérise du une solution composé d'une cuillère à café de savon noir mou dilué dans un litre d'eau en prévention d'éventuels nuisibles. Je corrige mon LST suivant la pousse de ma plante ... Pour ma par c'est la manière dont je procède. Comme promis petit rapel de: Quand commencer à appliquer la technique LST De nombreux cultivateurs commencent la manipulation dés que les plantes possèdent entre 3 et 6 nœuds ou une paire de feuilles. Durant cette première étape de la croissance, le tronc encore flexible est pliable sans risque qu’il ne se casse, même si au fur et à mesure du développement de la plante il sera de plus en plus difficile de le plier. Nous pouvons continuer à guider la croissance des branches durant toute la culture, même durant la floraison, ce qui pour cette étape représente un grand avantage face à la taille, qui n’est pas du tout recommandé une fois que la formation des têtes commence, cela stressera en effet la plante, ce qui aura pour effet de retarder la récolte. Comment appliquer la technique de guidage LST Si nous sommes prudents, la flexibilité naturelle des fibres du cannabis permet de plier leur tronc et branches avec une relative facilitée, même durant la floraison des plantes. En utilisant une corde fine, nous pouvons accrocher la pointe de la plante à la base du pot par exemple ou à un tuteur que nous aurons planté dans le substrat. Nous plierons le tronc avec précaution et nous le fixerons avec la corde, à partir de là, nous pouvons augmenter progressivement la tension de la corde, chaque jour un peu plus, jusqu’à obtenir la position souhaitée. Soyez attentif à la réaction de la plante, essayez de ne pas appliquer trop de pression sur la corde et rappelez-vous que la flexibilité des branches peut varier d’une plante à l’autre. Pour obtenir de meilleurs résultats, il suffit de suivre quelques règles simples. Pour commencer, nous devons choisir une corde fine mais pas trop pour ne pas blesser les troncs au fur et à mesure qu’ils grandissent et qu’ils deviennent plus gros. Nous pouvons utiliser des crochets en plastique souple ou de n’importe quelle autre matière flexible pour éviter d’endommager les plantes. Spécialement en intérieur, utiliser des cordons en plastique de couleur (voir les diaries de @Silky) est très pratique pour voir facilement les accroches et faciliter le travail au milieu du réseau formés par les cordes, les tuteurs, les mailles ou les supports que nous aurons dans la culture. Bien entendu, en culture extérieure et surtout en guerilla nous ferons juste le contraire et nous utiliserons des matériaux de couleur qui n’attirent pas l’attention pour que notre jardin reste discret. Pour stresser les plantes au minimum, la mieux est de réaliser ces manipulations le soir ou juste après que les lampes en intérieur s’éteignent, ce qui leur permettra de se remettre durant la nuit. Normalement, le jour suivant nous pourrons observer comme les pointes des branches que nous avons pliées se dressent de nouveau vers le haut à la recherche d’une source de lumière. Que la force soit avec vous
Likes
20
Share
Let’s just say for what I got out of this plant, I’m extremely pleased. This plant was put through a lot of stress and never really skipped a beat. I stunted the growth early on in the seedling stage, I then decided mid veg state that I wanted to do coco coir instead of DWC bucket, which then slowed it down a few days, then during my first time doin any training to a plant I snapped the main node off slowing it down again. My cat then one day got into my tent when it was down while I went to use the restroom, and ended up digging out an entire side of the pots and roots. I truly thought this was the end of this plants life, I decided to just let it go and hopefully I could maybe get some small stuff to make some butter with or something. She bounced back from even the cat attack and produced something very great. All in all this was really fun to grow, she was resilient as hell and would love to try this strain again with no hiccups down the road in the near future. Lastly, thank you to everyone who has liked or commented on this journal. I hope to see and hear from you on my other diaries. I look forward to the feedback y’all leave me. 🤙🏼
Likes
2
Share
Week 2 started to see a lot of growth
Likes
27
Share
Today I changed the timer to 12/12. Lets get to flowering!!!🎉 The plants really filled up the growing space nicely. I'm really excited to see how much they will stretch in the first few weeks🤩
Likes
15
Share
Mar 7 (day 78): Start of week 12. Mar 11 (day 82): Chopped plant.
Processing
Likes
9
Share
@Canadian
Follow
This girl seems to be doing very well and they probably will be finished in a3 o 4 week or so if crazy weather doesn't ruin everything a nice fruity and skunk smell to it as well is what she has developed and she starting to look pretty nice and heavy . Despite having so many mistakes done to them she has been a remarkable plants from beginning to end. Thank you for reading I will continue to update have a happy grow
Likes
11
Share
Day 40 : Watering today community after 3 days. They were too thirsty and drank 2.5L per plant. I added a lot of food to the water. But it finished with 800ppm only. I think Biobizz decreased the density of nutrients. I added 1 co2 tab / 5L as every time. Also made small defoliation to the bottom for all ladies. She have reached 50cm. I also added a small bowl under to let her take more light.
Likes
24
Share
Hey everyone 😃 The time has come , On flowering day 69 the harvest was carried out 😍. After spending two days in the darkroom at 62% humidity, they were now harvested cleanly by hand 😃. After harvesting, they were laid out on the net as usual, where they can now slowly dry again for about 7-10 days at 62%. Then they come with 62% in jars for 2-4 weeks, and then the 58% boveda packs are put in 👍. Of course, I will come to the phenotypes themselves in detail in the last update. Until then, I wish you all the best, stay healthy 🙏🏻 and let it grow 🍀👋 You can buy this Strain at https://www.amsterdamgenetics.com/product/kosher-tangie-kush/ You can buy this Nutrients at https://greenbuzzliquids.com/ Type: Kosher Tangie Kush ☝️🏼 Genetics: Kosher Kush X Tangie 👍 Vega lamp: 2 x Todogrow Led Quantum Board 100 W 💡 Bloom Lamp : 2 x Todogrow Led Cxb 3590 COB 3500 K 205W 💡💡☝️🏼 Soil : Canna Coco Professional + ☝️🏼 Fertilizer: Green Buzz Liquids : Organic Grow Liquid Organic Bloom Liquid Organic more PK More Roots Fast Buds Humic Acid Plus Growzyme Big Fruits Clean Fruits Cal / Mag Organic Ph - Pulver ☝️🏼🌱 Water: Osmosis water mixed with normal water (24 hours stale that the chlorine evaporates) to 0.2 - 0.4 EC. Add Cal / Mag 2 ml per l water every 2 waterings . Ph with Organic Ph - Pulver to 5.8 .
Processing
Likes
24
Share
Hi everyone 🤗. The buds continue to grow 😀👍. It starts to smell really good 😍. The bud structure also looks very nice, and is already covered with resin 😎. This week they continue to get 4-5 ml / l water from the Canna Bio Flores. I hope you enjoy the update, stay healthy 🙏🏻 and let it grow 🌱😃 You can buy this Strain at : www.Zamnesia.com Type: Runtz ☝️🏼 Genetics: Zkittlez x Gelato 👍 Vega lamp: 2 x Todogrow Led Quantum Board 100 W 💡 Bloom Lamp : 2 x Todogrow Led Cxb 3590 COB 3500 K 205 W 💡💡☝️🏼 Soil : Canna Bio ☝️🏼 Nutrients : Canna Bio ☝️🏼🌱 Water: Osmosis water mixed with normal water (24 hours stale that the chlorine evaporates) to 0.2 EC. Add Cal / Mag to 0.4 Ec Ph with Organic Ph - to 6.0 - 6.3
Likes
55
Share
@Qutro
Follow
Week 5 check-in 🌱🔥 We keep rollin’, growmies! 💪 Last week’s heavy training sesh is paying off, the stretch has finally stopped and those side branches are poppin’ off! The girls are starting to bush out nicely 🌿✨ Had a slight cal deficiency, so I switched over to my trusty Green House Feeding Calcium. Not too happy with the Terra Aquatica CalMag, tbh Aside from that, they’re looking healthy and vibing strong 💚 Did the first major defoliation — mainly opened up the center to let those secondaries soak up more light ☀️ Two waterings this week: one with plain water + cal, and one full-on nutrient mix 💧💪 Seems like the girls are lovin’ the light levels, so we kept it at 60% intensity, 45 cm above the canopy ☀️💡 They’re soaking it up real nice! 🌿
Likes
95
Share
@Canna96
Follow
Hey now, so I am happy I finally decided to run a separate tent for seedlings. It was damn near impossible running 2 humidifiers 24x7 to keep everyone happy. I got 1 large humidifier running 24x7 in my new 2x2x3 and even with my spider farmer sf1000, and exhaust running nonstop, I am maintaining 80% rh and she is loving it as is the gorilla girl auto. She is still growing in pro mix seedling organic blend and plain water every 2-3 days. My plan is to transplant her on day 18 to an airpot full of coco coir, then top her on day 21. If all goes well I will top her twice again on day 28ish, and then just lst for about 3-5 days. I think I trained the acid dough auto for far too long, and I will adjust with this one. Planning to just lst the top 4 colas for 3-5 days to keep them from becoming dominant and then just light defoliation throughout the grow if necessary. I also just received a new grow light in the mail from Mars Hydro which I will be testing out for them on this grow once she is ready for flowering. Thanks for stopping by, I hope all your grows are 💪 strong and fast, be safe and blaze on!
Likes
4
Share
@Lazuli
Follow
So this was my third tropicana, so far all different phenos, this was the biggest yielder of them
Likes
2
Share
@TTerpz
Follow
Start of week 14 (Day 48) 9/20/25
Likes
Comments
Share
@IIGID
Follow
Seeds Preparation: Quantity: 4 seeds Method: Soaked in water until taproots appeared Transplantation: Medium: Root it! cubes Preparation: Pre-soaked in water with a pH of 6.2 Environmental Conditions: Temperature: Maintained at 23°C Humidity: Kept between 65% and 75% Observations: All seeds successfully germinated and exhibited healthy root growth. Root it! cubes provided a stable and supportive environment for the young seedlings. Notes: Maintaining consistent pH levels and environmental conditions is crucial during germination. Regular monitoring ensured optimal growth conditions, setting a strong foundation for subsequent stages.
Likes
24
Share
Big big week. First part of the week popped off a few bud sites. Hate to see them go since this is going to be a low yielder anyway. But I have a vision for it. As you can see in the photos. She started flowering mid week which was expected due to the very high stress and her being an auto. Also ROOT REVEAL. Yep you get a sneak peek at to what is below. I'm also working the soil and the roots to help dry them out and hopefully be strong enough to hold her up. The roots for all the way down so we "should" be good to go. Fingers crossed 🤞 Still just feeding water since I added soil to the sided for her to feed on. I have been doing a foliar spray with calmag in it.
Processing
Likes
3
Share
Hello everyone, Well its getting kinda packed in the greenhouse so all i have for you guys is a little video, See you guys next week... 🤘🤘🤙🤙