
Processing
Likes
Comments
Share


@BigBaby420
Follow
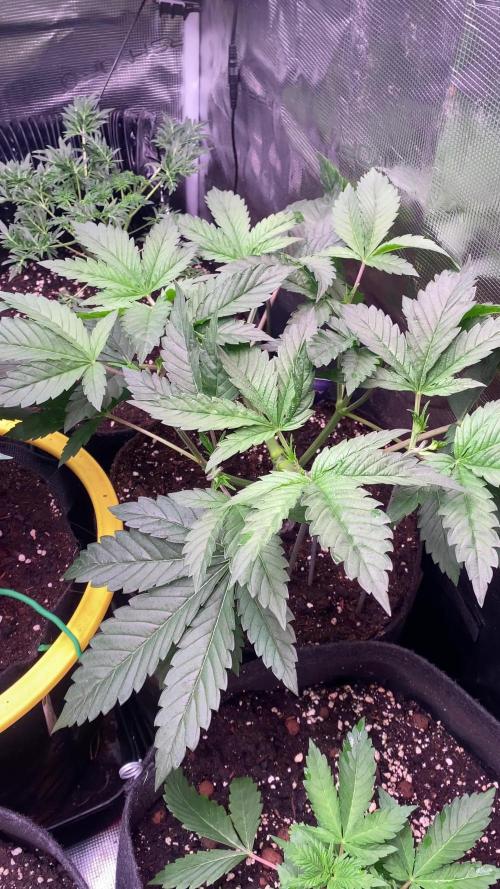
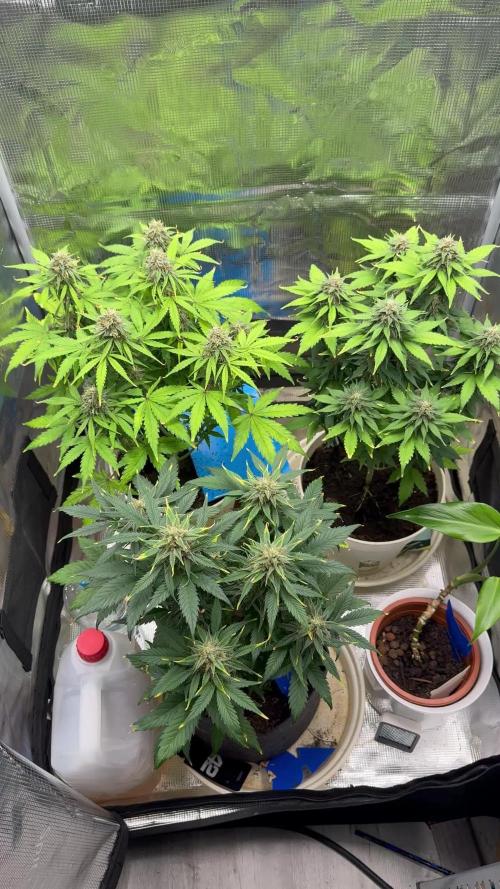
Completely guessing at her actual height at this point because I tied her down and am planning to let her complete her grow like this. I’ve gotten my canopy pretty even. Also top dressed with a little natures organic this week.

Likes
27
Share

@Diips
Follow
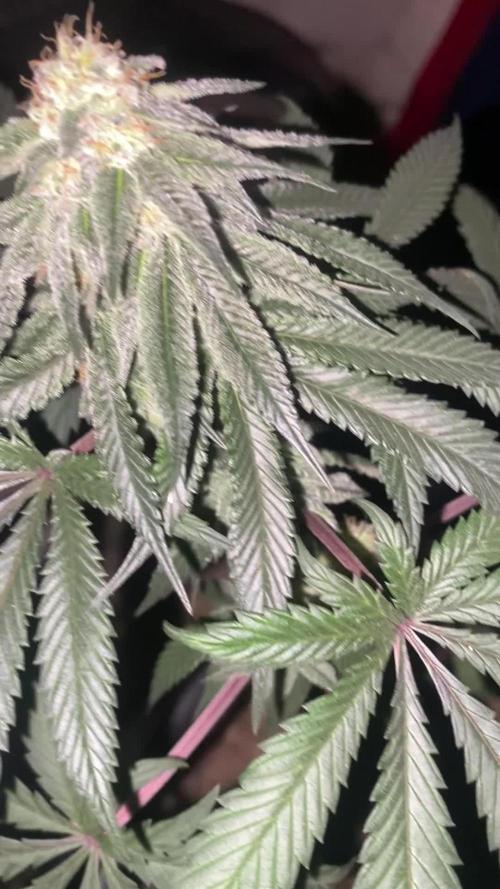
shes a real beauty! as much as she shines now, i cant imagine how she will turn out! 🌞💚
as the days go, she have really begun to shine! cant wait to see her stack, veins on the stem makes her look strong! real massive density to her


Likes
16
Share


@PajaritoUY
Follow
Esta planta tiene olor a gasolina y cola de zapatero, un olor muy peculiar, sus flores son más compactas con cálices pequeños y una resina pegajosa
Likes
9
Share


@Kominest
Follow
Starting into new week
dli around 16
I bought a new humidifier let’s see how he works (mars hydro 5L)
The blackberry is struggling as you can see but I have a backup plan in case she’s not getting better the next days .she seems to have 4 starter leafs hiding under those newer leafs
The strawberry gorilla is ok and I hope he can make some use of the better humidity now .


Likes
19
Share


@Dunk_Junk
Follow
She's doing her thing this week. I'm keeping her watered approx 50ml/day.

Processing
Likes
4
Share


@el_cultivito
Follow
Fendi 2 has a mutated fan leaf that kinda looks like a lobster claw.
Some older leaves that started yellowing at the tips last week (I think it was a nutrient burn from transplanting from rockwool cube into soil), have gotten more brown and curled upwards.


Likes
2
Share

@Szamba
Follow
I trimmed off the small pieces from the bottom and removed some of the nutrient because there was a little too much
Likes
6
Share


Likes
4
Share


@kathlane24
Follow
Orange Sherbet FF (Fastflowering) is a finely balanced hybrid that produces some of the tastiest orange-flavored weed out there, making it an excellent choice for top-notch extractions. With up to 26% THC, this citrus terps powerhouse matches its wonderful taste with potency, offering a long-lasting uplifting high that puts you in the right mindset to chill and have a good time. It’s the ideal strain for growers with all levels of experience, especially beginners looking to get their hands on low-maintenance yet highly productive photoperiod varieties that deliver in both quality and quantity as fast as possible and without extra effort.
Bud Description This superfast feminized photoperiod strain grows light, almost neon-green colored buds with fat calyxes that get encrusted with trichomes by harvest time, giving them a fluffy, silvery-white appearance. Orange Sherbet FF flowers reek of a very distinct mix of citrus that can be described as a tangerine and orange smoothie with a very sharp and sour background that hypnotizes your nostrils as soon as you take the first whiff. Smoke Reports Despite its 26% THC, Orange Sherbet FF offers a joyful high that’s very calm and relaxing in nature. The effect starts as a slightly euphoric head rush that comes hand-in-hand with a relaxing body buzz, leaving you in a focused, peaceful, and overall happy state of mind. It’s the perfect everyday, all-day strain as its long-lasting high will always put you in the right mood without fail while getting rid of muscle pain, stress, and anxiety along the way.Plant Appearance This is a medium/tall-sized hybrid that grows up to 150cm and yields up to 650 g/m2 while developing that typical hybrid structure. Orange Sherbet FF grows fast and flowers faster, growing super dense buds with a distinctive mint-green color and a high bud-to-leaf ratio, making your trimming sessions a breeze. It’s a well-rounded variety that doesn’t need much maintenance and will thrive in almost every climate, rewarding growers of all levels with extremely resinous orange-tasting buds.
Likes
4
Share

@Bear_Grows_Green
Follow
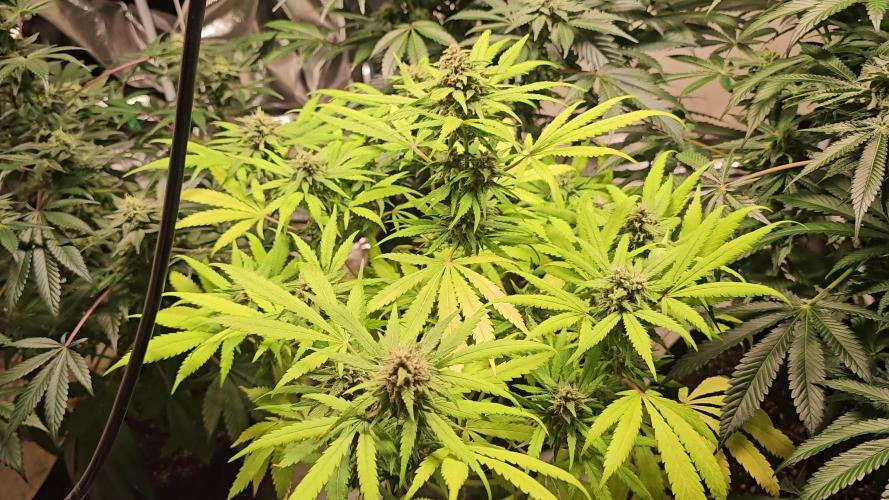
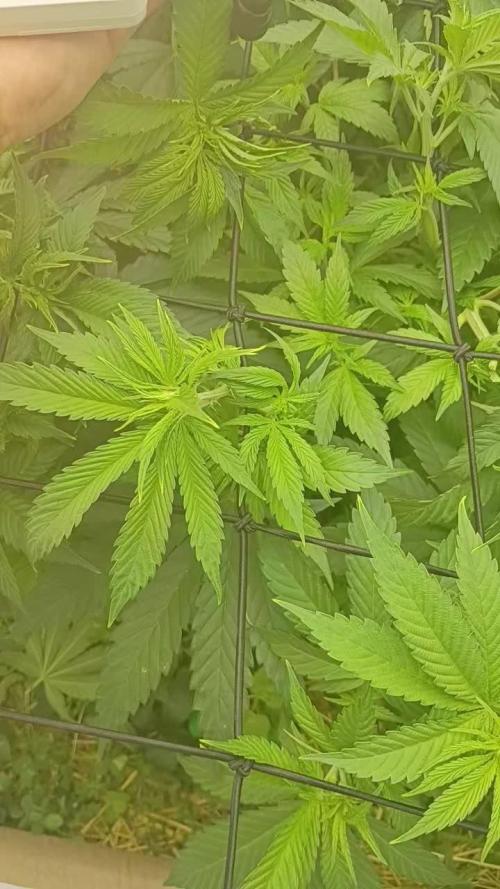
01/08 day 1 of flower for these girls did one last aggressive tick and defoliation of canopy this morning now time to let em rock out raised vpd to 1.2 raised ppfd to 750-800


Likes
42
Share


@GanjaReaper
Follow
Hello everyone,
This week I added some calmag because i spotted deficiency on my indicas( Critical kush),
Not a big deal but since i only make one bucket for all the plants instead of 2 seperate ones,
my indica's had a little bit to less.
Indicas like to have more nutrients then sativa's.
Did some LST again, removed some leafs that shadow my new branches(nodes)
and yes the plant that i don't want to keep is still here lol. Trying to ask people if they want a plant for free because
its just sad to throw it away. If it doesn't get a new home in the comming weeks, i have to throw it away.
The way i did LST is slightly different most of the times growers like to get rid of alot of leafs, only to have the node leafs intact, i have done this a lot of times as well
but this time since it is just a fun outside grow, i kept most of the leafs, just to see which LTS way is better.
Yes keeping the leafs cost some energry, these leafs will grow unnecessary but in the other hand they will catch up alot of sunlight which is also needed.
I also kept 4 main branches. Most people grow 2 branches and create side branches on them which is more common to do
or just let the plant grow normaly, LST her and when she gets like 6-9 main branches, to top her.
I already have the feeling that the two other options are better to do but hey we are not done yet.
Sometimes i really wanted to cut off all the lower main branches and had to say to myself that if i would do that, it would be just another normal grow.
or just get rid off al the nodes and just only grow those 4 main branches, but 4 branches would had been a little to less yield later on.
But in return all thoose side branches will take alot of energy/nutrients too which can result into smaller and less compacter buds.
In the other hand 4 main branches would not be a bad idea for outside grow in my country, we have bad weather here and not that much of sunlight
the plant will have less energy needed to fully complete the colas and will get bigger instead of having many branches hmmmm....
I
Anyway, I would never do these experiments with inside grows with alot of plants, it would be painfull and cost alot if it doesn't get good results.
So i would advice to anyone only experiment if you don't care about the results.
We will see :)
I hope you enjoyed watching this week.


Likes
13
Share


@FlavoursUk
Follow
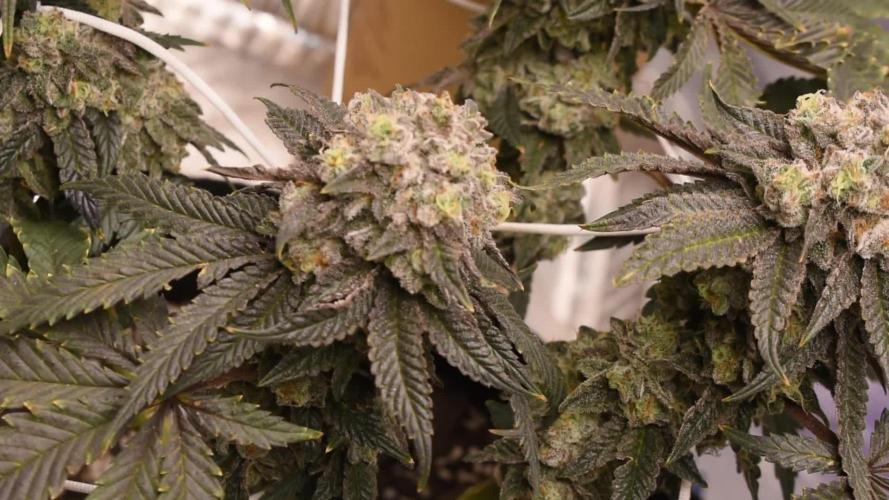
Back with a new week, the beginning of week 6 and wow, the girls are really starting to show off their fall colours and frosty colourful buds.
EC has been slightly lowered and I have dropped cal-mag to ensure a good flush later on in the grow. PK has been increased and the girls are fattening up. pH has been drifting so trying to keep a close eye on this to enable the correct uptake of essential nutrients at this critical stage.
Follow the youtube and Instagram for a more in depth follow along. Links are on growdiaries profile page. Stay tuned for the next update

Likes
5
Share


@Deltatigrou0169
Follow
Bonjour à tous les amis,
Je suis content et fière de mes fifilles elles ce plaisent dans leur climat, à part mes Petites Mutantes qui elles ont dû mal à pousser.
Je m'inquiète pas,je pense qu'elles vont grandir tout doucement y faut être patient 🙄 avec ces fifilles 😊.
Je vous dit à plus tard, et bonne soirée à tous.
Merci 😃 👍👍👍
Likes
17
Share


@GreenSkyz
Follow
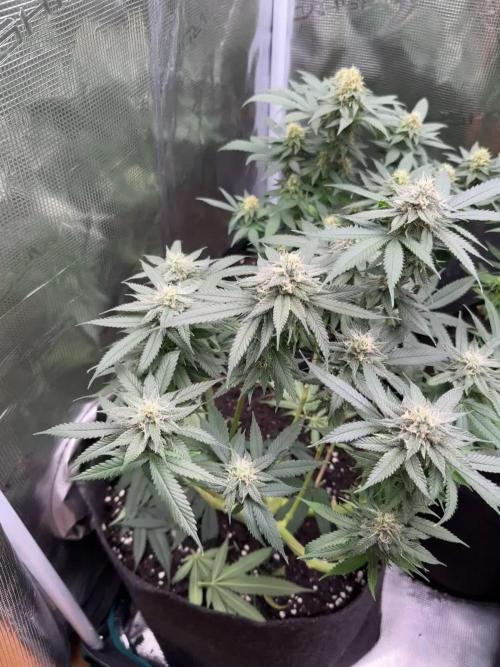
Starting off week 9 and I'm impatient! This plant has been amazing since day 1. Came out super weird colored and finishing off with this beautiful purple! Will be growing this strain again for sure