
Likes
Comments
Share


@GreenYoda420
Follow
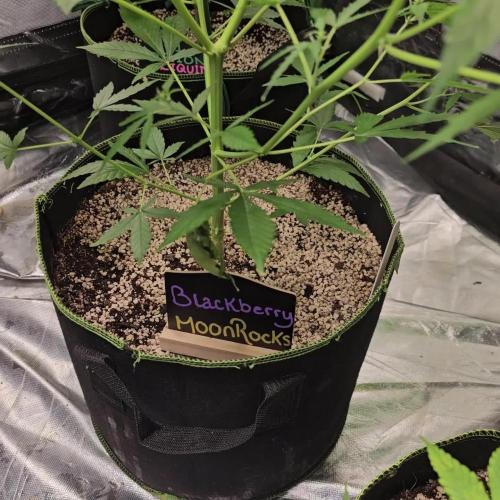
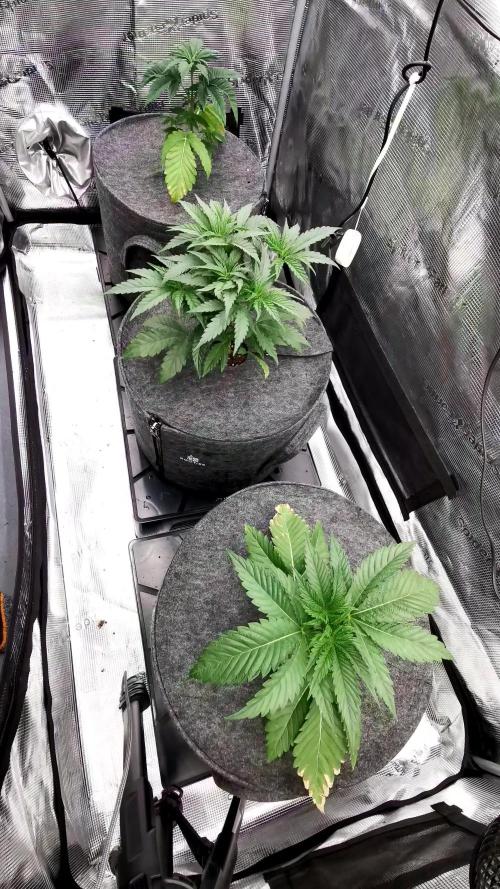
Week or two in to flowering and added canna pk13/14 will continue for a week and a halfand started to trim buds and stems to create canopy


Likes
16
Share

@Kirsten
Follow
The plant has just switched into the flowering stage, I meant to train her this week b tying some branches down as she is getting tall, however I didn't get round to it.
18.7.25:
I watered with 3ltrs of dechlorinated water PH'd to 6.4, containing the following nutrients;
💜 2ml Ecothrive Trace
PH: 6.4
PPM: 365
20.7.25:
I watered with 2ltrs of dechlorinated water PH'd to 6.3 containing the following nutrients;
💜 2ml Ecothrive Trace
💜 1/4 TSP Ecothrive Biosys
25.7.25:
I watered with 3ltrs of dechlorinated water PH'd to 6.5, containing the following nutrients;
💜 2ml Ecothrive Trace
💜 1/4 TSP Ecothrive Biosys
PH: 6.5
PPM: 361
28.7.25:
I watered with 6.5ltrs of dechlorinated water PH'd to 6.0 with;
💜 7ml Trace
💜 1.5 TSP Ecothrive Biosys
PH: 6.0
PPM: 351
Thank you for checking in this week and hanging out in the comments 😁💚✌️🌱🙌


Likes
5
Share


@Bamz84
Follow
No Complaints No Issues Or Problems In The Garden...just being watered PH 6.0 and cal mag for now☺️


Likes
64
Share


@Cheeba_Inu
Follow
Overall, I am extremely happy with the genetics of the Auto Euforia and the general success of the grow. I always like to reflect on mistakes I have made, so let me lay them out here:
I overlit the plant during veg, contributing to it's bushy nature. It grew well but this would be a waste of electricity if I was growing more commercially.
During the last week of flower, my region of Ontario was hit with tons of rain and humidity. I took some steps to increase circulation of dehumidified air, but lowering 95rh to 65-70rh is still insufficient and I lost some control of the environment. The awful result was the start of mold in some select areas, particularly in the fattest buds and where leaves were cut away and petioles remained. This issue is not due to Dutch Passions great genetics, and is entirely due to a combination of an unseasonable environment and my own overconfidence.
This mold was never clearly apparent on the outside of the buds, but I found it will trichomes scouting under magnification. This forced me to speed up the harvest and drying process. It also means that I have had to carefully grade the buds into those safe for smoking and vaping, those mold free but needing a second examination (will be rosin pressed), and those close enough to spots of mold to be only for for edibles. Any moldy bud was of course cut away and will be disposed of.
Nevertheless, I have many ounces of fantastic buds, and will be making some nice pressed rosin based 510 cartridges. I will edit the harvest post with more information after the cure, and showing the various processing I will be doing.
Happy growing! 🌱


Likes
Comments
Share

@PhinolaGreen
Follow
11. Woche
Joa so langsam beginnt der Switch von Mittel zur spät Blüte. Denke es braucht noch 2-3 Wochen, bis sie rdy ist 🤭
Likes
35
Share


@LoneStrainger
Follow
Excited for next attempt. Learned a lot this time. Thank you all on here who helped!!!!!!!!!


Likes
7
Share


@StickyFingah420
Follow
Inicio de la sexta semana y así sigue el avance de la floración.
Ésta plata ha crecido a un ritmo impresionante y apesar de ser más pequeña en un inicio que su compañera de tienda, ha superado su tamaño notoriamente.
Todo sigue bien y sano como se esperaba.
Buenos humos! 👽
Likes
3
Share

@madlangs
Follow
All going well
Ppfd 950
25.1.26
Bubba kush super cropped 71
Gelato 41
black cherry gusher
64
Gelato 62
Lemon cherry super cropped 67
super boof 62
bubba Kush 59
amnesia 41 & super cropped 65


Likes
8
Share


@Chubbs
Follow
420 Fastbuds
Cherry Cola Week 10
These lovely ladies are getting super close to being finished. Starting to get a little foxtailing I believe for lowering my lights. I'll be chopping them this coming week to start the drying process. They are so sticky it's unbelievable. All in all I'll say they're coming along great even the one with messed up leafs. Happy Growing
Likes
7
Share

@DeepRootsGrowTrees
Follow
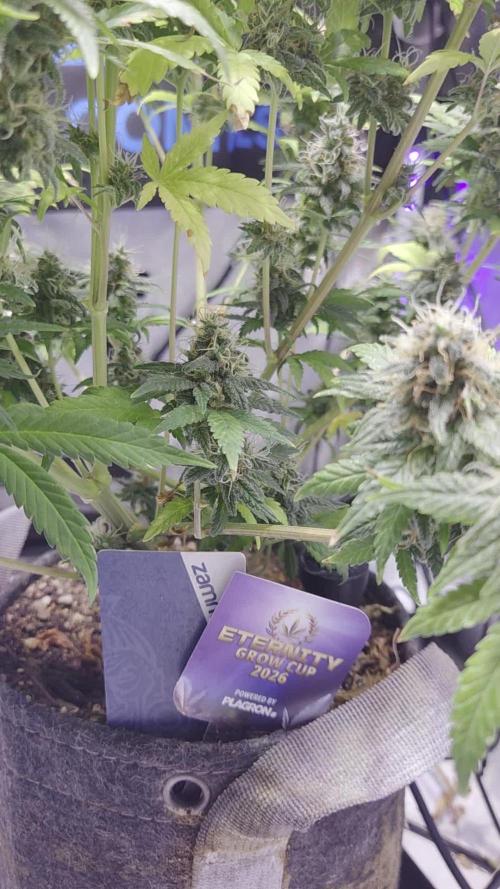
STICKY BROCCOLI 🥦 / ZAMNESIA & PLAGRON WEEK #15 OVERALL
WEEK #9 FLOWER
She's getting closer to being done as this week she's gotten more dense and sticky. Her buds are looking good and frosty. STAY GROWING MY FRIENDS 🧡!!
THANK YOU 😊 FOR STOPPING BY AND TAKING A LOOK IT'S MUCH APPRECIATED!!
THANK YOU 😊 ZAMNESIA AND PLAGRON!!
STICKY BROCCOLI 🥦 / ZAMNESIA SEEDS

Likes
42
Share


@noodle
Follow
Week 5 already? Plant is struggling to catch up after such that two week lag period where it didn't do a thing. Still, things are starting to get encouraging so now watering every day at 2 hours after lights on.
Added a webcam to the tent to watch what is happening. Noticed that at 12 hours after lights on, the leaves would start to wilt. Flooding at that time didn't have any noticeable effect before lights out, so I added a flood at 9 hours in (half the period). Pushed the wilting back to 14-15 hours after lights on, and just a little now, but still not completely solved.
Grew from 2 inches to 7 inches this week!

Likes
11
Share


@OleGrow
Follow
Cherry A causing me all sorts of issues. She's falling on top of Cherry B. And in turn, Cherry B is hitting into my other plants (Grandpa Stash).
Also noticed what looks like pollen sacs on day 78.

Likes
3
Share

@CannaArchive
Follow
At the beginning of the week both plants were transplanted into their 20L final pots.🌱
During transplant some roots were unfortunately damaged, which resulted in visible stress over the following two days.
• Leaves were hanging slightly😕
• First two leaf pairs turned yellowish
• Minor dry tips appeared
The final soil mix consists of BioBizz Light Mix (peat-free), worm humus, perlite and coco. The medium was amended with Startrex, Silicium Flash and 4 BioTabs per pot. Mycorrhiza was applied directly into the planting hole and around the root zone to support recovery 🌱
The medium was already fairly moist at transplant. First watering (1.5L RO water + Advanced Nutrients CalMag) was done 3 days later 💧
By day 2 post-transplant, healthy green new growth appeared again and recovery became clearly visible 🌿
By the end of the week both plants were pushing strong growth with 4 developed nodes and reaching approximately 14–16 cm in height.
• New leaves are deep healthy green 💚
• Light praying observed towards the end of the week ☀️
• Structure stabilizing again
Six days after transplant the lowest damaged leaf pairs were removed ✂️
he next larger leaf pair will be gradually removed next week to avoid unnecessary stress while maintaining photosynthetic power.
• Light: 18/6 at ~400 PPFD
• Environment: 25–26°C / ~58% RH
A challenging week due to transplant shock, but both plants recovered impressively and are now back on track 💪
Strong resilience shown here.

Likes
8
Share


@Die_Growbox
Follow
Trauermücken mit SF Nematoden bekämpfen/ Gelbtafeln Aufgestellt und Begleitpflanzen hinz


