
Likes
Comments
Share


@Buddyman75
Follow
I saw lots of development this week.
I've top dressed with bat guano and alfalfa meal this grow to fortify the soil.
They seem to like the advanced nutrients so far as well.
It's getting a little smelly in the tent💪🏾

Likes
26
Share


@BlackDragon22
Follow
Che dire ragazzi... Odori fortissimi nell'aria, come vedete gli insetti stanno a pranzo e cena sulle mie piccole.. Pazienza! Non dovrebbe mancare tanto, penso 2 settimane al raccolto, sono riuscito a farcele vedere di giorno finalmente è sono contento di poterle condividere con tutti voi 🙏🏽 aggiunte un po di noci in più, anche se si vede un po di fox talking, il resto perfetto.


Likes
23
Share


Likes
52
Share


@Salokin
Follow
The High intensity was to strong (clearly my fault) in the beginning which stunted her overall stretch, she however still delivered super dense, terpene and trichome loaded buds.
Likes
4
Share


@dutchm913
Follow
slowly introducing nutrients to her. little by little mainly watering at 6.4
Likes
19
Share


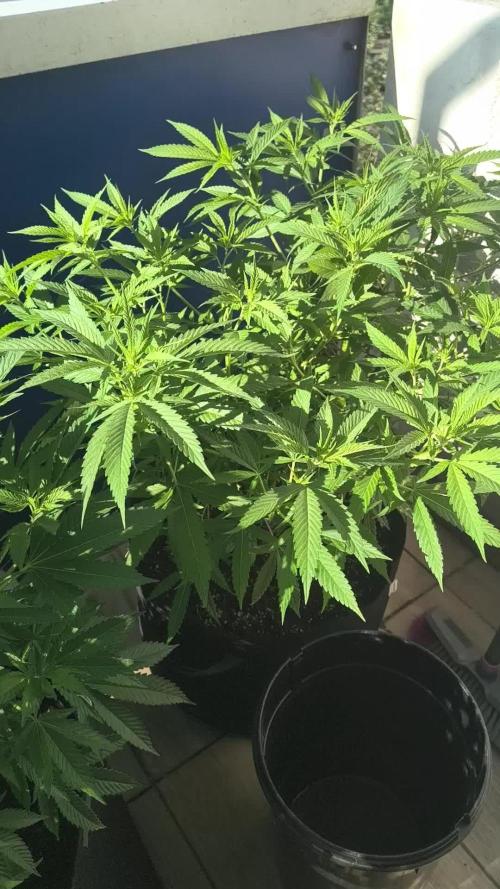
@Dunk_Junk
Follow
This week she grew 11cm taller & got a lot bushier. I still say she is an Indica pheno...
Nutrients used this week: 20 grams 20-20-20 powder mixed with 10 litres of water + 40ml of Cannazym = ~1470ppm
Timelapse sequence is:
*** Auto Jack ***
Pineapple express
CBD Lime
Blue Dream
*** Auto Jack ***
Pineapple Express
CBD Lime
Blue Dream


Likes
6
Share

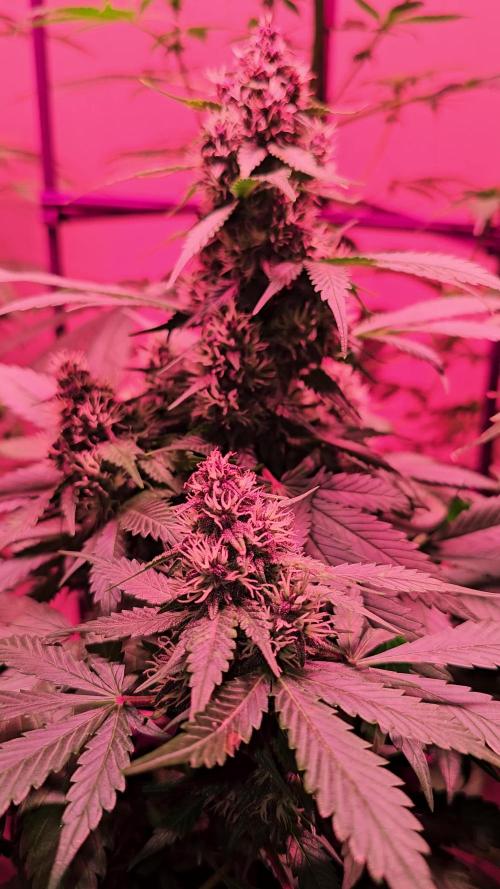
@Ninjabuds
Follow
The Eldorado OG harvest was exceptional, yielding tightly stacked buds that showcased the plant's impressive structure. Unlike other high-yielding strains, this one delivered on both quantity and quality, with dense, aromatic buds that are a testament to its superior genetics.

Likes
16
Share


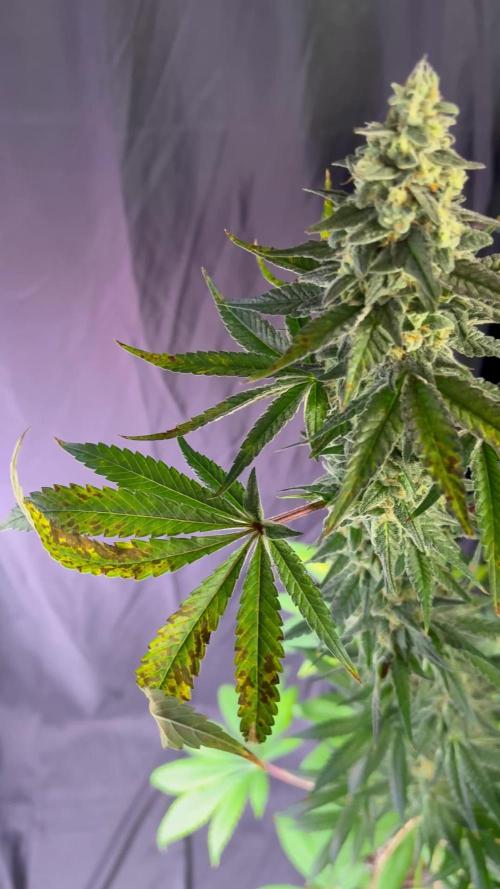
@AestheticGenetics
Follow
4/9/25
This plant is beyond frosty. Stacking up super nicely. Seems like she will yeild quite a bit.
My only gripe is that she has like no smell at all.
Using the foil as a soil cover is working quite nicely. the top soil is getting filled with roots quite well.
Top dressed 1tsp of Bloom
1tsp microbe charge
1tsp bloom

Likes
9
Share


@nEcKk
Follow
The fruits become heavier and begin to ripen.
The night temperature was set to 20° C
The humidity was set to 50%


Likes
11
Share


@Someusername420
Follow
Nachdem ich ein paar Triebe aus Versehen abbrach, lies ich vergangene Woche die Pflanzen in ruhe.
Mittlerweile war alles zugewuchert, weshalb ich mich dazu entschloss, einige Blätter zu entfernen und mit etwas LST zu starten um die Pflanzen auf das kommende SCROG´ing vorzubereiten
Likes
4
Share

@Samsationalseeds
Follow
Day 57-63
Week 9
Halfway through last week, I noticed a issue with a wilting, deep water culture bucket.
I realized there was a possibility I created an imbalanced solution for my plant that shuts them out, even though it was in the correct p.H range I probably encouraged mold or stagnant root growth.
They are all picking up.Don't look stressed.They look happy and pointing towards the light.
Likes
20
Share


@WeEdandGrowLover
Follow
The not so little now really is growing well😊.
Had to get it in another box to keep good temperature.
I keep doing some defoliation Time to Time.


Likes
7
Share


@Rusty_Shackleford
Follow
Drowned a few seeds, lesson learned. Super thankful for these beautiful girls. 4 WW, 3 BK, 3 JH, 1 Lemon haze. All feminized autoflowers . Actual week 1 from germination.


