
My Very First Grow

Girl Scout Cookies Feminized
Homegrown Cannabis Co


Contr
Controller AI


Perlite
Perlite
Indoor
Room Type
Transplantation
weeks 3
LST
weeks 3-4
HST
weeks 3-4
Topping
weeks 3-4
Defoliation
weeks 3-4
19 l
Pot Size
Start at 4 Week
G
Germination1y ago


BigBossWill 5/25 12 PM: GSC Seed before placed into paper towel and Ziploc bag
5/27: Finally see a little sprout - not ready yet
5/28 Seed sprouted but sprouted curved. I had to gently straighten it out and place it back into the paper towel. The sprout is still too small to plant into the rapid rooter
5/29 3:30 PM: The seed is transferred into a Rapid Rooter and is placed into the Humidity Dome
Rapid Rooter is already damp, so no water needs to be added.
Placed seed pointy side down and took little pieces from the side of the Rapid Rooter plug to cover the top where the seed is placed.
Humidity dome is in darkness during the germination phase.
Heating pad is set to medium. Research shows that the temp should be approximately 85° F.
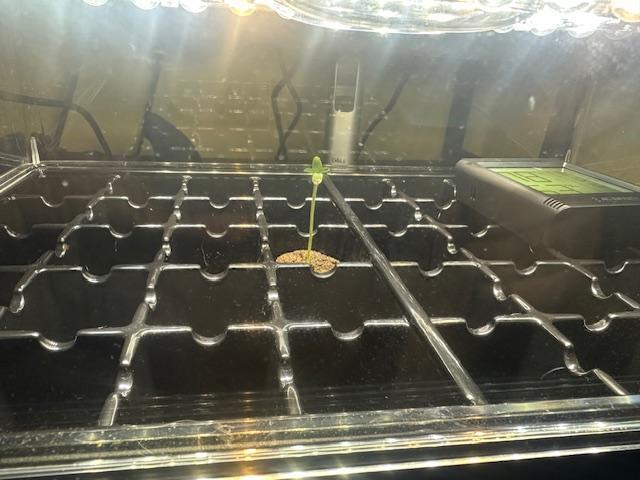
6/1 7:30 PM: The sprout first popped out of the Rapid Rooter. The sprout popped out with the seed still attached, which is a condition called Helmet Head. The solution to this is to put a droplet of water where the seed is on the sprout and it will either fall off naturally or you can pull it off gently with tweezers.
This is when I should have started the light, but instead I waited until the first true leaves started to form. (This is what caused a leggy stem)
6/2 12 PM: First true cotyledon leaves start to form. The serrated leaves are getting ready to also come out. Turned on light and set intensity to level 3. I didn't measure the distance from the canopy, and it was too far away, which also caused a leggy stem.
6/3 10 PM: The first serrated leaves have started to form, though still small
6/4 2:30 PM: Noticed the stem was too leggy due to being too far away from the light. I put some paper towels under the Rapid Rooter to raise the height, so the canopy was about 2 inches away from the light
6/6 12 PM: Humidity was too high with the light being on, so I had to open the holes of the Humidity Dome.
Insects can now get in, so I also put in a yellow trap
6/7 7:30 PM: The second set of serrated leaves are starting to poke out of the stem
6/8 8:30 PM: I noticed roots are starting to poke out of the rapid rooter so it’s almost time for transplant
6/11 4:30 PM: Seedling is ready for transplant into the tent
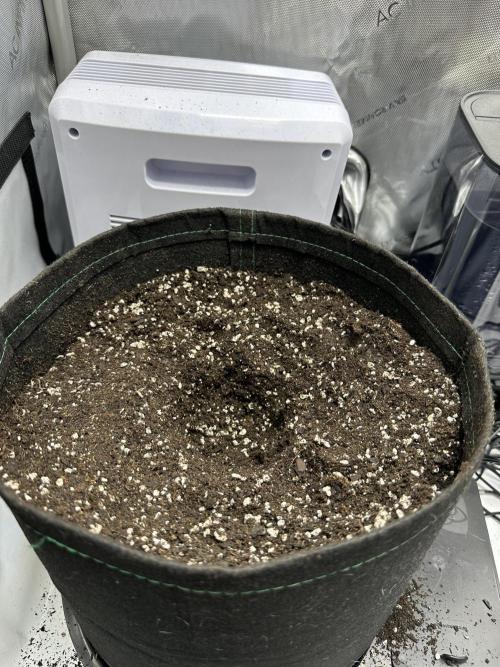
6/11 4:30 PM: Plant is transplanted into a 5-gallon pot with approximately a 3:1 ratio of FoxFarm Ocean Forest Potting mix and Perlite.
1 like
comments
Share
Used method
Paper Towel
Germination Method
3
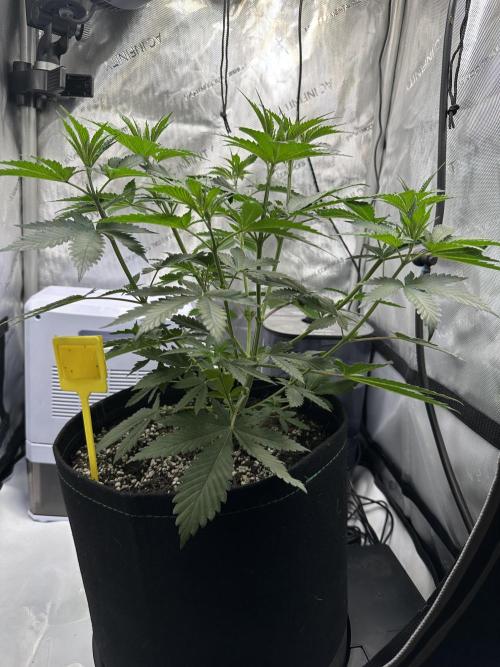
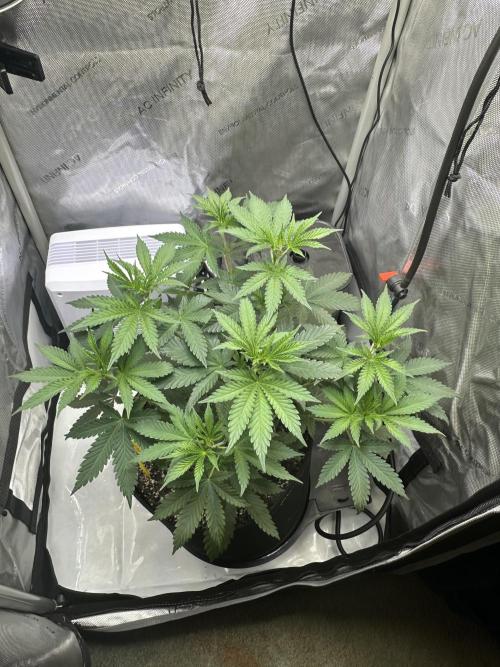
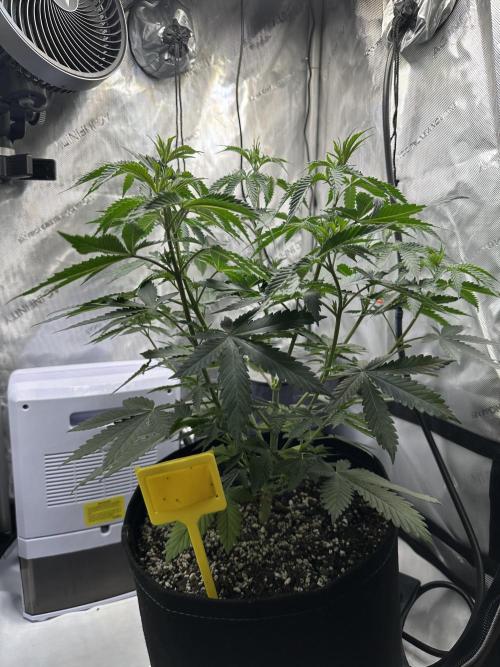
Week 3. Vegetation1y ago


12.7 cm
Height
18 hrs
Light Schedule
26 °C
Day Air Temp
No Smell
Smell
21 °C
Night Air Temp
18.93 l
Pot Size
60.96 cm
Lamp Distance
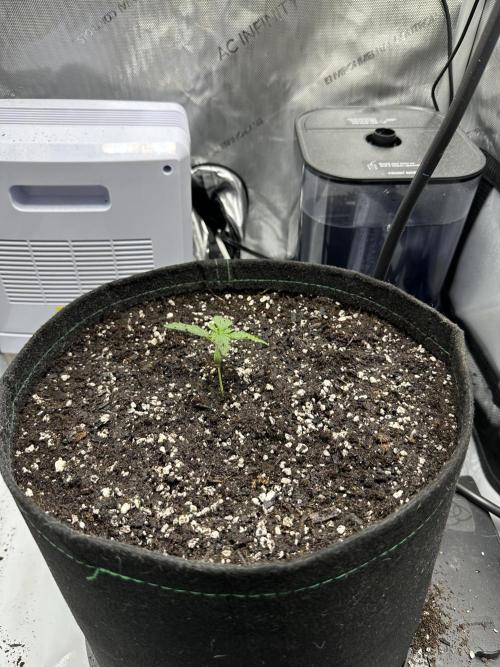
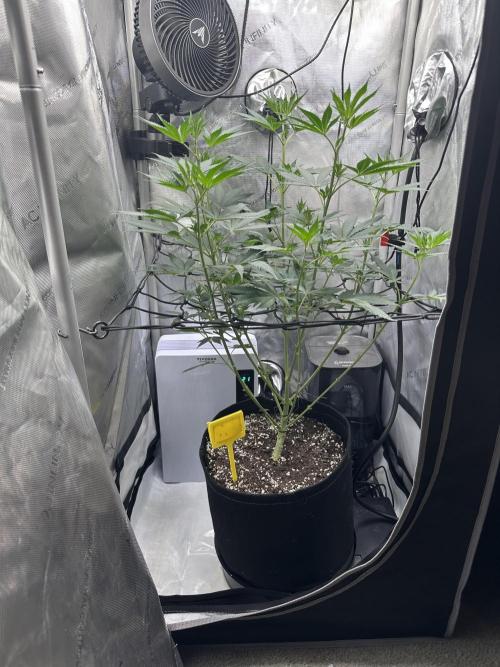
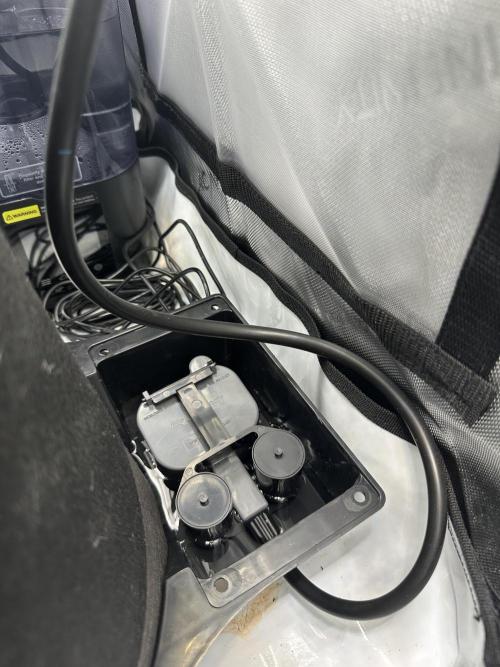
BigBossWill 6/11 5 PM: Rapid Rooter transplanted into a 5-gallon pot. Had to transplant early with only 2 sets of serrated leaves.
Soil is composed of 3 parts FoxFarm Ocean Forest Potting Soil and 1 part perlite.
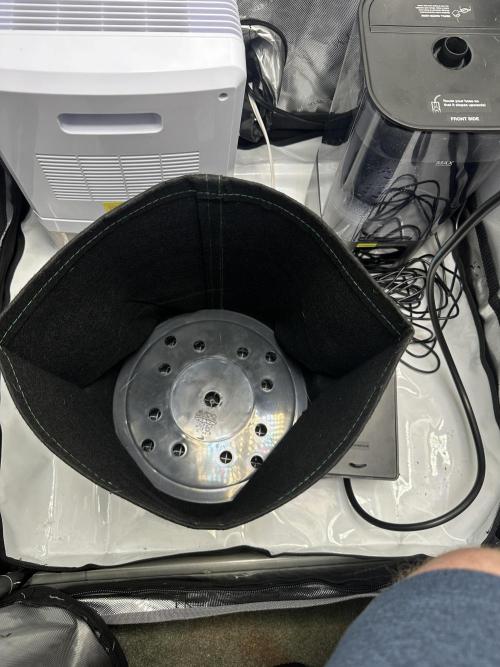
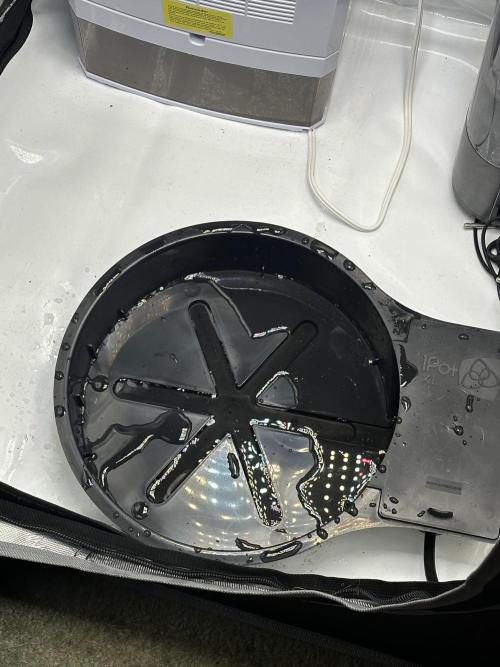
It is a little under 4 gallons instead of 5 gallons because there is the AutoPot Airbase, which increases aeration.
When transplanting the Rapid Rooter, the usual method is to place it even with the base of the soil.
Due to how leggy the stem is, I planted the Rapid Rooter about an inch lower than the soil base so that the stem is shorter.
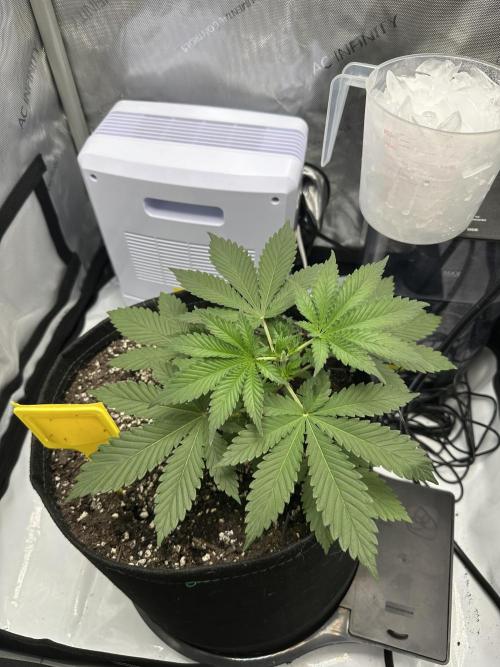
6/12 4 PM: First serrated leaves are getting bigger, and the third set is also growing. Watering with 2-3 cups every 2 days,
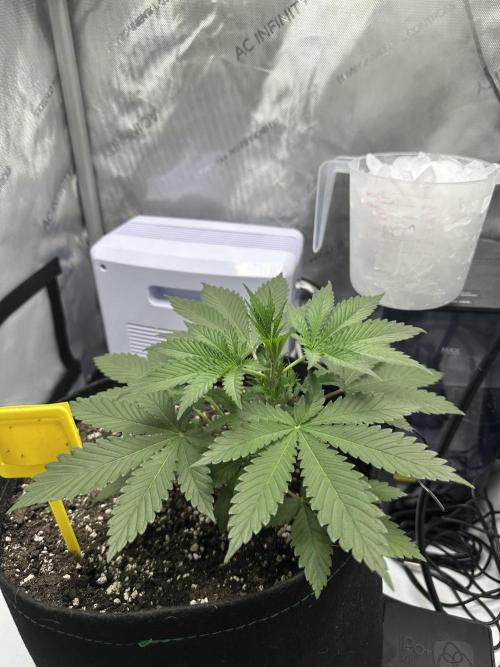
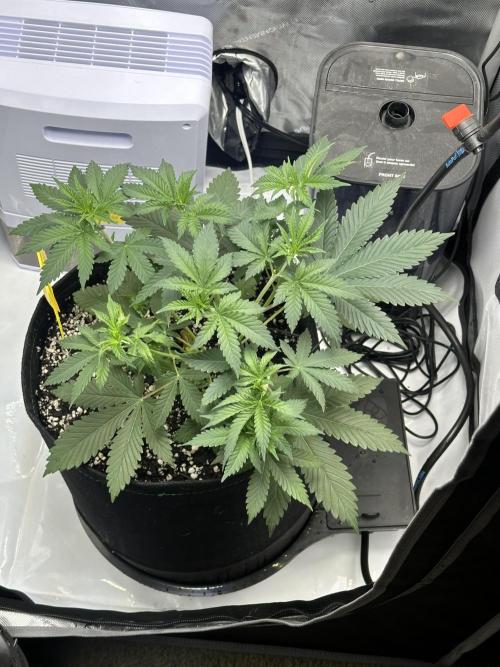
6/18 11:30 PM: There is rapid growth. There are now 4 full sets of fully grown serrated leaves, with the apical stem looking to grow more.
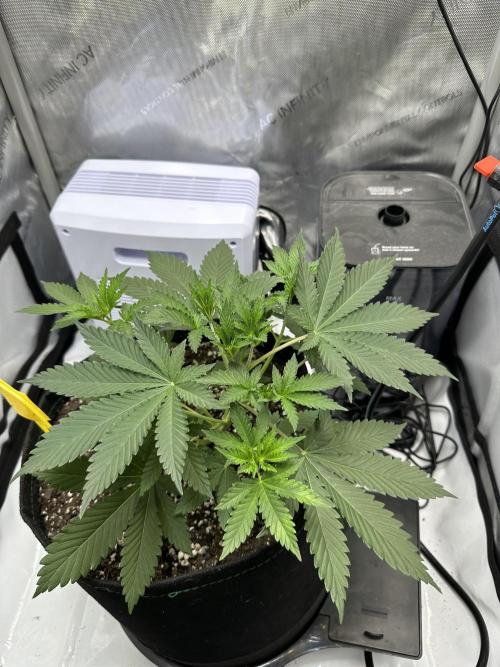
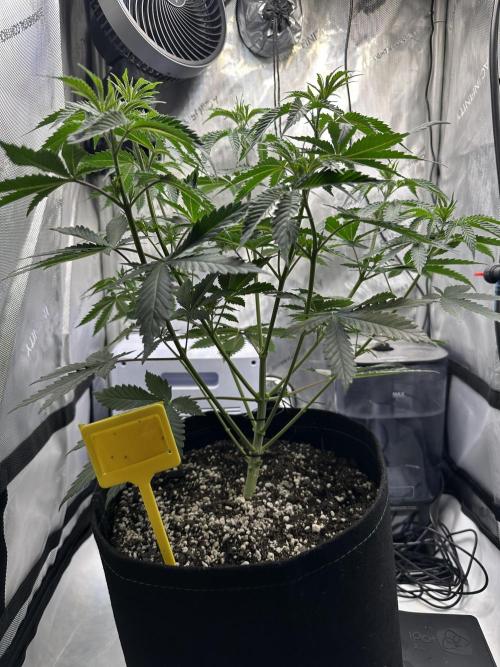
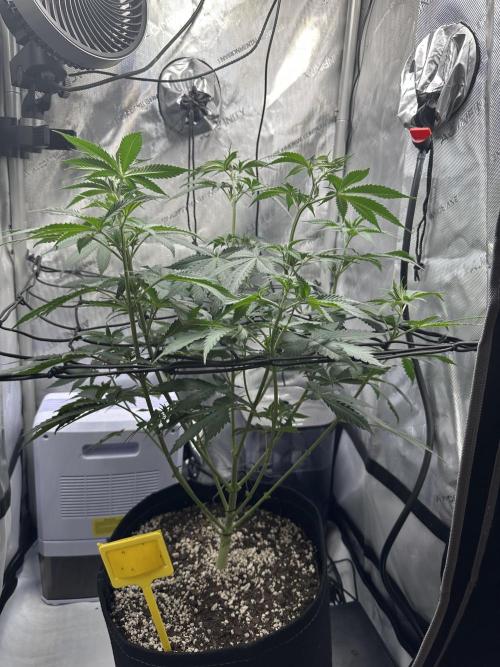
6/20 9 PM: Enough nodes have grown where it is time for Low Stress Training (LST)
I used a plant twist tie to attach the apical stem to the side of the fabric pot that was the most empty.
Marijuana plants grow vertically like a Christmas tree, so doing this allows the plant to grow horizontally.
Doing this will allow multiple colas to receive even sunlight instead of just the top cola to receive all the sunlight.
6/22 2:30 PM: Continued LST by bending the apical stem a bit more to even out the lighting.
6/22 9 PM - For LST, applied a second twist tie to the apical stem to try to even out growth and lighting.
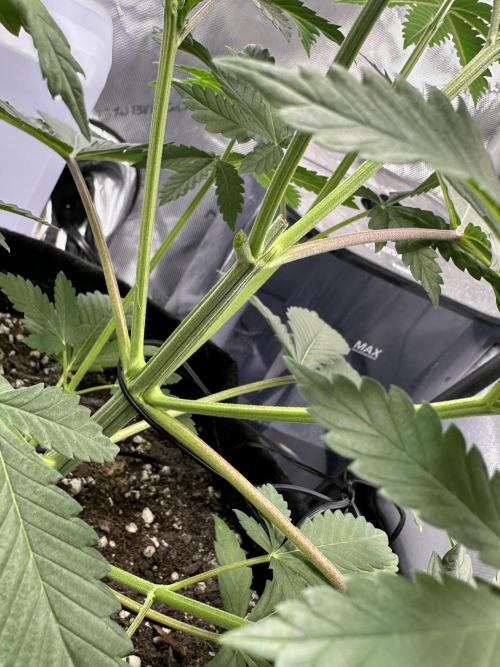
6/25 3 PM: Performed HST in the form of topping, which is using pruning shears to cut the apical stem right above a set of nodes to stop the upward growth. The energy will then be transferred to the other existing nodes instead of continuing to grow upwards.
7/1 8 PM: Learned that I have been under watering. I have just been doing 3 cups of water every 2-3 days with no runoff, but I should have been doing between 8-16 cups of water, (The equivalent of a half gallon to a gallon.)The normal should be 10-15% runoff that comes through into the AutoPot when watering. Also learned that I should be trying to avoid watering in the middle where the stem is as root rot can develop. Instead, watering should be performed in a circle motion around the outer ring of the circle.
Gave nutrient treatment for the first time as well. The mix of solution that I did was as follows:
-8 Cups of Water
-1.25 ml of Flora Micro
-1.25 ml of Flora Gro
-0.625 ml of Flora Bloom
I mixed the following formula, stirring after adding each solution. After everything was mixed, I tested the pH which was at 6.3, following the recommended range of 6.0-6.3.
Nutrient feeding should happen about once a week, or alternate between watering and watering with nutrients
7/3 2 PM: Watered before leaving for a couple days on vacation
7/8 1 PM: Light defoliation of plant
Gave nutrient treatment with a mix of a half gallon of water as follows:
FloraMicro 2.5 mL
FloraBloom 2.5 mL
FloraGro 1.25 mL
Cal Mag 2.5 mL
likes
comments
Share
Used techniques
Transplantation
Technique
LST
Technique
HST
Technique
Topping
Technique
Defoliation
Technique
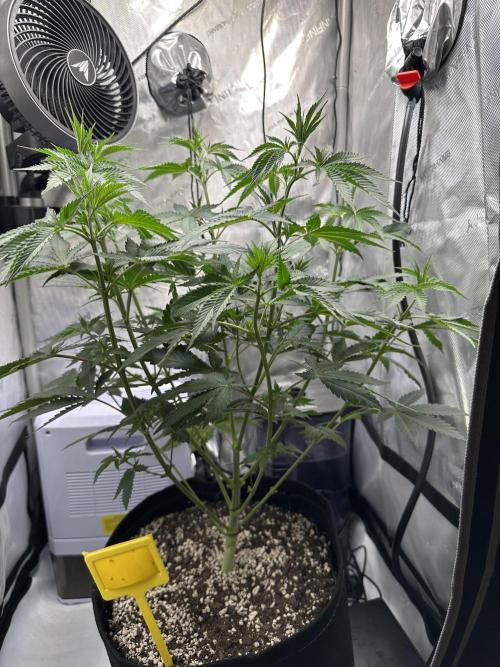
4
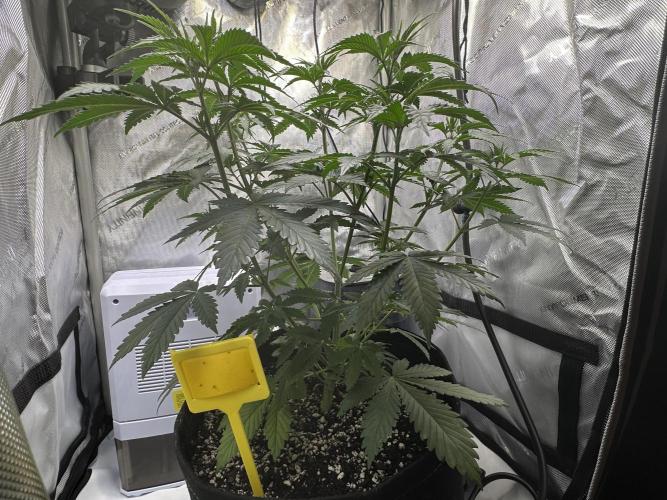
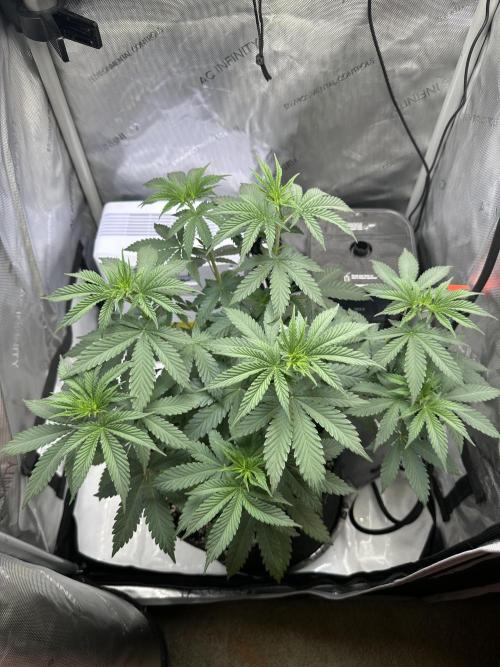
Week 4. Flowering1y ago


12.7 cm
Height
12 hrs
Light Schedule
26 °C
Day Air Temp
6.2
pH
Normal
Smell
21 °C
Night Air Temp
18.93 l
Pot Size
45.72 cm
Lamp Distance
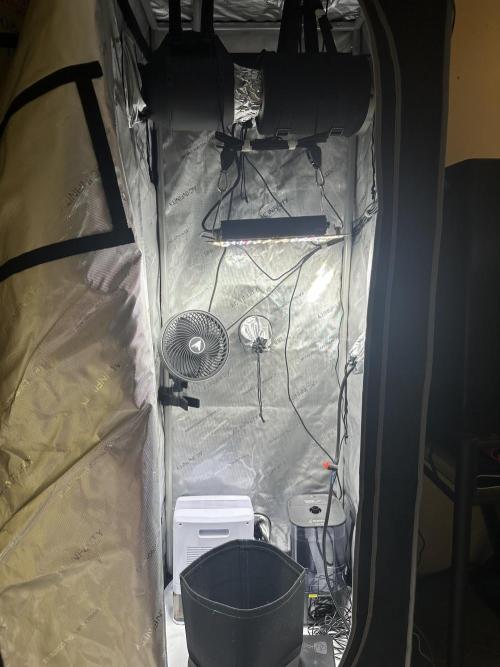
BigBossWill Ac Infinity Settings for Flowering:
Oscillating Fan: Steady Level 4 - 18 Degrees
Ventilation Fan: Level 4-8
Humidifier: Max Level 10
Light: 12 hour cycle going from 10 PM to 10 AM to maximize energy efficiency
Brightness level 7
Set to 18 inches from the top of the canopy (I forgot to adjust this step so it was about 9-10 inches away from canopy)
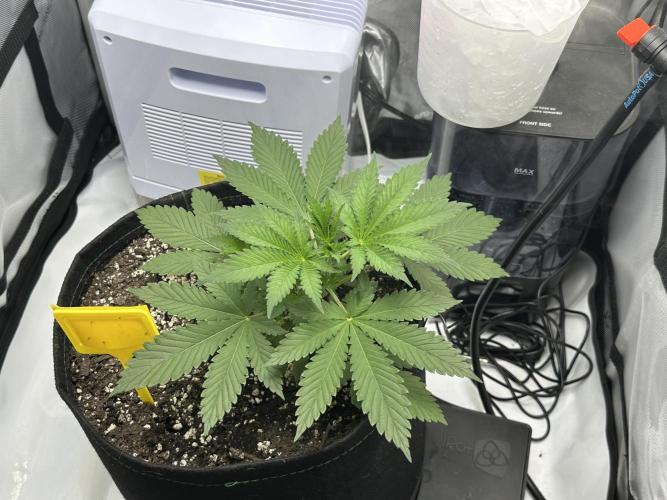
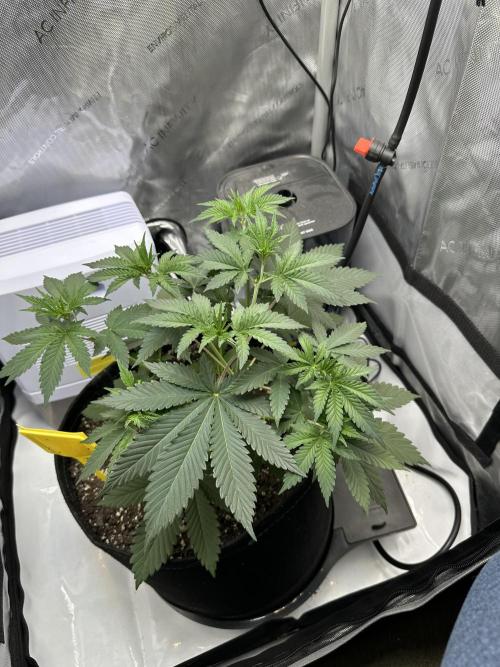
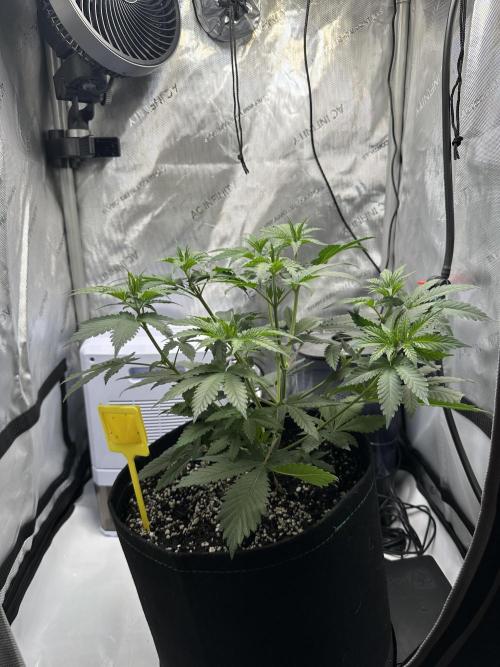
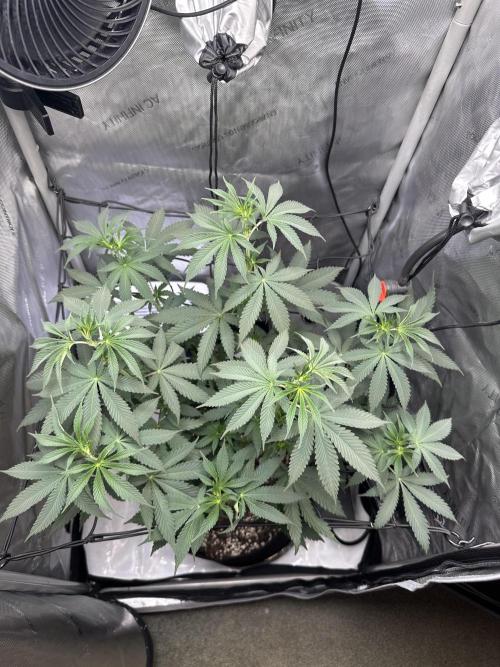
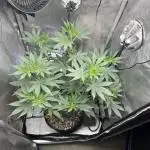
7/9 3 AM: Flowering stage begins. Applied lollipop traning method at the same time as the start of the flowering stage. Lollipoping is to cut the bottom 1/3 of the growth that will get no light so that the energy can focus on the top colas.
7/10 12 PM: Noticed drooping because canopy was only 9 inches from the light. Adjusted to 18 inches.
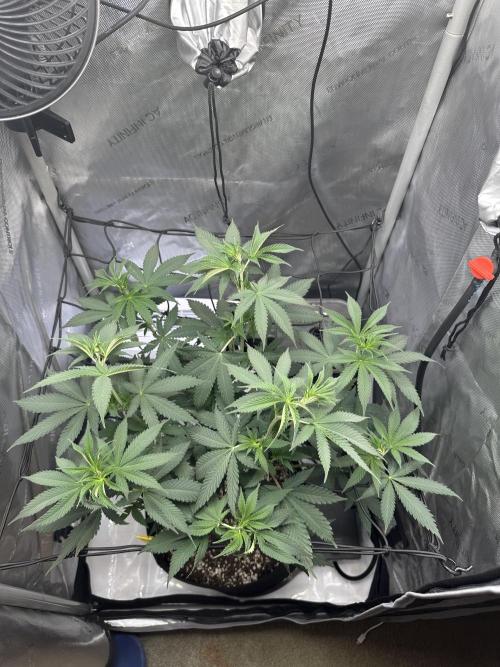
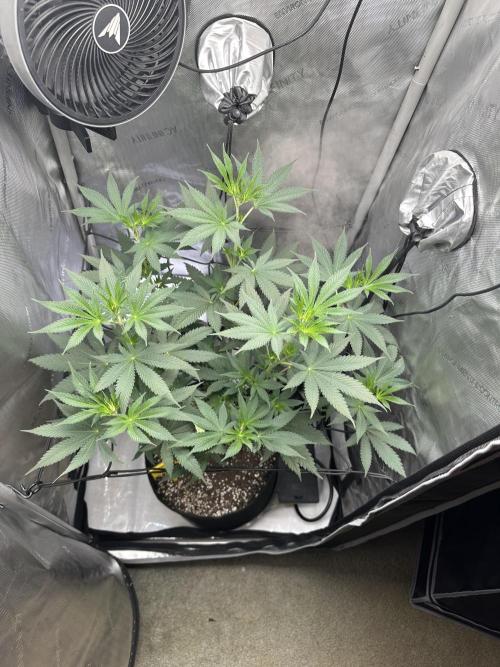
7/14 10:30 PM: Set up trellis net to ensure each cola has its own spot for lighting purposes and to help plant stability.
7/17 3 PM: Watered using 4 cups of water
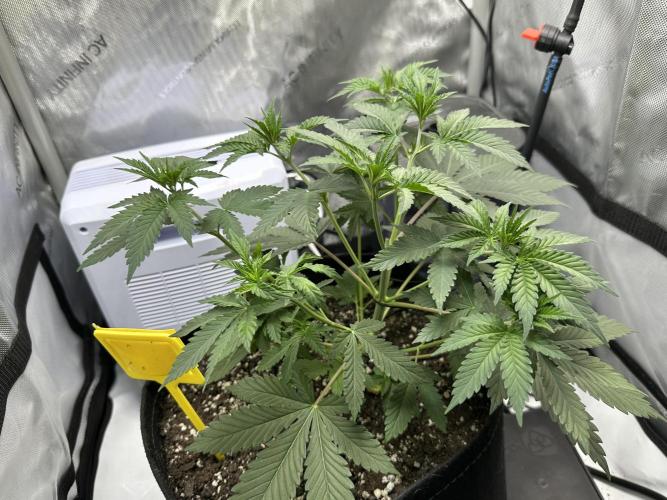
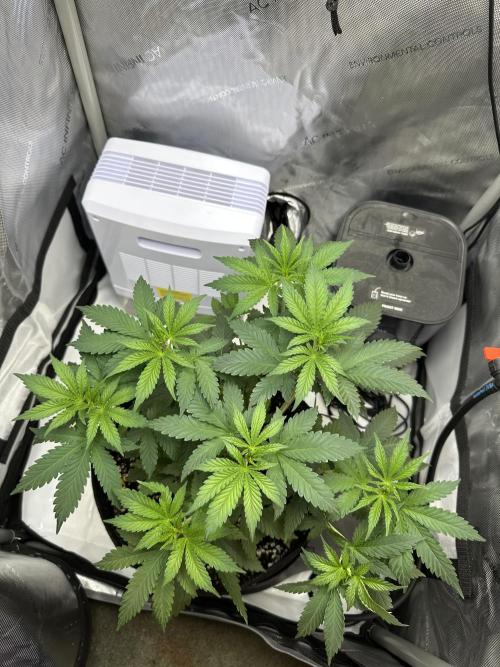
Defoliated more of the bottom 1/3 of the plant and any fan leaves that were blocking colas on the top.
7/19 5:30 AM: Turned on Autopot, which will start continuously bottom feeding the plant. Since I will be gone for a week on vacation, the reservoir is just filled with water and no nutrients. Completed final defoliation and tried to manage the branches so everything grows into the trellis net properly while I’m gone. Performed a top watered nutrient feeding right before leaving with a mix of a gallon of water as follows:
FloraMicro 8 mL
FloraBloom 16 mL
FloraGro 4 mL
Cal Mag 4 mL
likes
comments
Share
Used techniques
Defoliation
Technique
HST
Technique
Topping
Technique
LST
Technique
Enjoying this diary? Follow for more updates!

Prefer the old Diary view?
Go back to the old Diary view