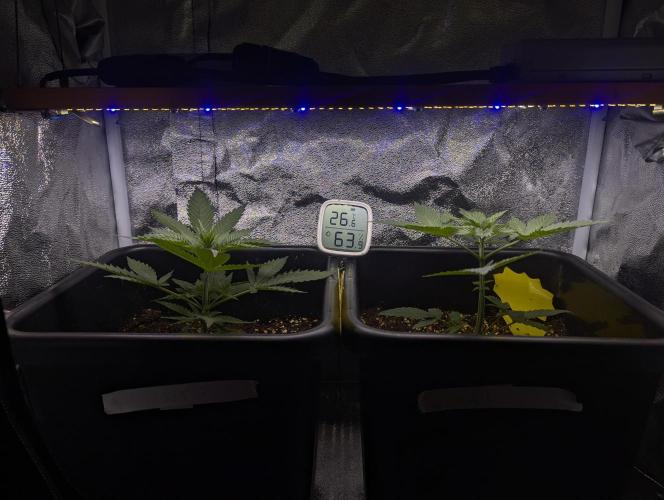
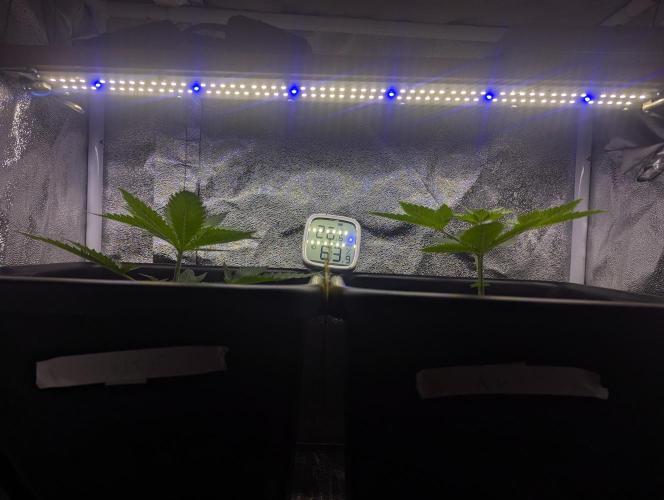
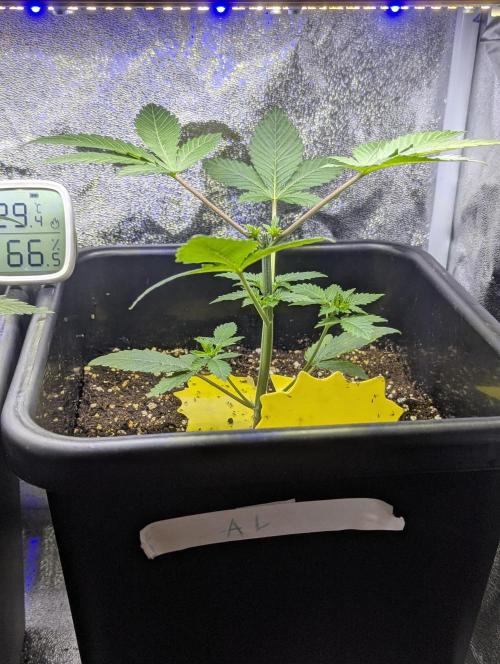
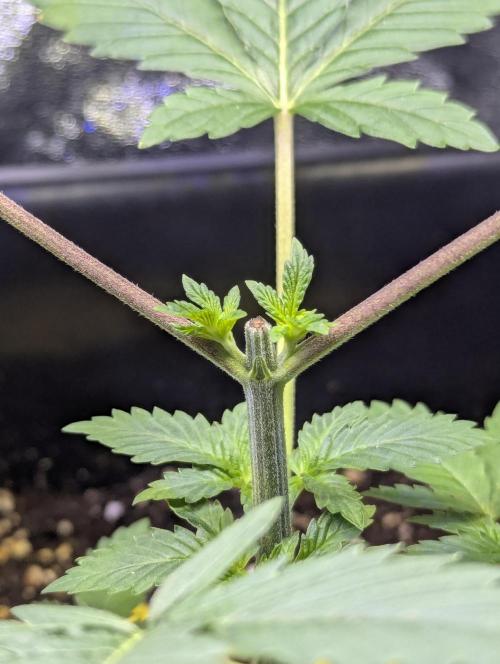
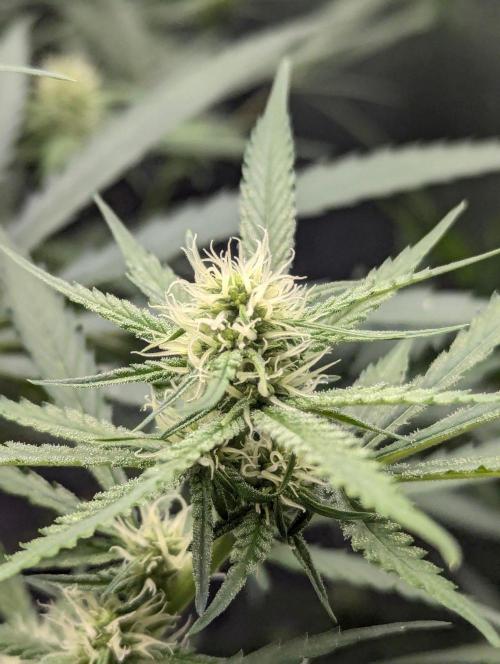
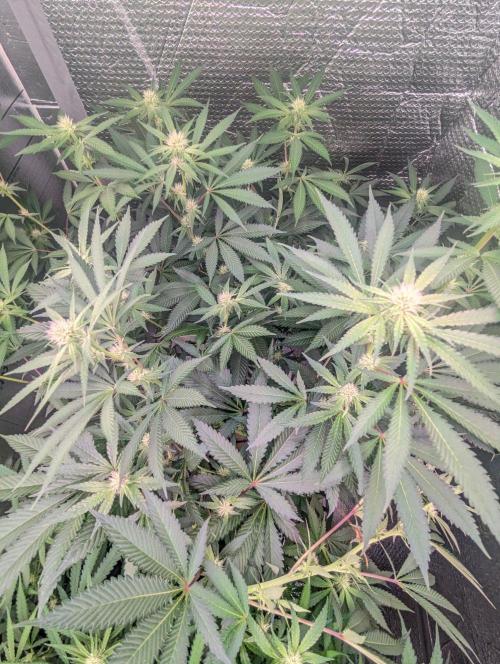
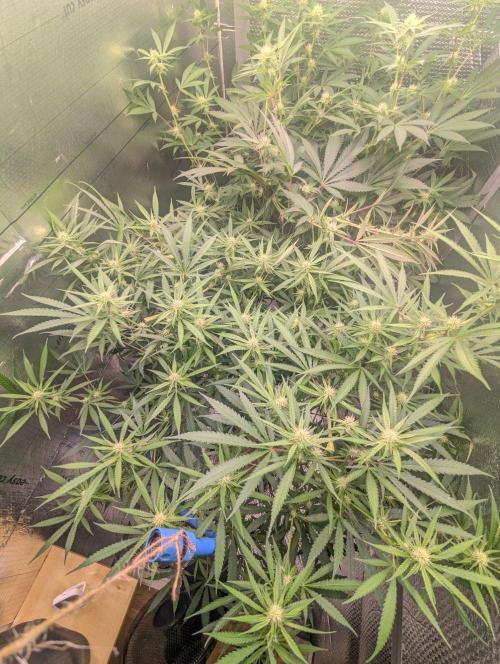
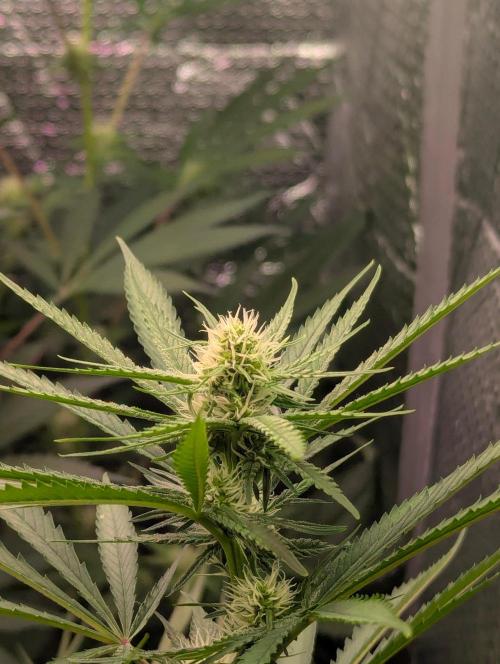
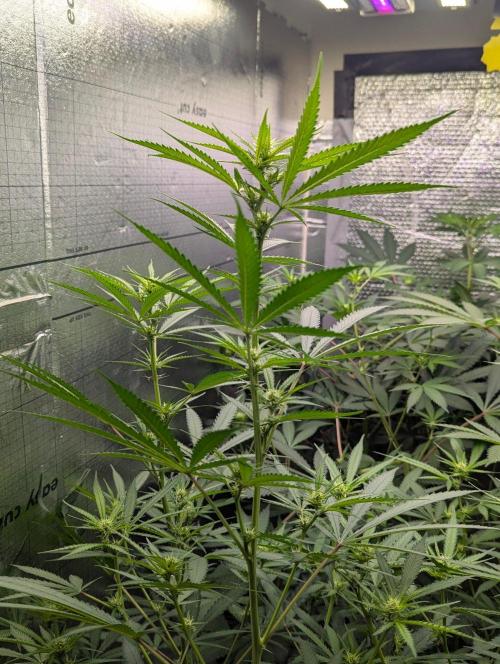
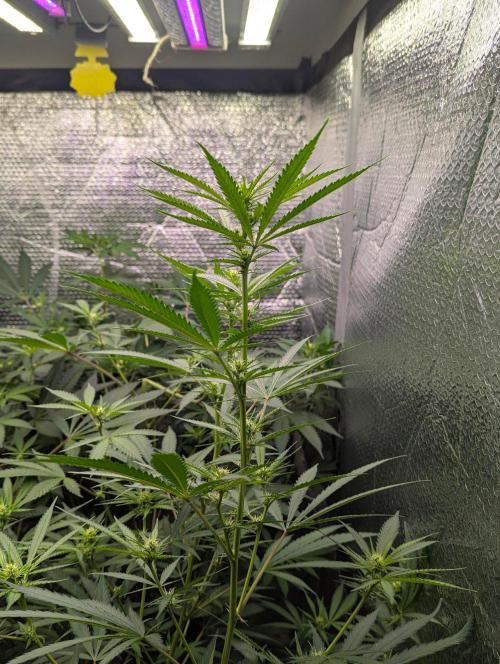
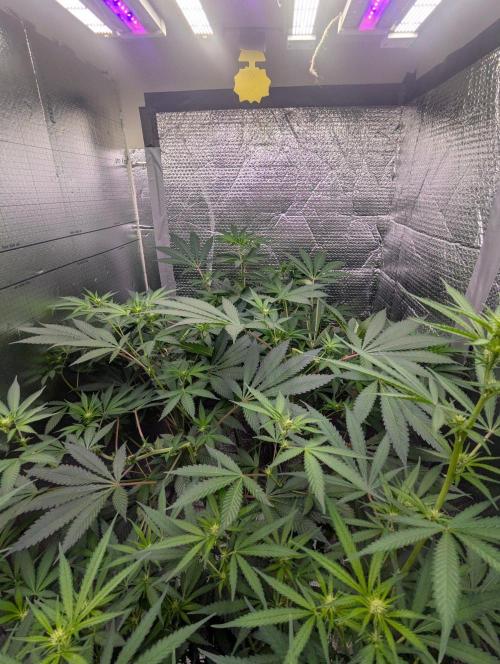
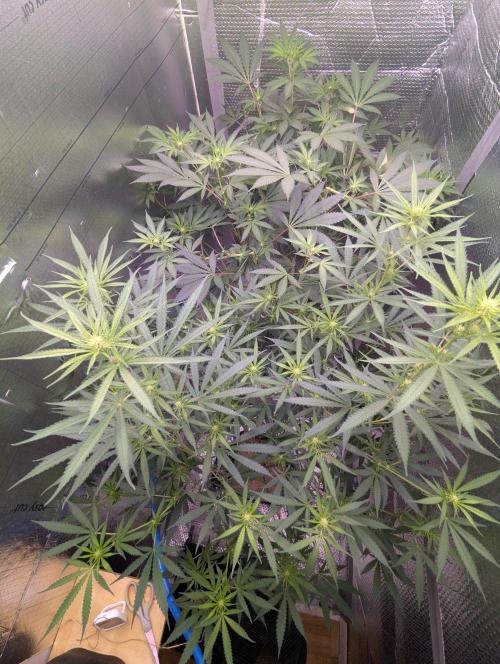
Theia Shoutout to the team at Royal Queen Seeds for gifting me this North Thunderfuck seed to test out and review. Time to see what this strain can do.
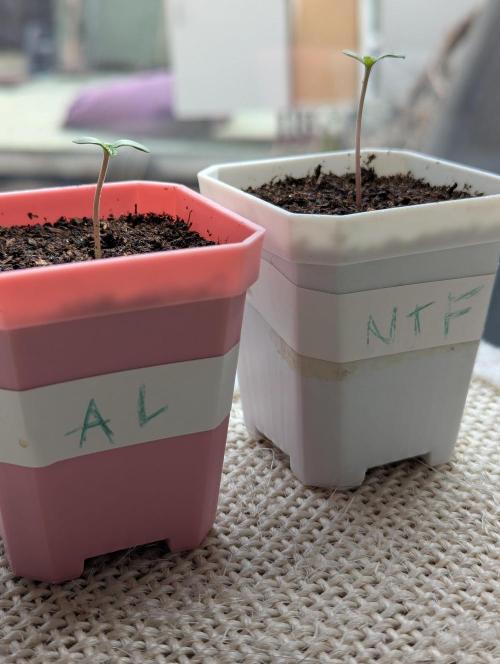
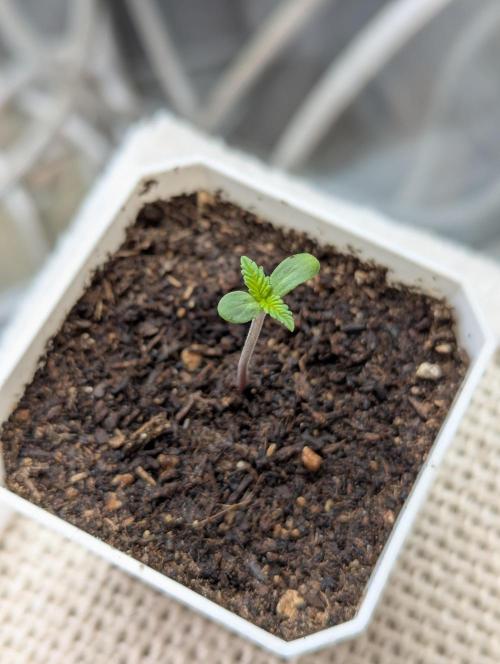
The Start: The process kicked off with a 24-hour soak in 22°C dechlorinated water. From there, the seed went into damp paper tissues inside a sealed plastic bag.
Exactly 22 hours later, it showed a strong, healthy taproot. These RQS are super fresh it seems and whenever I get a seed that roots out this quick it's always a good sign.
The Substrate
I put together a 100ml starter cup using BioBizz peat-free Light Mix. To get the organic activity moving early, I mixed in 5ml of Startrex soil conditioner and a light touch of Bactrex to activate the microbes in the medium before planting the sprout.
The Lights:
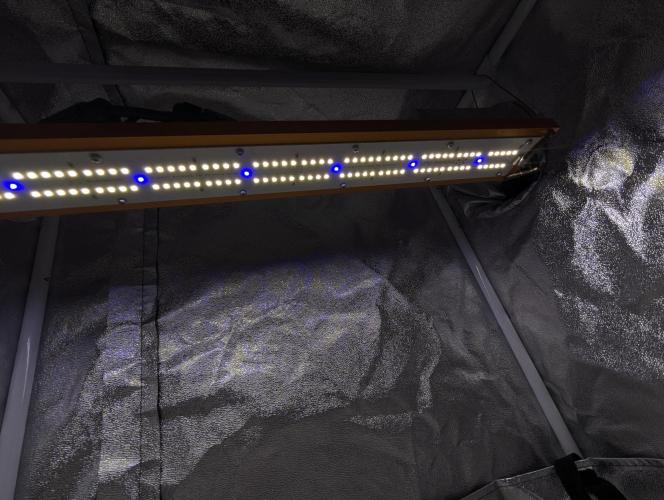
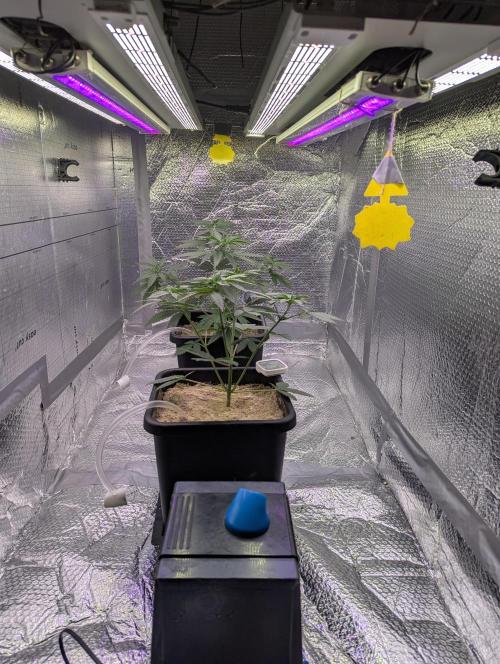
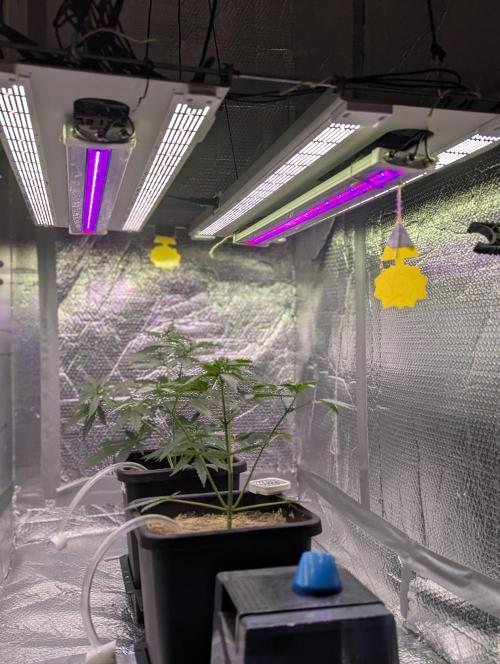
The cup is placed under the Invisible Sun B60, which utilizes Samsung lm301h diodes plus extra royal blue. It’s set to a 24/0 light cycle holding a DLI of 13. The blue-heavy spectrum will ensure the seedling focuses on tight nodal spacing rather than stretching out early on.
6 likes
comments
Share
2
Week 2. Vegetation
2mo ago
1/6
6 cm
Height
24 hrs
Light Schedule
24 °C
Day Air Temp
7.0
pH
60 %
Air Humidity
21 °C
Solution Temp
22 °C
Substrate Temp
21 °C
Night Air Temp
0.1 liters
Pot Size
0.07 liters
Watering Volume
60 cm
Lamp Distance
Nutrients 2
Startrex
5 mll
Bactrex
2 mll
Theia Week 2: North Thunderfuck
Growth & Development
A lovely week of growing up..
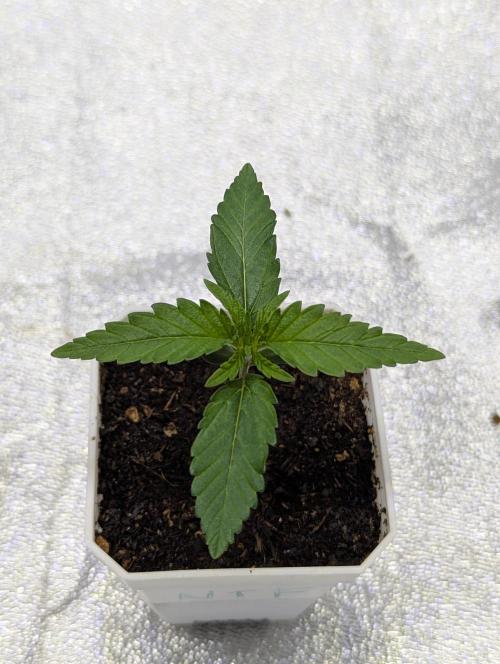
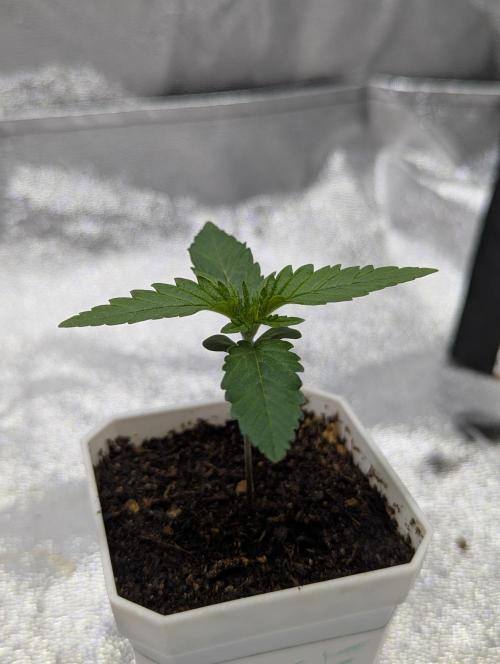
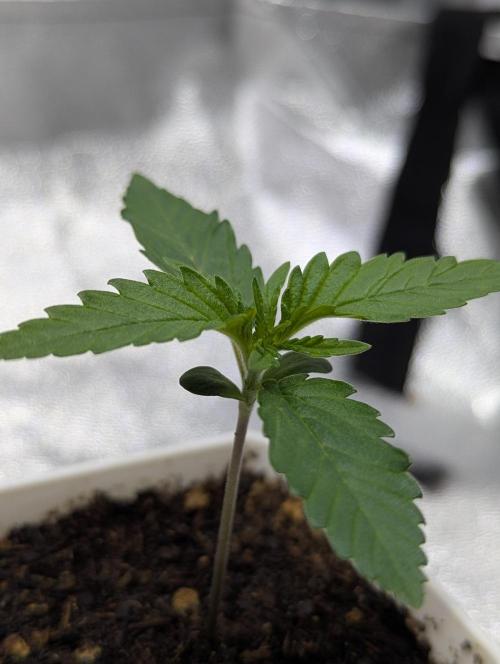
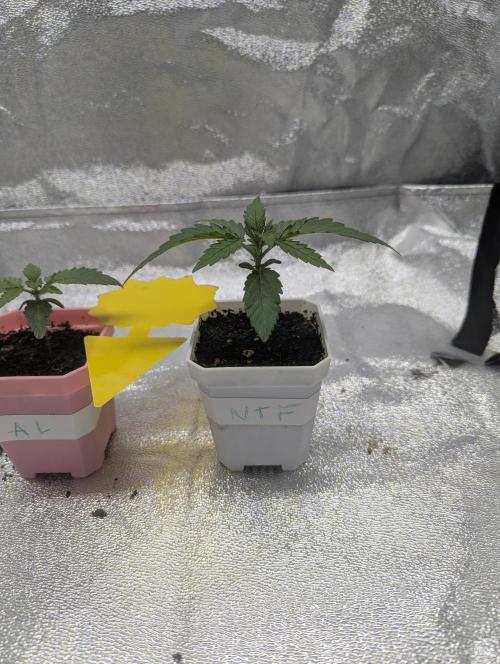
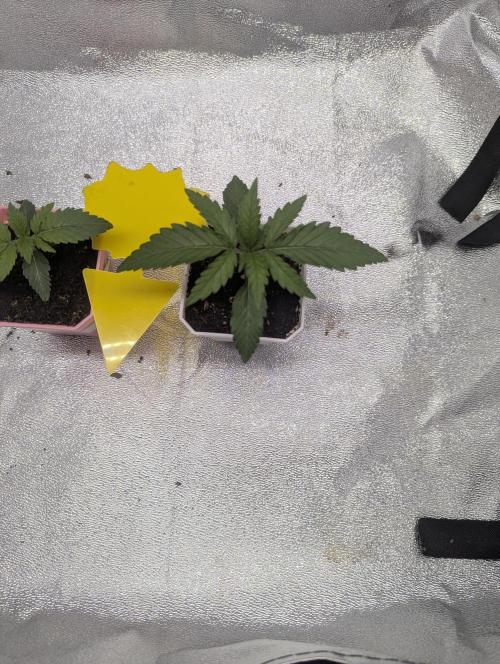
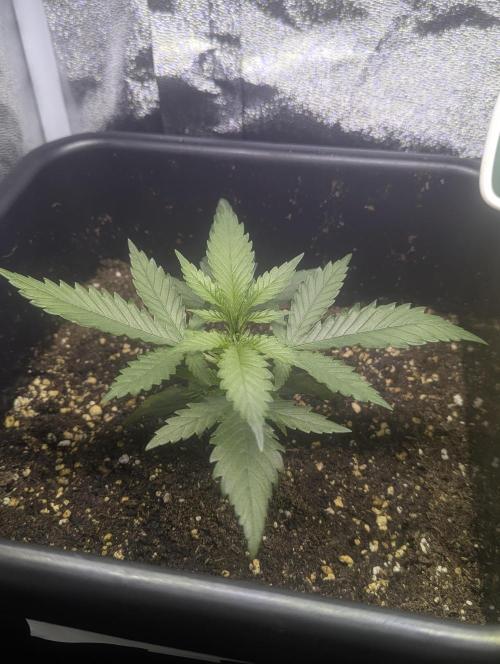
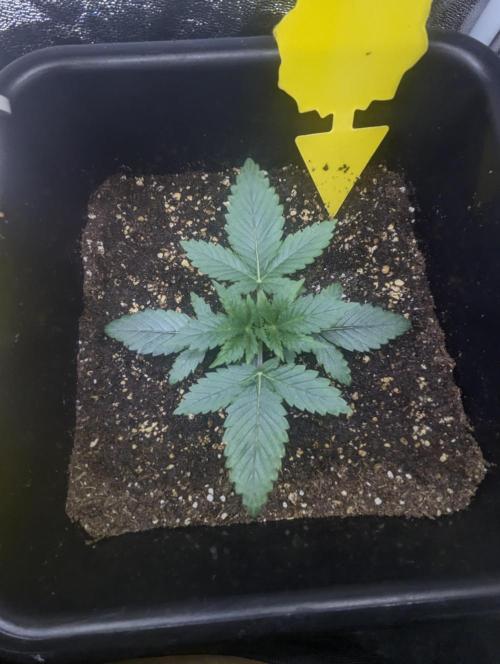
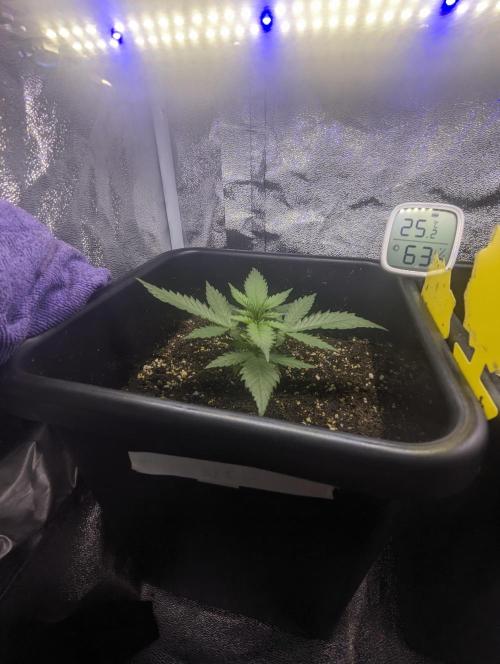
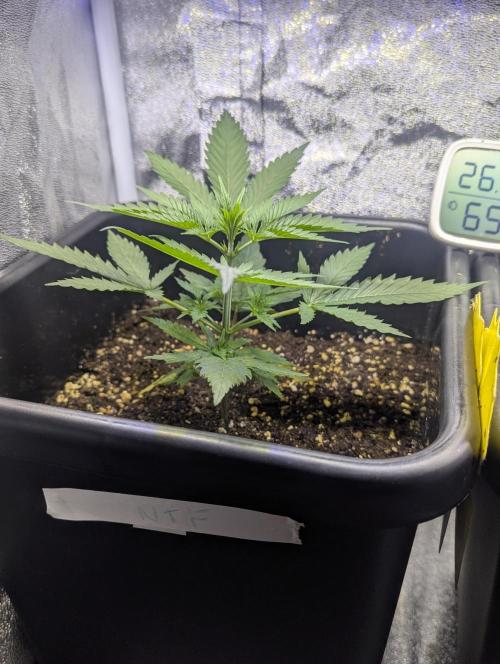
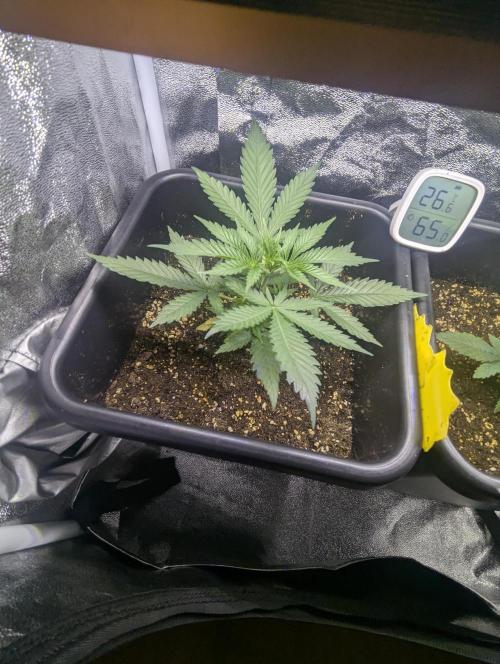
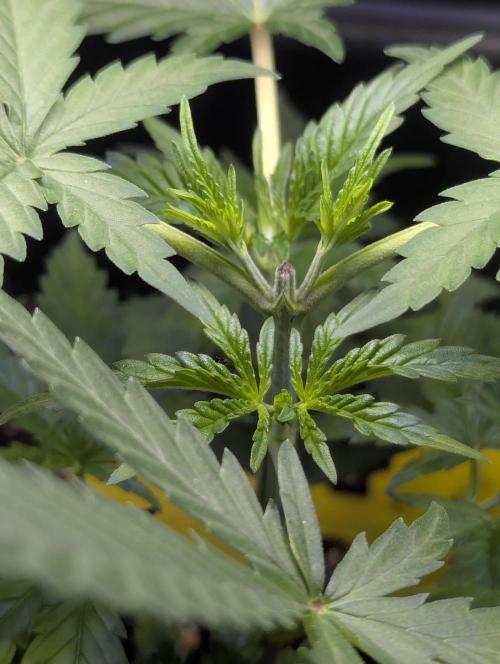
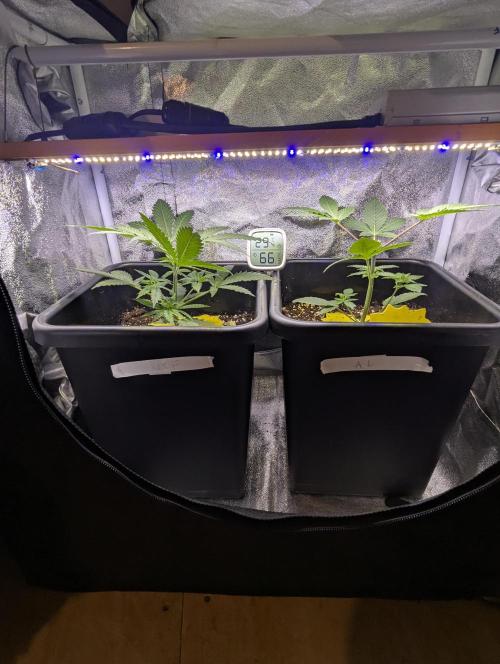
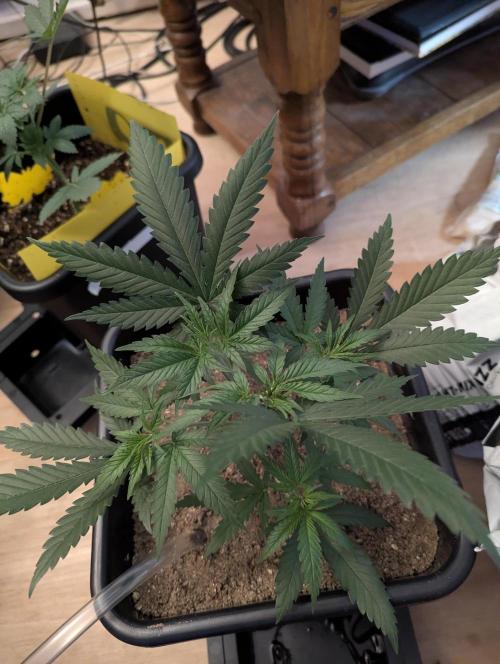
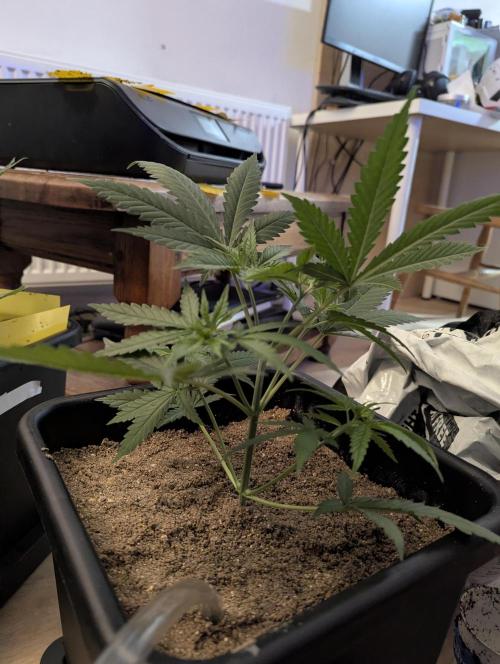
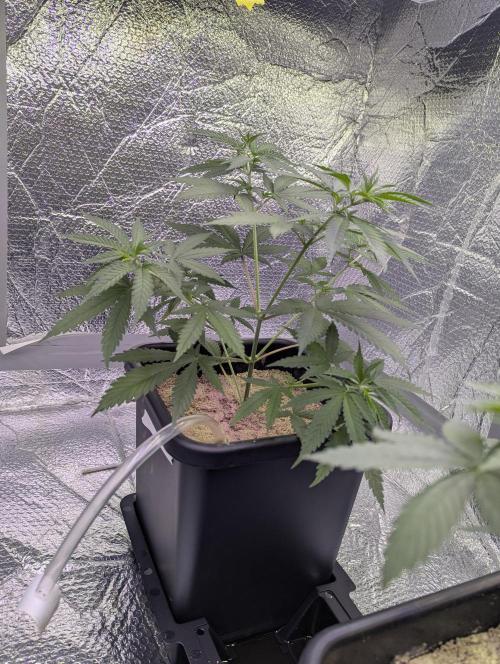
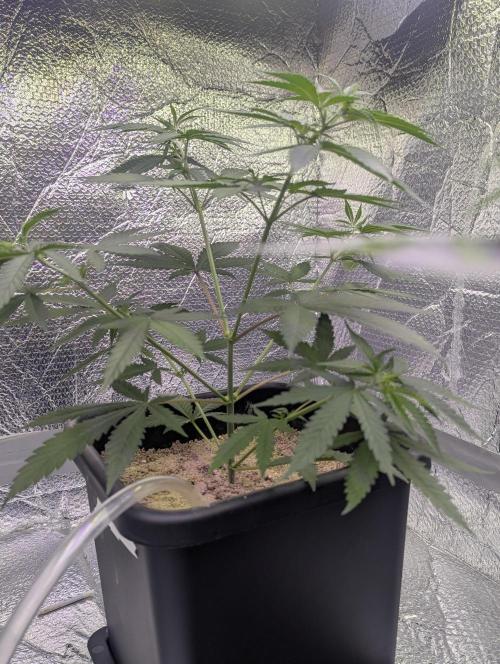
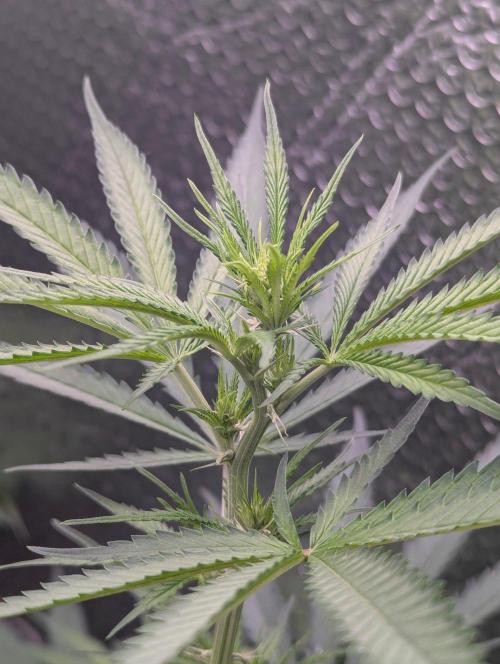
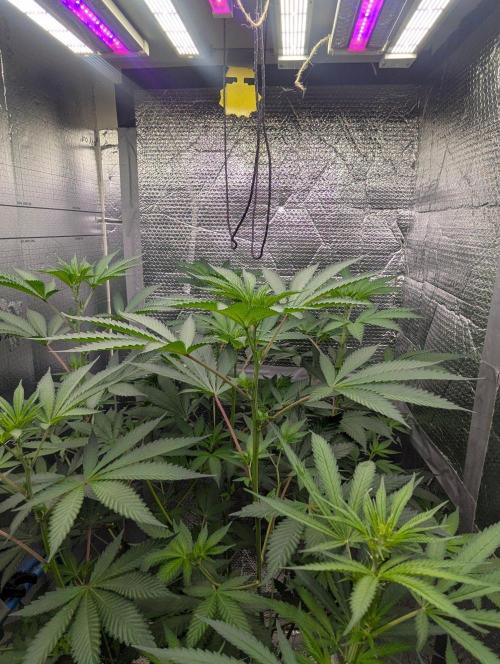
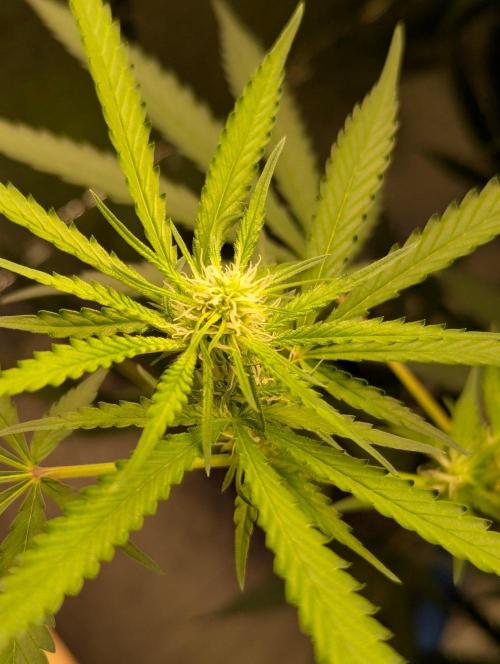
The Invisible Sun B60 has flattened her out completely. Node density is spot on, and she’s throwing out broad, deep green leaves with zero vertical stretch. She has completely outgrown the 100ml cup and is ready for the move.
The blue 450nm have done such a great job keeping these girls squat. DLI is around 14 on a 24hr cycle.
Substrate & Pot Prep
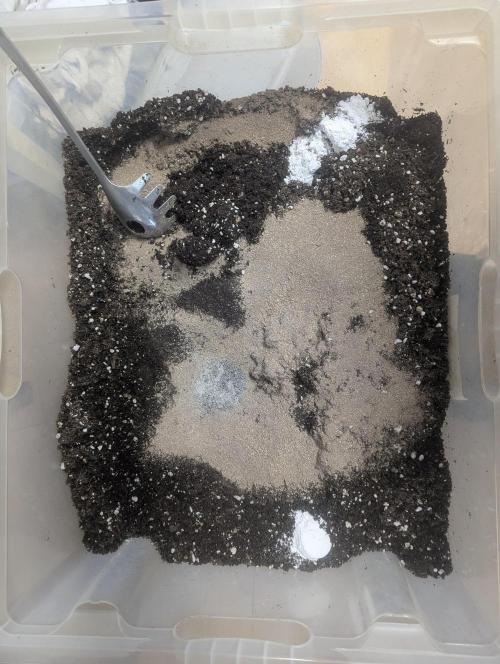
Mixing up the 35L bulk substrate tonight (30L Light Mix + 5L Perlite) along with the scaled doses of Startrex, Silicium Flash, Mycotrex, Bactrex, and Gypsum. The pile is being left to sit and stabilise for 3 to 4 days to let the initial microbial heat spike settle down before the roots touch it.
The base layer is sorted as well. Recycled clay pebbles have been fully sterilised using 60°C water, a 24-hour bleach soak, multiple clean rinses, and a final bake in the sun to ensure total biological death to pests
Transplant happening at the end of the week once the soil has cooked.
6 likes
1 comment
Share
4
Week 4. Vegetation
2mo ago
1/28
27 cm
Height
18 hrs
Light Schedule
27 °C
Day Air Temp
7.0
pH
65 %
Air Humidity
21 °C
Solution Temp
22 °C
Substrate Temp
25 °C
Night Air Temp
0.5 liters
Pot Size
0.5 liters
Watering Volume
60 cm
Lamp Distance
Nutrients 2
Startrex
5 mll
Bactrex
2 mll
Theia North Thunderfuck — Pot Change & Transplant
Growth & Structure Pre-Transplant
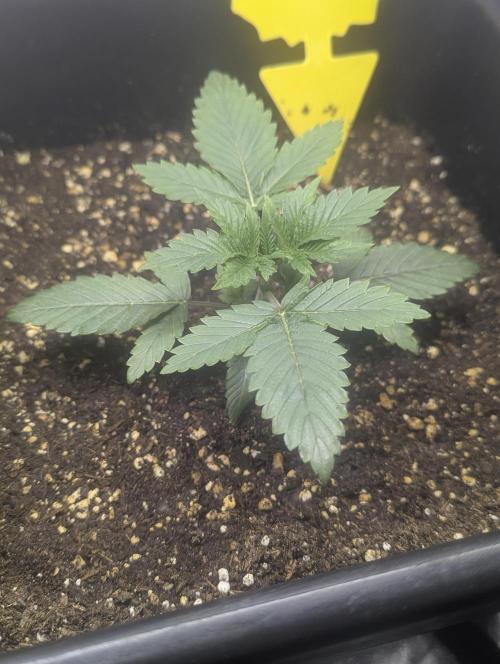
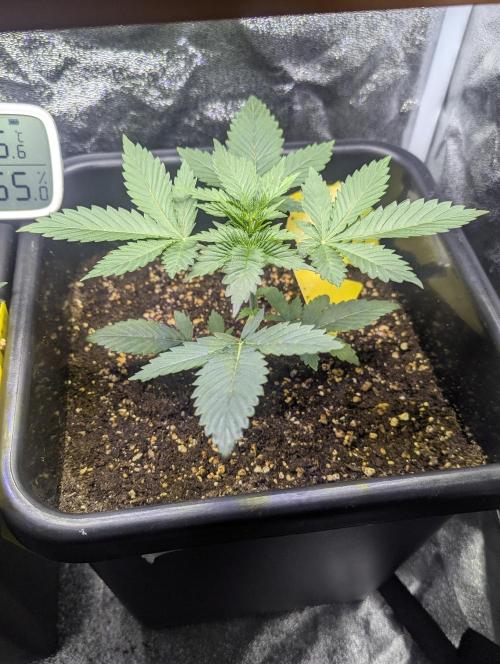
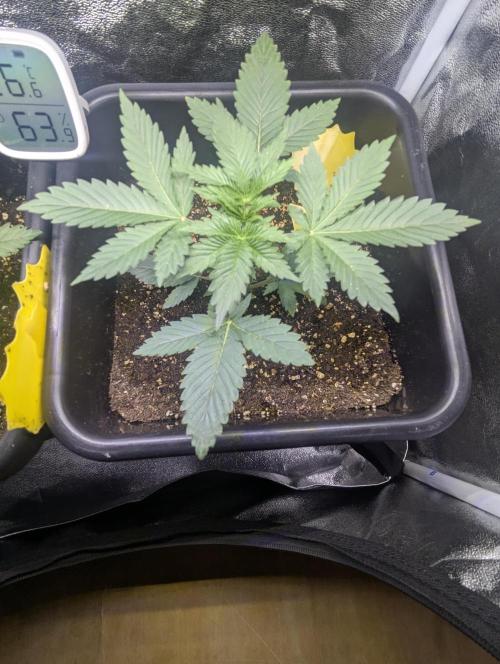
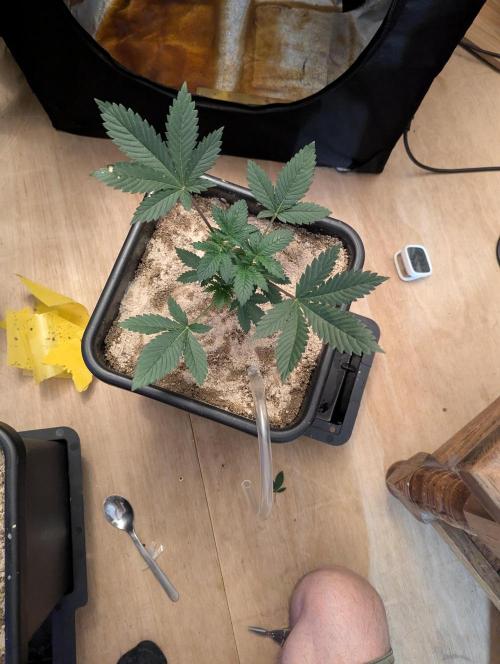
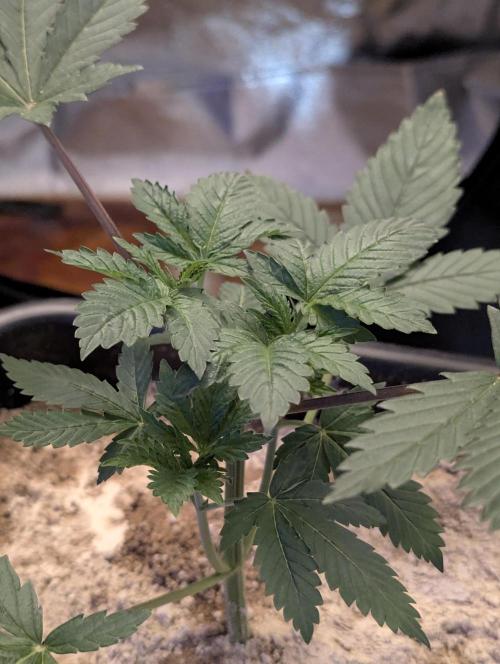
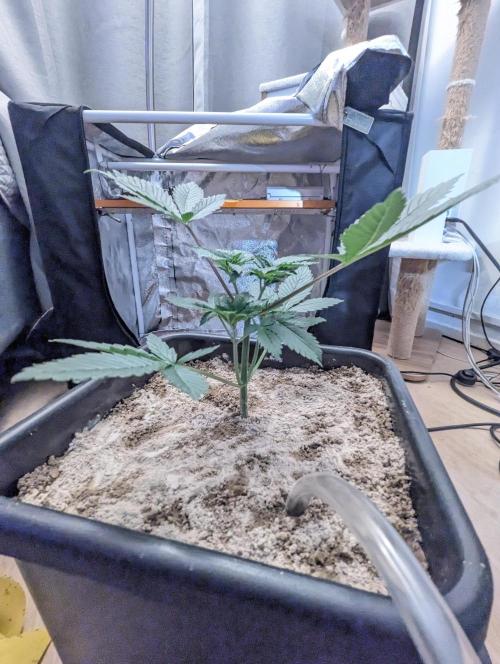
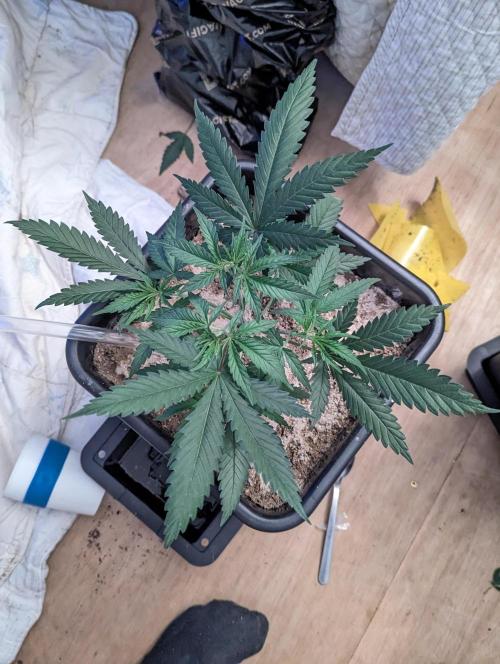
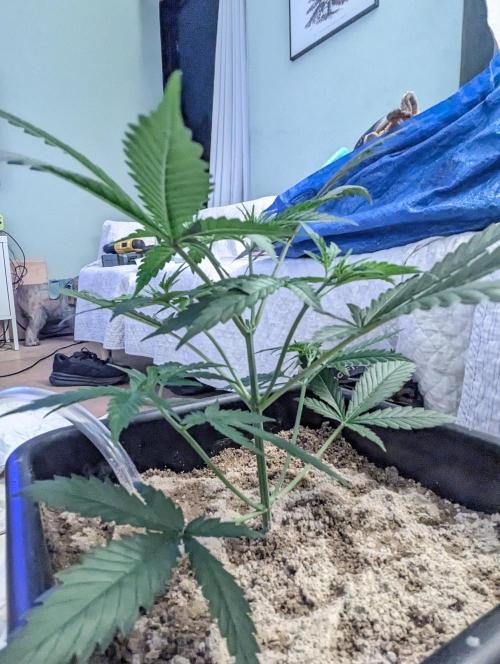
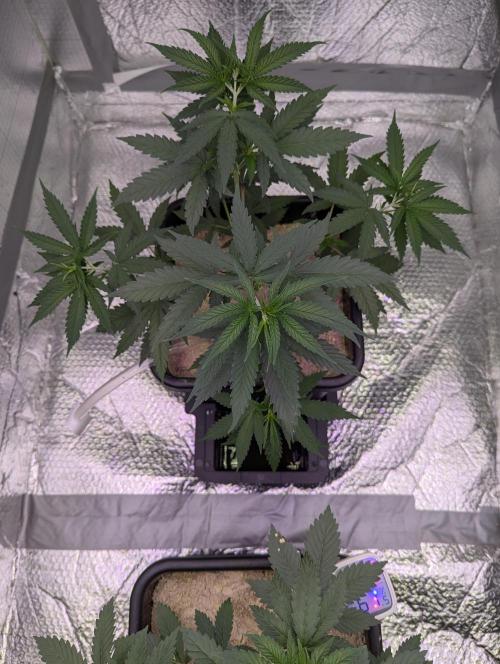
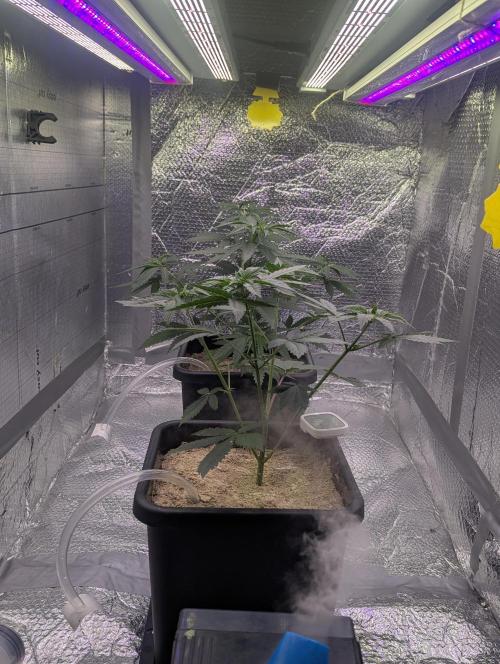
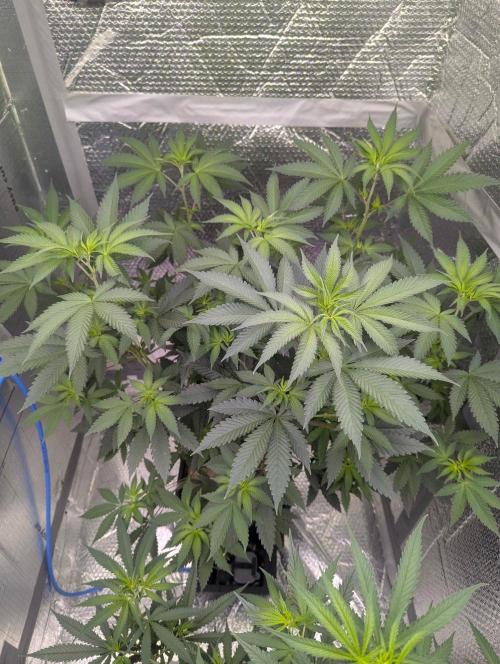
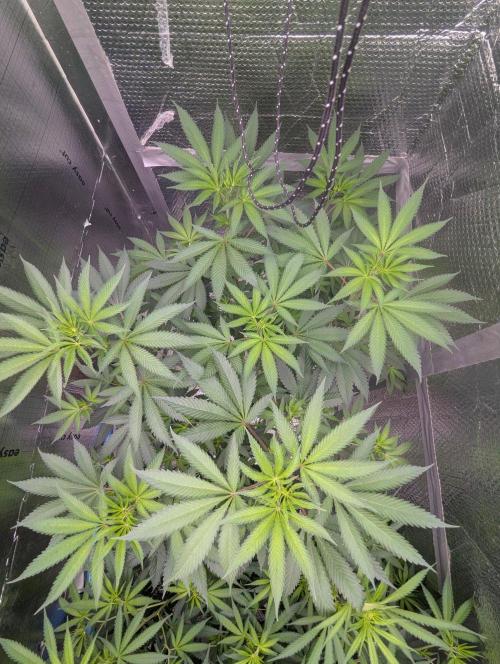
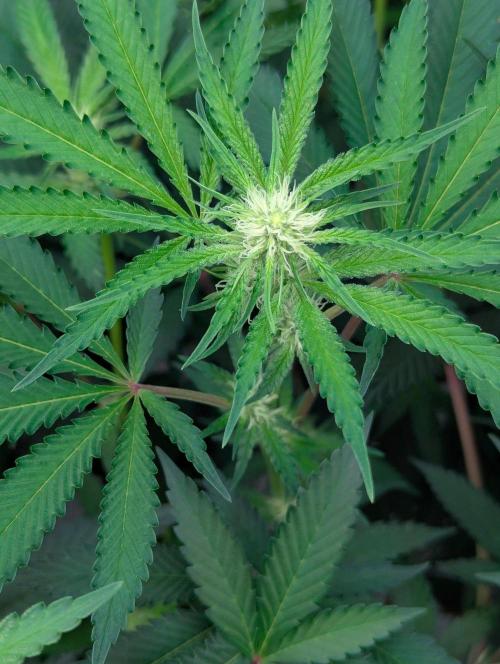
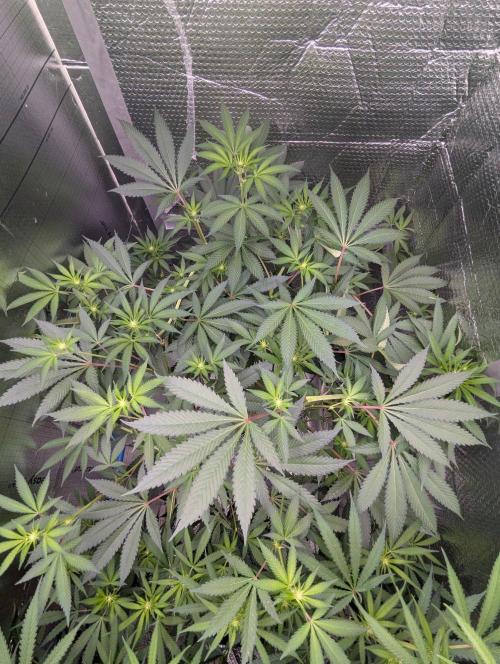
This lady had the most vertical stretch from her time on the windowsill, but moving her under the B60 flattened her out beautifully. Looking top-down, she formed a perfect, compact cross with tight node spacing and sturdy, wide true leaves. She completely outgrew the 100ml cup, with a root network fully primed and ready to chase for the main feeding zone.
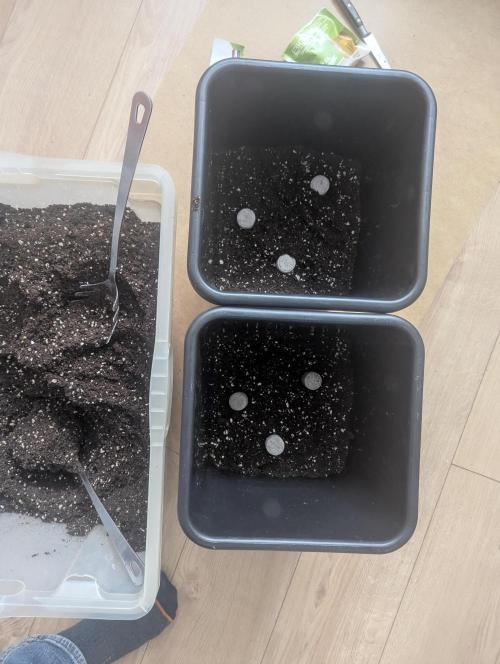
The transplant into the 15L forever home was done using the exact layered blueprint I did with the astro lemonade to ensure maximum biological safety and immediate microbial inoculation:
I laid down 2.5cm of fully sterilized, sun-baked recycled clay pebbles at the bottom to guarantee good drainage and keep the soil lear of standing water.
Added a 3cm layer of the pre-mixed, stabilized substrate (30L BioBizz Light Mix + 5L Perlite, thoroughly amended with the scaled doses of Startrex, Silicium Flash, Bactrex, Mycotrex, and Mouldmaster Gypsum).
The Nutrient Core: Dropped 3 BioTabs in a precise triangle directly on top of this 3cm foundation layer.
The Safety Buffer: Packed a 2.5cm layer of the amended soil mix directly over the tabs. This establishes an essential biological buffer zone so the fresh roots don’t sit right against the highly concentrated nutrient pucks immediately.
The Mould Sequence: Positioned an empty 100ml pot onto the buffer layer as a spacer, packed the amended substrate firmly around it to fill the rest of the Autopot, and slid the empty cup out to leave a clean, perfect impression.
The Inoculation & Drop: Sprinkled a healthy, heavy dusting of Mycotrex straight into the cavity for immediate mycorrhizal contact. Slid the NTF seedling cleanly out of her starter cup and seated her into the hole.
Filled the remaining space right up to the cotyledons. Tucking that elongated purple windowsill stem entirely underground completely erases the early stretch and turns it into a massive foundation for new adventitious root growth.
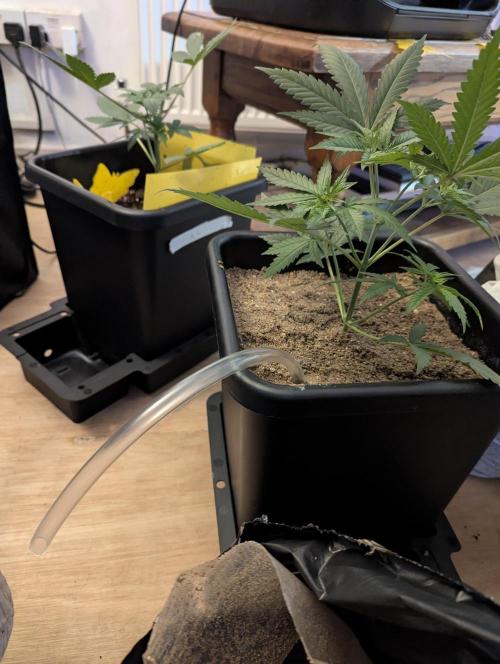
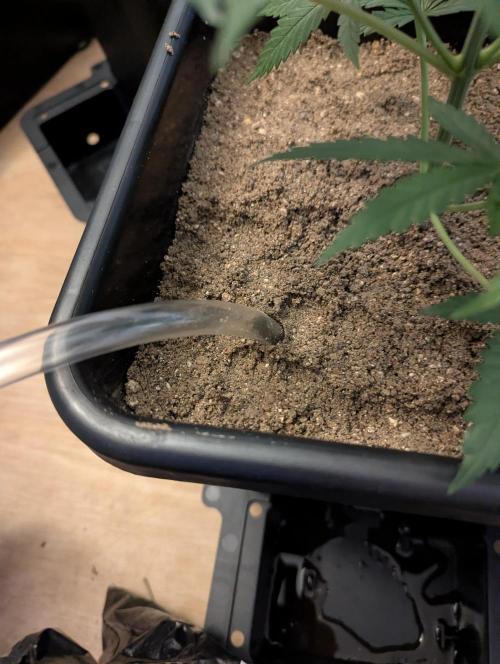
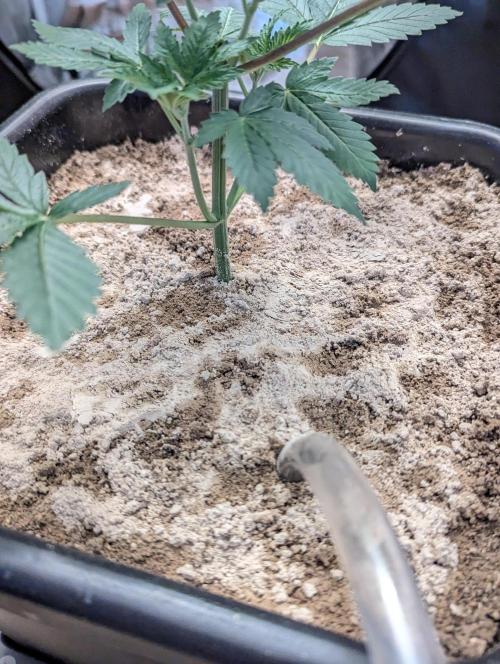
Added a sharp sand barrier, clear 9mm injection lines, and AquaValve hardware completely off for the first 14 days. Hand-watering strictly from the top with plain water during this two-week window to keep the root ball damp and coax the network to dive down toward the bottom pebbles. The sand cap and full automated bottom-feeding transitiononce the system is completely established, will make this an easy run.
She took to the fresh mix instantly with zero signs of transplant shock.
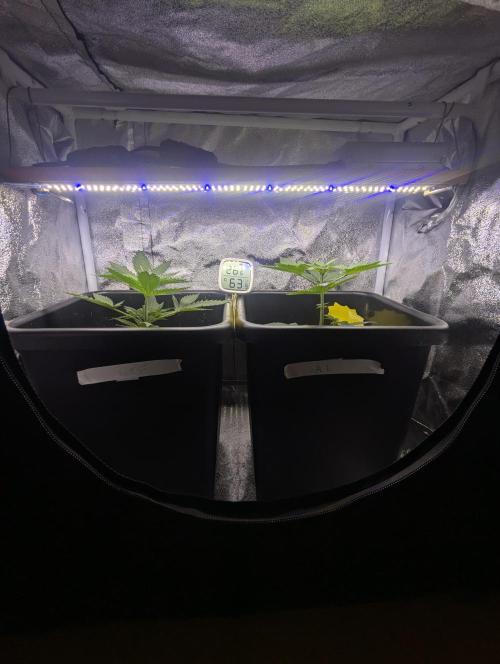
Sitting under whites and a channel of DRRB. More 450nm to keep the bush low. I have another srip of that frequency if need but I think 20w is enough for what I'm doing. Emerson effect is also dialled in with a 15min sleep cycle at lights off of deep red far red. Get those ps 1 and PS2 systems resting.
Grow well..
7 likes
comments
Share
5
Week 5. Vegetation
2mo ago
1/6
38 cm
Height
18 hrs
Light Schedule
27 °C
Day Air Temp
7.0
pH
65 %
Air Humidity
21 °C
Solution Temp
22 °C
Substrate Temp
25 °C
Night Air Temp
15 liters
Pot Size
60 cm
Lamp Distance
Nutrients 1
Bactrex
2 mll
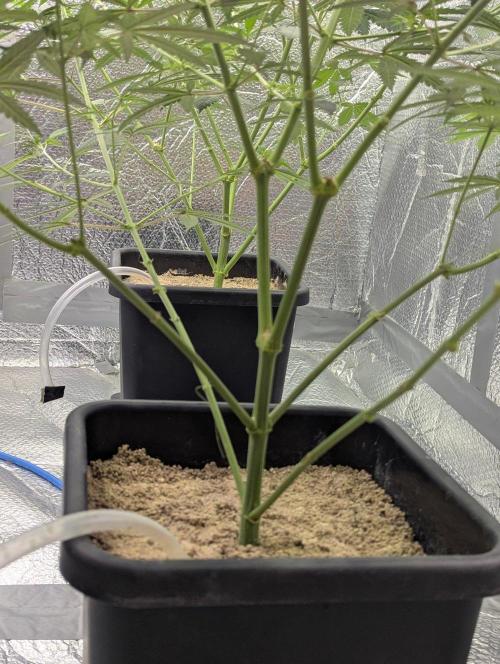
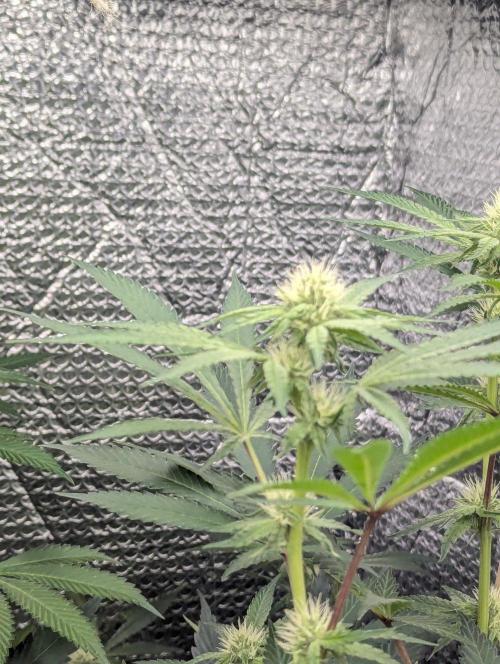
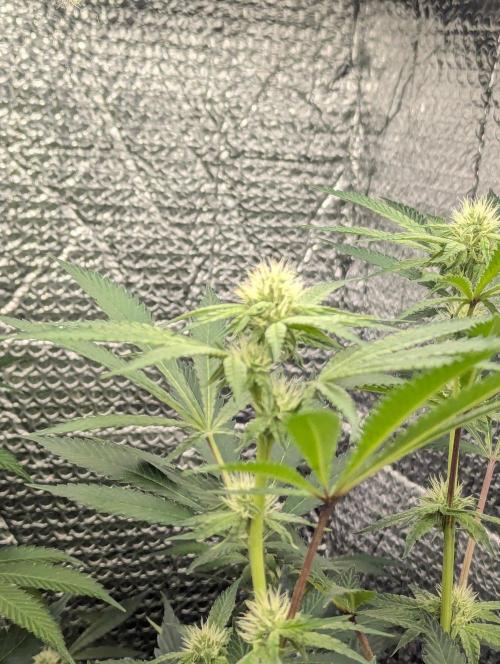
Theia A rather annoying week for me this week. In fact it's going to be a bit of an annoying next 3 weeks as I have been really busy at work and had no time to gather any decent data. I've implemented my pot stratergy. There is a feeding tube system buried 1cm under the substrate and I then filled the pot with sharp sand and a thick layer of diatomaceous earth.
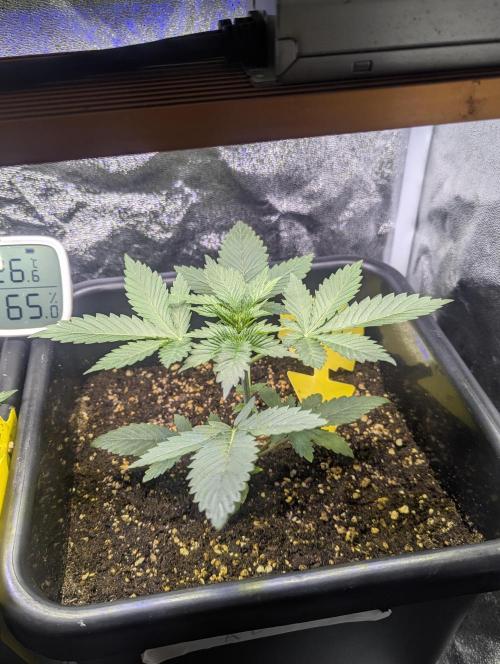
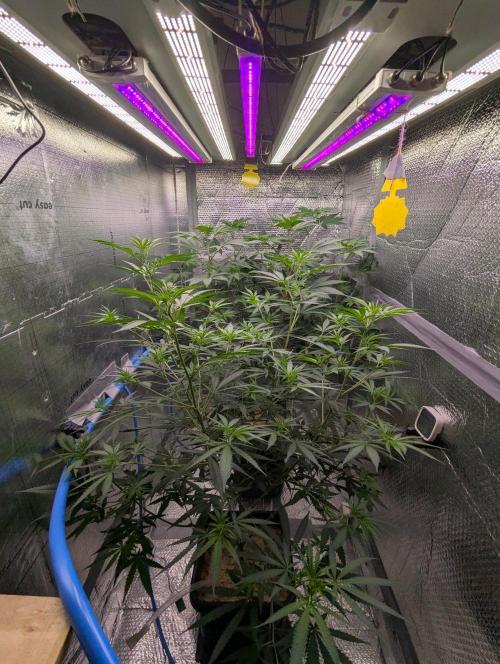
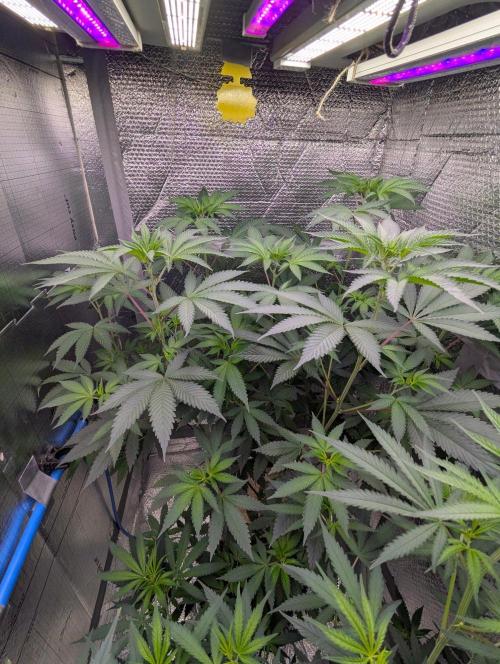
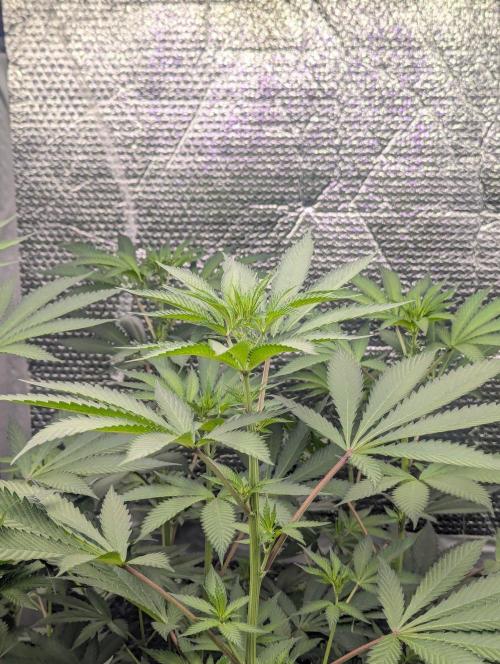
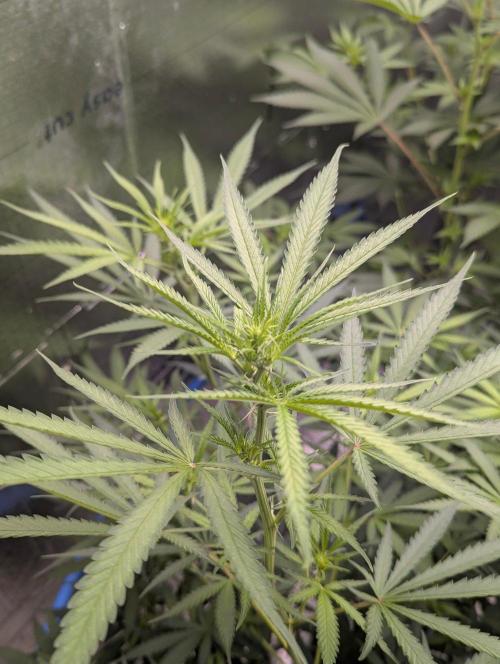
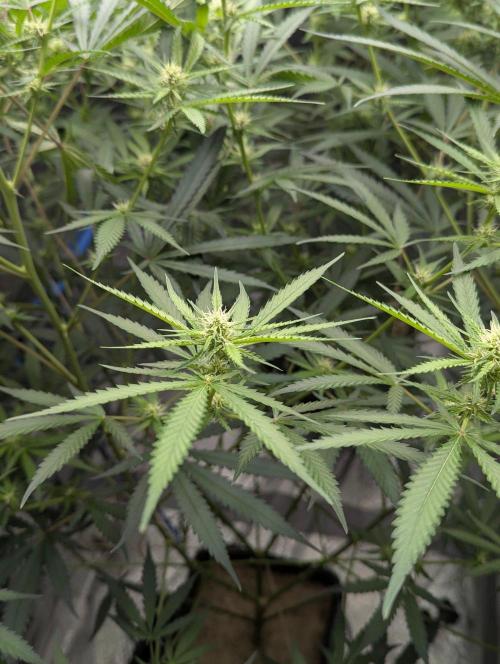
The blue channel of 450nm along with deep red 680nm are doing a great job of holding down the vertical growth and allowing the plant to remain nice and squat and deploy her energy into lateral growth. Node space and structure are superp. I may give a second round of topping and let her have another 3 weeks of recovery and veg. It would be better for me also as I am away to Sicily for work until the beginning of August.
The syringe feeding system works amazingly well. Better than I had hoped and I have already given the first Bactrex feed via the new line. The sharp sand stayed dry and in all a great success.
Light levels are adequate. I'm giving 35 DLI and to achieve this my main rig is at 15% and I'm running the 2 strips of deep red and royal blue. That's about an additional 10watts. Toat draw on mains at lights on is 140w. 2 extractors a humidifier and both lights..
Light spectrum.
As I said I'm hitting the plants with extra 450nm royal blue and 680nm deep red.
The reason 680nm Deep Red in Veg Works is because it's a cooperative frequency in the sense of plant biology
The 450nm blue suppresses vertical stretch via cryptochrome activation, but running it solo can over-constrain structure. Adding 680nm deep red re-balances the morphogenetic signal.
it drives vascular development (xylem/phloem differentiation, cell wall lignification) without triggering flowering . The result should be stiffer stems that support the lateral branching architecture I'm trying to create. Plants stay squat and structurally robust.
680nm also sits at the chlorophyll-a absorption peak, so hopefully I'm allowing photosynthetic efficiency per photon. At 35 DLI with the main rig at 15%, the supplemental deep red/blue strips givesbme what I call spectral steering (different jobs for each wavelength) without brute-forcing intensity. I think it's why I'm hitting my target DLI at 140W total draw instead of cranking the main rig to 30%+.
The 450/680 ratio during veg primes the plant for the transition to flower later—vascular tissue is already optimized for the heavier flowering demands in the coming weeks.
I'm sure there's more but I can't think for now. I may add some bits later.
Grow well.☘️💚
7 likes
1 comment
Share
10
Week 10. Flowering
21d ago
1/11
136 cm
Height
12 hrs
Light Schedule
27 °C
Day Air Temp
7.0
pH
50 %
Air Humidity
21 °C
Solution Temp
22 °C
Substrate Temp
25 °C
Night Air Temp
15 liters
Pot Size
30 cm
Lamp Distance
Nutrients 1
Bactrex
2 mll
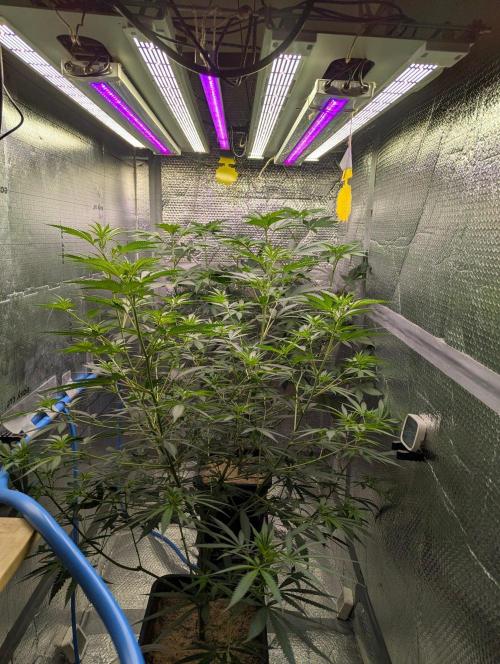
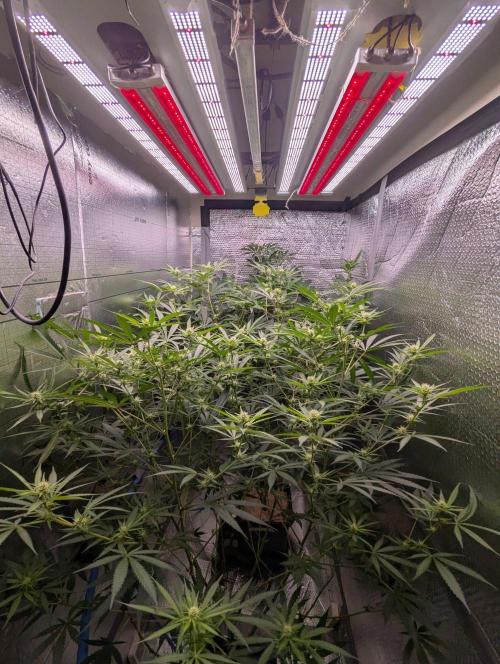
Theia Gone into week 1 of flower. Work has taken priority and I've been away so much that keeping updates has not been possible.
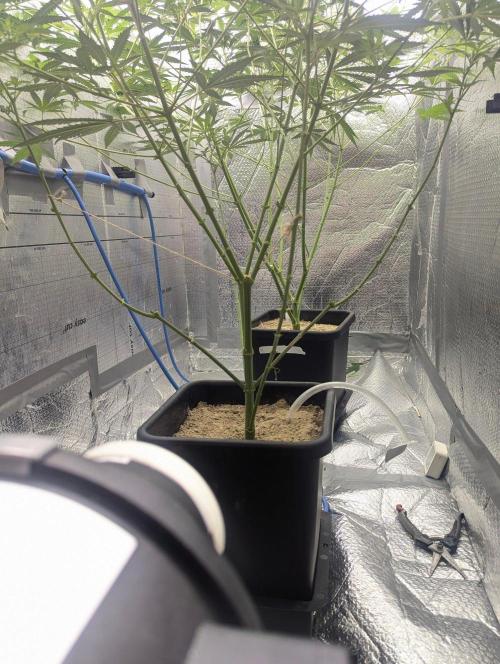
Plants are doing just fine through. The Biotabs just add water system means I just have to keep a res filled with fresh water.
I do also give a weekly top feed of water via a syringe and buried closed loop I installed at transplant. This allows me to reduce the risk of salt build up in the top layer of my substrate.On the 4th feed I add 2.5g of Bactrex to this water injection to maintain a healthy microbial system.
I'm trying to minimise stretch with royal blue and deep red supplements. I'm worried the ratio of blue to red will confuse the plant as the spectrum should be more red at flower as it would be in nature. If I see any issues I have 80w of reds I can apply as needed.
The heatwave has been an issue I've managed to keep temps around 27c and forcing humidity to about 65%.
7 likes
1 comment
Share
11
Week 11. Flowering
11d ago
1/20
155 cm
Height
12 hrs
Light Schedule
29 °C
Day Air Temp
7.0
pH
66 %
Air Humidity
21 °C
Solution Temp
22 °C
Substrate Temp
25 °C
Night Air Temp
15 liters
Pot Size
30 cm
Lamp Distance
Nutrients 1
Bactrex
2 mll
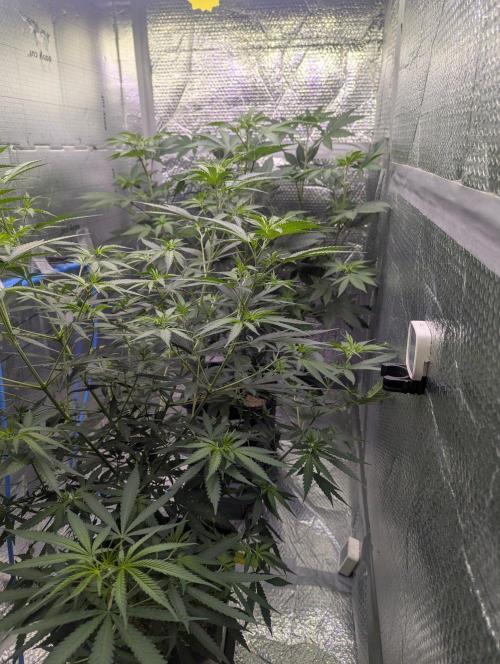
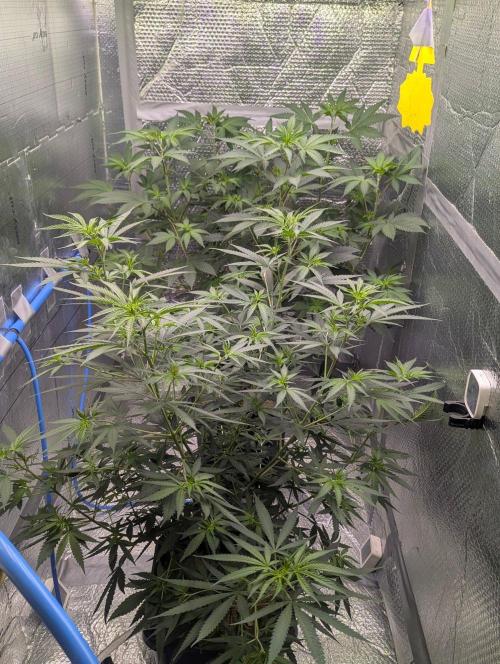
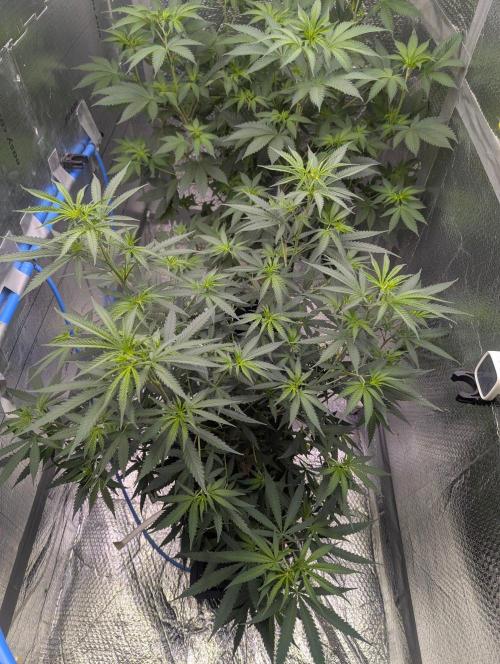
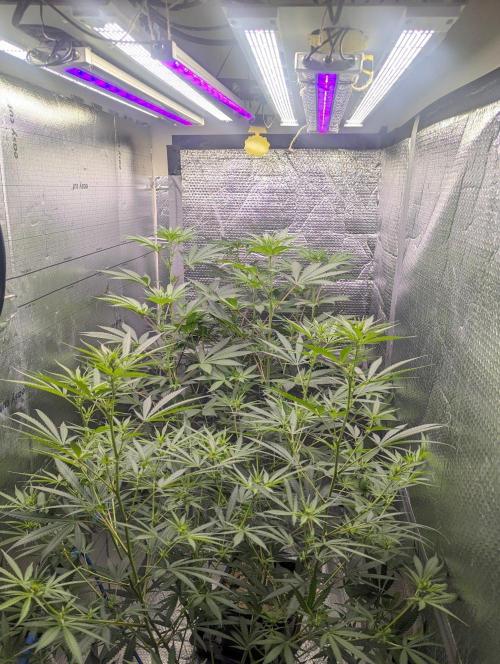
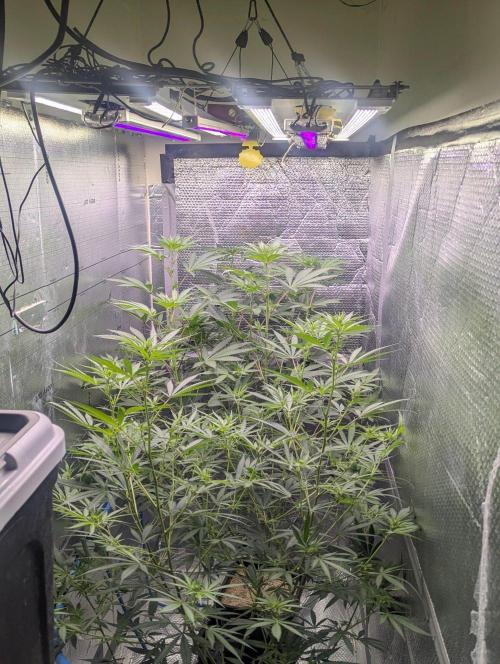
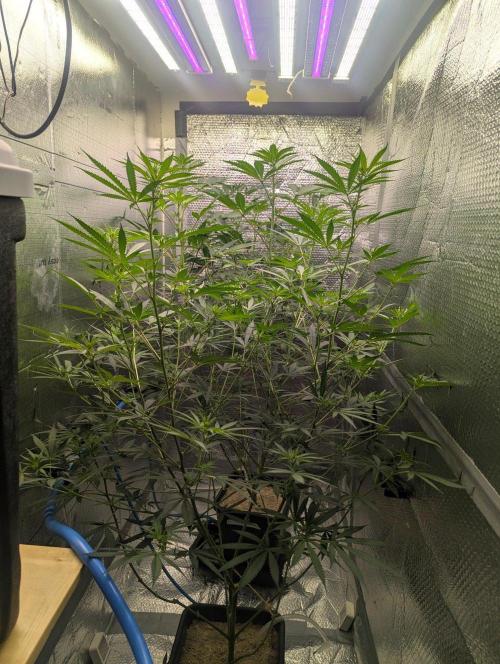
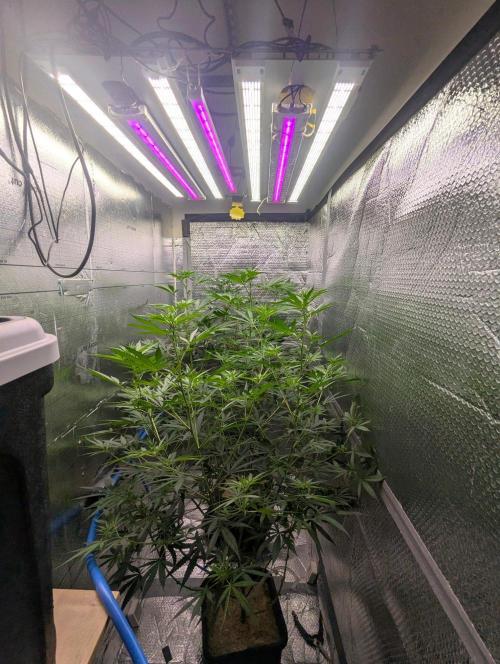
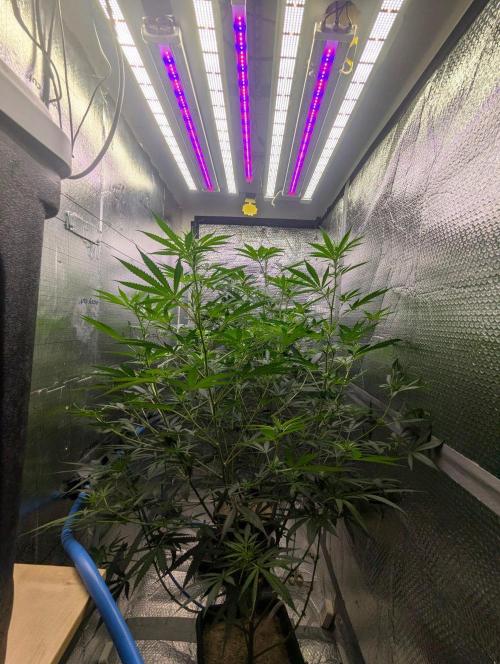
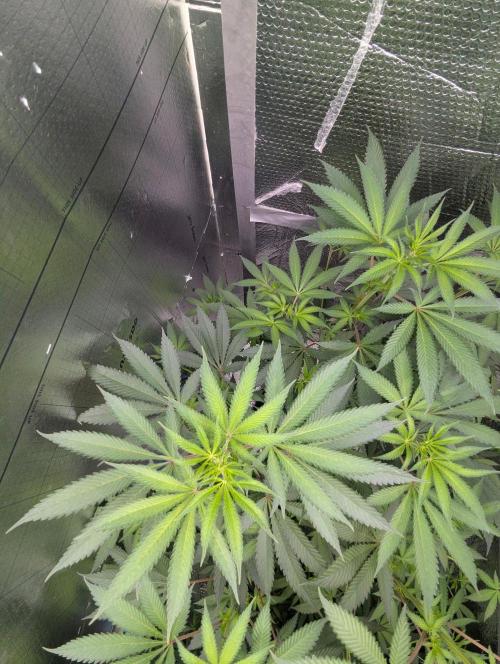
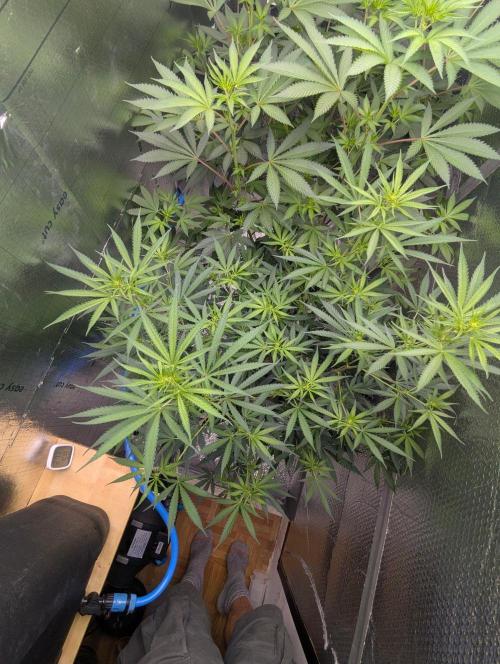
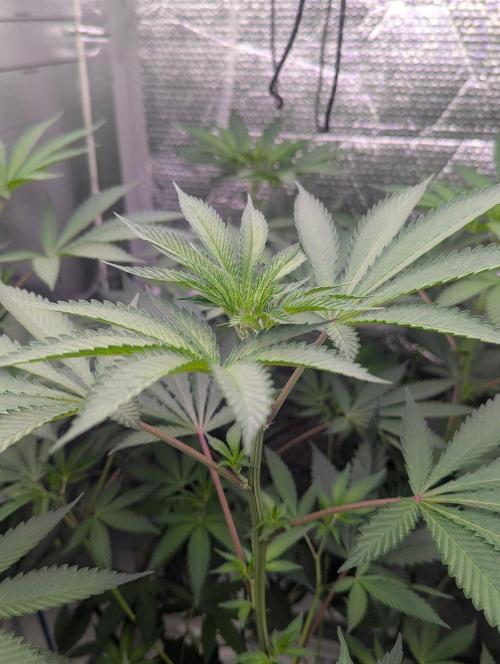
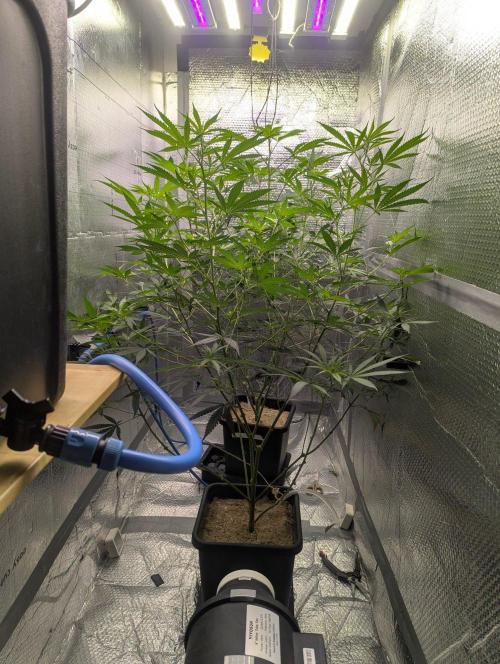
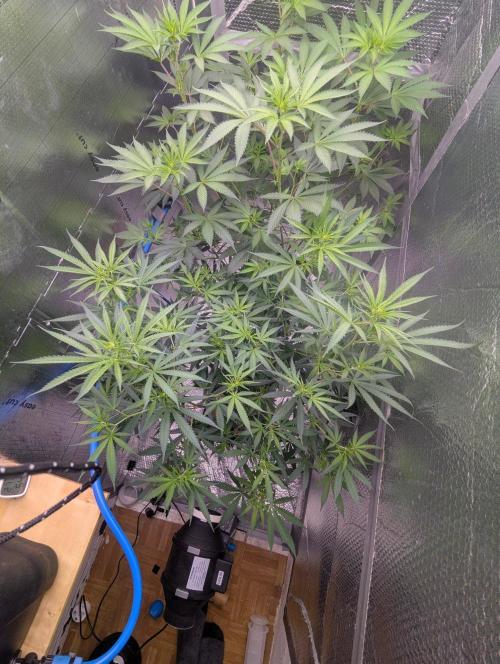
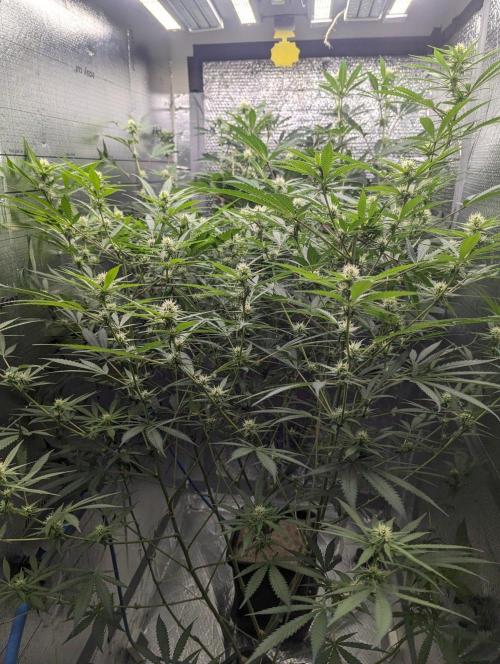
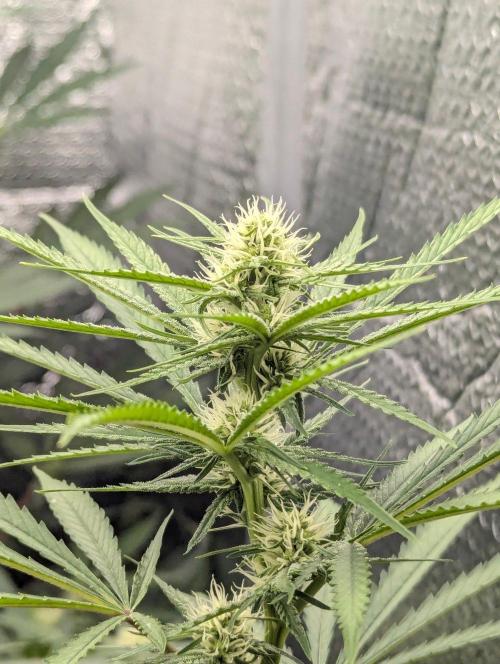
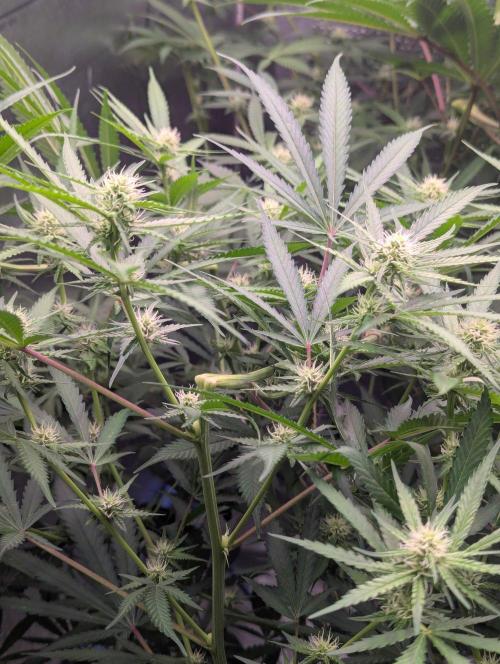
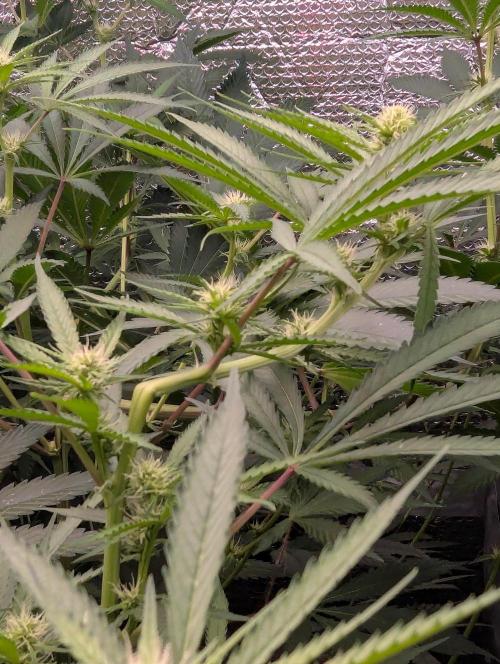
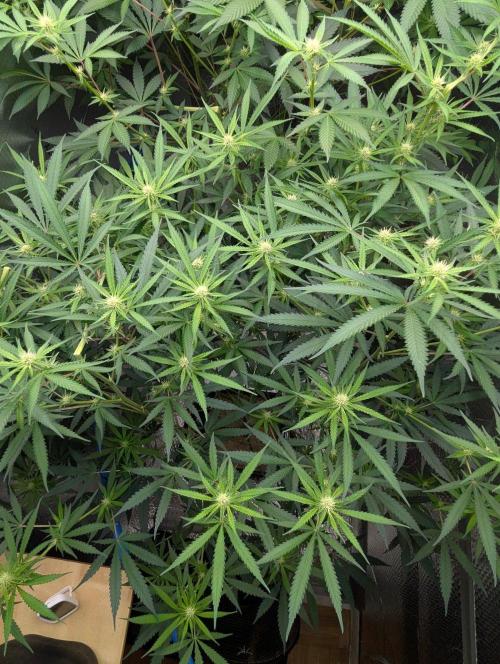
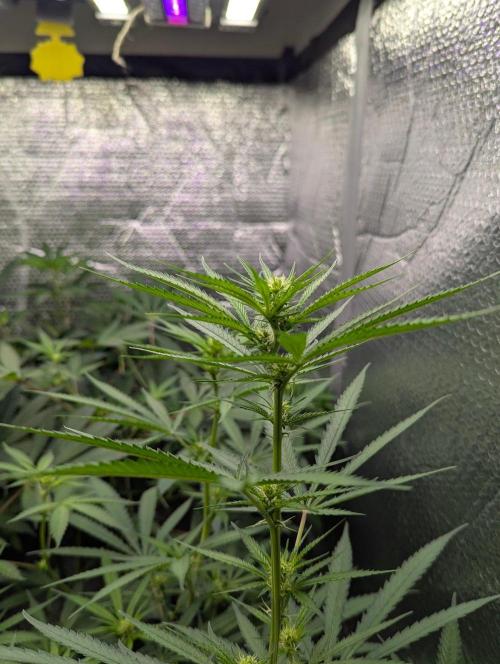
Theia The plants have stretched like monsters. Even with an increased exposure of 450nm blues I think you can not beat nature at this level. The blues have given a really nice internode spacing during the stretch and the plants both have a lot of bud sites .
With the crazy hot temps I've been running lights on at the night time to try and use the lower ambient temps. Even this is peaking at lights on around 29c. To lower my vpd from the crazy 1.6 it was on last week I've allowed rh to climb up to 67%. I've increased airflow to make sure I don't get too many micro pockets of humid hot air but at 1.32kpa the plants are flourishing.
Still just getting tap water. About six litres every 2 days . Syringe feeds are still happening to stop the salt build up but I'm out of Bactrex ATM . I'll order some this week though. As it is at the moment no plants are showing any signs of stress or nutrient demand. A heavy defoliation was given to them as they are monster big plants. The Astro Lemonade being the bigger chunkier plant the NTF looks almost sativa in its shape and structure, but it is a indica dominant strain so I don't know ..
I will add my reds to the schedule from day 21 of flower lower cct and Emerson .
5 likes
comments
Share
12
Week 12. Flowering
3d ago
1/23
178 cm
Height
12 hrs
Light Schedule
24 °C
Day Air Temp
7.0
pH
58 %
Air Humidity
21 °C
Solution Temp
22 °C
Substrate Temp
22 °C
Night Air Temp
15 liters
Pot Size
40 cm
Lamp Distance
Nutrients 1
Bactrex
2 mll
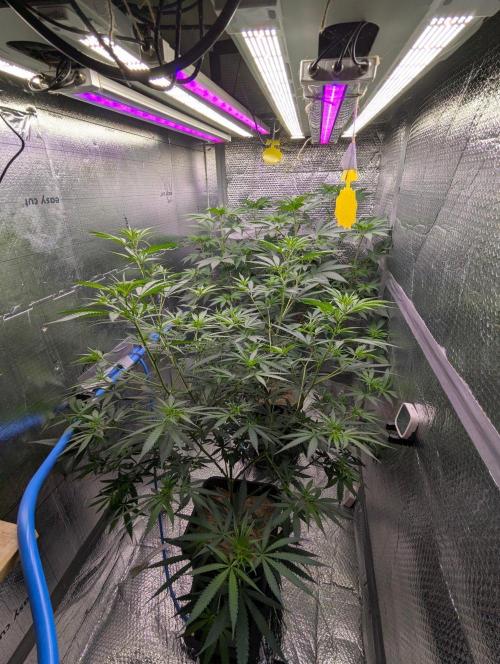
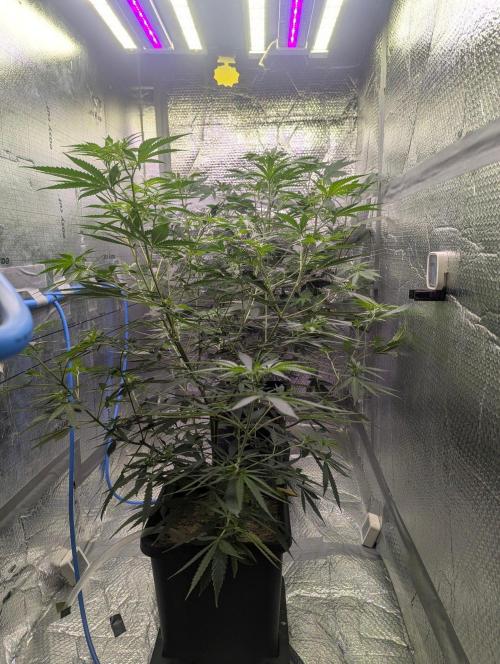
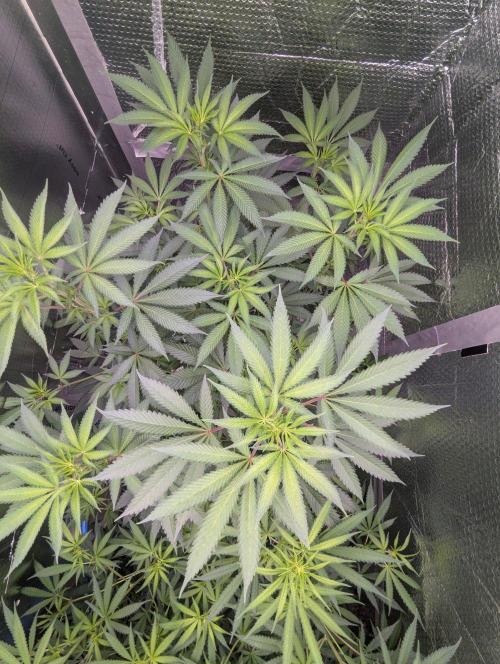
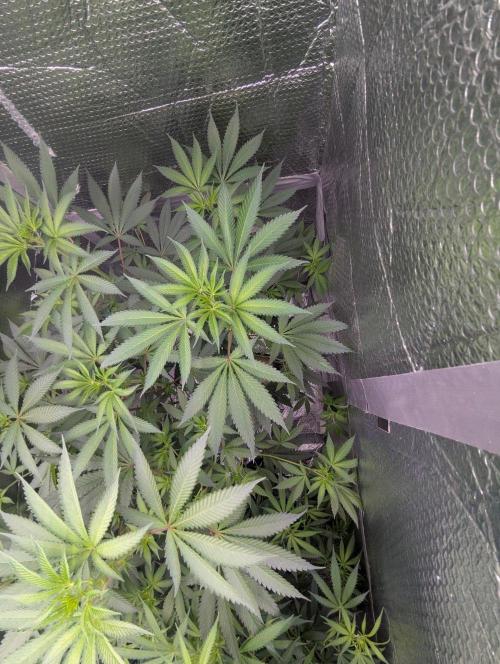
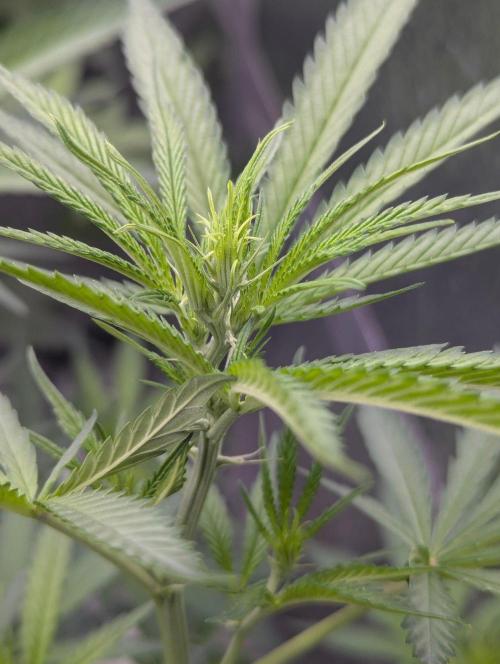
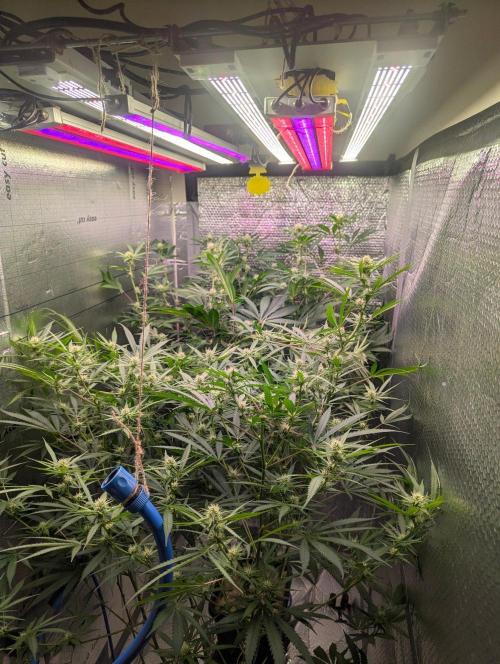
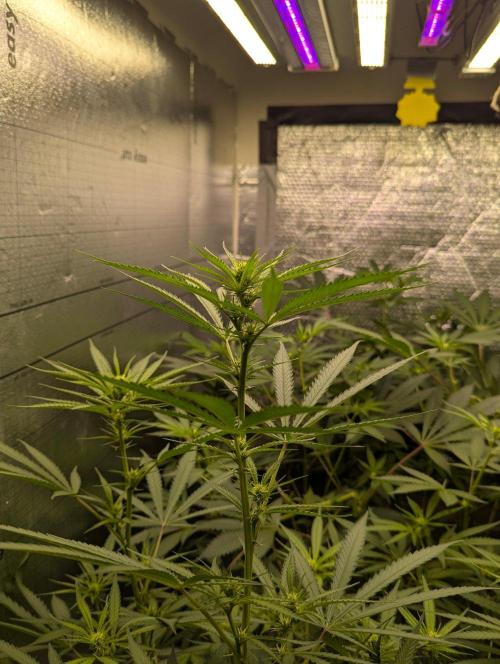
Theia I had to do some supercroping and HST to get the height in check. Even with this it's still going to be tight. I think I have about 30cm left to play with and I can lst as I go.
Still just on tap water. I've cut so much growth from the bottom and they are still bushy as hell. I don't like to take away too much leaf. I want to catch as many photons as I can. I aim for about a 15cm penetration and cut from there.
I think I may feed a compost tea in the coming week. Just to top up the microbials in the substrate. The stretch has been extensive and I have seen no demand or deficiency as yet. I'm very impressed once again with Biotabs. It's so easy..
Lights are running as
Reds 680/730nm- on 5 minutes before lights on as a wake up. And off 10 minutes after lights off as Emerson.
Whites run at a 12/12. Dimmer is 45% and I'm giving 26 DLI of whites.
Total power consumption is 396w for 12 hrs then down to 134w during lights off.
Daily total:
6,360 Wh/day (6.36 kWh)
Weekly: 6.36 kWh × 7 =
44.52 kWh/week
This will go up if the weather continues to cook and I need to implement heating. But such is life .
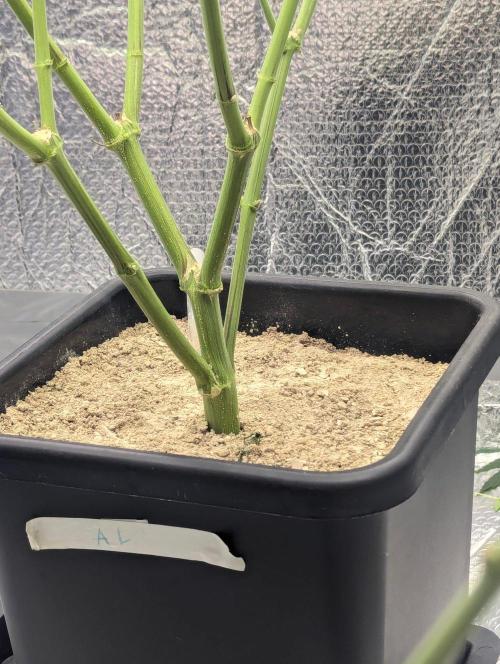
Main observations this week is the total lack of any fungus gnats. I'm sure a few get in as I have some light leaf damage but as there is no access to the substrate thanks to the inch of sharp sand and dimacecous earth so the breeding cycle can not continue past the adult stage.
The feeding rings I buried seem to be working well. Well they are working exactly as designed but without a base to test alongside I don't know if the results are improved or not. I do however "feel" it is doing some good and the science of salt build up in the top inch of a wick feeding systems are plain to see. Based on this and how littlteffort it is I shall continue my weekly injections. Still giving Bactrex once a month.
I'm not going to run uvb this run . It is not installed and with the size of the plants I would not get a good height for even distributed coverage. I would burn the center line of buds and leaf. It's not pretty when you destroy all the cells in a living thing..😔
I'm keeping a close eye for any signs of demand as flowering is in full swing. I'm not driving as hard as I normally do and I'm planning to just run them in a safe happy zone. No need for monster yield chasing. If I'm good to these two I'm sure the rewards will be worthwhile.
I'm running around 24c and 58% during lights on. Aim is a vpd of 1.1 to 1.2. I want to keep it nice and gentle and allow things to happen in the happy zone. I think this stratergy will give me more reward then the cost of a few extra dli..
@James, will do. These plants are monsters. The Astro Lemonade in particular. Would easily be a 2m plant without supercroping. And not a leggy thing either. Bushy and strong. Very good genetic profiles. I hope the flower is as good as the journey so far.







 commented3d ago