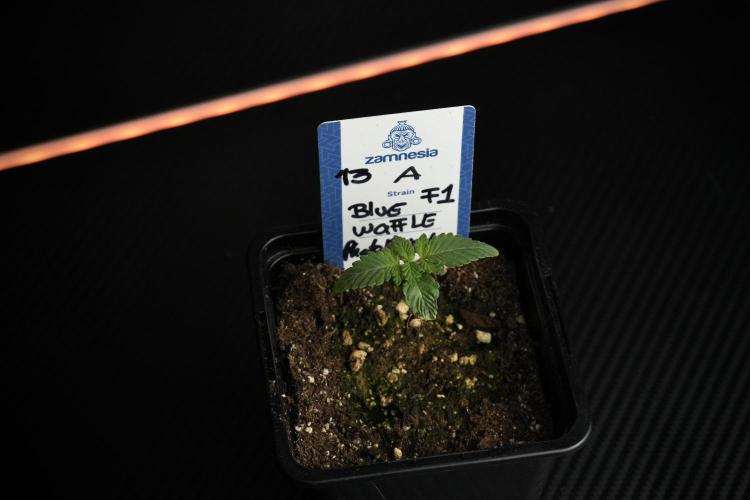
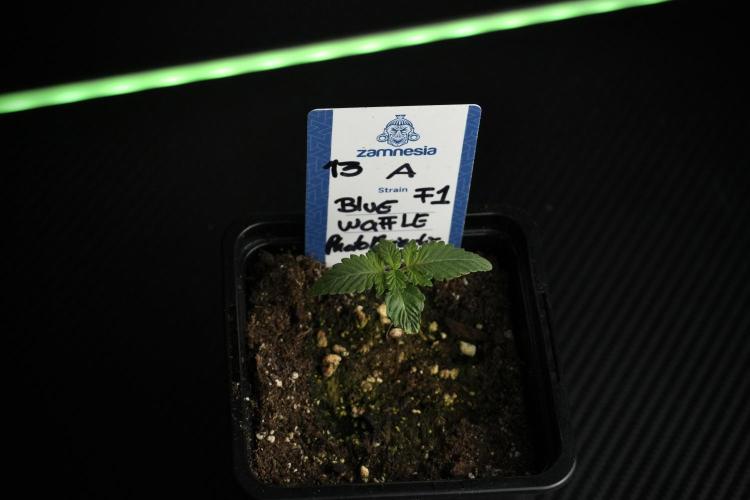
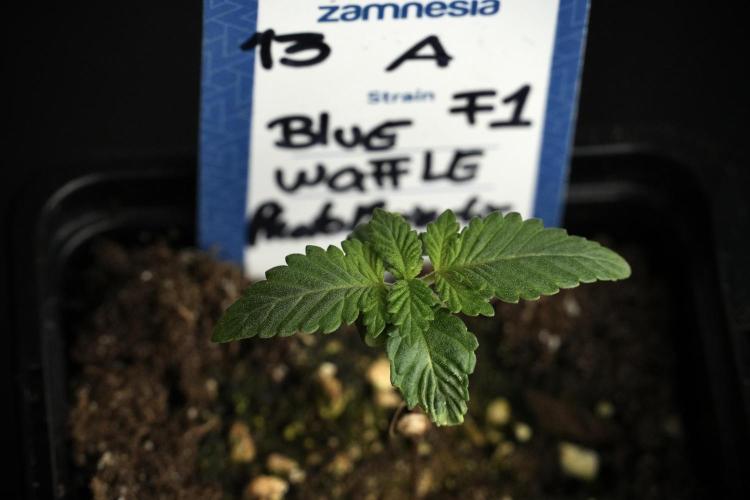
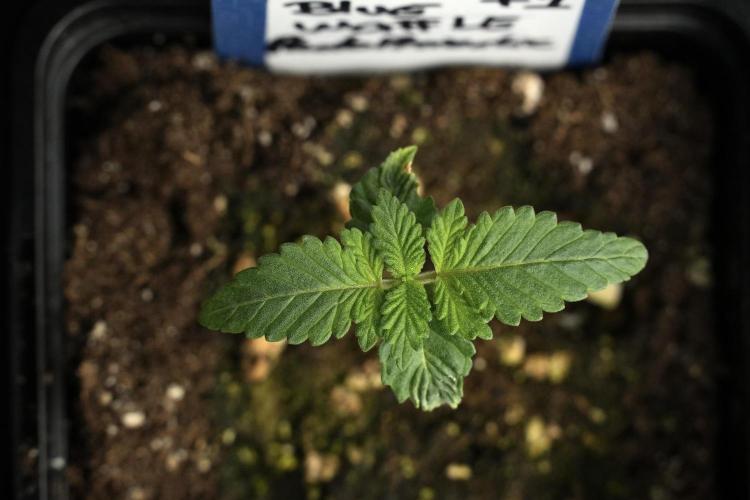
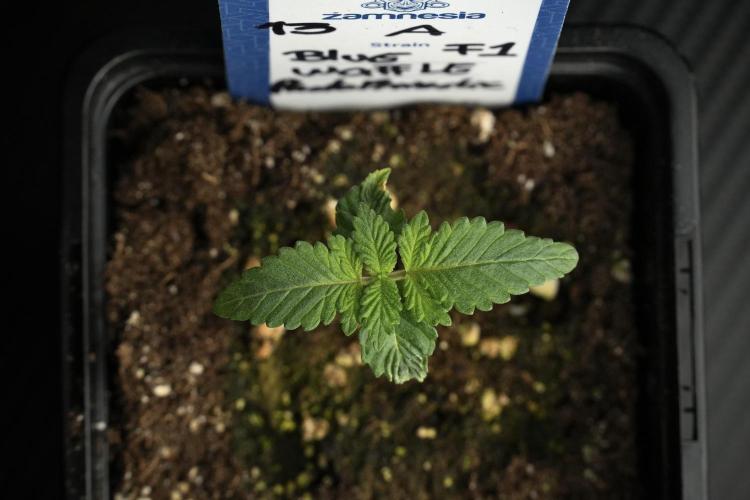
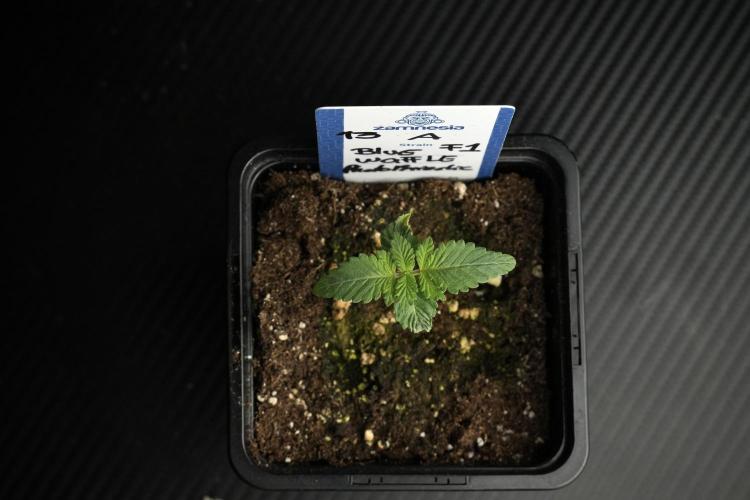
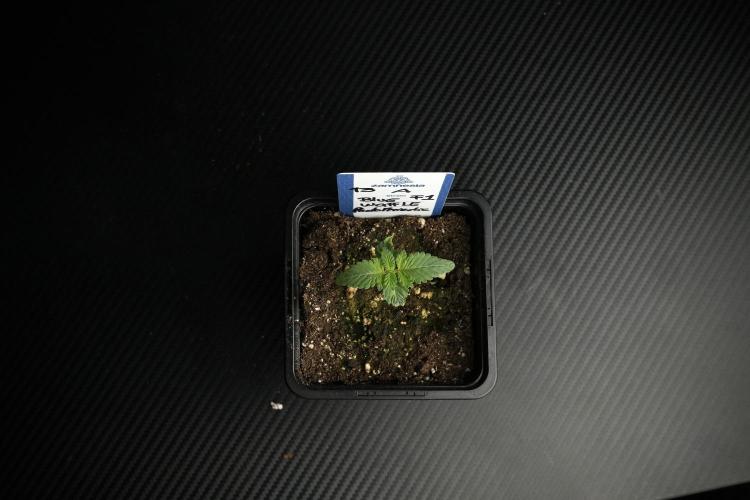
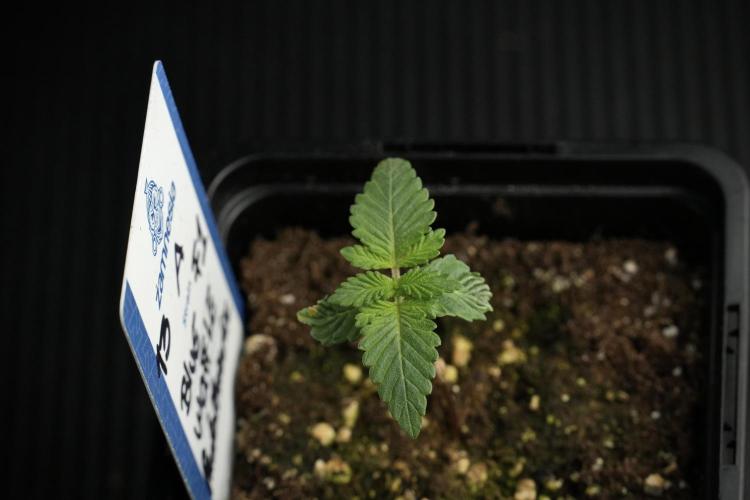
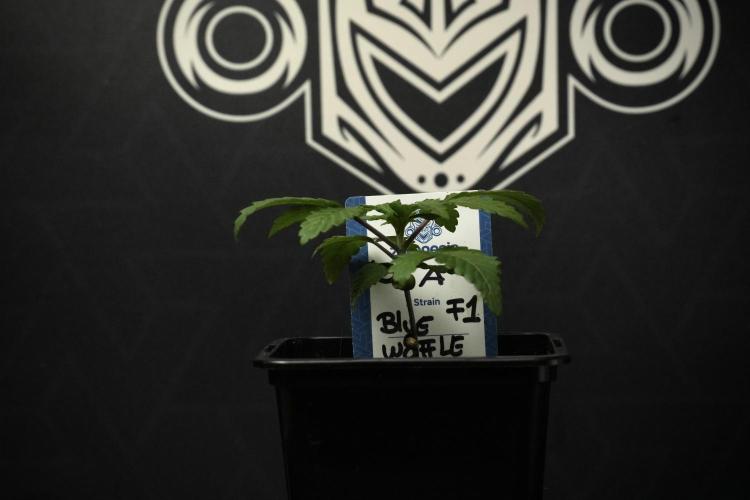
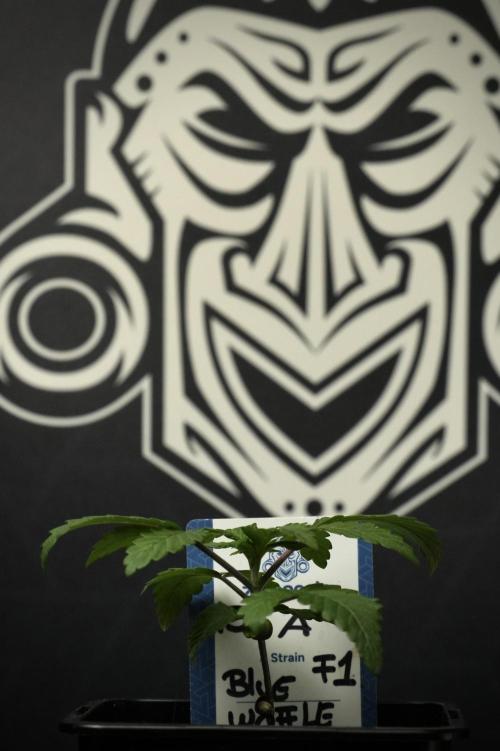
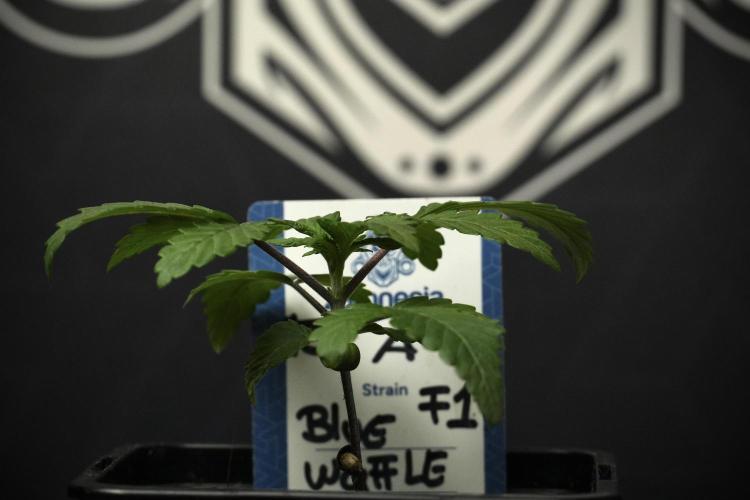
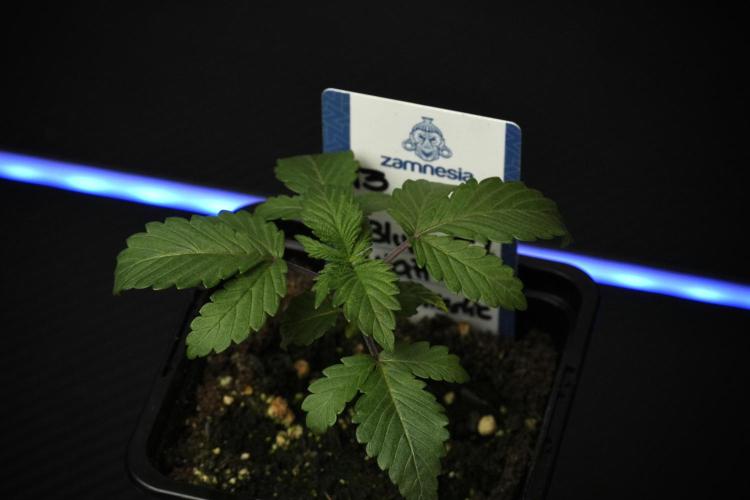
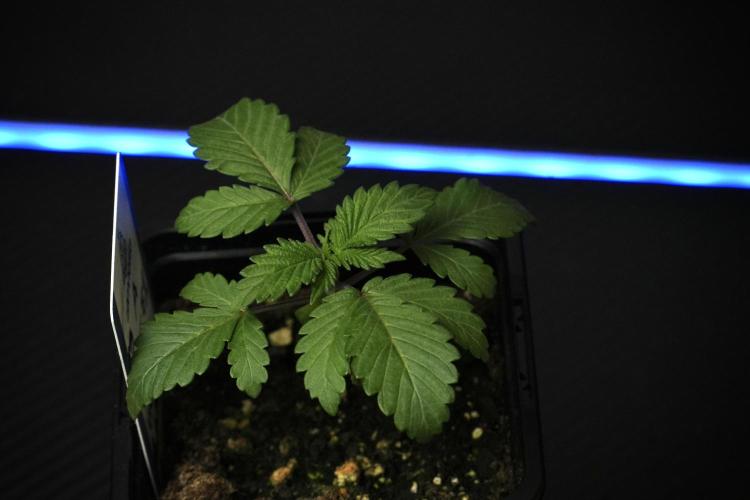
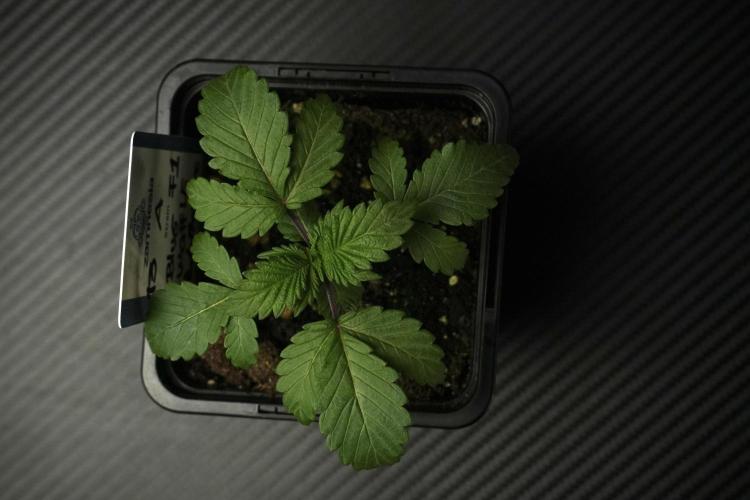
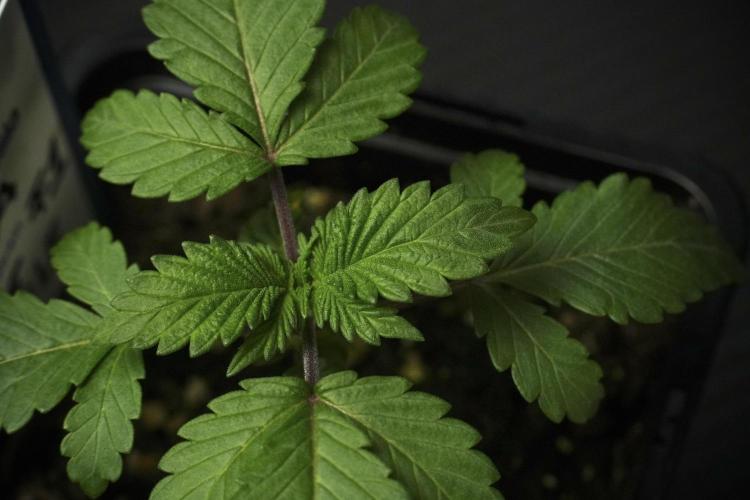
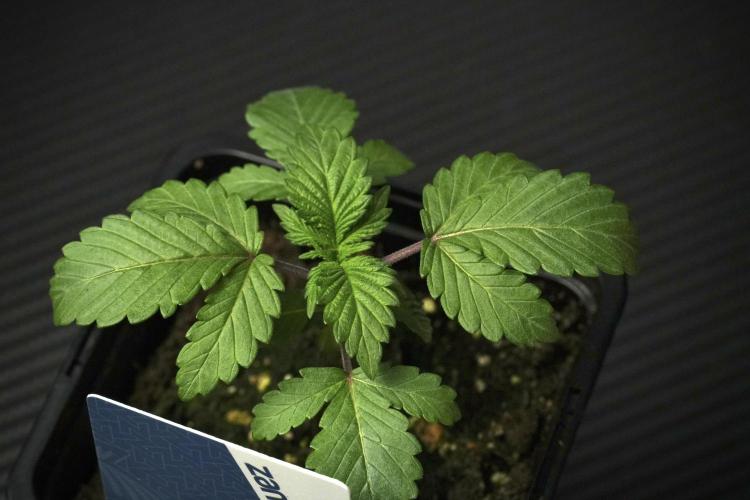
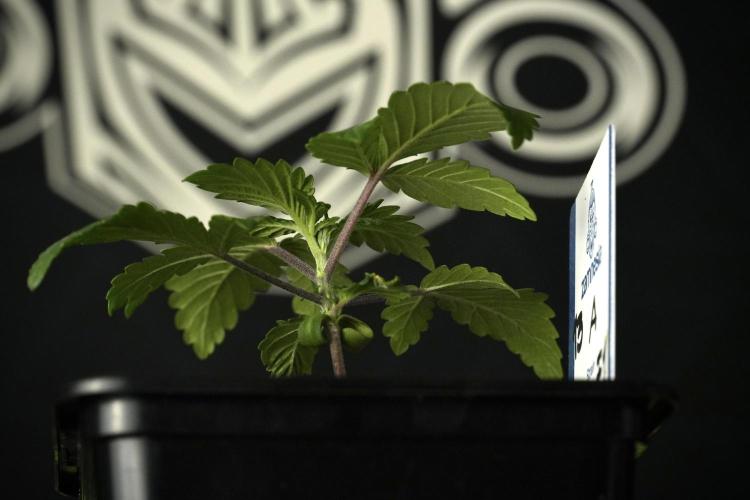
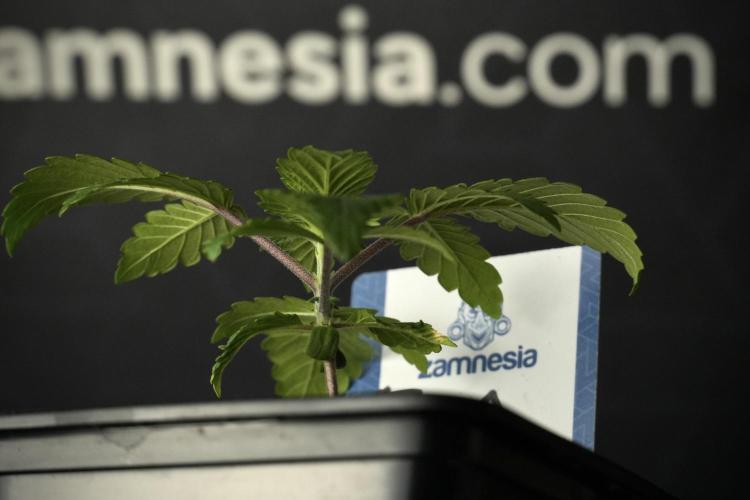
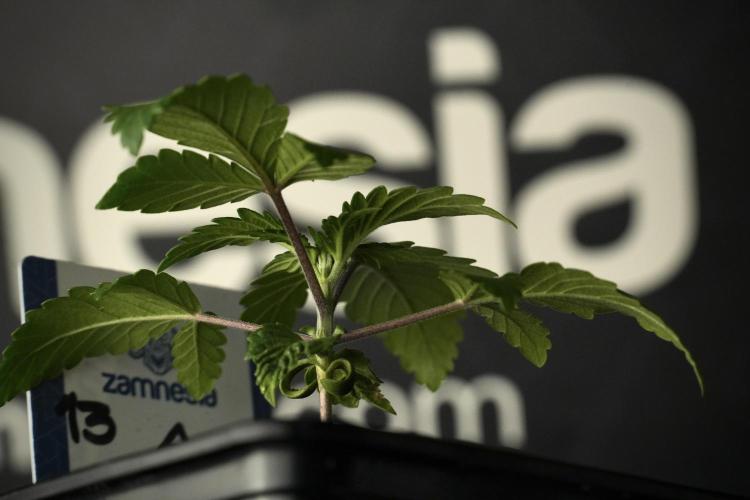
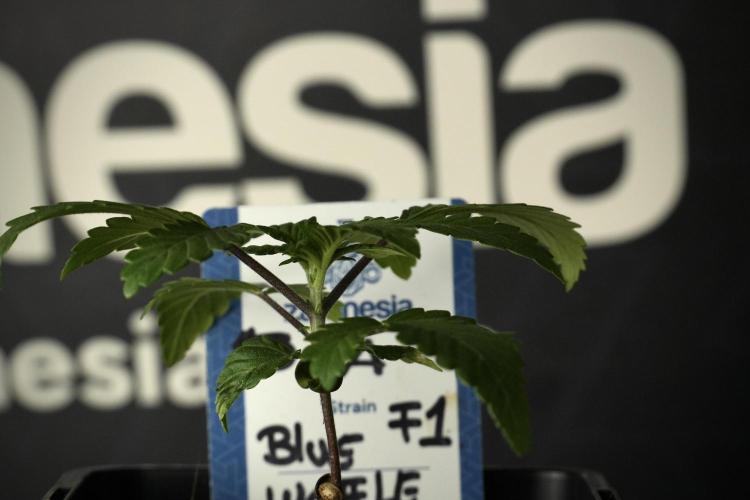
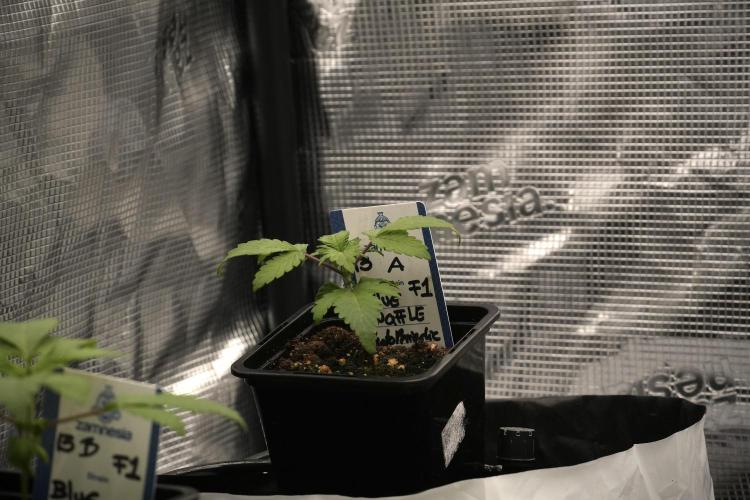
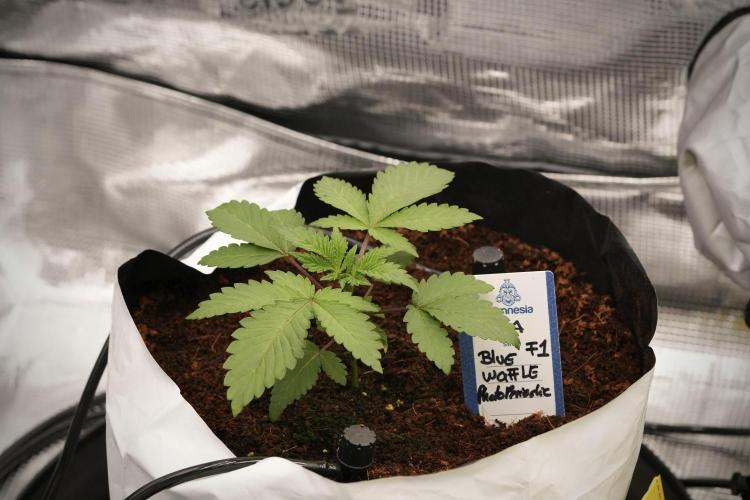
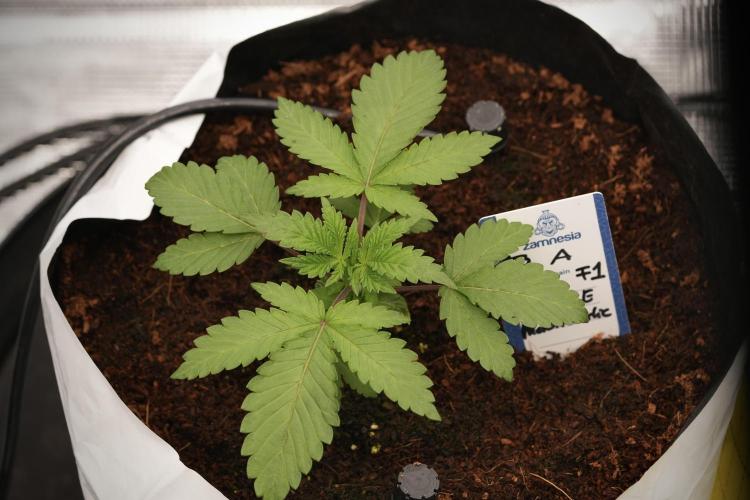
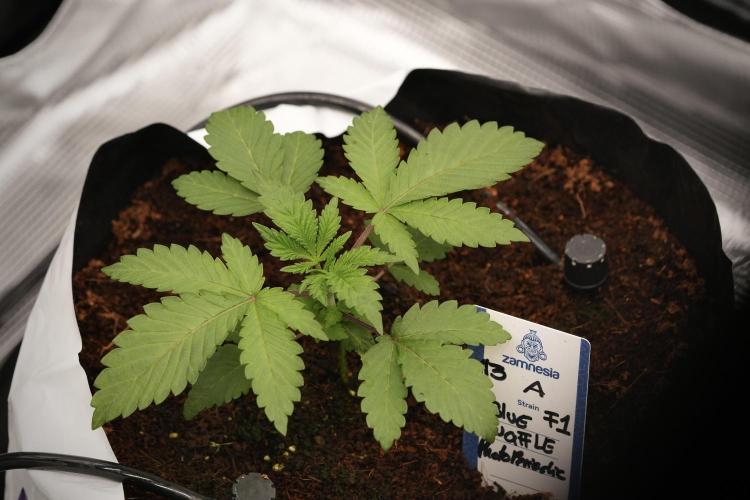
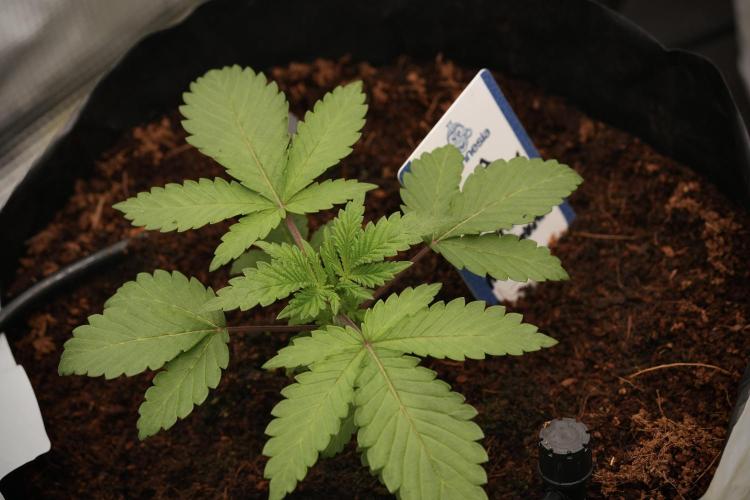
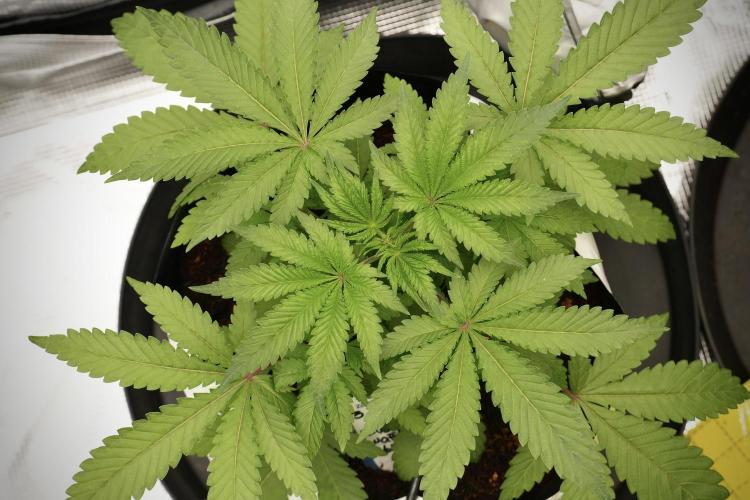
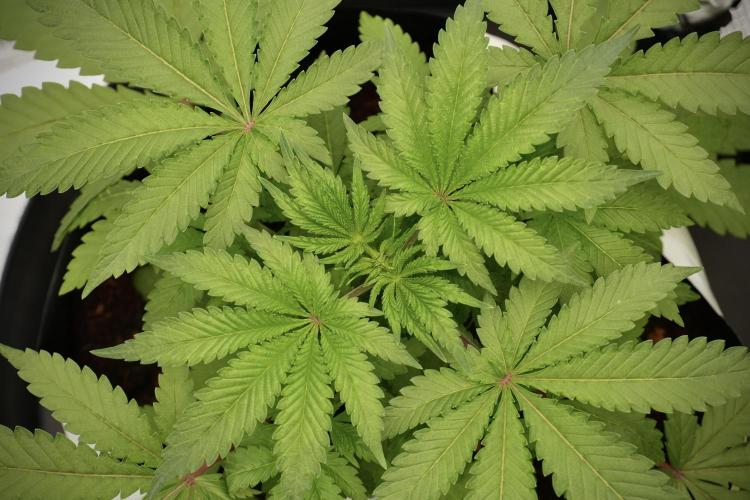
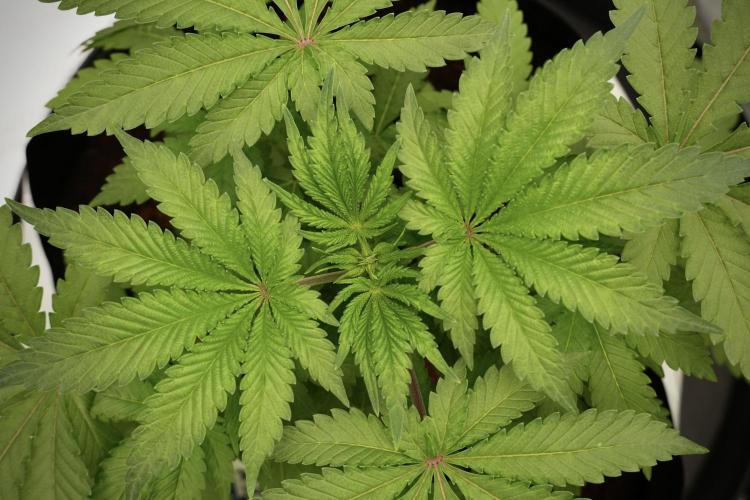
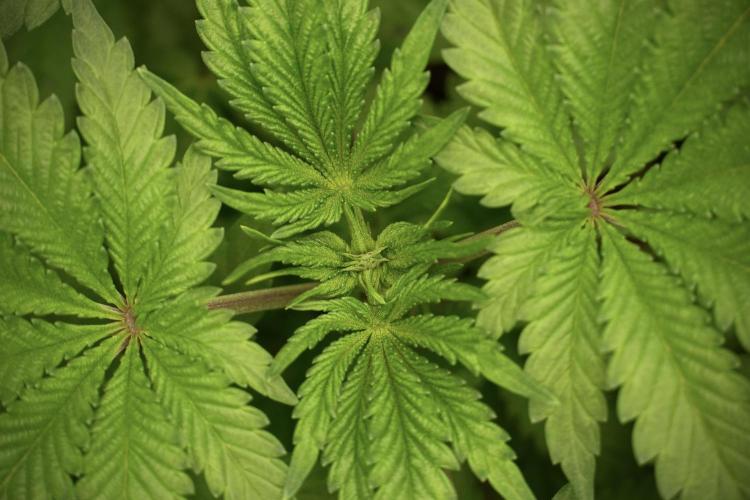
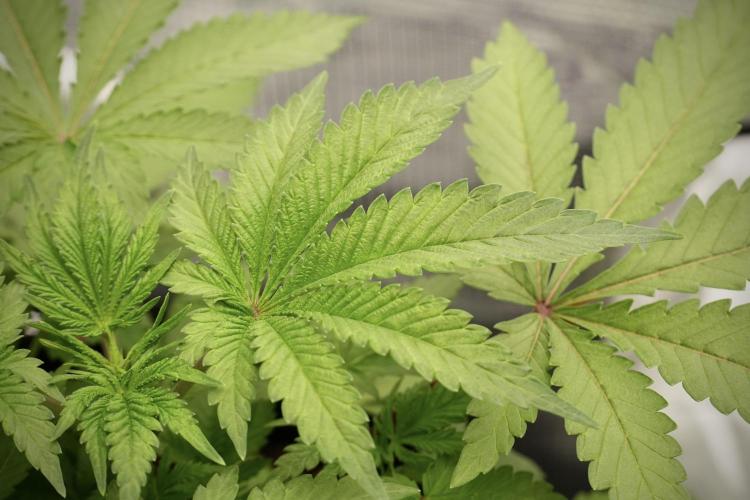
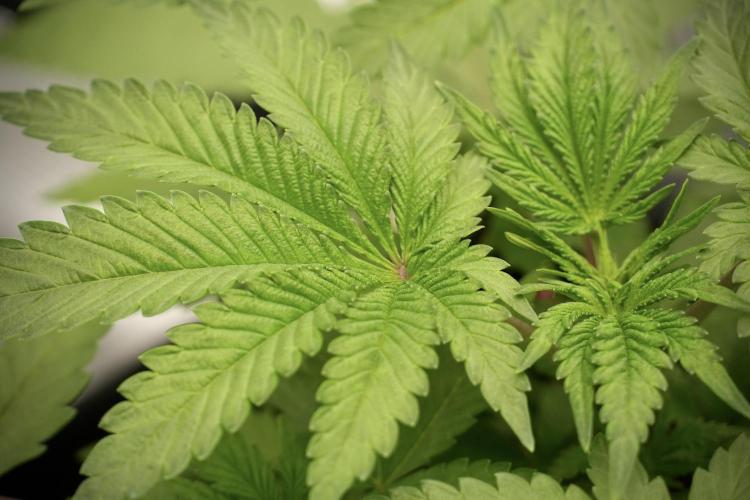
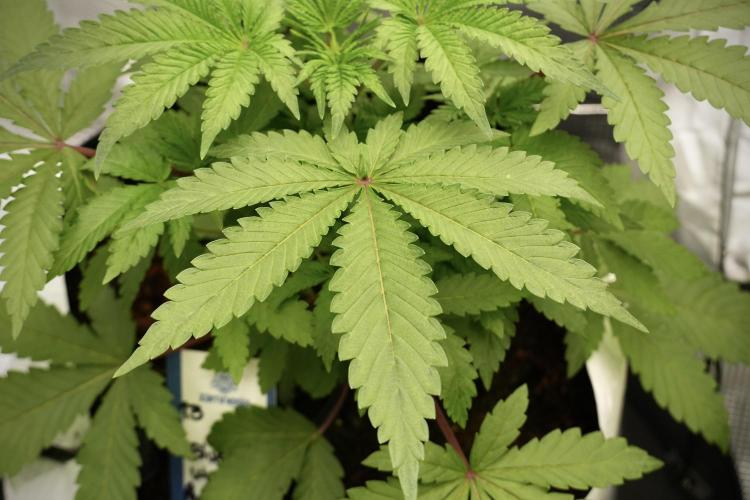
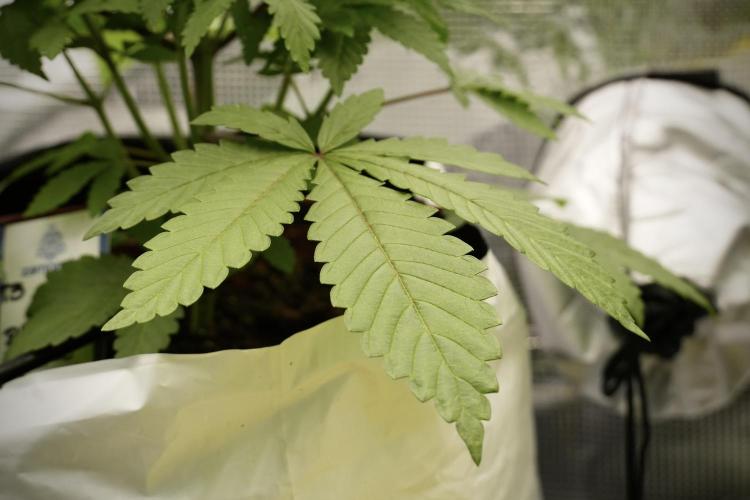
DogDoctorOfficial ? Blue Waffle F1 — Pheno A
Week 1 | New Tent, New Genetics, New Adventure
Hello GrowDiaries family! 👋🌱
Today marks the beginning of something completely new in the garden.
Not just a new genetic.
Not just a new diary.
But an entirely new growing environment built from the ground up specifically for this project.
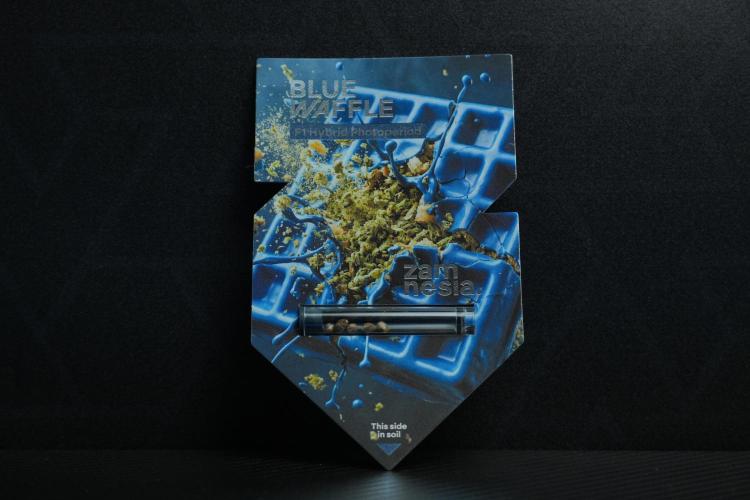
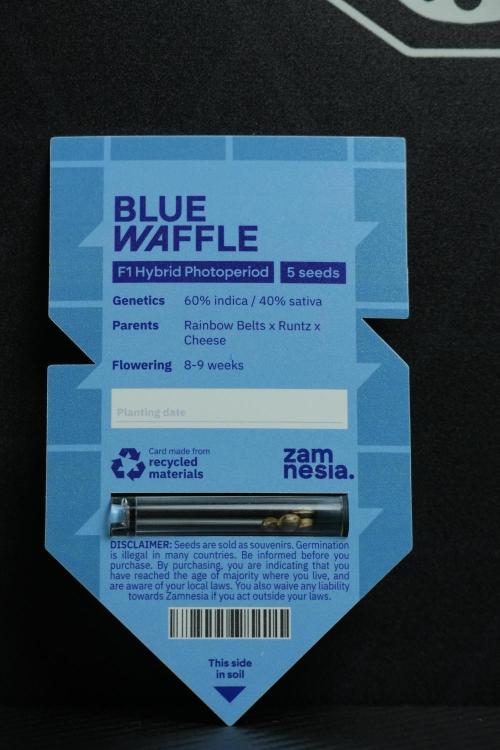
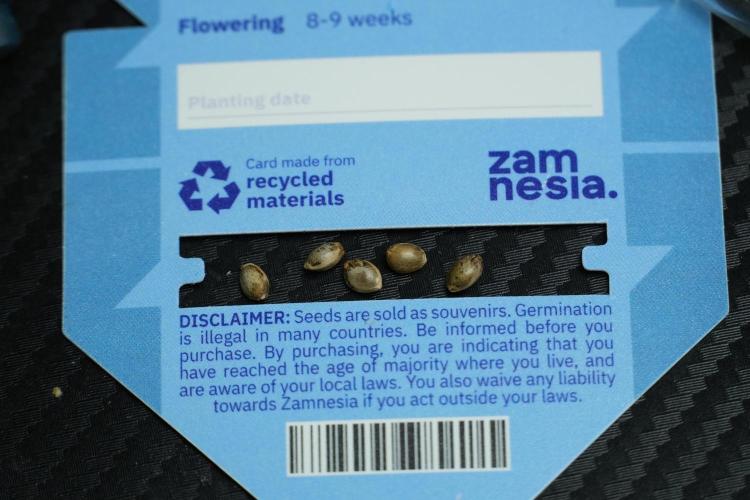
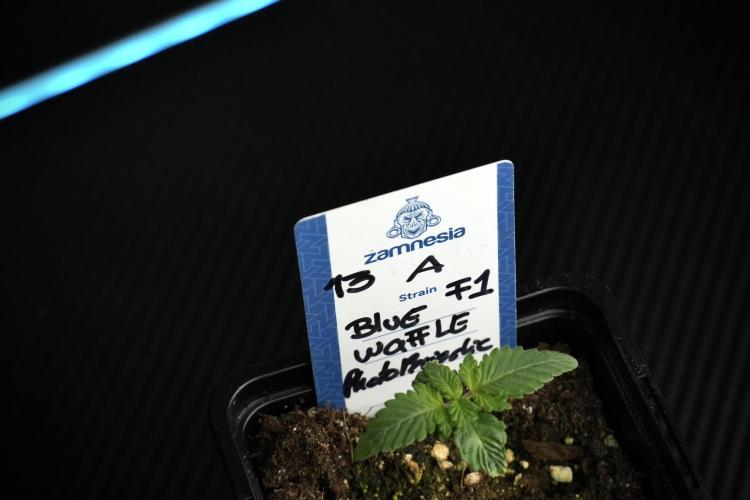
Welcome to Blue Waffle F1 by Zamnesia Seeds.
And welcome to the first official week inside the new Zamnesia setup.
⸻
A New Beginning
This diary is part of a completely separate project from the 12/12-from-seed run many of you have been following.
While the previous garden focused on photoperiod plants grown under a strict flowering schedule from day one, this tent has a completely different objective.
For this project we’re running:
* 18/6 light schedule
* Full vegetative development
* Potential training techniques
* Possible topping
* Possible LST
* Possible Scrog
* And whatever these genetics decide to inspire along the way
For now, however, everything starts exactly where every great grow begins:
With a seed.
⸻
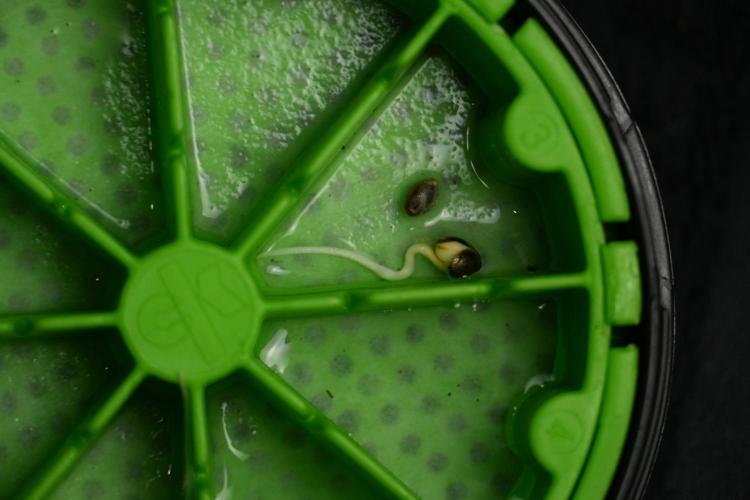
The Cannakan Germination System
As with many previous diaries, germination began using my trusted Cannakan system.
The concept remains wonderfully simple.
Seeds are placed inside with plain water.
Nothing more.
No nutrients.
No stimulants.
No secret ingredients.
Just water.
The objective isn’t to feed the seed.
The objective is simply to wake it up.
Nature already packed everything required for those first moments of life inside the shell itself.
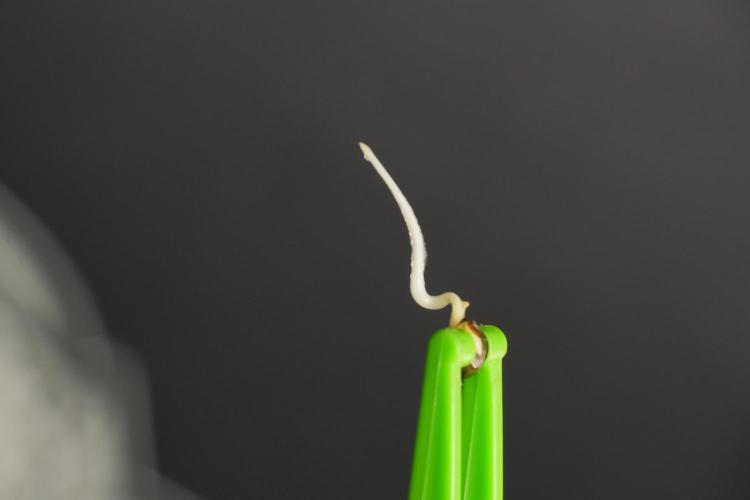
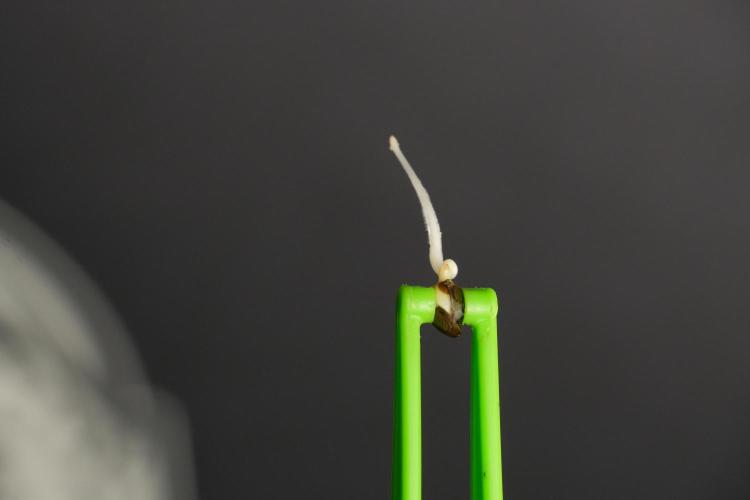
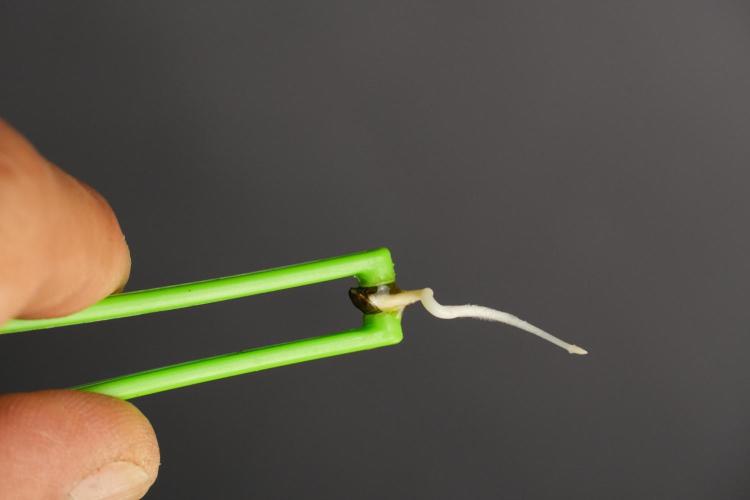
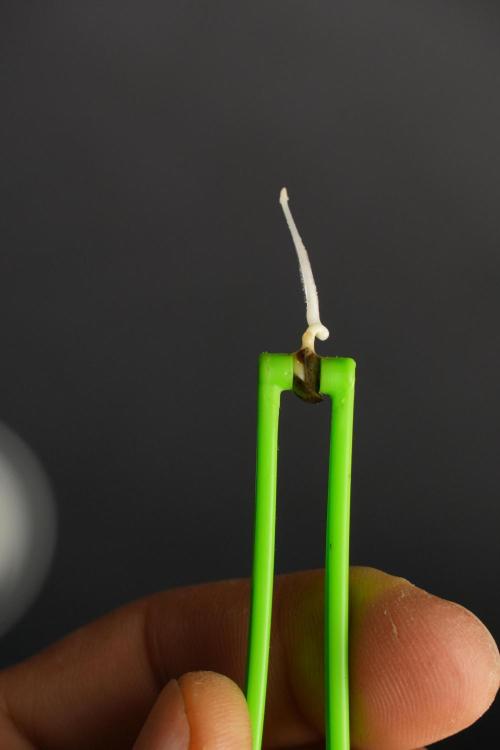
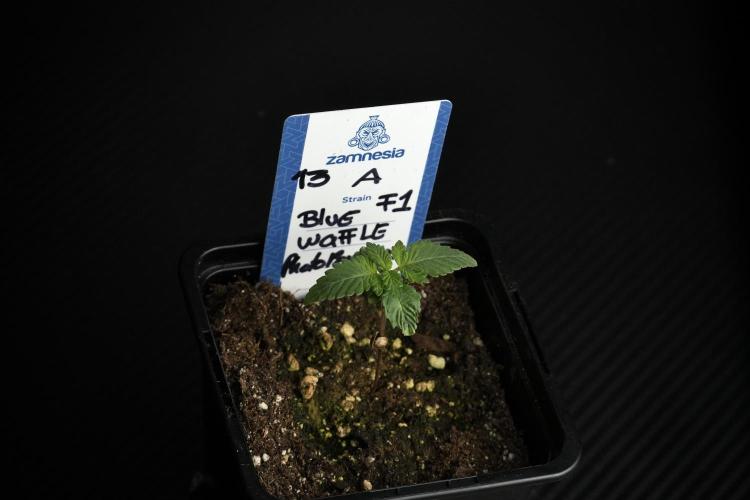
For Blue Waffle F1, germination was fast and impressive.
After approximately 24 hours of soaking, the seeds had absorbed water and begun the process.
Most of the water was then removed, leaving only enough moisture to maintain ideal conditions.
Roughly 12–13 hours later, one seed had already produced a beautiful healthy taproot.
The second wasn’t far behind.
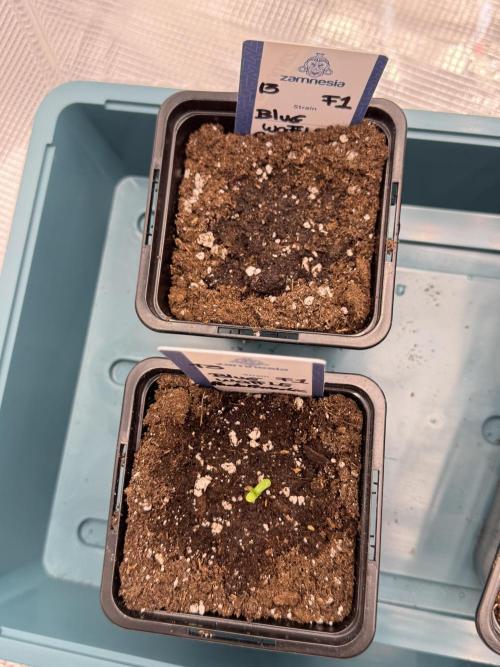
At that point both seeds were transferred into their final containers.
Sometimes plants make the decision for us.
These girls were ready.
⸻
From Root To Light
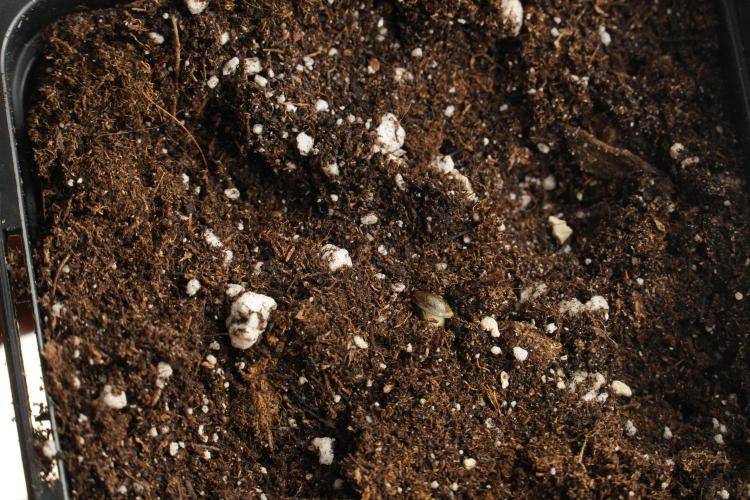
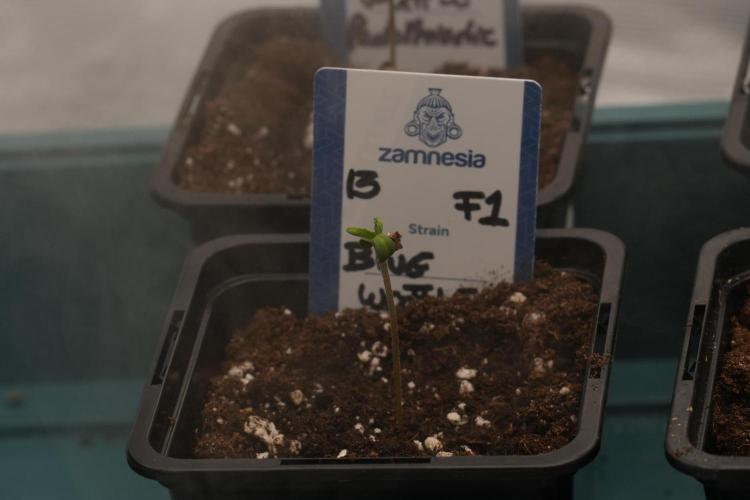
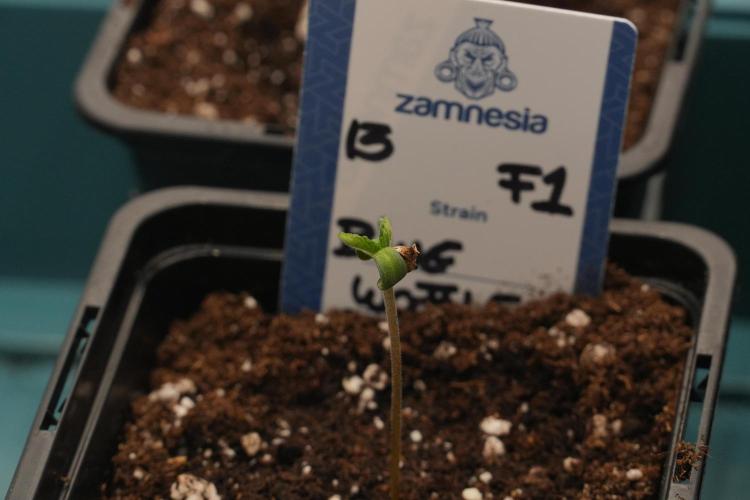
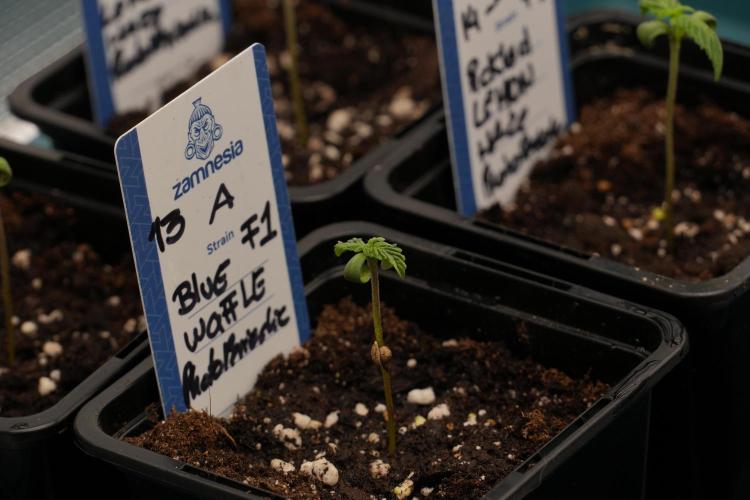
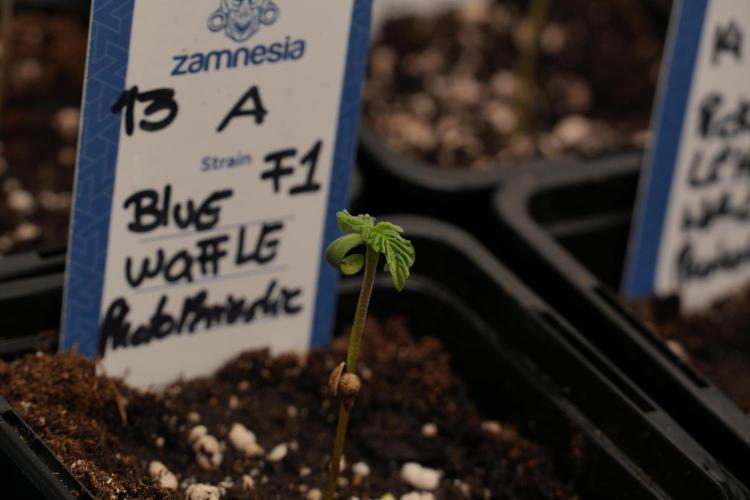
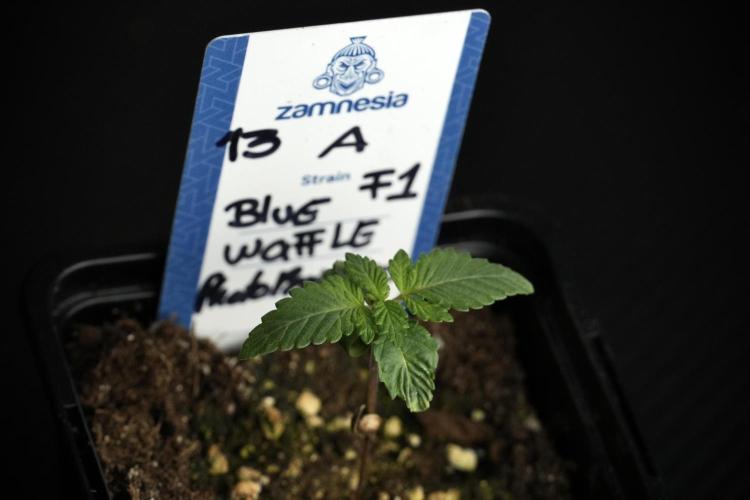
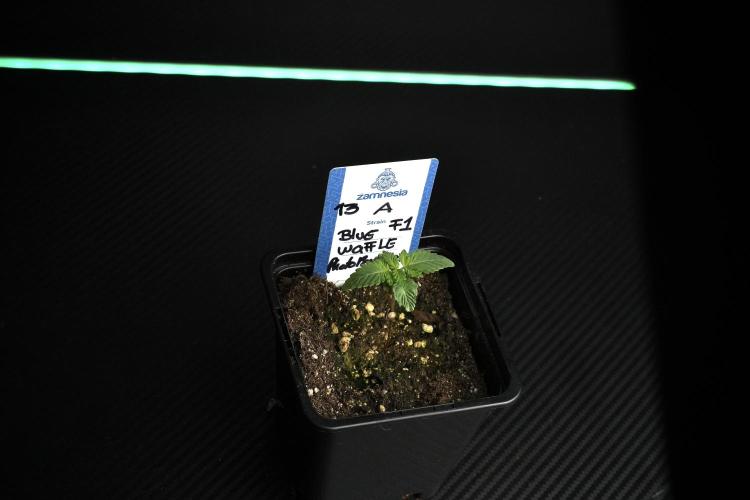
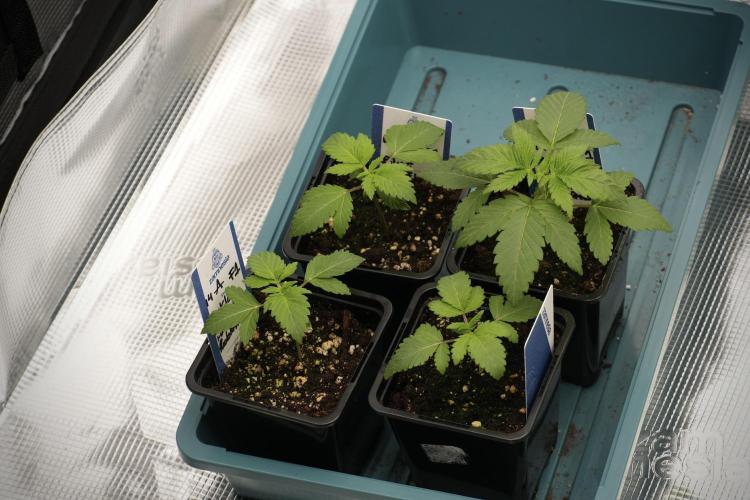
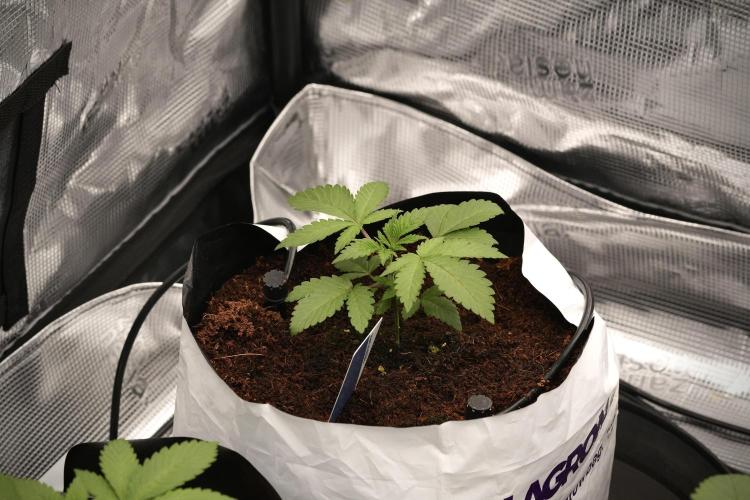
Once planted into Plagron Lightmix, development continued at an impressive pace.
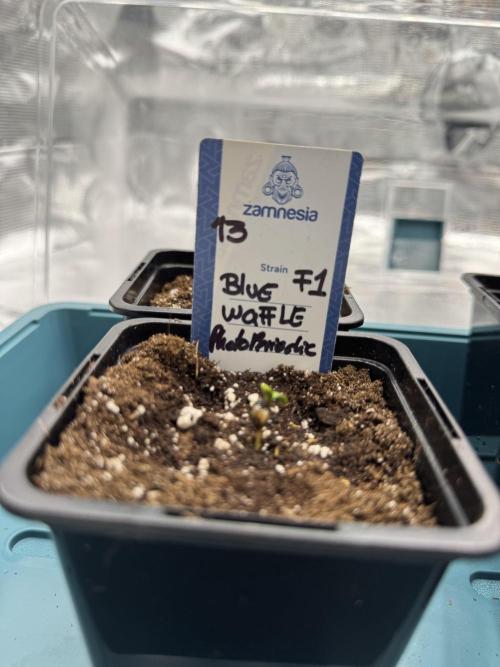
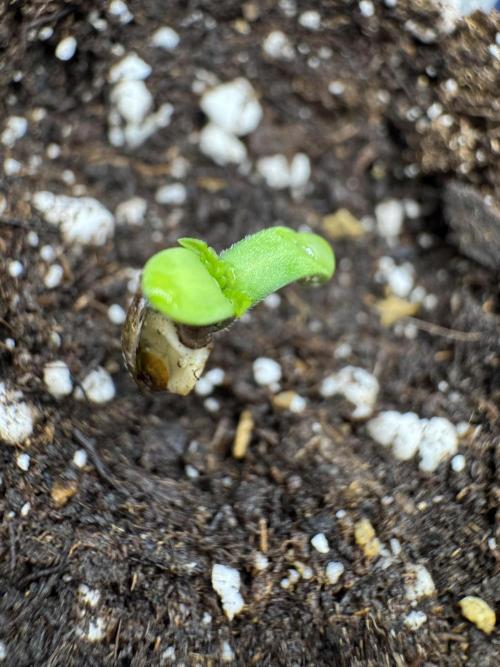
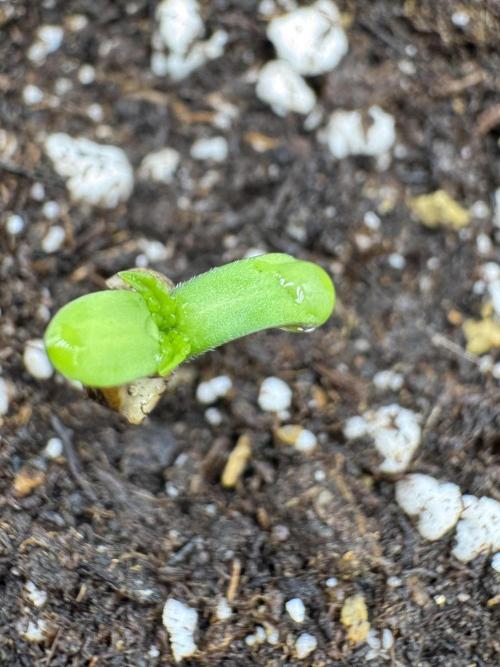
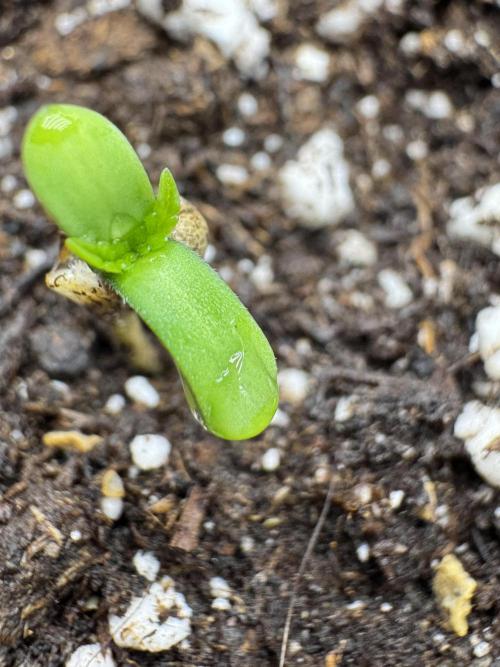
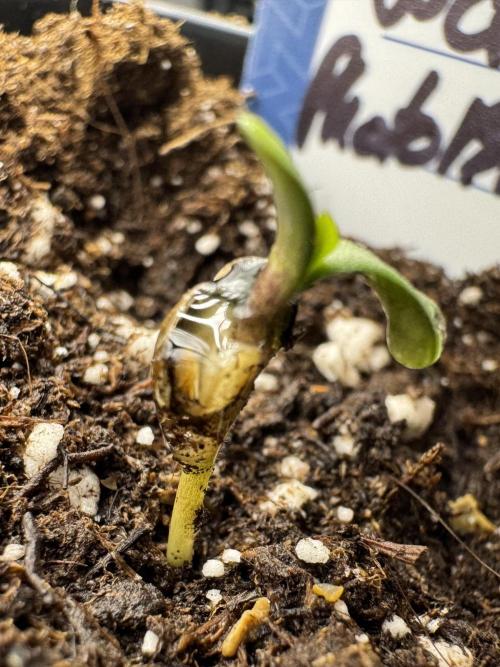
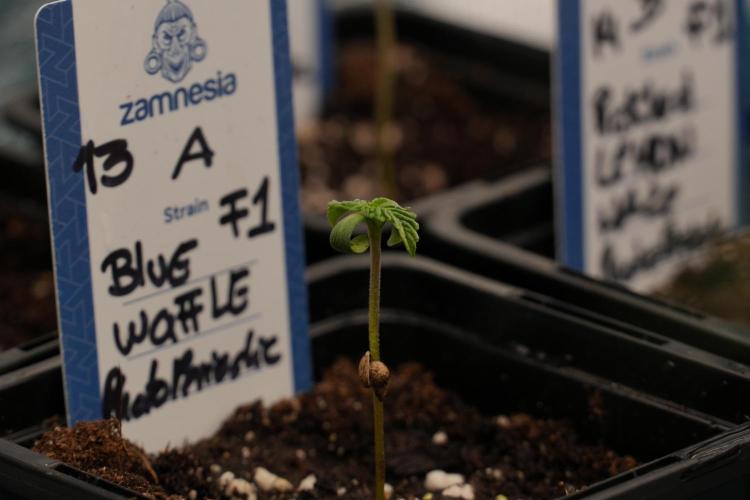
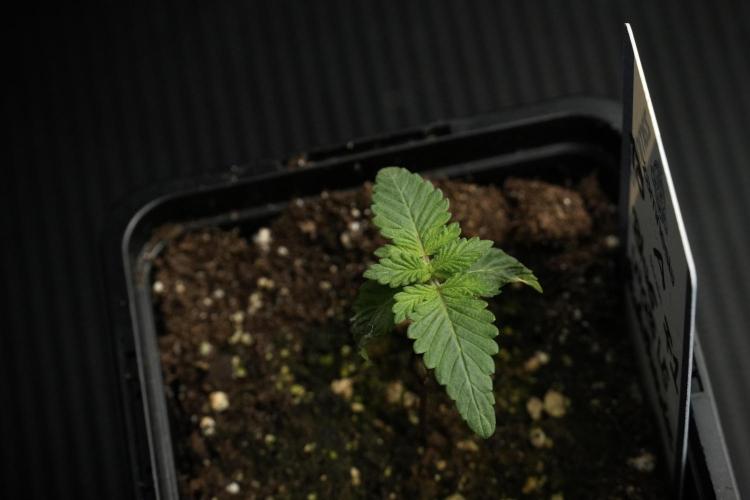
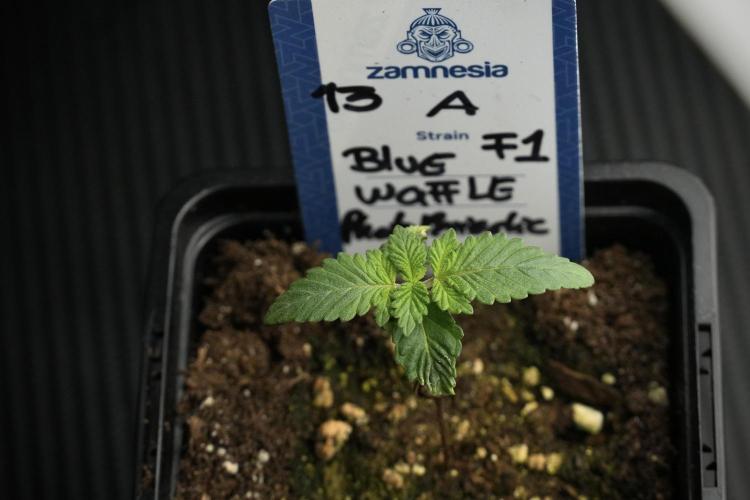
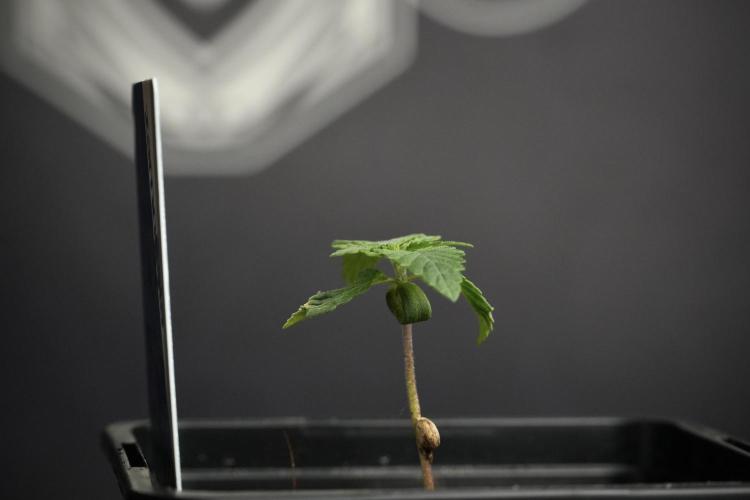
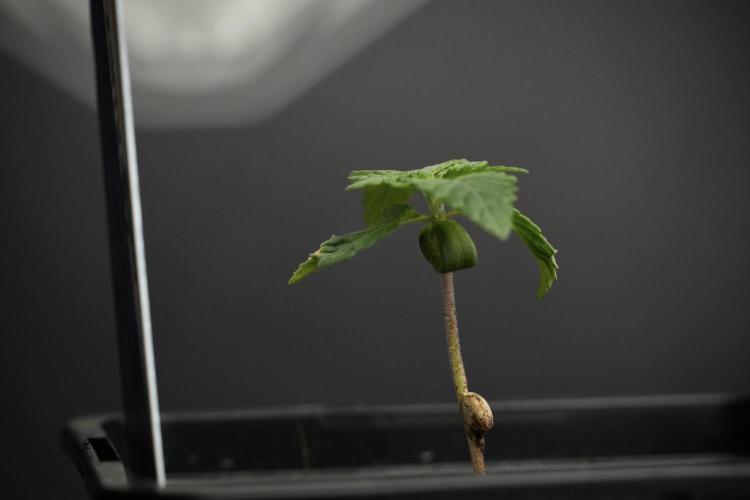
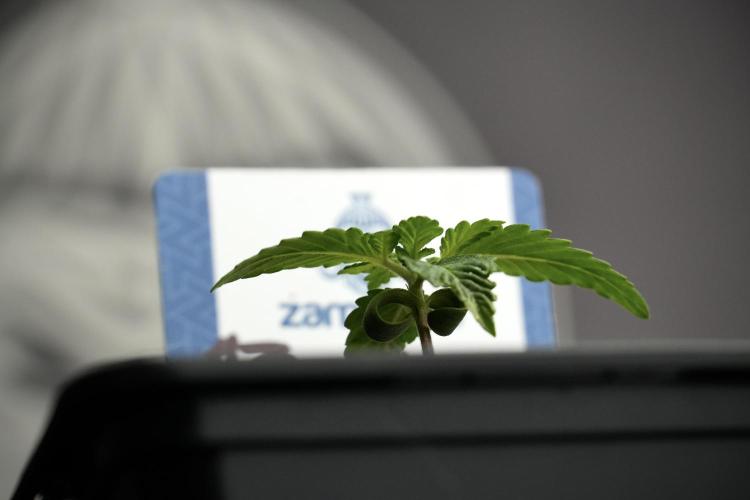
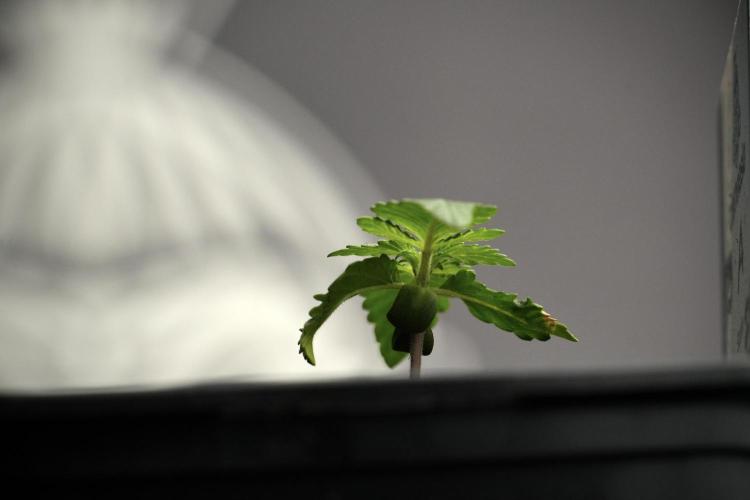
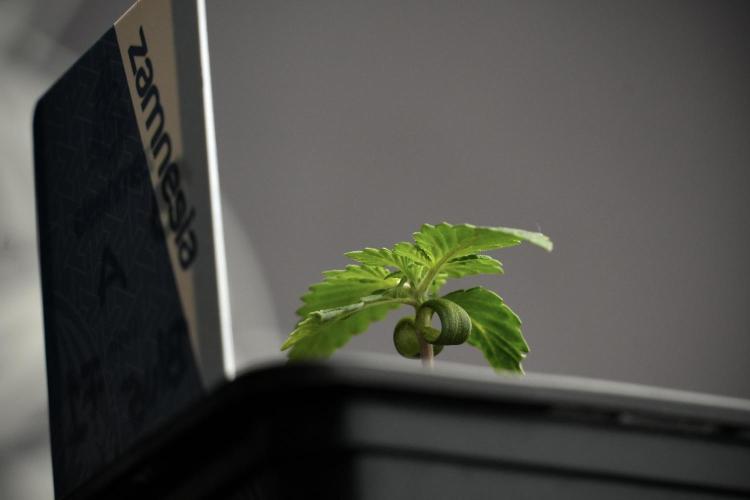
Less than 24 hours later, the first seedling was already emerging above the soil surface and searching for light.
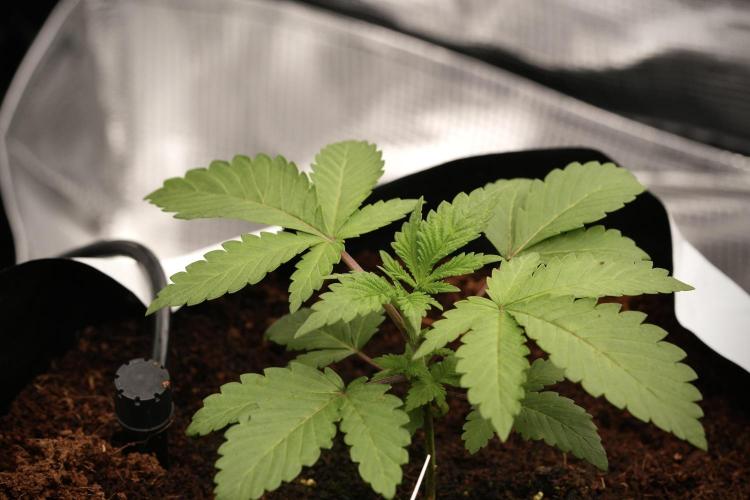
Pheno A was slightly faster from the start.
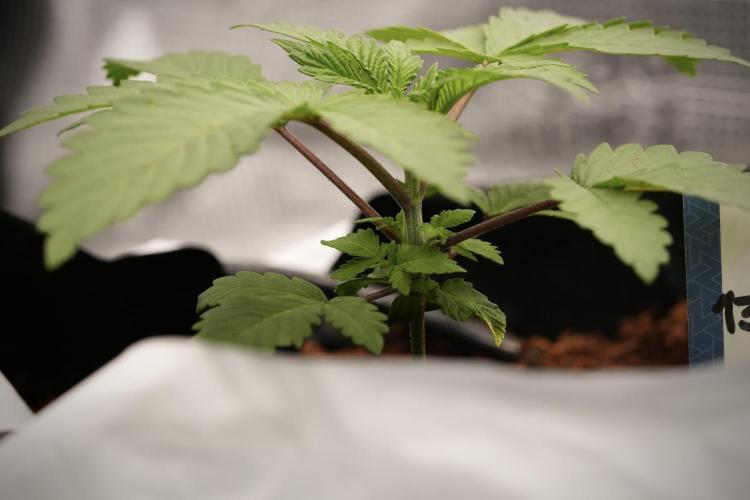
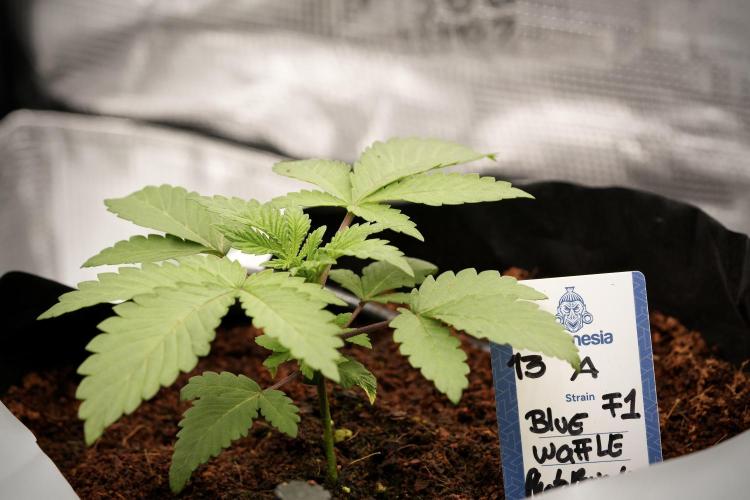
The photos clearly show her vigorous emergence and strong taproot development.
The characteristic little “tail” visible during germination quickly transformed into a healthy young seedling eager to begin growing.
Her sister wasn’t far behind.
Both seedlings established themselves quickly and showed exactly the kind of vigor we hope to see from modern F1 genetics.
⸻
Why Use A Humidity Dome?
During the first few days after emergence, both seedlings spent some time under a humidity dome.
This is something many growers choose to use during early development.
The purpose is simple:
Young seedlings possess only a very small root system.
Because they cannot yet absorb large amounts of water through the roots, maintaining slightly elevated humidity helps reduce moisture loss through the leaves.
The dome isn’t intended as a permanent environment.
It’s simply a temporary tool that helps young seedlings bridge the gap between germination and proper root establishment.
Once the plants become established, the dome is removed and normal environmental conditions take over.
The objective is adaptation.
Not dependence.
⸻
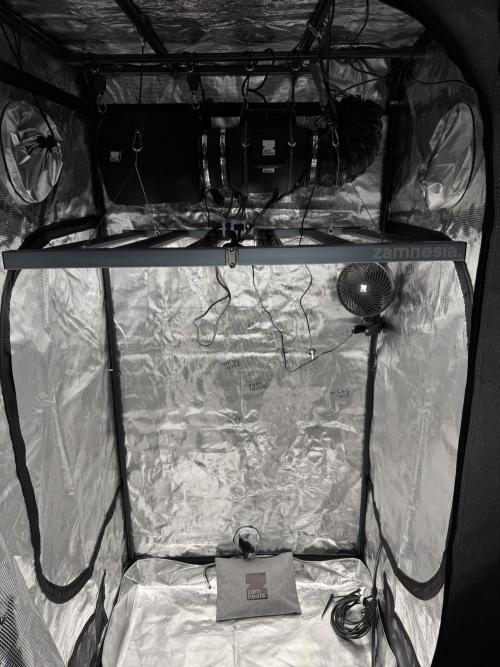
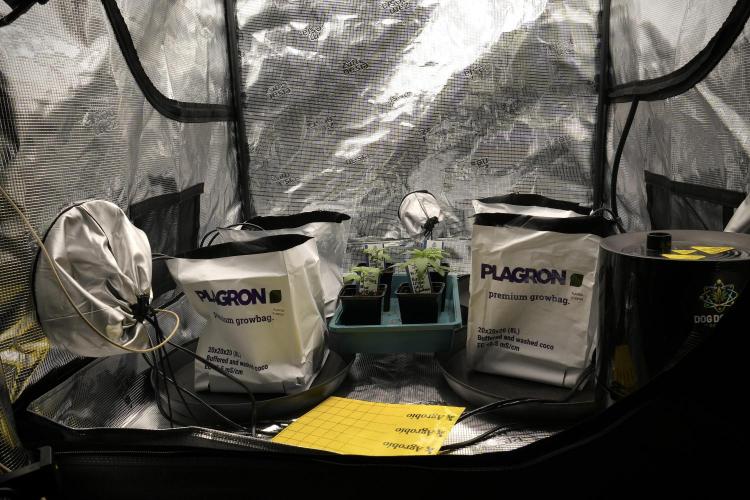
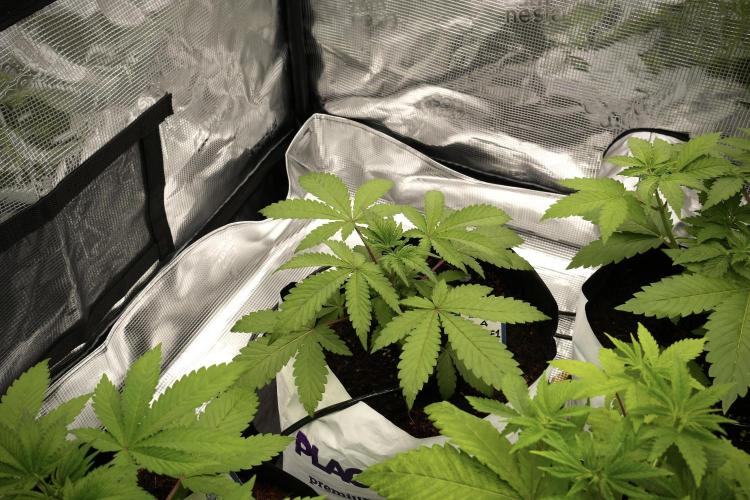
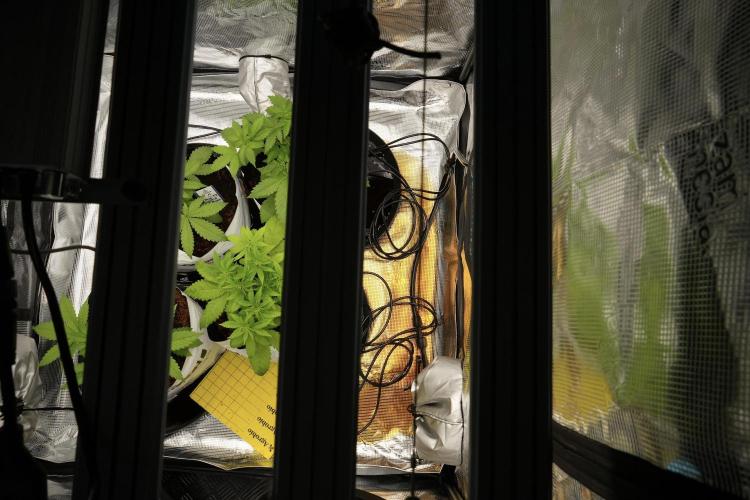
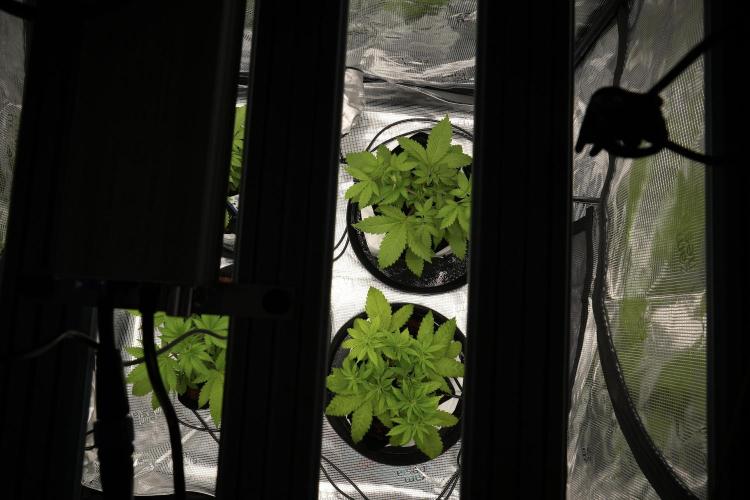
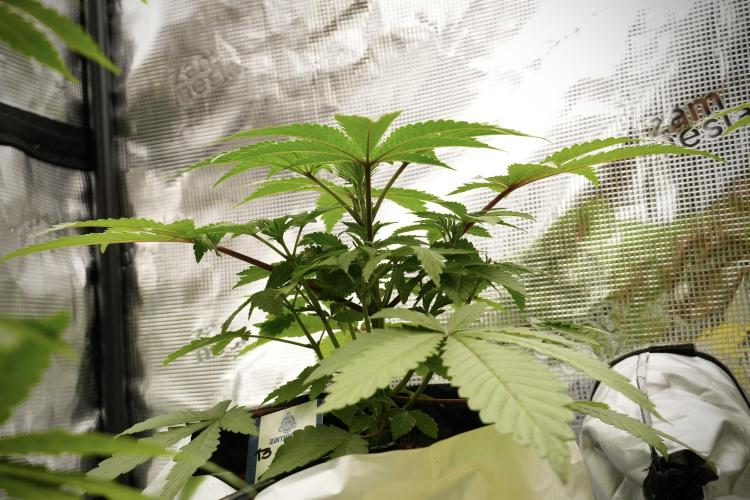
Building The New Zamnesia Grow Tent Kit
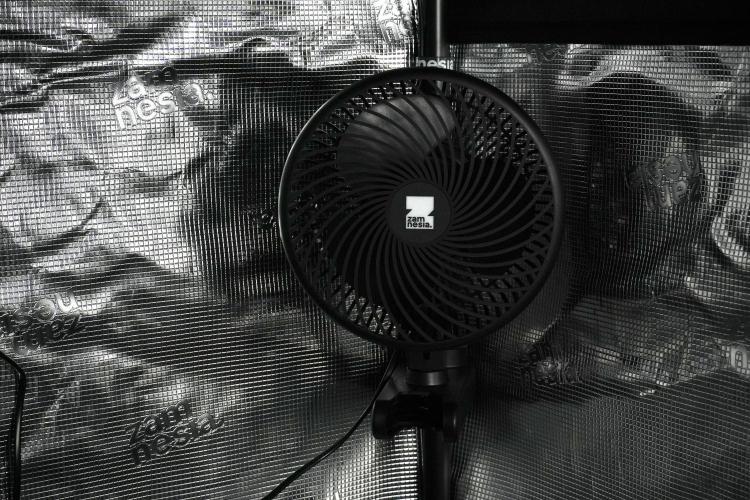
One of the highlights of this week was assembling the brand-new Zamnesia Grow Tent Kit.
Everything shown throughout this diary was built and installed by a single person.
No assistants.
No special tools.
No complicated setup.
Just patience and a free afternoon.
To my surprise, the entire installation process moved extremely quickly.
Even including:
* Tent assembly
* LED installation
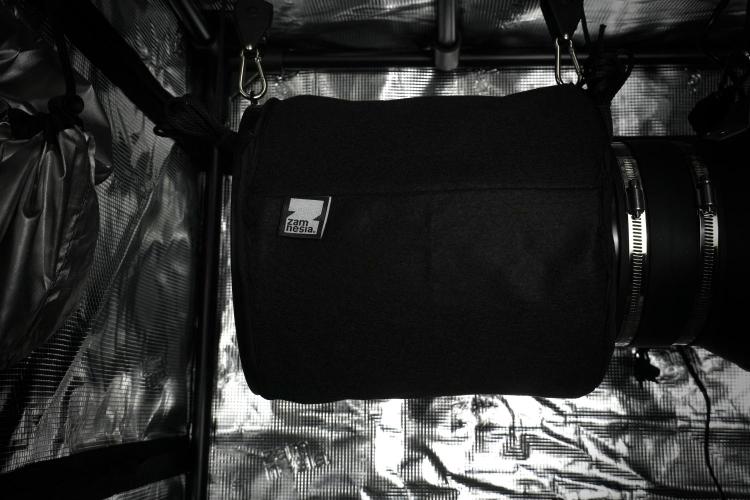
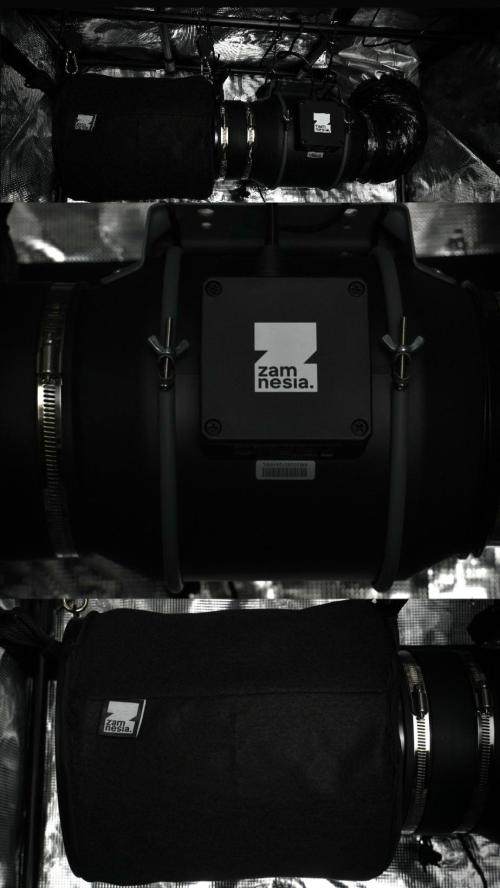
* Carbon filter installation
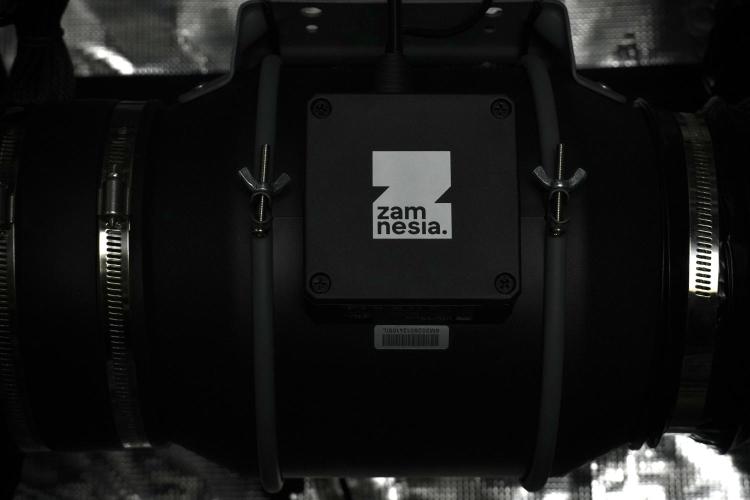
* Inline fan setup
* Ducting
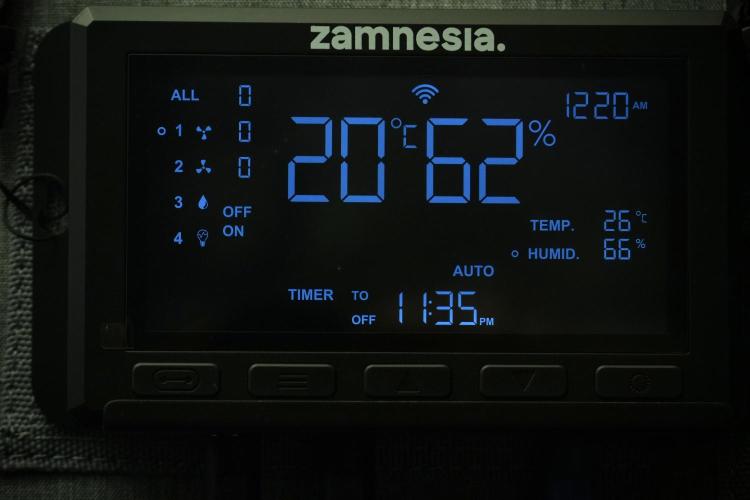
* Controller installation
* Cable management
The complete system was operational in under an hour.
If I can build it alone, most growers will have absolutely no trouble doing the same.
The instructions included are excellent, although in my particular space I ended up making a few adjustments and performing some creative grow-room gymnastics to fit everything exactly where I wanted it.
The quality of the materials immediately stood out.
The frame feels extremely solid.
In fact, during setup I jokingly tested just how sturdy it was and found it capable of handling far more abuse than most grow tents will ever experience.
First impressions have been extremely positive.
Now it’s time to see how it performs over an entire grow cycle.
⸻
What’s Included In The Kit?
For those curious about the exact setup being used throughout this project, the complete Zamnesia Grow Tent Kit includes:
* Grow Tent 100×100×200 cm
* Phytonaut LED Grow Light 320W
* 150 mm Inline Duct Fan
* 150 mm Carbon Filter
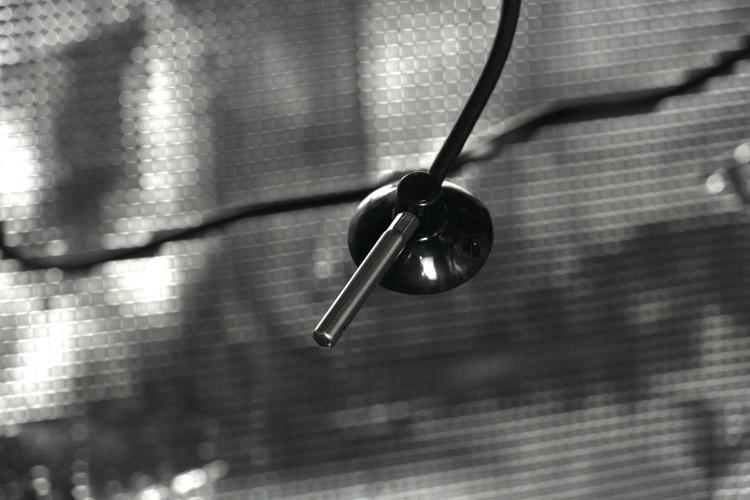
* Grow Environment Controller
* 152 mm Clip Fan
* 2 m Flexible Ducting
* 24-Hour Timer
* Rope Ratchet Hangers
* Velcro Cable Management System
Everything currently running in this tent comes directly from this package.
No substitutions.
No upgrades.
No additional equipment.
This allows us to evaluate the entire system exactly as it arrives.
⸻
Environmental Conditions
For this first week, conditions were intentionally gentle.
Light intensity was measured using a PAR meter and maintained around:
~200 PPFD
At this stage, seedlings simply do not require high-intensity lighting.
The objective is root development and healthy establishment rather than explosive growth.
The plants responded beautifully.
Healthy posture.
Good color.
Strong emergence.
And steady daily progression.
Exactly what we hope to see.
⸻
First Impressions Of Blue Waffle F1
Although still extremely young, Blue Waffle F1 has already made a positive first impression.
Fast germination.
Strong emergence.
Healthy color.
Excellent vigor.
And perhaps most importantly:
Confidence.
Some seedlings seem hesitant.
This one simply got to work.
The coming weeks will reveal much more about structure, growth rate, branching potential, and eventual terpene profile, but the opening chapter could hardly have gone much smoother.
⸻
Looking Ahead
Week 1 is always about foundations.
Roots before fruits.
Patience before training.
Observation before intervention.
Over the coming weeks we’ll continue documenting:
* Vegetative growth
* Structural development
* Environmental management
* Training decisions
* Nutrient progression
* Genetic expression
* And everything these new F1 genetics choose to reveal
For now, Blue Waffle F1 Pheno A has arrived safely, settled into her new home, and seems very happy about it.
The kingdom has officially opened its gates.
Let’s see what this little Blue Waffle decides to cook for us. ?💙🌱
Grower’s Love everyone. 💚
13 likes
2 comments
Share
Used method
Other
Germination Method
1
Week 1. Vegetation
1mo ago
1/30
6 cm
Height
18 hrs
Light Schedule
26 °C
Day Air Temp
6.0
pH
No Smell
Smell
765 PPM
TDS
71 %
Air Humidity
24 °C
Solution Temp
24 °C
Substrate Temp
25 °C
Night Air Temp
0.3 l
Pot Size
0.3 l
Watering Volume
450 PPM
CO₂ Level
Nutrients 3
Hydro A
1.2 mll
Hydro B
1.2 mll
Hydro Roots
1 mll
DogDoctorOfficial Folder 13 — Blue Waffle — Pheno A
Week 1 Vegetation — The First Steps Into Project Blue
Welcome back, growers!
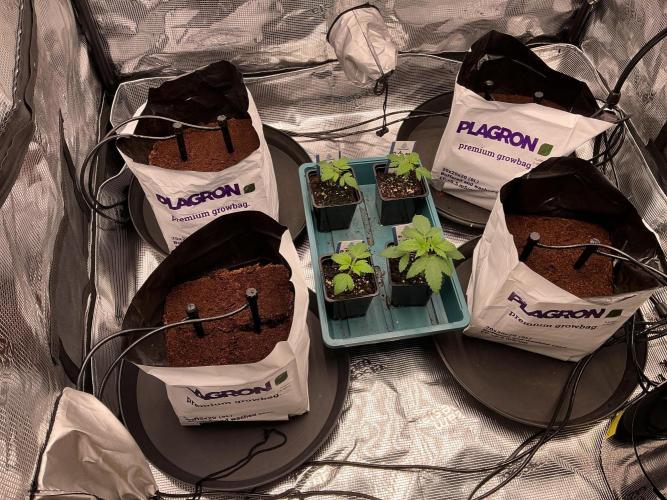
With the germination phase now behind us, it’s time to begin documenting the first true week of vegetative growth for the Zamnesia Tent project. This run is slightly different from my previous diaries, as it combines four genetics growing side-by-side inside a dedicated ecosystem built around Zamnesia equipment and Plagron nutrients.
For easier tracking and because GrowDiaries limits the number of photos per update, each plant is being documented individually from seed to harvest. This allows a closer look at how each phenotype develops over time, even when they share the exact same environment.
Blue Waffle Pheno A is the first plant stepping onto the stage.
⸻
The Environment
This week was all about creating a stable foundation.
The tent is running under the Zamnesia ecosystem, maintaining temperatures around 26°C with relative humidity averaging 71%, creating a comfortable environment for young seedlings.
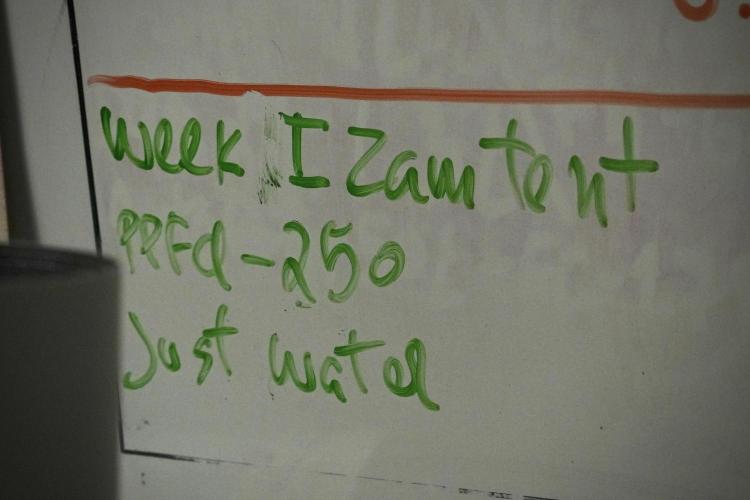
Lighting was intentionally introduced stronger than many growers might expect. The LED was set to 27% output, drawing approximately 86 watts from the wall, resulting in a measured PPFD of roughly 250 µmol/m²/s at canopy level.
Some growers prefer starting lower, but part of this project is observing how modern genetics respond when provided with a slightly stronger light intensity from the beginning.
Air movement was provided by:
* Extraction fan: Level 5
* Circulation fan: Level 4
Both settings provided enough airflow to keep the environment stable without placing unnecessary stress on the young seedlings.
⸻
Feeding Strategy
Although the seedlings spent their first days receiving only rainwater, this week also marked the introduction of their first nutrient solution.
The feeding program consists of:
* Plagron Hydro A
* Plagron Hydro B
* Plagron Hydro Roots
Mixed to:
* EC: 1.53 mS/cm
* pH: 5.96
* Solution temperature: 24.2°C
The objective is not aggressive feeding but rather preparing the plants for the transition into coco while encouraging healthy root development from the beginning.
⸻
Preparing The Next Home
One of the biggest milestones this week happened outside the plant itself.
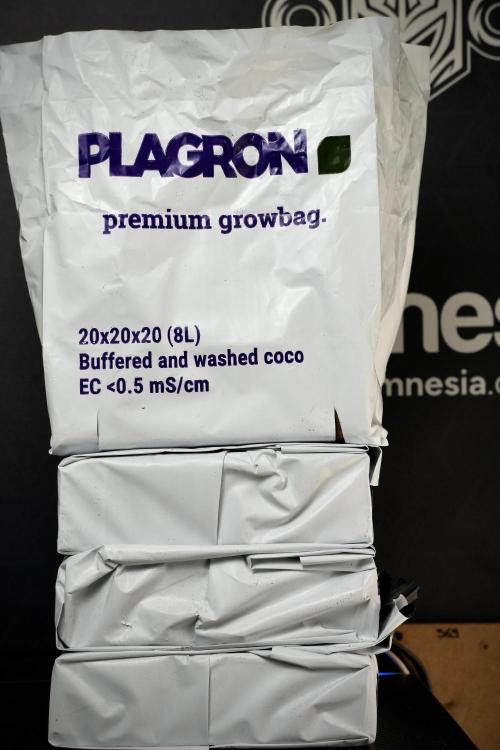
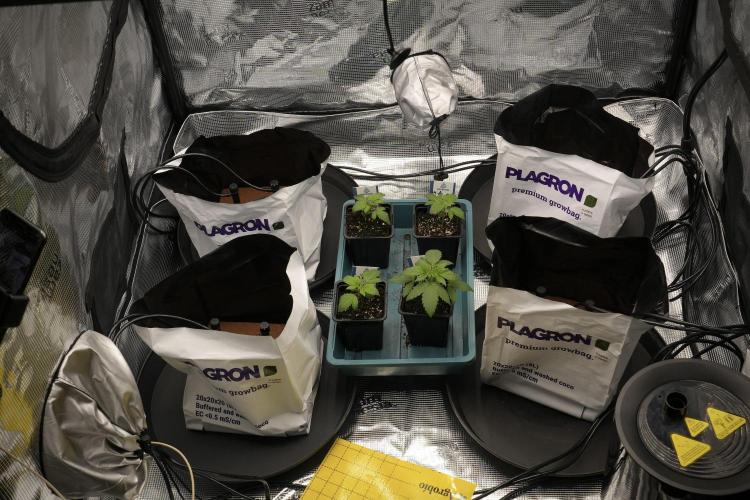
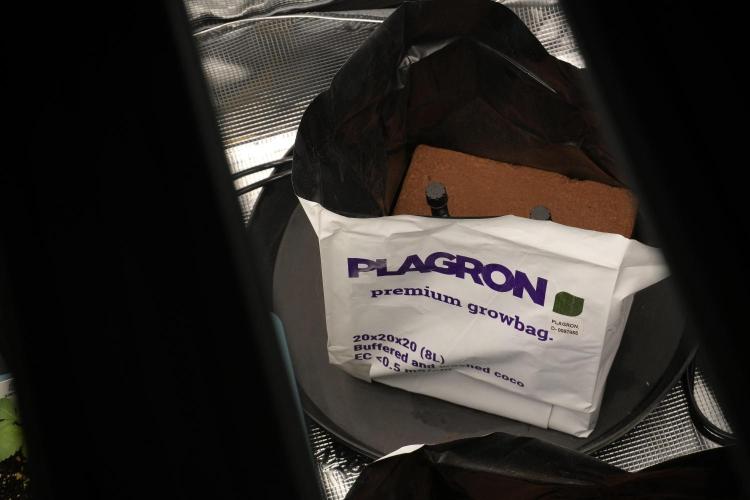
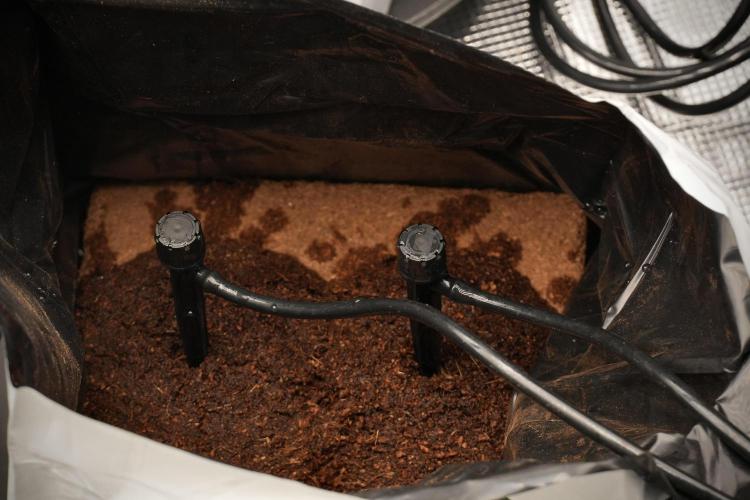
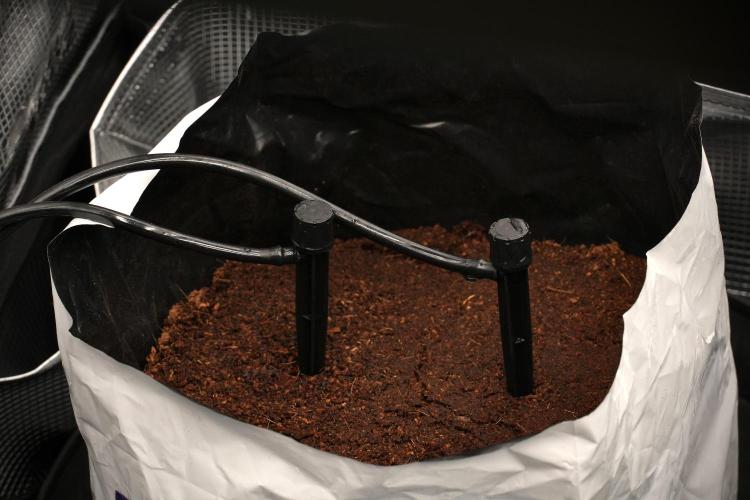
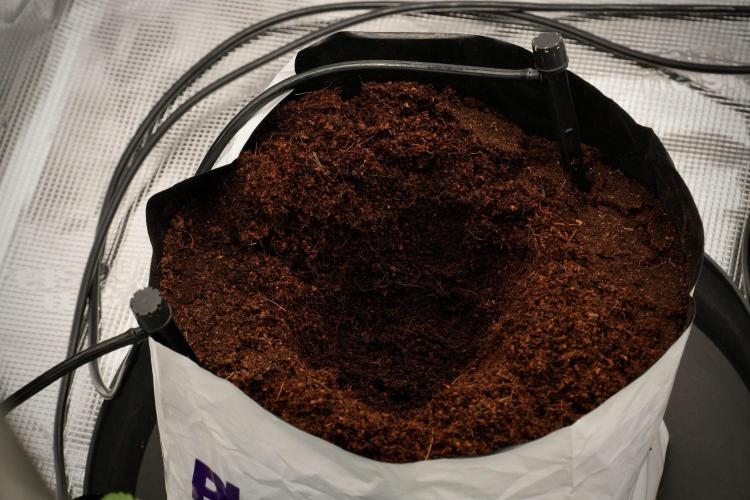
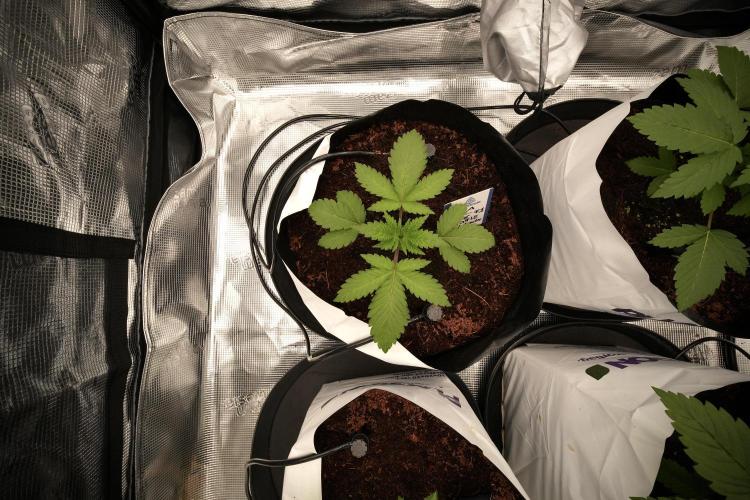
The Plagron Premium Grow Bags were filled and hydrated in preparation for next week’s transplant.
Rather than flooding the coco all at once, hydration was performed slowly using a reservoir-fed drip system. This gradual approach allows the coco to absorb moisture evenly and expand naturally throughout the grow bag.
Only distilled water was used during this hydration process.
The seedlings themselves remain in their starter containers for now, but next week they will make the move into their final coco environment and begin the next chapter of development.
⸻
Blue Waffle Pheno A
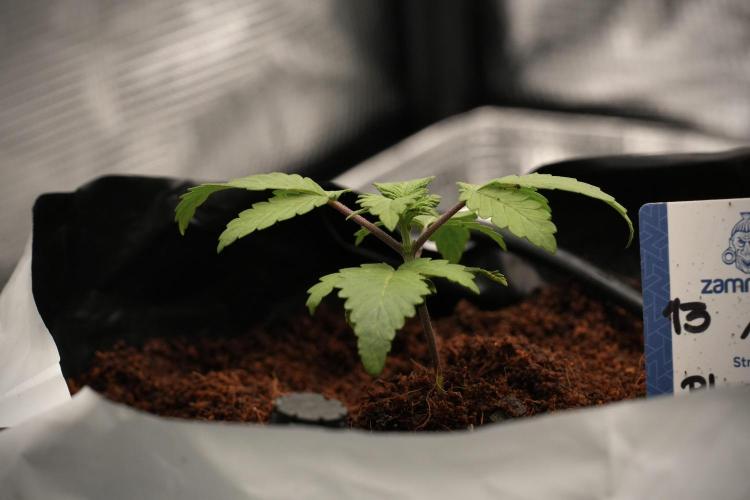
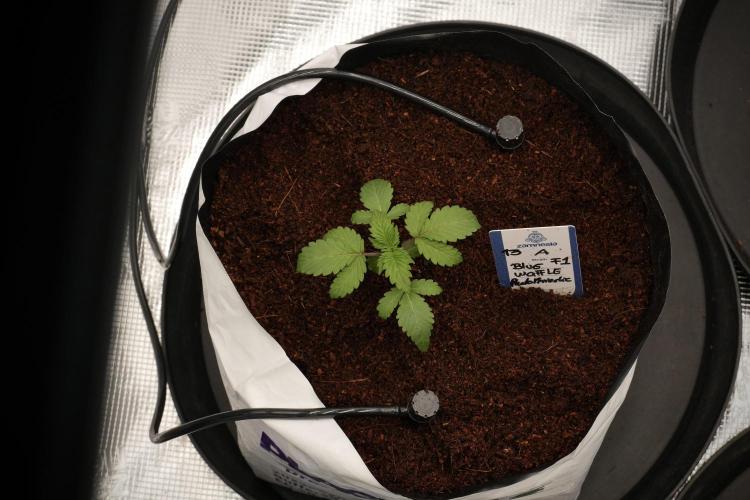
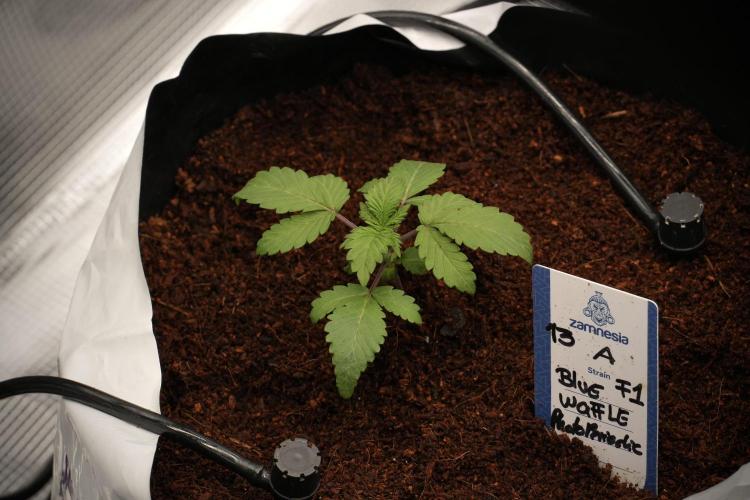
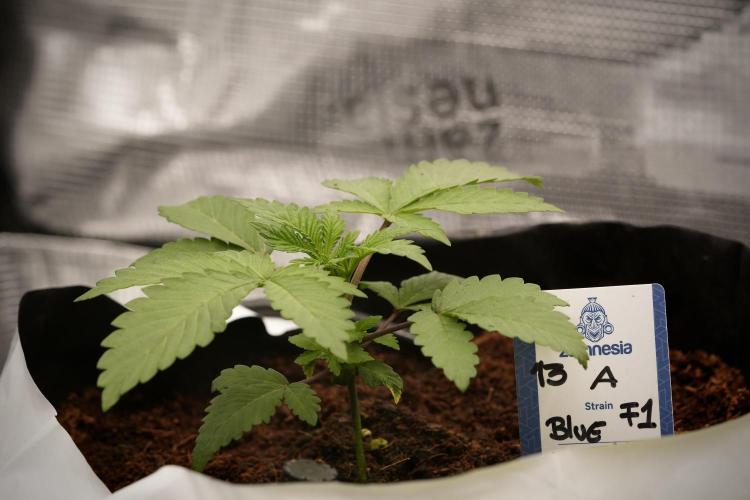
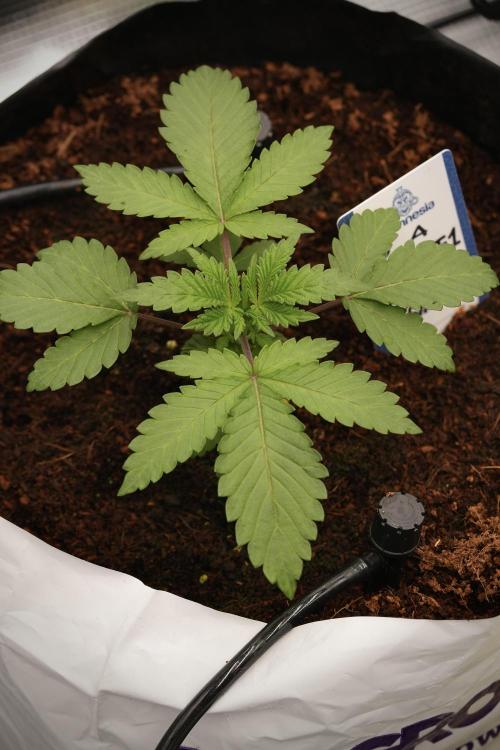
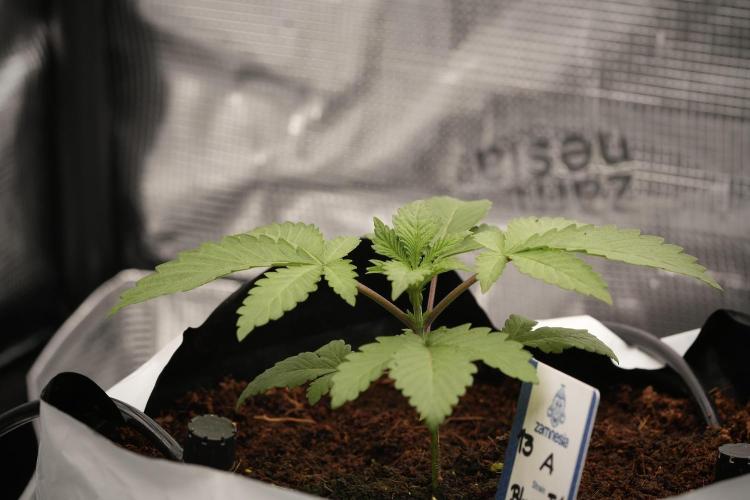
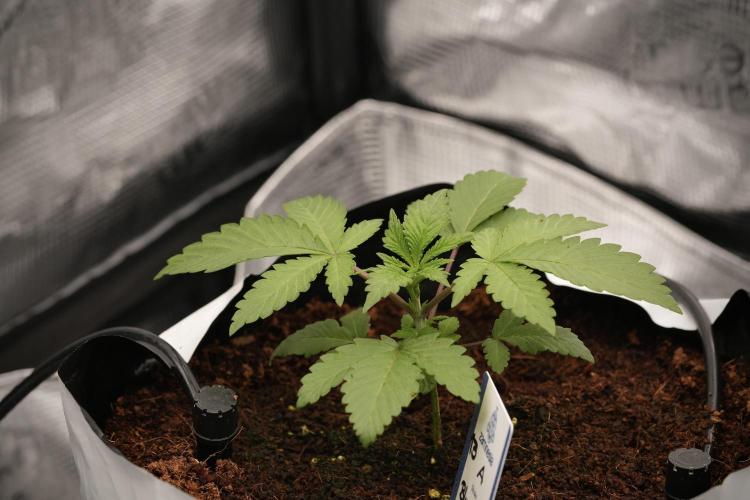
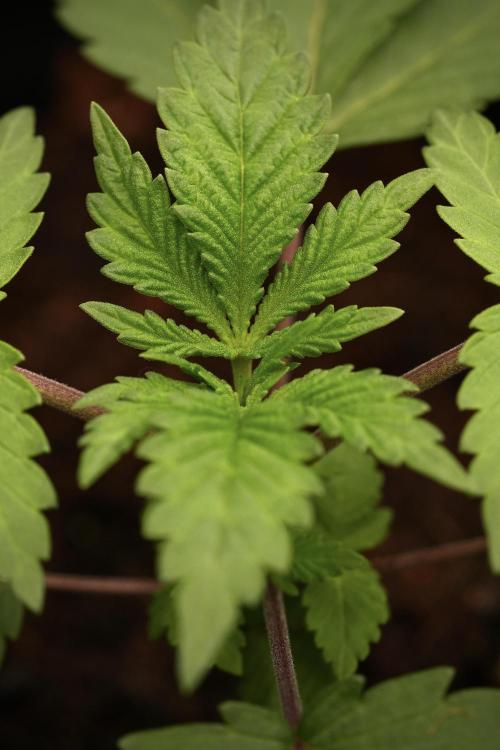
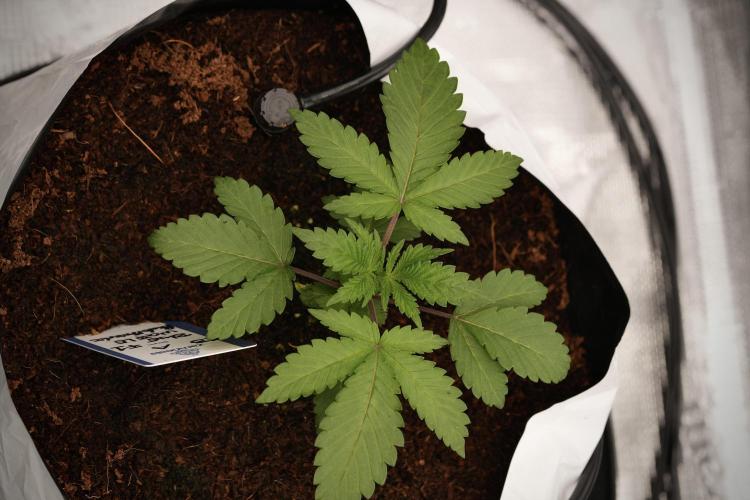
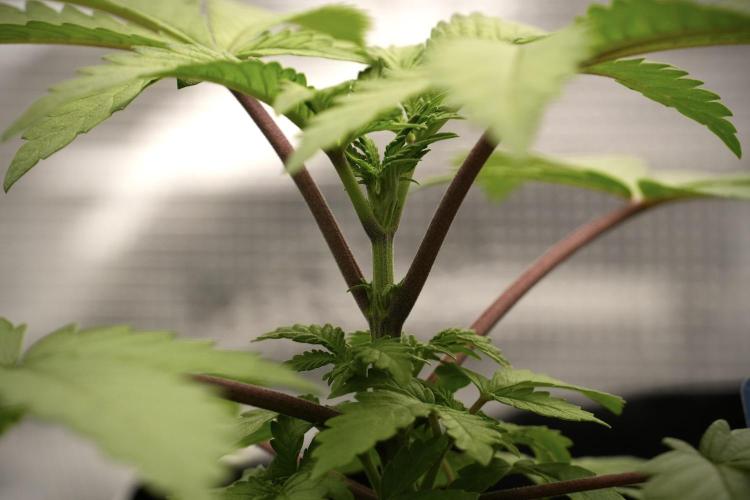
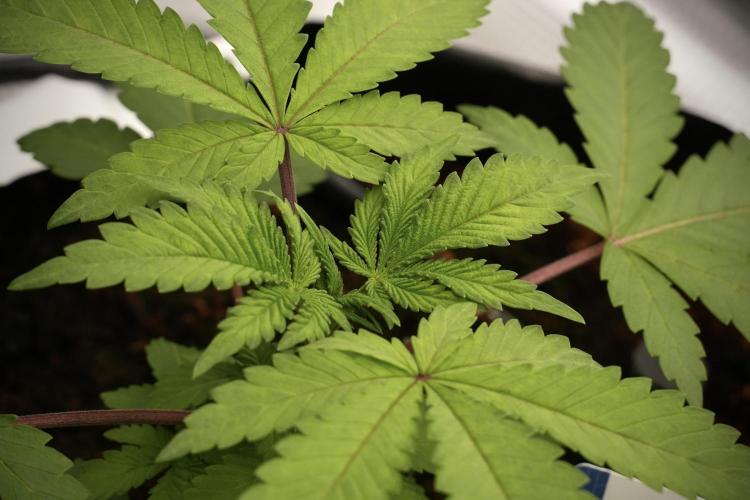
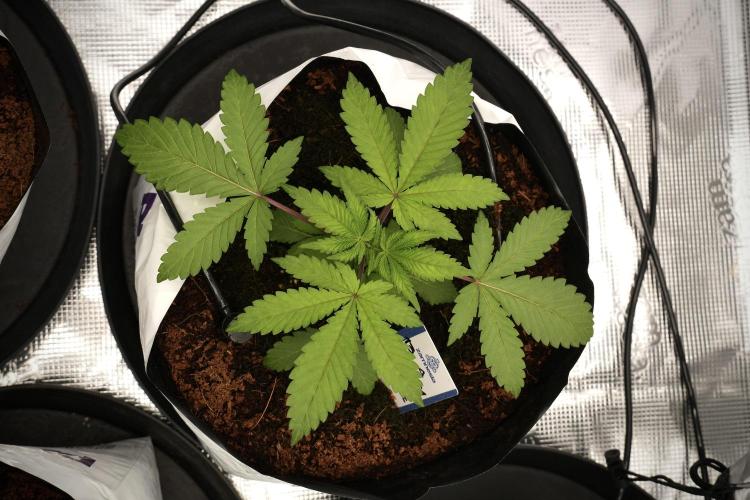
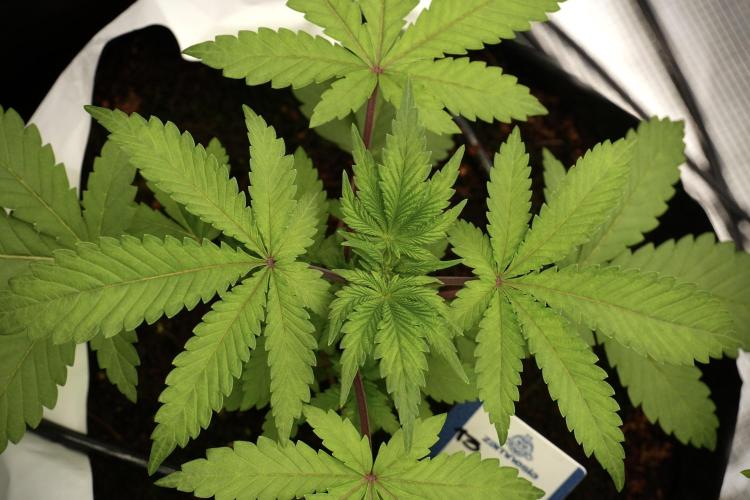
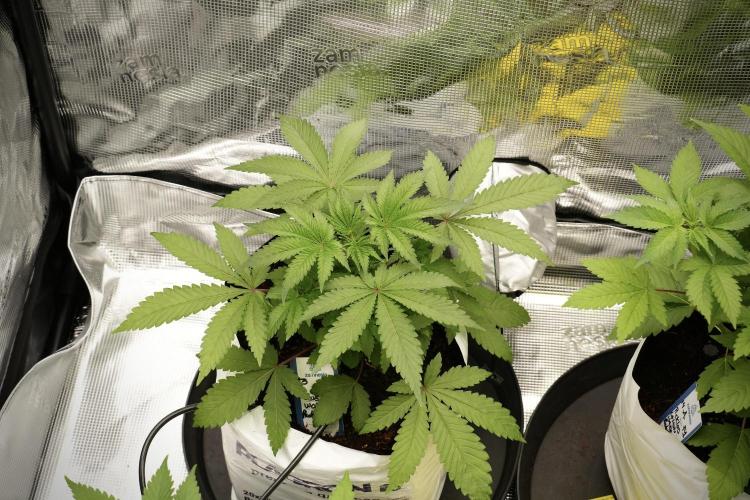
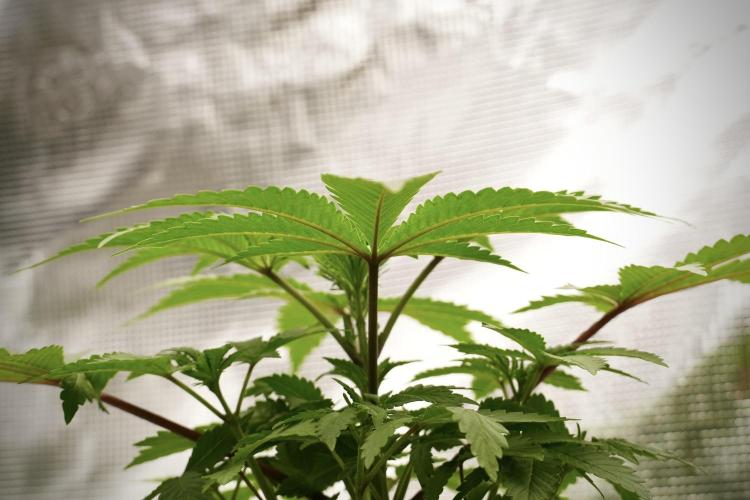
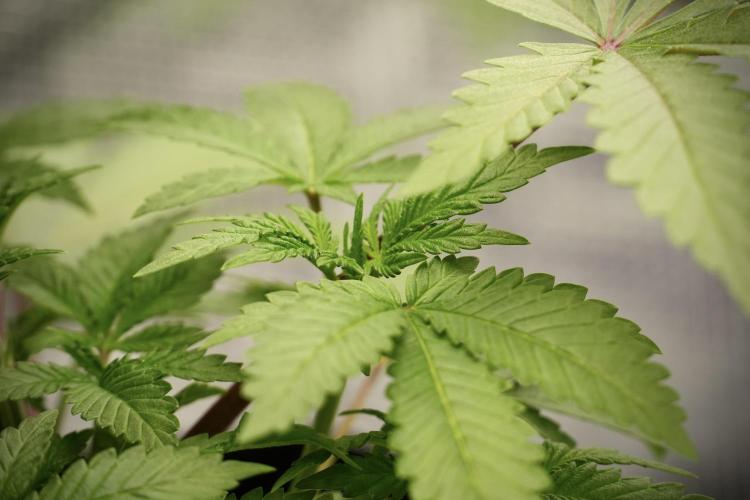
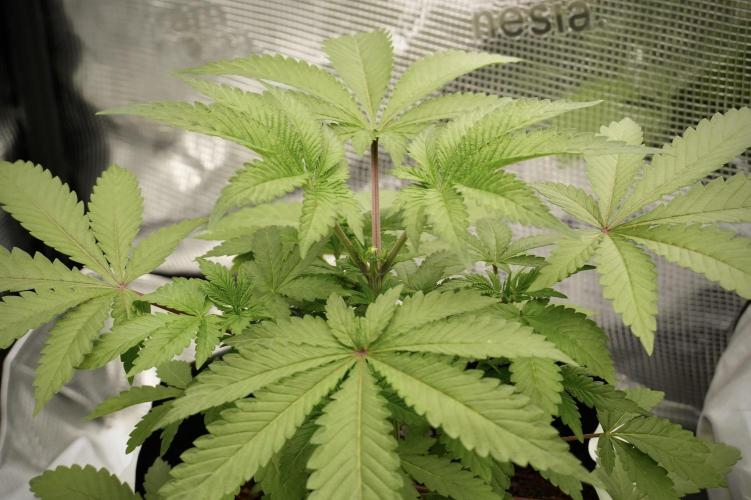
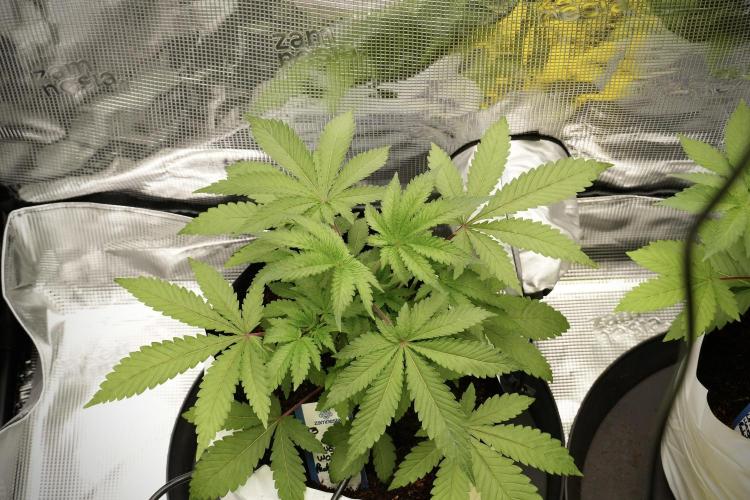
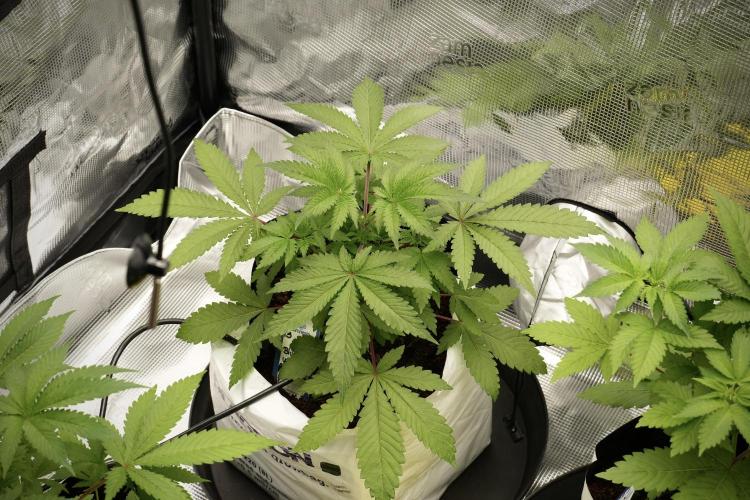
Despite being only a week into vegetation, Pheno A is already showing a personality of her own.
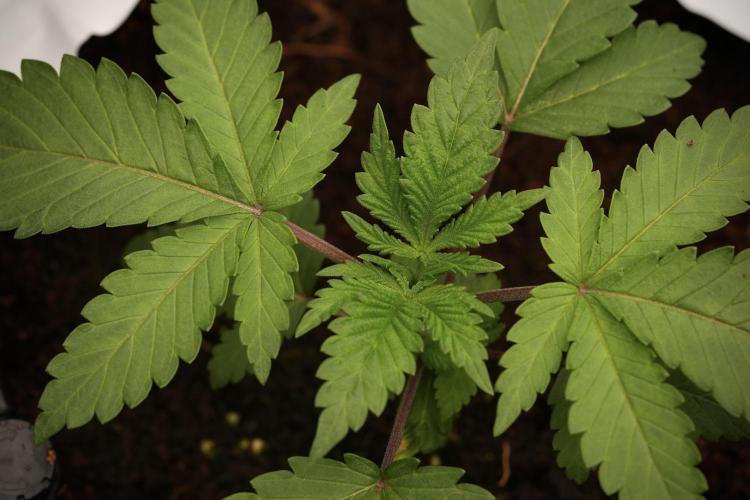
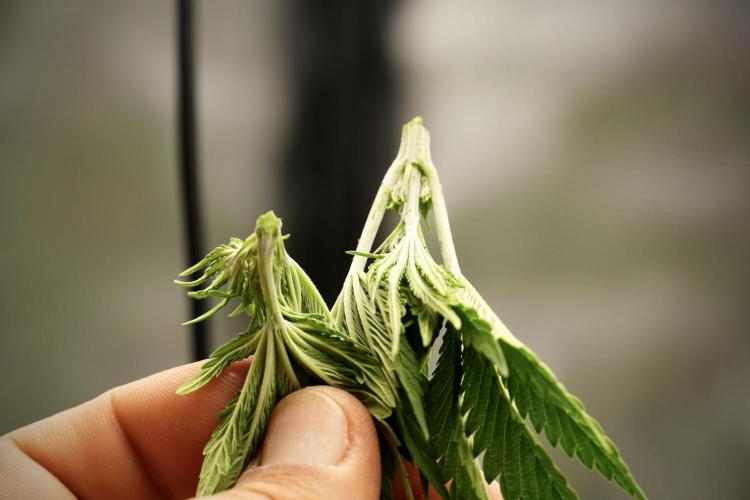
The first true leaves displayed a small cosmetic imperfection early on, but it appears to have been nothing more than a minor developmental quirk. All subsequent growth has emerged clean, healthy, and well formed.
What stands out most at this stage is the structure.
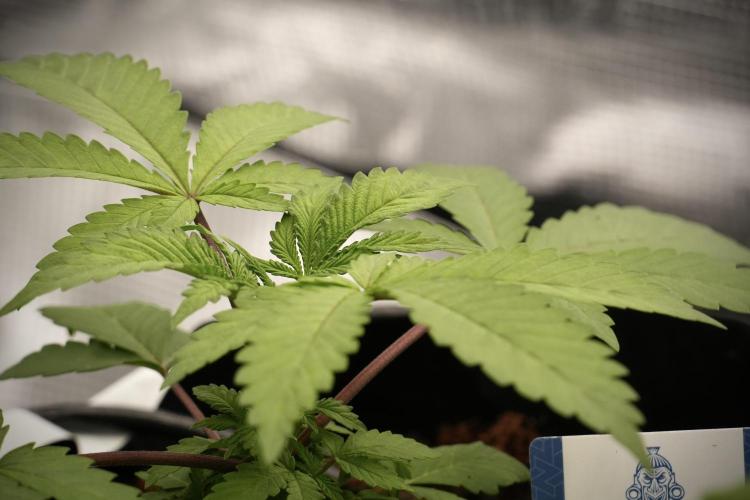
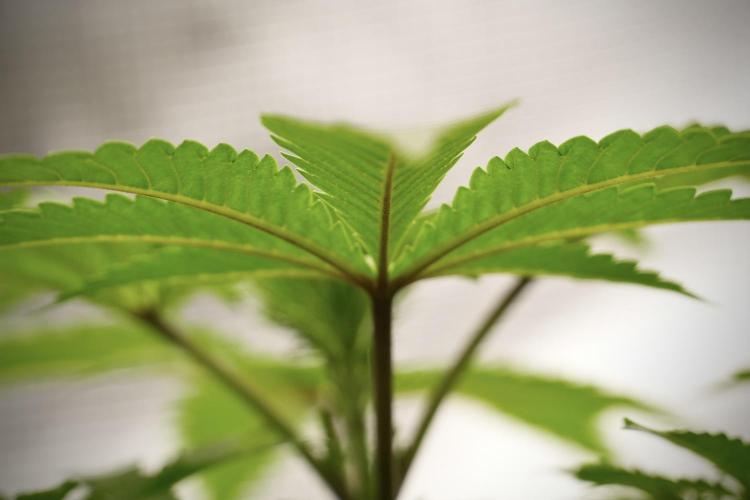
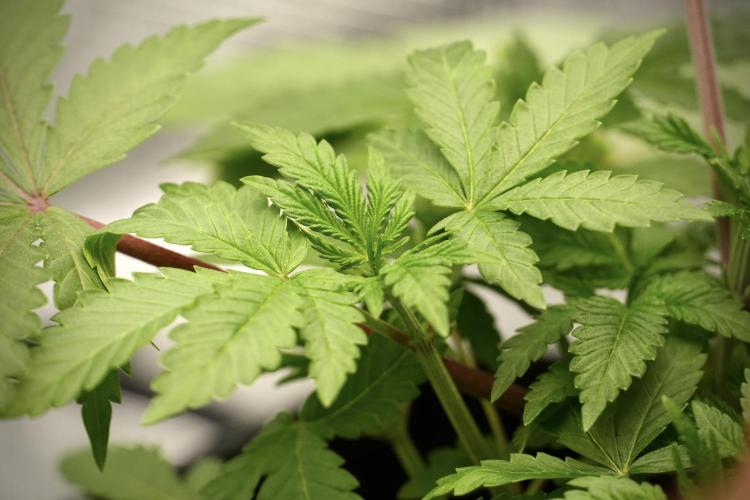
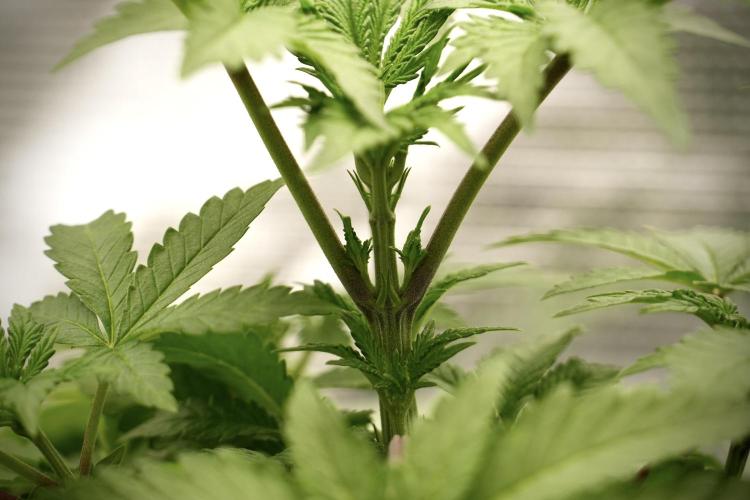
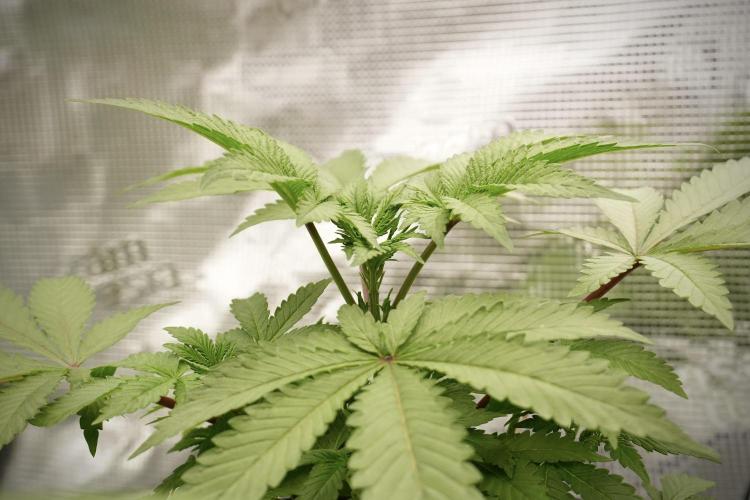
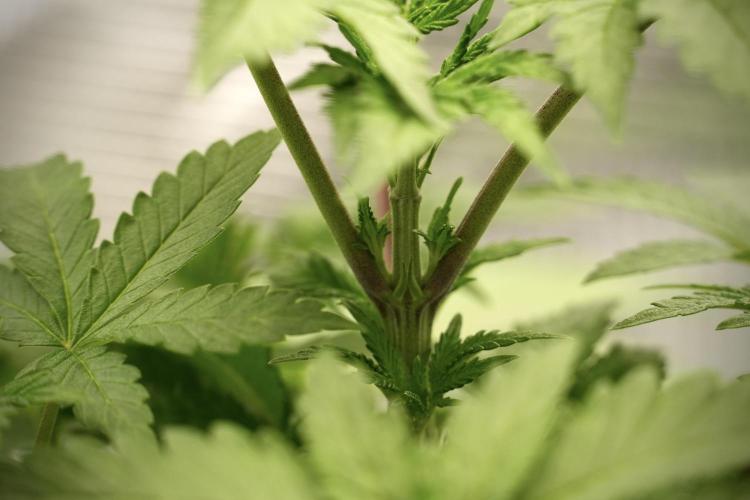
Internodal spacing remains very tight, producing a compact and efficient growth pattern. The plant is currently progressing into its third leaf set while maintaining a low profile and excellent symmetry.
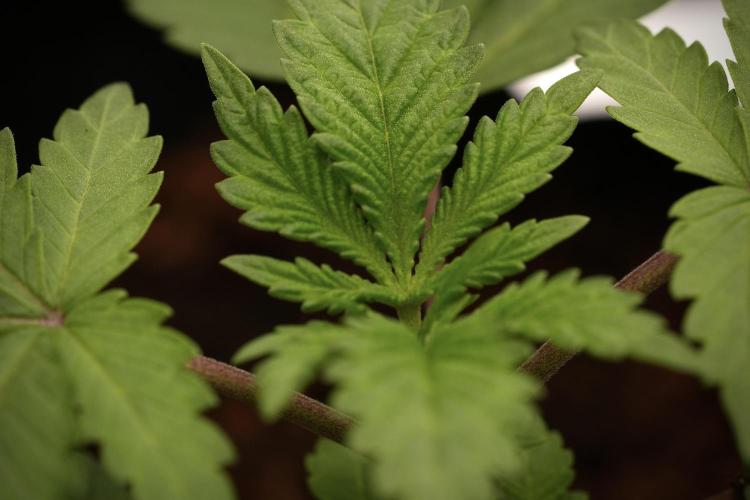
The stem remains sturdy relative to its size, while the new growth shows a healthy green coloration without signs of nutrient stress.
At this stage there are no concerns whatsoever.
Instead, this phenotype gives the impression of a seedling focused on building a solid foundation before accelerating upward growth.
Sometimes the strongest plants are not the ones that sprint out of the gate. They are the ones that quietly build themselves correctly from the start.
Blue Waffle Pheno A is currently giving exactly that impression.
⸻
Looking Ahead
Next week should be significantly more eventful.
The planned transplant into the hydrated Plagron coco grow bags will introduce a completely new root environment, and it will be interesting to see how Blue Waffle Pheno A responds to the increased space and the fully hydroponic feeding strategy.
For now, the mission remains simple:
Healthy roots. Stable growth. Strong foundations.
Everything else comes later.
⸻
Thank You
A huge thank you to everyone following along and supporting these diaries.
Special thanks to:
* Zamnesia for the genetics, equipment, and support that made this project possible.
* Plagron for providing the nutrition and growing media used throughout this run.
* The GrowDiaries team for providing a platform where growers can share, learn, and inspire one another.
* And most importantly, the entire growing community whose knowledge, curiosity, and willingness to help keep pushing this hobby forward.
The journey is only beginning.
See you next week for the first transplant and the next chapter of Blue Waffle Pheno A.
Growers Love and Keep growing 🌱💙🍁
7 likes
comments
Share
2
Week 2. Vegetation
20d ago
1/30
12 cm
Height
18 hrs
Light Schedule
29 °C
Day Air Temp
5.8
pH
No Smell
Smell
630 PPM
TDS
68 %
Air Humidity
23 °C
Solution Temp
24 °C
Substrate Temp
25 °C
Night Air Temp
8 l
Pot Size
0.5 l
Watering Volume
450 PPM
CO₂ Level
Nutrients 4
Hydro A
1.2 mll
Hydro B
1.2 mll
Hydro Roots
1 mll
DogDoctorOfficial Folder 13 — Blue Waffle — Pheno A
Week 2 Vegetation — A New Home Beneath the Surface
Welcome back, growers!
This week marks one of the biggest milestones since germination.
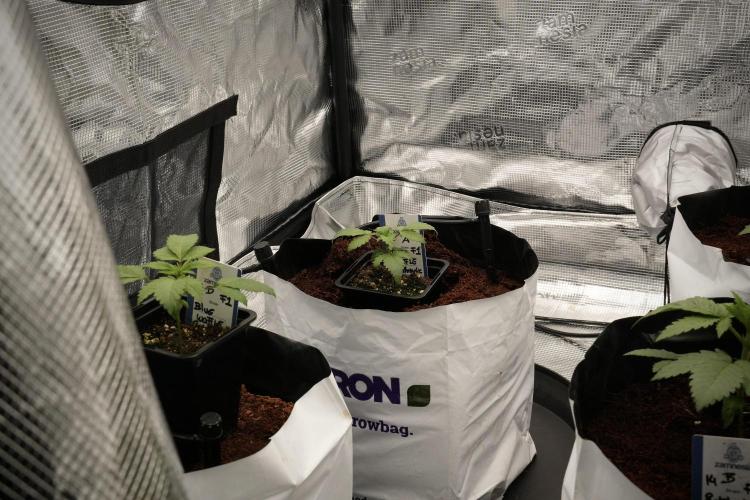
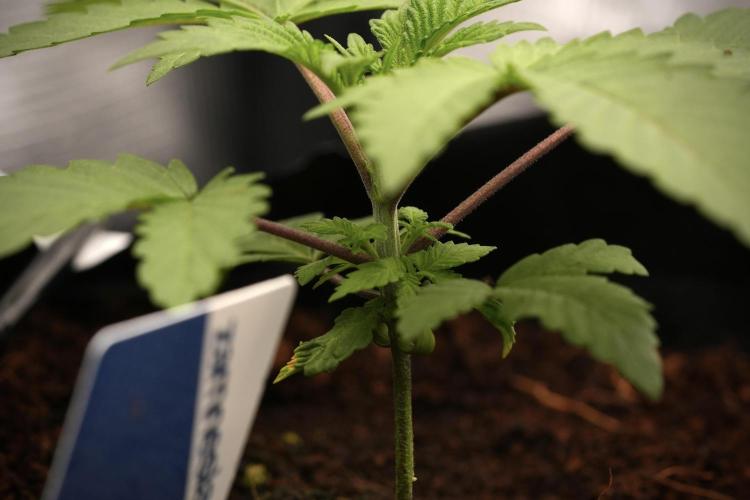
After spending the first week establishing a healthy foundation inside the starter container, Blue Waffle Pheno A has officially moved into her permanent home—a Plagron 8L Premium Coco Grow Bag, where the next stage of her journey truly begins.
Transplant day is always exciting. While the leaves tell us how a plant is feeling above the surface, it’s the roots that reveal the real story. And this week, that story was a very encouraging one.
⸻
The Environment
The Zamnesia ecosystem continues providing a stable and comfortable environment for these young ladies.
Current room conditions:
• Temperature: 29°C
• Relative Humidity: 68%
Airflow remains unchanged from last week:
• Extraction Fan: Level 5
• Circulation Fan: Level 4
Lighting also remains steady, with the LED running at 27% intensity, drawing approximately 86 watts from the wall.
At this stage, consistency is far more valuable than chasing rapid growth. Stable environmental conditions allow the plants to focus their energy where it matters most—building roots.
⸻
Feeding Program
Now that the plants have entered their coco home, the hydroponic feeding strategy officially begins.
The nutrient solution remains intentionally simple:
• Plagron Hydro A
• Plagron Hydro B
• Plagron Hydro Roots
Reservoir parameters:
• EC: 1.26 mS/cm
• pH: 5.83
• Solution Temperature: 23.1°C
Hydro Roots continues playing an important role during this stage, encouraging the rapid development of fresh roots as the plants begin colonizing their new substrate.
The objective isn’t explosive top growth just yet.
Everything starts beneath the surface.
⸻
Transplant Day
Last week the Plagron Premium Coco Grow Bags were slowly hydrated using distilled water, allowing the coco to expand evenly while creating a perfectly moist environment before receiving the plants.
Rather than forcing the transplant into a dry substrate or flooding the bags at the last moment, the coco had an entire week to stabilize.
When transplant day arrived, the process couldn’t have gone smoother.
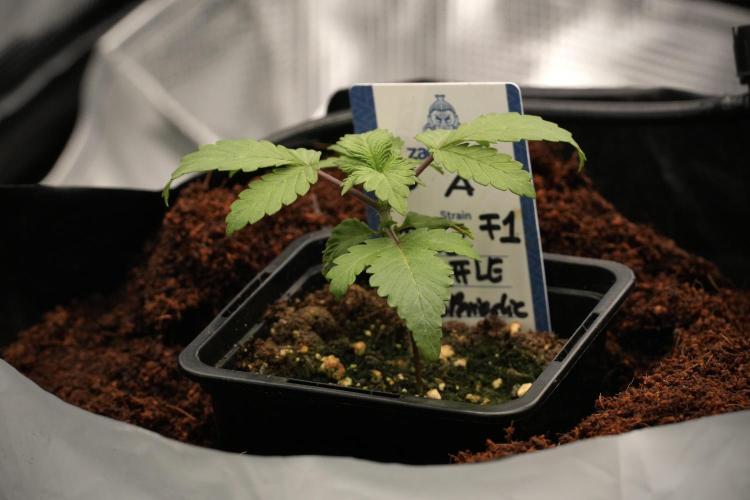
Using the original nursery pot as a guide, I carefully created a perfectly sized cavity inside each coco bag. This simple step allows the entire root ball to slide into place naturally without compressing or disturbing the surrounding coco.
Sometimes the smallest details make the biggest difference.
A gentle transplant means less stress.
Less stress means faster recovery.
⸻
A Look Beneath the Surface
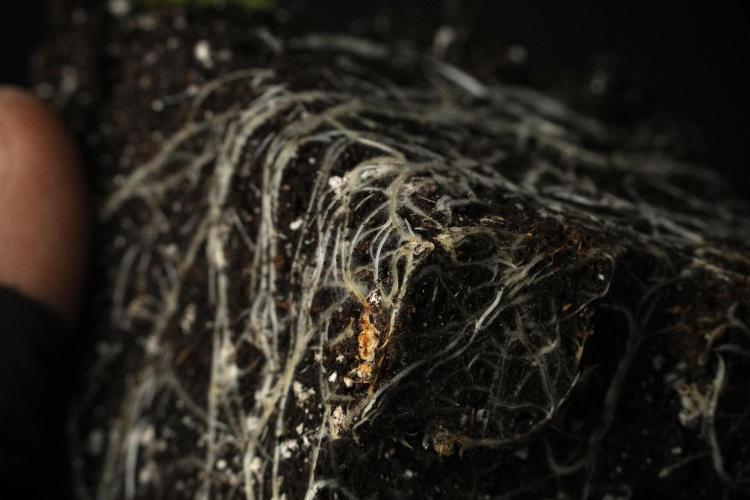
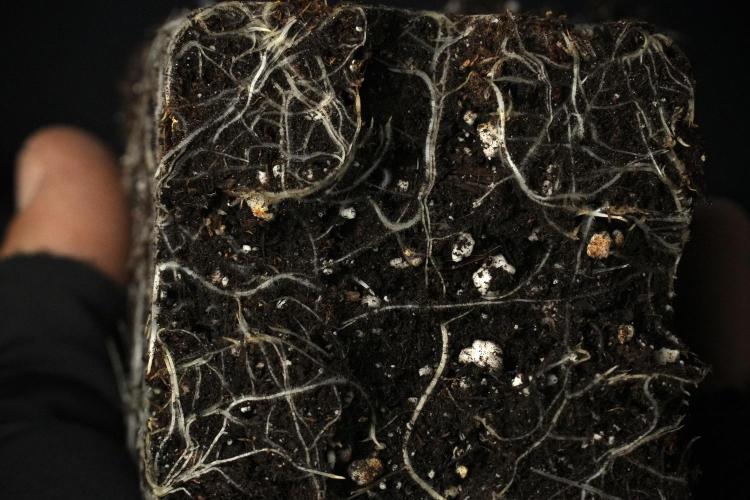
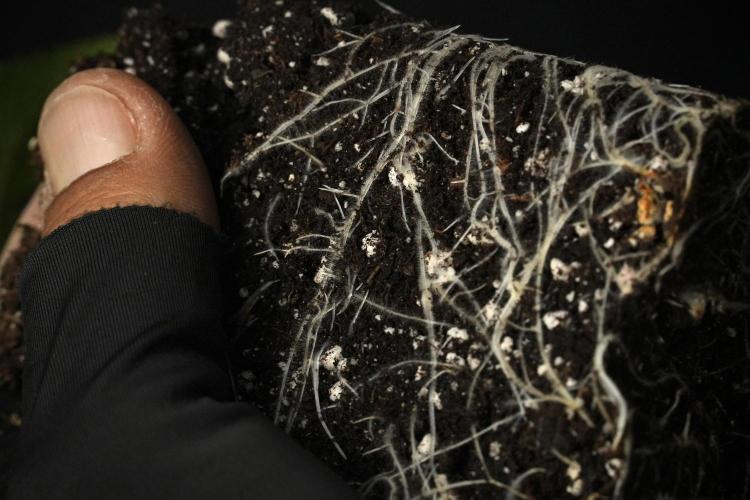
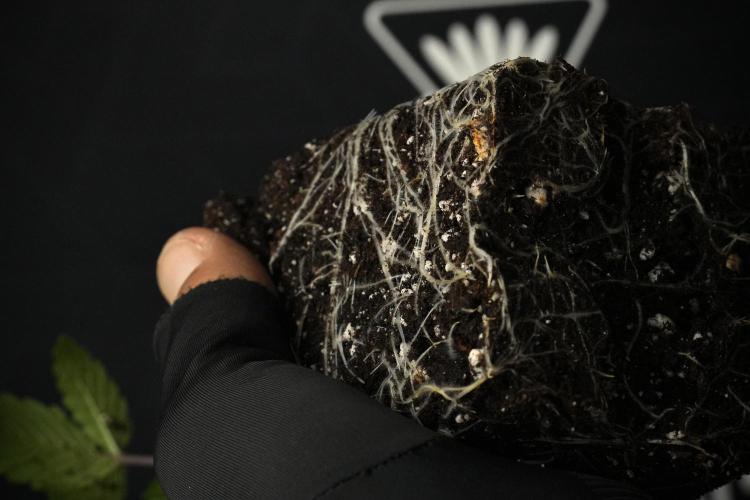
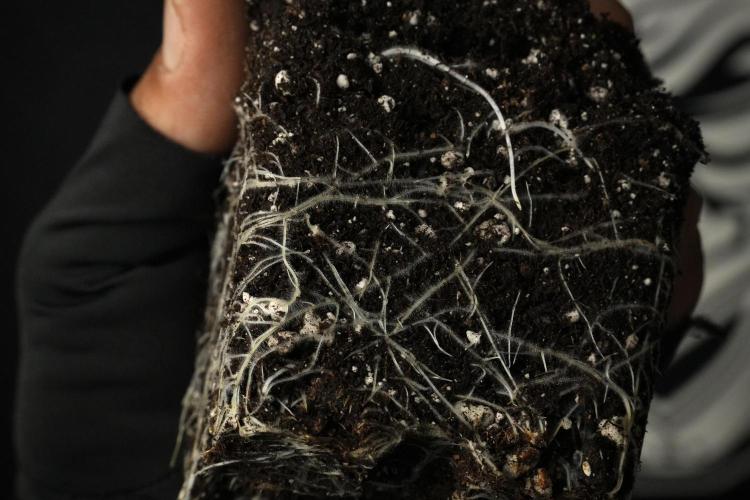
Before placing Blue Waffle Pheno A into her new home, I couldn’t resist taking a closer look at her root system.
And I’m glad I did.
While the roots haven’t completely filled the container yet, they are beautifully distributed around the entire root ball. Bright white feeder roots are visible across every side, with countless fine root hairs actively exploring the growing medium.
This is exactly what I was hoping to see.
There was no need for a heavily root-bound plant before transplanting. In fact, moving them at this stage allows the roots to continue expanding naturally instead of beginning to circle around the nursery pot.
Healthy roots don’t need to be massive.
They simply need to be active.
Blue Waffle Pheno A is giving every indication that she’s ready to explode into her new environment.
⸻
Blue Waffle Pheno A
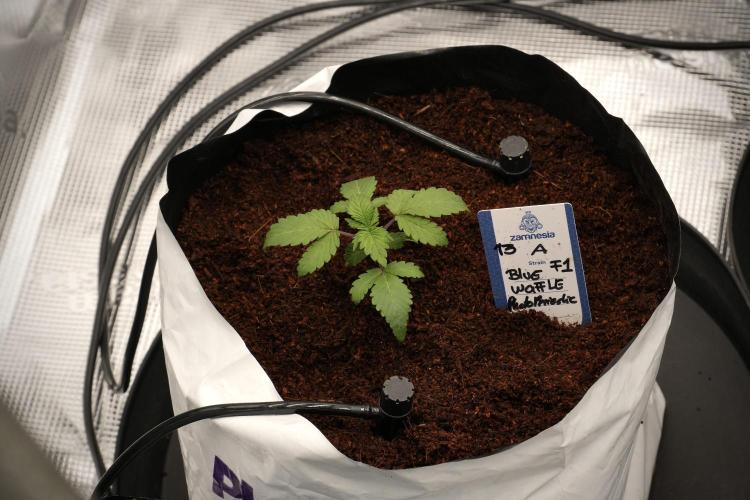
Above the substrate, Pheno A continues to impress.
The compact structure remains intact, with tight internodal spacing and excellent symmetry across the canopy.
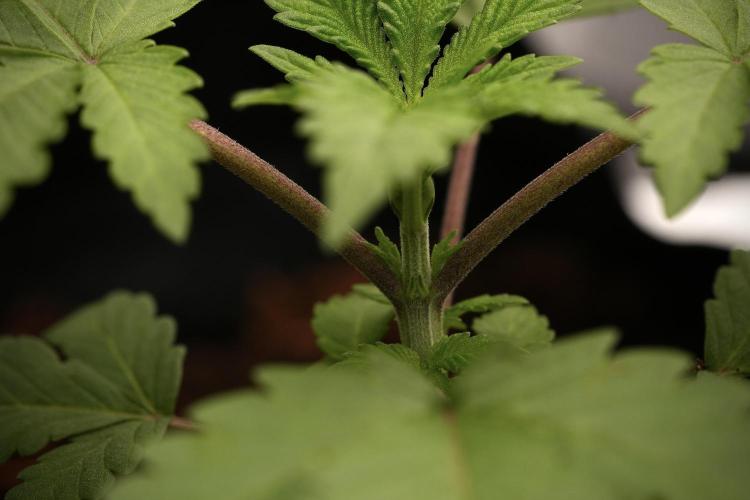
The leaves display a healthy green colour, while the petioles have started developing subtle purple pigmentation—a characteristic that can often appear naturally in younger plants depending on genetics and environmental conditions.
Most importantly, the plant showed virtually no signs of transplant shock.
Only a short time after moving into the coco bag, the leaves remained upright and turgid, while fresh new growth continued emerging from the center.
That’s always one of the best signs a grower can hope for after transplanting.
It means the plant is already getting comfortable in her new home.
⸻
Looking Ahead
With the transplant now behind us, the next objective is allowing the roots to colonize the entire Plagron Premium Coco Grow Bag.
As the root system expands, so too will the canopy.
The coming weeks should bring noticeably faster vegetative growth as Blue Waffle Pheno A begins taking full advantage of the increased root volume and hydroponic feeding schedule.
For now…
Healthy roots.
Healthy leaves.
Healthy future.
Exactly what every grower hopes to see.
⸻
Thank You
A huge thank you to everyone following along on this journey.
Special thanks to:
• Zamnesia for the incredible genetics, equipment, and complete ecosystem that make this project possible.
• Plagron for supplying the Premium Coco Grow Bags and the Hydro nutrient line that now powers this grow.
• GrowDiaries for providing an amazing platform where growers from around the world can learn from one another.
• And finally, thank you to every member of this incredible growing community. Whether you’re just starting your first grow or you’ve been cultivating for decades, your support, advice, and passion make this hobby something truly special.
The roots have found their new home.
Now it’s time to watch Blue Waffle Pheno A reach for the sky.
Growers Love and Keep Growing. 🌱💙🍁
10 likes
1 comment
Share
Used techniques
Transplantation
Technique
3
Week 3. Vegetation
14d ago
1/30
25 cm
Height
18 hrs
Light Schedule
27 °C
Day Air Temp
5.8
pH
No Smell
Smell
805 PPM
TDS
67 %
Air Humidity
18 °C
Solution Temp
24 °C
Substrate Temp
27 °C
Night Air Temp
8 l
Pot Size
0.9 l
Watering Volume
450 PPM
CO₂ Level
Nutrients 4
Hydro A
1.6 mll
Hydro B
1.6 mll
Hydro Roots
1 mll
DogDoctorOfficial 💙 Project Blue Tent – Week 3
Blue Waffle F1 – Pheno A (Folder 13A)
Welcome back everyone to another week inside Project Blue Tent!
For anyone joining us for the first time, this project is all about exploring the incredible Blue Waffle F1 genetics from Zamnesia while putting the complete Zamnesia ecosystem to work. Every plant is grown individually, documented separately, and allowed to express its own personality, even though they all share the exact same environment.
Unlike our 8×8 Adventure, where twelve different genetics share one room, Project Blue Tent is dedicated to learning every detail about these F1 hybrids. Every week we compare their growth, structure, vigor and responses while growing them in Plagron Premium Coco Growbags using the Plagron Hydro nutrient line.
Every diary tells the story of one plant.
Today, the spotlight belongs to Blue Waffle F1 – Plant A.
⸻
🌱 Week Three – Finding Her Rhythm
This week marked a noticeable change in Plant A.
She started the week looking like a healthy young seedling settling into her new home, but by the end of the week she had completely shifted gears and began growing with much more confidence.
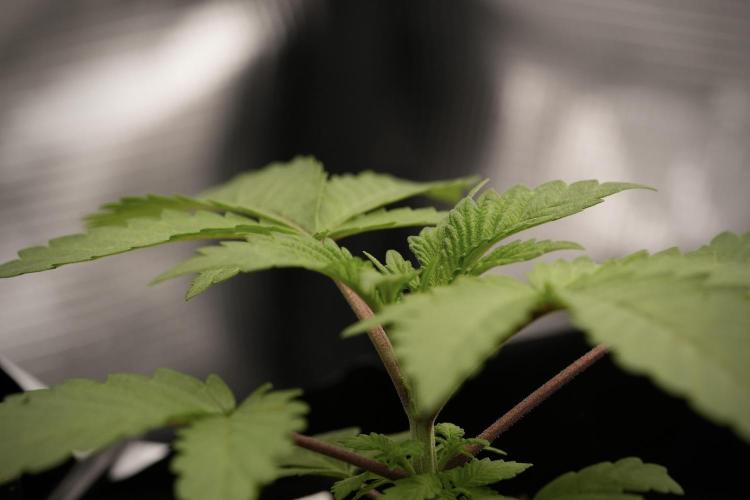
The internodal spacing remains compact, her branching is symmetrical, and every day she seems more eager to push fresh growth from the center.
One thing I really appreciate about this phenotype is how organized her structure already looks. Even without heavy training she naturally wants to build a balanced canopy, which is always a pleasure to watch.
⸻
🌡️ The Blue Tent Environment
This entire room is built around the Zamnesia ecosystem, allowing every component to work together.
The Phytonaut LED continues providing an even light spread across the canopy, while the Grow Environment Controller manages ventilation and airflow to keep the conditions stable throughout the day.
This week’s average environmental conditions were:
* 🌡️ Day Temperature: 27°C
* 🌙 Night Temperature: 27°C
* 💧 Relative Humidity: 67%
* ⚗️ pH: 5.8
* ⚡ EC: 1.61 mS/cm
* 💨 CO₂: approximately 450 ppm
* 💡 Light Schedule: 18/6
* ☀️ PPFD: approximately 350
* 🌈 PAR levels remain ideal for this stage of vegetative development.
The plants continue receiving gentle but sufficient light, encouraging compact growth without unnecessary stretching.
⸻
🥥 Feeding Update
Coming from many years of growing in living soil, switching to coco is definitely teaching me a few new lessons.
One thing I noticed this week was that the plants were beginning to ask for a little more nutrition. Their colour shifted slightly toward a lighter green—not anything alarming, but enough to tell me they were ready for a stronger feed.
Instead of chasing deficiencies after they appear, I prefer listening to what the plants are telling me.
Because of that, I increased the base nutrition.
The feeding schedule is now:
* Plagron Hydro A — 1.6 ml/L
* Plagron Hydro B — 1.6 ml/L
* Plagron Hydro Roots — maintained at the previous dosage
This adjustment raised the EC slightly and should provide enough nitrogen and overall nutrition to bring that rich healthy green back over the coming days.
Growing in coco is all about making small corrections instead of large ones, and that’s exactly the approach I’m taking.
⸻
🚿 A Little Adventure… The Flood
Well…
Every grow has at least one story.
This week’s story involved water.
I’ve always joked that irrigation systems make me nervous because they work perfectly… until they don’t.
This week proved my point.
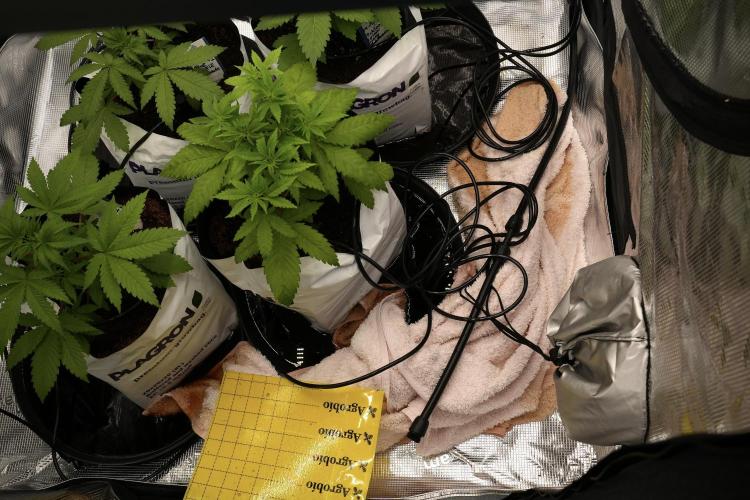
After activating the irrigation system, one small mistake turned into a flooded tent.
Fortunately, it was nothing catastrophic.
We immediately shut everything down, soaked up the water using plenty of towels, cleaned the tent thoroughly, checked every connection, and got everything back under control.
Thankfully, this happened in coco, not soil.
One of the great advantages of coco is its excellent drainage and oxygen retention. Even after receiving more water than intended, the medium remains highly aerated, allowing the roots to continue breathing. Had this happened in heavy soil, recovery would have been considerably more stressful.
The plants never showed signs of distress, and after allowing the medium to dry slightly we simply resumed the irrigation schedule as normal.
Problems happen.
The important part is solving them.
We’re already working on a better solution for the irrigation system, and once the new equipment arrives I’ll be sharing everything in the upcoming weekly reports.
Mistakes are part of learning, and I think documenting them honestly is just as valuable as showing perfect results.
⸻
🌿 Plant A Herself
This lady continues to impress me.
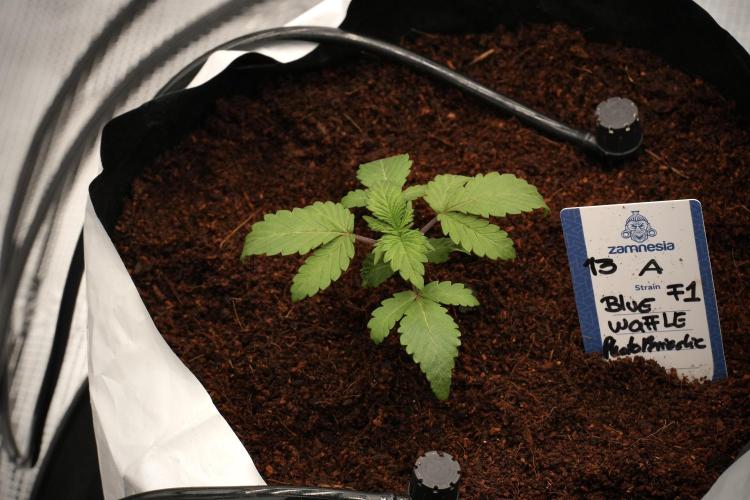
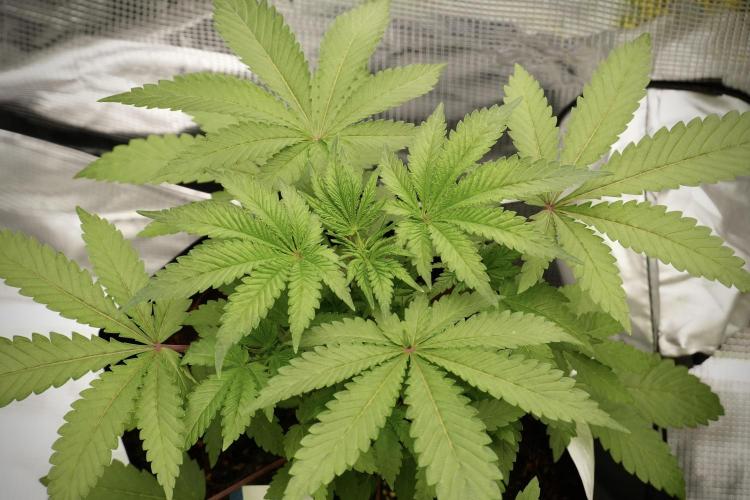
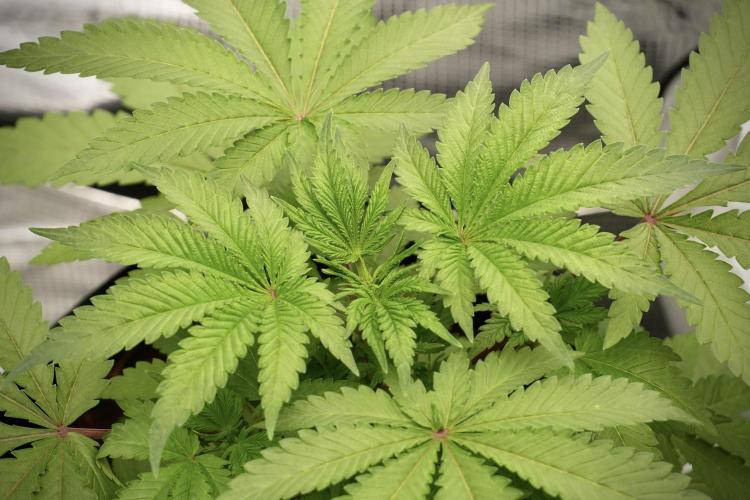
Her structure is compact.
Her leaves are broad and healthy.
The stem is already developing beautiful thickness with subtle purple pigmentation beginning to appear.
Most importantly, every day she seems to accelerate.
The newest growth is noticeably more vigorous than it was only a few days ago, which tells me she’s becoming fully established inside her root zone.
She’s looking like a plant that’s preparing to explode with growth over the coming weeks.
⸻
👀 Looking Ahead
Next week should be an exciting one.
With the feeding adjusted and the roots now well established throughout the coco, I expect significantly faster vegetative growth.
We’ll continue monitoring colour, internodal spacing and overall vigor while preparing these ladies for the next stages of training.
If Plant A keeps following this trajectory, she may very well become one of the stars of Project Blue Tent.
⸻
💙 Thank You
A huge thank you goes out to Zamnesia for making this entire project possible—from these beautiful Blue Waffle F1 genetics to the complete ecosystem surrounding this grow.
A massive thank you as well to Plagron for providing the Premium Coco Growbags and the Hydro nutrient line that is feeding these ladies every single day.
Thank you to GrowDiaries for giving growers from all around the world a place to document, learn and share our journeys together.
And finally…
Thank you to every single person reading these updates.
Whether you’ve been following since day one, recently joined the adventure, leave comments every week, simply stop by to look at the photos, or even quietly disagree with my methods—you all contribute to making this community what it is.
I genuinely appreciate every view, every conversation, every piece of advice, every question, every like, every criticism, and every bit of support.
I hope you’re all having an amazing week, and I can’t wait to show you how these beautiful ladies evolve in the next update.
Until then…
Growers Love, happy growing, and I’ll see you all next week. 🌱💙
P.S. One final shout-out has to go to the Zamnesia ecosystem itself. As messy as the irrigation mishap looked, the Zamnesia tent tray proved exactly why it’s part of the setup. Every drop of water was safely contained inside the tent, with absolutely nothing leaking onto the floor. What could have become a much bigger problem ended up being nothing more than grabbing a few towels, drying everything up, and carrying on with the grow. Sometimes you only discover how valuable a piece of equipment is when something goes wrong—and this week, the tray passed that test with flying colours. Huge thanks to Zamnesia for designing an ecosystem that’s ready for real-world growing, not just the perfect days. 💙🌱
7 likes
1 comment
Share
Used techniques
LST
Technique
4
Week 4. Vegetation
6d ago
1/30
45 cm
Height
18 hrs
Light Schedule
27 °C
Day Air Temp
5.8
pH
No Smell
Smell
940 PPM
TDS
67 %
Air Humidity
18 °C
Solution Temp
24 °C
Substrate Temp
27 °C
Night Air Temp
8 l
Pot Size
0.9 l
Watering Volume
450 PPM
CO₂ Level
Nutrients 5
Hydro A
1.8 mll
Hydro B
1.8 mll
Hydro Roots
1 mll
DogDoctorOfficial 💙 Project Blue Tent – Week 4
Blue Waffle F1 – Pheno A (Folder 13A)
Welcome back everyone to another week inside Project Blue Tent!
If this is your first visit, welcome aboard. This project is dedicated to exploring the incredible Blue Waffle F1 genetics from Zamnesia while putting the complete Zamnesia ecosystem through its paces. Rather than growing multiple plants as one crop, every phenotype is documented individually, allowing each one to tell its own story despite sharing the exact same environment, nutrients, lighting and care.
Unlike our 8×8 Adventure, where different cultivars grow together, Project Blue Tent focuses on understanding every subtle difference between identical F1 genetics. Every week we watch these plants develop, compare their structures, and discover how each expresses its own unique personality.
As we like to say...
We are not just growing seeds—we are discovering individual personalities.
Today, the spotlight once again belongs to Blue Waffle F1 – Plant A.
────────────────────────
🌱 Week Four – Time to Shape the Future
This week marked another important milestone for Plant A.
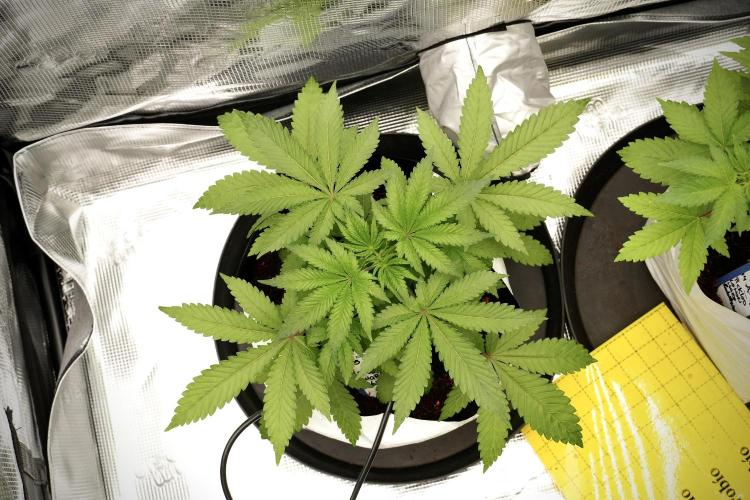
Last week she was establishing her root system and settling comfortably into her new home. This week she rewarded us with vigorous vegetative growth, producing larger leaves, thicker stems and a noticeably fuller canopy.
Although her colour remains a lighter green than I'd ultimately like to see, she continues showing excellent health. Her leaves remain turgid, the growth is vigorous, and every new node arrives neatly stacked with tight internodal spacing.
Rather than showing signs of weakness, she's simply telling me she's ready for a little more nutrition.
Sometimes the plants speak quietly.
Our job is simply to listen before they have to shout.
────────────────────────
🌡️ The Blue Tent Environment
The environment remains one of the biggest strengths of this project.
The Zamnesia ecosystem continues keeping everything remarkably stable, allowing me to focus less on chasing environmental fluctuations and more on observing the plants themselves.
This week's average conditions were:
• 🌡️ Day Temperature: 27°C
• 🌙 Night Temperature: 27°C
• 💧 Relative Humidity: 67%
• ⚗️ pH: 5.8
• ⚡ EC: 1.88 mS/cm
• 💨 CO₂: approximately 450 ppm
• 💡 Light Schedule: 18/6
• ☀️ PPFD: approximately 350
The Phytonaut LED continues providing a beautifully even light distribution across the canopy while the Grow Environment Controller keeps the room running quietly and consistently day after day.
Stable environments make it much easier to understand what the plants are actually telling us.
────────────────────────
🥥 Feeding Update
One of the biggest observations this week came from the feeding program.
The slightly lighter leaf colour we noticed last week remained present, so rather than waiting for a true deficiency to develop, I decided to make another small adjustment.
Hydro A and Hydro B have both been increased to 1.8 ml/L, while Hydro Roots remains unchanged.
The goal isn't simply to feed more—it's to provide enough nitrogen and overall nutrition for the plants to return to the rich green colour I'm aiming for while maintaining steady, healthy growth.
Another small addition this week was Plagron pH Min.
Not because the nutrient solution was unstable—quite the opposite.
One thing that has genuinely impressed me with the Plagron Hydro line is just how stable the reservoir remains after mixing. Once everything is dialled in, the pH barely drifts throughout the week, often requiring nothing more than the smallest correction here and there to keep it exactly where I want it.
Coming from years of growing in living soil, that's been a pleasant surprise. It makes reservoir management much simpler and allows me to spend more time observing the plants instead of constantly adjusting the solution.
Sometimes the best equipment is the equipment you hardly need to think about.
────────────────────────
✂️ This Week's Lesson – Why I Top My Plants
This week was also the perfect moment to introduce one of the most important training techniques I'll be using throughout this grow.
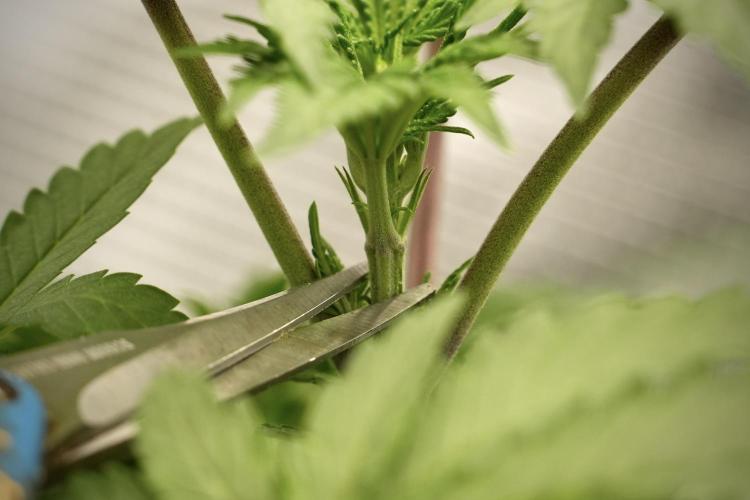
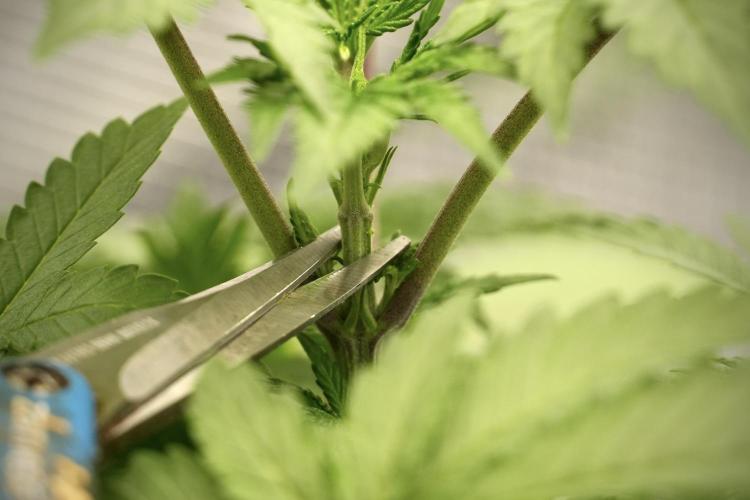
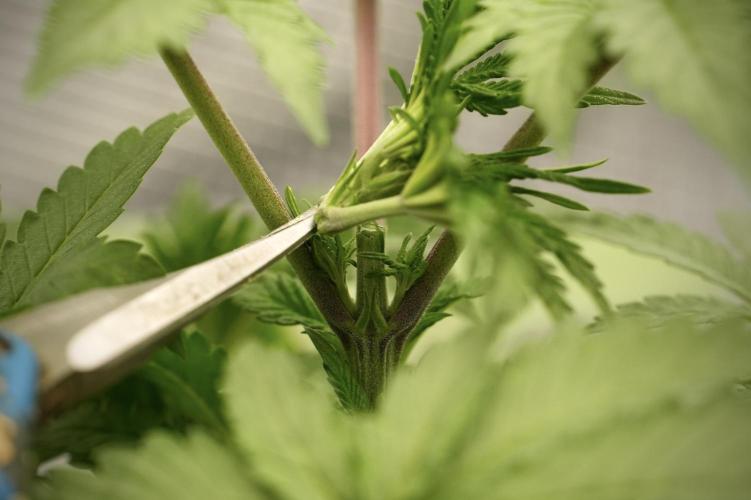
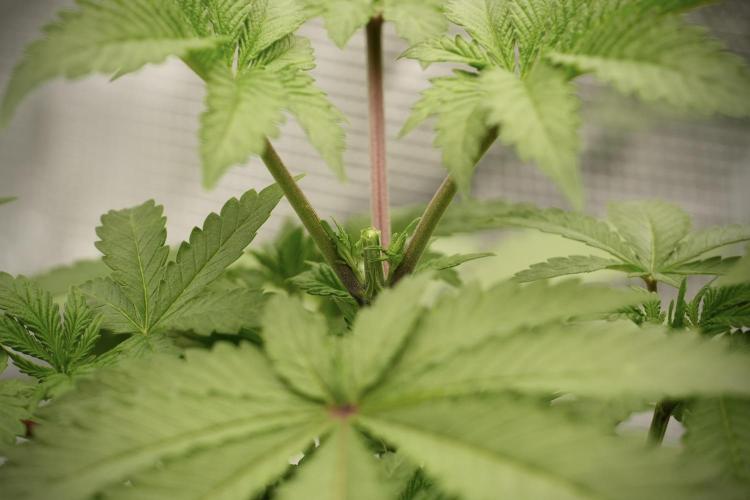
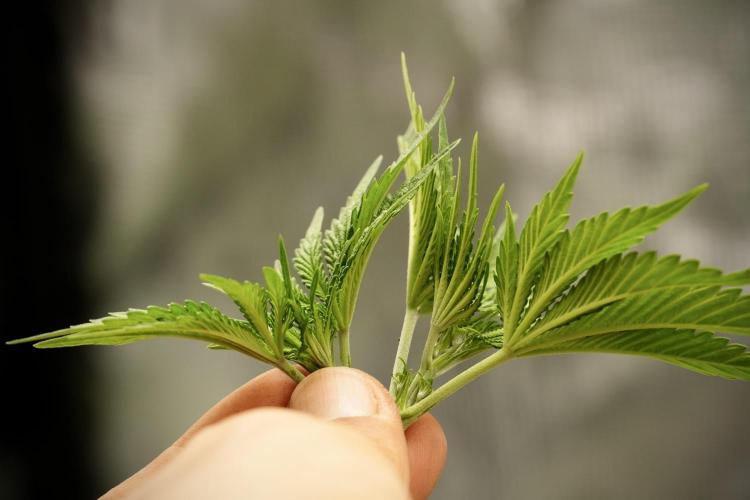
Plant A received her first topping.
Unlike Low Stress Training (LST), topping is considered High Stress Training (HST) because we're deliberately removing the plant's main growing tip.
It's not something I recommend doing on struggling plants.
Before topping, I want to see healthy roots, active growth, and a plant that's clearly recovering quickly from everyday development. Although the colour is still a little lighter than I'd prefer, her overall health and vigour made her an excellent candidate.
Some growers prefer topping above the second or third node.
Personally, I like allowing the plants a little more time to build structure before making that cut.
By waiting slightly longer, I'm able to preserve more branches that will later become valuable flowering sites once the SCROG net is installed. My goal isn't simply to create two tops—it's to build a wider, stronger framework that will eventually fill the entire screen with evenly developed colas.
Today's cut is an investment in the canopy we'll enjoy several weeks from now.
For the job I used the Zamnesia Pruning Scissors, making a clean, precise cut with minimal damage to the surrounding tissue. A sharp, clean cut helps the plant recover quickly while reducing unnecessary stress.
Now the race begins.
Instead of one dominant leader, several branches will compete for the top position, creating a much more even canopy ready for future training.
────────────────────────
🌿 Plant A Herself
Every week her personality becomes a little clearer.
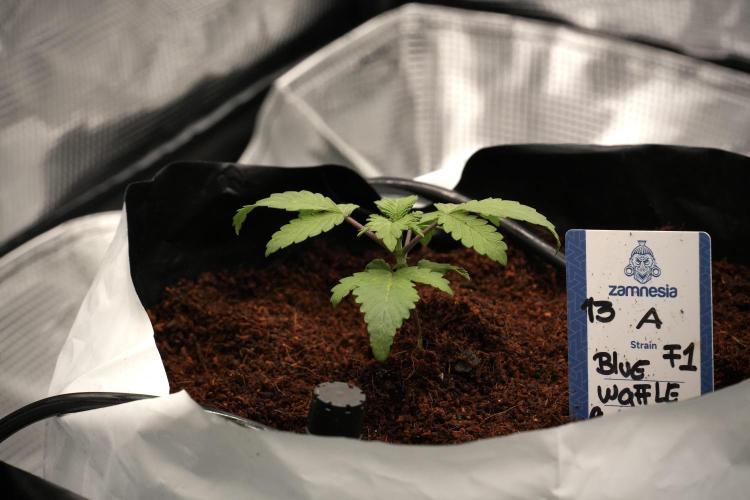
She continues growing in a compact, organised manner, producing broad leaves and beautifully symmetrical branching.
The stems continue developing subtle purple pigmentation, while the main trunk is noticeably thickening as she prepares for the next stage of growth.
After topping, I expect that energy will now be redirected into the lateral branches, encouraging the wider structure I'm aiming for before introducing the SCROG.
She's beginning to look less like a young seedling and more like a plant with a plan.
────────────────────────
👀 Looking Ahead
Next week will be all about recovery and redistribution.
Rather than expecting explosive vertical growth immediately after topping, I'll be watching how quickly the side branches respond and begin competing for dominance.
If everything goes according to plan, the canopy should begin opening naturally, creating the perfect foundation for the SCROG that will arrive later in vegetative growth.
We'll also be paying close attention to the new feeding strength, watching for that richer green colour as the increased nutrition begins to take effect.
Sometimes the biggest progress isn't measured in centimetres.
Sometimes it's measured in balance.
────────────────────────
💙 Thank You
A huge thank you to Zamnesia for making Project Blue Tent possible—from these outstanding Blue Waffle F1 genetics to the complete ecosystem surrounding this grow. Every week the equipment continues proving that it was designed by growers who understand what happens inside a real grow room.
A massive thank you as well to Plagron for providing the Premium Growbags and the Hydro nutrient line. The stability of the reservoir and the consistency of the feeding program have made this transition into coco an incredibly enjoyable learning experience.
Thank you to GrowDiaries for giving growers around the world a place to document, learn, share experiences and continue improving together.
And finally...
Thank you to every single person following this journey.
Whether you've been here since the very beginning, recently joined the adventure, leave comments every week, quietly follow along, or even challenge my methods from time to time—you all help make this community stronger. Every conversation, every question and every shared experience teaches us something new.
I truly appreciate every one of you.
I hope you're all having an amazing week, and I can't wait to show you how Plant A responds to her first topping in the next update.
Until then...
Growers Love, happy growing, and I'll see you all next week 💙💙💙
@Antifame, its very new, i think they released like a month ago or so,i am seriously impressed s far , for the price tag i was not expecting this quality out of the box. now its time to test it and see if is as good as it look 😍 Growers love my fried , tank you for stopping by for the love and for it all, here is the link in case you want to check them out https://www.zamnesia.com/531-growshop/799-grow-tent-kit 🙏🙏🙏🙌🙌🙌👊👊👊