
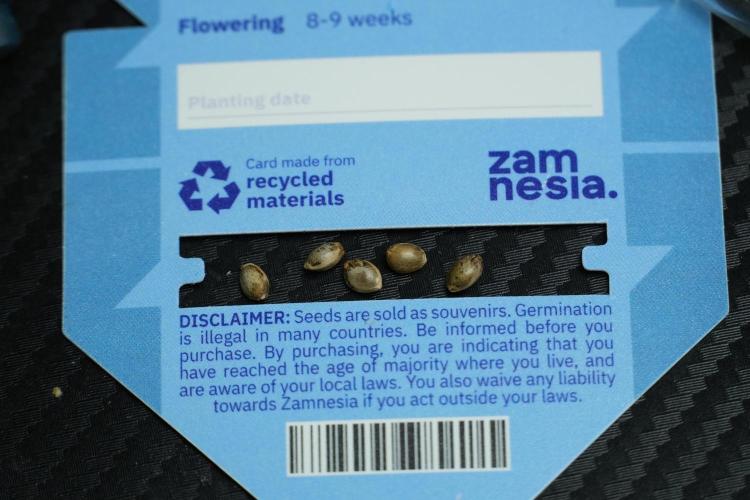
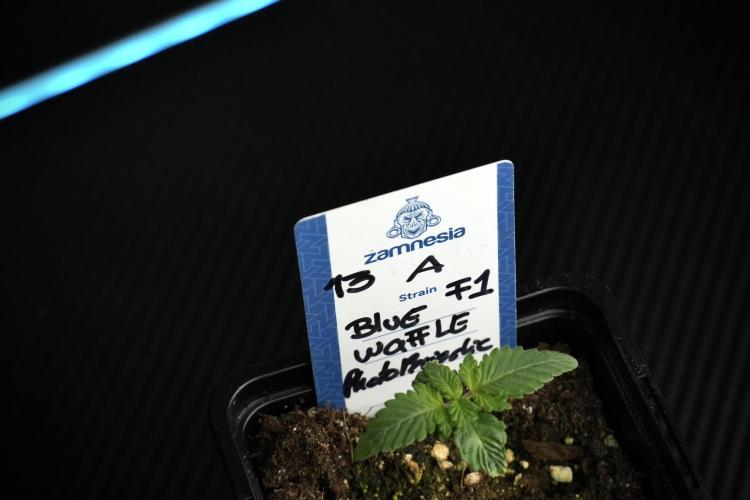
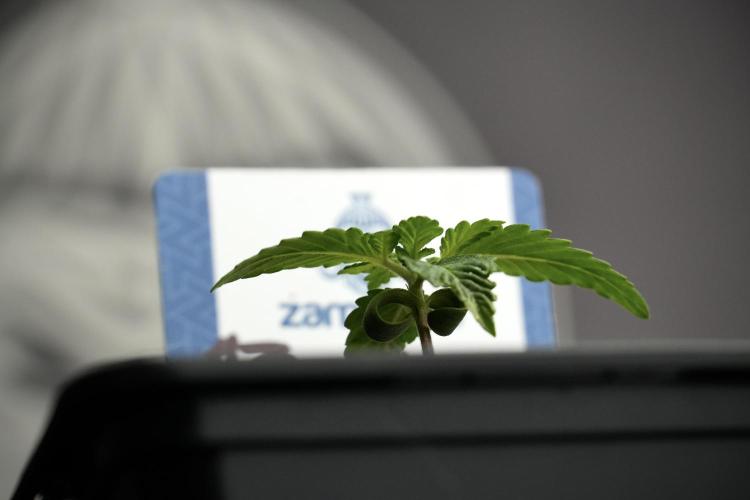
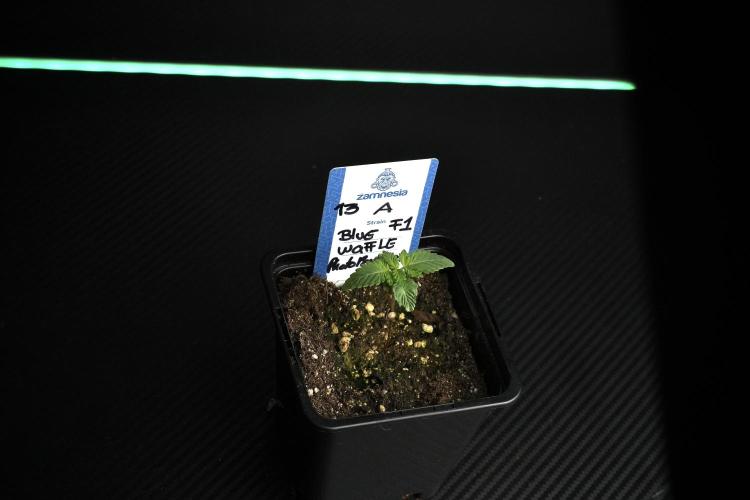
Blue Waffle F1 Zamnesia Pheno A

Blue Waffle F1


VEG
Phytonaut LED Grow Light 320 W Light Emitting Diodes/320W
Zamnesia
FLO
Phytonaut LED Grow Light 320 W Light Emitting Diodes/320W
Zamnesia

Tent
100x100x200
Zamnesia

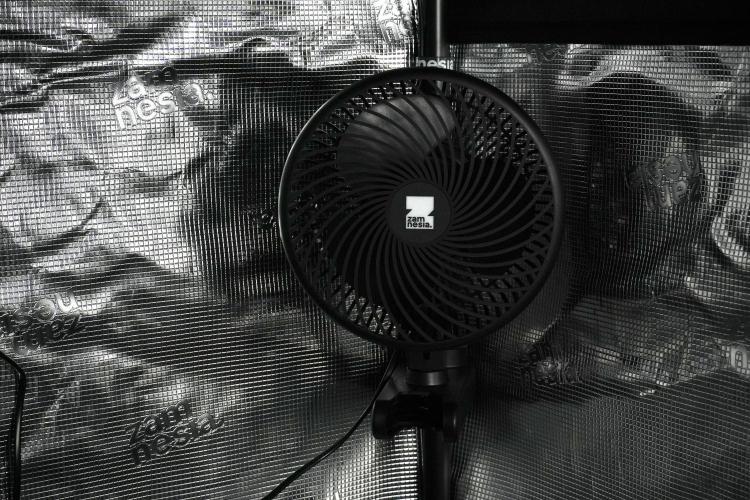
Fan
Grow Tent Clip Fan 152 mm
Zamnesia

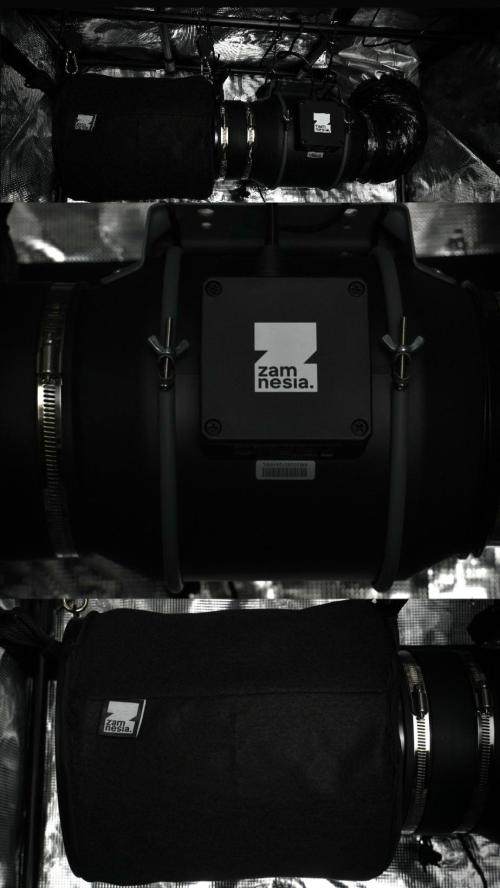
Filt
Carbon Filter Air Purifier 150 mm
Zamnesia

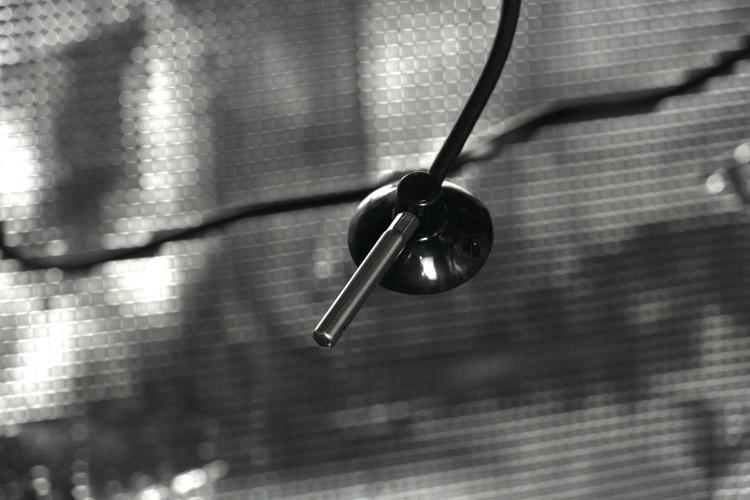
Contr
Grow Environment Controller
Zamnesia

Indoor
Room Type
0 l
Pot Size
0.3 l
Watering
Start at 1 Week
G
Germination15d ago


DogDoctorOfficial ? Blue Waffle F1 — Pheno A
Week 1 | New Tent, New Genetics, New Adventure
Hello GrowDiaries family! 👋🌱
Today marks the beginning of something completely new in the garden.
Not just a new genetic.
Not just a new diary.
But an entirely new growing environment built from the ground up specifically for this project.
Welcome to Blue Waffle F1 by Zamnesia Seeds.
And welcome to the first official week inside the new Zamnesia setup.
⸻
A New Beginning
This diary is part of a completely separate project from the 12/12-from-seed run many of you have been following.
While the previous garden focused on photoperiod plants grown under a strict flowering schedule from day one, this tent has a completely different objective.
For this project we’re running:
* 18/6 light schedule
* Full vegetative development
* Potential training techniques
* Possible topping
* Possible LST
* Possible Scrog
* And whatever these genetics decide to inspire along the way
For now, however, everything starts exactly where every great grow begins:
With a seed.
⸻
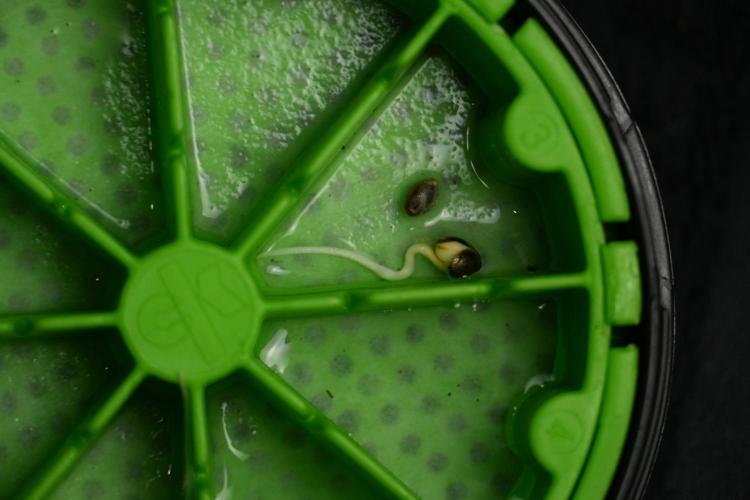
The Cannakan Germination System
As with many previous diaries, germination began using my trusted Cannakan system.
The concept remains wonderfully simple.
Seeds are placed inside with plain water.
Nothing more.
No nutrients.
No stimulants.
No secret ingredients.
Just water.
The objective isn’t to feed the seed.
The objective is simply to wake it up.
Nature already packed everything required for those first moments of life inside the shell itself.
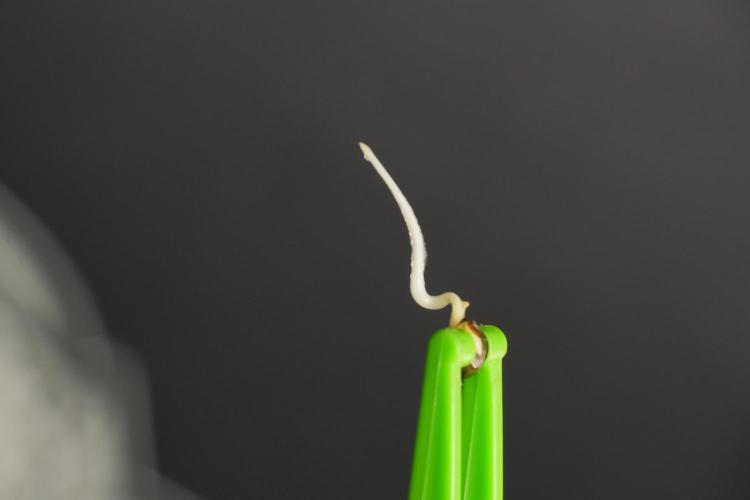
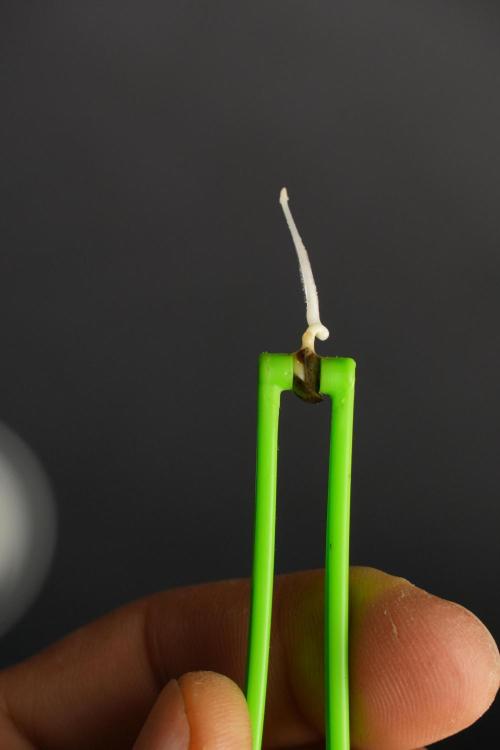
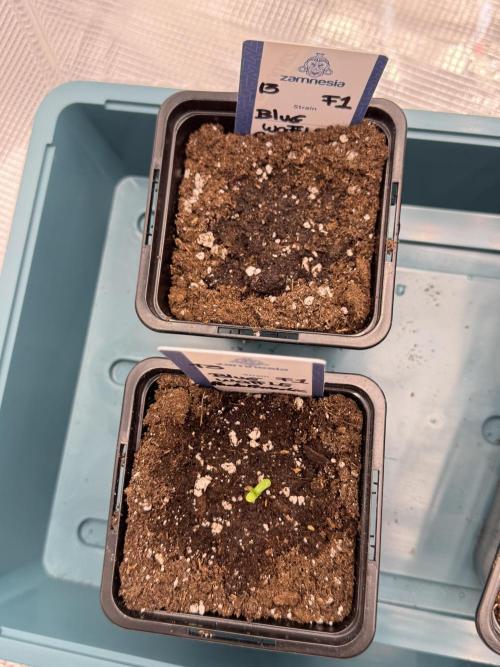
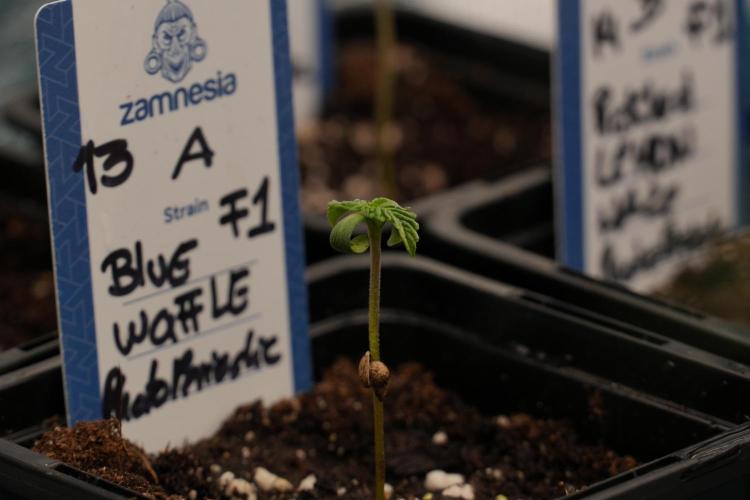
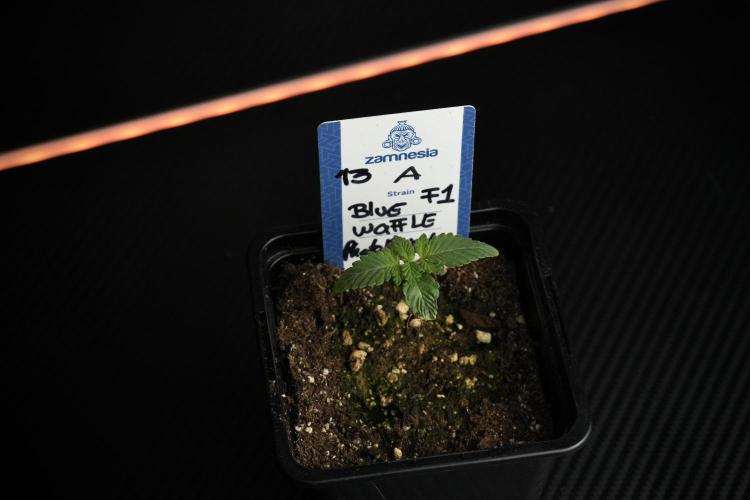
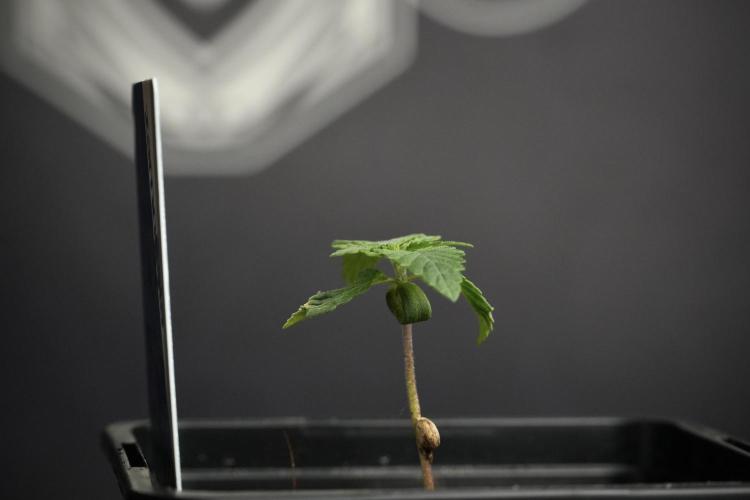
For Blue Waffle F1, germination was fast and impressive.
After approximately 24 hours of soaking, the seeds had absorbed water and begun the process.
Most of the water was then removed, leaving only enough moisture to maintain ideal conditions.
Roughly 12–13 hours later, one seed had already produced a beautiful healthy taproot.
The second wasn’t far behind.
At that point both seeds were transferred into their final containers.
Sometimes plants make the decision for us.
These girls were ready.
⸻
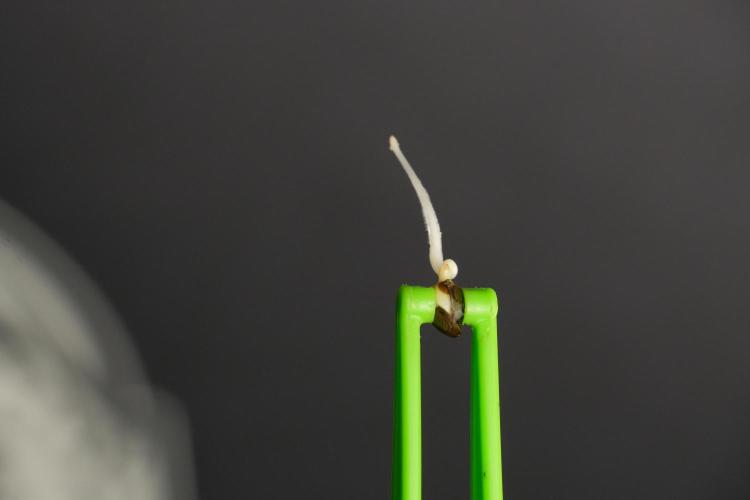
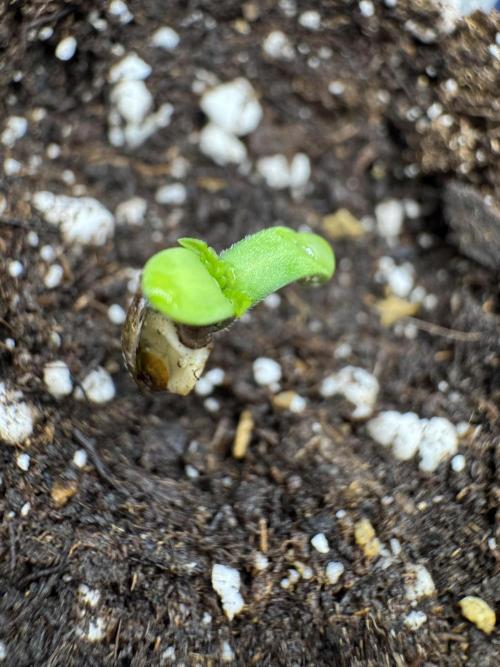
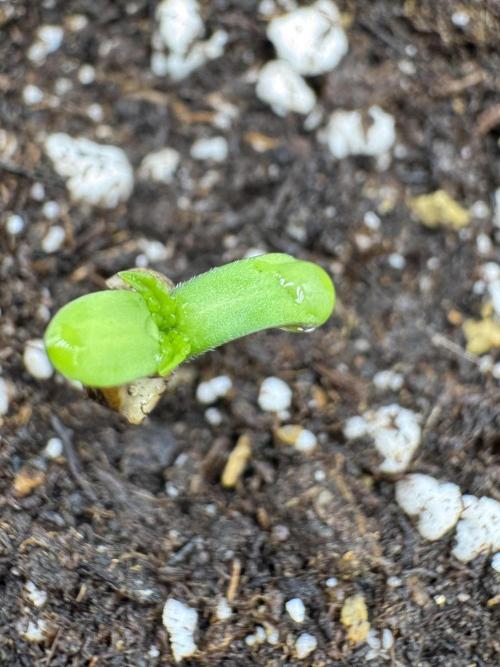
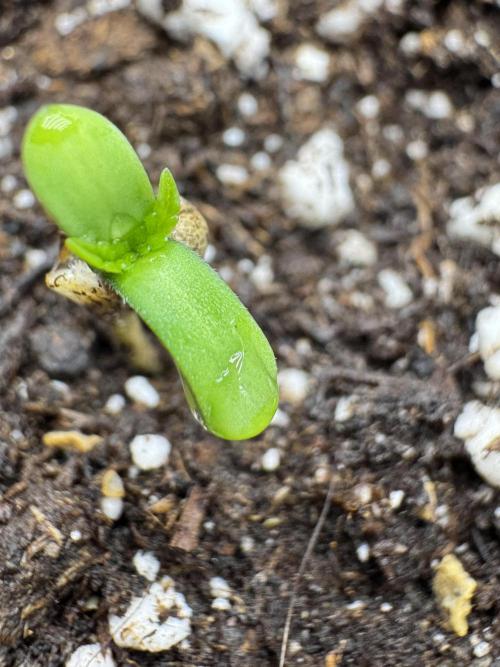
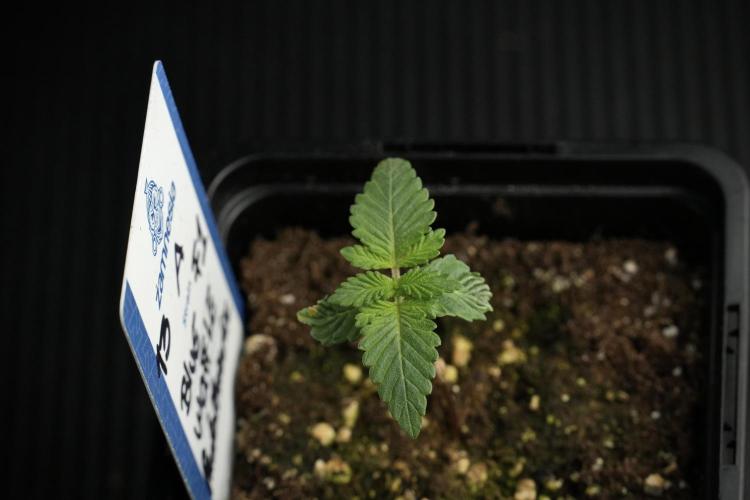
From Root To Light
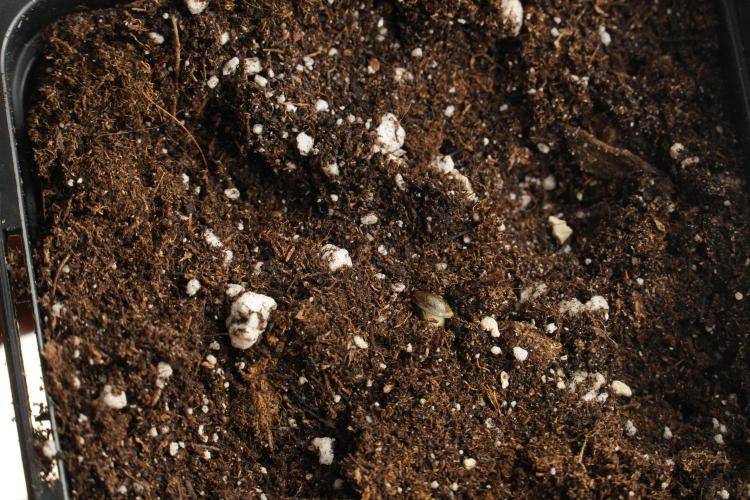
Once planted into Plagron Lightmix, development continued at an impressive pace.
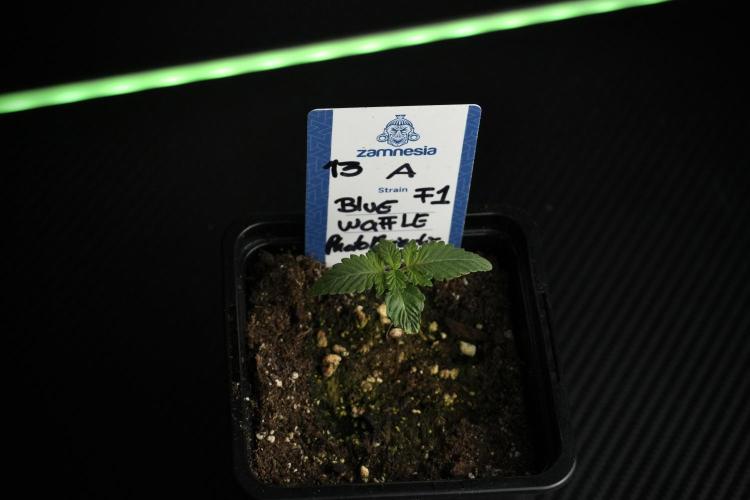
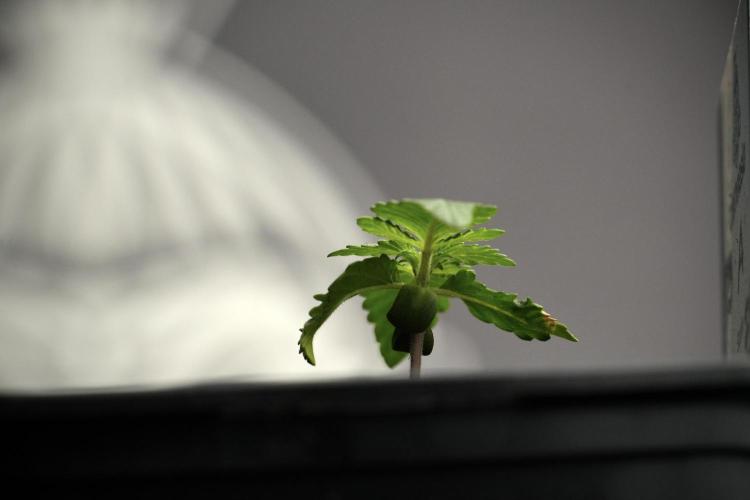
Less than 24 hours later, the first seedling was already emerging above the soil surface and searching for light.
Pheno A was slightly faster from the start.
The photos clearly show her vigorous emergence and strong taproot development.
The characteristic little “tail” visible during germination quickly transformed into a healthy young seedling eager to begin growing.
Her sister wasn’t far behind.
Both seedlings established themselves quickly and showed exactly the kind of vigor we hope to see from modern F1 genetics.
⸻
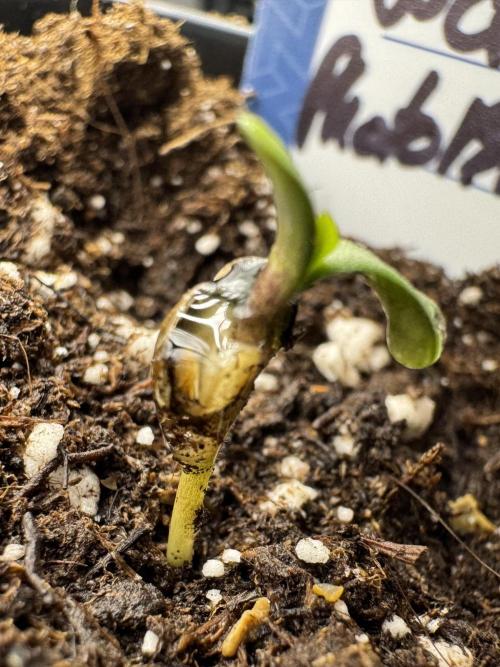
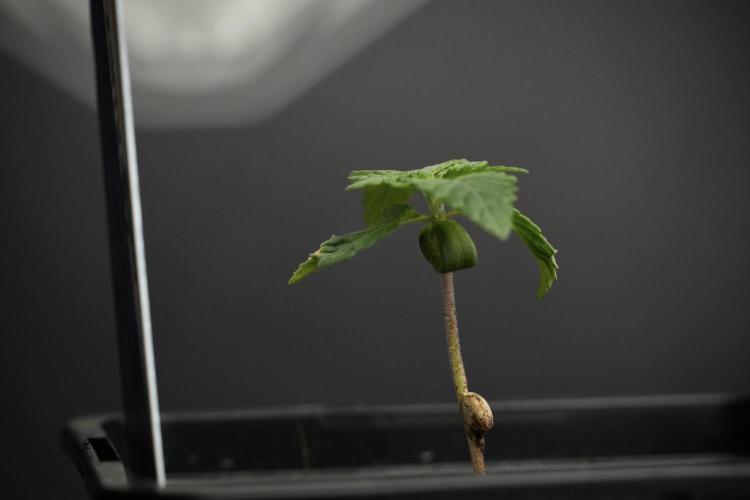
Why Use A Humidity Dome?
During the first few days after emergence, both seedlings spent some time under a humidity dome.
This is something many growers choose to use during early development.
The purpose is simple:
Young seedlings possess only a very small root system.
Because they cannot yet absorb large amounts of water through the roots, maintaining slightly elevated humidity helps reduce moisture loss through the leaves.
The dome isn’t intended as a permanent environment.
It’s simply a temporary tool that helps young seedlings bridge the gap between germination and proper root establishment.
Once the plants become established, the dome is removed and normal environmental conditions take over.
The objective is adaptation.
Not dependence.
⸻
Building The New Zamnesia Grow Tent Kit
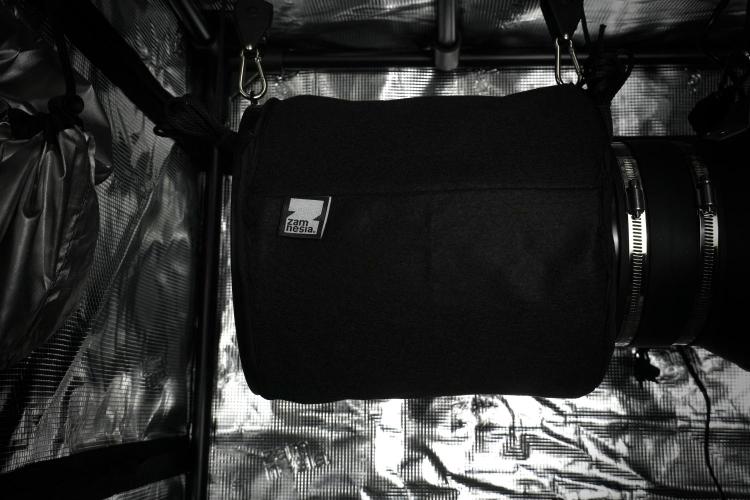
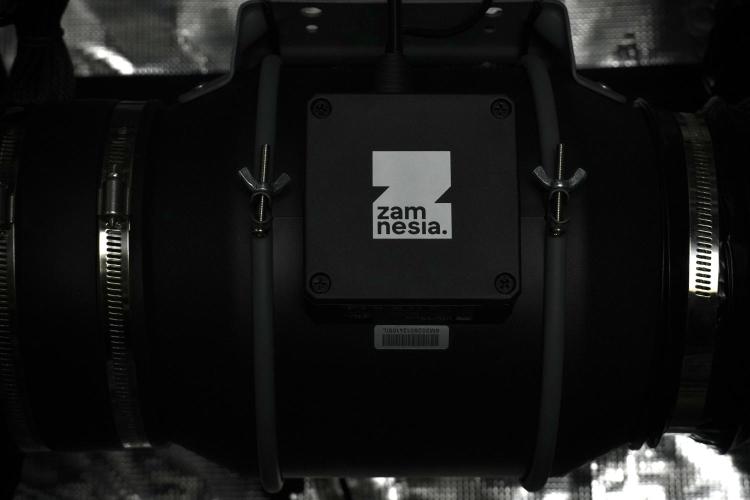
One of the highlights of this week was assembling the brand-new Zamnesia Grow Tent Kit.
Everything shown throughout this diary was built and installed by a single person.
No assistants.
No special tools.
No complicated setup.
Just patience and a free afternoon.
To my surprise, the entire installation process moved extremely quickly.
Even including:
* Tent assembly
* LED installation
* Carbon filter installation
* Inline fan setup
* Ducting
* Controller installation
* Cable management
The complete system was operational in under an hour.
If I can build it alone, most growers will have absolutely no trouble doing the same.
The instructions included are excellent, although in my particular space I ended up making a few adjustments and performing some creative grow-room gymnastics to fit everything exactly where I wanted it.
The quality of the materials immediately stood out.
The frame feels extremely solid.
In fact, during setup I jokingly tested just how sturdy it was and found it capable of handling far more abuse than most grow tents will ever experience.
First impressions have been extremely positive.
Now it’s time to see how it performs over an entire grow cycle.
⸻
What’s Included In The Kit?
For those curious about the exact setup being used throughout this project, the complete Zamnesia Grow Tent Kit includes:
* Grow Tent 100×100×200 cm
* Phytonaut LED Grow Light 320W
* 150 mm Inline Duct Fan
* 150 mm Carbon Filter
* Grow Environment Controller
* 152 mm Clip Fan
* 2 m Flexible Ducting
* 24-Hour Timer
* Rope Ratchet Hangers
* Velcro Cable Management System
Everything currently running in this tent comes directly from this package.
No substitutions.
No upgrades.
No additional equipment.
This allows us to evaluate the entire system exactly as it arrives.
⸻
Environmental Conditions
For this first week, conditions were intentionally gentle.
Light intensity was measured using a PAR meter and maintained around:
~200 PPFD
At this stage, seedlings simply do not require high-intensity lighting.
The objective is root development and healthy establishment rather than explosive growth.
The plants responded beautifully.
Healthy posture.
Good color.
Strong emergence.
And steady daily progression.
Exactly what we hope to see.
⸻
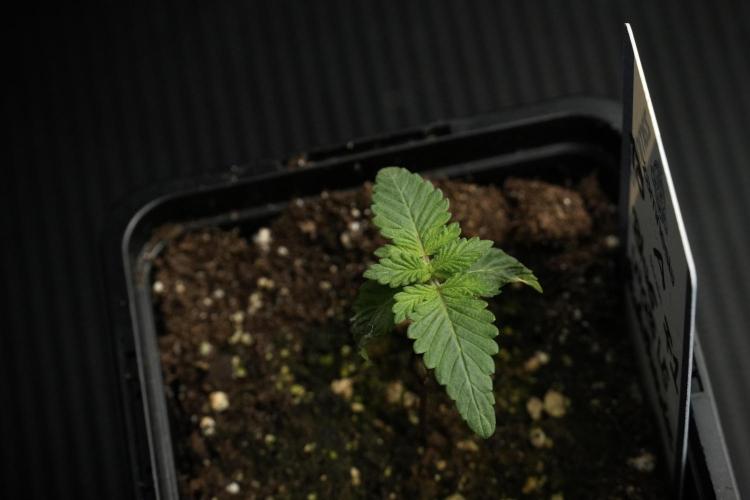
First Impressions Of Blue Waffle F1
Although still extremely young, Blue Waffle F1 has already made a positive first impression.
Fast germination.
Strong emergence.
Healthy color.
Excellent vigor.
And perhaps most importantly:
Confidence.
Some seedlings seem hesitant.
This one simply got to work.
The coming weeks will reveal much more about structure, growth rate, branching potential, and eventual terpene profile, but the opening chapter could hardly have gone much smoother.
⸻
Looking Ahead
Week 1 is always about foundations.
Roots before fruits.
Patience before training.
Observation before intervention.
Over the coming weeks we’ll continue documenting:
* Vegetative growth
* Structural development
* Environmental management
* Training decisions
* Nutrient progression
* Genetic expression
* And everything these new F1 genetics choose to reveal
For now, Blue Waffle F1 Pheno A has arrived safely, settled into her new home, and seems very happy about it.
The kingdom has officially opened its gates.
Let’s see what this little Blue Waffle decides to cook for us. ?💙🌱
Grower’s Love everyone. 💚
12 likes
2 comments
Share
Used method
Other
Germination Method
1
Week 1. Vegetation13h ago


6 cm
Height
18 hrs
Light Schedule
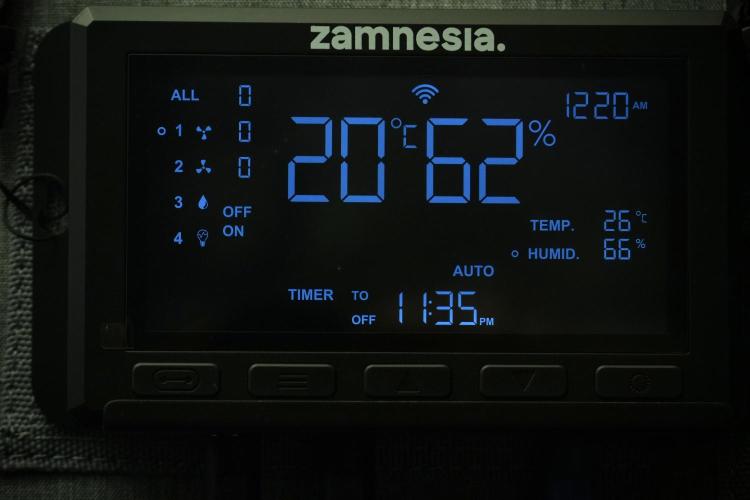
26 °C
Day Air Temp
6.0
pH
No Smell
Smell
765 PPM
TDS
71 %
Air Humidity
24 °C
Solution Temp
24 °C
Substrate Temp
25 °C
Night Air Temp
0.3 l
Pot Size
0.3 l
Watering Volume
450 PPM
CO₂ Level
Nutrients 3

Hydro A
1.2 mll

Hydro B
1.2 mll

Hydro Roots
1 mll
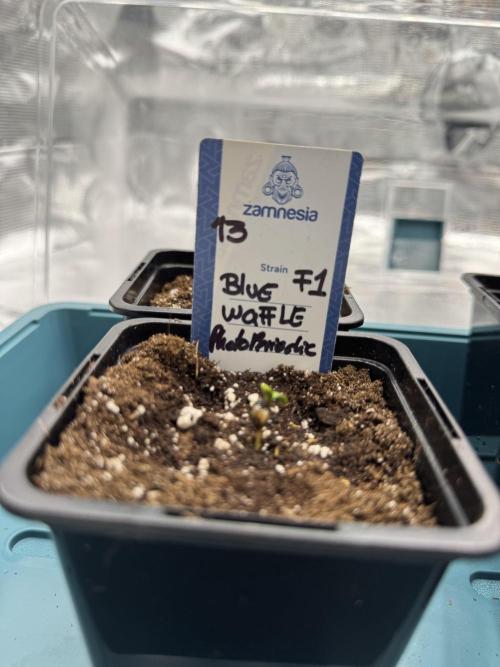
DogDoctorOfficial Folder 13 — Blue Waffle — Pheno A
Week 1 Vegetation — The First Steps Into Project Blue
Welcome back, growers!
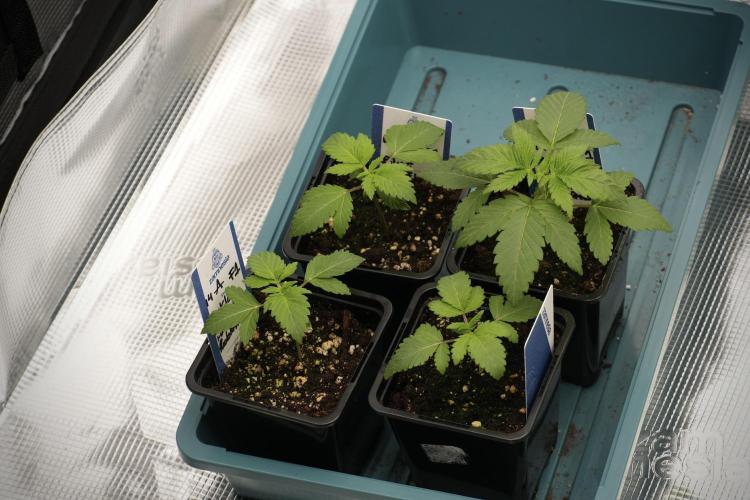
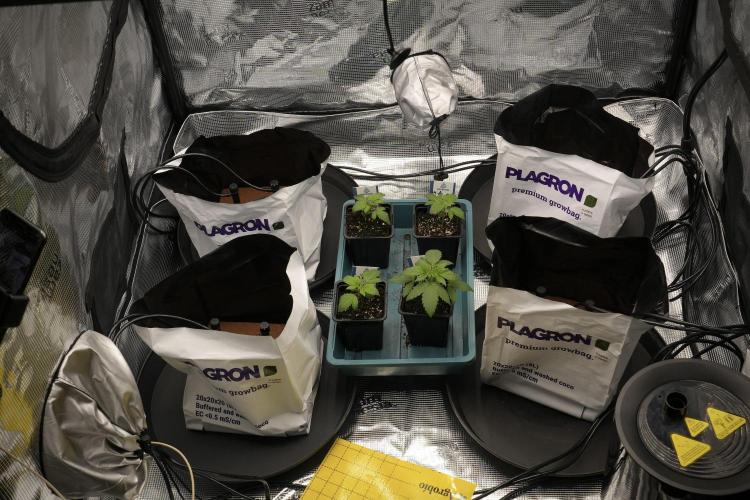
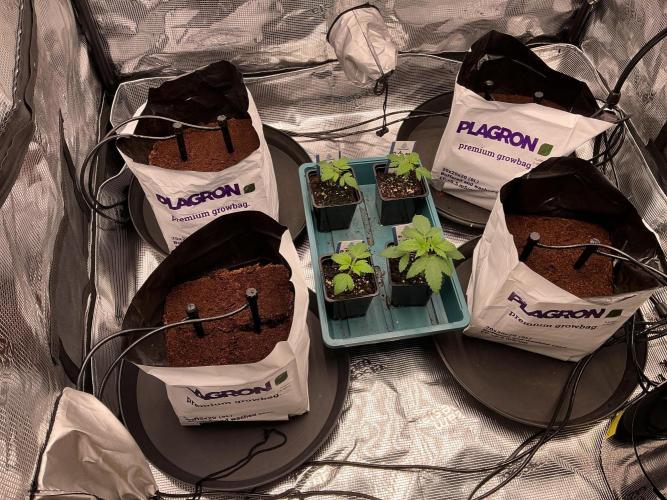
With the germination phase now behind us, it’s time to begin documenting the first true week of vegetative growth for the Zamnesia Tent project. This run is slightly different from my previous diaries, as it combines four genetics growing side-by-side inside a dedicated ecosystem built around Zamnesia equipment and Plagron nutrients.
For easier tracking and because GrowDiaries limits the number of photos per update, each plant is being documented individually from seed to harvest. This allows a closer look at how each phenotype develops over time, even when they share the exact same environment.
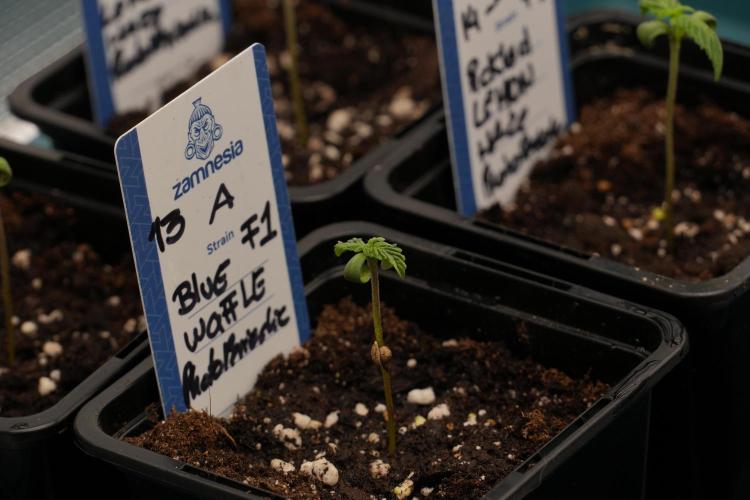
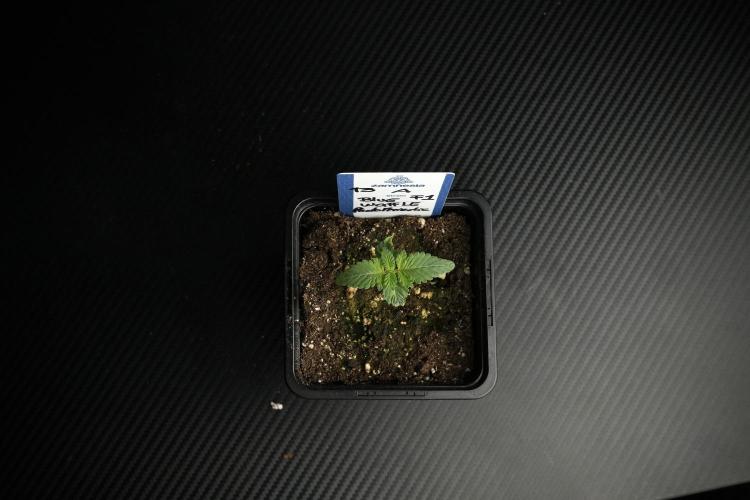
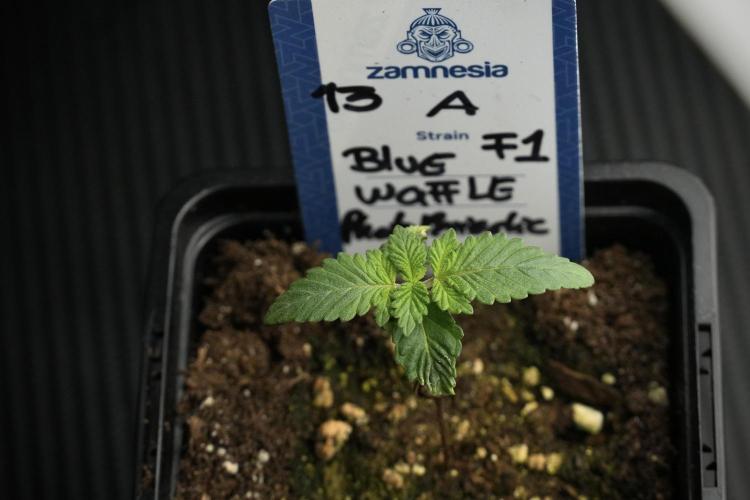
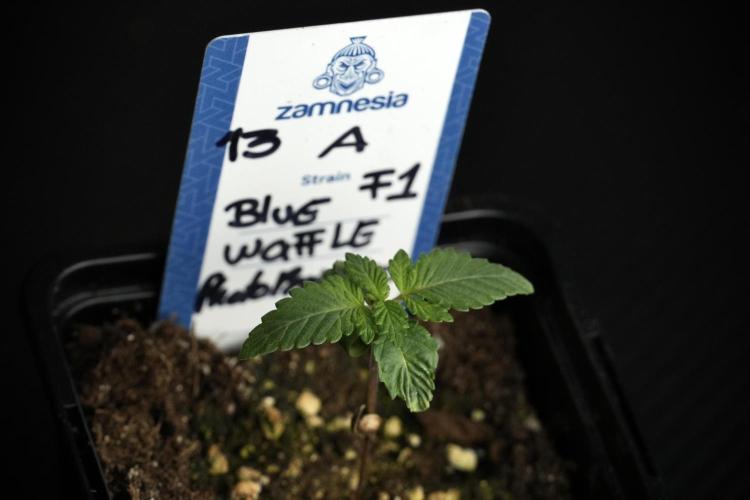
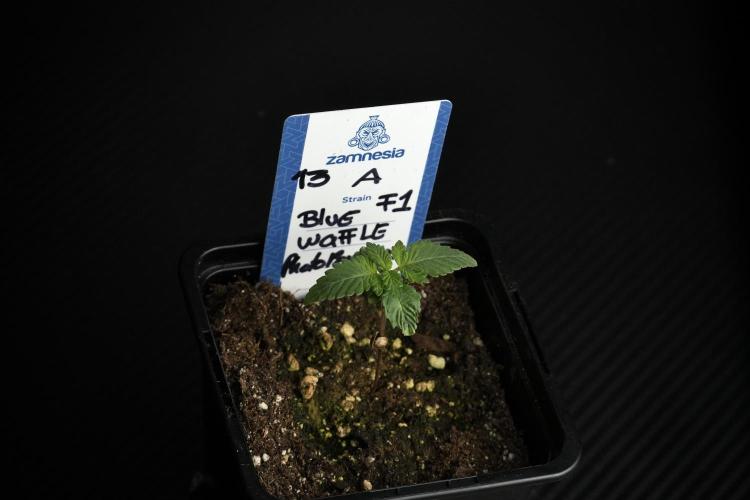
Blue Waffle Pheno A is the first plant stepping onto the stage.
⸻
The Environment
This week was all about creating a stable foundation.
The tent is running under the Zamnesia ecosystem, maintaining temperatures around 26°C with relative humidity averaging 71%, creating a comfortable environment for young seedlings.
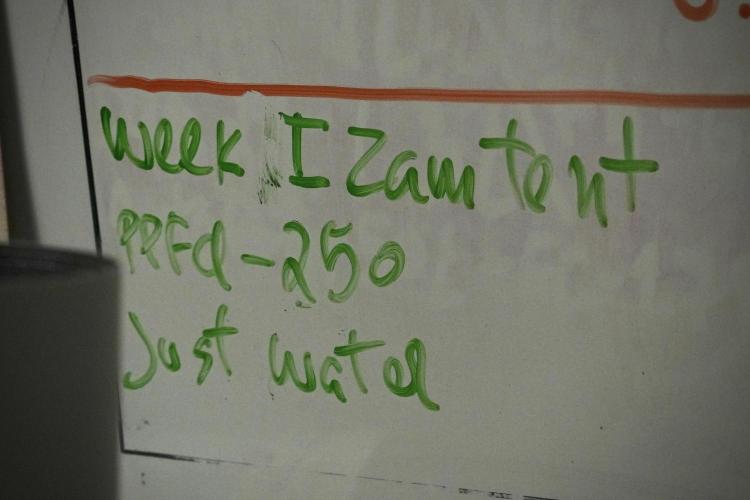
Lighting was intentionally introduced stronger than many growers might expect. The LED was set to 27% output, drawing approximately 86 watts from the wall, resulting in a measured PPFD of roughly 250 µmol/m²/s at canopy level.
Some growers prefer starting lower, but part of this project is observing how modern genetics respond when provided with a slightly stronger light intensity from the beginning.
Air movement was provided by:
* Extraction fan: Level 5
* Circulation fan: Level 4
Both settings provided enough airflow to keep the environment stable without placing unnecessary stress on the young seedlings.
⸻
Feeding Strategy
Although the seedlings spent their first days receiving only rainwater, this week also marked the introduction of their first nutrient solution.
The feeding program consists of:
* Plagron Hydro A
* Plagron Hydro B
* Plagron Hydro Roots
Mixed to:
* EC: 1.53 mS/cm
* pH: 5.96
* Solution temperature: 24.2°C
The objective is not aggressive feeding but rather preparing the plants for the transition into coco while encouraging healthy root development from the beginning.
⸻
Preparing The Next Home
One of the biggest milestones this week happened outside the plant itself.
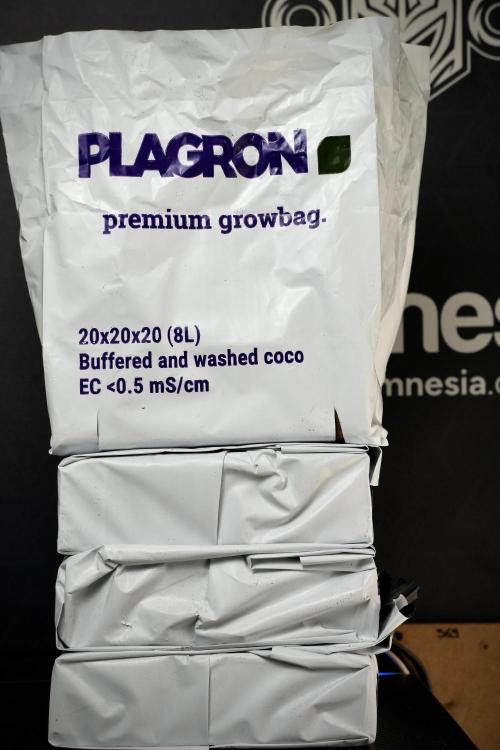
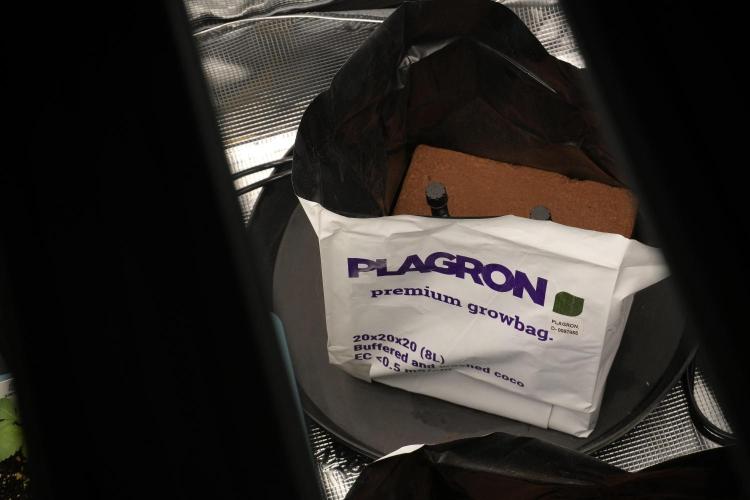
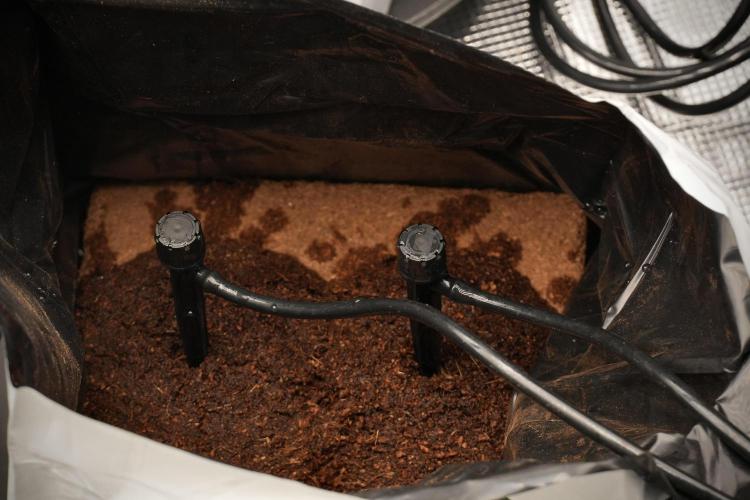
The Plagron Premium Grow Bags were filled and hydrated in preparation for next week’s transplant.
Rather than flooding the coco all at once, hydration was performed slowly using a reservoir-fed drip system. This gradual approach allows the coco to absorb moisture evenly and expand naturally throughout the grow bag.
Only distilled water was used during this hydration process.
The seedlings themselves remain in their starter containers for now, but next week they will make the move into their final coco environment and begin the next chapter of development.
⸻
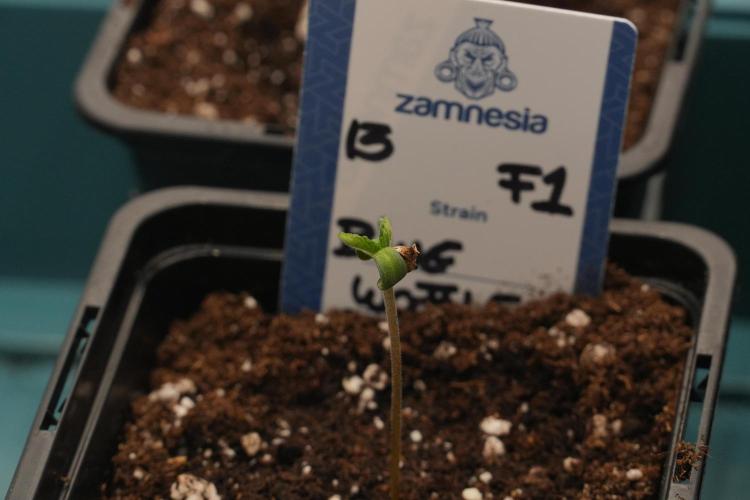
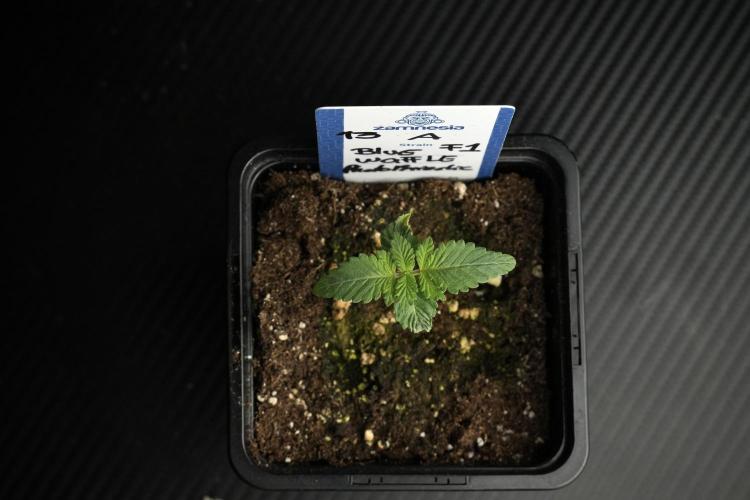
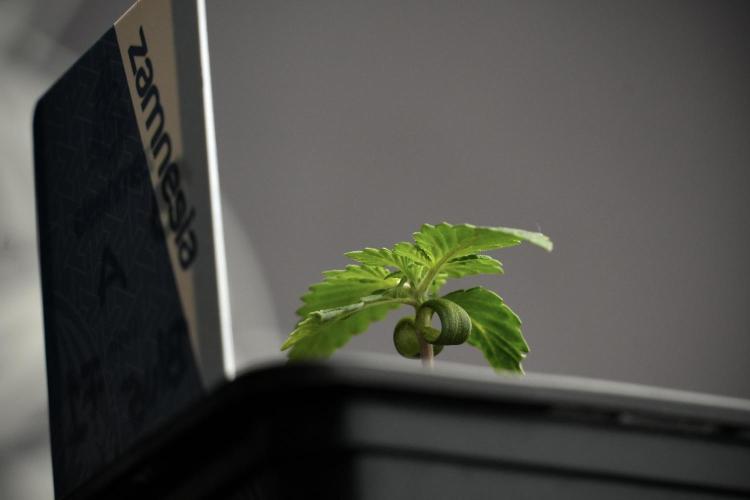
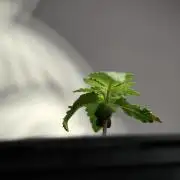
Blue Waffle Pheno A
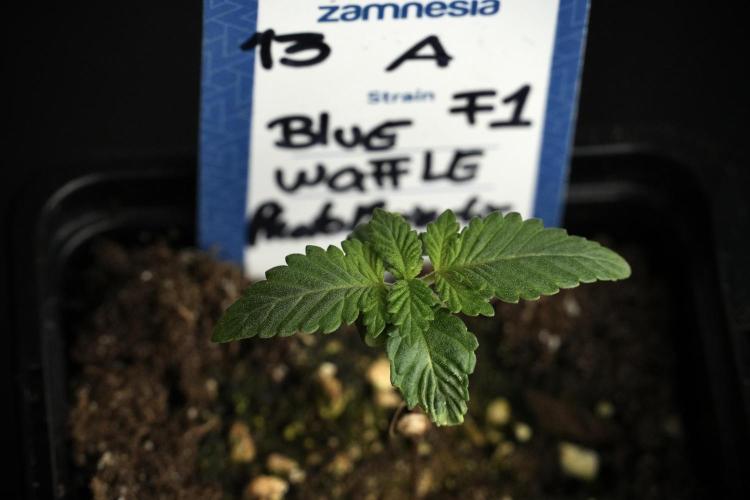
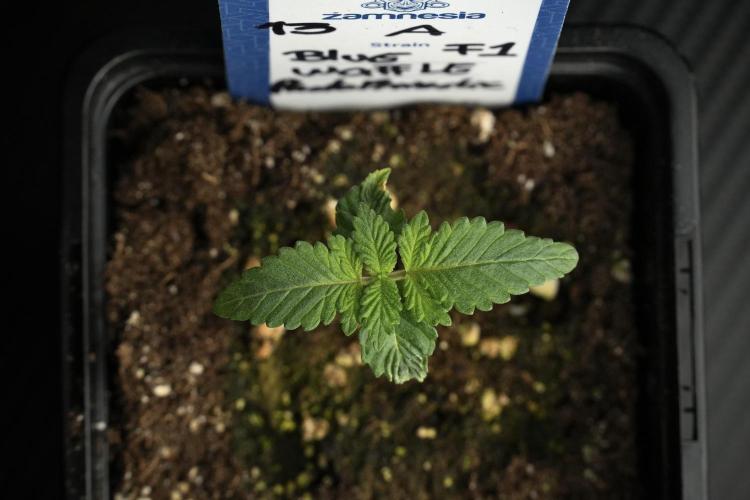
Despite being only a week into vegetation, Pheno A is already showing a personality of her own.
The first true leaves displayed a small cosmetic imperfection early on, but it appears to have been nothing more than a minor developmental quirk. All subsequent growth has emerged clean, healthy, and well formed.
What stands out most at this stage is the structure.
Internodal spacing remains very tight, producing a compact and efficient growth pattern. The plant is currently progressing into its third leaf set while maintaining a low profile and excellent symmetry.
The stem remains sturdy relative to its size, while the new growth shows a healthy green coloration without signs of nutrient stress.
At this stage there are no concerns whatsoever.
Instead, this phenotype gives the impression of a seedling focused on building a solid foundation before accelerating upward growth.
Sometimes the strongest plants are not the ones that sprint out of the gate. They are the ones that quietly build themselves correctly from the start.
Blue Waffle Pheno A is currently giving exactly that impression.
⸻
Looking Ahead
Next week should be significantly more eventful.
The planned transplant into the hydrated Plagron coco grow bags will introduce a completely new root environment, and it will be interesting to see how Blue Waffle Pheno A responds to the increased space and the fully hydroponic feeding strategy.
For now, the mission remains simple:
Healthy roots. Stable growth. Strong foundations.
Everything else comes later.
⸻
Thank You
A huge thank you to everyone following along and supporting these diaries.
Special thanks to:
* Zamnesia for the genetics, equipment, and support that made this project possible.
* Plagron for providing the nutrition and growing media used throughout this run.
* The GrowDiaries team for providing a platform where growers can share, learn, and inspire one another.
* And most importantly, the entire growing community whose knowledge, curiosity, and willingness to help keep pushing this hobby forward.
The journey is only beginning.
See you next week for the first transplant and the next chapter of Blue Waffle Pheno A.
Growers Love and Keep growing 🌱💙🍁
4 likes
comments
Share
Enjoying this diary? Follow for more updates!

Prefer the old Diary view?
Go back to the old Diary view