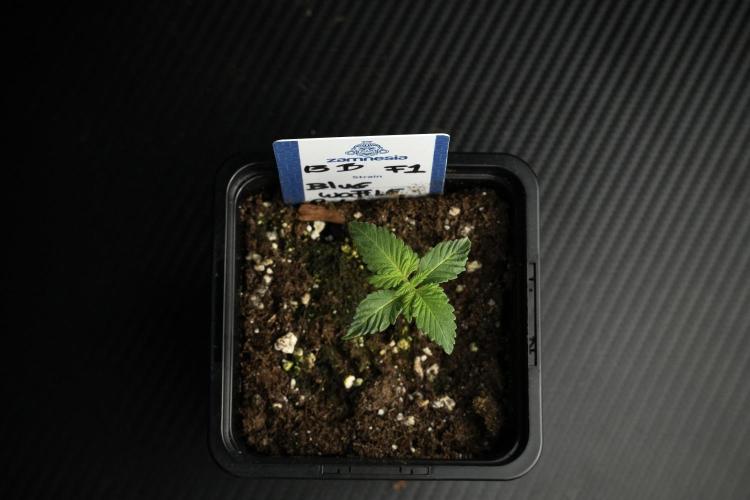
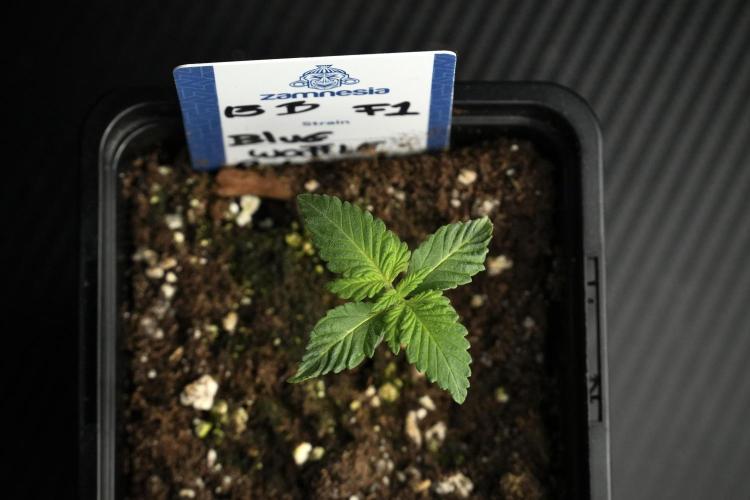
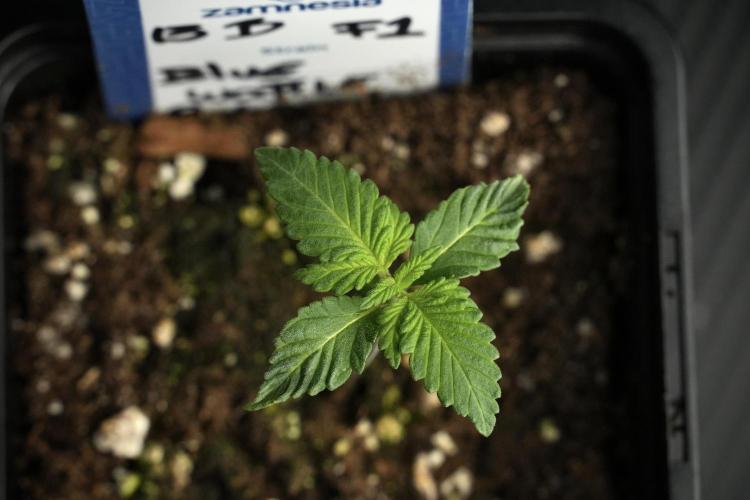
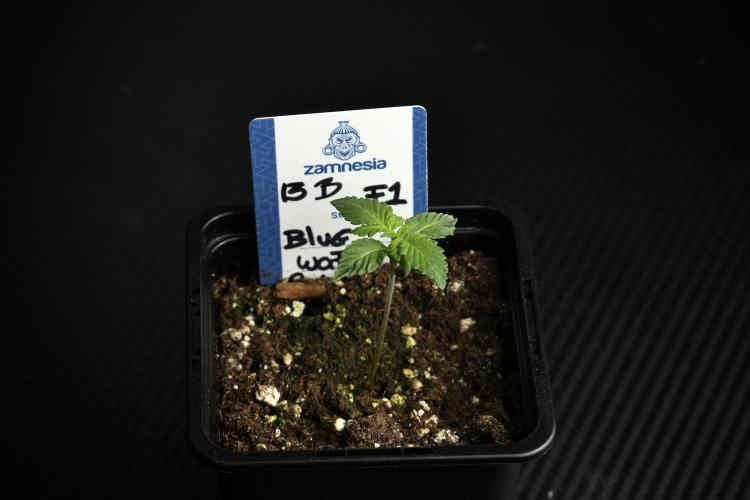
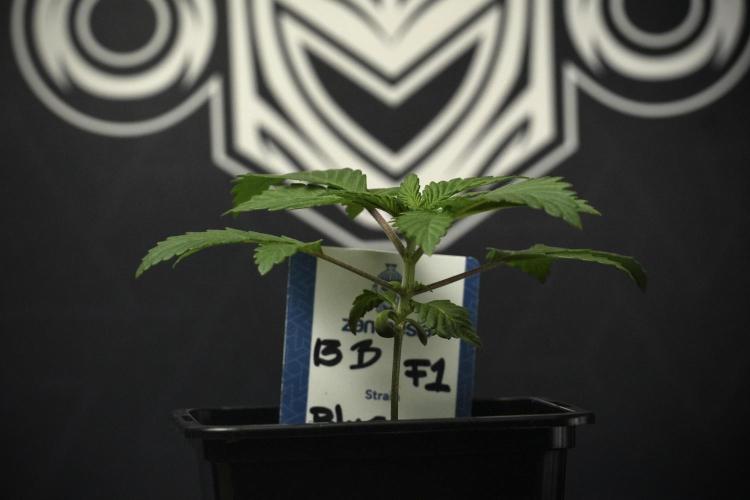
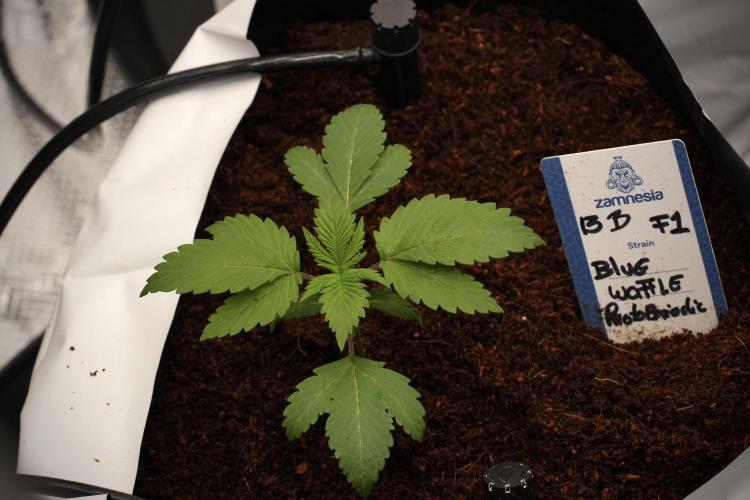
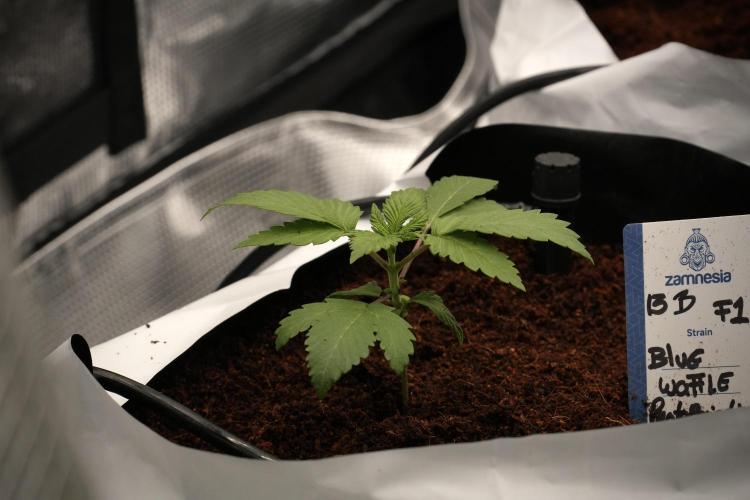
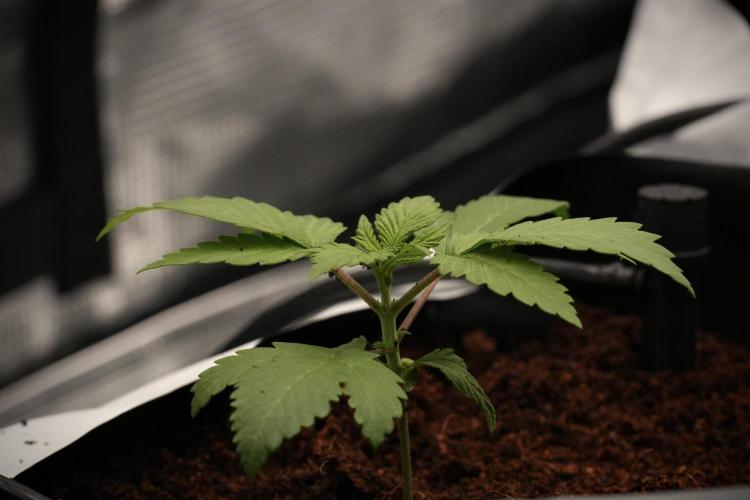
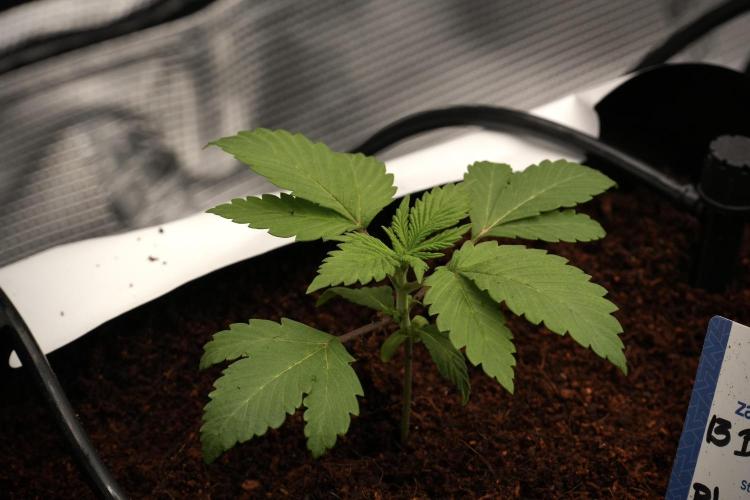
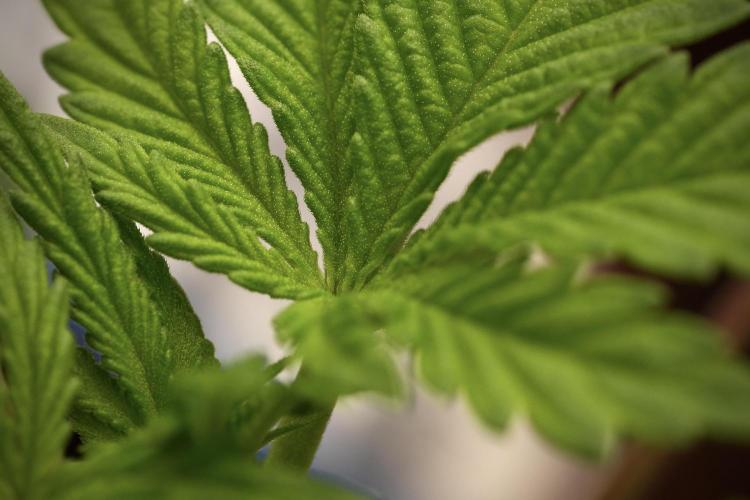
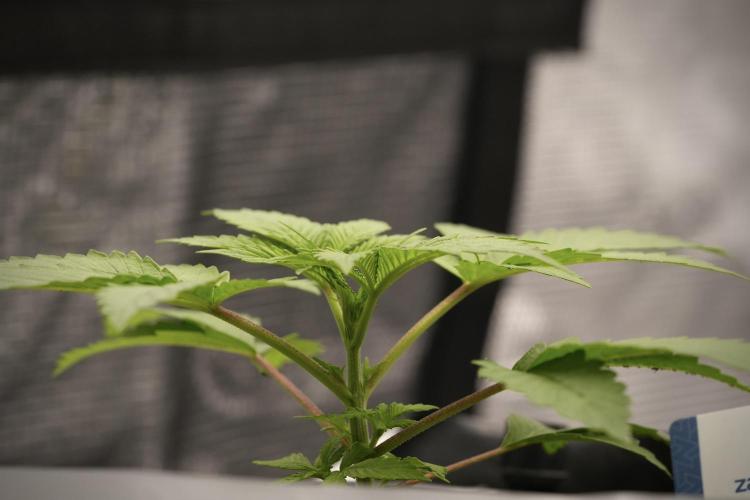
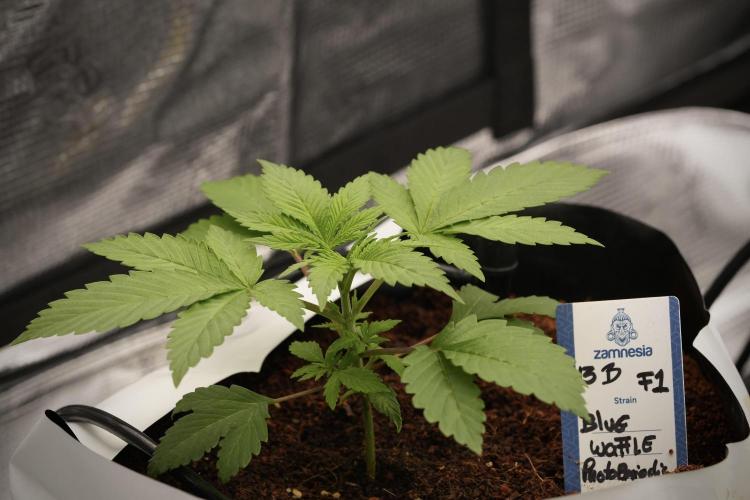
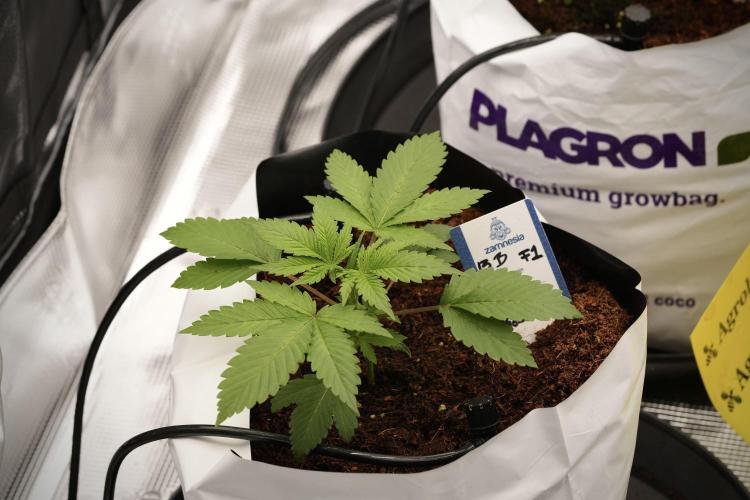
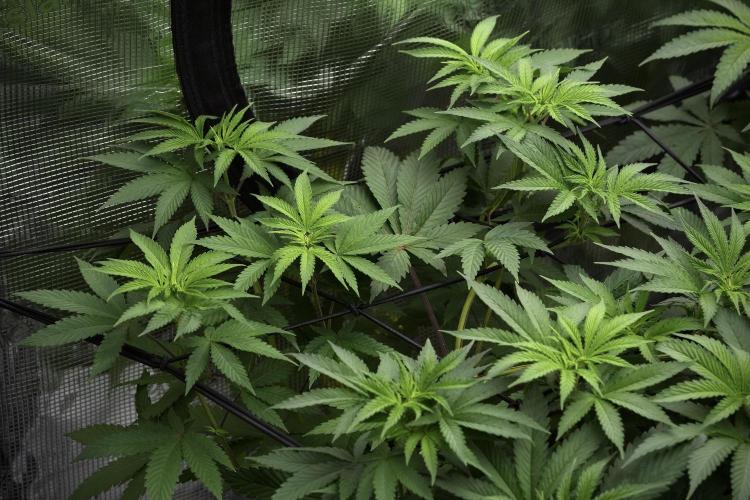
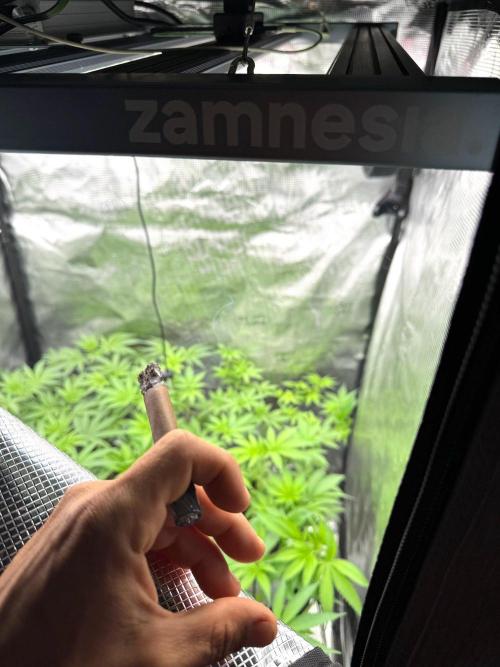
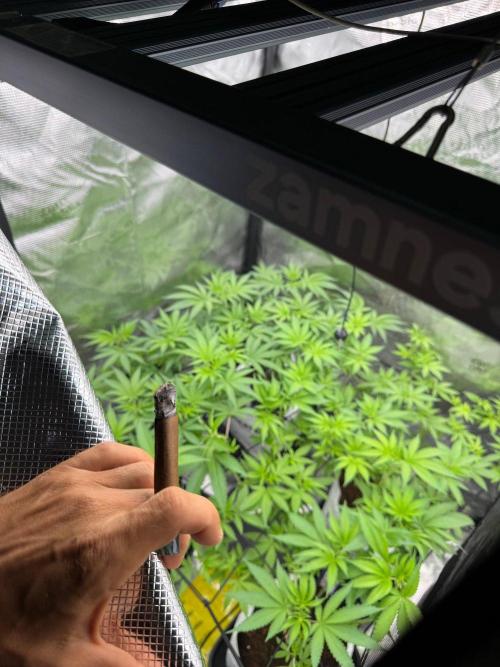
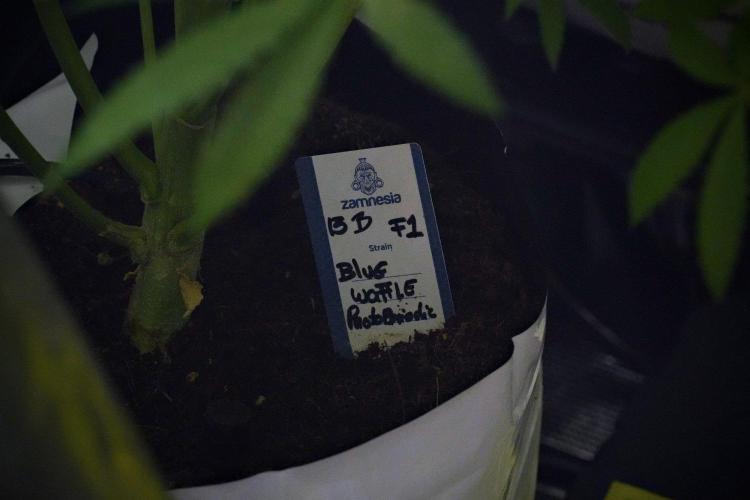
DogDoctorOfficial # ? Blue Waffle F1 — Pheno B
## Germination Week | Every Seed Finds Its Own Pace
Hello GrowDiaries family! 👋🌱
Welcome to the second diary of the Blue Waffle F1 project.
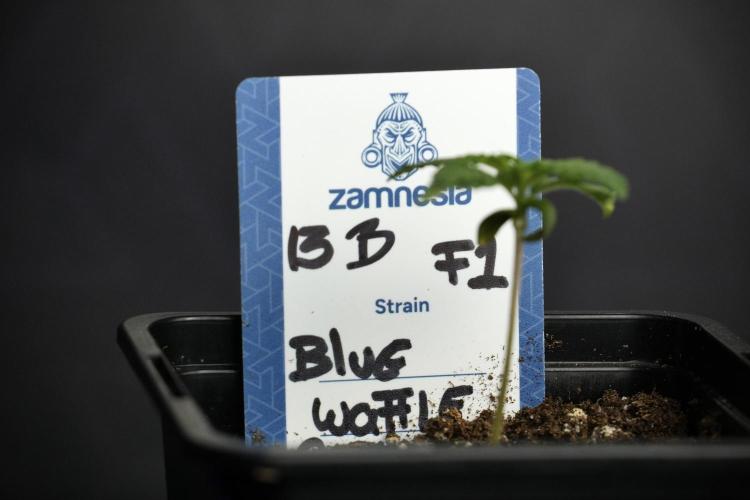
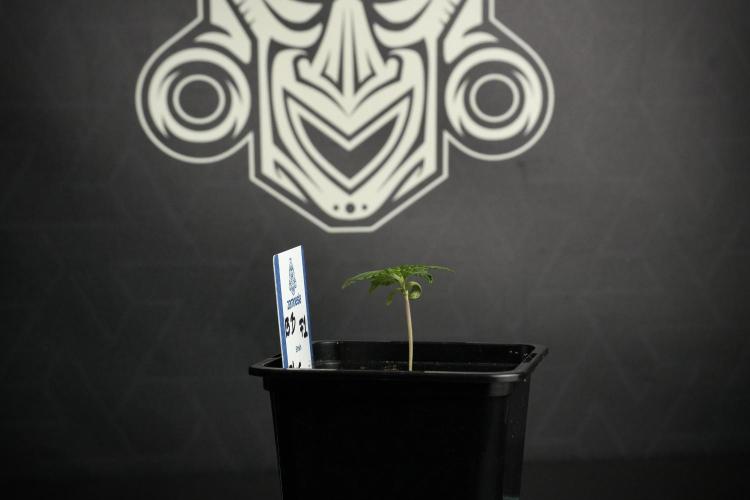
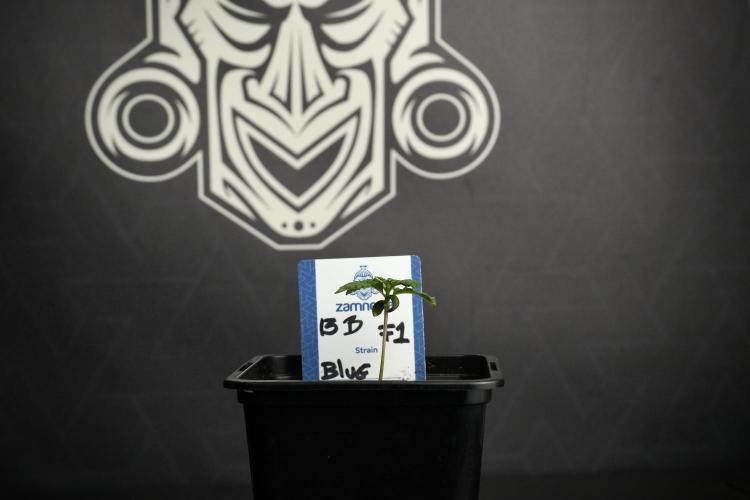
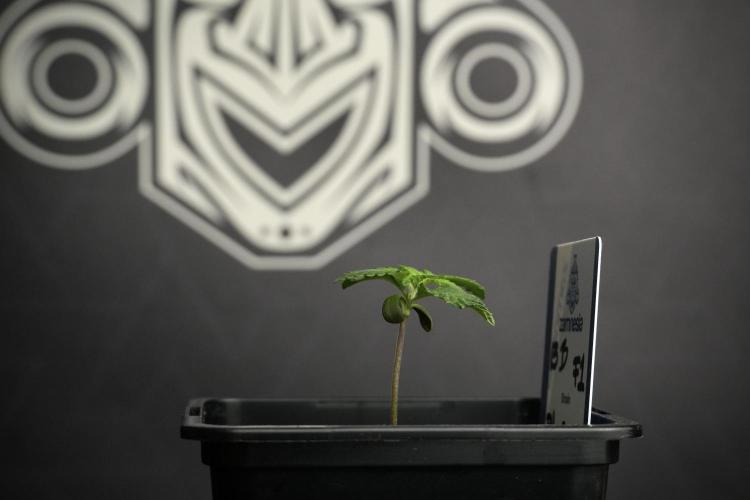
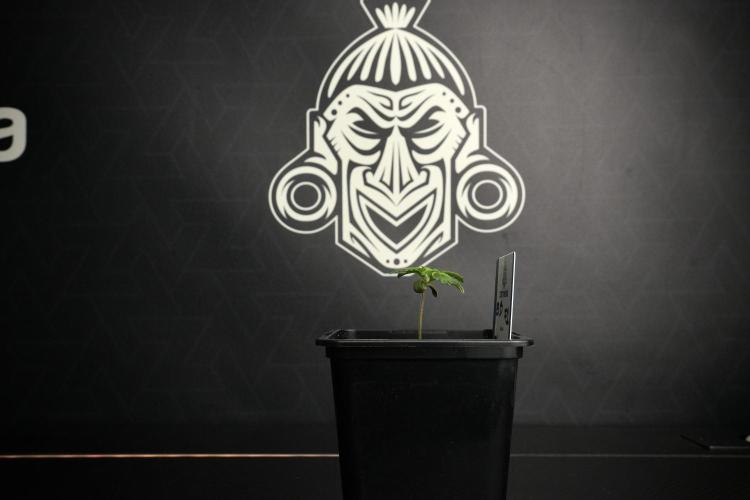
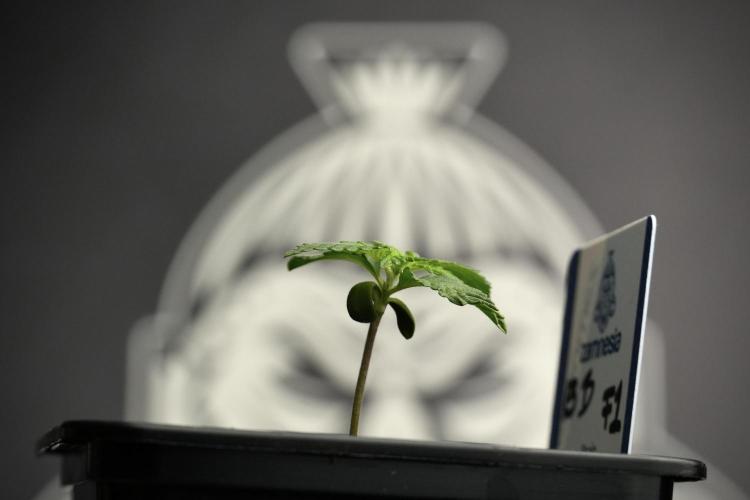
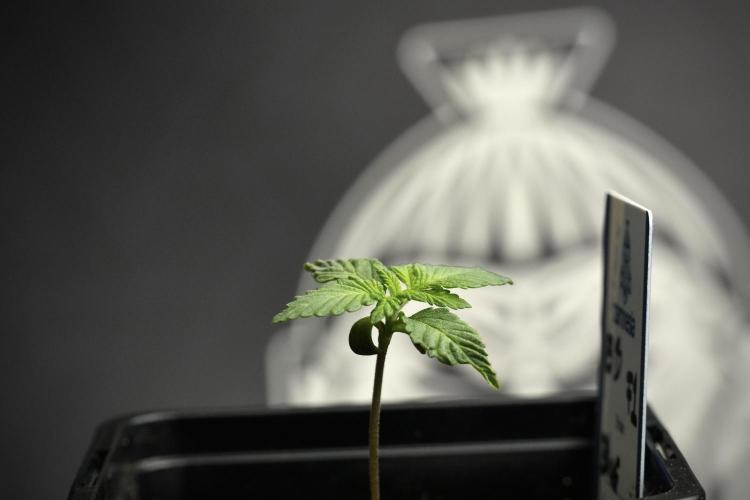
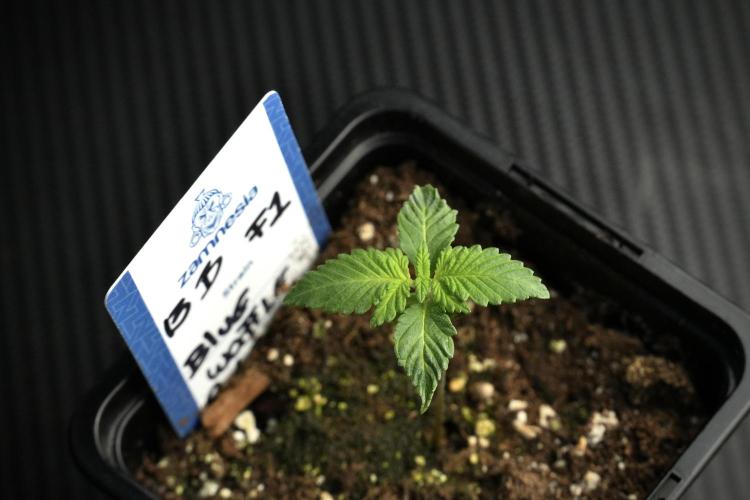
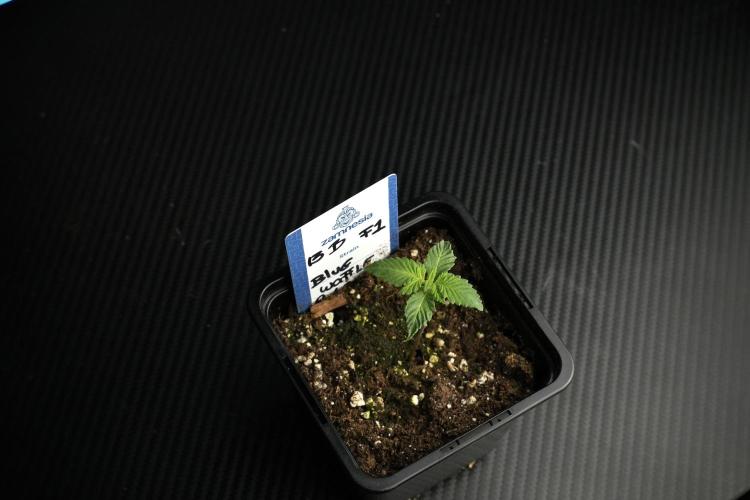
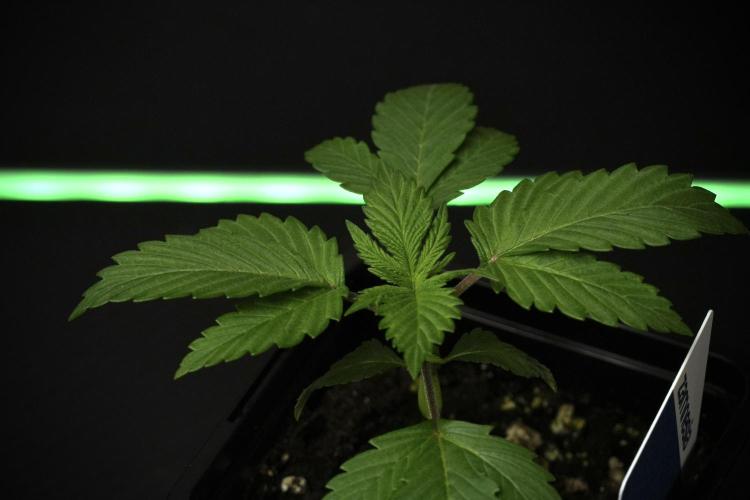
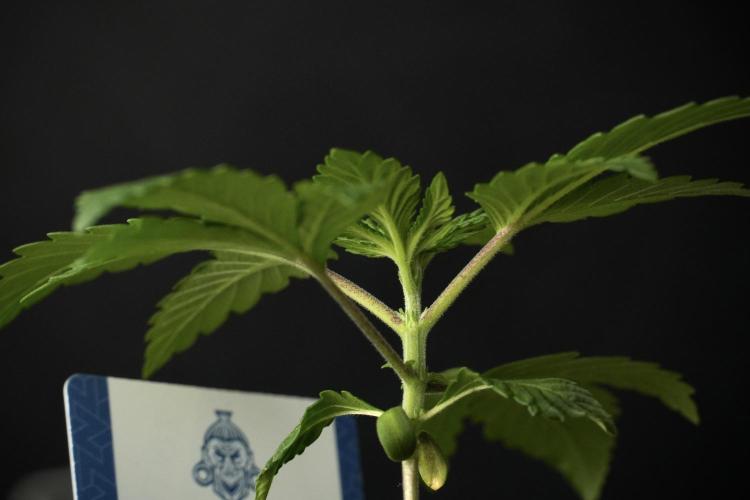
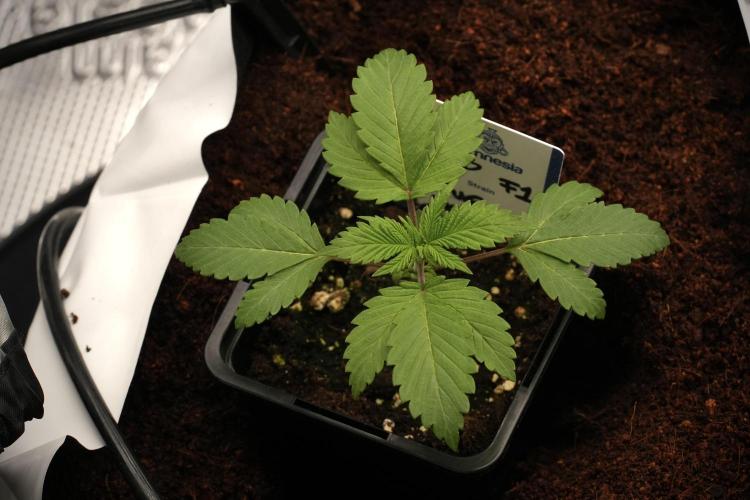
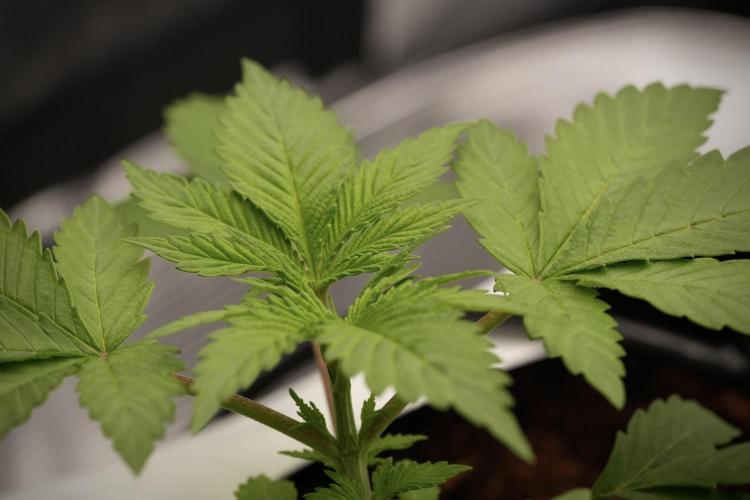
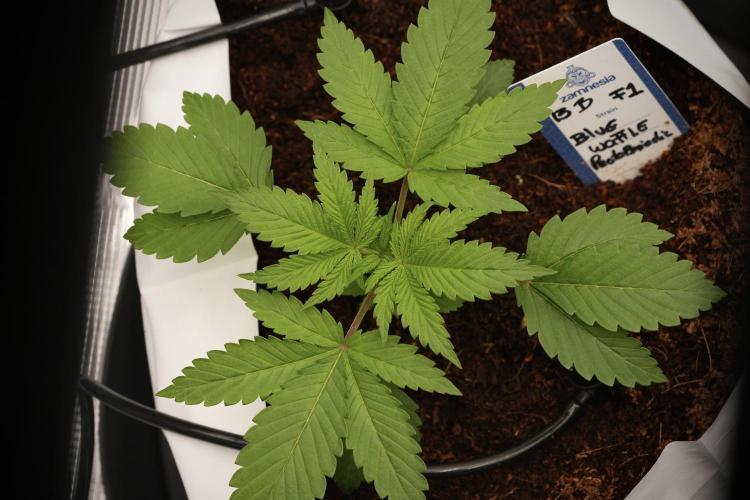
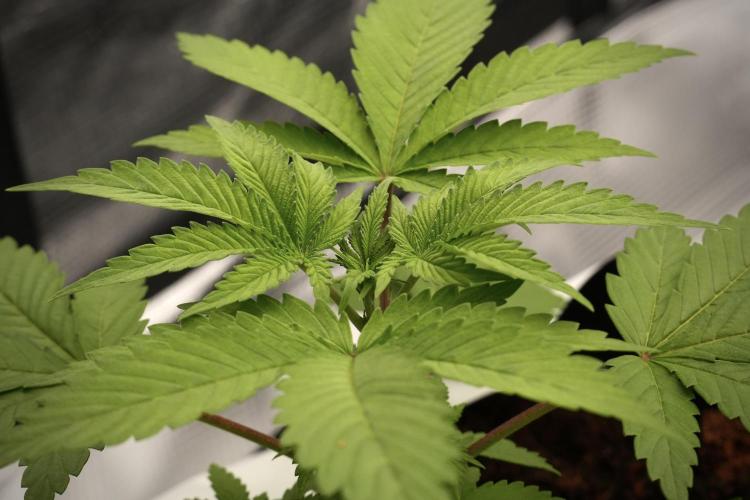
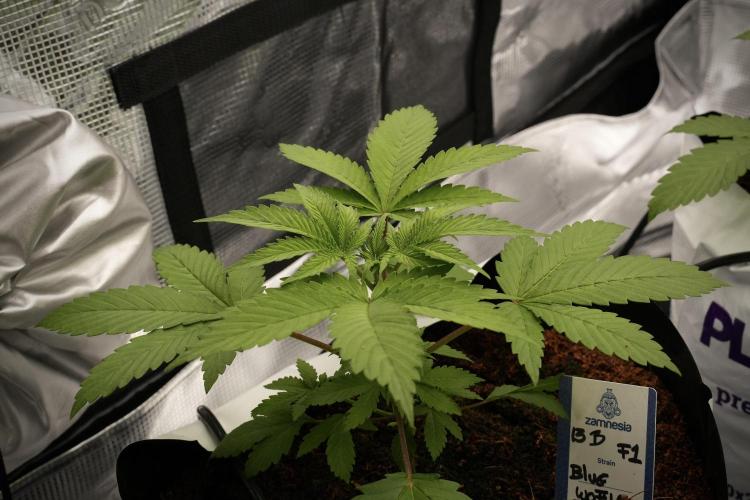
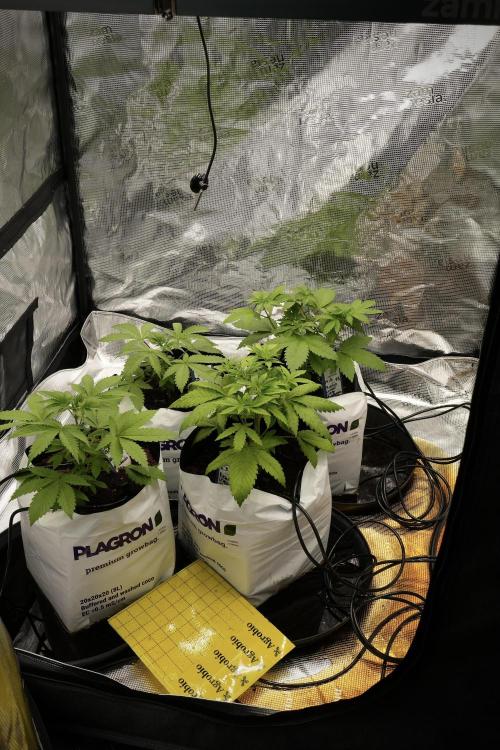
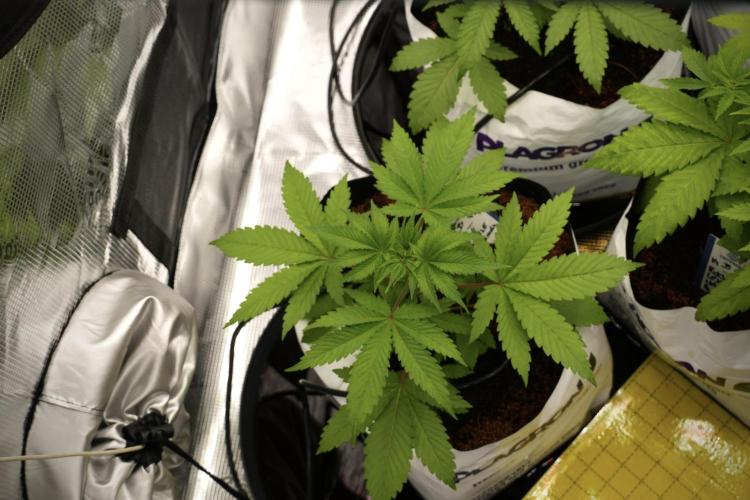
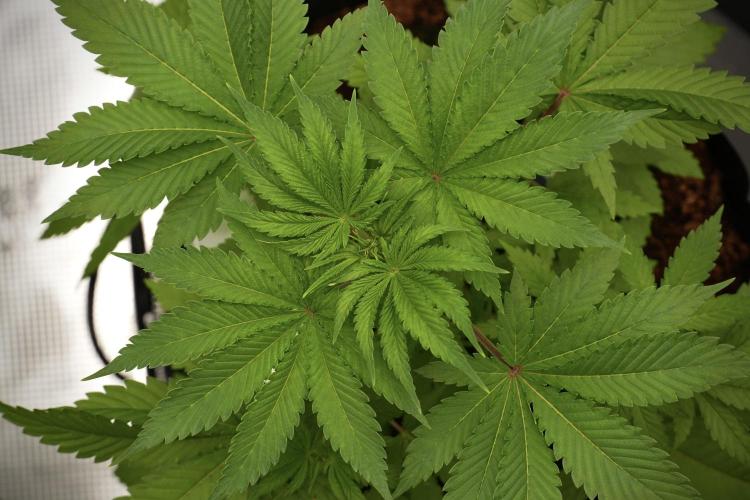
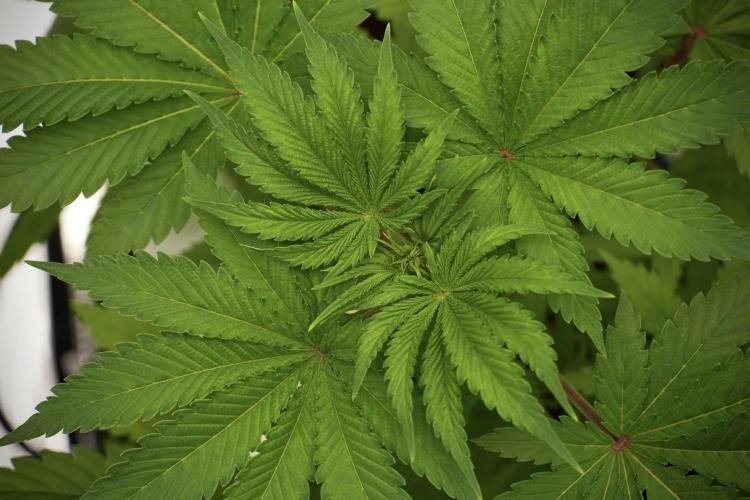
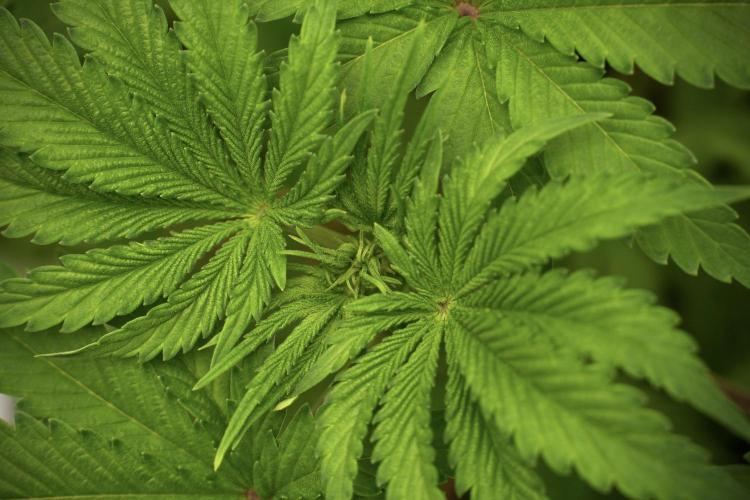
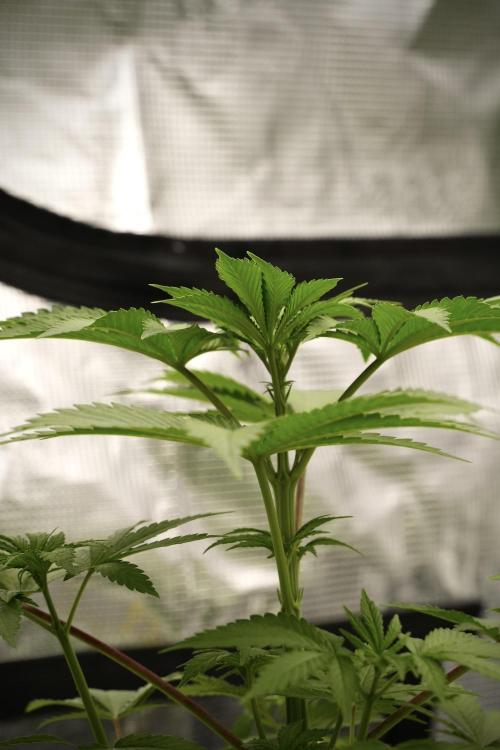
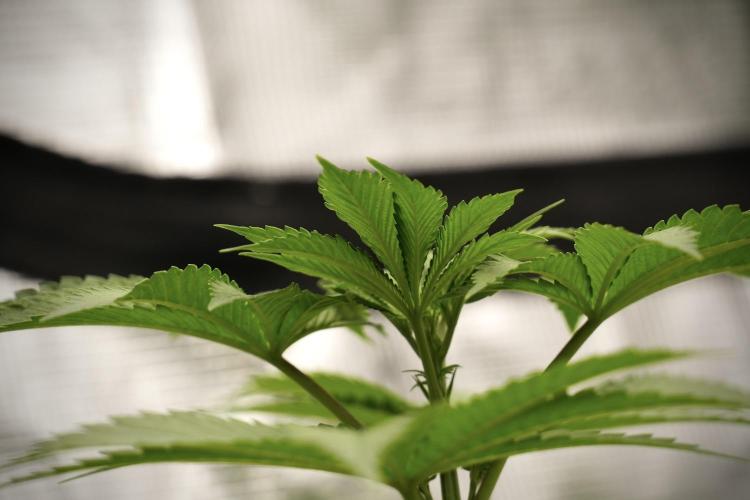
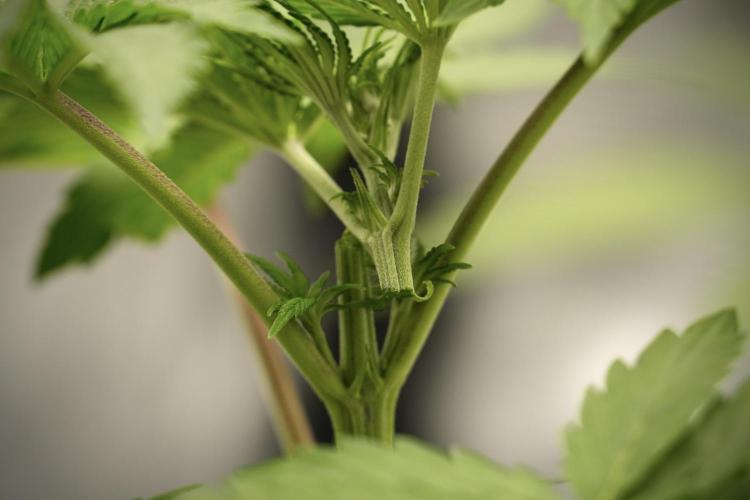
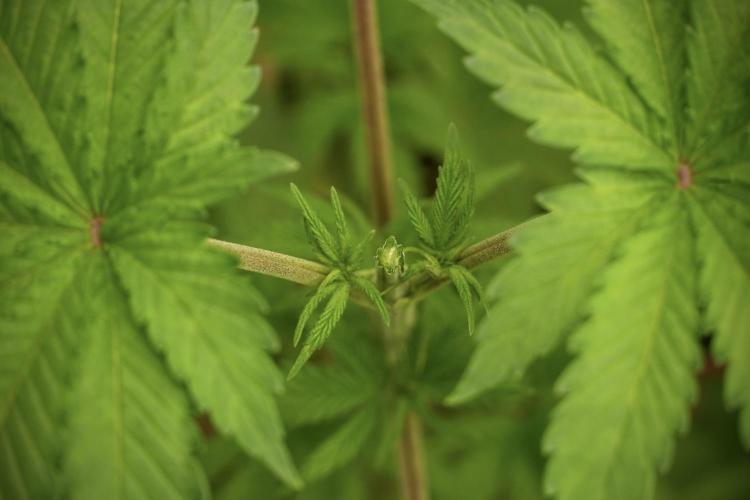
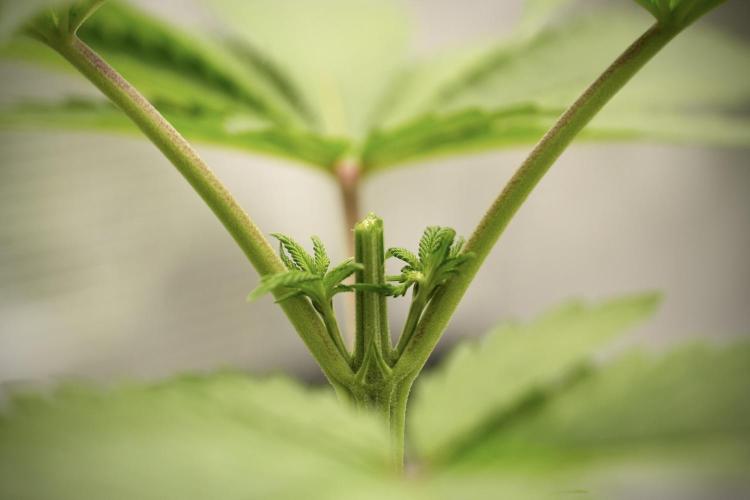
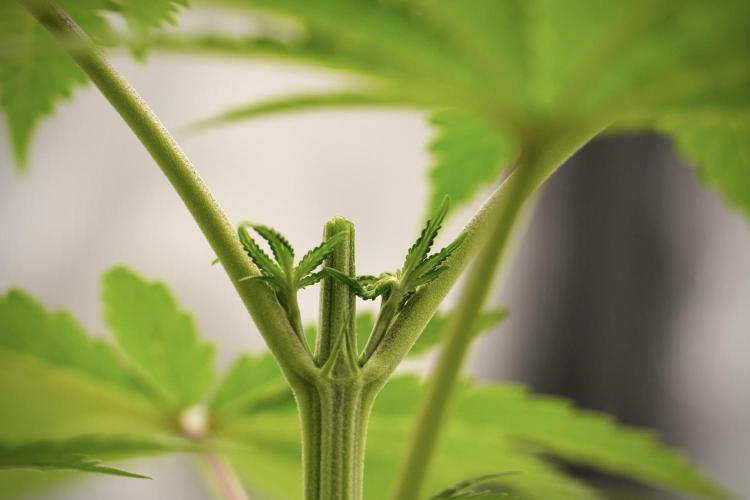
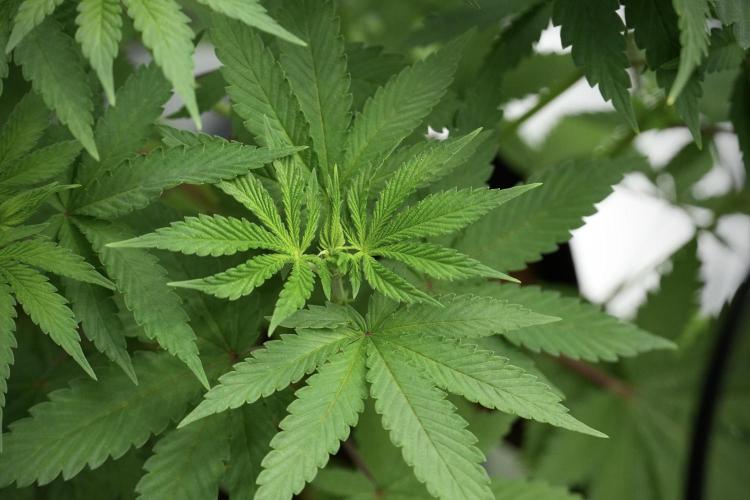
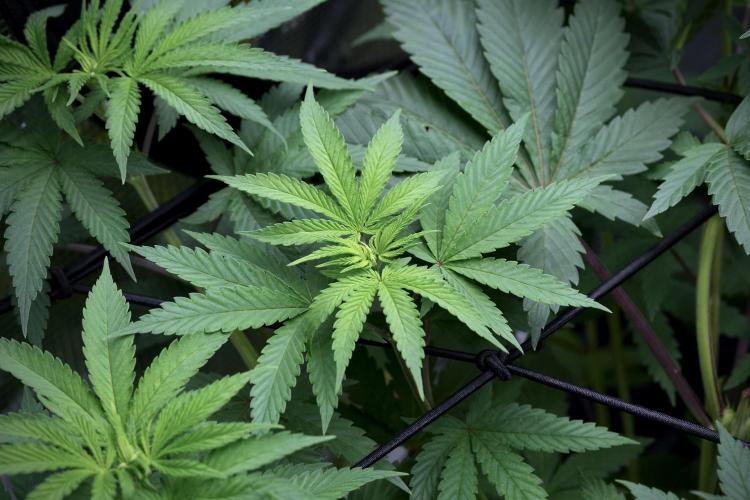
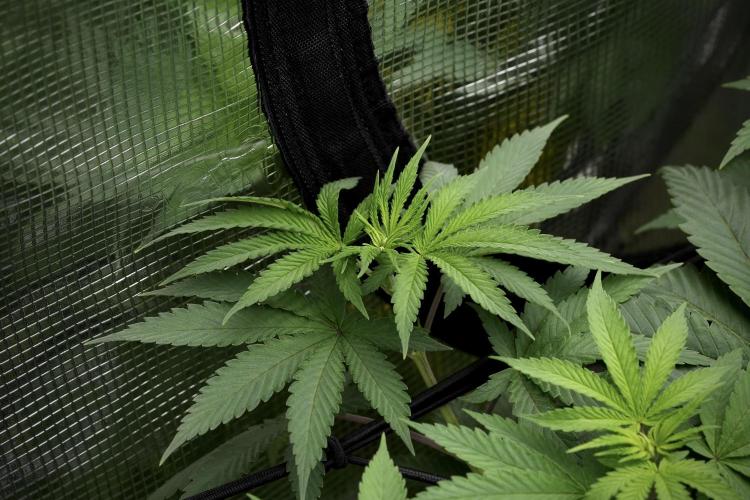
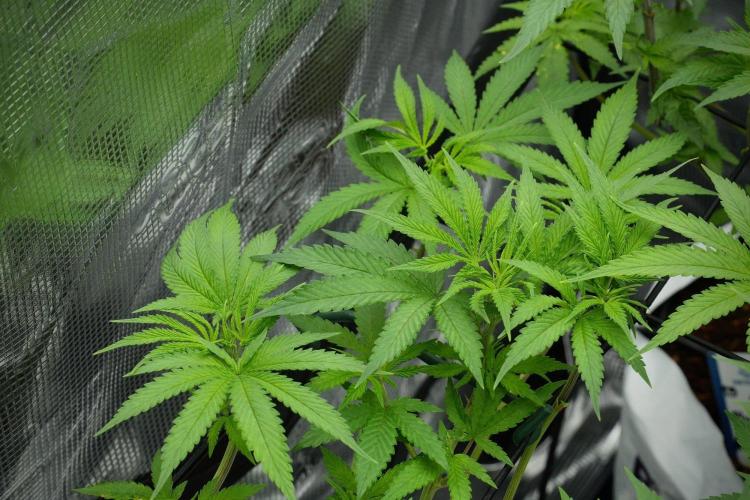
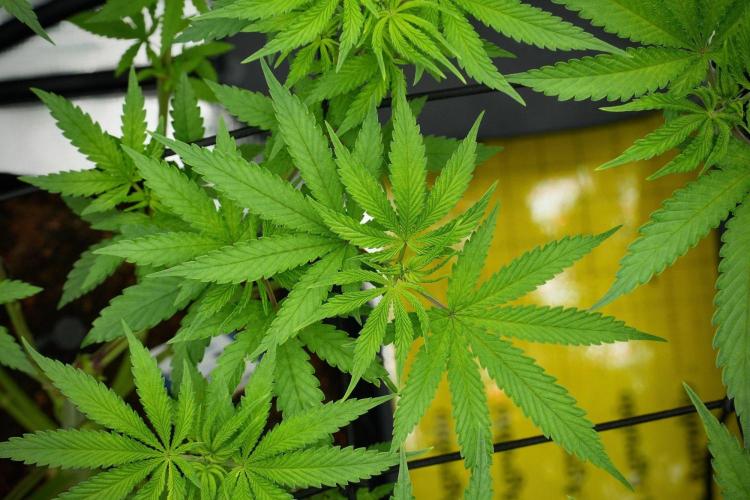
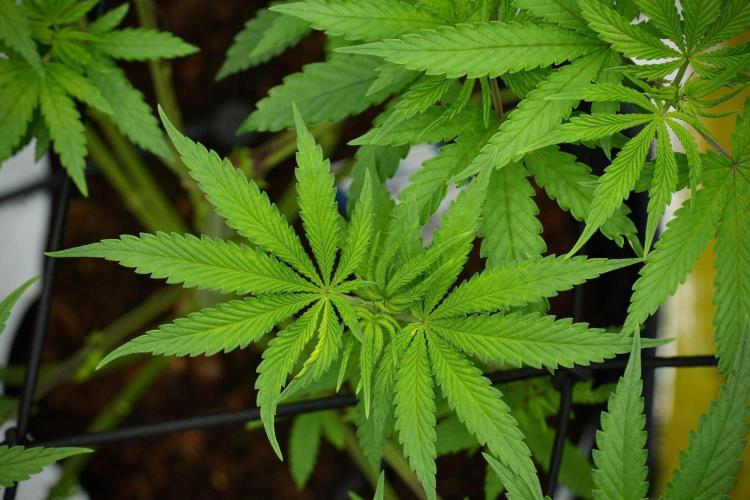
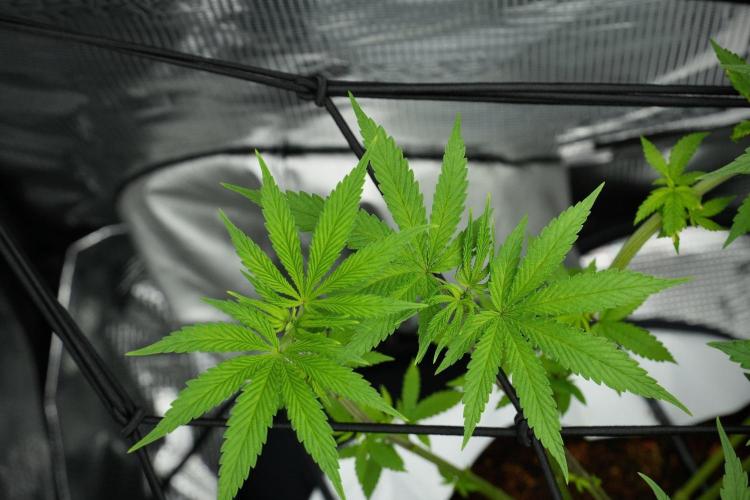
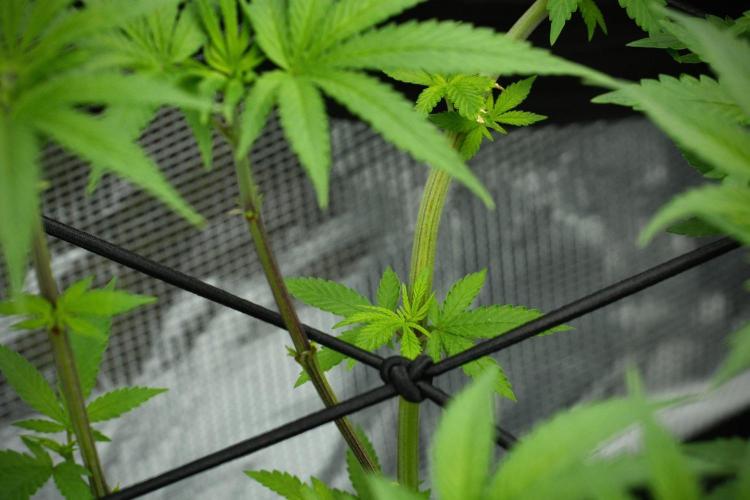
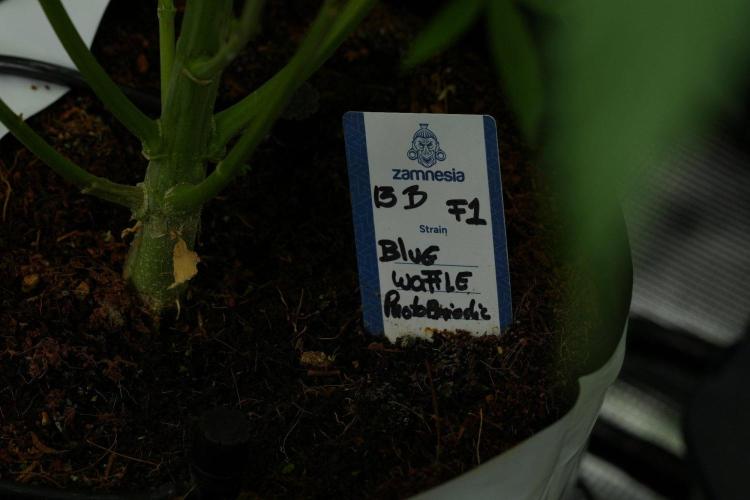
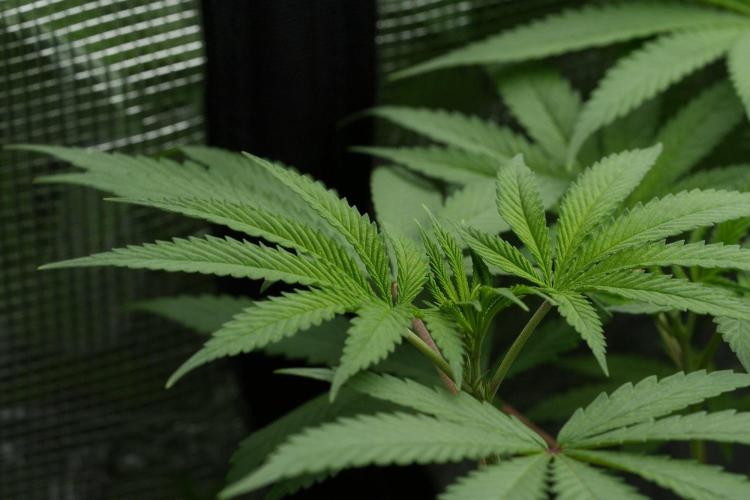
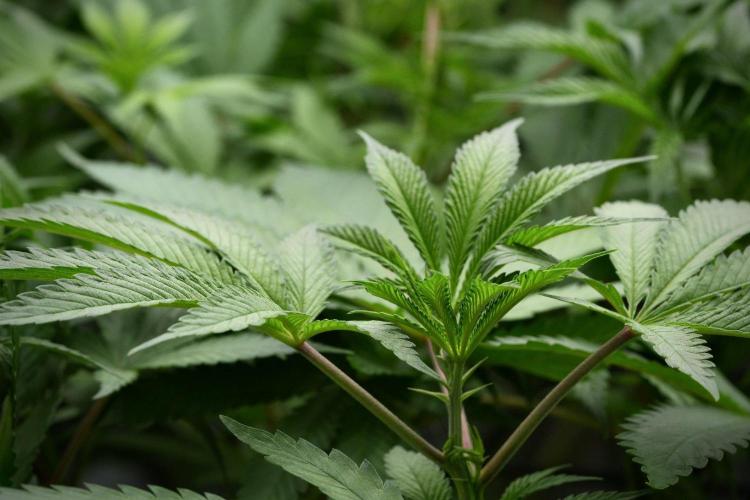
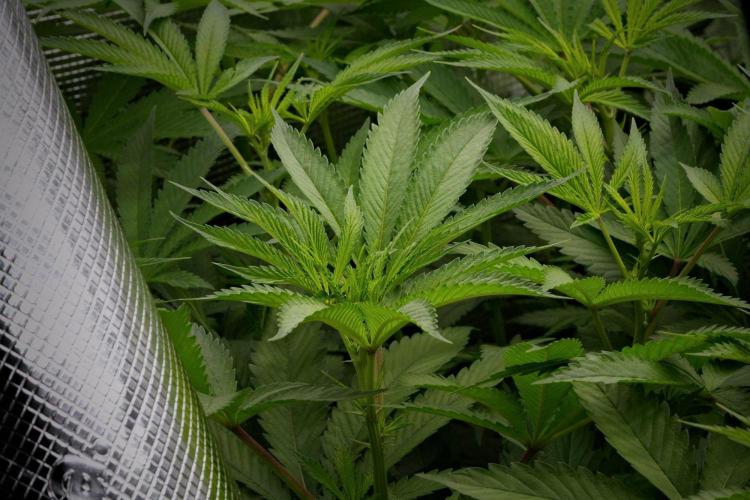
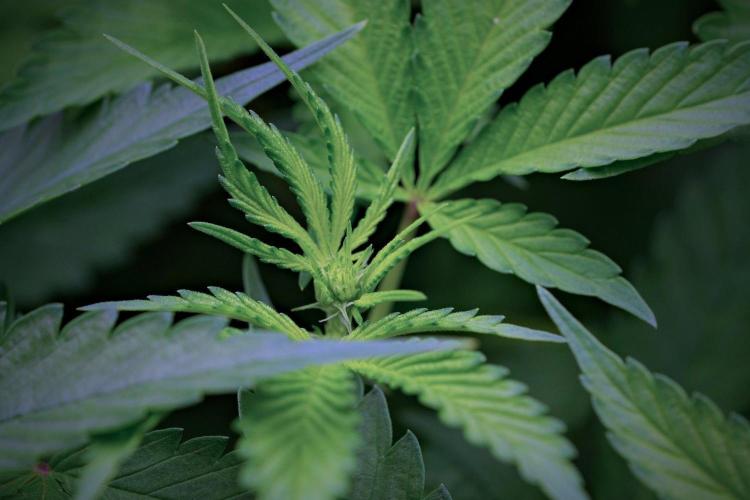
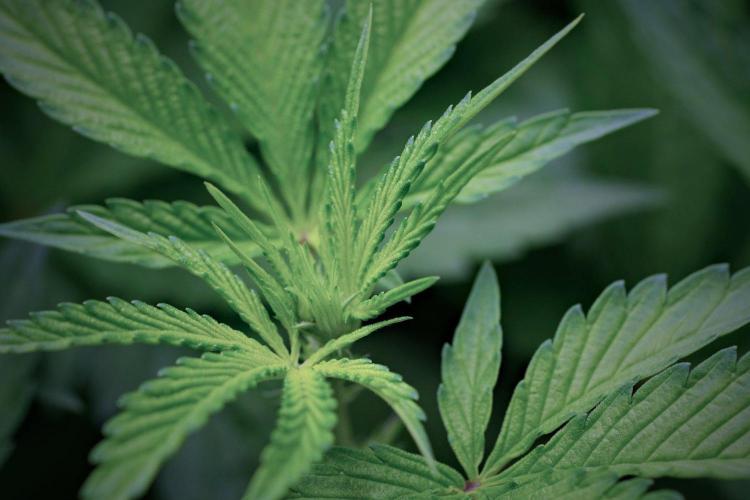
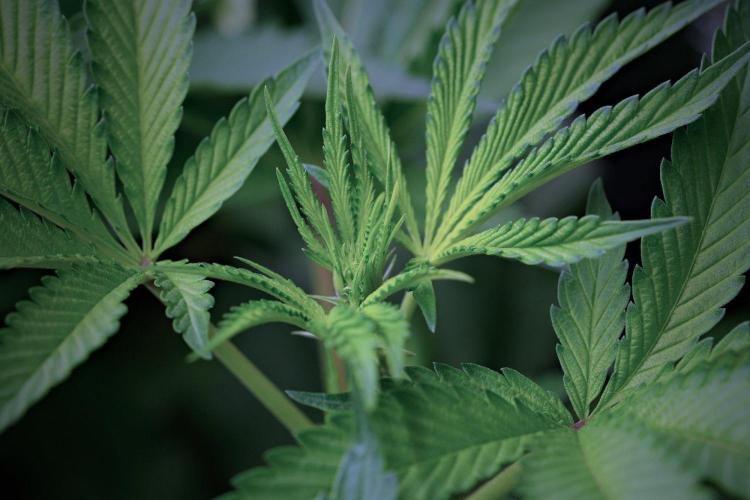
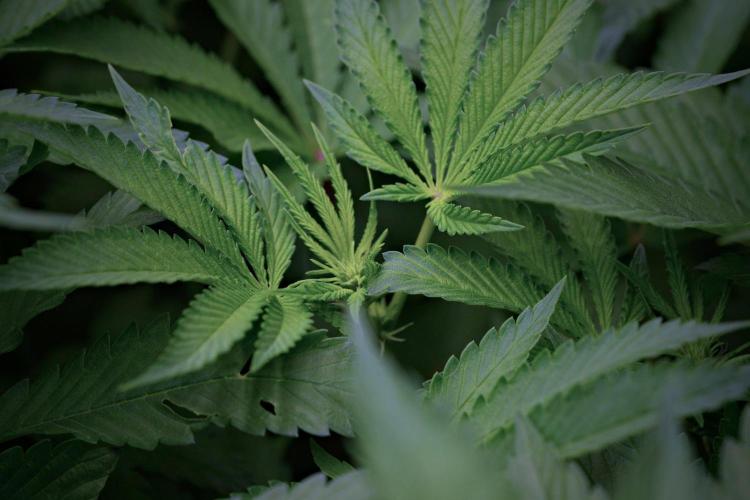
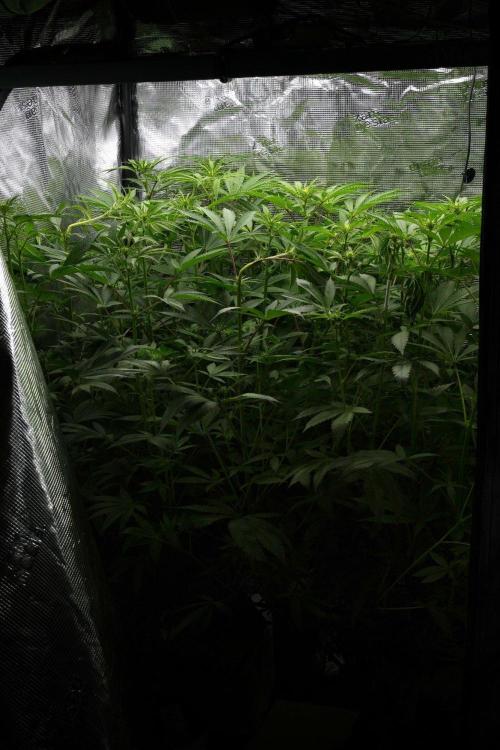
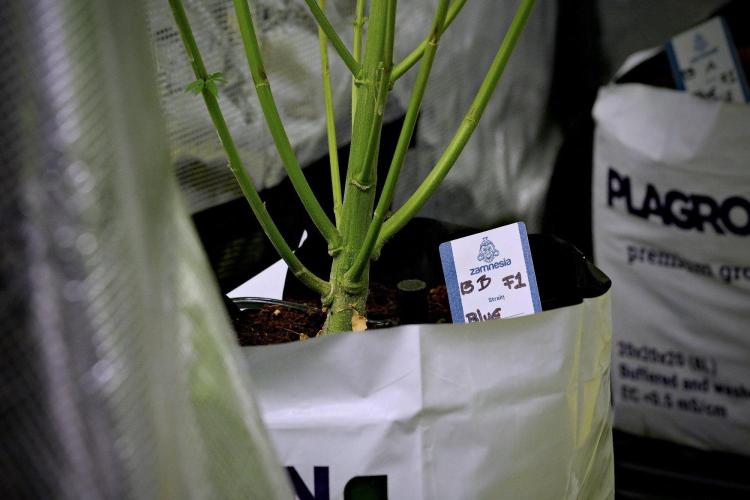
While Pheno A was the first seedling to emerge, today we focus on her sister, Blue Waffle F1 Pheno B.
One of the most fascinating aspects of growing cannabis is discovering that even when everything is identical, every seed still chooses its own path.
Same genetics.
Same environment.
Same grower.
Same soil.
Same equipment.
Yet every seed tells its own story.
And that's exactly why I decided to document each phenotype individually.
---
## A New Project Begins
This diary is part of a completely separate project from my ongoing 12/12-from-seed garden.
For this run, the objective is very different.
Rather than flowering from day one, these plants will be grown under a traditional vegetative schedule, allowing them to fully develop before any decisions are made regarding training or structure.
Current plans include:
- 18/6 light schedule
- Full vegetative development
- Potential Low Stress Training (LST)
- Potential topping
- Possible Scrog implementation
- Structural development observations
- Full seed-to-harvest documentation
At this stage, however, everything begins with germination.
---
## The Cannakan Germination Method
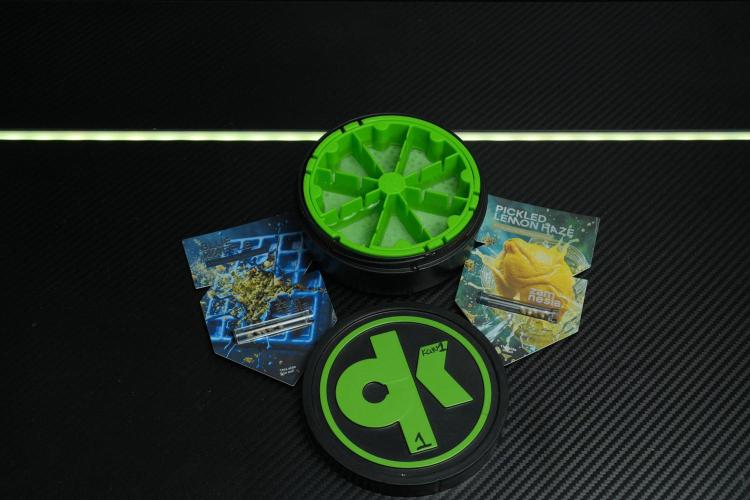
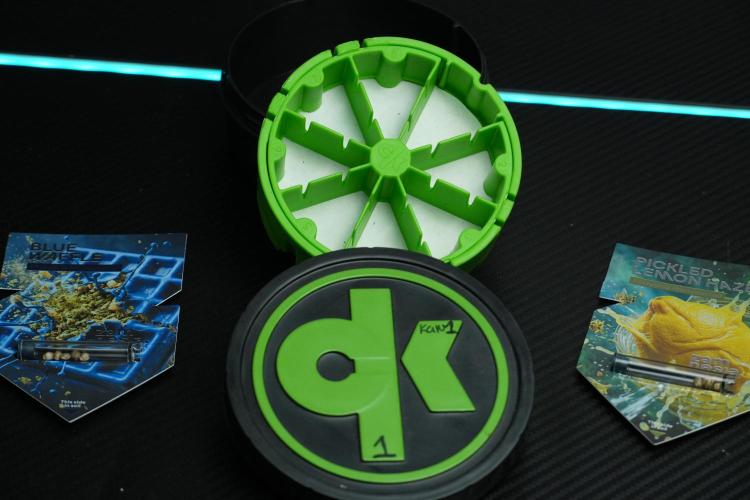
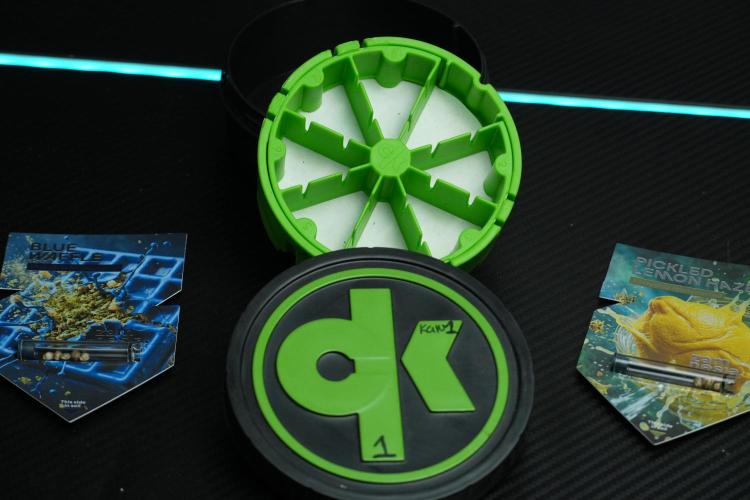
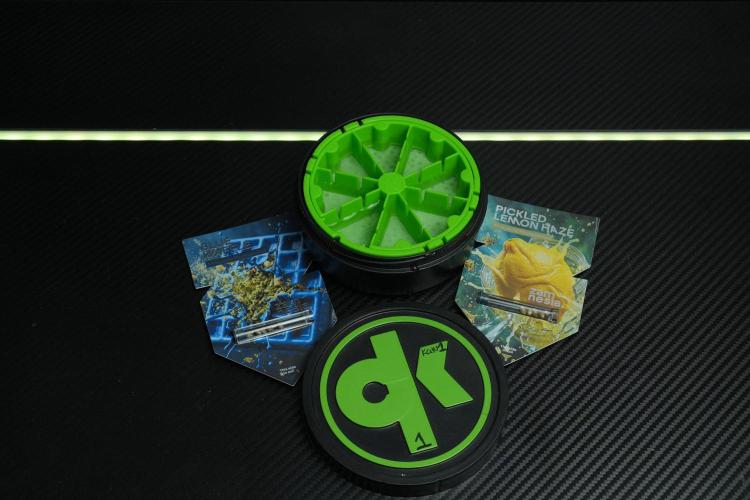
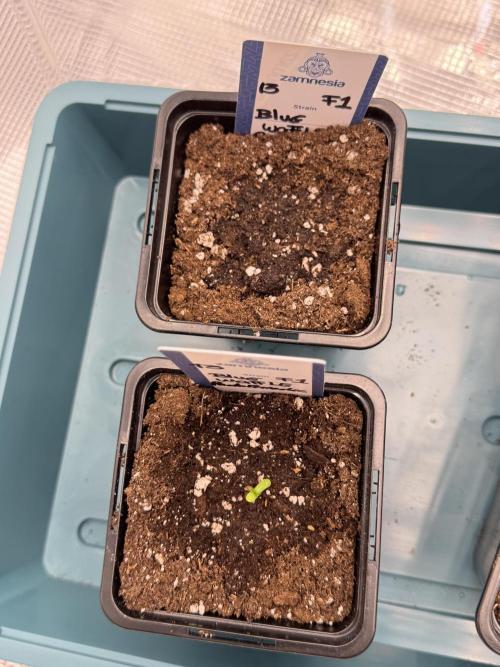
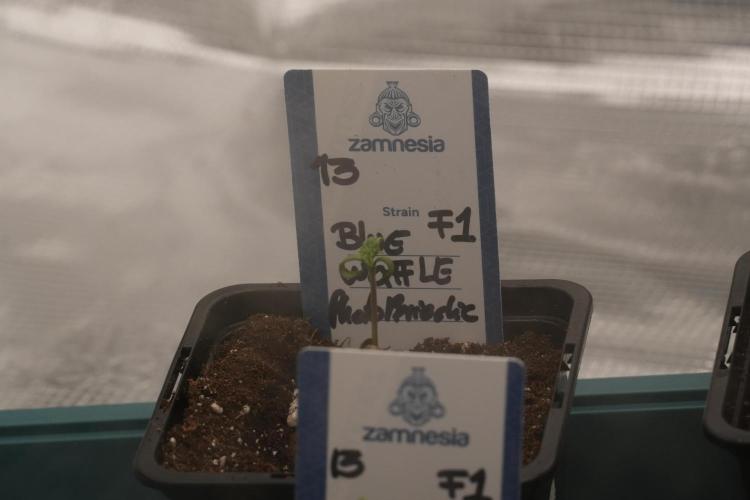
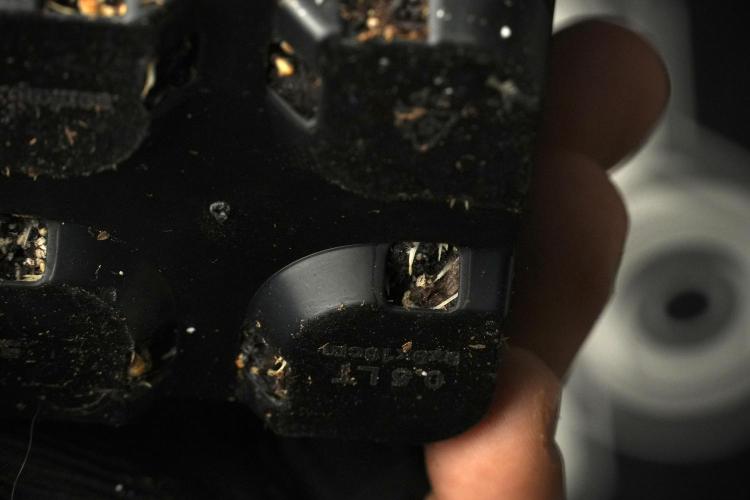
Like many of the plants in my garden, Blue Waffle F1 Pheno B began life inside the Cannakan germination system.
The process remains intentionally simple.
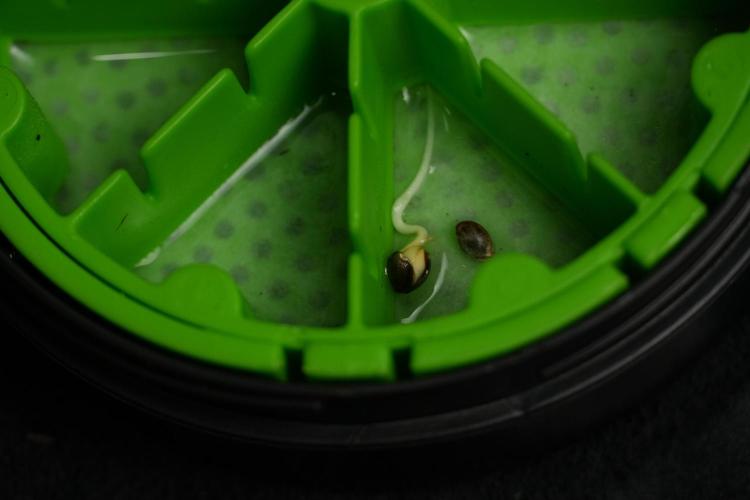
The seed was placed into the system using only plain water.
No nutrients.
No additives.
No stimulants.
Just water.
After approximately 24 hours of soaking, most of the water was removed, leaving only enough moisture to maintain ideal germination conditions.
The seed quickly responded.
A healthy taproot emerged and shortly afterward it was time to move into soil.
Simple.
Clean.
Effective.
Exactly how I like germination to be.
---
## Why Only Water?
One question that often appears during germination is:
"Why not feed the seed immediately?"
The answer is surprisingly simple.
The seed already contains everything required for the earliest stage of life.
Inside the shell are all the energy reserves needed to establish roots and begin early development.
At this stage I prefer allowing nature to do exactly what nature designed the seed to do.
The goal is not to feed the plant.
The goal is simply to wake it up.
Water is enough.
The rest is already stored inside.
---
## From Germination To Soil
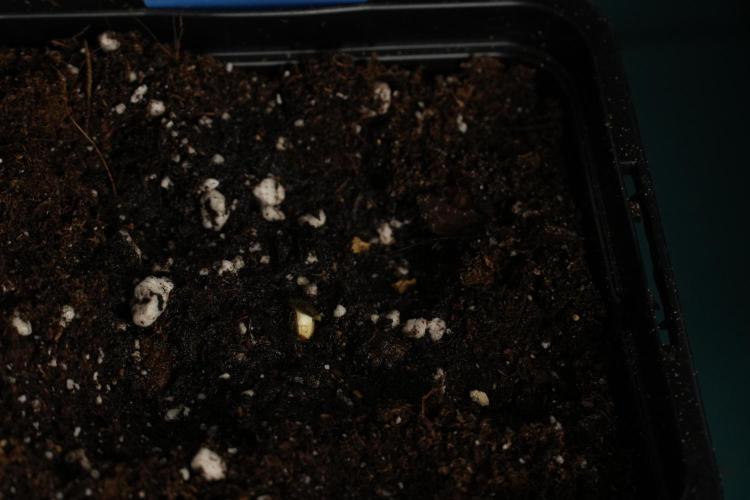
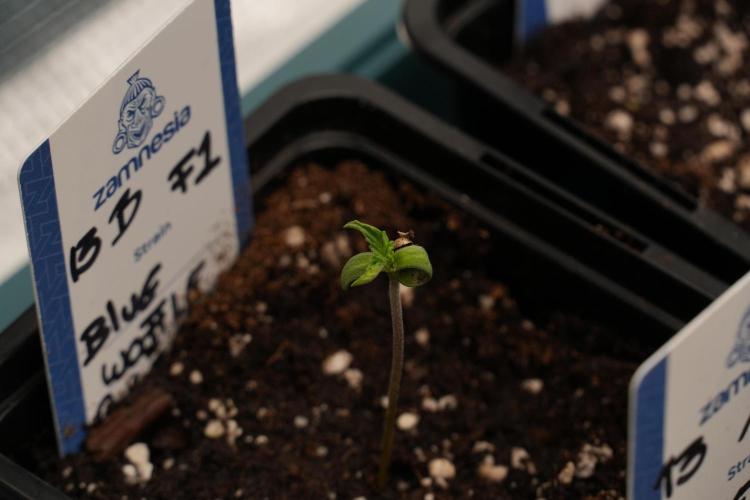
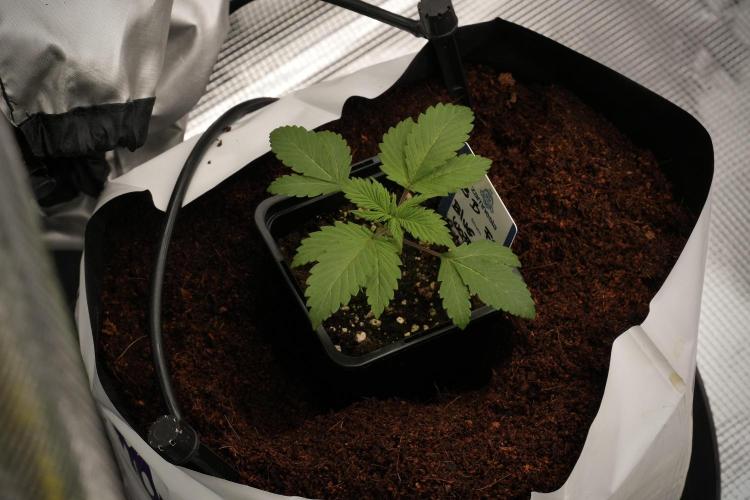
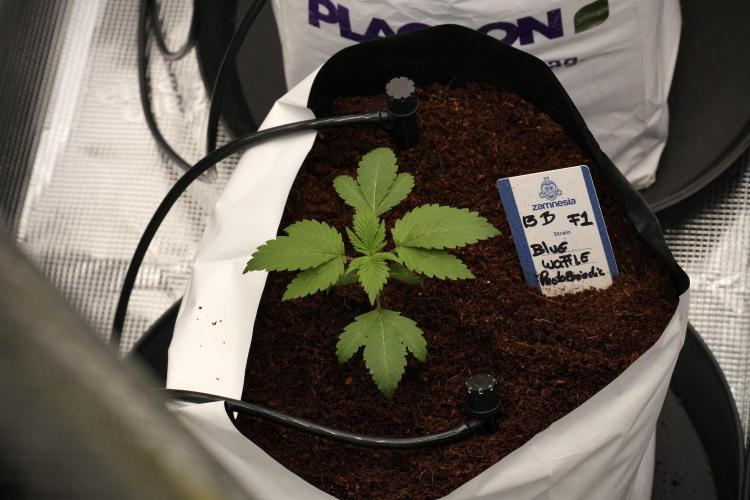
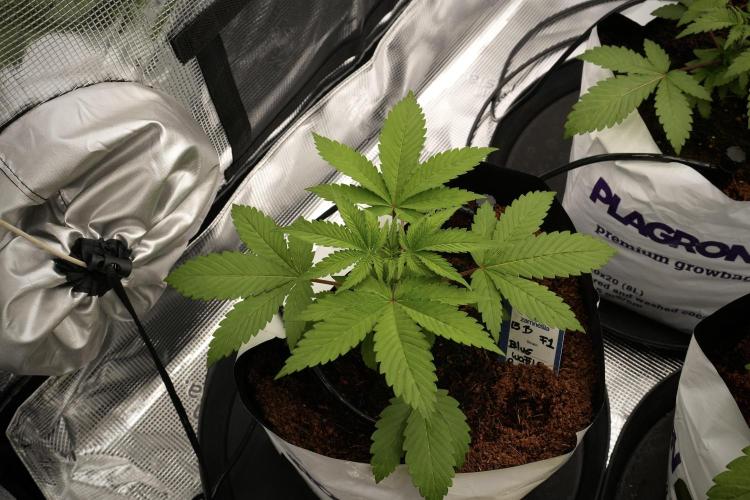
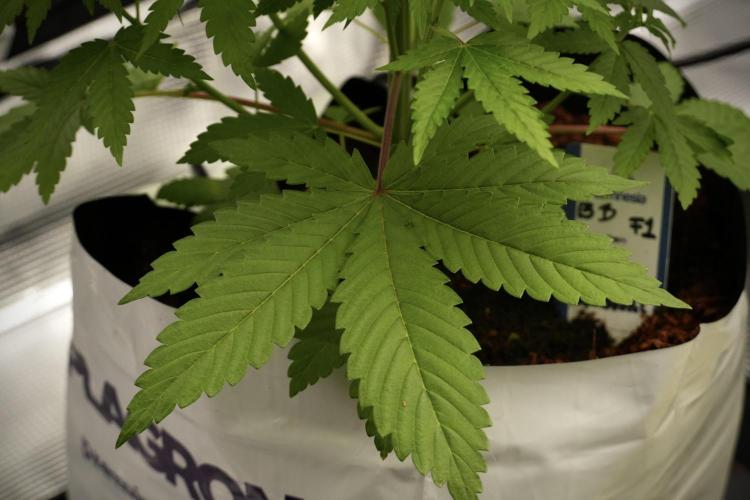
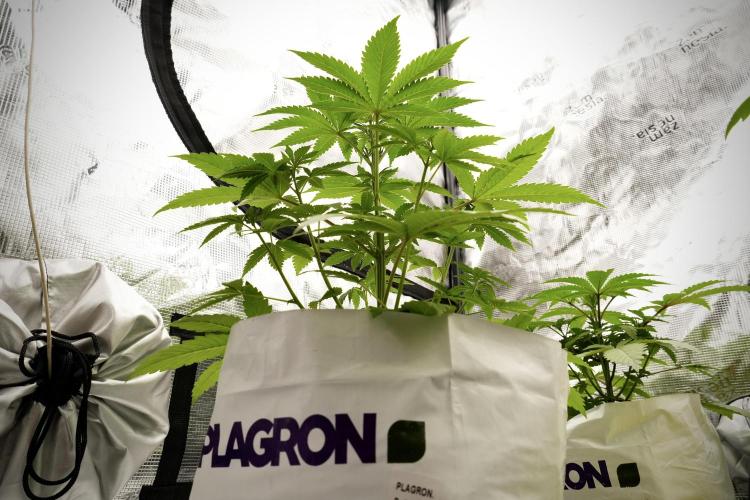
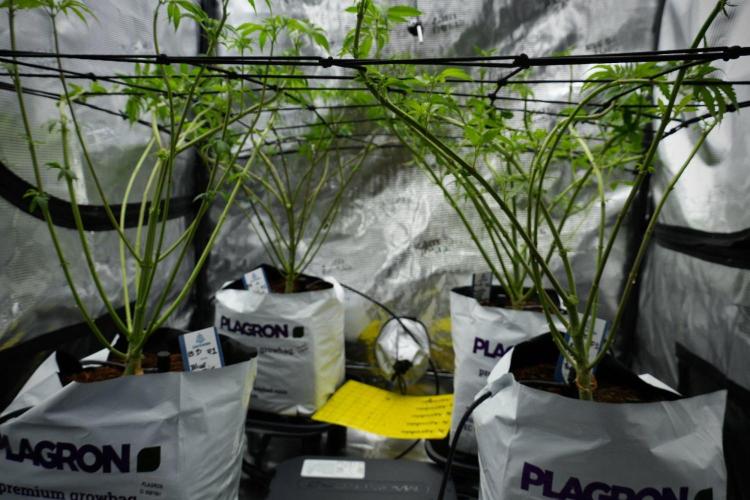
Once a healthy taproot appeared, Blue Waffle F1 Pheno B was transferred directly into Plagron Lightmix.
This substrate has become a favorite starting medium because of its light texture, excellent aeration, and forgiving nature during early development.
The seed settled into its new home and quickly began establishing roots.
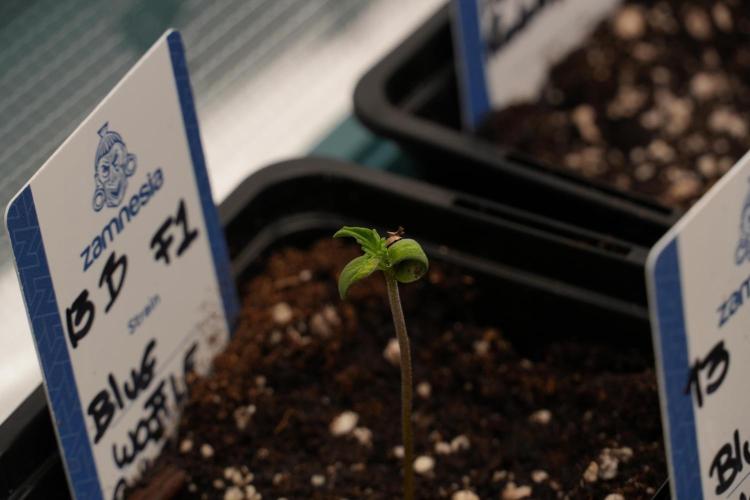
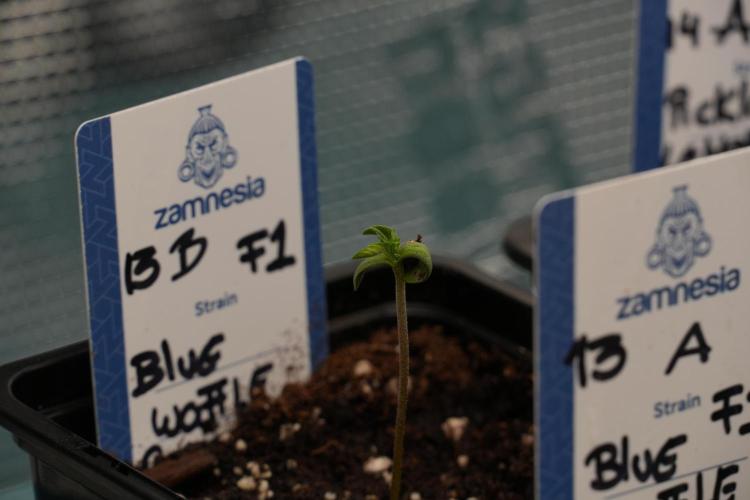
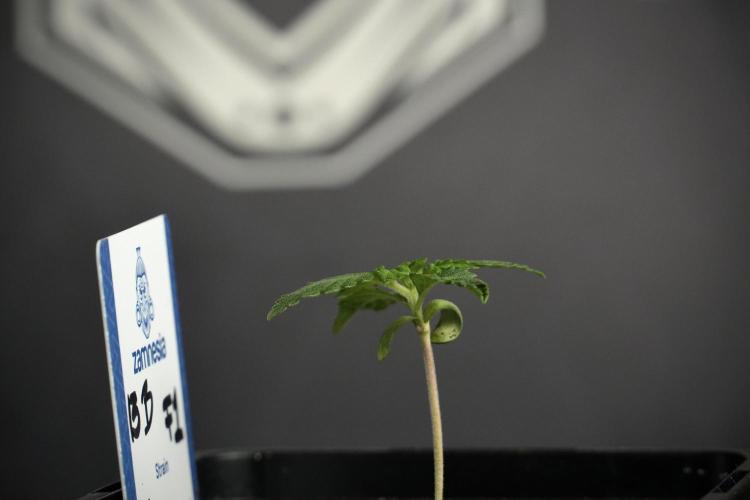
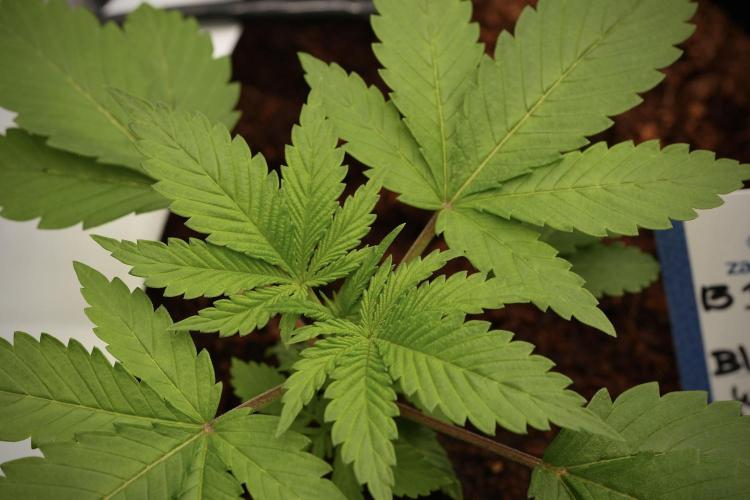
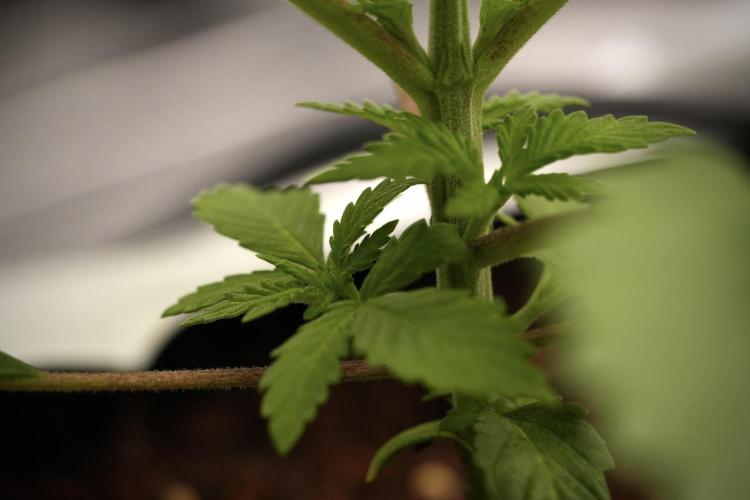
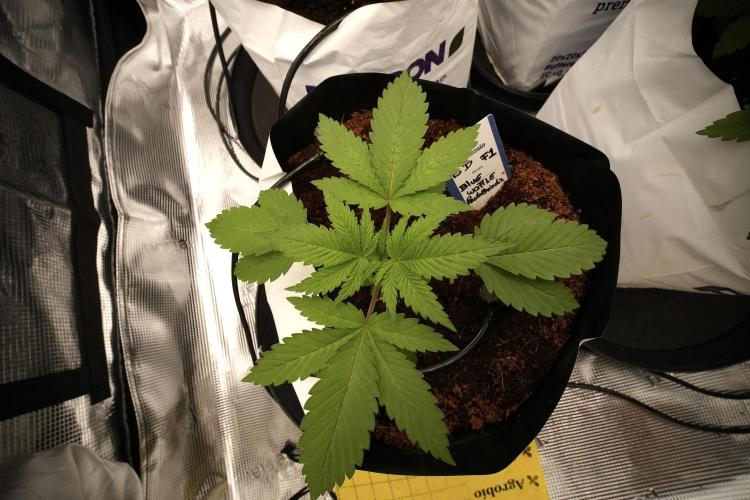
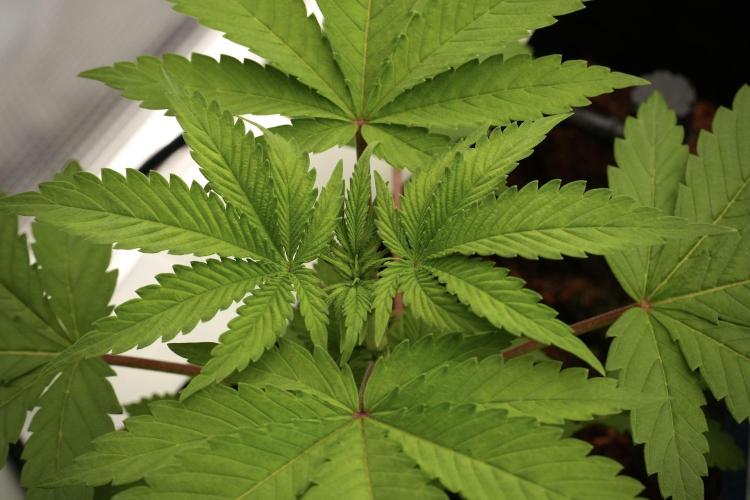
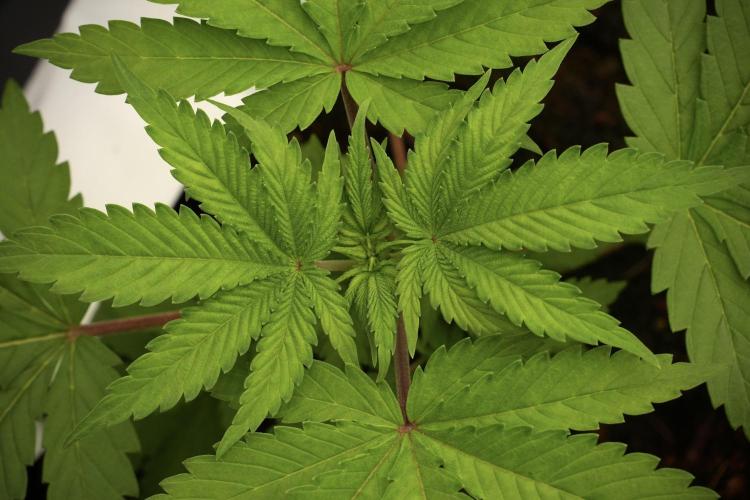
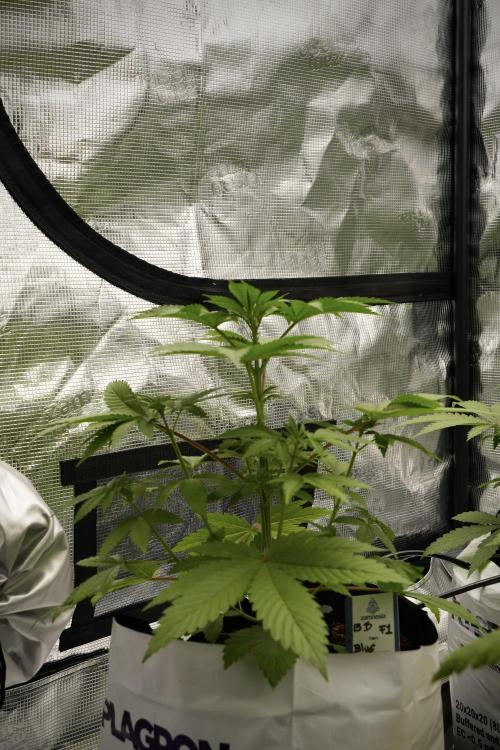
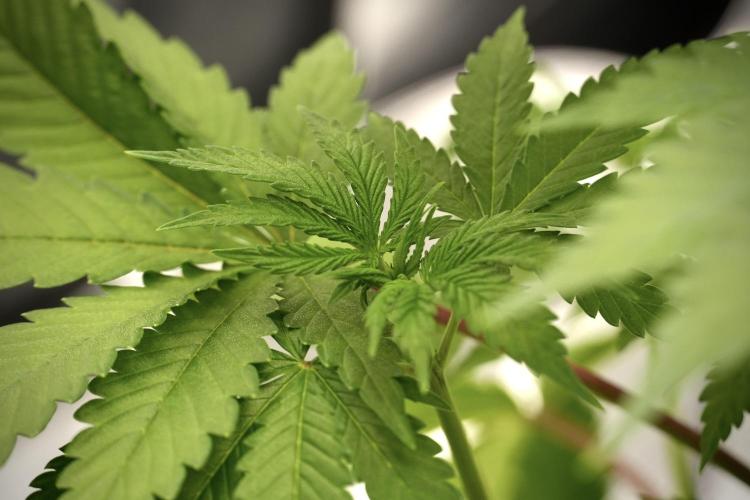
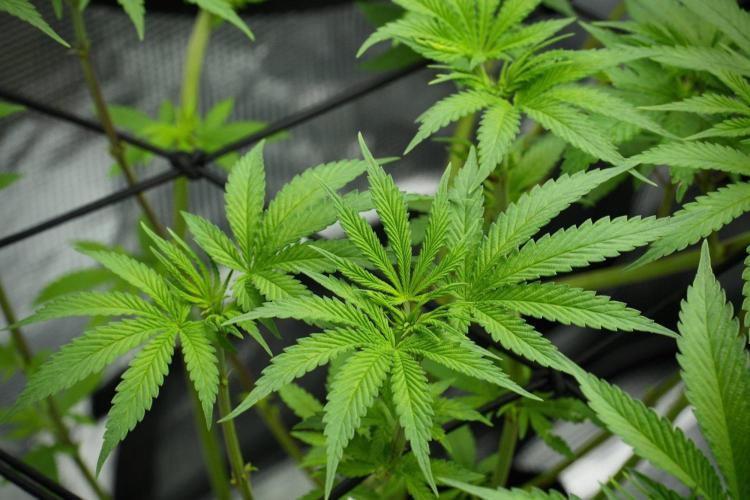
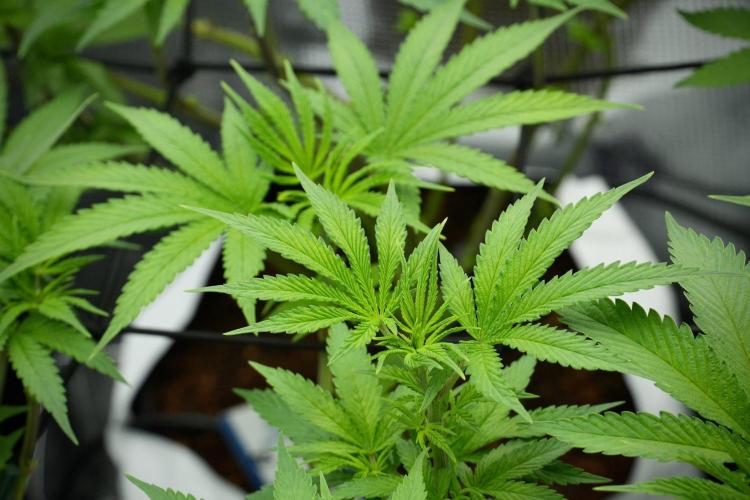
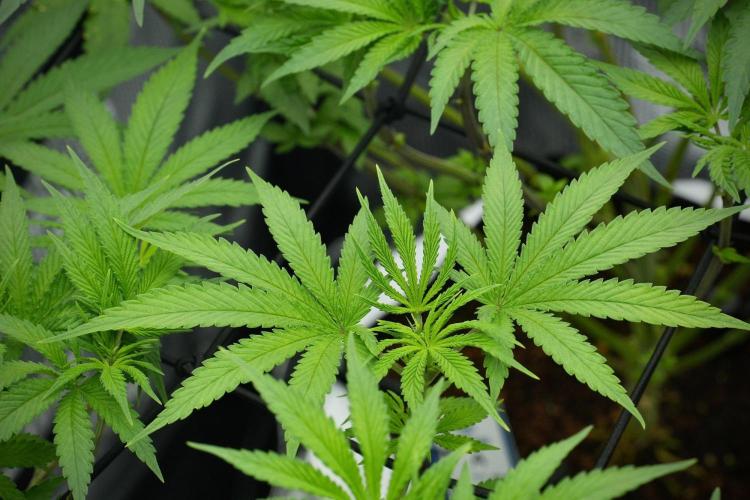
Although slightly slower than her sister, Pheno B emerged successfully and showed healthy early vigor from the very beginning.
Sometimes one seed simply likes to take an extra moment before introducing itself.
That doesn't make it weaker.
It simply means it's following its own schedule.
---
## Why Use A Humidity Dome?
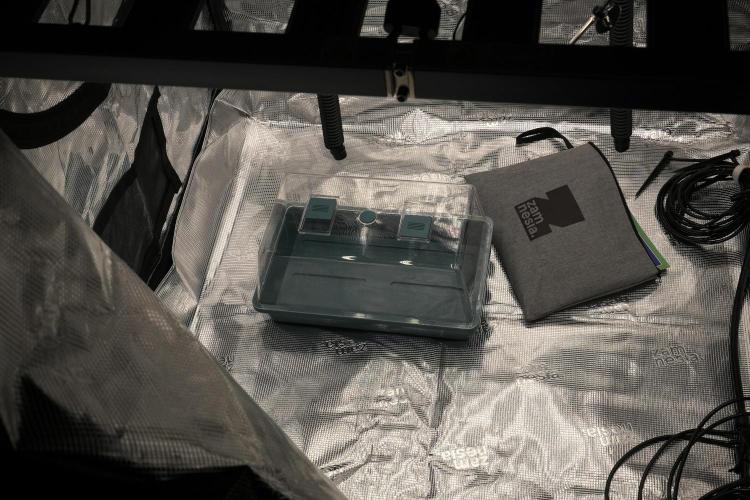
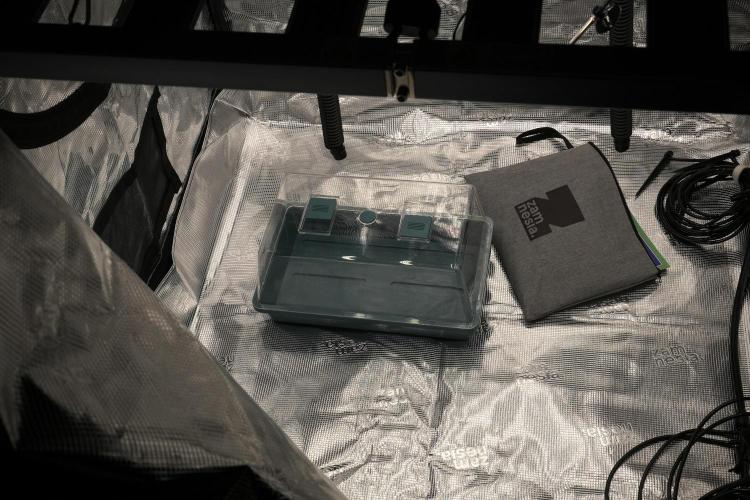
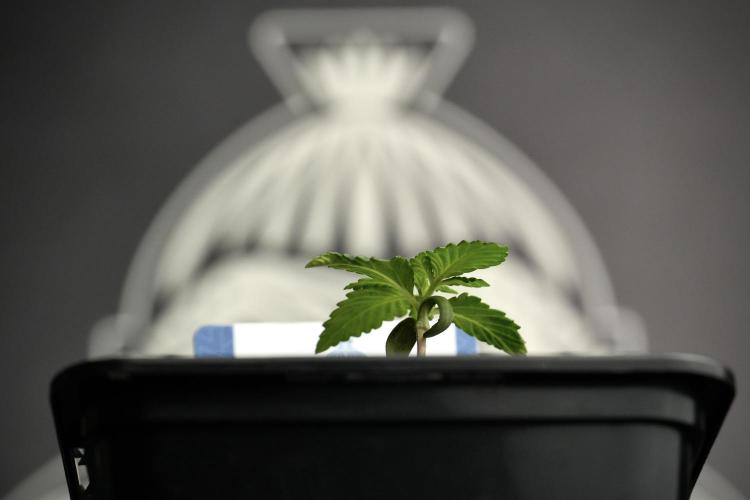
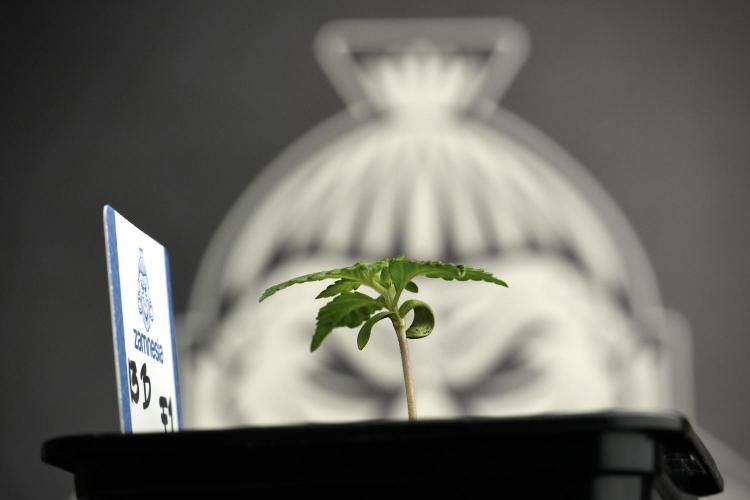
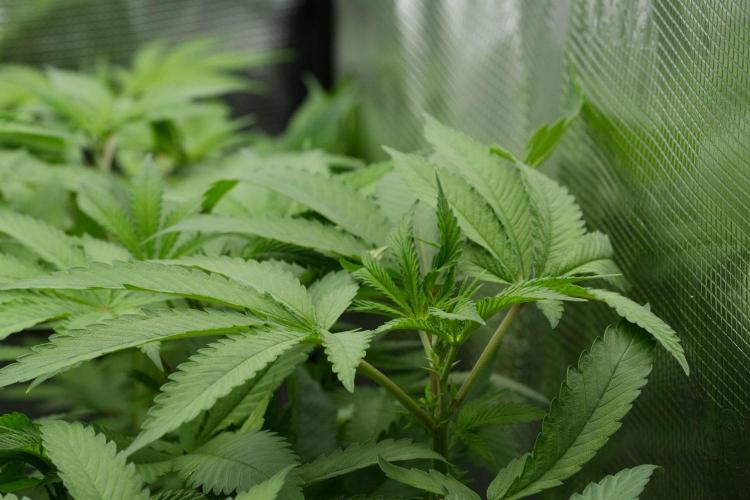
During the first few days after emergence, both Blue Waffle seedlings spent time inside a humidity dome.
Young seedlings have extremely small root systems and therefore limited access to water.
Maintaining elevated humidity around the plant helps reduce moisture loss through the leaves while the root system develops below the surface.
The humidity dome is not intended as a permanent environment.
It is simply a temporary tool designed to support the plant during one of the most delicate stages of its life.
As root development improves, the dome is removed and the plant begins adapting to the environment it will experience throughout the remainder of the grow.
The goal is adaptation.
Not dependence.
---
## Building The New Zamnesia Grow Tent Kit
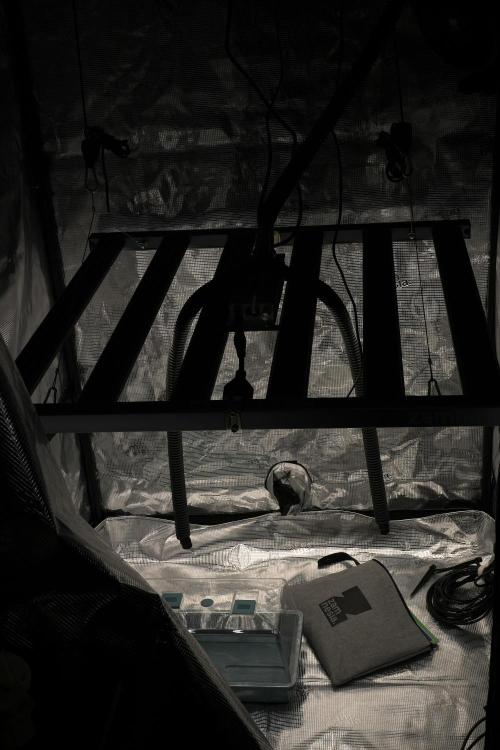
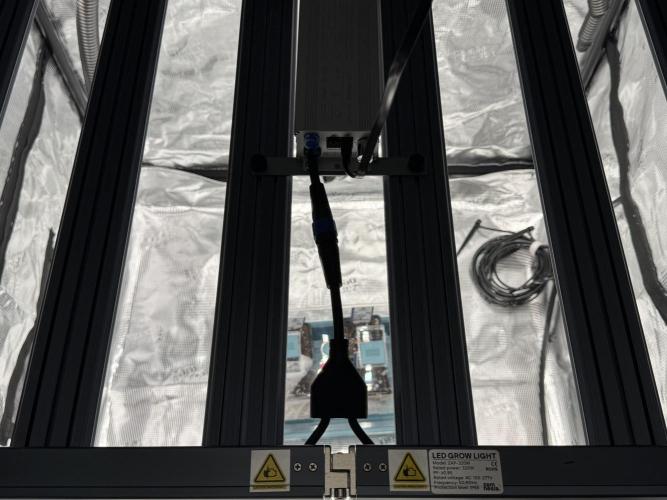
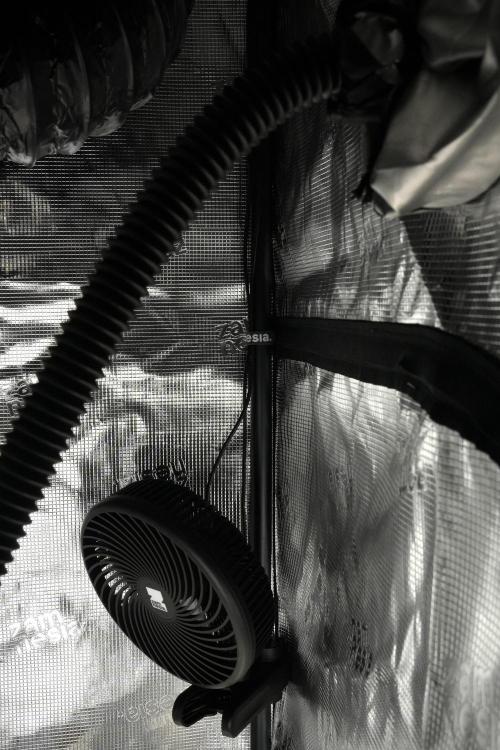
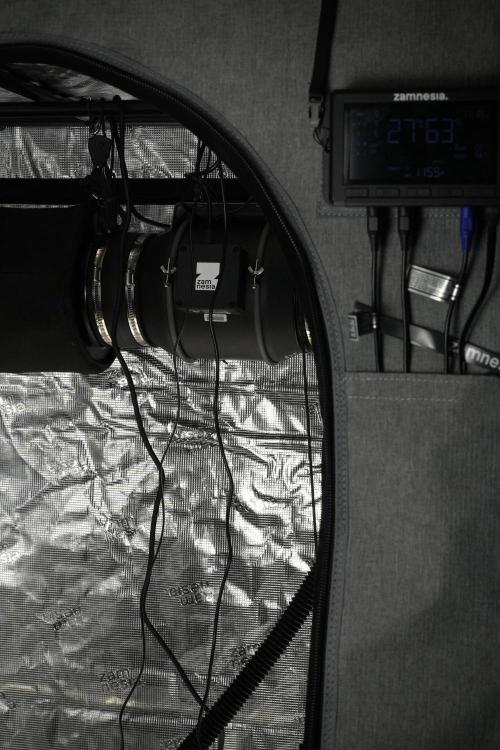
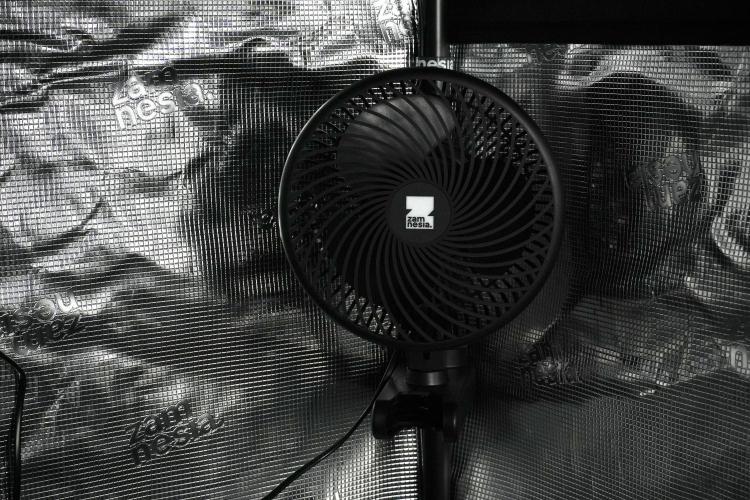
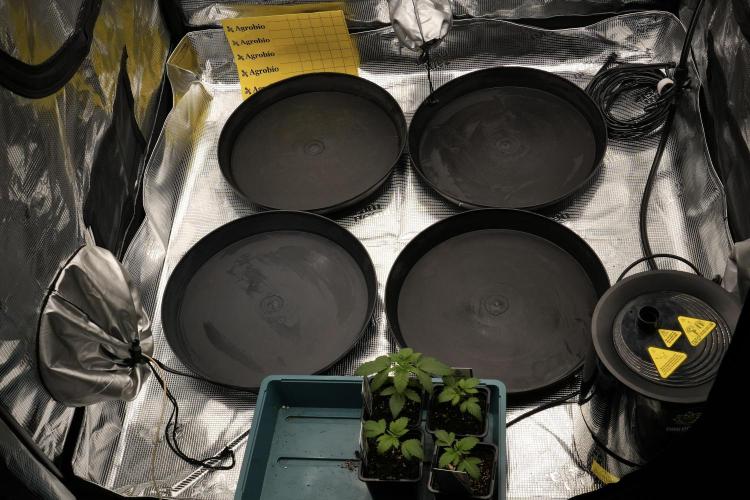
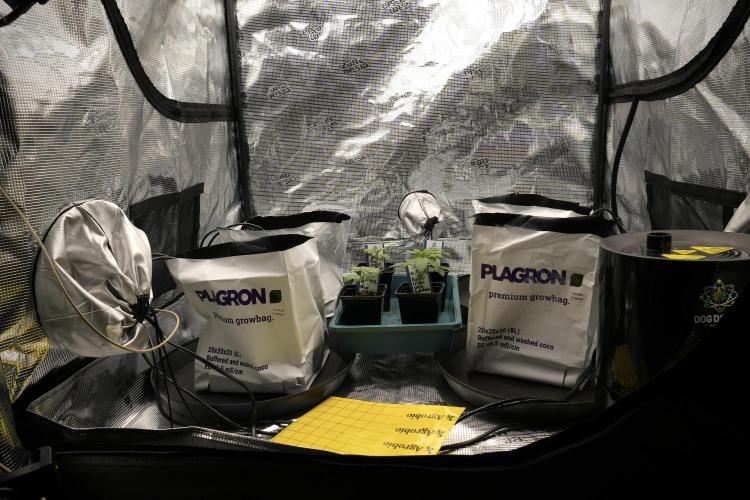
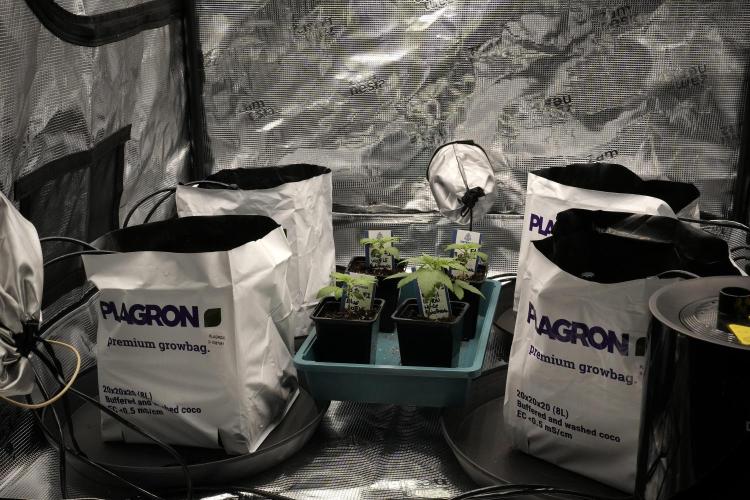
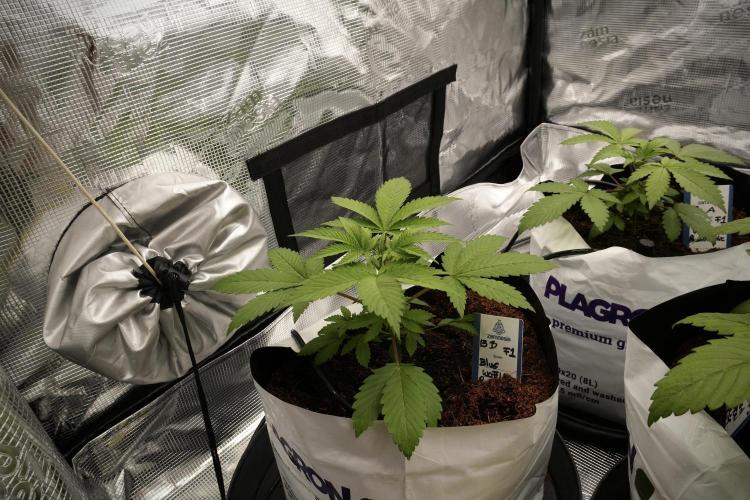
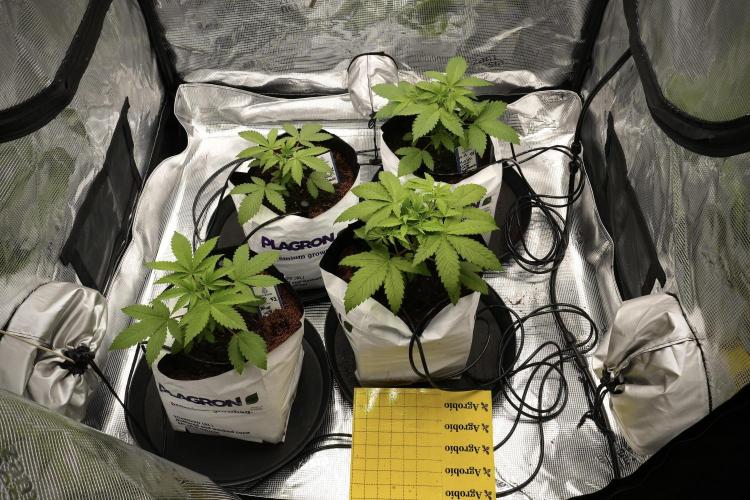
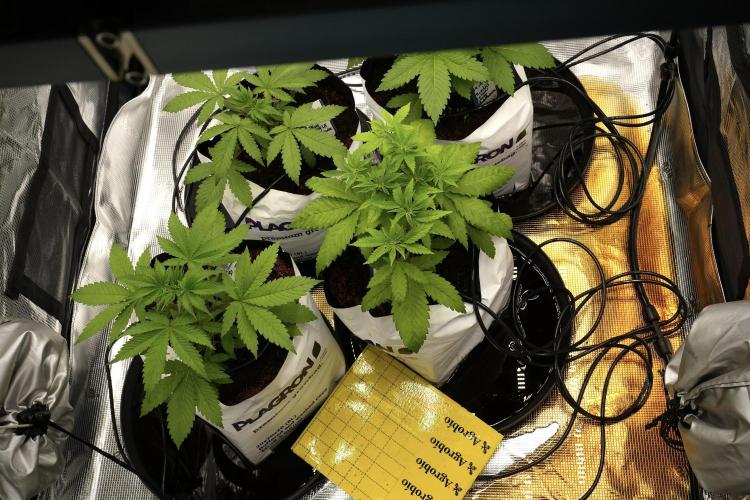
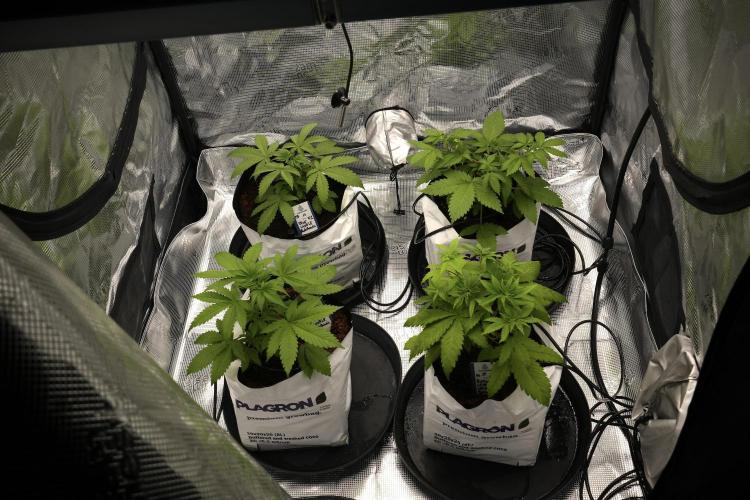
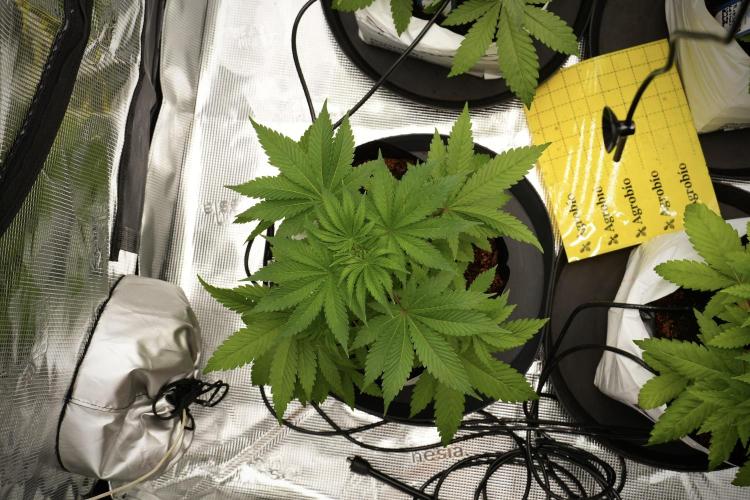
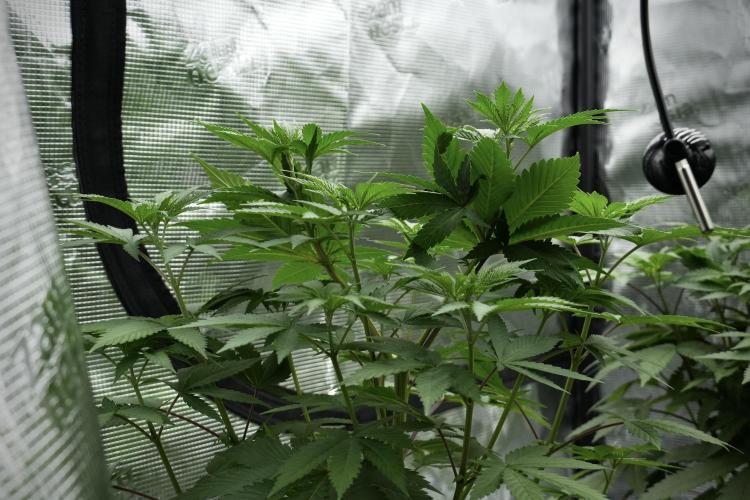
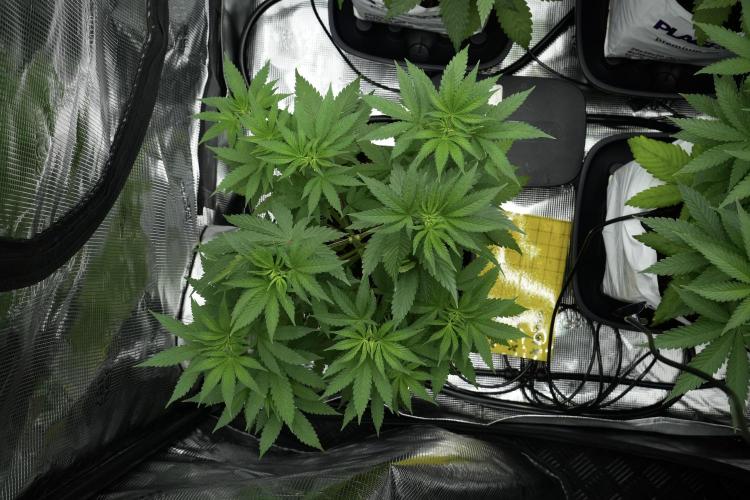
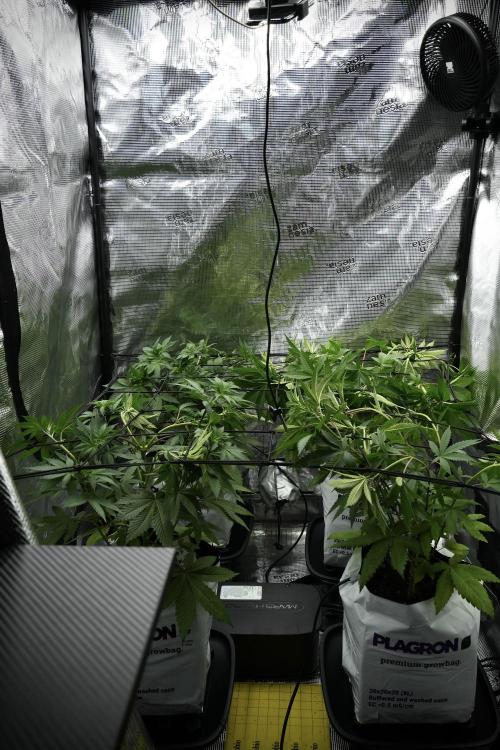
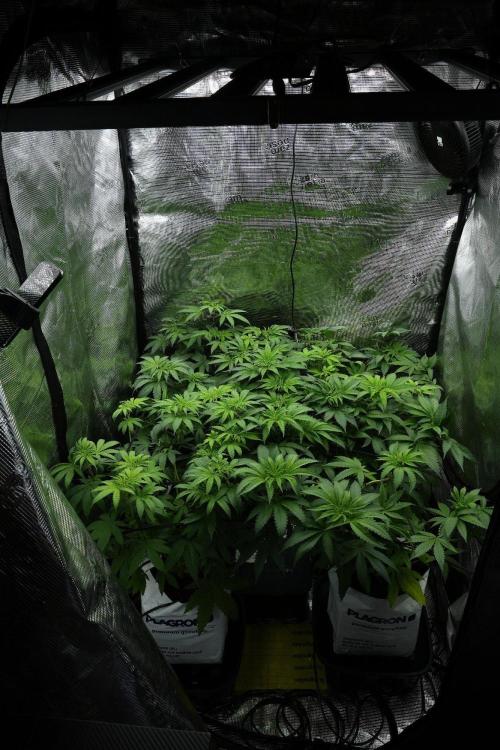
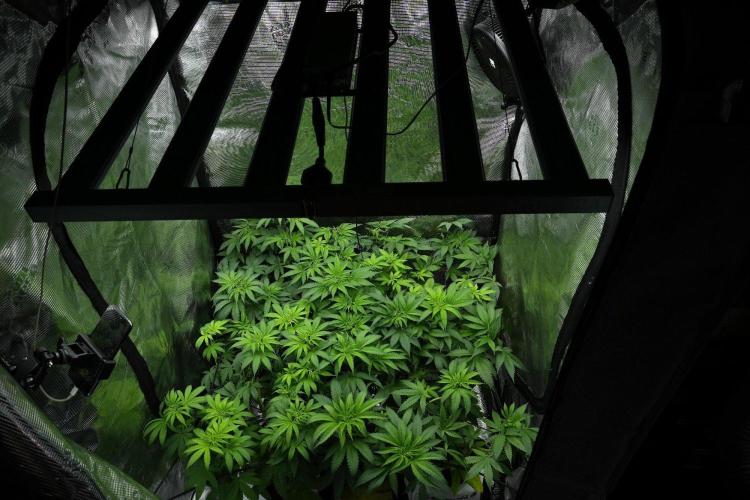
One of the most exciting parts of this project was assembling the brand-new Zamnesia Grow Tent Kit that will be used throughout the entire grow cycle.
The entire system was assembled by one person without assistance.
Even including:
- Tent assembly
- LED installation
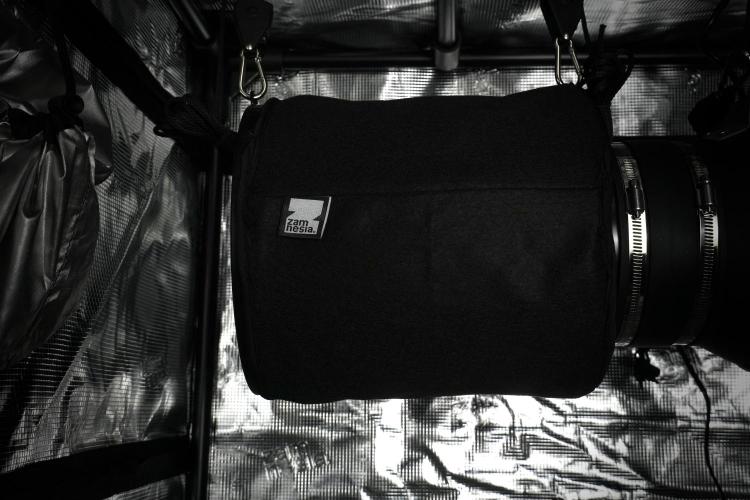
- Carbon filter setup
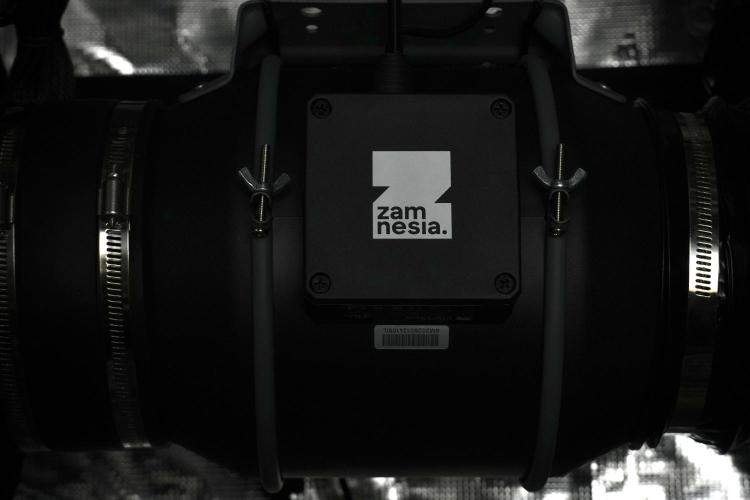
- Inline fan installation
- Ducting
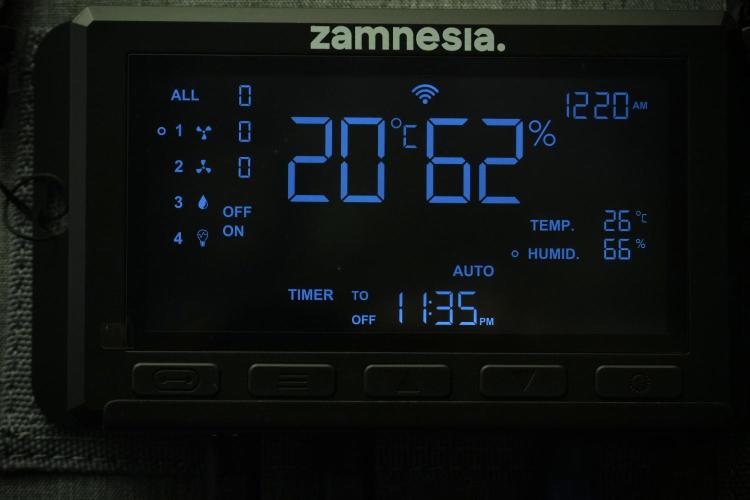
- Controller setup
- Cable management
Everything was fully operational in less than an hour.
The instructions included with the kit are excellent and very beginner friendly.
In my particular grow space I needed to make a few adjustments and perform some creative positioning to fit everything exactly how I wanted, but the process remained straightforward.
The first impression was extremely positive.
Build quality feels excellent.
Materials feel solid.
Assembly was simple.
And now comes the fun part:
Putting everything to the test.
---
## What's Included In The Kit?
This project is being grown entirely using the Zamnesia Grow Tent Kit.
The package includes:
- Grow Tent 100×100×200 cm
- Phytonaut LED Grow Light 320W
- Inline Duct Fan 150 mm
- Carbon Filter Air Purifier 150 mm
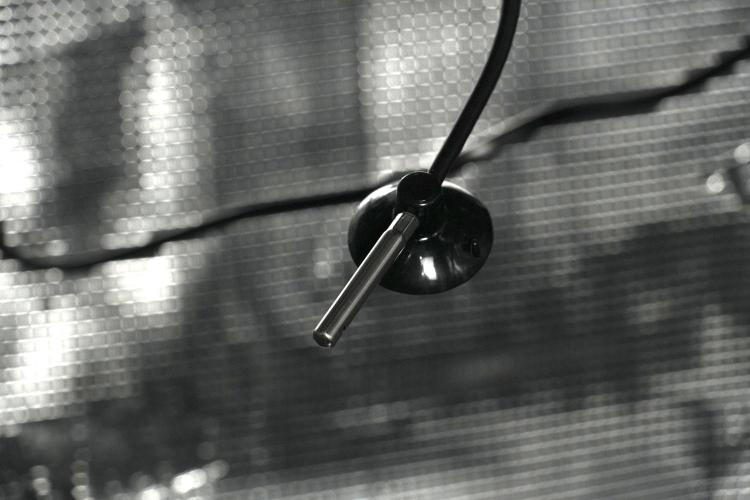
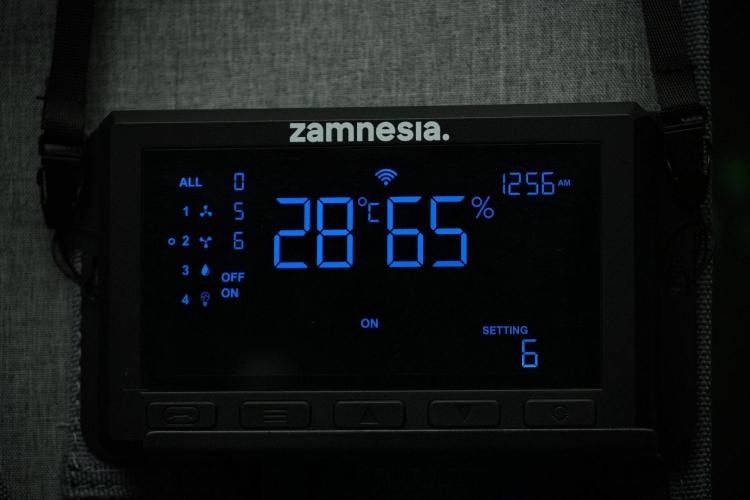
- Grow Environment Controller
- Grow Tent Clip Fan
- Flexible Ducting
- 24-Hour Timer
- Rope Ratchet Hangers
- Velcro Cable Management Accessories
Everything currently operating inside the tent comes directly from this kit.
No substitutions.
No upgrades.
No modifications.
This allows a genuine evaluation of the complete system exactly as supplied.
---
## Environmental Conditions
For this first week, conditions remained intentionally gentle.
Using a PAR meter, light intensity was measured at approximately:
~200 PPFD
Young seedlings simply do not require intense lighting.
The objective during this stage is healthy establishment rather than rapid growth.
Environmental conditions remained stable throughout the week, allowing both seedlings to focus their energy on root development and early growth.
The response was exactly what I hoped to see.
Healthy posture.
Healthy color.
Steady progression.
And no signs of stress.
---
## First Impressions Of Blue Waffle F1 Pheno B
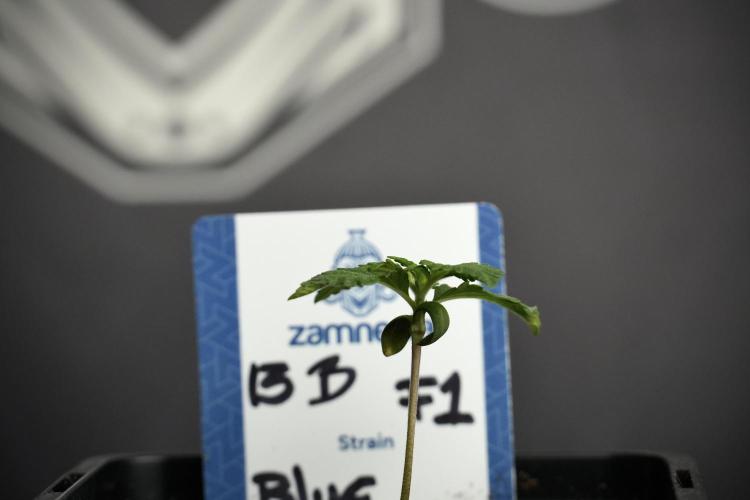
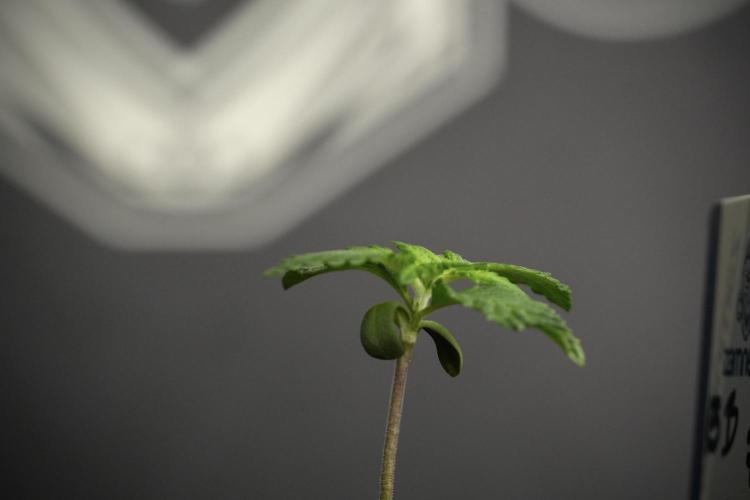
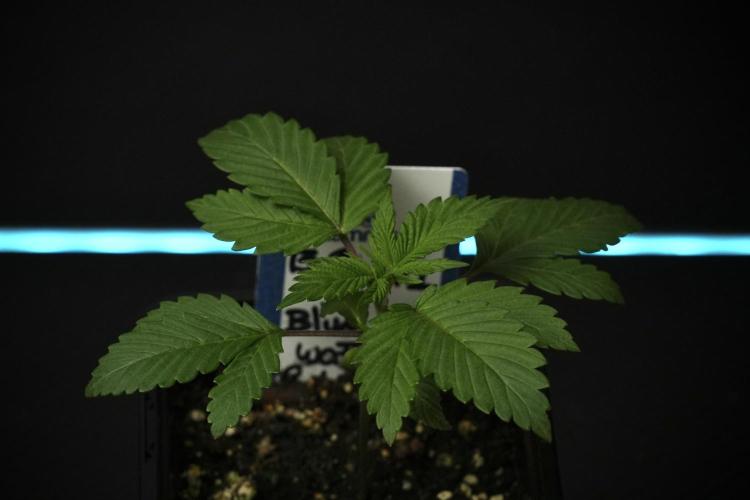
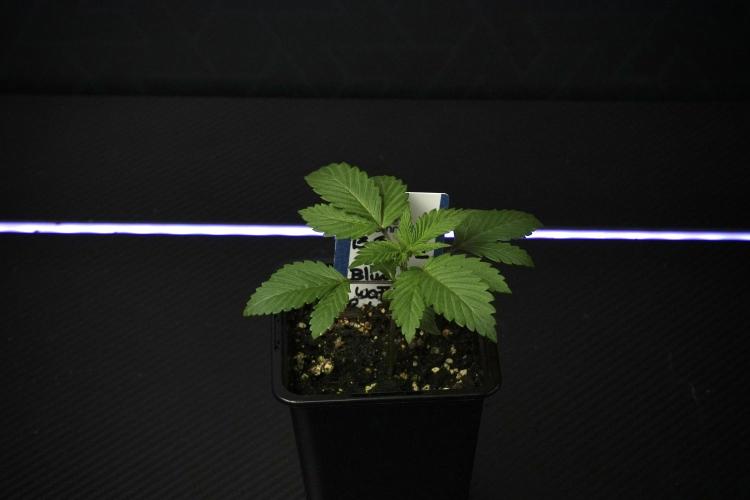
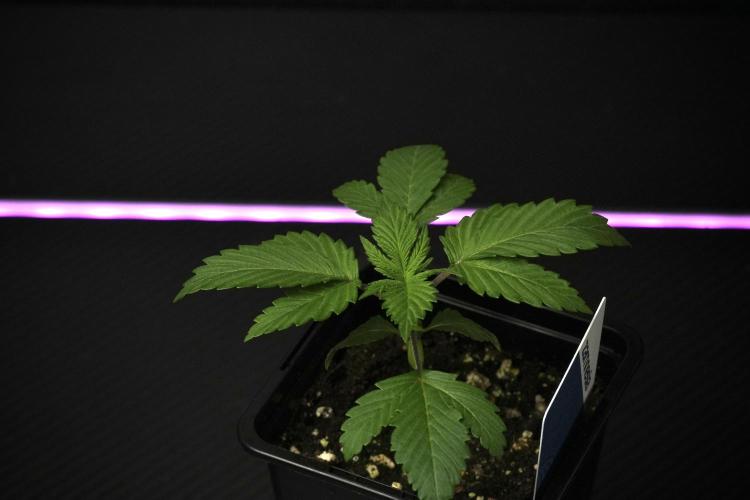
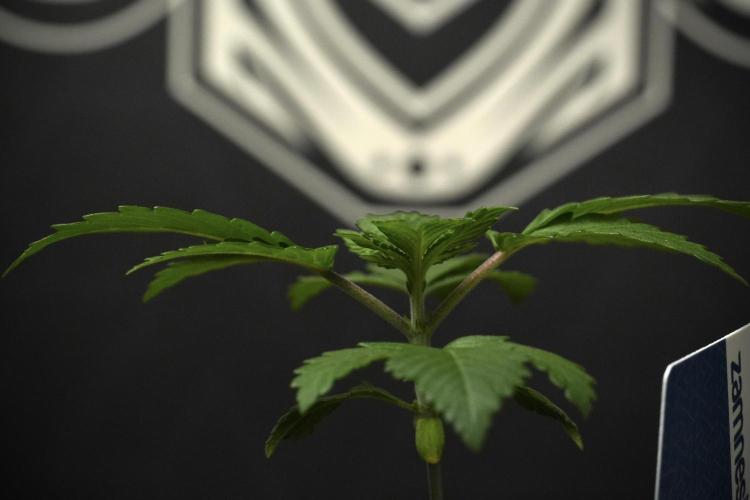
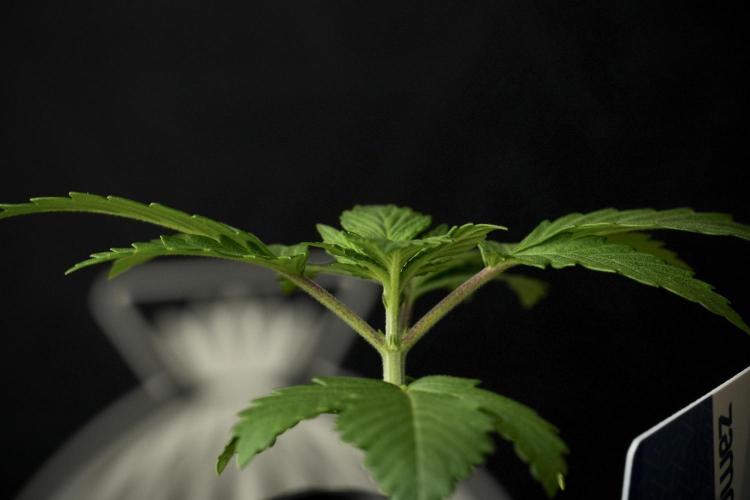
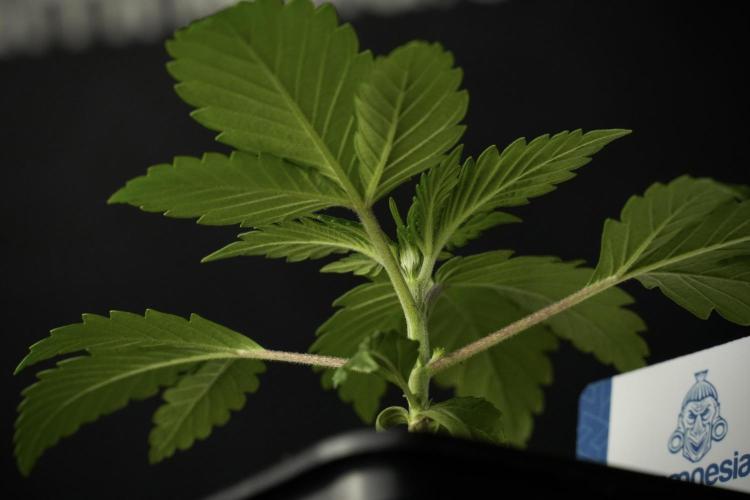
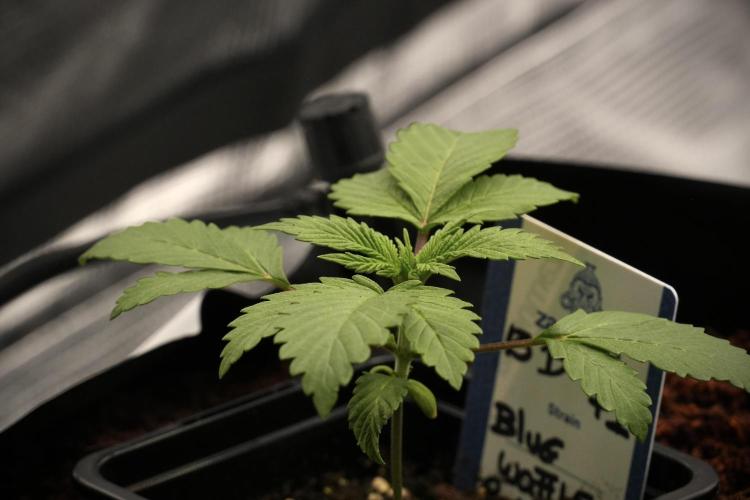
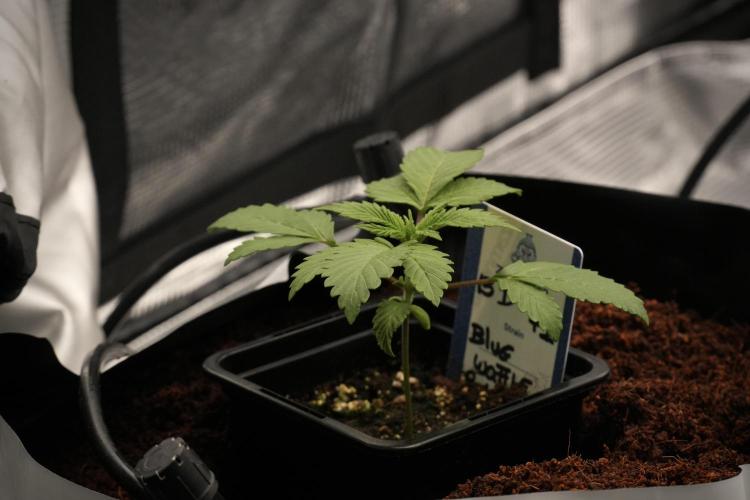
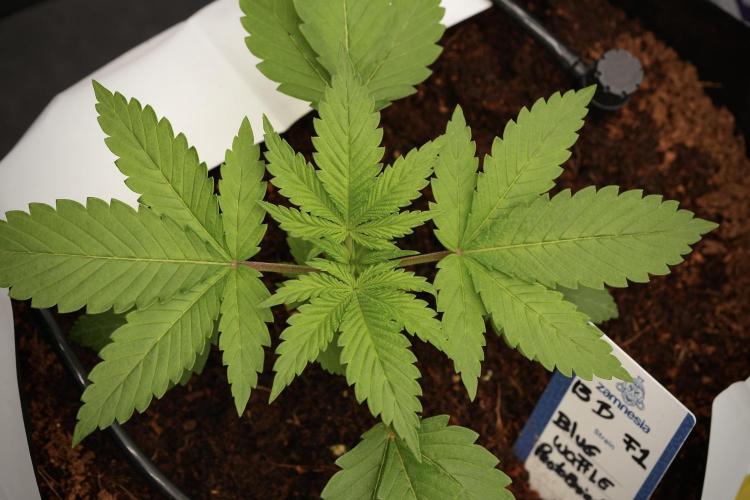
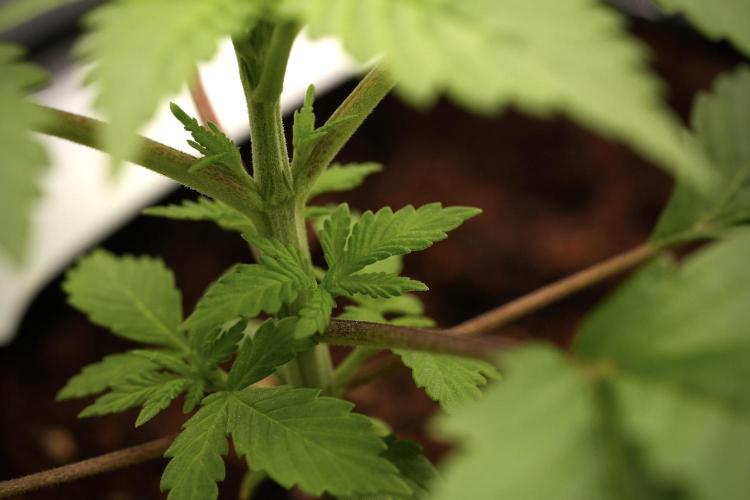
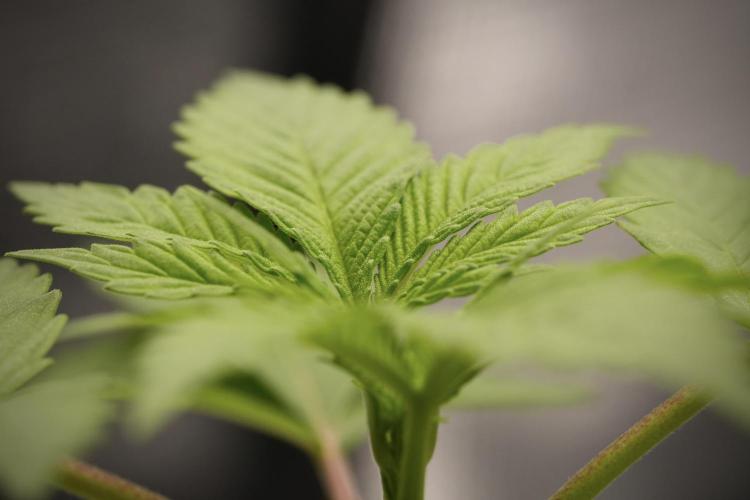
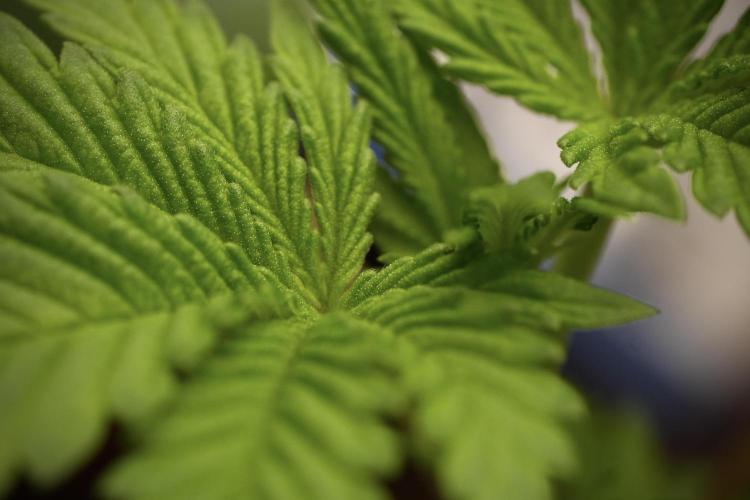
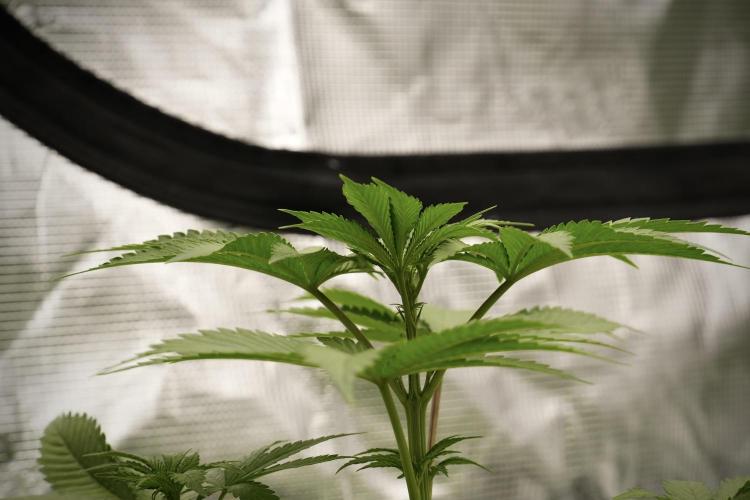
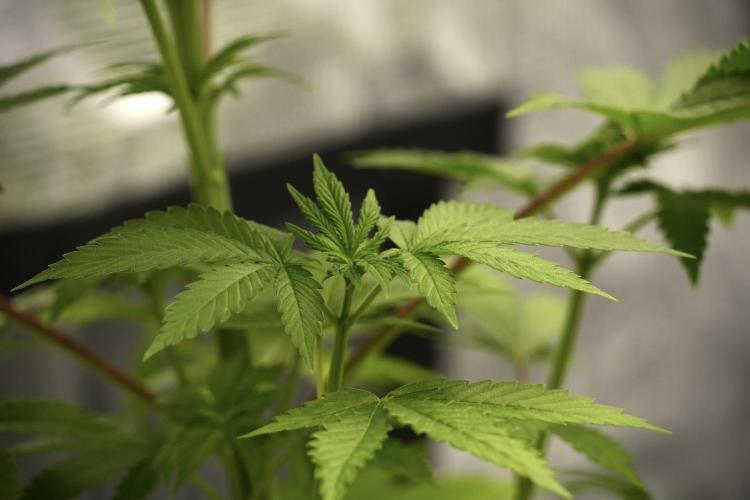
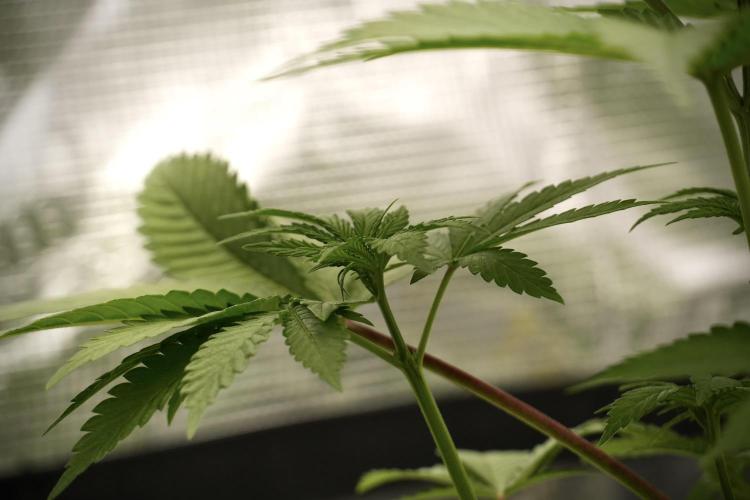
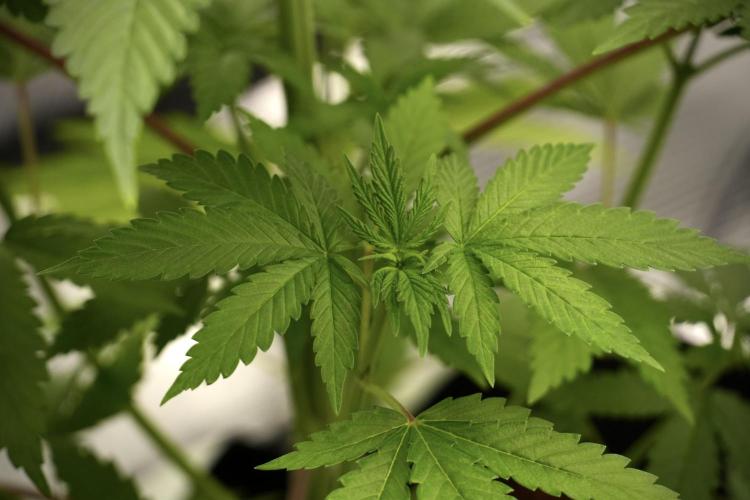
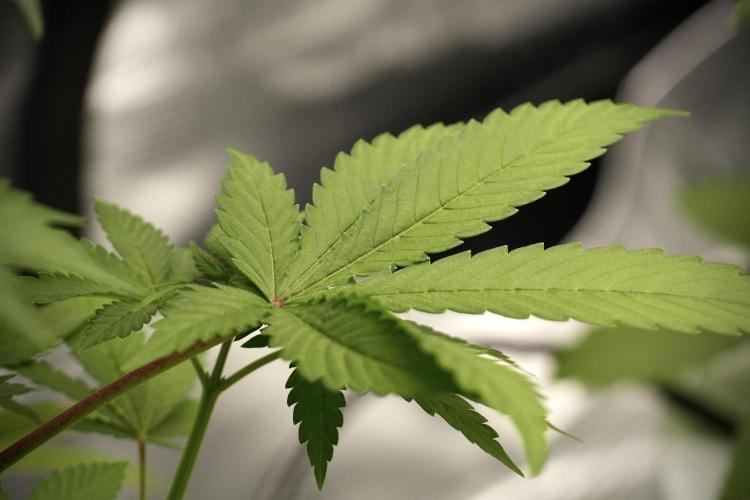
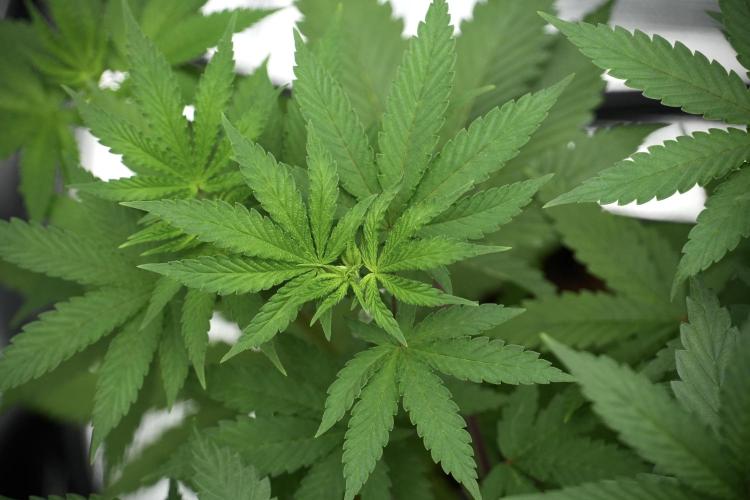
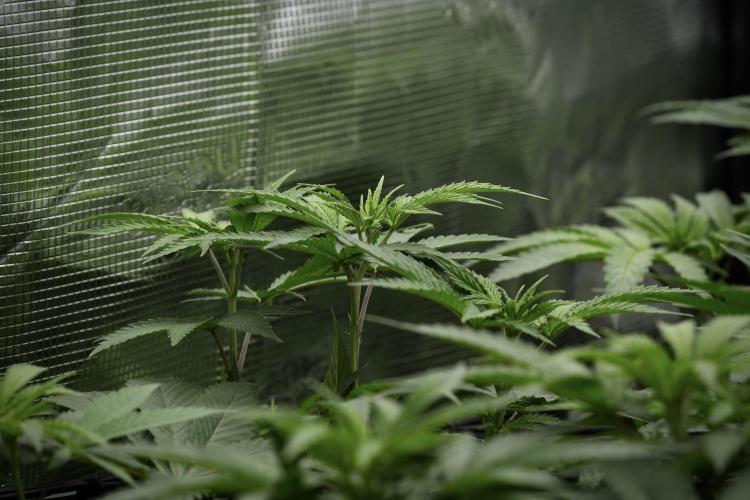
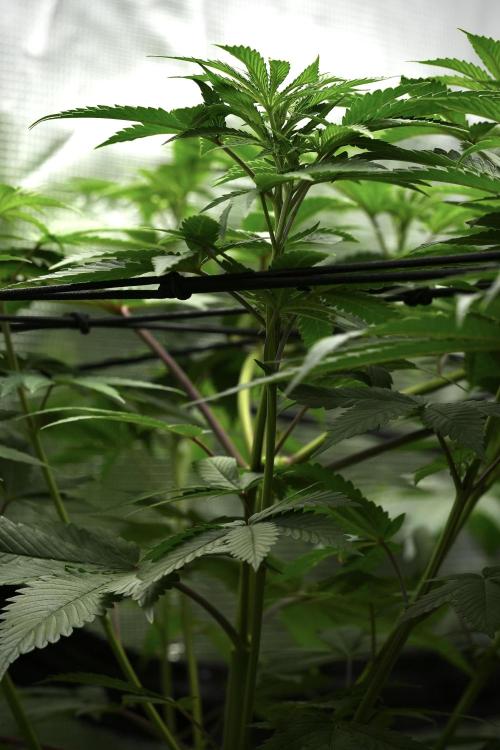
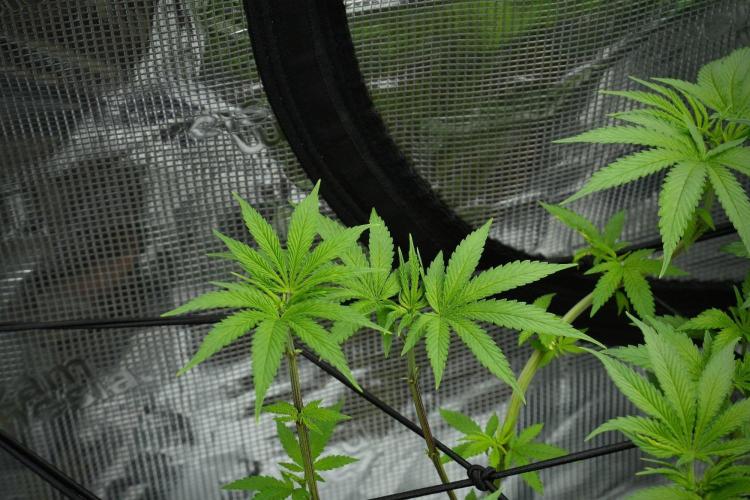
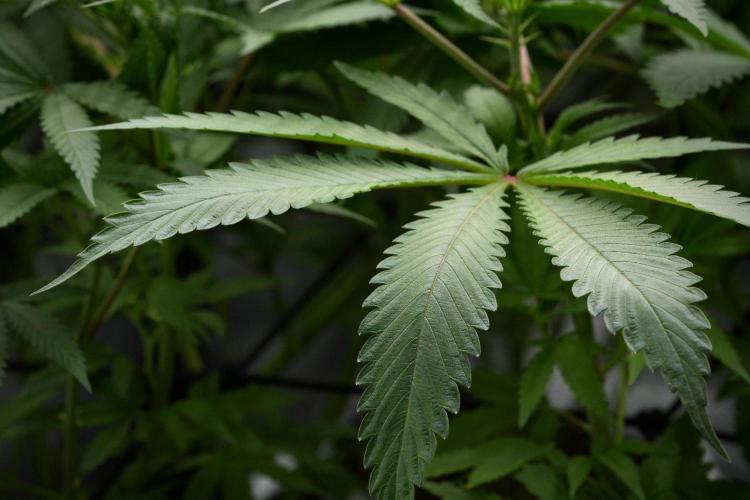
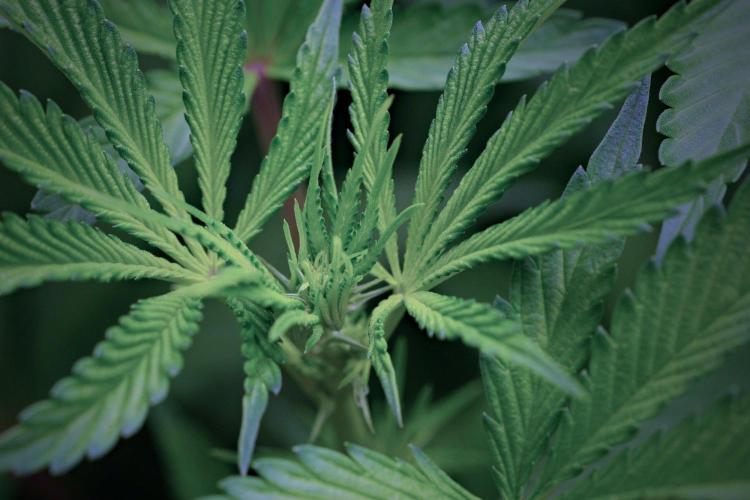
Although Pheno B emerged slightly later than her sister, she quickly demonstrated healthy vigor and strong development.
Color remains excellent.
Structure appears balanced.
Growth is steady and consistent.
And the differences between both phenotypes are already beginning to emerge.
That is exactly why these individual diaries exist.
Watching each plant reveal its personality is one of the most rewarding parts of growing.
At only one week old, this story is still just beginning.
---
## Looking Ahead
Over the coming weeks we'll continue documenting every stage of development.
We'll follow:
- Root establishment
- Vegetative growth
- Environmental management
- Structural development
- Training decisions
- Nutrient progression
- Genetic expression
- And whatever unique characteristics this phenotype decides to reveal
For now, Blue Waffle F1 Pheno B has completed a successful first week and has settled comfortably into her new home.
The roots are growing.
The leaves are reaching.
And the adventure has officially begun.
Grower's Love everyone. 💚🌱?
Sometimes the plant that takes an extra day to arrive ends up telling the most interesting story.
13 likes
comments
Share
Used method
Other
Germination Method
1
Week 1. Vegetation
2mo ago
1/30
6 cm
Height
18 hrs
Light Schedule
26 °C
Day Air Temp
6.0
pH
765 PPM
TDS
71 %
Air Humidity
24 °C
Solution Temp
24 °C
Substrate Temp
25 °C
Night Air Temp
0.3 liters
Watering Volume
450 PPM
CO₂ Level
Nutrients 4
Hydro A
1.4 mll
Hydro B
1 mll
Hydro Roots
1 mll
DogDoctorOfficial Folder 13 — Blue Waffle — Pheno B
Week 1 Vegetation — Building Foundations
Hello growers,
Welcome back to another update from the Zamnesia Tent project.
As mentioned in the previous entries, this grow is being documented slightly differently than my usual diaries. Rather than grouping plants together, each phenotype receives its own individual journal. This allows us to follow every plant from seed to harvest and observe how different expressions develop, even when they share the exact same environment, feeding schedule, and care.
Today we continue with Blue Waffle Pheno B, another young lady taking her first steps into vegetation.
At this stage, the story is not about explosive growth or massive plants. It is about building healthy roots, establishing structure, and creating the foundation that everything else will grow from later.
⸻
The Environment
Week 1 focused on consistency.
The Zamnesia ecosystem maintained stable conditions throughout the week, providing an ideal environment for young seedlings to establish themselves.
Environmental conditions averaged:
* Temperature: 26°C
* Relative Humidity: 71%
Lighting was intentionally introduced at a slightly higher intensity than many seedling schedules typically recommend.
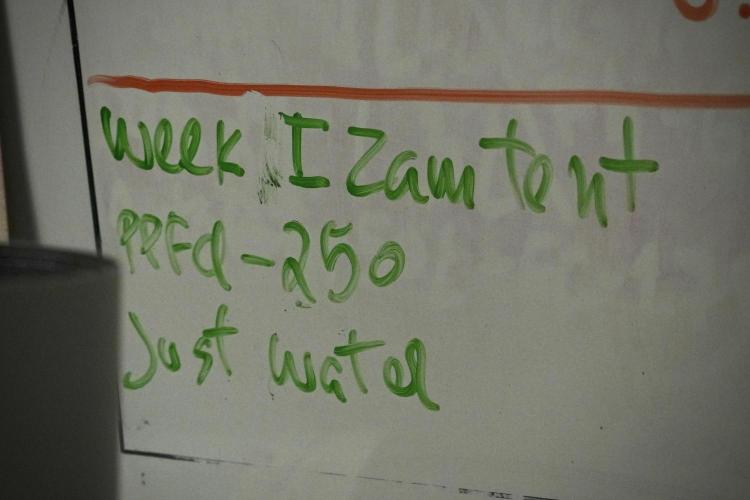
The LED fixture was operated at 27% power, drawing approximately 86 watts from the wall and producing a measured PPFD of roughly 250 µmol/m²/s at canopy level.
Part of this project is observing how these genetics respond when provided with strong but controlled environmental conditions from the very beginning.
Airflow was supplied by:
* Zamnesia extraction fan: Level 5
* Circulation fan: Level 4
This provided gentle air movement throughout the tent while maintaining stable temperature and humidity levels.
⸻
Feeding Program
This week also marked the beginning of the feeding program.
While the seedlings initially received only rainwater during their earliest days, they have now started receiving their first nutrient solution consisting of:
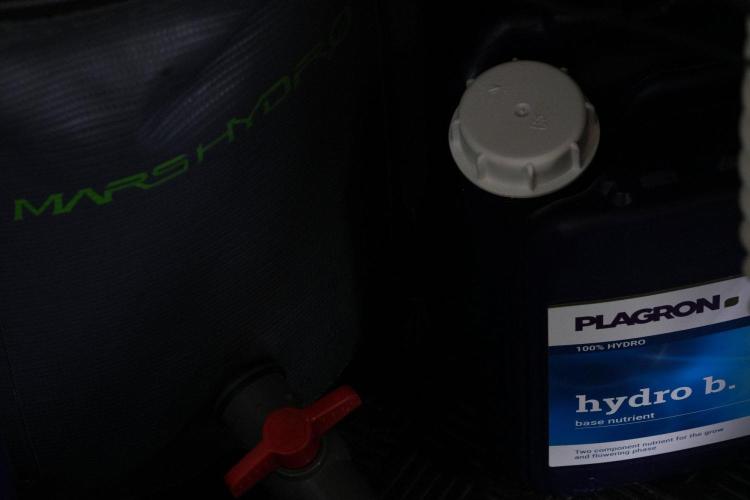
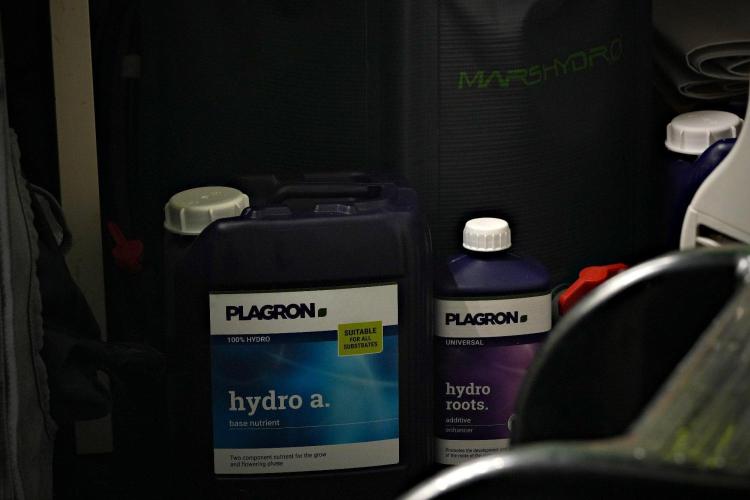
* Plagron Hydro A
* Plagron Hydro B
* Plagron Hydro Roots
Mixed to:
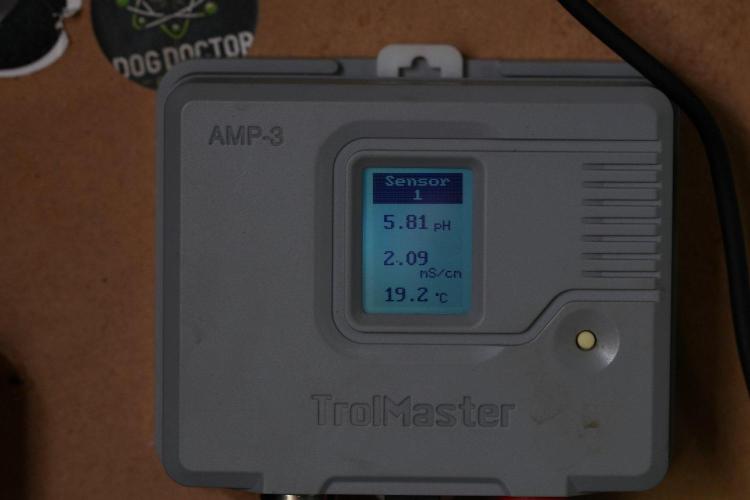
* EC: 1.53 mS/cm
* pH: 5.96
* Water temperature: 24.2°C
The goal is not maximum growth at this stage, but rather creating a healthy root environment and preparing the plants for the transition into coco next week.
So far, Blue Waffle Pheno B appears to be responding very positively.
⸻
Preparing For Coco
A major part of this week’s work happened behind the scenes.
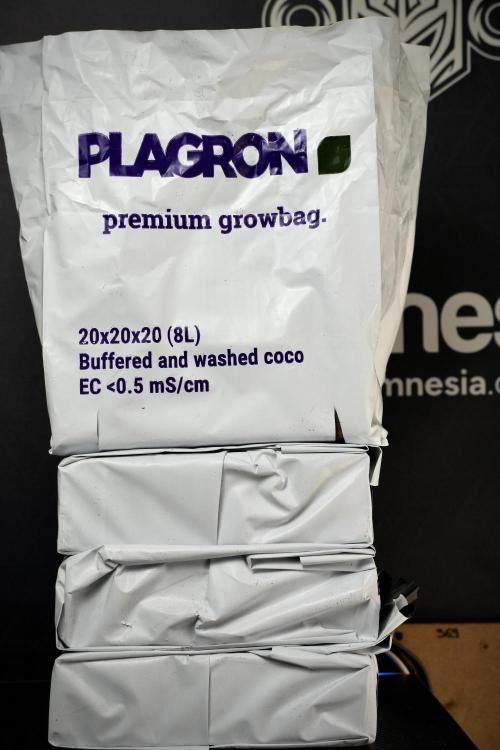
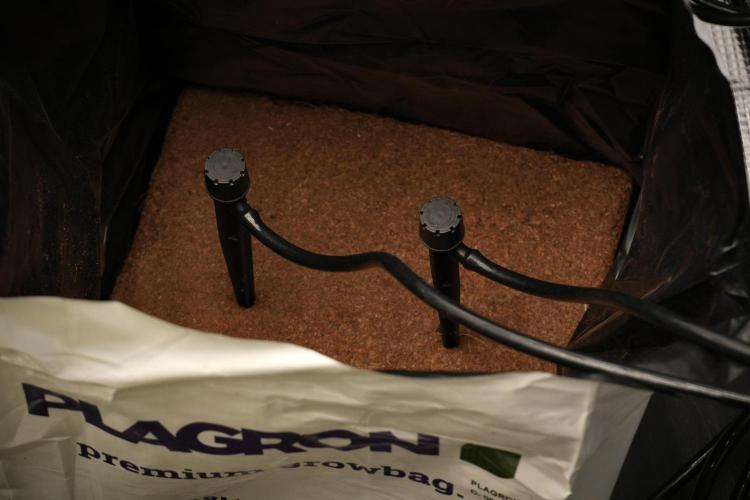
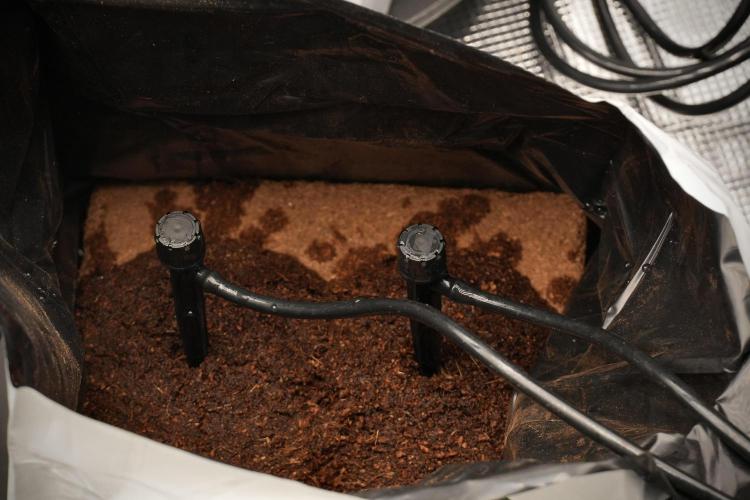
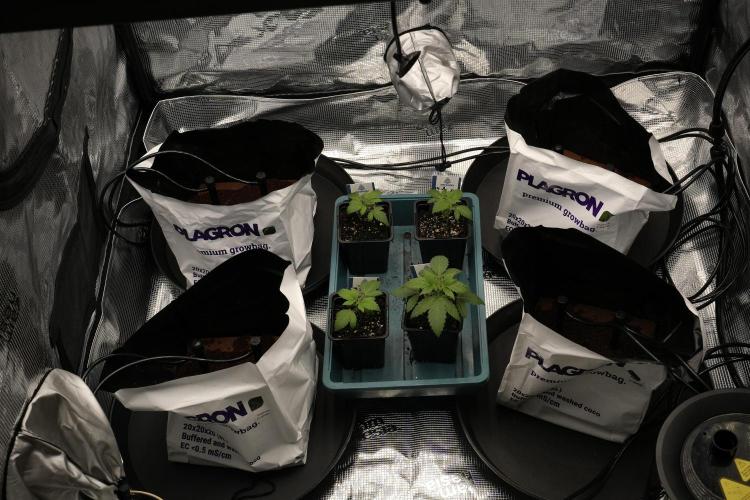
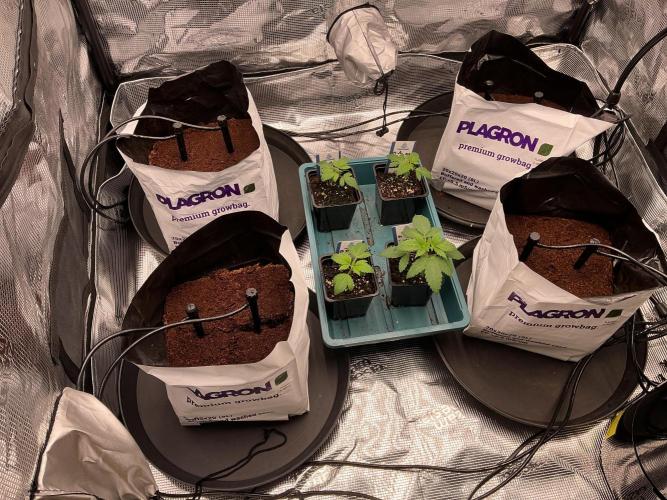
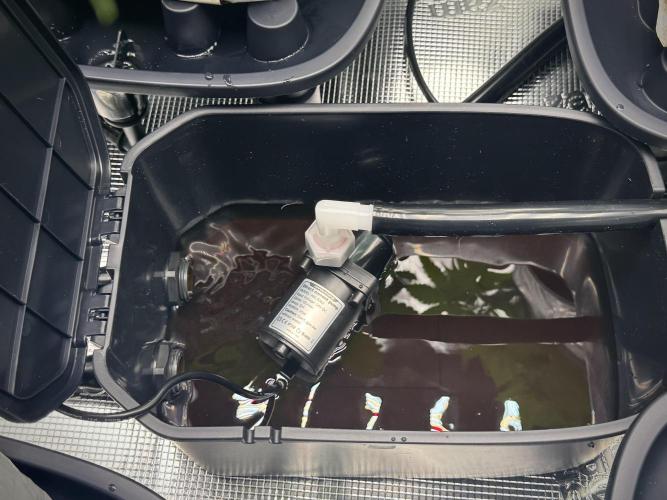
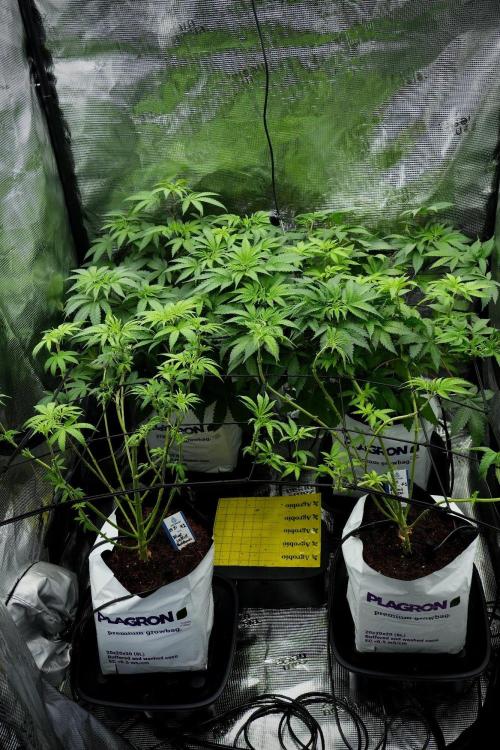
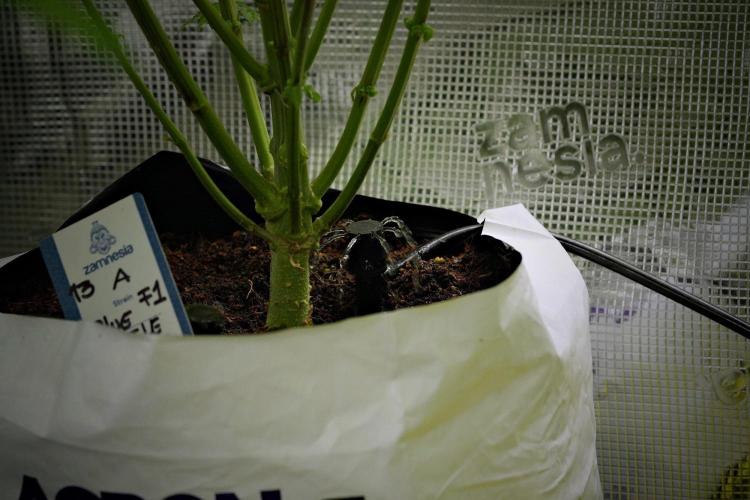
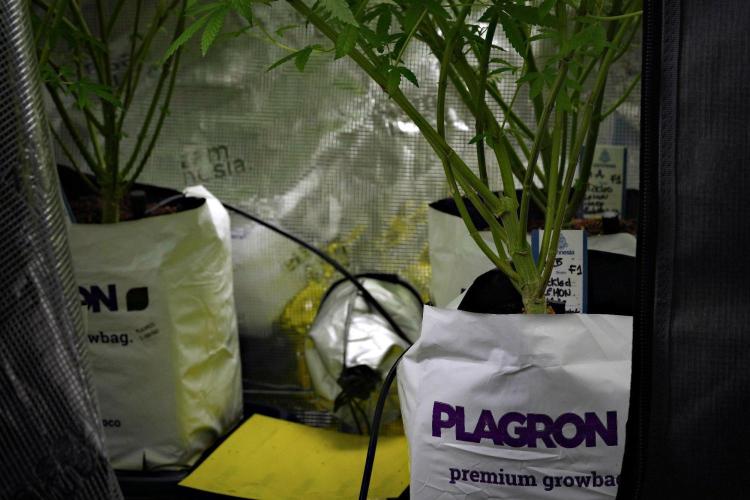
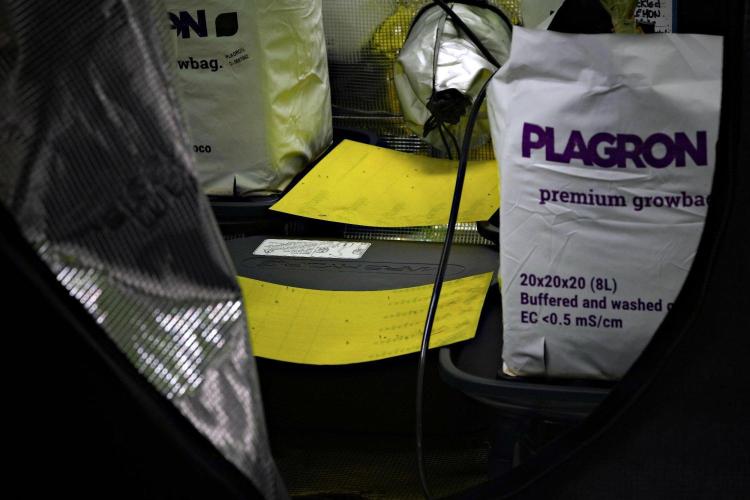
The Plagron Premium Grow Bags were filled and hydrated in preparation for transplanting.
Instead of saturating the coco all at once, hydration is being performed gradually using a reservoir-fed drip system. This slow approach allows the coco to absorb water evenly and expand naturally throughout the bag.
Only distilled water was used during this preparation process.
The seedlings remain in their starter containers for now, but next week they will move into their final coco homes and begin the next stage of development.
⸻
Blue Waffle Pheno B
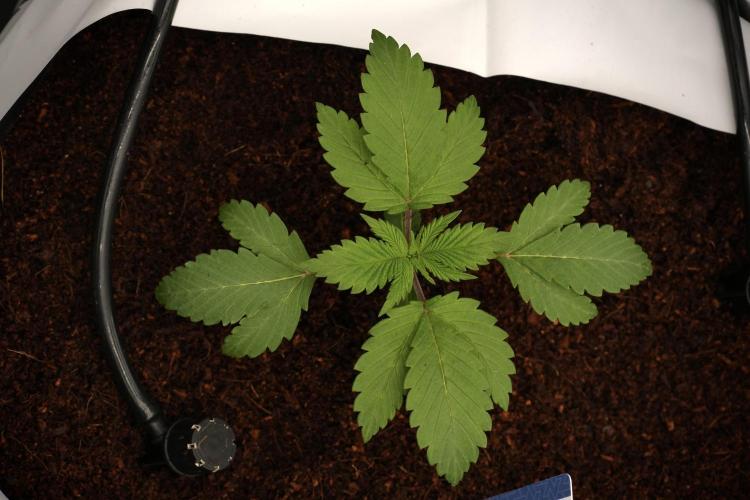
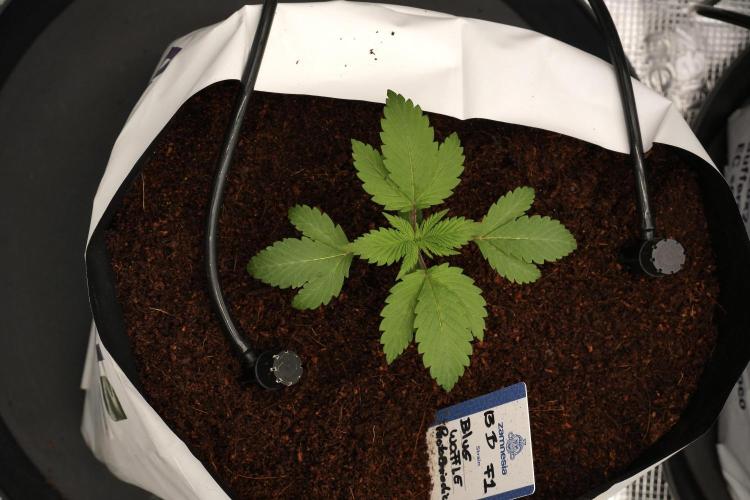
If Pheno A gave the impression of a compact and balanced seedling, Pheno B is proving to be every bit as promising.
At this stage the similarities between the sisters are striking.
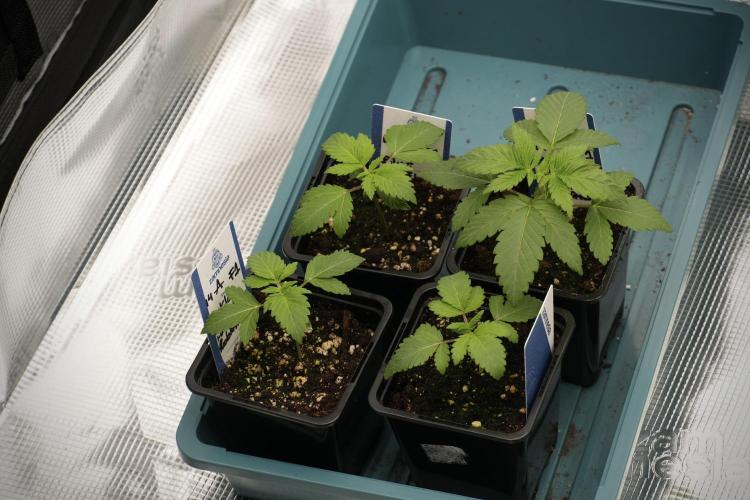
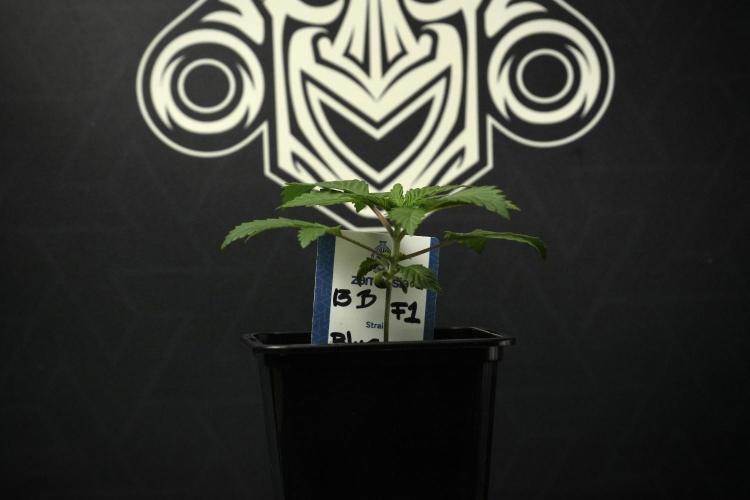
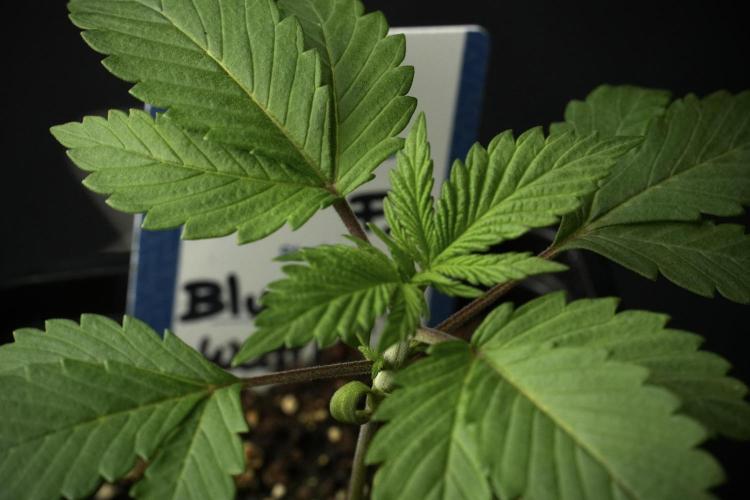
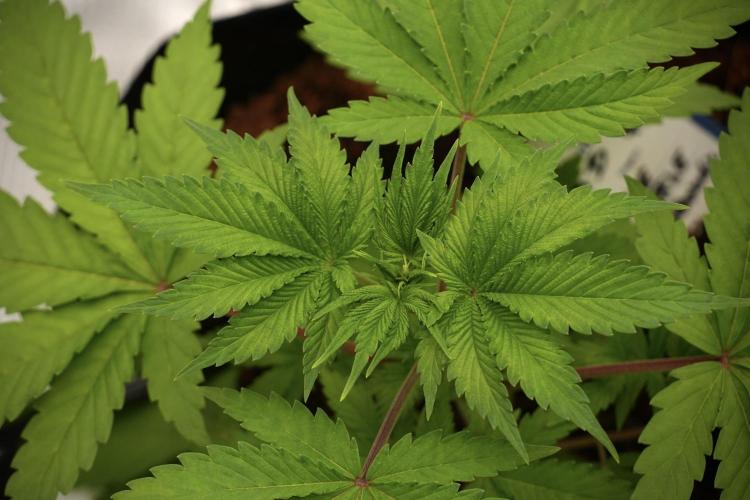
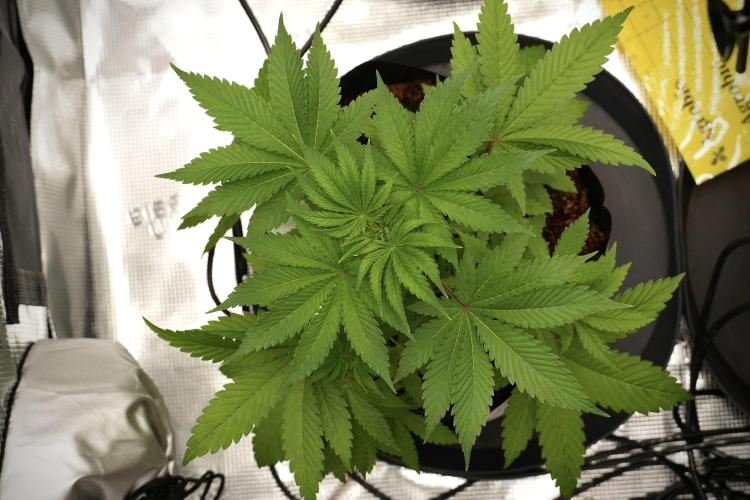
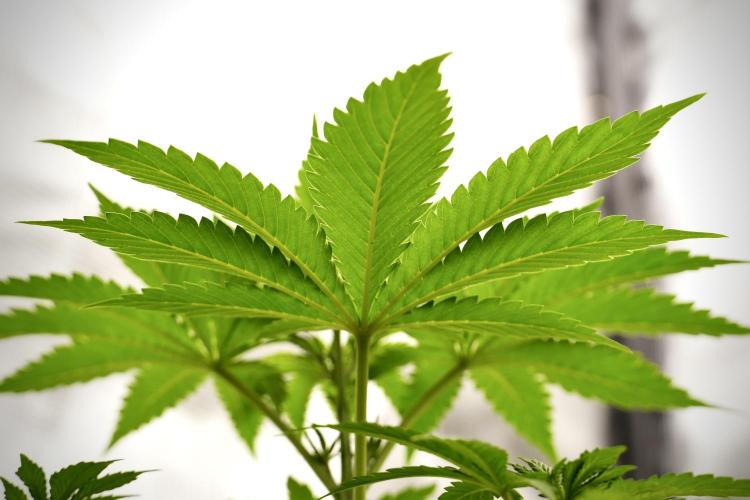
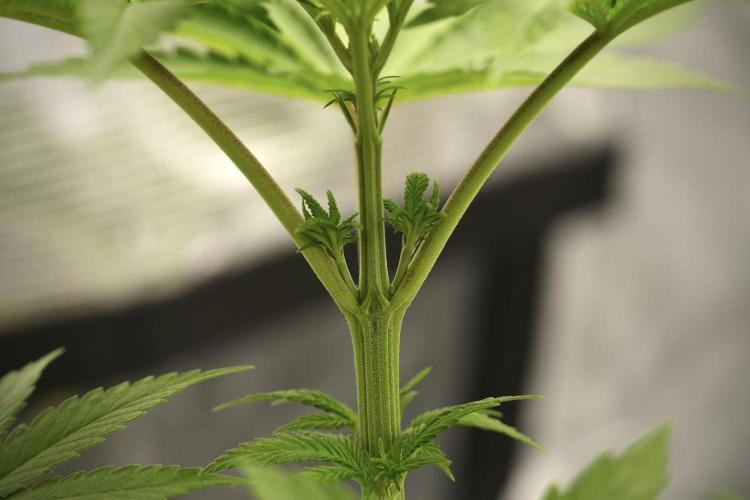
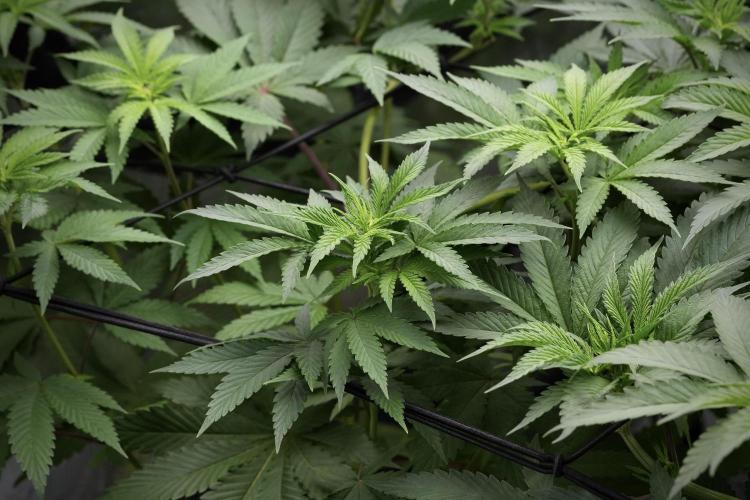
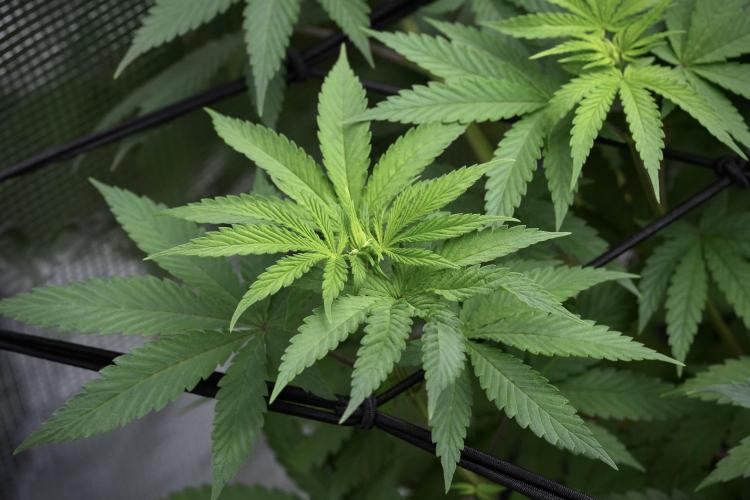
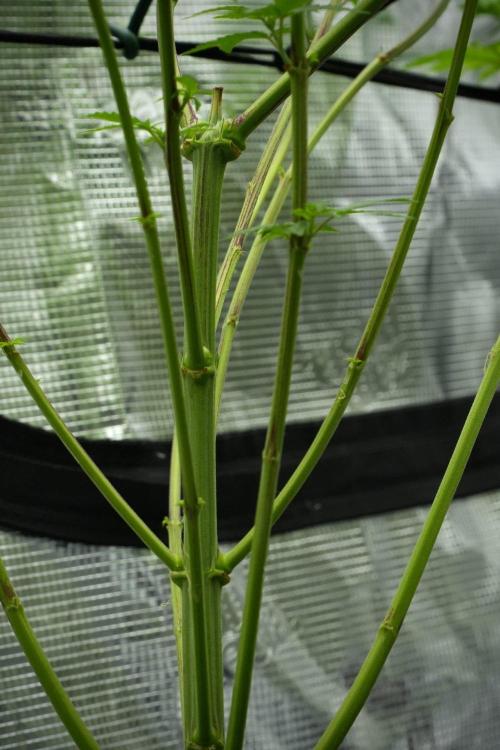
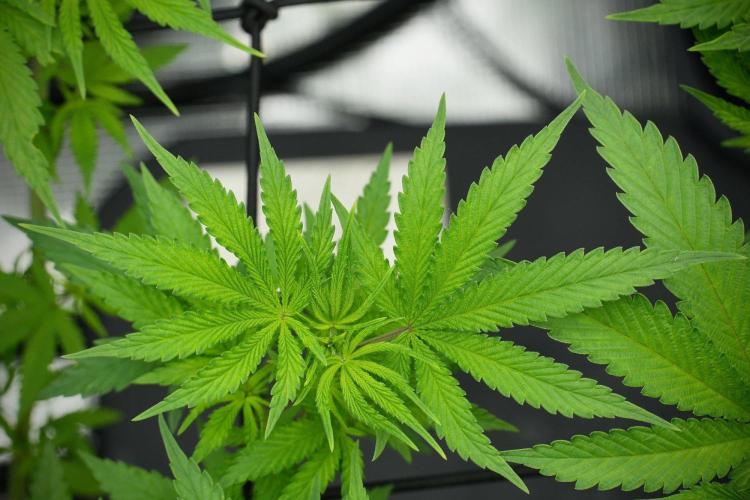
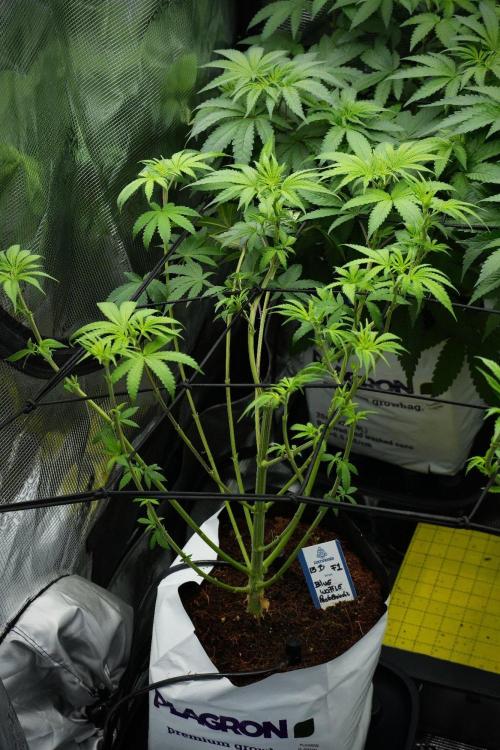
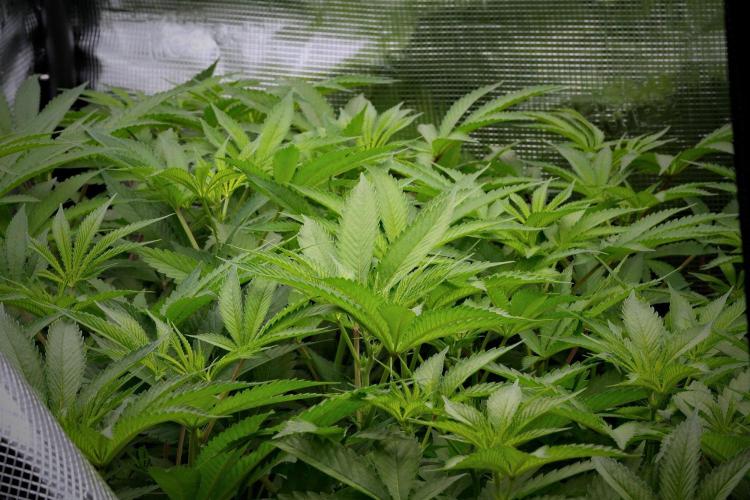
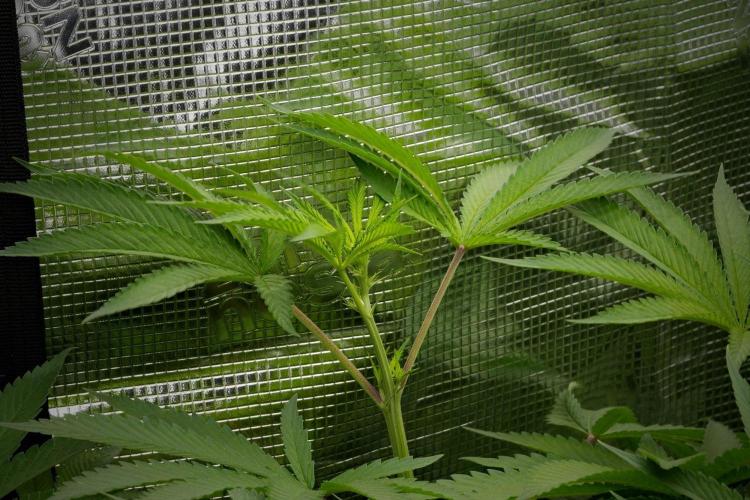
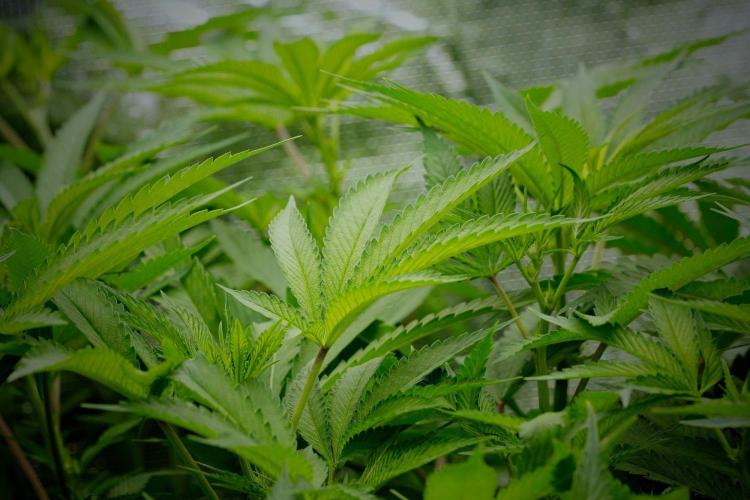
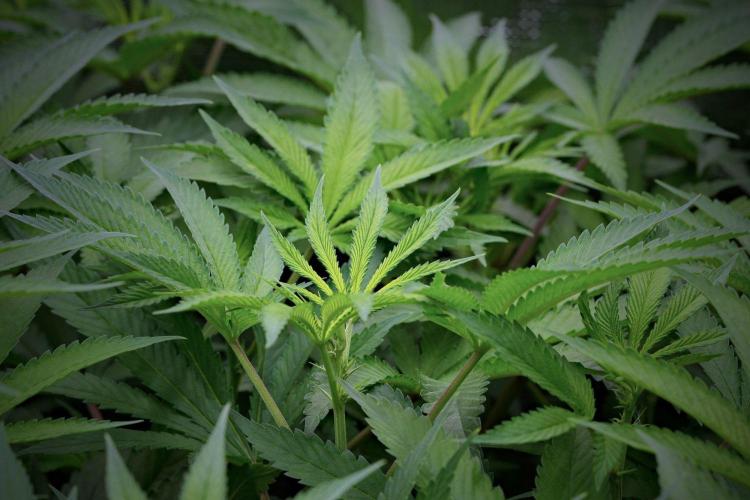
Growth remains compact with very tight internodal spacing, producing a low and sturdy structure. The plant is finishing the week progressing into its third set of true leaves, and overall development appears healthy and symmetrical.
Leaf coloration is vibrant and consistent throughout the plant, while new growth emerges clean and vigorous.
The stem remains strong relative to its size and is already supporting the developing canopy comfortably.
One thing that stands out is how confidently this phenotype is stacking growth despite its young age. Rather than stretching toward the light, the plant is focusing its energy on building a dense and compact structure.
For a first week seedling, there is very little to criticize.
The overall impression is simply one of health, stability, and potential.
Sometimes a plant catches your attention because it is unusual.
Sometimes it catches your attention because everything is simply going right.
At this stage, Blue Waffle Pheno B belongs firmly in the second category.
⸻
Looking Ahead
Next week should bring one of the most important milestones of the early grow.
The move into the hydrated Plagron coco grow bags will provide a dramatically larger root zone and mark the beginning of full development inside the new medium.
It will be interesting to see whether Pheno B continues to mirror her sister or begins revealing more of her own unique characteristics.
For now, everything is moving exactly as planned.
Healthy roots.
Healthy leaves.
Healthy growth.
A strong beginning.
⸻
Thank You
A huge thank you to everyone following along and supporting these diaries.
Special thanks to:
* Zamnesia for the genetics, equipment, and support that helped make this project possible.
* Plagron for providing the nutrients and growing media used throughout this run.
* The GrowDiaries team for offering a platform where growers can document, learn, and share their experiences.
* And of course, the incredible growing community whose knowledge, feedback, and encouragement continue to inspire growers around the world.
The journey has only just begun.
See you next week as Blue Waffle Pheno B takes her first step into coco and continues her adventure.
Growers Love and Happy growing 🌱💙🍁
8 likes
comments
Share
2
Week 2. Vegetation
2mo ago
1/30
6 cm
Height
18 hrs
Light Schedule
29 °C
Day Air Temp
5.8
pH
630 PPM
TDS
68 %
Air Humidity
23 °C
Solution Temp
24 °C
Substrate Temp
25 °C
Night Air Temp
8 liters
Pot Size
0.5 liters
Watering Volume
450 PPM
CO₂ Level
Nutrients 4
Hydro A
1.4 mll
Hydro B
1 mll
Hydro Roots
1 mll
DogDoctorOfficial 🌱 Blue Waffle F1 – Photoperiod – Phenotype B
Week 2 – A New Home, Strong Roots, Endless Potential
Hello, everyone, and welcome back to another update from Project Blue Tent! 💚
Today we’re checking in on Blue Waffle F1 – Photoperiod – Phenotype B, one of the beautiful ladies growing under a traditional 18 hours of light and 6 hours of darkness. This week was a major milestone in her journey as she officially moved into her permanent home inside a Plagron Premium Coco Grow Bag.
The seedling stage is now behind her, and from this point forward she’ll begin building the root system and structure that will support everything to come. Judging by her response so far, she’s loving every moment of it.
⸻
🏡 Transplant Day
After spending the last week preparing the grow bags, the coco was fully hydrated before transplant day arrived.
Rather than digging an oversized hole, I used the original nursery pot to create a perfectly sized cavity inside the hydrated coco. This simple technique allows the root ball to slide directly into place while maintaining maximum contact between the soil and the surrounding coco.
Once everything was ready, I gently removed the plant from her starter pot.
One careful movement…
One healthy root ball…
One happy grower.
The transplant went exactly as planned.
⸻
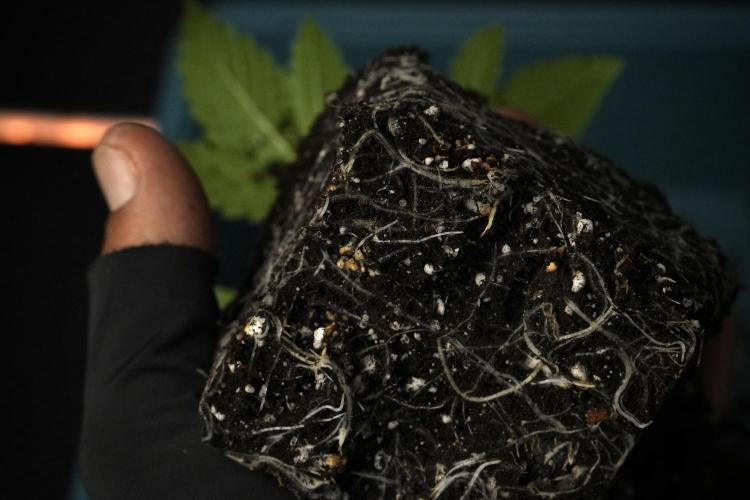
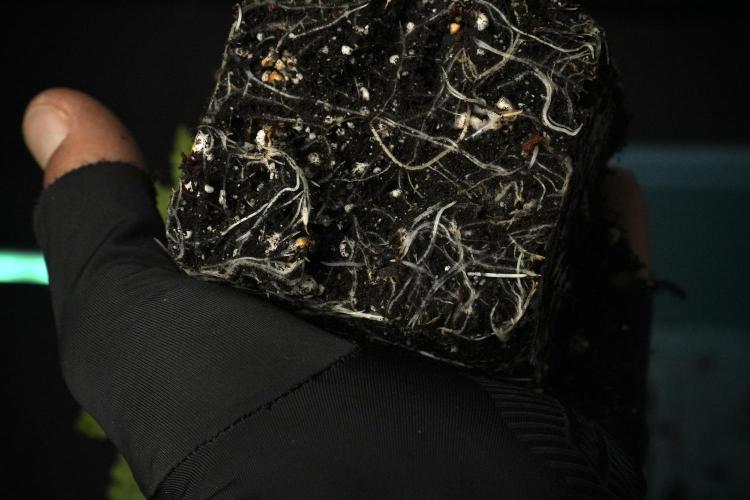
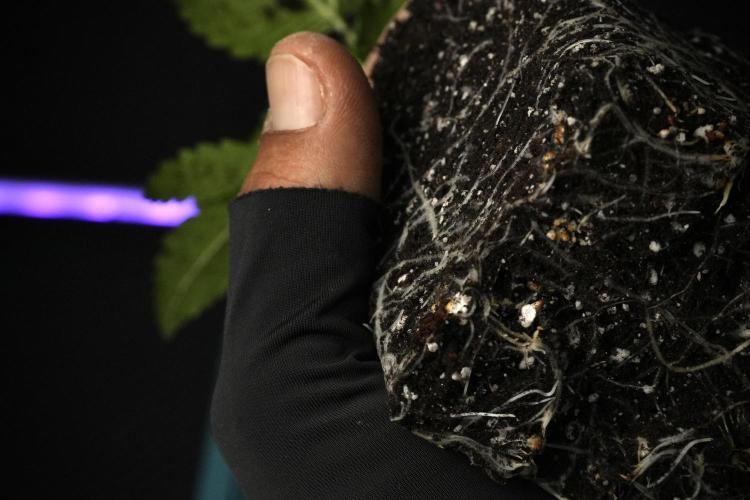
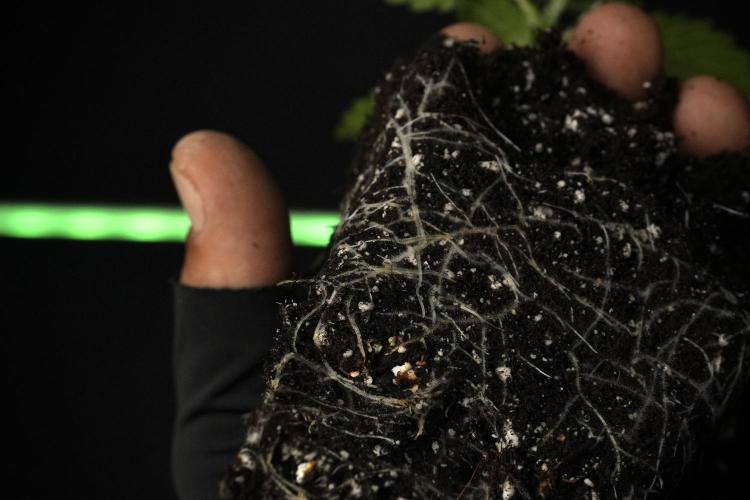
🌱 Healthy Roots Tell the Whole Story
Before placing her into the new home, I always like taking a look at the roots.
They weren’t massive…
They didn’t need to be.
Instead, they were exactly what I hoped to see.
Bright white roots wrapped beautifully around the entire root ball, with plenty of fine feeder roots actively searching for more space.
There were no signs of root binding, discoloration or stress.
The roots held the soil together perfectly while still looking young and incredibly active.
Healthy roots are one of the best indicators that a plant is ready for transplant, and Phenotype B certainly passed that test with flying colours.
⸻
🥥 The Move Into Coco
With the transplant complete, Blue Waffle F1 Phenotype B officially begins the next stage of her life inside Plagron Premium Coco.
Over the following days she showed virtually no signs of transplant stress.
No drooping.
No yellowing.
No slowing down.
Instead, fresh growth continued almost immediately, proving the roots adapted quickly to their new environment.
That smooth transition is exactly what every grower hopes for.
⸻
🌿 Vegetative Growth
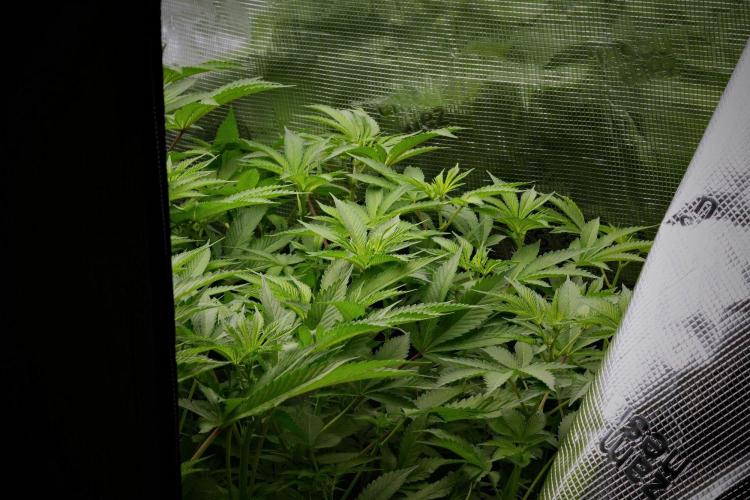
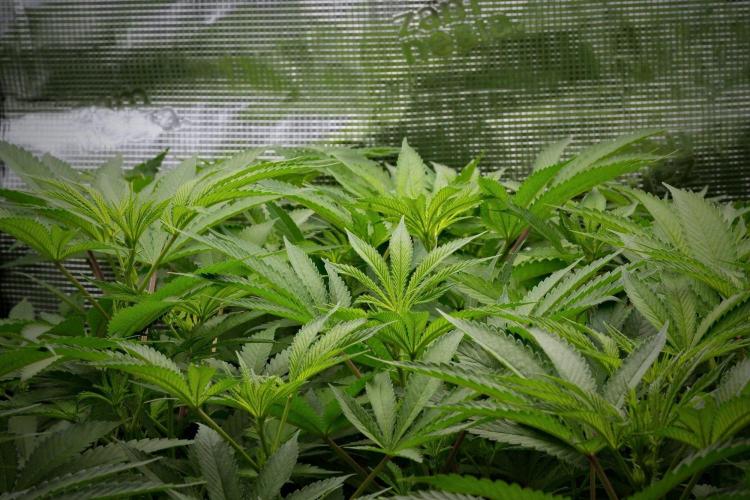
Phenotype B is developing into a compact, symmetrical young plant with excellent structure.
Her internodal spacing remains tight, giving her a sturdy appearance, while the stem continues becoming thicker every day.
The newest growth is vibrant and healthy, with the slightly lighter green colour that naturally accompanies rapidly developing tissue.
Leaf posture remains relaxed, indicating she’s comfortable with both the environment and her feeding schedule.
At this stage, she’s building the foundation that will eventually support an abundant canopy later in the grow.
⸻
💧 Feeding Program
Now that she’s established inside the coco, feeding continues using the Plagron Hydro line.
Current nutrient solution:
• Plagron Hydro A
• Plagron Hydro B
• Plagron Hydro Roots
The goal during this early vegetative stage is simple:
Build roots first.
Everything else follows.
Hydro Roots continues stimulating vigorous root development while Hydro A & B provide the balanced nutrition required for steady, healthy vegetative growth.
Sometimes simplicity really is the best strategy.
⸻
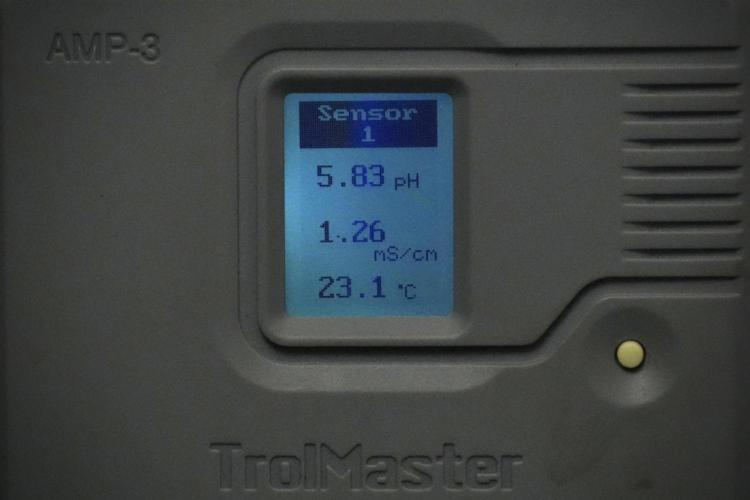
📊 Feeding Parameters
Current nutrient solution:
• EC: 1.26 mS/cm
• pH: 5.83
• Solution Temperature: 23.1°C
These values place the nutrient solution right where I like it for young plants growing in coco.
The EC provides enough nutrition to encourage strong growth without overwhelming the developing root system, while the pH sits comfortably inside the optimal uptake range.
⸻
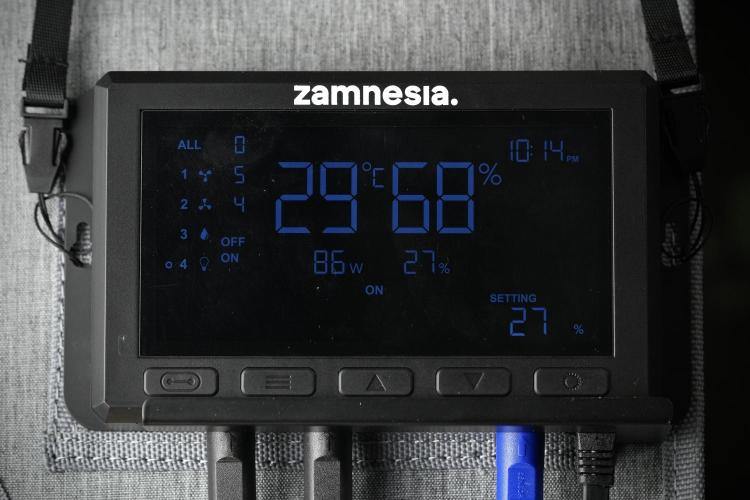
🌡️ Environmental Conditions
The grow room remained very stable throughout the week.
Current conditions:
• Temperature: 29°C
• Relative Humidity: 68%
Although temperatures are slightly warm, maintaining a higher relative humidity helps young plants stay comfortable by reducing unnecessary transpiration while the roots establish themselves inside the larger growing medium.
Consistency remains one of the most important ingredients for healthy development.
Happy plants love stable environments.
⸻
🚀 Looking Ahead
With the transplant now complete, the focus shifts toward root expansion.
Over the coming week I expect the roots to rapidly colonize the surrounding coco, allowing nutrient uptake to increase and vegetative growth to accelerate.
As the plant continues developing under the 18/6 light schedule, she’ll begin building the strong framework that will eventually support training and, later on, a productive flowering phase.
Everything is progressing exactly as planned, and I’m excited to watch her personality continue to unfold.
⸻
💚 Final Thoughts
Every great harvest starts with a healthy beginning.
Strong roots create strong stems.
Strong stems support strong branches.
And strong branches eventually produce beautiful flowers.
Blue Waffle F1 Phenotype B has settled beautifully into her new home, and all the signs point toward a vigorous, healthy plant with plenty of potential still to reveal.
The journey is only getting started, and I can’t wait to see what she has in store over the coming weeks.
⸻
🙏 Thank You
A huge thank you to everyone following this journey and sharing the passion for growing.
Special thanks to Zamnesia for the incredible Blue Waffle F1 genetics and the ecosystem.
Thank you to Plagron for providing the Premium Coco Grow Bags together with the outstanding Hydro nutrient line that’s powering this grow from the very beginning.
And finally, thank you to every company, every sponsor, every member of this amazing community, and every grower who stops by to leave a comment, share advice, or simply follow along.
Your support means more than you know.
Until next week…
Happy growing, and take care! 🌱💚
11 likes
comments
Share
Used techniques
Transplantation
Technique
3
Week 3. Vegetation
2mo ago
1/30
25 cm
Height
18 hrs
Light Schedule
27 °C
Day Air Temp
5.8
pH
No Smell
Smell
805 PPM
TDS
67 %
Air Humidity
18 °C
Solution Temp
24 °C
Substrate Temp
25 °C
Night Air Temp
8 liters
Pot Size
0.9 liters
Watering Volume
450 PPM
CO₂ Level
Nutrients 4
Hydro A
1.6 mll
Hydro B
1.6 mll
Hydro Roots
1 mll
DogDoctorOfficial 💙 Project Blue Tent – Week 3
Blue Waffle F1 – Pheno B (Folder 13B)
Hello everyone, and welcome back to another update from Project Blue Tent!
For those joining this journey for the first time, this project follows four individual Blue Waffle F1 plants from Zamnesia, each documented in its own diary from seed to harvest. Although they all share the exact same environment, nutrients, and growing conditions, every plant is allowed to tell its own story and reveal its own unique expression.
Everything in this tent is built around the Zamnesia ecosystem, while the ladies are growing inside Plagron Premium Coco Growbags and being fed exclusively with the Plagron Hydro nutrient line.
Today we’re taking a closer look at Blue Waffle F1 – Plant B.
⸻
🌱 Week Three – Building Momentum
Week three has been another very encouraging one.
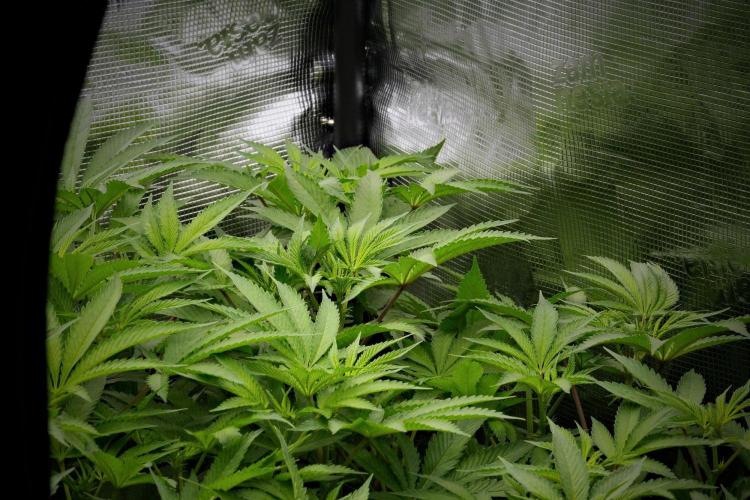
Plant B has settled beautifully into her coco home and has noticeably increased her pace of growth throughout the week. She began this update as a compact young plant, but over the last several days she’s filled out nicely, producing larger fan leaves and noticeably stronger apical growth.
Her structure remains short and sturdy, with tight internodal spacing and excellent symmetry. The side branches are beginning to develop with confidence, giving an early indication that she’ll produce a well-balanced canopy in the weeks ahead.
One detail that immediately catches my attention is how vigorous the newest growth appears. Every day the center becomes denser, showing that the roots are now well established and supporting increasingly rapid development.
⸻
🌡️ Environmental Conditions
One of the goals with Project Blue Tent is consistency.
The entire ecosystem continues to perform exactly as intended, maintaining a stable environment throughout the week while the Phytonaut LED provides an even light distribution across the canopy.
Average conditions this week were:
* 🌡️ Day temperature: 27°C
* 🌙 Night temperature: 25°C
* 💧 Relative humidity: 67%
* ⚗️ pH: 5.8
* ⚡ EC: 1.61 mS/cm
* 💨 CO₂: approximately 450 ppm
* 💡 Light schedule: 18/6
* ☀️ PPFD: approximately 350
At this intensity the plants receive plenty of energy to encourage compact vegetative growth without unnecessary stretching, while the stable environment allows them to focus entirely on developing healthy roots and foliage.
⸻
🥥 Feeding Adjustments
Coming from years of growing almost exclusively in living soil, growing in coco has definitely become an enjoyable learning experience.
This week all four plants began showing a slightly lighter shade of green than I normally like to see. Nothing dramatic or concerning, but enough to tell me they were ready for a little more nutrition.
Instead of waiting for deficiencies to develop, I prefer making gradual adjustments before the plants begin struggling.
For that reason I increased the base feeding schedule.
Current nutrition now consists of:
* Plagron Hydro A — 1.6 ml/L
* Plagron Hydro B — 1.6 ml/L
* Plagron Hydro Roots — maintained at the previous dosage
This small increase raised the EC slightly and should provide enough additional nitrogen and overall nutrition for the foliage to regain a richer green over the coming week.
Every grow teaches something new, and coco rewards small, measured corrections rather than aggressive changes.
⸻
🚿 The Unexpected Flood
No grow is ever completely free of surprises.
This week mine arrived in the form of an irrigation mishap.
After switching on the irrigation system, one small mistake resulted in the tent flooding far more than planned.
Thankfully, it looked much worse than it actually was.
The first step was simply shutting everything down, grabbing a pile of towels, cleaning the tent thoroughly and checking that every component was still working correctly.
Fortunately, because these plants are growing in coco, the situation remained under control. Coco retains excellent oxygen levels even after heavy watering, making it much more forgiving than traditional soil in situations like this.
After allowing everything to dry back slightly, normal irrigation resumed without any visible stress to the plants.
Sometimes growing isn’t about avoiding mistakes.
It’s about solving them calmly when they happen.
We’re already working on a permanent improvement for the irrigation setup, and I’ll happily share that solution once everything is installed in the coming weeks.
⸻
🌿 Blue Waffle F1 – Plant B
This phenotype is developing into a very attractive little plant.
She has a sturdy central stem, broad leaves, and compact spacing between nodes, giving her a naturally bushy appearance even without any training.
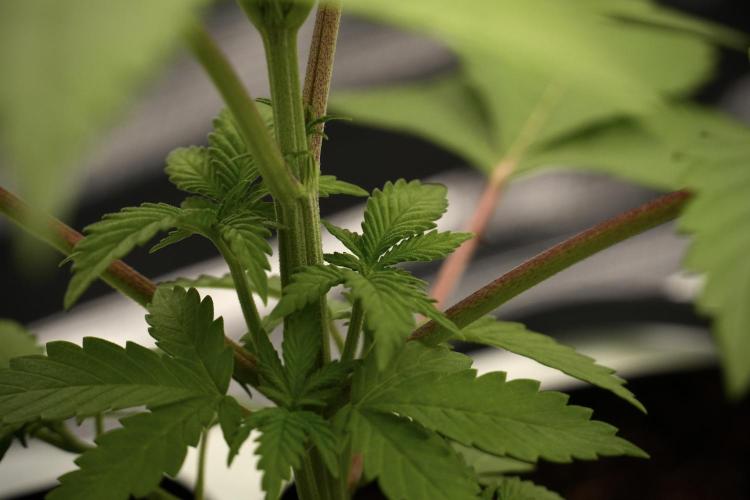
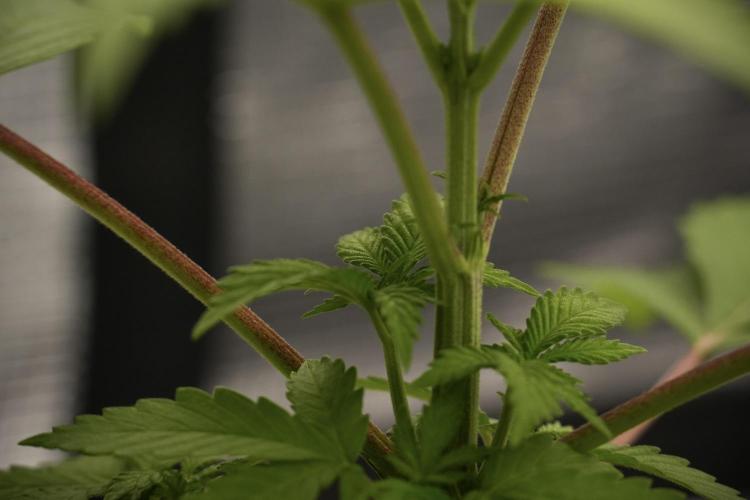
The petioles are beginning to show subtle reddish-purple pigmentation, while the newest leaves emerge with beautiful vigor before gradually maturing into the larger fan leaves.
Although her colour is still a touch lighter than my personal preference, her posture tells the real story.
Leaves are reaching upward.
Growth is continuous.
The plant looks happy.
Sometimes plants communicate much more through their posture than through their colour alone, and Plant B certainly appears eager to keep growing.
⸻
🔍 Looking Ahead
Next week should be an exciting milestone.
With the feeding now adjusted and the roots continuing to colonize the entire growbag, I expect noticeably faster vegetative growth and stronger lateral branching.
I’ll continue monitoring leaf colour, growth rate and overall structure while preparing these ladies for the next stage of development.
Every week they seem to reveal a little more of their individual personalities, and I’m excited to see exactly where Plant B takes us from here.
⸻
💙 Thank You
A huge thank you goes to Zamnesia for making Project Blue Tent possible, from these fantastic Blue Waffle F1 genetics to the complete ecosystem surrounding this grow.
A sincere thank you as well to Plagron for providing the Premium Coco Growbags together with the Hydro nutrient line that is helping these plants thrive.
Thank you to GrowDiaries for giving growers around the world a place to document their journeys, exchange ideas, and learn from one another every single day.
And finally, thank you to every single person following along.
Whether you’ve been here since the very beginning, recently discovered these diaries, leave comments every week, quietly observe from the background, or simply enjoy watching these plants develop, your support is genuinely appreciated.
This project is about sharing the complete journey—the successes, the unexpected challenges, and everything in between.
I hope you’re all having an amazing week, and I look forward to seeing you again in the next update as these beautiful ladies continue their adventure.
Until next time…
Growers Love, happy growing, and take care everyone! 🌱💙
P.S. One final shout-out has to go to the Zamnesia ecosystem itself. As messy as the irrigation mishap looked, the Zamnesia tent tray proved exactly why it’s part of the setup. Every drop of water was safely contained inside the tent, with absolutely nothing leaking onto the floor. What could have become a much bigger problem ended up being nothing more than grabbing a few towels, drying everything up, and carrying on with the grow. Sometimes you only discover how valuable a piece of equipment is when something goes wrong—and this week, the tray passed that test with flying colours. Huge thanks to Zamnesia for designing an ecosystem that’s ready for real-world growing, not just the perfect days. 💙🌱
9 likes
comments
Share
Used techniques
LST
Technique
4
Week 4. Vegetation
2mo ago
1/30
38 cm
Height
18 hrs
Light Schedule
27 °C
Day Air Temp
5.8
pH
No Smell
Smell
940 PPM
TDS
67 %
Air Humidity
18 °C
Solution Temp
24 °C
Substrate Temp
25 °C
Night Air Temp
8 liters
Pot Size
0.9 liters
Watering Volume
450 PPM
CO₂ Level
Nutrients 5
Hydro A
1.8 mll
Hydro B
1.8 mll
Hydro Roots
1 mll
DogDoctorOfficial 💙 Project Blue Tent – Week 4
Blue Waffle F1 – Pheno B (Folder 13B)
Hello everyone, and welcome back to another update from Project Blue Tent!
For anyone joining us for the first time, this project follows four individual Blue Waffle F1 plants from Zamnesia, each documented in its own diary from seed to harvest. Although they all live inside the exact same environment, receive the same nutrition, grow under the same lights and experience the same conditions every single day, every plant is allowed to tell her own story.
That's one of the things I love most about growing from seed.
We're not simply growing four plants.
We're discovering four different personalities.
Everything inside this tent is built around the Zamnesia ecosystem, while the ladies are growing in Plagron Premium Coco Growbags and being fed exclusively with the Plagron Hydro nutrient line.
Today it's time to spend some quality time with Blue Waffle F1 – Plant B.
⸻
🌱 Week Four – Small Plant, Big Potential
This week felt like another important milestone for Plant B.
While she remains slightly more compact than her sister, she's developing exactly the way I hoped she would. Her internodal spacing stays beautifully tight, the side branches continue to stack evenly around the main stem, and the overall structure is incredibly symmetrical.
Rather than stretching upwards, she's investing her energy into building a strong foundation first.
Personally, I love seeing this type of growth.
Plants like these often become a dream to train later on because they're naturally dense, balanced and eager to fill every available space once they're encouraged to branch out.
The stem continues to thicken nicely, while subtle purple pigmentation is becoming more noticeable on the petioles and main branches, adding another little touch of personality to this phenotype.
⸻
🌡️ The Blue Tent Environment
One of the biggest goals with Project Blue Tent is maintaining consistency.
By keeping every environmental factor as stable as possible, the differences we observe come primarily from the plants themselves rather than changing conditions.
This week's average environmental conditions were:
• 🌡️ Day Temperature: 27°C
• 🌙 Night Temperature: 25°C
• 💧 Relative Humidity: 67%
• ⚗️ pH: 5.8
• ⚡ EC: 1.88 mS/cm
• 💨 CO₂: approximately 450 ppm
• 💡 Light Schedule: 18/6
• ☀️ PPFD: approximately 350
The Zamnesia Phytonaut LED continues providing a beautiful, even light distribution across the entire canopy while the Grow Environment Controller keeps everything running smoothly throughout the day.
Stable conditions allow the plants to focus on one thing...
Growing.
⸻
🥥 Feeding Update – Learning Coco One Week at a Time
One thing that really caught my attention this week was the overall leaf colour.
Just like her sister, Plant B remains incredibly healthy, but she's showing a lighter shade of green than I personally like to see.
Fortunately, plants are excellent communicators.
Before deficiencies become serious, they often give subtle hints that they're ready for a little more nutrition, and I believe that's exactly what these ladies were telling me.
Rather than waiting for problems to develop, I decided to make a gradual adjustment.
The feeding schedule is now:
• Plagron Hydro A — 1.8 ml/L
• Plagron Hydro B — 1.8 ml/L
• Plagron Hydro Roots — 1 ml/L
I also introduced a small amount of Plagron pH Min to help keep the reservoir perfectly stable over longer periods.
One thing that has genuinely impressed me throughout this grow is just how stable the Plagron Hydro line has been.
Once the reservoir is mixed and dialled in, the pH barely moves throughout the entire week. Occasionally it may require the smallest correction, but compared to what I expected when starting coco, the stability has honestly been outstanding.
Coming from years of growing in living soil, I'm really enjoying learning how responsive and predictable coco can be when small adjustments are made instead of large corrections.
Growing really is one continuous learning experience.
⸻
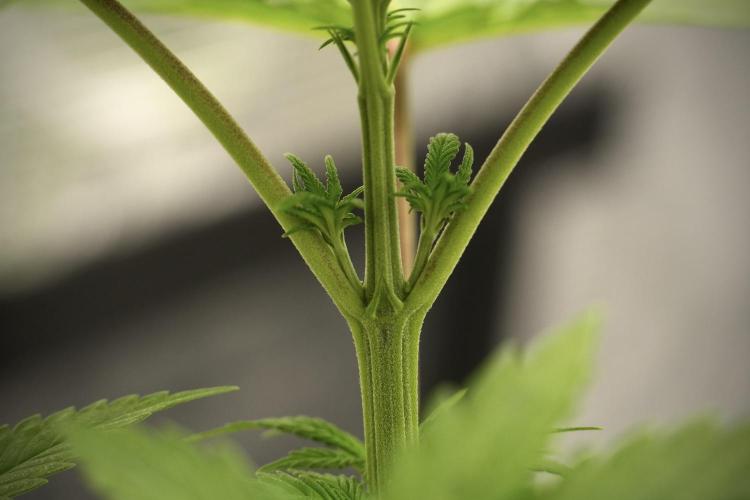
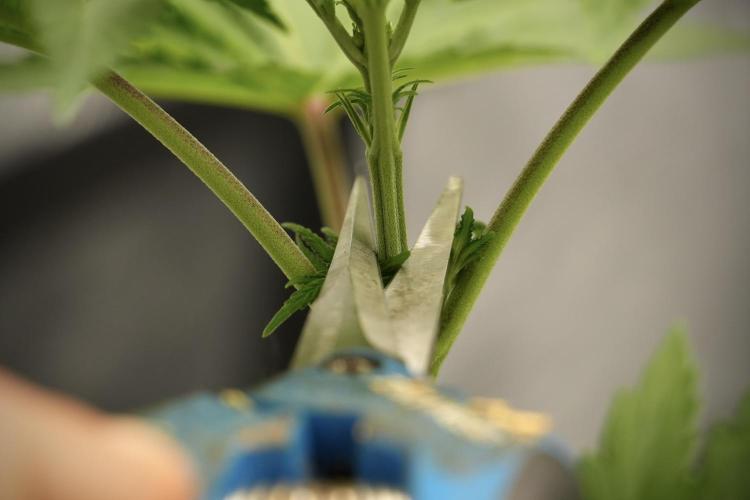
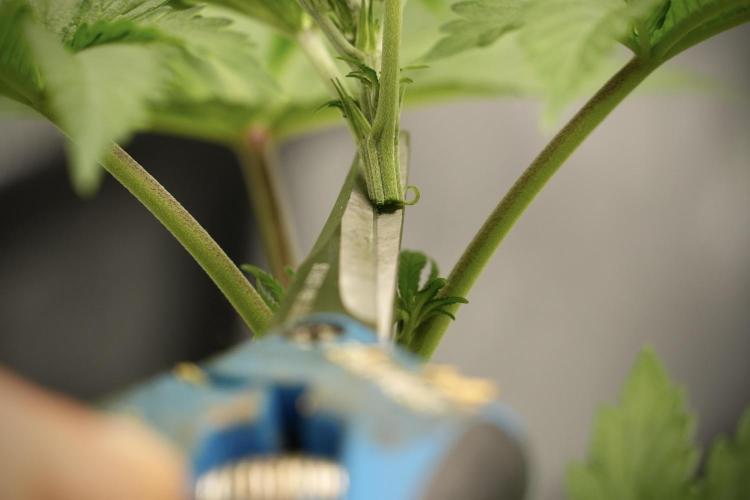
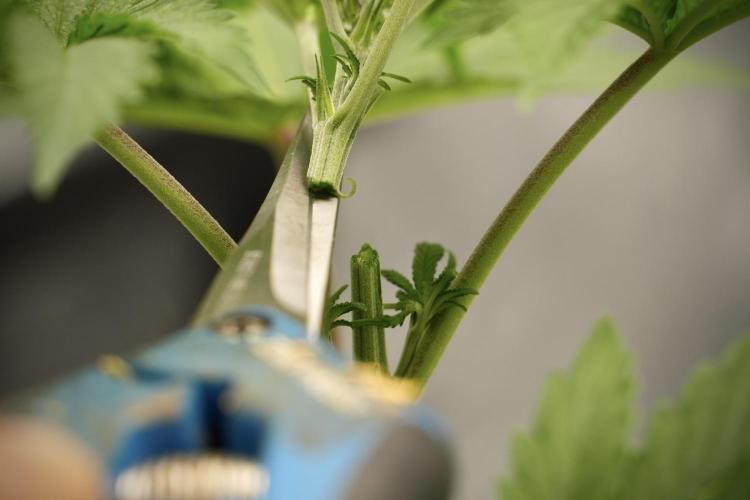
✂️ Topping Day – Building Tomorrow's Canopy
This week also marked Plant B's first High Stress Training session.
She received her very first topping.
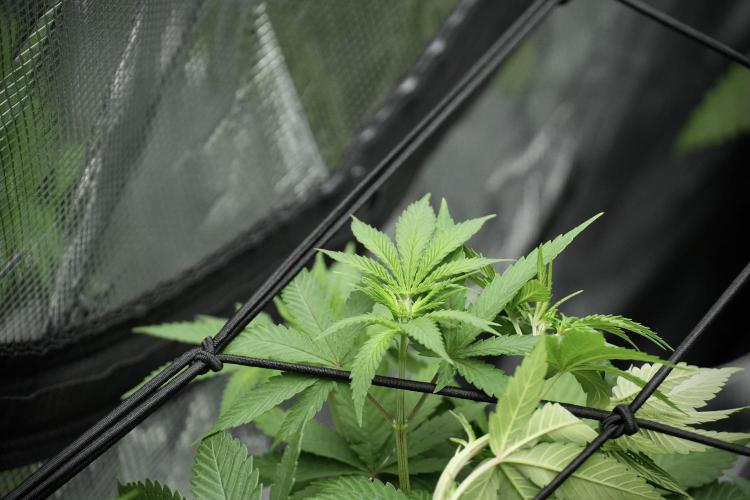
Unlike Low Stress Training, where branches are gently bent into position, topping intentionally removes the plant's main growing tip to interrupt apical dominance.
By doing this, the plant redirects energy into the side branches instead of focusing almost exclusively on one central leader.
Many growers choose to top much earlier, sometimes above the second or third node.
Personally, I prefer allowing the plant to develop a little longer before making that first cut.
Waiting gives me a stronger stem, additional secondary branches and, most importantly, many more growing tips to work with later.
My goal isn't simply to create two tops.
My goal is to build the framework that will eventually fill an entire SCROG net.
Everything we're doing today is preparing these plants for the weeks ahead.
Because topping is considered High Stress Training, timing is important.
I only perform it on vigorous, actively growing plants that are showing strong health.
Although the foliage is still a lighter green than I'd ideally like, Plant B's posture, growth rate and overall vigour clearly showed she was more than ready for the procedure.
The cut itself was made using my Zamnesia Pruning Scissors, giving a clean, precise cut with minimal tissue damage.
Sometimes the smallest tools make the biggest difference.
⸻
🌿 Blue Waffle F1 – Plant B
The more time I spend watching this phenotype, the more I appreciate her personality.
She's compact.
She's balanced.
She's methodical.
Rather than racing upwards, she seems determined to build a solid foundation first.
Every branch appears evenly spaced, the stem continues gaining strength, and even after topping she looks completely unfazed.
It's always fascinating how two sister plants can respond so similarly while still expressing their own unique character.
Plant B feels like the quiet achiever.
She's simply getting on with the job.
⸻
👀 Looking Ahead
Next week should be a very exciting one.
With the feeding now increased and the topping behind her, I'll be watching closely to see how quickly the two new leaders begin taking over.
I'm expecting the canopy to start opening naturally as the side branches accelerate and the overall structure becomes wider.
Over the coming weeks we'll continue shaping these ladies, preparing them for the SCROG while allowing each phenotype to reveal more of its own personality.
The adventure is only just beginning.
⸻
💙 Thank You
A huge thank you goes to Zamnesia for making Project Blue Tent possible, from these fantastic Blue Waffle F1 genetics to the complete ecosystem surrounding this grow.
A heartfelt thank you as well to Plagron for providing the Premium Coco Growbags together with the Hydro nutrient line that continues teaching me something new every single week.
Thank you to GrowDiaries for giving growers from around the world a place to document their journeys, learn from one another and build such an incredible community.
And finally...
Thank you to every single person following along.
Whether you've been here since day one, recently discovered these diaries, leave comments every week, quietly observe from the background or simply enjoy watching these plants develop, your support truly means a lot.
I hope you're all having an amazing week, and I can't wait to show you how these beautiful ladies continue evolving in the next update.
Until then...
Growers Love, happy growing, and I'll see you all next week. 🌱💙
P.S. One thing I love about documenting every single step is that these diaries become more than simple grow logs. Hopefully someone who has never topped a plant before can look at this week's photos, understand the process, see exactly where the cut was made, and feel a little more confident when the time comes to do it themselves. If these updates help even one grower become more confident with their own garden, then they've already achieved something special. 💙🌱
10 likes
2 comments
Share
Used techniques
Topping
Technique
5
Week 5. Vegetation
1mo ago
1/30
66 cm
Height
18 hrs
Light Schedule
30 °C
Day Air Temp
5.8
pH
No Smell
Smell
960 PPM
TDS
58 %
Air Humidity
18 °C
Solution Temp
24 °C
Substrate Temp
25 °C
Night Air Temp
8 liters
Pot Size
1.2 liters
Watering Volume
450 PPM
CO₂ Level
Nutrients 5
Hydro A
1.9 mll
Hydro B
1.9 mll
Hydro Roots
1 mll
DogDoctorOfficial 💙 Project Blue Tent – Week 5
Blue Waffle F1 – Pheno B (Folder 13B)
Hello everyone, and welcome back to another chapter of Project Blue Tent.
For anyone discovering these diaries for the first time, this project follows four individual Blue Waffle F1 plants from Zamnesia from seed to harvest. Every plant grows inside the exact same environment, under the same lighting, receives the same nutrition and follows the same schedule.
The only variable...
The genetics.
Watching each phenotype develop its own personality while removing as many environmental variables as possible is exactly what makes this project so fascinating.
Today we're checking in with Plant B.
🌱 Week Five – Finding Her Rhythm
If last week was about recovery after topping, this week was all about momentum.
Plant B responded beautifully to the cut, quickly redirecting her energy into the new leading shoots while the lower branches accelerated their own growth.
She's still carrying that compact structure I mentioned previously, but she's beginning to spread out much more naturally now. The canopy is becoming wider, the internodal spacing remains wonderfully tight, and every branch seems determined to compete for the top.
One thing that continues to impress me is how symmetrical she is becoming.
She almost looks like she planned every branch herself.
The stem has thickened considerably over the past week, giving me confidence that she'll comfortably support the heavy flowers later in the grow.
🌡️ Blue Tent Environment
Consistency continues to be the biggest priority inside the Blue Tent.
This week's average conditions were:
• 🌡️ Day Temperature: 30°C
• 🌙 Night Temperature: 25°C
• 💧 Relative Humidity: 58%
• ⚗️ pH: 5.8
• ⚡ EC: 1.92 mS/cm
• 💨 CO₂: 450 ppm
• 💡 Light Schedule: 18/6
• 💧 Irrigation: 1.2 litres per plant per day
Although daytime temperatures climbed slightly this week, the plants continued growing vigorously with no signs of stress, demonstrating just how resilient healthy plants become when the root zone remains stable.
🥥 Feeding & Irrigation
One of the biggest differences between this project and my previous organic soil grows is the irrigation strategy.
Because coco doesn't store nutrients the same way soil does, the plants are fed little and often rather than receiving larger irrigations every few days.
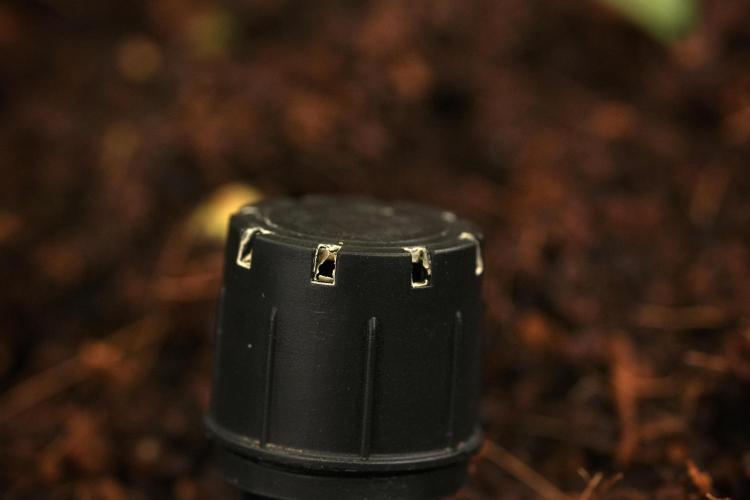
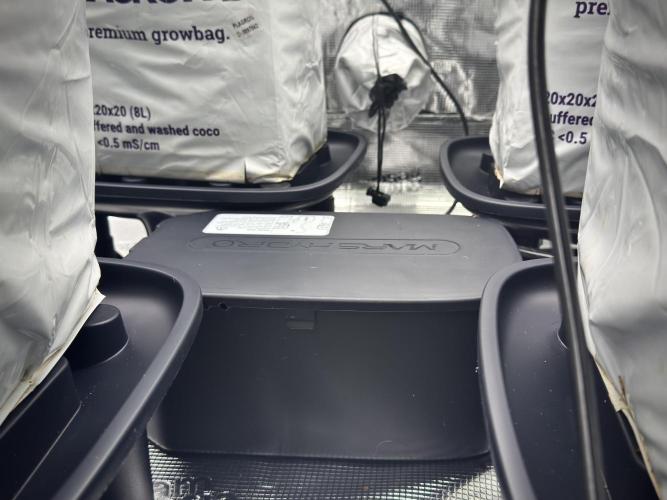
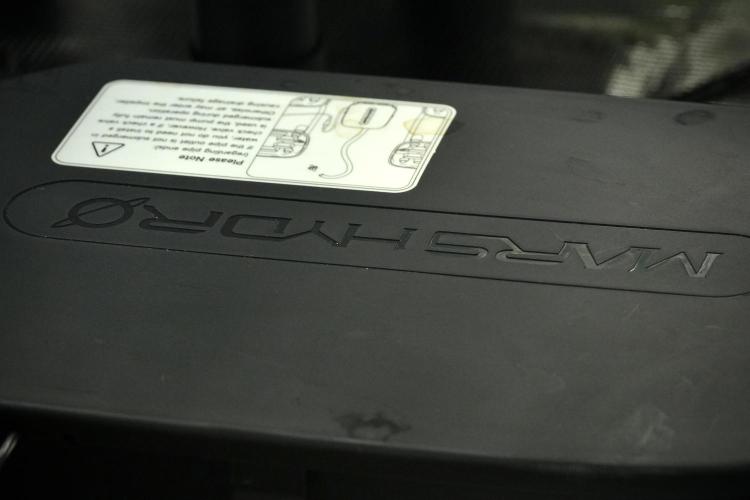
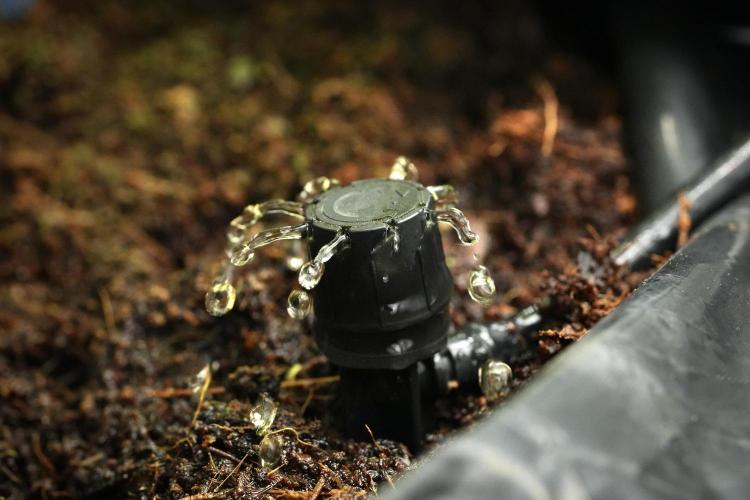
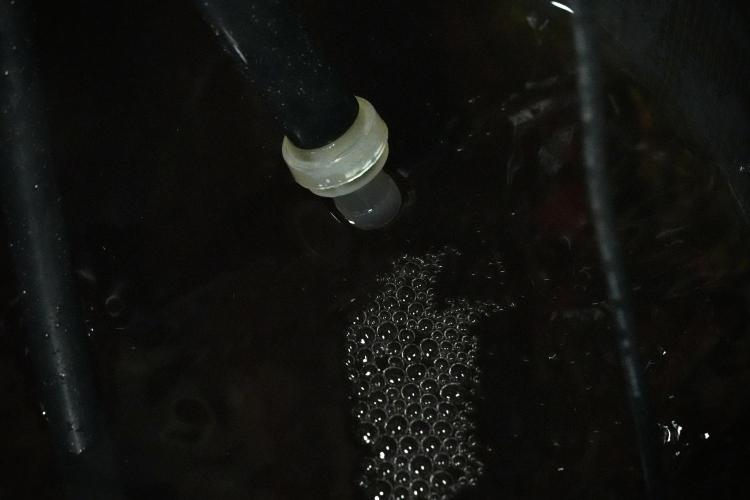
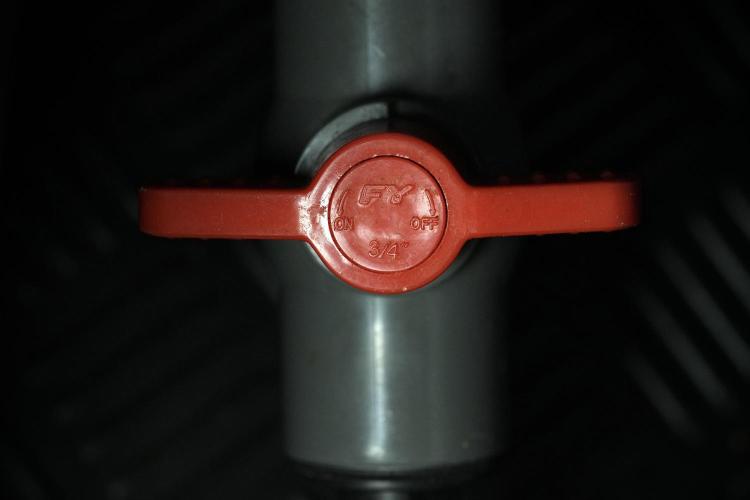
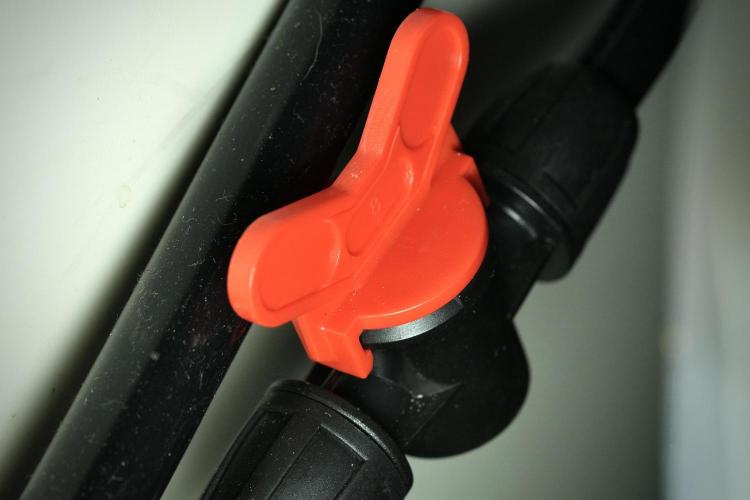
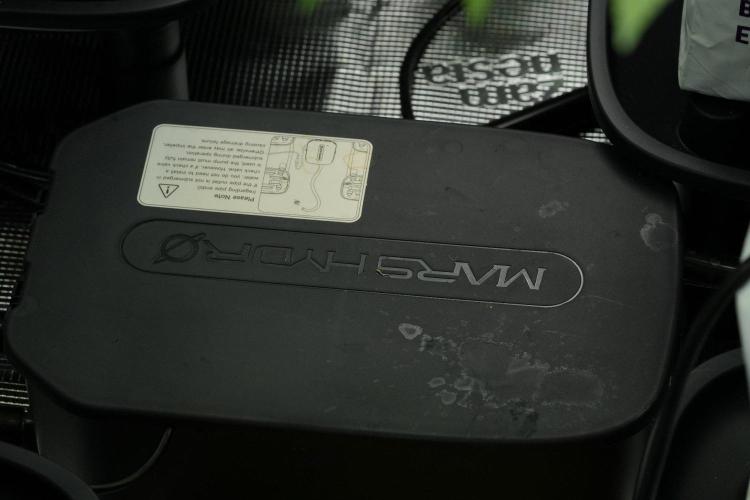
Each plant now receives approximately 1.2 litres of nutrient solution every day through the automatic Mars Hydro drip irrigation system.
A drip irrigation system slowly delivers nutrient solution directly onto the growing medium through small emitters positioned at each plant. Rather than watering by hand, every irrigation is delivered evenly and consistently, ensuring every plant receives exactly the same amount.
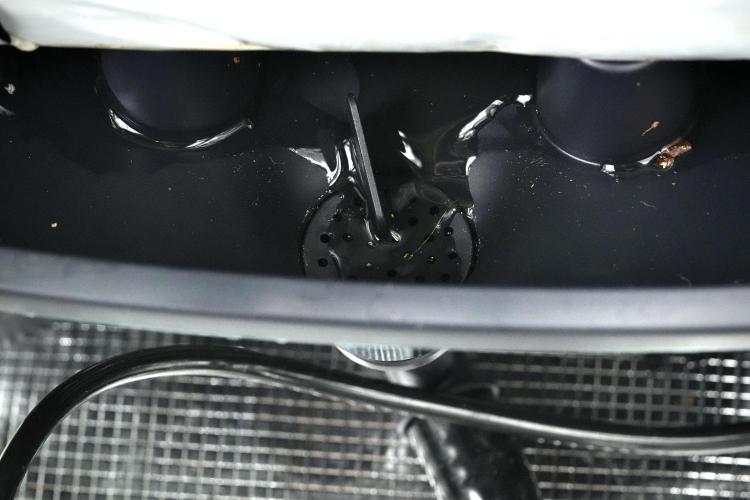
Once the nutrient solution has travelled through the coco, the excess runoff drains away through the automatic drainage system beneath each grow bag.
This is just as important as the irrigation itself.
Removing runoff prevents old nutrient solution from accumulating around the roots, helping maintain a healthier and more stable root environment while dramatically reducing the daily workload.
As someone who has spent years hand-watering plants, I genuinely appreciate how much time this system saves while improving consistency at the same time.
The current feeding schedule is:
• Plagron Hydro A — 1.9 ml/L
• Plagron Hydro B — 1.9 ml/L
• Plagron Hydro Roots — 1 ml/L
The slight increase from last week continues producing exactly the response I was hoping for, with richer colour and strong, healthy new growth.
🕸️ Preparing the SCROG
This week also marked another exciting milestone.
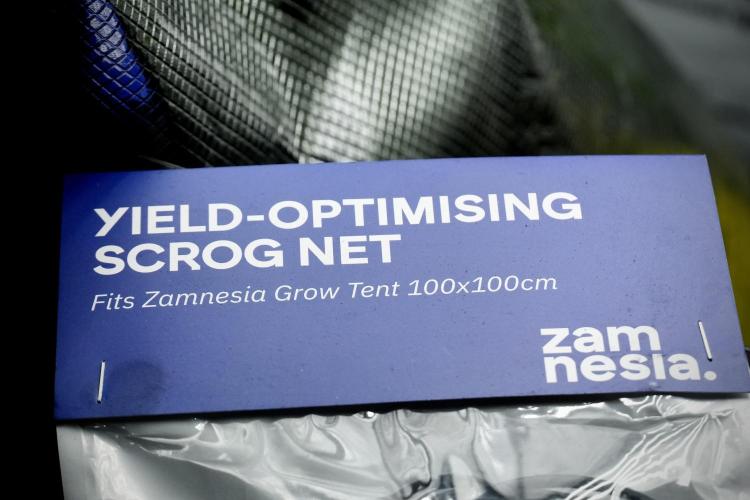
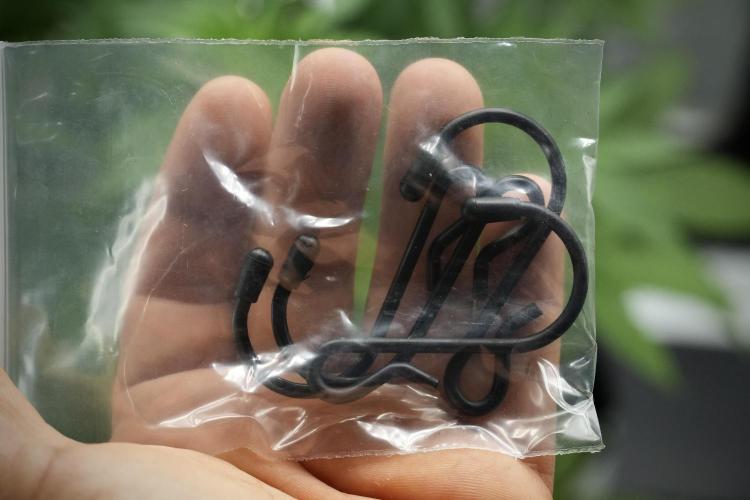
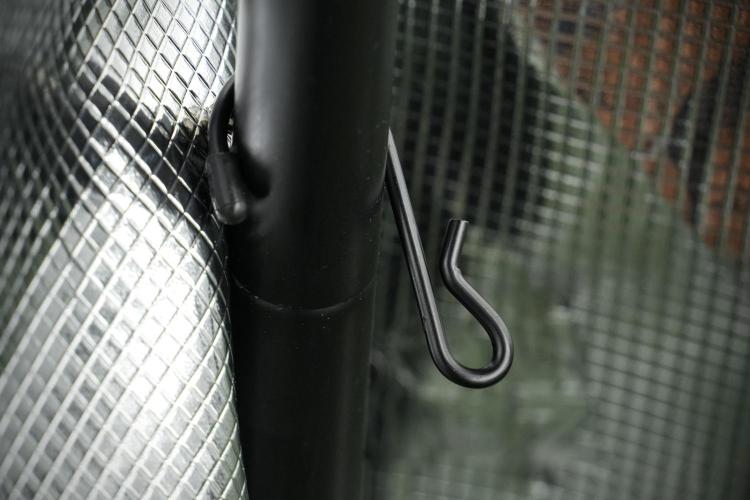
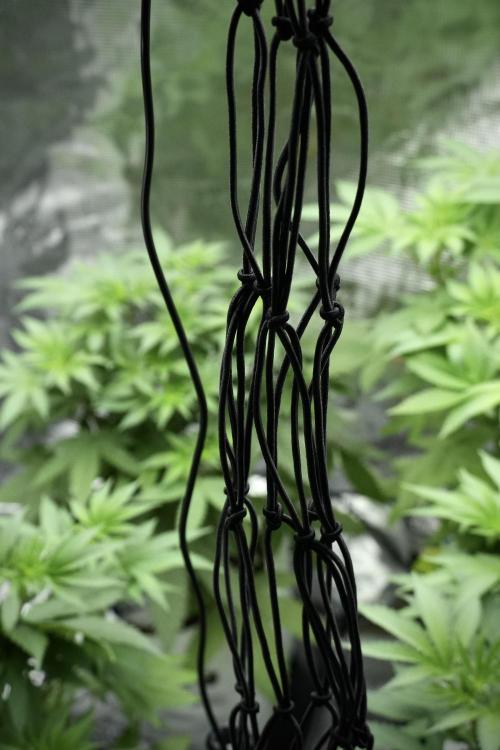
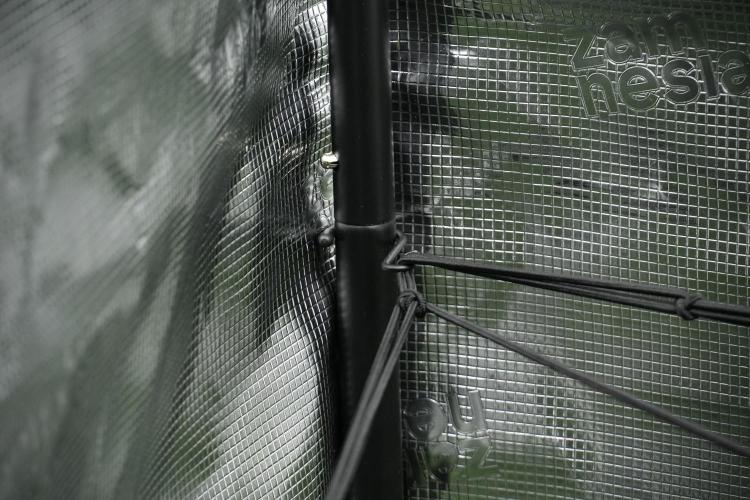
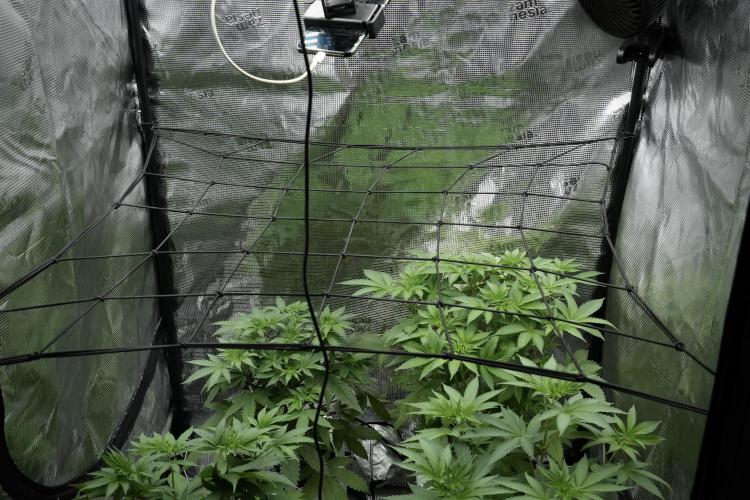
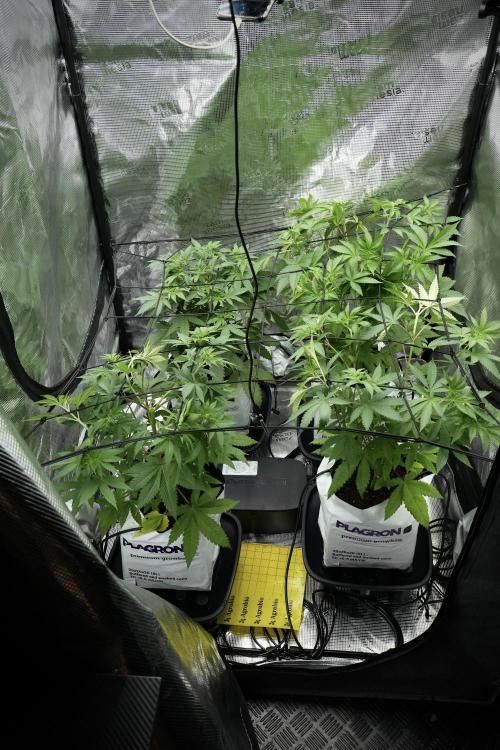
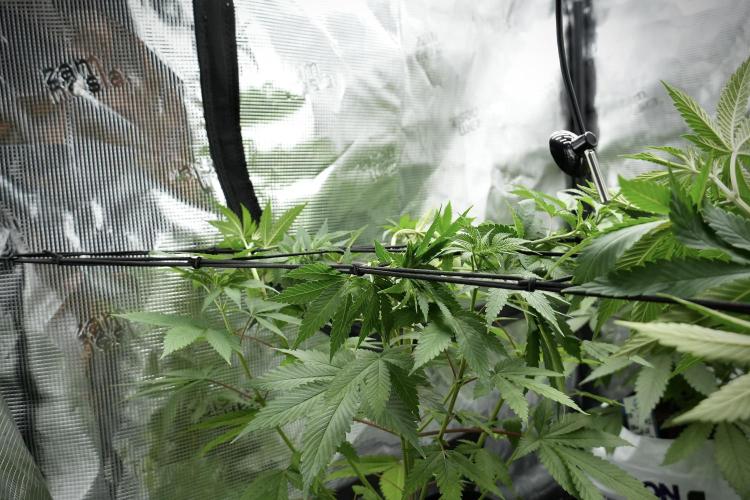
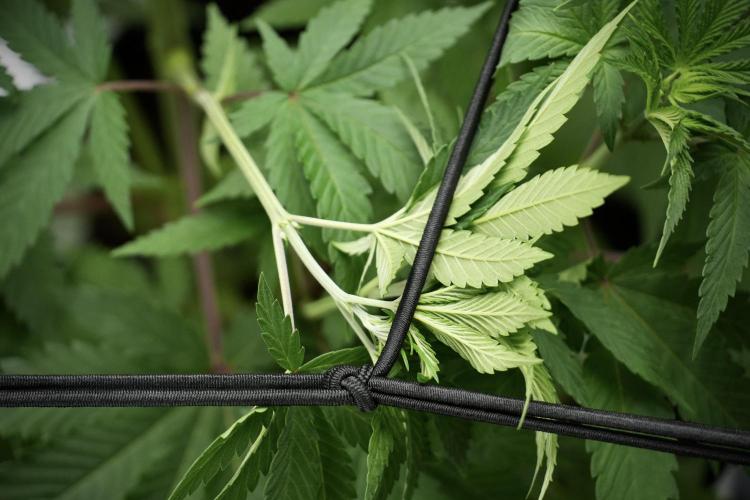
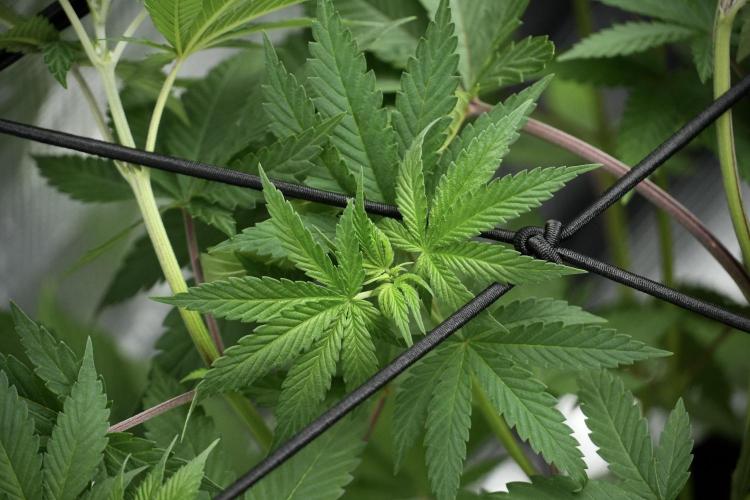
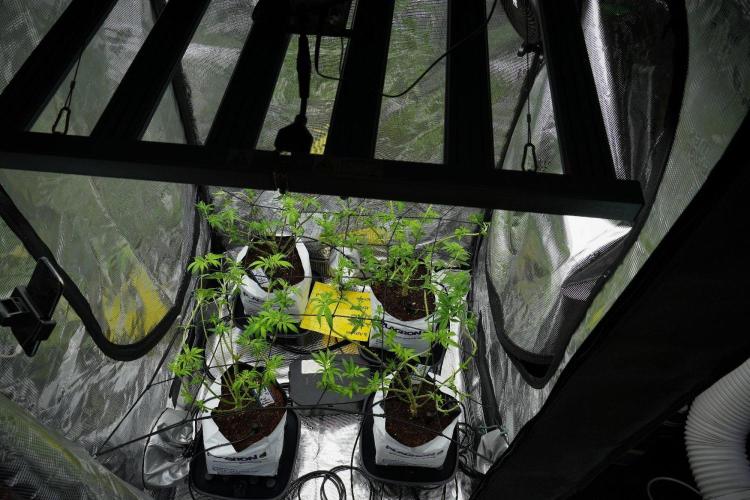
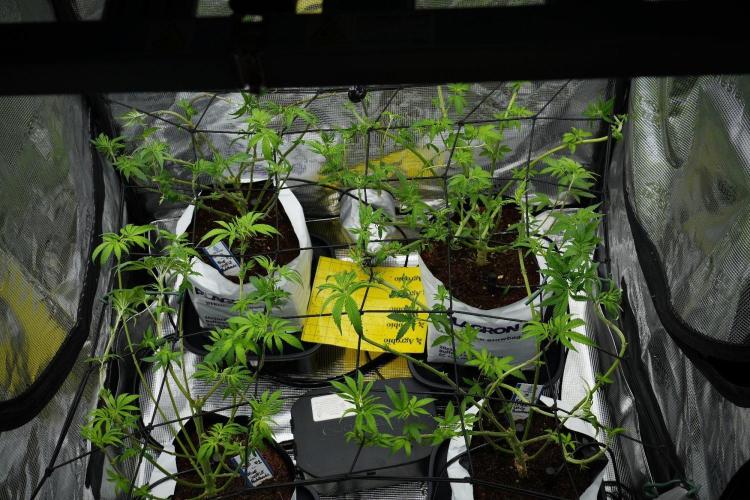
The SCROG net officially entered the grow.
SCROG stands for Screen Of Green.
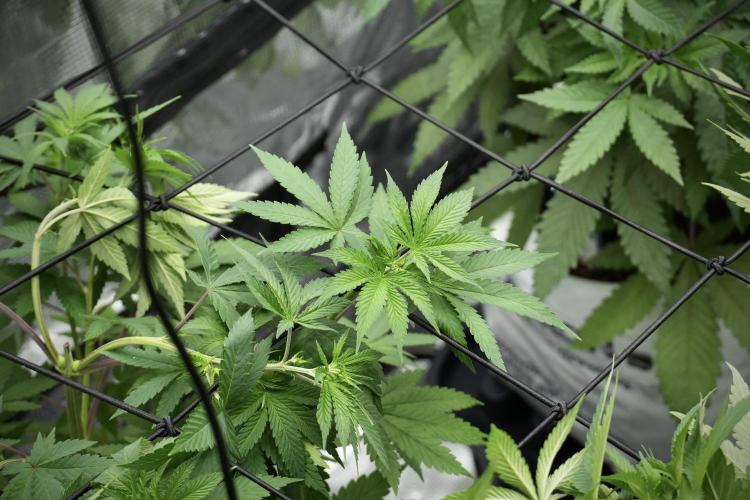
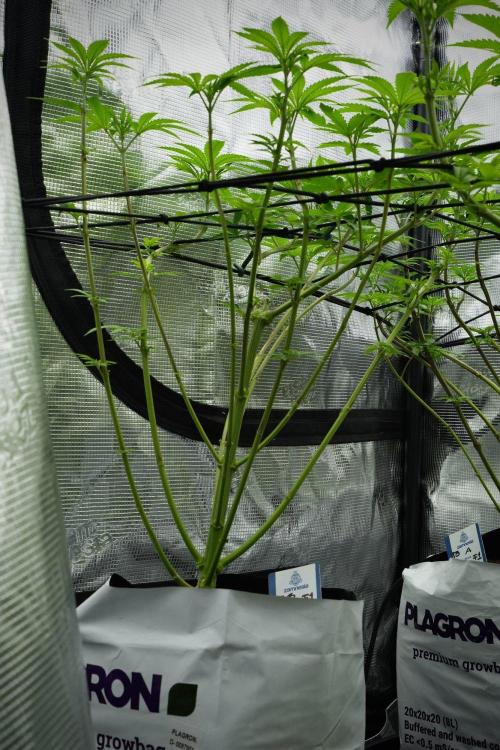
Rather than allowing each branch to grow vertically on its own, a horizontal net is placed above the canopy. As branches grow through the openings they're gently guided sideways, encouraging the plant to spread across the entire growing area.
Instead of producing one dominant cola, the plant develops dozens of equally exposed flowering sites.
The result is a flatter canopy, more efficient light distribution and, hopefully, a much larger overall harvest.
At this stage the net isn't there to hold flowers.
It's there to guide the architecture of the plant.
Over the coming weeks I'll continue weaving each branch through the net one square at a time, allowing the canopy to fill naturally before flowering begins.
Watching this process unfold is honestly one of my favourite parts of growing.
🌿 Blue Waffle F1 – Plant B
Plant B continues living up to the personality she's been developing since the beginning.
Calm.
Balanced.
Methodical.
She isn't trying to be the tallest plant in the tent.Instead she's quietly building an incredibly organised structure that should become a fantastic SCROG candidate over the next few weeks.
Sometimes the plants that grow the slowest early on end up delivering the biggest surprises later.
I'm very curious to see whether she's one of them.
👀 Looking Ahead
Next week should be all about training.
With the SCROG now installed and both new leaders growing strongly after topping, the real canopy shaping begins.
From here onwards the objective changes completely.
We're no longer trying to grow taller plants.
We're trying to grow wider ones.
Every branch will now be guided with one simple goal...
To create an even canopy capable of making the absolute most of every photon produced by the Zamnesia Phytonaut LED.
The adventure is becoming even more exciting.
💙 Thank You
A huge thank you goes to Zamnesia for making Project Blue Tent possible, from these incredible Blue Waffle F1 genetics to the complete ecosystem surrounding this grow.
A heartfelt thank you to Plagron for providing the Premium Coco Growbags together with the Hydro nutrient line that continues making my transition into coco both enjoyable and educational.
A special thank you to Mars Hydro for the automatic drip irrigation and drainage system that has become an essential part of this project. Although this isn't a sponsored product, it's one of those pieces of equipment that simply works. It has brought consistency, cleanliness and peace of mind to the grow room while allowing me to spend more time with the plants and less time managing runoff.
Thank you to GrowDiaries for giving growers from all around the world a place to document their journeys, learn from one another and build such an incredible community.
And finally...
Thank you to every single person reading these updates.
Whether you've been here since the first seed cracked, recently discovered Project Blue Tent, leave comments every week, quietly follow along, or simply enjoy the photographs, every visit, every conversation, every question and every word of encouragement helps make this journey even more rewarding.
I hope you're all having an amazing week, and I can't wait to share the next chapter of this adventure with you.
Until then...
Growers Love, happy growing, and I'll see you all next week. 🌱💙
16 likes
2 comments
Share
Used techniques
ScrOG
Technique
6
Week 6. Vegetation
1mo ago
1/30
60 cm
Height
18 hrs
Light Schedule
30 °C
Day Air Temp
5.8
pH
No Smell
Smell
960 PPM
TDS
58 %
Air Humidity
18 °C
Solution Temp
24 °C
Substrate Temp
25 °C
Night Air Temp
8 liters
Pot Size
1.2 liters
Watering Volume
450 PPM
CO₂ Level
Nutrients 5
Hydro A
1.9 mll
Hydro B
1.9 mll
Hydro Roots
1 mll
DogDoctorOfficial 💙 Project Blue Tent – Week 6
Blue Waffle F1 – Pheno B (Folder 13B)
Hello everyone, and welcome back to another chapter of Project Blue Tent.
If you're joining the adventure for the first time, welcome! This project follows four individual Blue Waffle F1 plants from Zamnesia, all growing inside exactly the same environment, under the same lighting, receiving the same nutrition and following the same training schedule.
Everything is identical.
The only difference is the seed itself.
That's what makes this project so interesting. Watching genetically stable F1 plants develop their own subtle personalities while removing as many environmental variables as possible allows us to really appreciate both their consistency and their individuality.
Today we're checking in with Plant B.
────────────────────────
🌱 Week Six – Building the Canopy
Another fantastic week has passed inside the Blue Tent, and Plant B continues proving why I'm becoming such a fan of these Blue Waffle F1 genetics.
After installing the SCROG net last week, the objective has completely changed.
We're no longer trying to grow taller plants.
Now we're growing sideways.
Since tightening the SCROG net, all four plants are sitting at roughly the same height—around 60 cm—as the branches are continuously guided beneath the screen instead of being allowed to grow vertically.
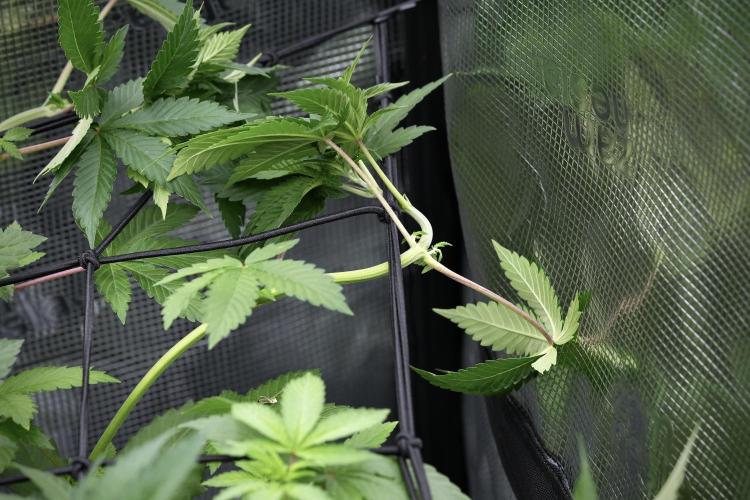
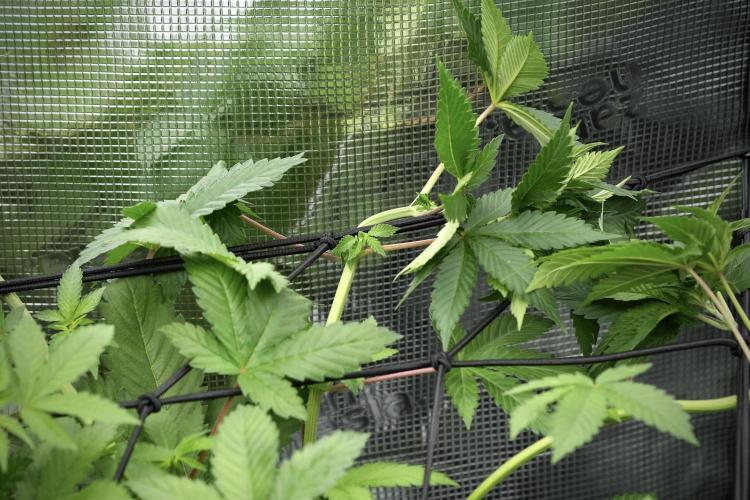
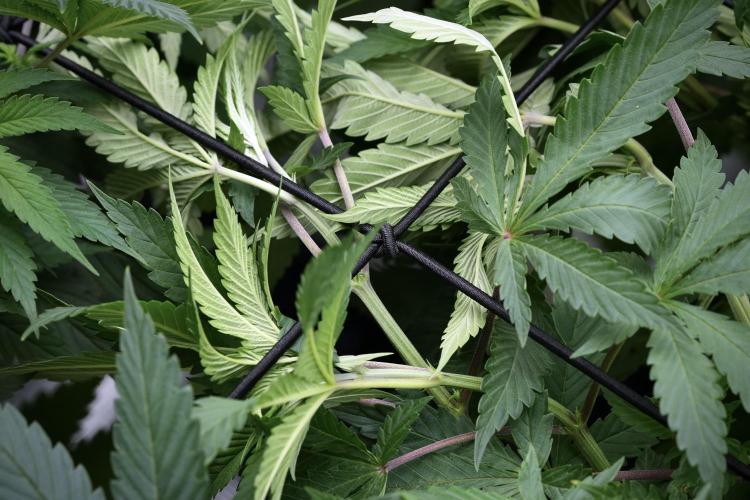
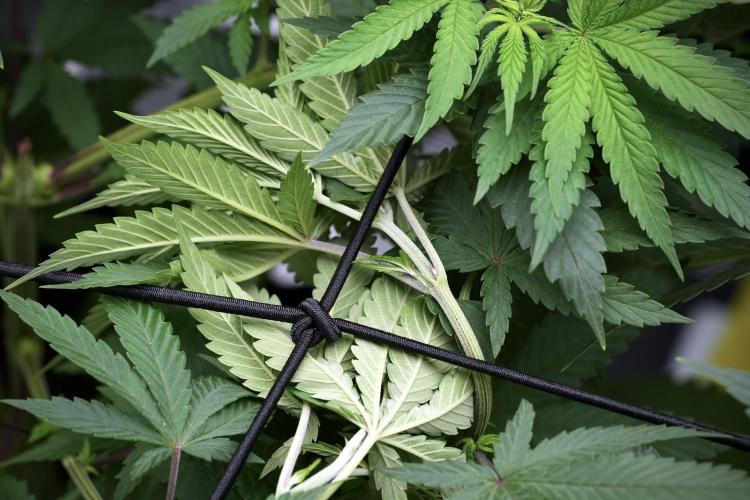
Every day I spend a few minutes gently tucking the tallest branches back underneath the net. As soon as one shoot rises above the canopy, it's carefully guided into the next square, allowing another branch to catch up.
It's a slow process.
But it's also one of the most satisfying parts of growing.
The reward comes later, when every flowering site receives nearly identical light intensity across the entire canopy.
Plant B has responded beautifully.
She's steadily filling her section of the tent and showing exactly the kind of structure I was hoping for.
────────────────────────
🌿 A Stable F1 Showing Her Strength
One thing becoming increasingly obvious is just how stable these F1 genetics really are.
Although each plant has its own small personality, all four sisters are developing remarkably similarly.
The structure...
The vigour...
The colour...
The response to feeding...
Everything is wonderfully consistent.
Plant B has maintained her compact, organised architecture while expanding nicely across the screen.
The rich green colour has fully returned after increasing the nutrient strength a couple of weeks ago, and the new growth is healthy, vibrant and full of energy.
Looking across the tent now, it's honestly difficult not to smile.
The girls simply look happy.
────────────────────────
🌡️ Blue Tent Environment
The environment has remained very stable once again despite the summer heat outside.
This week's average conditions were:
• Day Temperature: 30°C
• Night Temperature: 25°C
• Relative Humidity: 58%
• pH: 5.8
• EC: 1.92 mS/cm
• CO₂: approximately 450 ppm
• Light Schedule: 18/6
• Irrigation: 1.2 litres per plant per day
The warm nights are something I'll be keeping an eye on once flowering begins, as higher night temperatures can encourage a little extra stretch during the first weeks after the flip.
That's tomorrow's problem though.
Today our only objective is filling every square of that SCROG.
────────────────────────
🥥 Feeding & Irrigation
Nothing changes this week because the plants have given me absolutely no reason to change anything.
The feeding schedule remains:
• Plagron Hydro A — 1.9 ml/L
• Plagron Hydro B — 1.9 ml/L
• Plagron Hydro Roots — 1 ml/L
With only small pH adjustments whenever required.
Some growers may look at an EC of 1.92 and think it's relatively high.
My plants disagree.
Their colour is rich.
The leaves are praying.
Growth is vigorous.
The stems continue thickening every day.
Plants don't care what feeding chart someone else follows.
They care whether their own needs are being met.
These girls have made their opinion very clear.
────────────────────────
💧 Drip Irrigation & Automatic Drainage
The Mars Hydro drip irrigation system continues making life wonderfully easy.
Each plant receives approximately 1.2 litres of nutrient solution every day, delivered slowly and evenly through individual drippers positioned above each grow bag.
Once the nutrient solution has passed through the coco, the runoff is automatically collected and removed by the drainage system installed beneath the pots.
Together these two systems create an incredibly consistent root environment while removing much of the daily workload that normally comes with coco growing.
Instead of carrying watering cans...
I get to spend my time watching plants.
That's a trade I'll happily make every day.
────────────────────────
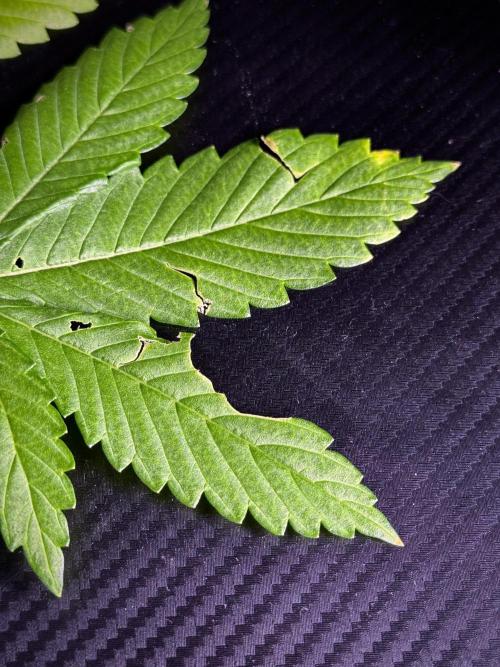
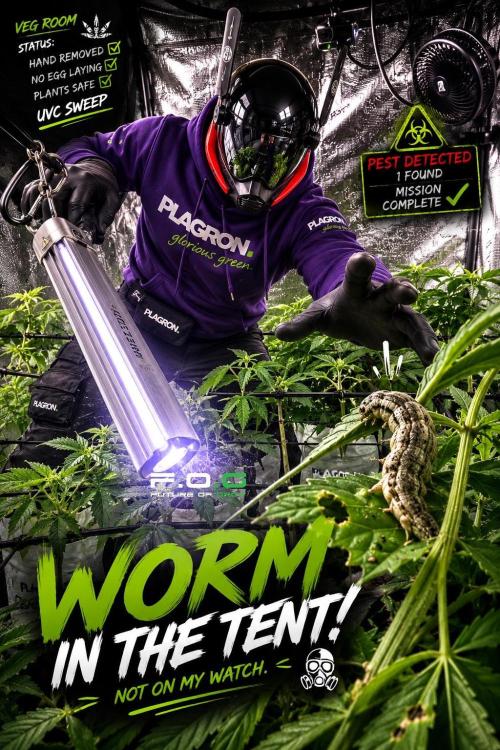
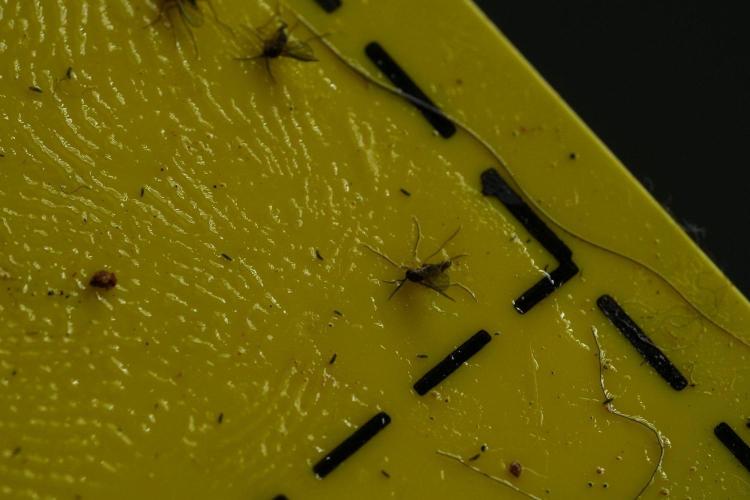
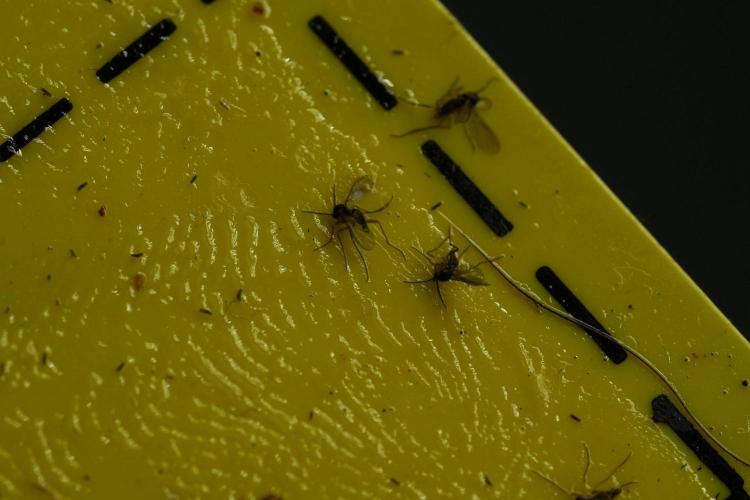
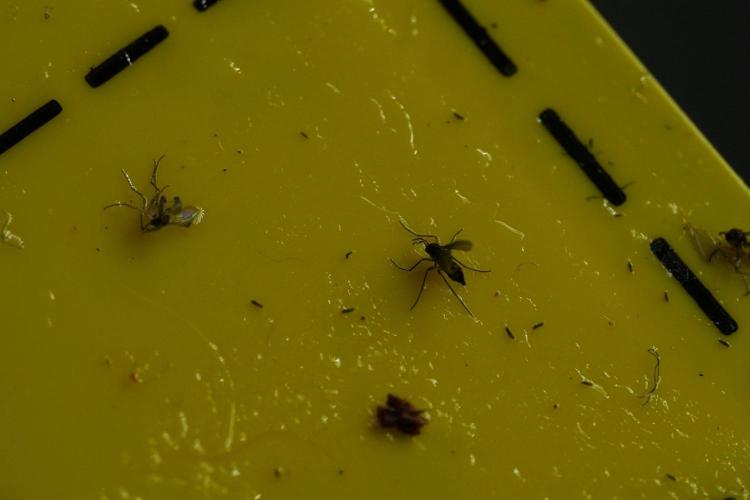
🐛 The Caterpillar Who Chose The Wrong Plant
Every garden eventually reminds us that nature always finds a way.
This week, Plant B became the only sister to receive an unexpected visitor.
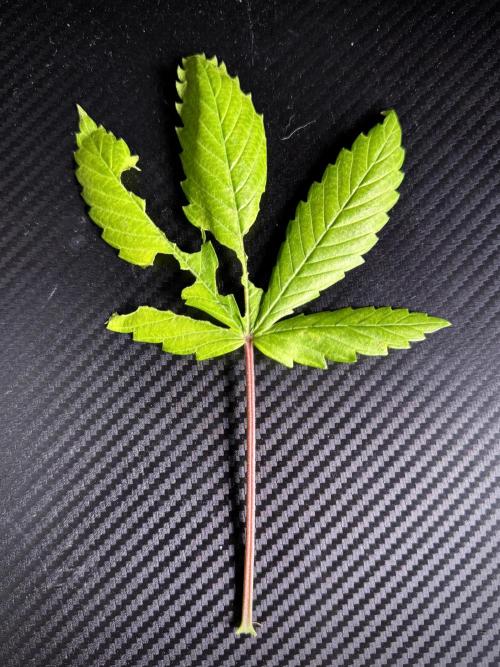
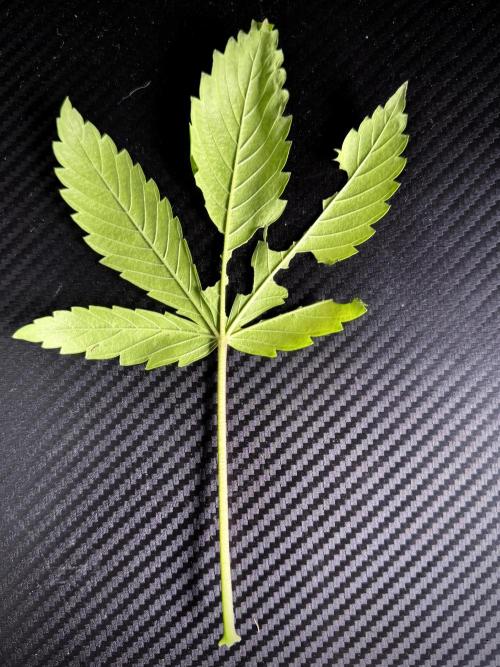
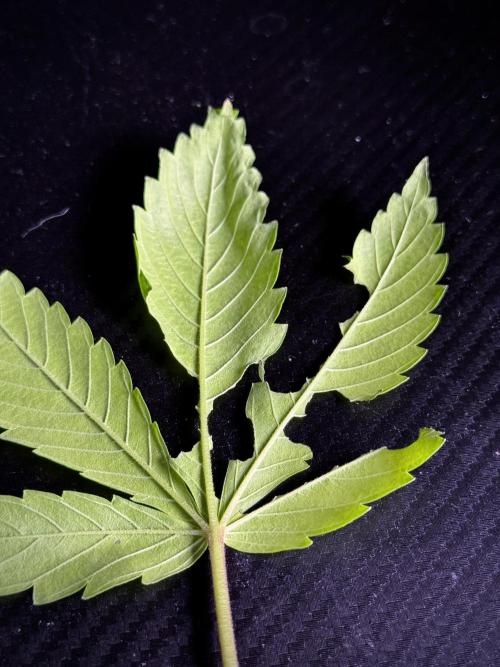
Somehow a tiny caterpillar managed to hitchhike its way from my vegetable garden into the Blue Tent and decided that Plant B's beautiful leaves looked particularly delicious.
I have to admit...
She must have looked especially healthy if even the caterpillar couldn't resist having a taste!
Fortunately, regular daily inspections meant the damage was caught almost immediately.
The caterpillar was removed by hand, the affected leaves were carefully trimmed away, and the problem never had an opportunity to develop into anything more serious.
It also served as a perfect reminder that no matter how careful we are—and I always shower, change clothes and enter the grow room as clean as possible—nature can still surprise us from time to time.
Clean habits reduce risk.
Regular observation eliminates it.
────────────────────────
🛡️ Integrated Pest Management
Following the discovery, the entire tent received a thorough IPM (Integrated Pest Management) inspection.
IPM isn't about waiting until pests become a problem.
It's about combining good hygiene, regular inspections and preventative practices so problems are found while they're still tiny.
As an additional precaution, I also used the Future of Grow UVC LED bar.
Used correctly, UVC light can help reduce unwanted spores and microorganisms that may have entered the grow room, making it another useful preventative tool within an overall IPM strategy.
It's important to mention that UVC should always be handled carefully.
Direct exposure can damage both plants and skin, so eye protection and proper safety procedures are essential whenever using this type of equipment.
Thankfully...
One hungry caterpillar became nothing more than a short interruption to an otherwise fantastic week.
────────────────────────
🌿 Plant B Herself
Plant B continues becoming one of the easiest plants to train inside the tent.
Her branches remain flexible, her internodal spacing is excellent and she seems perfectly happy being guided beneath the SCROG every single day.
She's not racing ahead.
She's building a beautifully organised framework that should become an outstanding flowering canopy once the time comes.
Every week she seems a little fuller.
Every week she looks a little stronger.
And every week these Blue Waffle genetics impress me a little more.
────────────────────────
👀 Looking Ahead
If everything continues progressing at this pace, I expect the screen to be almost completely filled by next week.
Once that happens, the next major milestone will be a final clean-up and defoliation before flipping the Blue Tent into flower.
Until then the routine stays wonderfully simple.
Guide the branches.
Maintain the environment.
Keep the roots happy.
Trust the process.
Nature already knows what she's doing.
We're simply helping her do it a little more efficiently.
────────────────────────
💙 Thank You
A huge thank you to Zamnesia for making Project Blue Tent possible, from these incredibly stable Blue Waffle F1 genetics to the complete ecosystem surrounding this grow.
A heartfelt thank you to Plagron for providing the Premium Coco Growbags together with the Hydro nutrient line that continues producing beautiful, healthy growth week after week.
A special thank you to Mars Hydro for the automatic drip irrigation and drainage system that has transformed daily watering into an almost effortless routine.
A huge thank you as well to Future of Grow for the UVC LED bar, which has now become another valuable tool in my preventative IPM routine.
Thank you to GrowDiaries for providing this amazing platform where growers from around the world can learn from one another, share experiences and document our journeys.
And finally...
Thank you to every single one of you following Project Blue Tent.
Whether you've been here since germination, recently joined the adventure, leave comments every week or simply enjoy looking through the photos, your support genuinely means the world to me.
Hopefully next week the screen will be completely filled, we'll perform our final defoliation and begin preparing these beautiful ladies for the next exciting chapter...
Flowering.
Until next week...
Growers Love, happy growing, and I'll see you all soon. 🌱💙
9 likes
2 comments
Share
Used techniques
ScrOG
Technique
7
Week 7. Vegetation
9d ago
1/30
60 cm
Height
18 hrs
Light Schedule
28 °C
Day Air Temp
5.8
pH
No Smell
Smell
960 PPM
TDS
65 %
Air Humidity
18 °C
Solution Temp
24 °C
Substrate Temp
25 °C
Night Air Temp
8 liters
Pot Size
1.2 liters
Watering Volume
450 PPM
CO₂ Level
Nutrients 5
Hydro A
1.9 mll
Hydro B
1.9 mll
Hydro Roots
1 mll
DogDoctorOfficial 💙 Project Blue Tent – Week 7
Blue Waffle F1 – Pheno B (Folder 13B)
Hello everyone, and welcome back to another chapter of Project Blue Tent! 💙🌱
If you're joining us for the first time, welcome aboard.
Project Blue Tent follows four individual Blue Waffle F1 plants from Zamnesia, each documented separately from seed all the way through harvest.
All four sisters share the same environment, lighting, nutrition, irrigation and training techniques.
The idea is simple:
Keep the environment as consistent as possible and let the genetics tell the story.
And despite all those similarities, each plant still manages to develop her own little personality.
Today we're checking in with Blue Waffle F1 – Plant B.
And if you've been following her journey...
You might remember that this is the girl who had a rather unexpected visitor last week. 🐛
Don't worry.
She's absolutely fine.
In fact, judging by the way she's growing...
She seems to have completely forgotten it ever happened.
────────────────────────
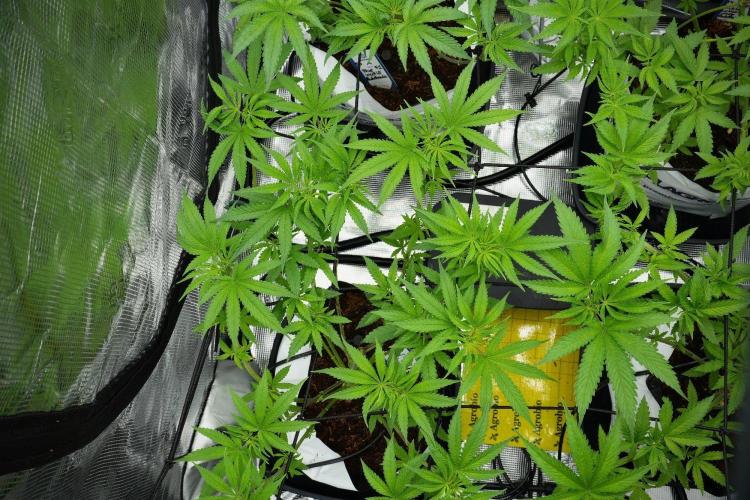
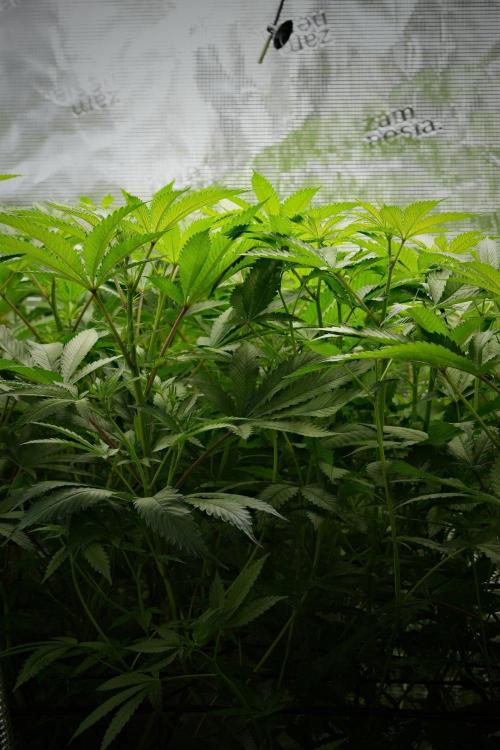
🌿 Week Seven – The Canopy Is Ready
This week feels like the end of one chapter and the beginning of another.
For several weeks we've been building the canopy.
Topping.
Training.
Guiding branches.
Installing the SCROG.
Tucking shoots underneath the net.
Slowly filling every available space.
And now...
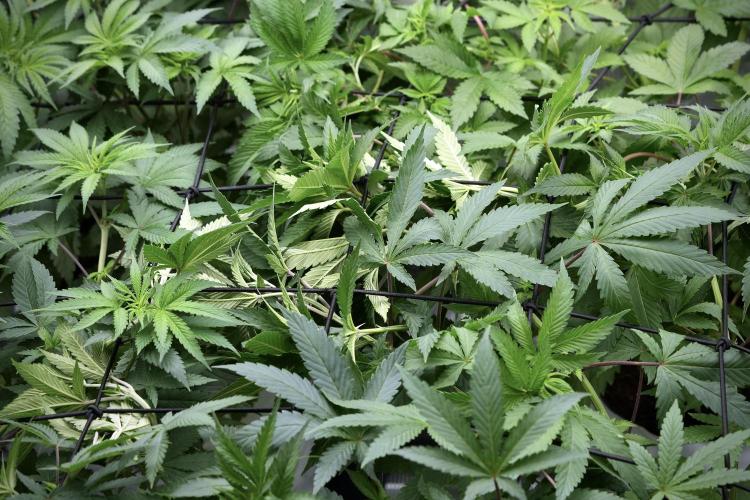
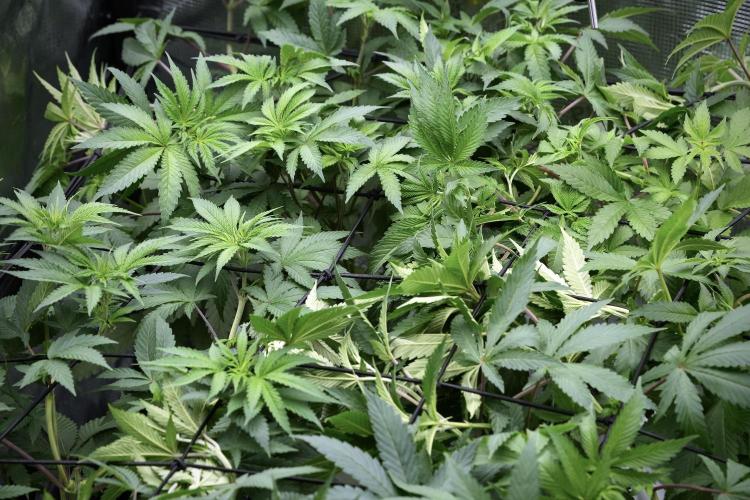
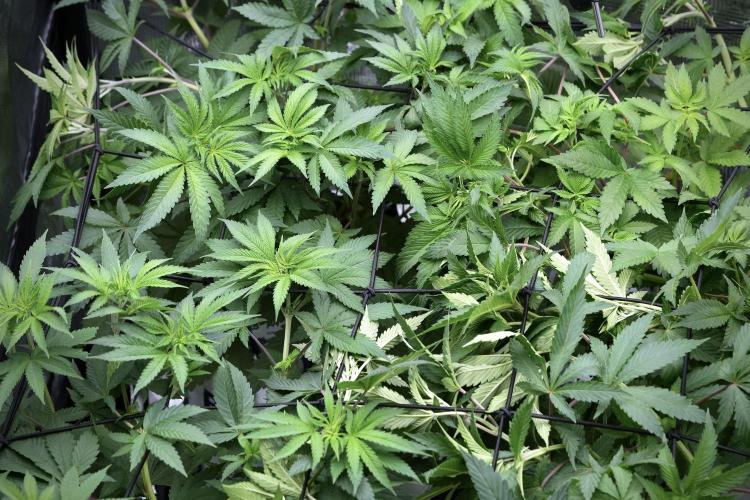
We've done it.
The canopy is essentially where I want it.
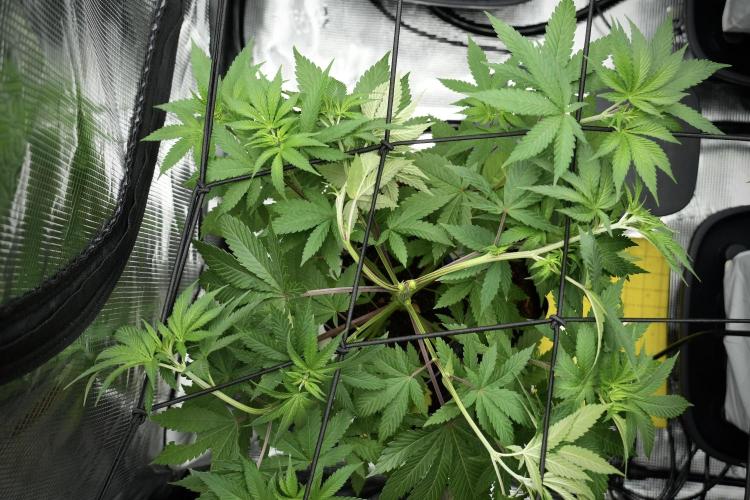
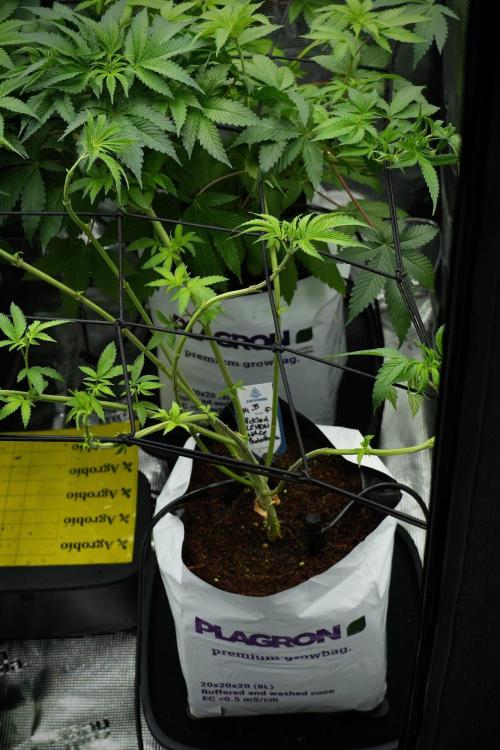
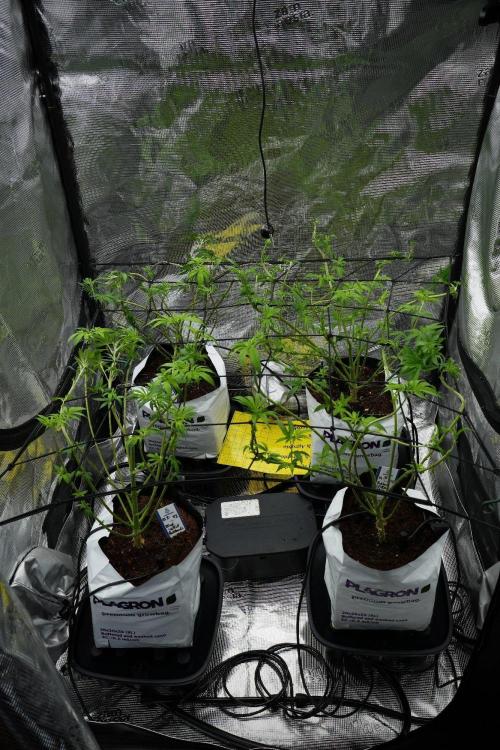
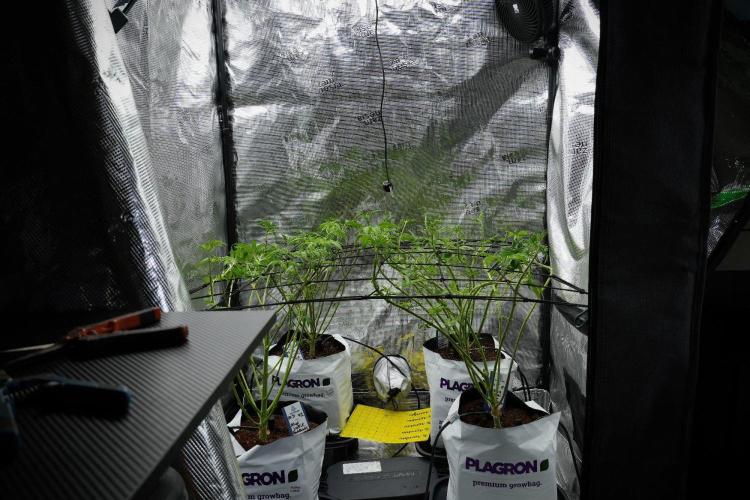
Plant B is sitting at approximately 60 cm, just like her sisters, with the SCROG keeping the plants at a remarkably even height.
Looking from above, it's becoming increasingly difficult to distinguish one phenotype from another.
That's actually one of the most fascinating things about this project.
Four individual plants.
Four individual diaries.
And yet, under identical conditions, they're producing an incredibly uniform overall canopy.
Plant B has once again filled her section beautifully.
She's healthy, vigorous and absolutely covered in potential flowering sites.
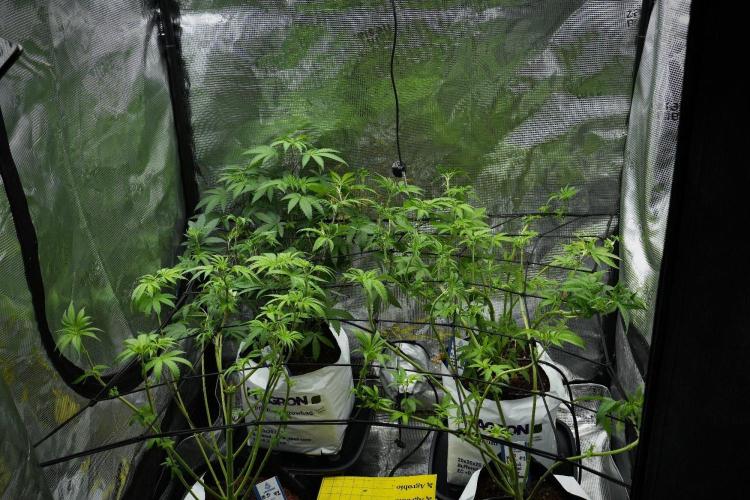
So now it's time for the final preparation before we flip.
────────────────────────
🕸️ The SCROG Mission – Completed
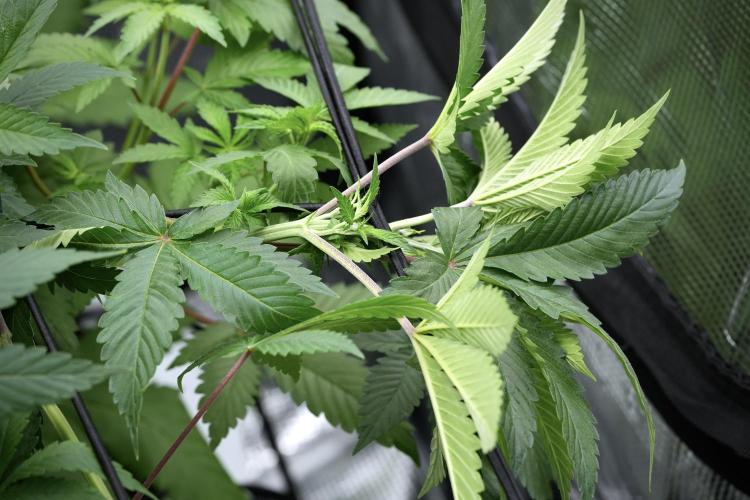
The SCROG has been one of the most important pieces of the puzzle during this vegetative cycle.
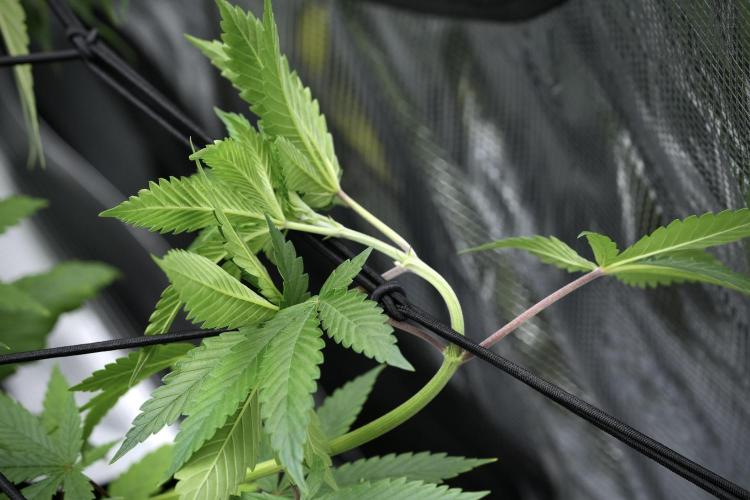
Instead of allowing the plants to develop a few dominant vertical tops, we've spent weeks encouraging the branches to grow horizontally across the screen.
Every time a shoot tried to escape upward, we'd gently guide it underneath the net and into the next available square.
Slowly...
The empty spaces disappeared.
And eventually, the screen became one continuous canopy.
That's exactly what we wanted.
The purpose isn't simply to keep the plants at 60 cm.
It's to distribute the growing tips across the available light and create a more uniform structure for flowering.
And Plant B has handled the entire process beautifully.
Now that the screen is full, however, our priorities are changing.
We're no longer trying to add more foliage.
We're preparing the foliage we already have.
────────────────────────
✂️ Defoliation – The Final Vegetative Cleanup
This week's main event is defoliation.
And this is an important distinction:
Defoliation isn't about removing leaves because they look ugly.
It's not about trying to make the plant look "clean."
And it's certainly not about stripping every leaf from the plant.
Leaves are the plant's solar panels.
They're valuable.
So the objective is selective removal, not destruction.
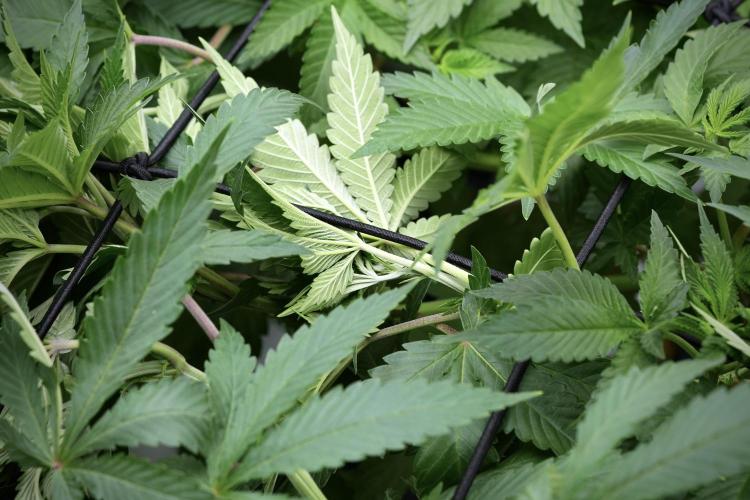
After several weeks of vigorous vegetative growth and SCROG training, the interior of the canopy has become extremely dense.
There are leaves overlapping one another.
Branches crossing through crowded areas.
And sections of the plant where airflow and light penetration can be improved simply by removing some unnecessary foliage.
That's what we're addressing now.
We're opening the plant.
Creating breathing room.
Improving visibility.
And preparing the structure for the much denser environment that flowering will bring.
────────────────────────
🌬️ Why Do This Before Flower?
This timing is very deliberate.
Defoliation is a form of stress.
Even when performed correctly, removing a substantial amount of foliage temporarily forces the plant to adjust to a new balance between its leaves, roots and active growing points.
So I want that recovery to happen before flowering begins.
We're still running an 18/6 vegetative schedule.
The plants are actively growing.
They have time to recover.
And we're not simultaneously asking them to transition into a completely different developmental phase.
Once flowering begins, I want the plant's attention moving toward flower development rather than recovering from major structural work.
So we're following a very simple sequence:
Build the canopy.
Fill the screen.
Defoliate.
Recover.
Flip.
One step at a time.
────────────────────────
🧠 What Defoliation Actually Achieves
There's a common misconception that removing leaves automatically means more light equals more growth.
It's not quite that simple.
The reason we're doing this is to improve the overall efficiency of the canopy.
We're trying to create a better relationship between:
🌱 Growing sites
💡 Light penetration
🌬️ Air movement
🍃 Leaf density
? Plant structure
The upper canopy is already receiving plenty of light.
What concerns me more is what happens underneath it.
A dense interior can become a maze of overlapping leaves and branches.
By selectively removing some of that congestion now, we're creating a more open structure before the flowers begin developing.
And that's particularly valuable inside a compact tent where four vigorous plants are sharing the same space.
────────────────────────
🌿 Plant B – The Girl Who Bounced Back
And then there's Plant B.
The survivor of the infamous caterpillar incident. 😂🐛
Last week she had a tiny visitor arrive from the outside vegetable garden and apparently decided that one of her leaves would make an excellent snack.
Fortunately, the entire event was almost comically uneventful.
The caterpillar was found.
It was removed.
The affected area was cleaned up.
The entire tent was inspected.
And Plant B simply continued growing.
No meaningful setback.
No visible stress.
No drama.
If anything...
She seems to have responded by growing even harder.
Her foliage is now rich, healthy green from top to bottom.
The new growth is vigorous.
The branches remain strong and flexible.
And the canopy has continued expanding exactly as planned.
So I think it's safe to say:
Plant B won that battle.
The caterpillar got one meal.
Plant B got another week of growth.
I'd call that a draw. 😂
────────────────────────
💧 Drip Irrigation – Doing Its Job
The Mars Hydro drip irrigation and automatic drainage system continues to impress me.
Each plant is currently receiving approximately 1.2 litres of nutrient solution per 24 hours, delivered consistently through the individual drippers.
The runoff is then collected and removed through the automatic drainage system.
That consistency has become particularly valuable now that the plants are getting larger and the root systems are becoming increasingly demanding.
Instead of manually trying to reproduce the same watering pattern every day, the system gives the plants a predictable routine.
And the plants are clearly responding well to it.
Healthy foliage.
Strong growth.
Stable development.
It's one of those pieces of equipment that quietly does its job in the background...
Which is exactly what I want from an irrigation system.
────────────────────────
🥥 Feeding Program
The nutrient recipe remains completely unchanged this week.
There is simply no reason to interfere with something that's working.
Current feeding:
• Plagron Hydro A — 1.9 ml/L
• Plagron Hydro B — 1.9 ml/L
• Plagron Hydro Roots — 1 ml/L
Current EC:
1.92 mS/cm
pH:
5.8
For now, I'm keeping the nutrition exactly where it is.
The plants are showing excellent colour, vigorous growth and healthy structure.
We may increase the nutritional strength next week depending on how they respond after this defoliation and as we move into flowering.
But I prefer to make that decision based on the plants rather than simply increasing numbers because the calendar says we should.
They'll tell me when they're hungry.
────────────────────────
🌡️ Blue Tent Environment
The environmental conditions remain wonderfully stable.
This week's average conditions were:
• 🌡️ Day Temperature: 28°C
• 🌙 Night Temperature: 25°C
• 💧 Relative Humidity: 65%
• 🥥 Substrate Temperature: 24°C
• 💦 Nutrient Solution: 18°C
• ⚗️ pH: 5.8
• ⚡ EC: 1.92 mS/cm
• 💨 CO₂: approximately 450 ppm
• 💡 Light Schedule: 18/6
• 💧 Irrigation: approximately 1.2 L/plant/24h
• ? Pot Size: 8 L
• 📏 Plant Height: approximately 60 cm
The consistency between the four plants is one of the things I appreciate most about this project.
We're trying to remove as many environmental variables as possible so that when differences appear, we can look much more closely at the plants themselves.
And right now...
The similarities are remarkable.
────────────────────────
🌱 Four Sisters, One Canopy
This is perhaps the strangest part of the project at the moment.
When I look across the Blue Tent from above, the four plants almost look like one giant organism.
The canopy is extremely uniform.
The colour is consistent.
The height is consistent.
The growth rate is remarkably similar.
And the SCROG has done an excellent job of bringing everything together.
Of course, if you look closely, you can still see the individual personalities.
That's why these separate diaries exist.
But from a distance?
It's becoming increasingly difficult to tell who is who.
And honestly...
That's a beautiful result.
It means the environment is doing exactly what we wanted it to do.
────────────────────────
🌿 Plant B's Personality
Plant B continues to be one of the more naturally cooperative plants in the tent.
She's responsive to training.
She's vigorous without becoming unruly.
And she has developed an incredibly usable structure beneath the screen.
Her branches have thickened nicely, her internodal spacing remains compact, and the new growth continues appearing with that healthy, vibrant colour I've been looking for.
And perhaps most importantly...
She doesn't seem to hold grudges.
We topped her.
We bent her.
We tucked her.
A caterpillar ate her.
And now we're defoliating her.
And she's still standing there saying:
"Is that all you've got?" 😂🌱
That's Plant B.
────────────────────────
👀 Looking Ahead – Flower Is Coming
After today's cleanup, the most important thing we can do is...
Nothing.
Let her recover.
Let the new growth settle.
Keep the environment stable.
Keep the roots happy.
And observe.
This is where patience becomes just as important as technique.
We've spent weeks building this plant.
Now we need to give her the time to respond.
If everything continues looking this good, the next major milestone will be the transition into flowering.
The screen is full.
The excess foliage has been cleaned up.
The structure is ready.
And the plants are healthy.
We're almost there.
Vegetative growth is coming to an end.
The next chapter is going to be very different.
🌸 Flowering is next.
────────────────────────
💙 Thank You
A huge thank you to Zamnesia for making Project Blue Tent possible and for providing these fantastic Blue Waffle F1 genetics.
A heartfelt thank you to Plagron for the Premium Growbags and Hydro nutrient line, which continue providing the plants with everything they need to maintain this beautiful growth.
A special thank you to Mars Hydro for the drip irrigation and automatic drainage system. It has been performing wonderfully throughout this project and has made maintaining consistency inside the tent considerably easier.
Thank you as well to Future of Grow for the UVC LED bar, which remains another tool within my preventative IPM routine.
And of course, thank you to GrowDiaries for giving growers around the world a place to document, learn, exchange ideas and share these journeys.
And finally...
Thank you.
For following.
For commenting.
For asking questions.
For sharing your own experiences.
And for simply being here.
Plant B has already survived topping, SCROG training and a tiny caterpillar invasion.
Now she's clean, healthy and ready for the next chapter.
The canopy is full.
The room is ready.
The plants are ready.
And soon...
we flip the Blue Tent. 🌸💙
Until next week...
Growers Love, happy growing, and take care everyone! 🌱💙
13 likes
comments
Share
Used techniques
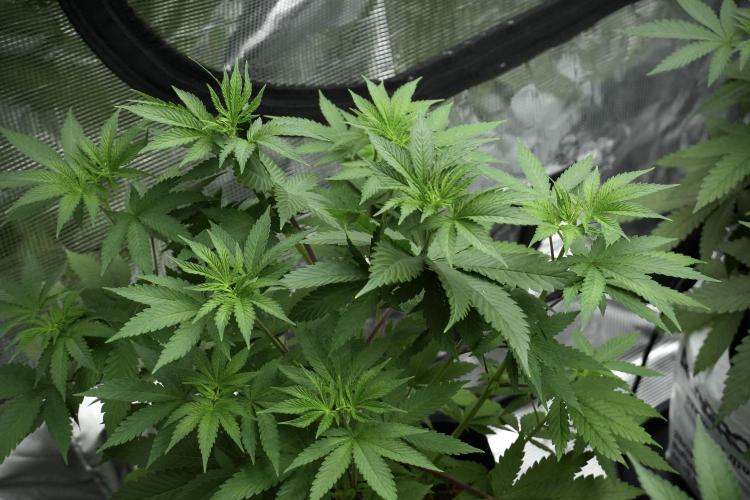
12-12
Technique
Defoliation
Technique
ScrOG
Technique
8
Week 8. Flowering
4d ago
1/63
81 cm
Height
12 hrs
Light Schedule
27 °C
Day Air Temp
5.8
pH
No Smell
Smell
1045 PPM
TDS
66 %
Air Humidity
19 °C
Solution Temp
24 °C
Substrate Temp
27 °C
Night Air Temp
8 liters
Pot Size
1.4 liters
Watering Volume
666 PPM
CO₂ Level
Nutrients 6
Hydro A
2 mll
Hydro B
2 mll
Hydro Roots
1 mll
DogDoctorOfficial 💙 Project Blue Tent – Week 8
Blue Waffle F1 – Pheno B (Folder 13B)
Hello everyone, and welcome back to another chapter inside Project Blue Tent! 💙🌱
If you're joining us for the first time, welcome aboard.
Project Blue Tent follows four individual Blue Waffle F1 plants from Zamnesia, each documented separately from seed all the way through harvest.
All four sisters share the same environment, lighting, nutrition, irrigation and training techniques.
The idea is simple:
Keep as many variables identical as possible...
And let the genetics tell the story.
And although the four girls continue looking remarkably similar, each one still has her own little personality.
Today we're checking in with Blue Waffle F1 – Plant B.
And if you've been following her journey...
You already know this girl.
She's the one who had the little caterpillar adventure earlier in the grow.
She's the one who bounced straight back.
She's the one who has handled topping, SCROG training and defoliation without complaint.
And now...
She's officially in flower.
🌸
────────────────────────
🌸 Week Eight – Flower Has Arrived
Well...
The Blue Tent has officially changed gears.
After seven weeks of vegetative growth, the lights are now running 12/12, and Plant B has entered the flowering phase.
And judging by what she's done over the last week...
She was definitely ready.
The entire room has been growing incredibly quickly.
We're talking about plants gaining close to 30 cm in roughly a week, while at the same time developing flowering sites, producing new growth and generally accelerating in every direction.
Plant B is no exception.
She's currently sitting at approximately 81 cm, compared with around 60 cm when we finished the vegetative phase.
That's a serious jump.
And the interesting part is that she's not simply stretching upward.
She's continuing to develop.
Branches are extending.
Nodes are stacking.
Flowering sites are becoming increasingly obvious.
And the whole plant is moving with an incredible amount of energy.
So now the game changes.
We're no longer building the vegetative canopy.
We're learning how to manage it.
────────────────────────
🕸️ The Canopy – Still Beautifully Even
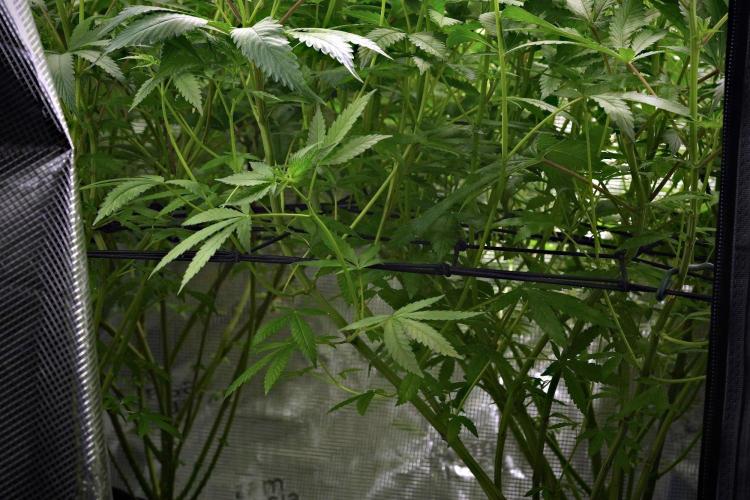
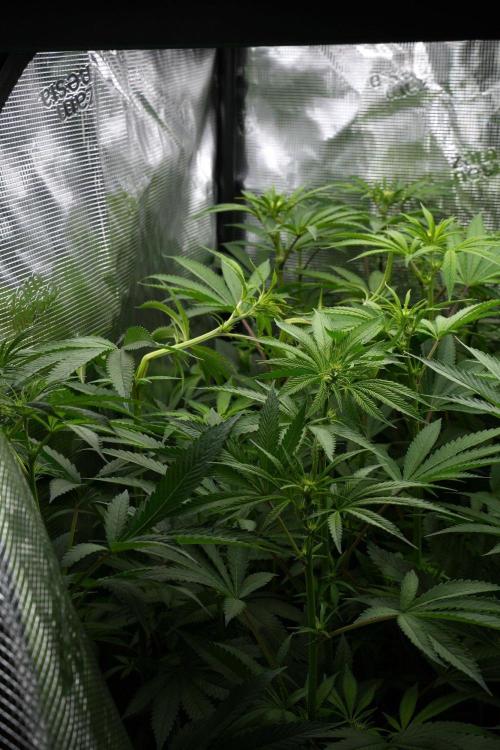
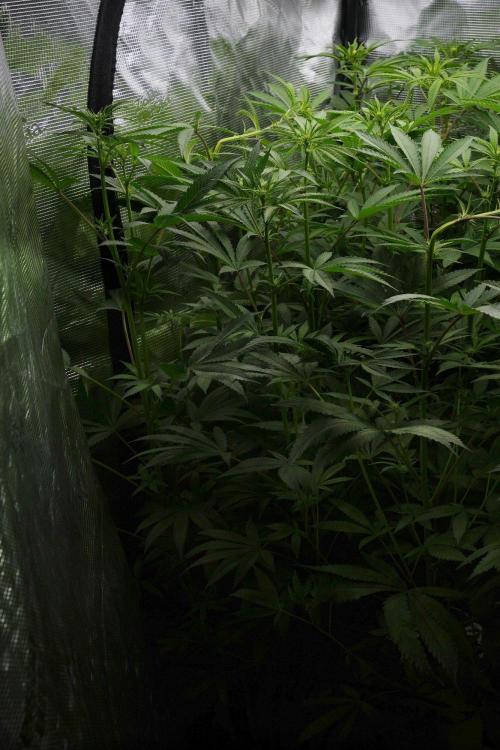
One of the things I'm happiest about this week is how even the canopy remains.
After weeks of topping, low-stress training and SCROG work, Plant B entered flowering with a beautifully distributed structure.
There aren't huge dominant towers taking over everything around them.
The growth is spread across the available space.
And that's exactly what we wanted.
The interesting challenge now is keeping it that way.
Because these girls are moving fast.
Very fast.
The screen may have done its job during vegetation, but flowering stretch doesn't exactly ask for permission.
It simply happens.
So we're going to work with the plants rather than fight them.
And that's where this week's additional training comes in.
────────────────────────
💥 Super Cropping – Managing the Stretch
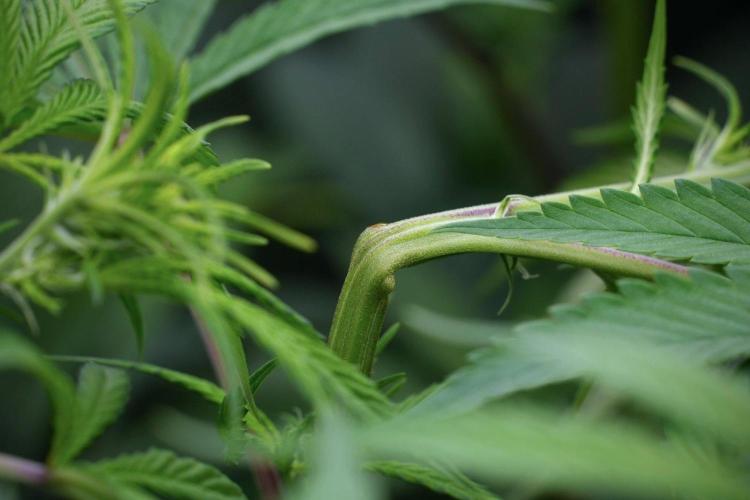
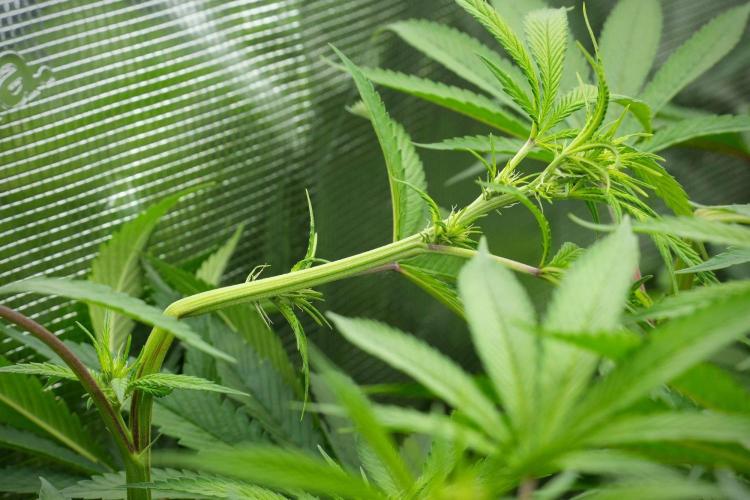
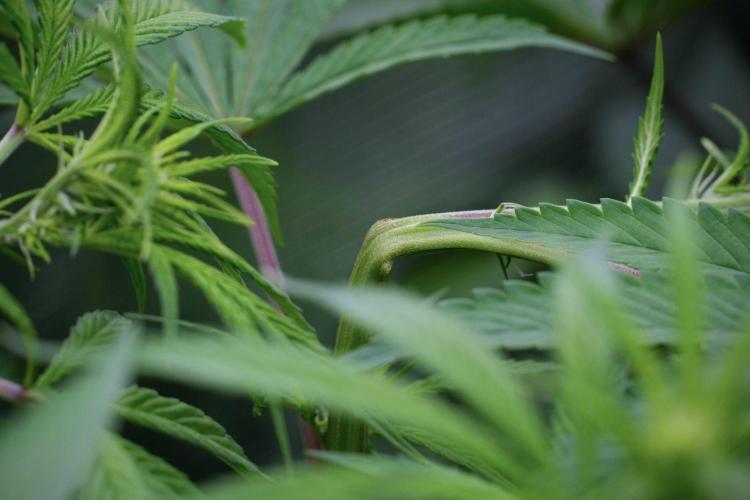
This week I've also started using super cropping to help manage some of the more aggressive vertical growth.
The idea is not to randomly damage the plants.
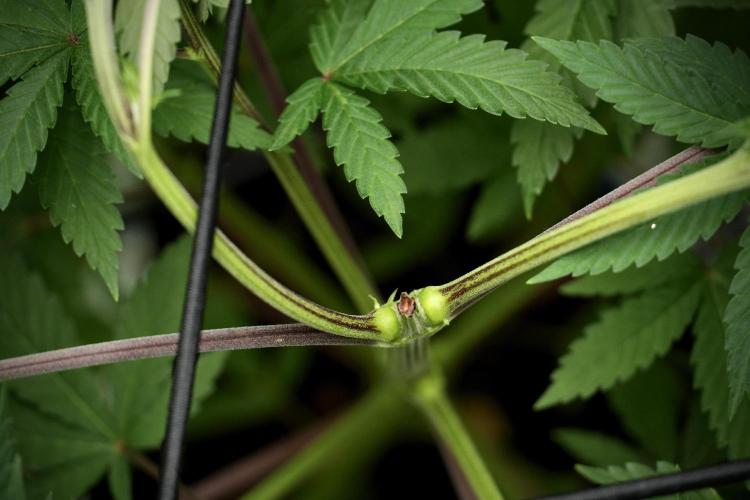
It's a deliberate form of high-stress training where selected branches are gently bent and compressed, creating a temporary interruption in the dominant vertical growth pattern.
The hope is to achieve a couple of things at the same time.
First, it can help reduce the advantage of the tallest shoots and keep the canopy more manageable.
Second, the plant responds by reinforcing the affected areas, which can ultimately contribute to stronger branches and more robust nodes.
And these girls are giving me quite the demonstration.
I'll super crop a branch...
Come back later...
And somehow she's already standing back up again.
😂
Sometimes it feels like I'm having a conversation with the plant.
Me:
"Stay down."
Plant B:
"No."
😂🌱
But that's actually encouraging.
It tells me just how much energy these plants have right now.
The growth is so vigorous that the branches are recovering incredibly quickly.
So we're going to continue carefully managing the taller shoots and see how the plants respond over the coming weeks.
────────────────────────
🌿 Plant B – Strength Under Pressure
Plant B continues looking fantastic.
Her structure remains strong, her foliage is healthy, and the colour is exactly where I want it.
After everything we've asked from her during vegetation, she has transitioned into flower without showing any meaningful signs of stress.
And that's something I really appreciate about this phenotype.
She's cooperative.
She responds.
She recovers.
And then she simply keeps growing.
The super cropping we're doing now is another opportunity to observe that response.
We're deliberately introducing a little controlled stress to encourage a more balanced structure while the plant is stretching.
Will it completely stop her from getting taller?
Honestly...
I doubt it.
😂
These girls have already shown us what they're capable of.
But if we can slow down the most aggressive vertical growth, strengthen those important branching points and maintain a reasonably even canopy...
I'll consider that a win.
────────────────────────
💡 Flowering Light – Starting Strong
We're also entering flowering under a fairly strong light intensity.
The Blue Tent is starting flower at approximately 800 PPFD.
That's intentional.
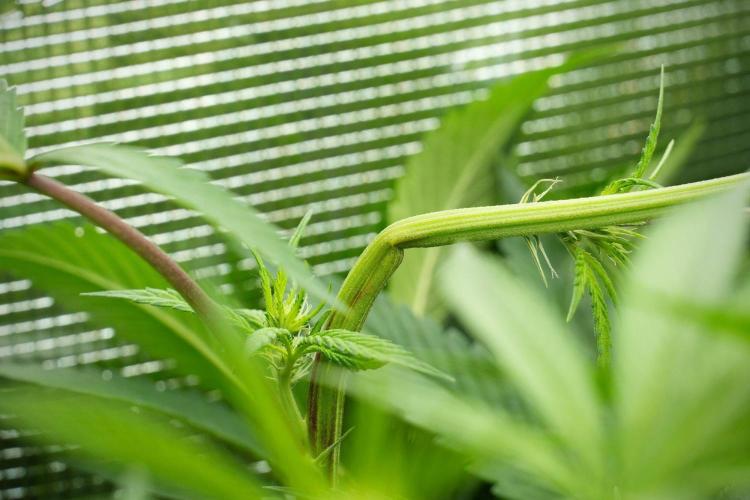
These plants have spent seven weeks building a large and healthy canopy, and I want to give them plenty of light from the beginning of the flowering cycle.
At the same time, I'm watching carefully for how they respond.
The goal is not simply maximum intensity.
It's finding the point where the plants can use the available light effectively while maintaining healthy transpiration, structure and development.
And because we're already dealing with significant growth and relatively warm nights, the next couple of weeks will tell us a lot.
For now...
Plant B is loving it.
────────────────────────
🌡️ Blue Tent – Flowering Conditions
The environment remains remarkably consistent across the room.
This week's recorded conditions were:
• 🌡️ Day Temperature: 27°C
• 🌙 Night Temperature: 27°C
• 💧 Relative Humidity: 66%
• 🥥 Substrate Temperature: 24°C
• 💦 Nutrient Solution Temperature: 19.2°C
• ⚗️ pH: 5.81
• ⚡ EC: 2.09 mS/cm
• 💨 CO₂: approximately 666 ppm
• 💡 Light Schedule: 12/12
• 💧 Irrigation: approximately 1.4 L/plant/24h
• ? Pot Size: 8 L
• 📏 Plant Height: approximately 81 cm
The temperature situation is particularly interesting.
Day and night temperatures are currently almost identical.
That's something I'm keeping a close eye on because warmer nights can encourage additional stretching.
And we've already seen plenty of evidence that these plants don't need much encouragement to grow.
😂
So for now, we're observing closely and managing what we can.
────────────────────────
🥥 Feeding – Flowering Has Begun
The nutritional program has also moved into the flowering recipe.
Current feeding:
• Plagron Hydro A — 2 ml/L
• Plagron Hydro B — 2 ml/L
• Plagron Hydro Roots — 1 ml/L
• Plagron Power Buds — 1 ml/L
• pH Plus — 0.03 ml/L
• pH Min — 0.03 ml/L
Current EC is approximately:
2.09 mS/cm
with the nutrient solution sitting around 19.2°C and pH at approximately 5.81.
The change is relatively measured.
We're not throwing everything at the plants simply because flowering has started.
They're already growing extremely aggressively.
So the objective is to support that development without unnecessarily complicating the equation.
As always...
The plants get the final vote.
────────────────────────
💧 Drip Irrigation & Automatic Drainage
The irrigation system continues proving its value as these plants become larger and more demanding.
Plant B is currently receiving approximately 1.4 litres per 24 hours through the automatic drip irrigation system.
The drippers deliver the nutrient solution directly into the coco.
The solution moves through the substrate, supplying the root zone before exiting as runoff.
That runoff is collected in the trays underneath the grow bags.
From there, the drainage lines carry it toward the pump, which moves the collected solution back toward the reservoir.
So the irrigation and drainage systems are effectively working together as a recirculating setup.
Water goes in.
The coco does its job.
The plant gets access to the nutrients.
Runoff is collected.
The drainage system removes it.
The pump returns it.
And the cycle continues.
It's a beautifully simple system once everything is working correctly.
And right now...
It's working wonderfully.
The plants are growing aggressively, the water demand is increasing, and the system is keeping up without turning daily irrigation into a chore.
That's exactly what I wanted from it.
────────────────────────
🌿 Seven Weeks of Vegetation – Was It Too Much?
This is something I've been thinking about quite a lot this week.
Seven weeks of vegetation is longer than I normally keep plants in this stage.
Usually, I prefer to flip earlier.
But looking at these girls now...
I may have left them in vegetation a little too long.
😂
The structure they developed is fantastic.
The canopy is full.
The branches are strong.
The plants are healthy.
But they have also accumulated an enormous amount of growth potential.
And now that flowering has started, they're showing us exactly how much energy they have stored.
Close to 30 cm of growth in roughly a week is no small thing.
And they're not finished.
That's why I'm particularly interested in the combination of:
SCROG + super cropping + strong light + careful environmental management.
We're going to see whether those tools can help keep this incredible growth somewhat under control.
────────────────────────
🌱 Plant B – The Comeback Girl
There's something particularly satisfying about looking at Plant B now.
A few weeks ago, she had an unexpected little visitor.
One hungry caterpillar decided that one of her leaves looked like lunch.
The problem was caught quickly.
The caterpillar was removed.
The affected area was cleaned up.
The tent was inspected.
And Plant B simply carried on.
Now look at her.
Approximately 81 cm tall.
Healthy.
Strong.
Flowering.
Producing new growth everywhere.
If anything, she looks like she's trying to make up for the leaf she lost.
😂
She's definitely earned her place in this project.
And I love that this diary gives us the opportunity to follow that entire story individually.
────────────────────────
💥 Super Cropping – Let's See What Happens
The next few weeks will tell us whether this additional training strategy gives us the effect I'm hoping for.
The objective isn't to stop growth.
That's impossible.
The objective is to manage it.
If a branch is becoming significantly taller than the rest of the canopy, we can intervene.
If a particularly vigorous shoot needs to be brought back into balance, we can work with it.
And by creating those controlled bends and reinforced points along the branches, we're hopefully building stronger plants at the same time.
The fascinating thing is how quickly Plant B recovers.
I'll make an adjustment...
And shortly afterward...
She's standing up again.
It's almost as if the plant didn't get the memo.
😂
So we'll keep watching.
We'll keep training where necessary.
And we'll let the plant show us whether the technique is doing what we want.
────────────────────────
🌸 Flowering Has Officially Started
There is something special about this point in the project.
For seven weeks we've been preparing these plants.
Topping.
Training.
SCROG.
Defoliation.
Building structure.
Balancing the canopy.
And now...
We're finally seeing the reward for all that preparation beginning to appear.
The flowering sites are developing rapidly.
The branches are extending.
The plants are changing.
And suddenly the Blue Tent doesn't look like a vegetative garden anymore.
It looks like a flowering room.
Plant B has an excellent starting structure.
Now we get to find out what she can do with it.
────────────────────────
👀 Looking Ahead
The next couple of weeks should be extremely interesting.
The main objective is now managing the stretch while allowing the plants to flower naturally.
We'll continue monitoring the canopy.
We'll use super cropping where necessary to manage particularly vigorous shoots.
We'll keep the irrigation consistent.
We'll monitor nutrition.
We'll watch the environment closely.
And most importantly...
We'll observe.
Because right now all four sisters are showing just how similar they can be.
But as flowering progresses, I expect their individual personalities to become increasingly obvious.
Will Plant B remain one of the more balanced girls?
Will she stretch aggressively?
Will the super cropping help?
Will the strong flowering light keep her compact?
We'll find out.
For now...
She's looking absolutely fantastic.
────────────────────────
💙 Thank You
A huge thank you to Zamnesia for making Project Blue Tent possible and for giving us the opportunity to explore these beautiful Blue Waffle F1 genetics phenotype by phenotype.
A massive thank you to Plagron for the Premium Growbags and Hydro nutrient line supporting these plants throughout the project, and now for helping us move into the flowering phase.
A special thank you to Zamnesia for the Phytonaut LED lighting that helped us build this beautiful canopy and is now providing the strong light these girls are receiving as flowering begins.
And a huge thank you to Mars Hydro for the drip irrigation and automatic drainage system.
The way the drippers, drainage trays, piping, pump and reservoir work together has made maintaining these four rapidly growing plants considerably easier.
Thank you as well to GrowDiaries for providing a place where growers can document these journeys, exchange knowledge and follow projects like this from beginning to end.
And finally...
Thank you to everyone following Project Blue Tent.
Plant B has come a long way.
From seed...
To topping.
From SCROG...
To defoliation.
From an unexpected caterpillar visitor...
To one of the fastest-growing girls in the tent.
And now...
Flowering. 🌸💙
The canopy is ready.
The plants are healthy.
The stretch has begun.
And we're doing our best to keep these energetic ladies under control.
Whether they listen is another question entirely. 😂
Until next week...
Growers Love, happy growing, and take care everyone! 🌱💙