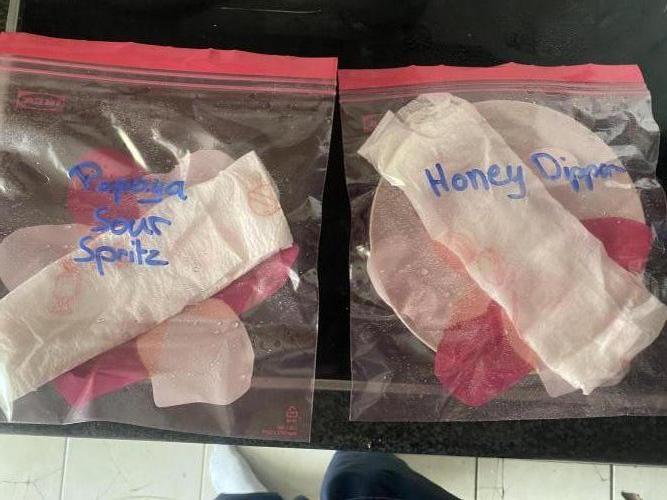
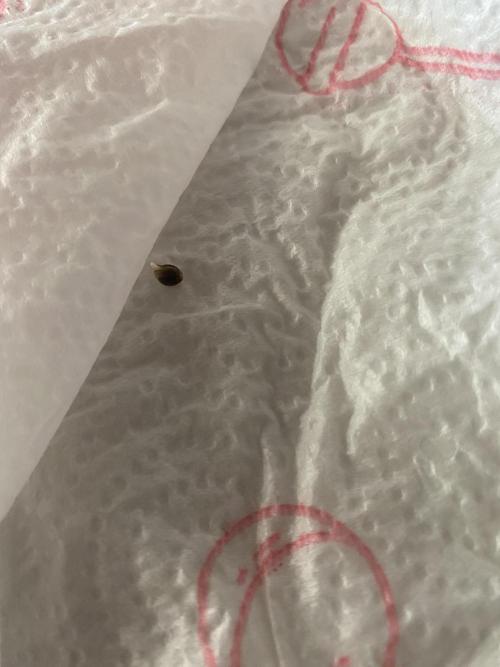
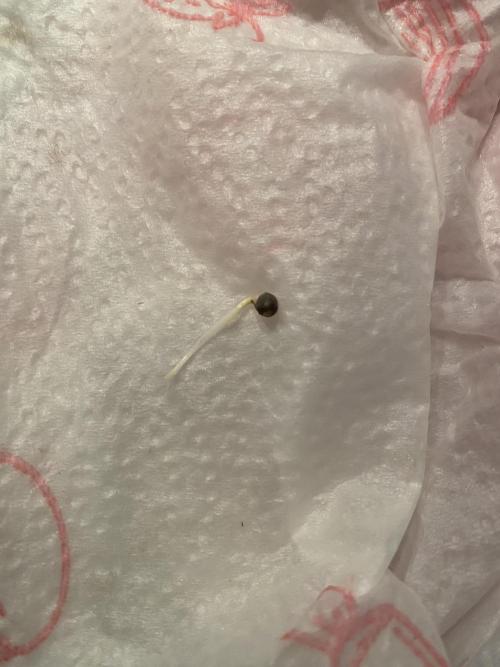
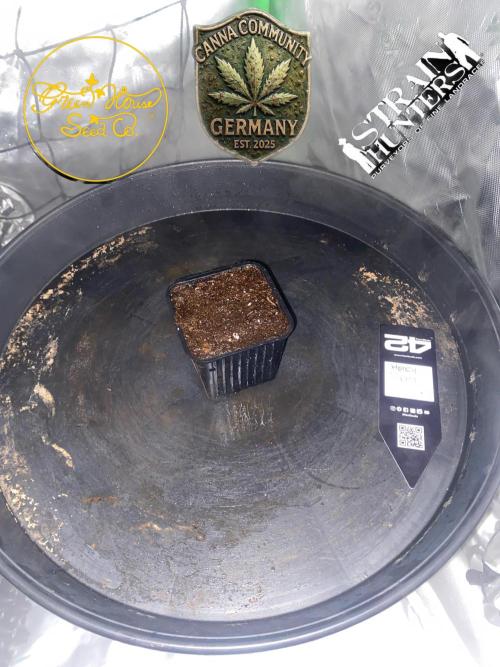
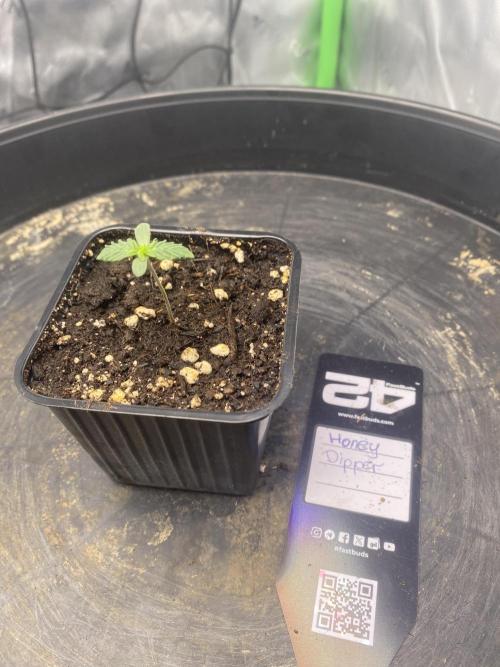
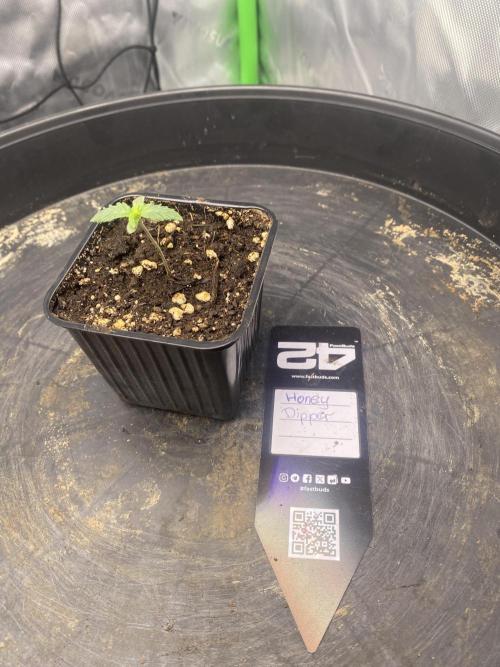
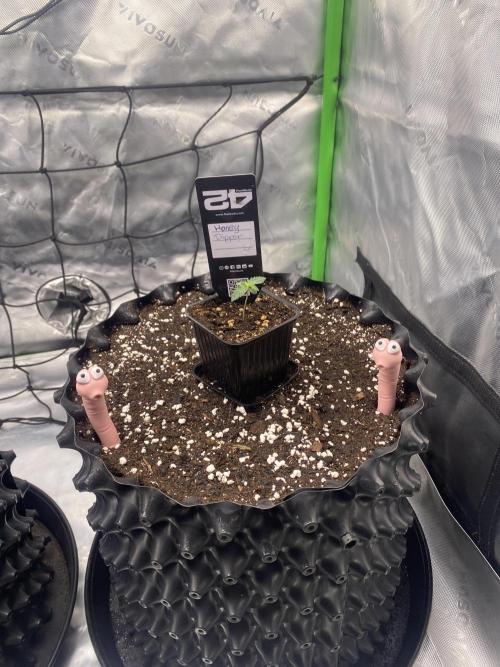
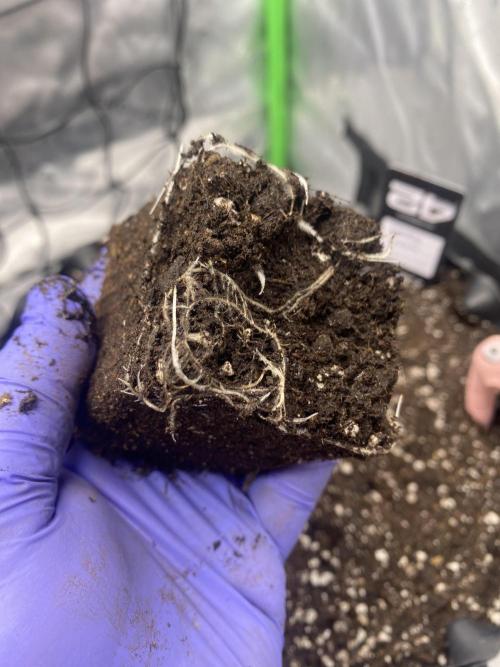
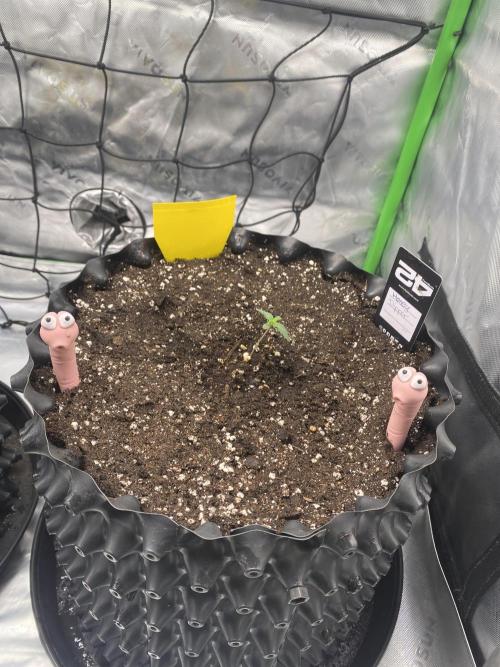
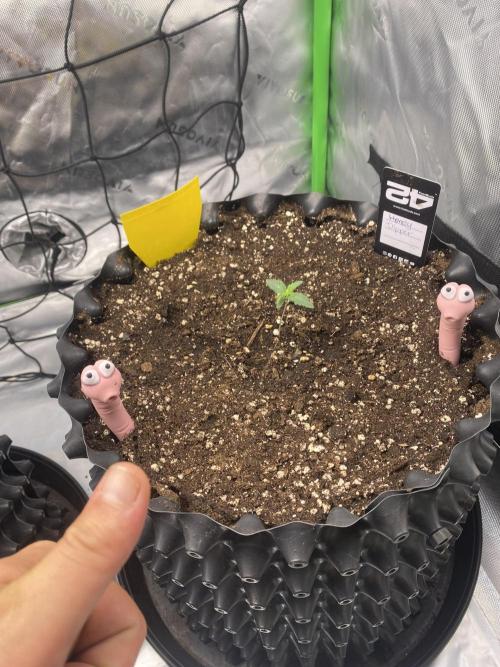
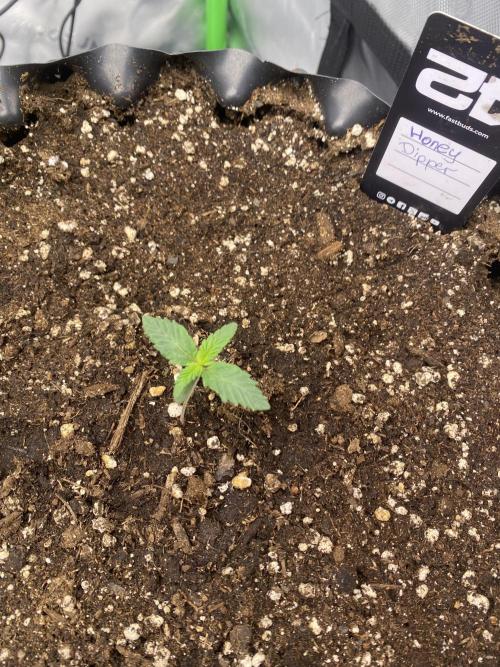
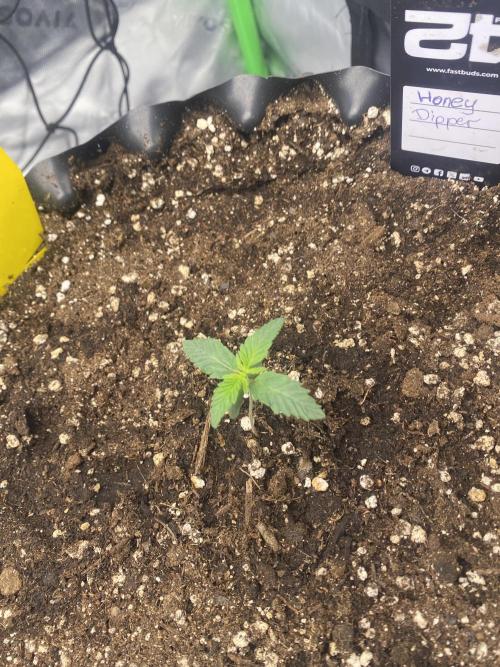
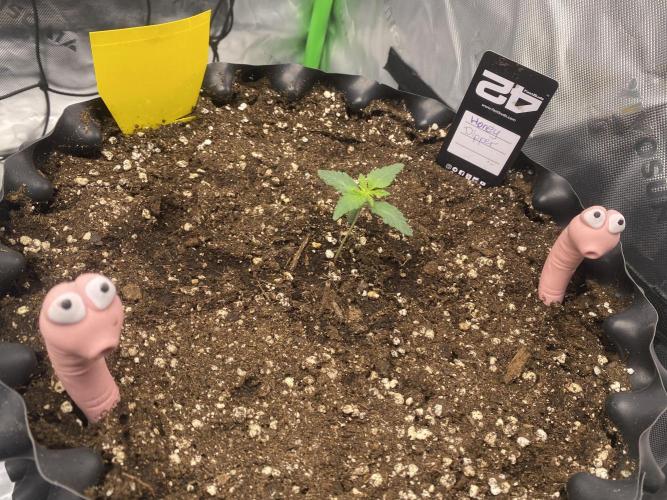
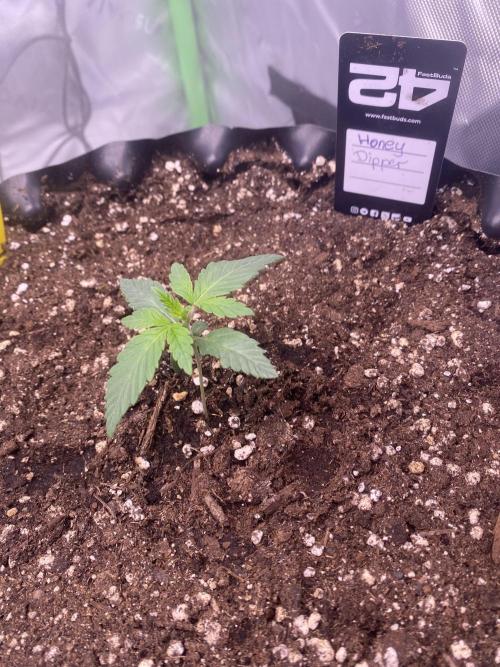
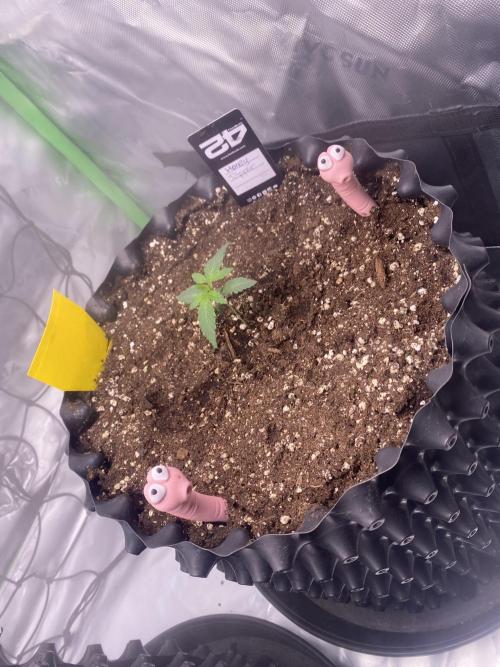
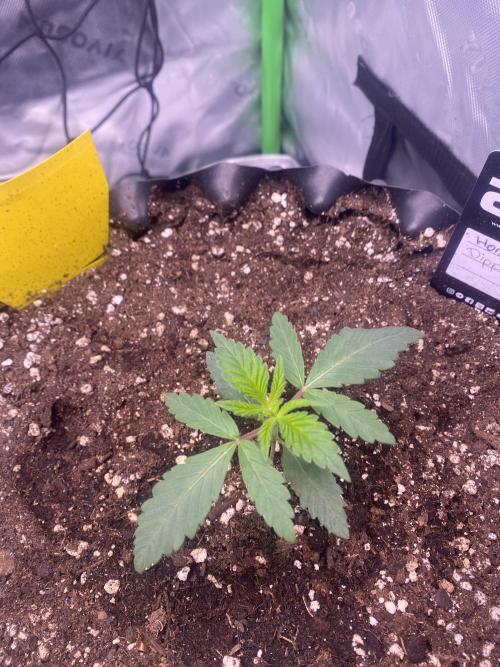
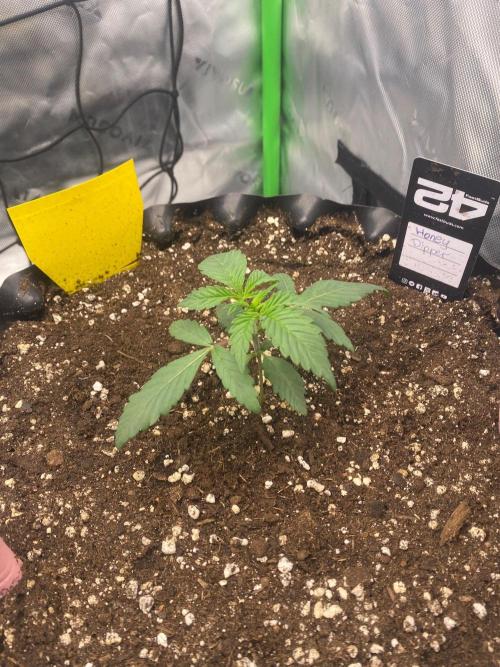
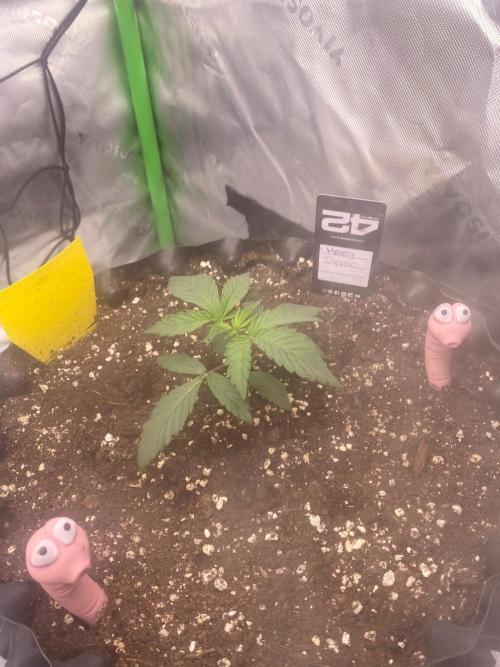
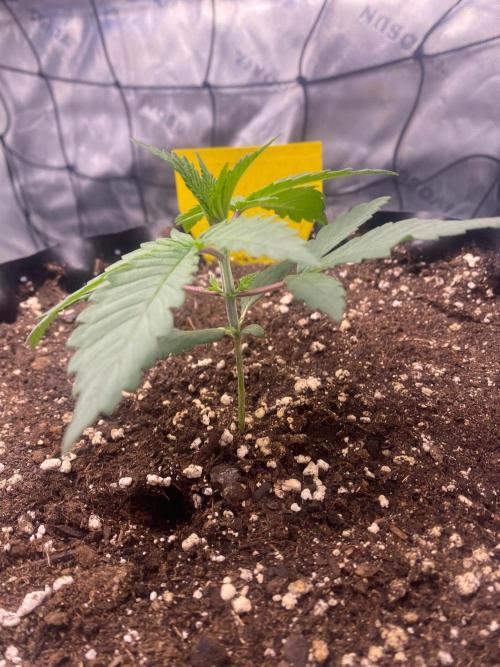
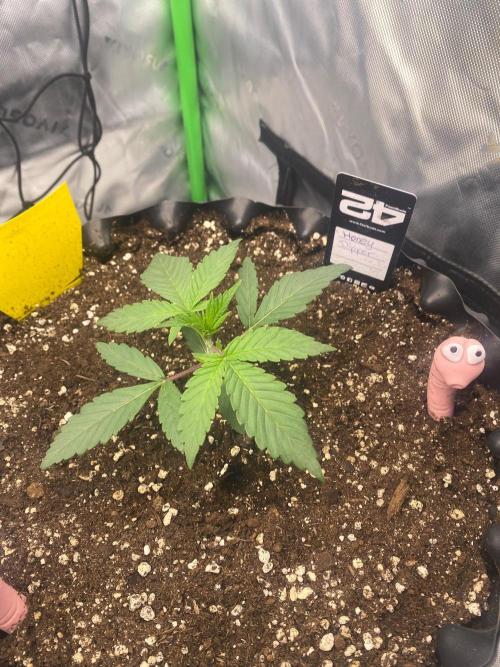
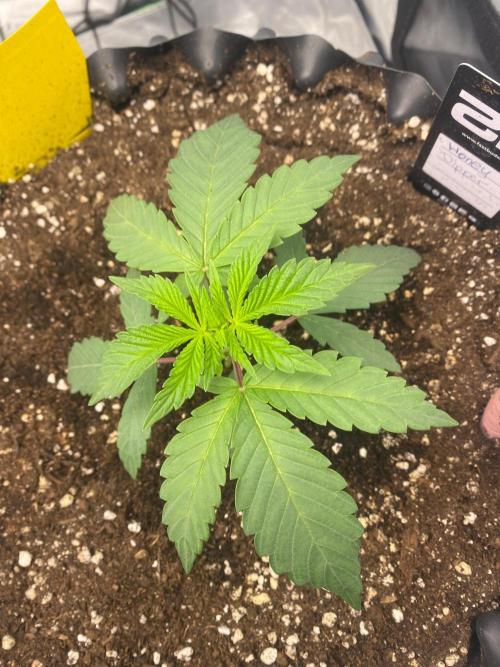
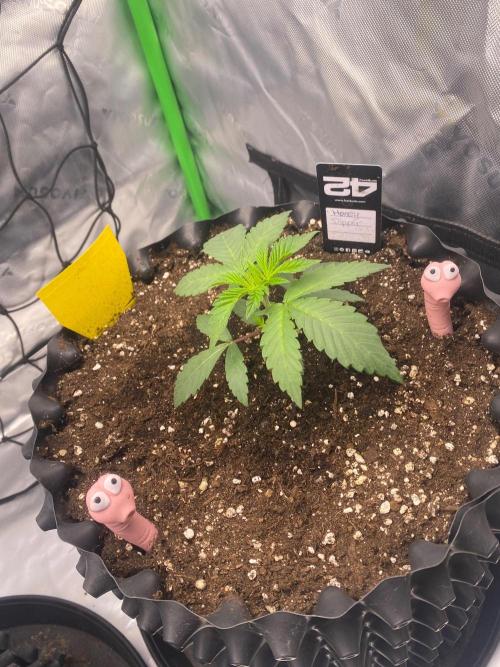
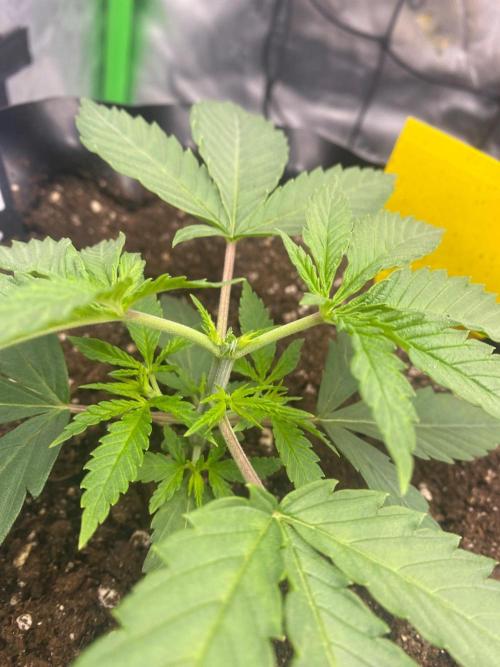
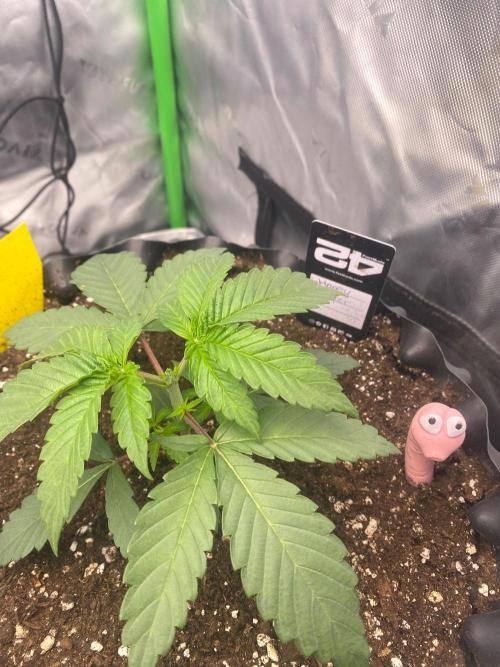
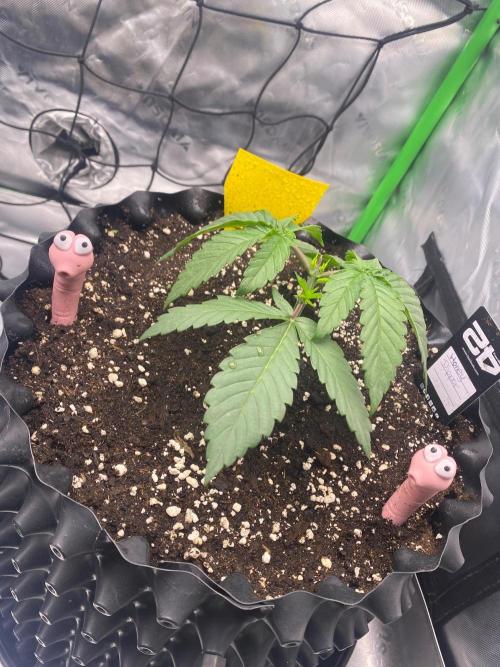
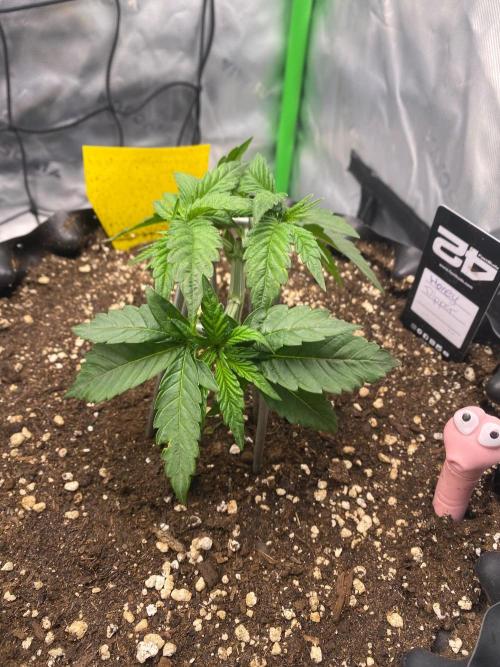
Tobi420Grow On August 19th, I put the little seed into a damp paper towel and placed it in a Ziploc bag to keep it nice and moist. Lo and behold, what a germination! Two days later, the root is already sprouting out, and now it was placed right into its little pot and moistened.
8 likes
comments
Share
Used method
Paper Towel
Germination Method
1
Week 1. Vegetation
2mo ago
1/5
5 cm
Height
18 hrs
Light Schedule
26 °C
Day Air Temp
No Smell
Smell
70 %
Air Humidity
21 °C
Night Air Temp
0.2 set_lilers
Watering Volume
40 cm
Lamp Distance
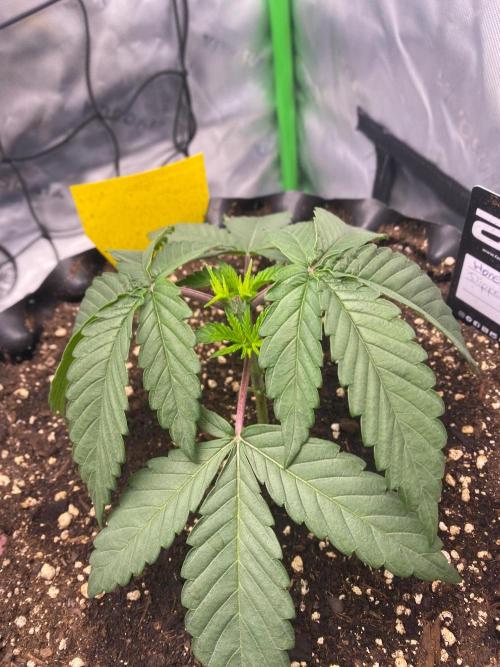
Tobi420Grow The honey dipper has shown after 2 days that it definitely wants to grow and is now 7 days after planting at a height of 5cm. So far nothing unusual except that repotting has happened, now we will wait a few days and see how it has coped with the repotting. There is no fertilizer yet for the little one.
7 likes
comments
Share
Used techniques
Transplantation
Technique
2
Week 2. Vegetation
2mo ago
1/10
6.5 cm
Height
18 hrs
Light Schedule
26 °C
Day Air Temp
No Smell
Smell
70 %
Air Humidity
21 °C
Night Air Temp
0.2 set_lilers
Watering Volume
40 cm
Lamp Distance
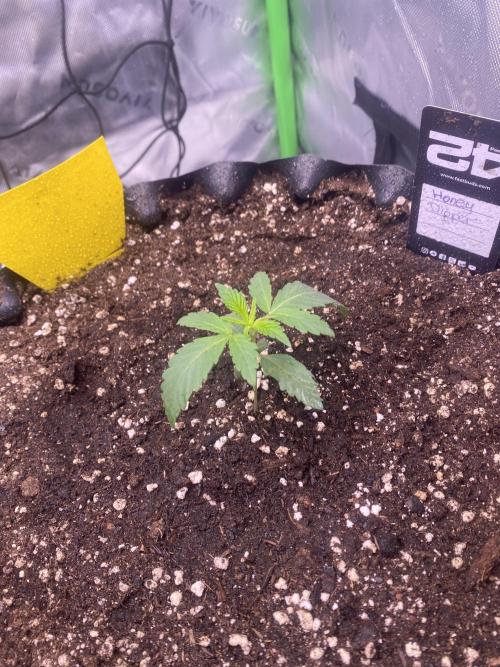
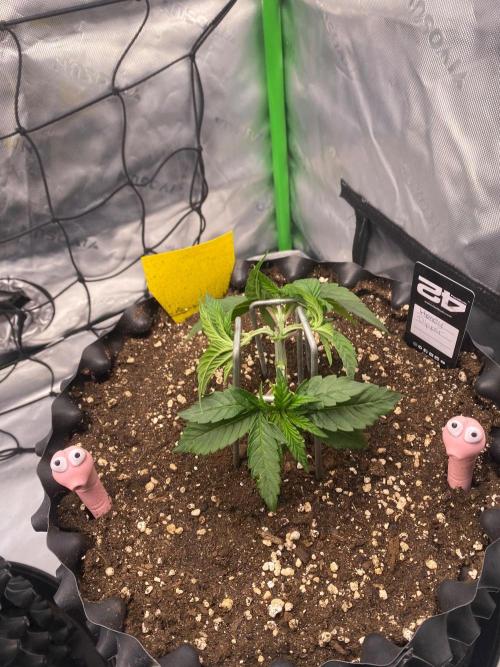
Tobi420Grow Honey Dipper – Weekly Update Day 13.
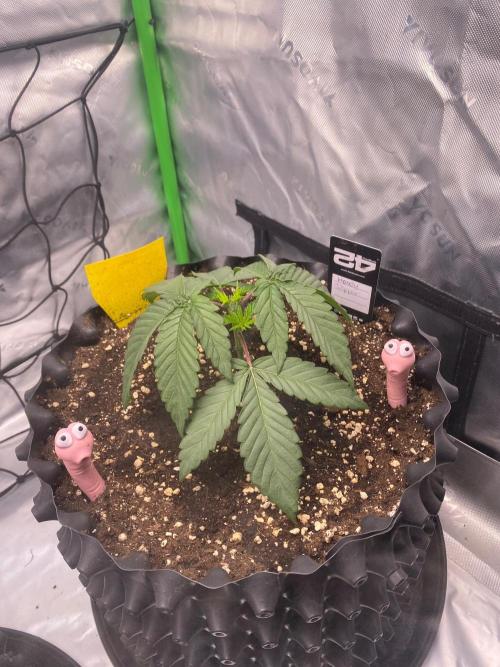
The Honey Dipper has also made significant progress in the last week. The little seedling is slowly turning into a really beautiful young plant. Especially the new shoots in the middle are visibly developing further, and the leaf mass is increasing day by day.
The plant continues to stand stable and shows a nice, strong green. I'm very satisfied with the development for this early phase. Now it gets more time to invest energy into roots and growth.
I'm curious to see how it looks next week – the next growth spurt is welcome to come!
8 likes
2 comments
Share
3
Week 3. Vegetation
1mo ago
1/10
10 cm
Height
18 hrs
Light Schedule
26 °C
Day Air Temp
No Smell
Smell
60 %
Air Humidity
21 °C
Night Air Temp
0.2 set_lilers
Watering Volume
40 cm
Lamp Distance
Nutrients 5
Acti-Vera
2 mll
Alg-A-Mic
2 mll
Bio-Heaven
2 mll
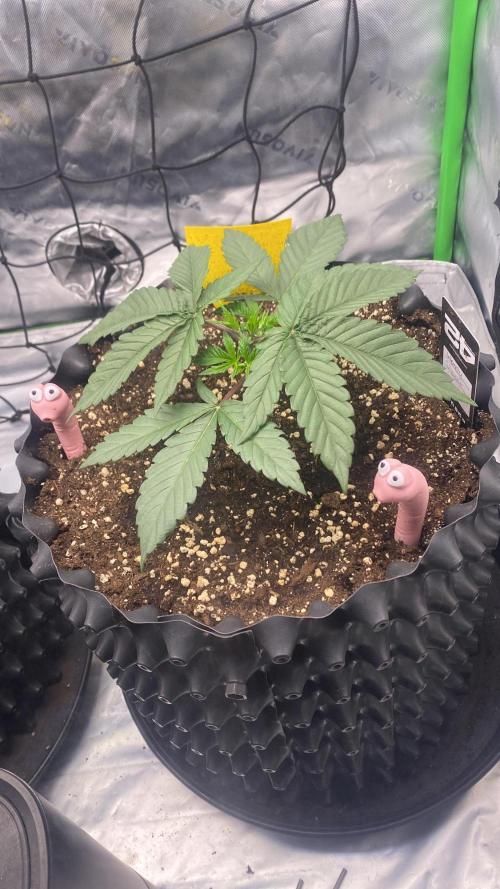
Tobi420Grow The Honey Dipper has also made a nice development in the third week. It is growing compact and strong, and is forming more and more side shoots.
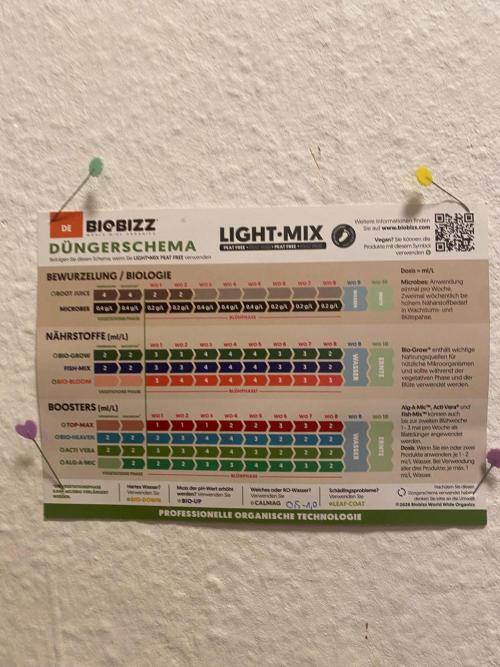
At the end of the week, it was topped, then watered with 1 liter of water mixed with fertilizer according to the Biobizz schedule, and the lowest shoots were removed to give the plant a clean, even structure.
Now it's time to let it grow and see how it develops in the coming days.
7 likes
comments
Share
Used techniques
Topping
Technique
4
Week 4. Vegetation
1mo ago
1/9
10 cm
Height
18 hrs
Light Schedule
26 °C
Day Air Temp
No Smell
Smell
60 %
Air Humidity
21 °C
Night Air Temp
0.2 set_lilers
Watering Volume
40 cm
Lamp Distance
Nutrients 5
Acti-Vera
2 mll
Alg-A-Mic
2 mll
Bio-Heaven
2 mll
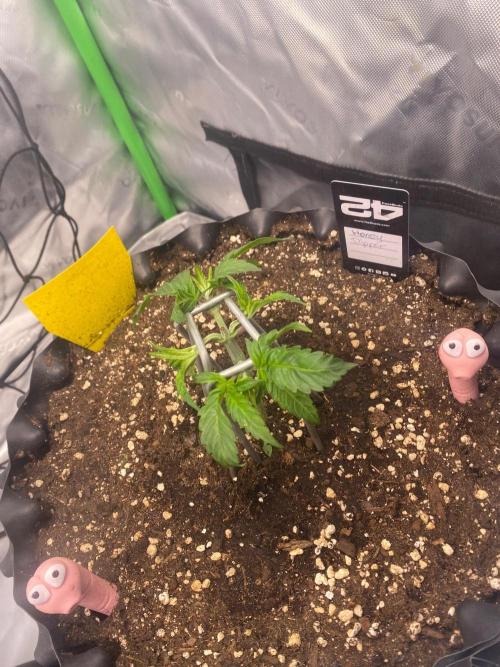
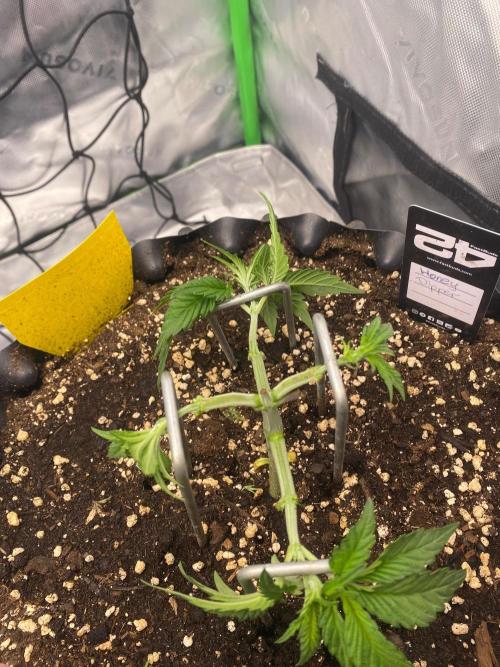
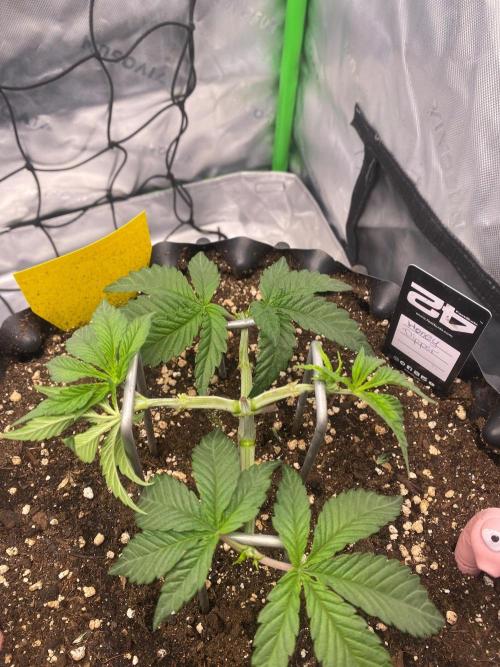
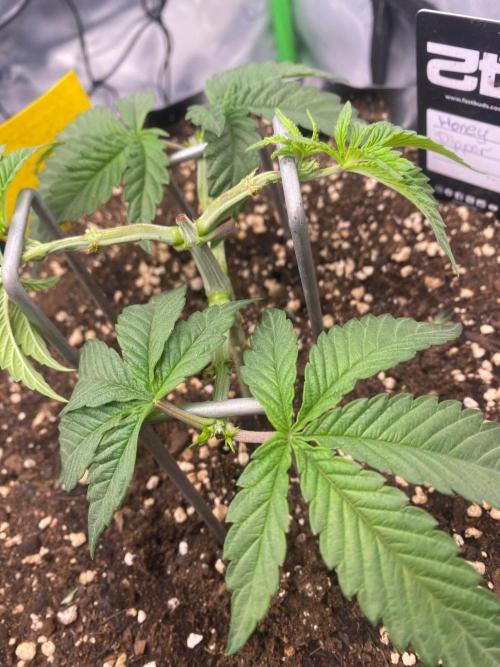
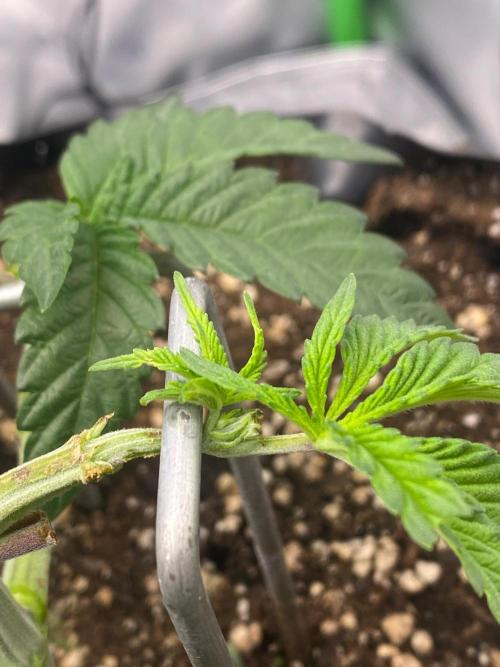
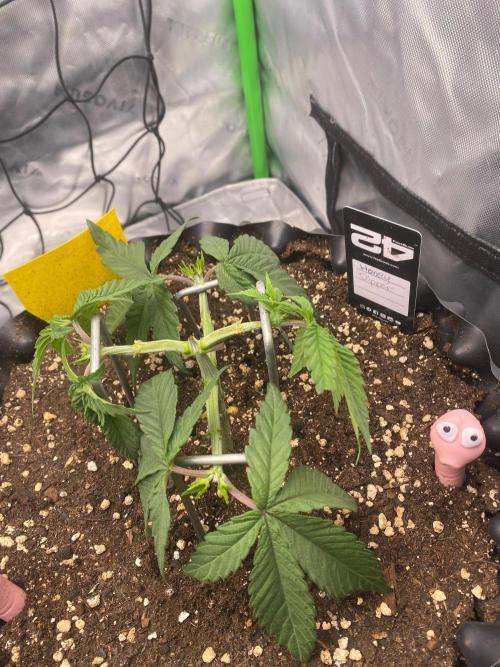
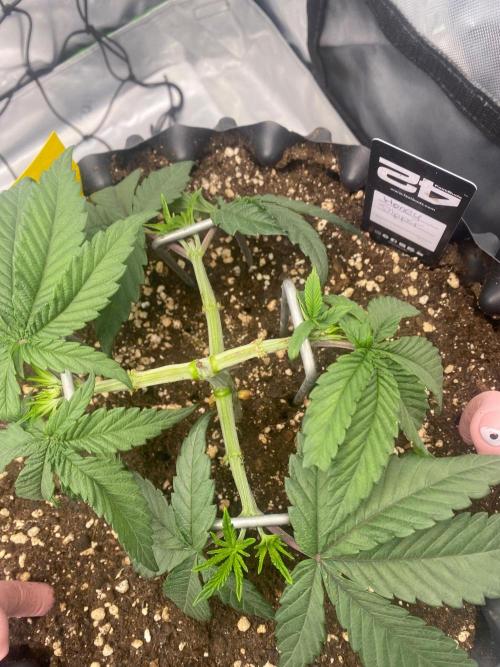
Tobi420Grow The development of the Honey Dipper has been a bit bumpy so far. It currently shows rather stunted growth and seems to have some slight growth problems. Especially the new shoots are developing a bit slower and smaller than expected.
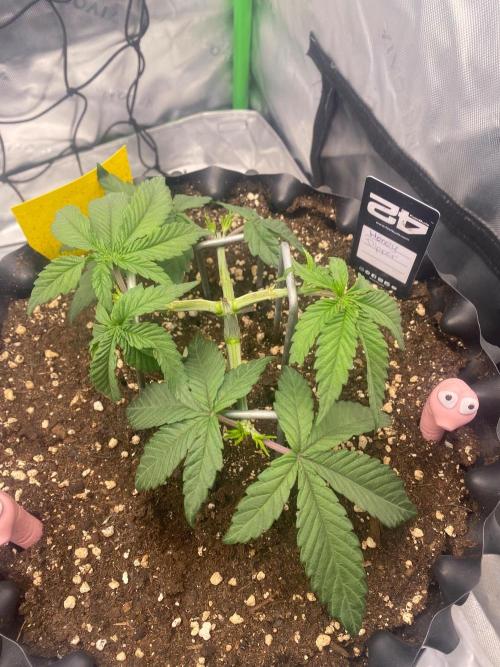
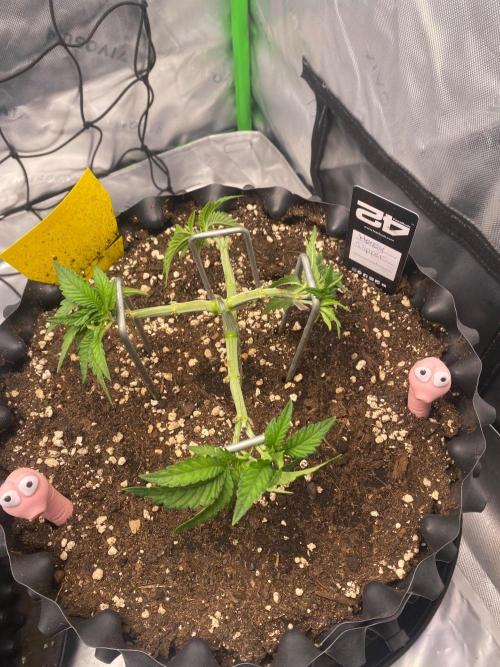
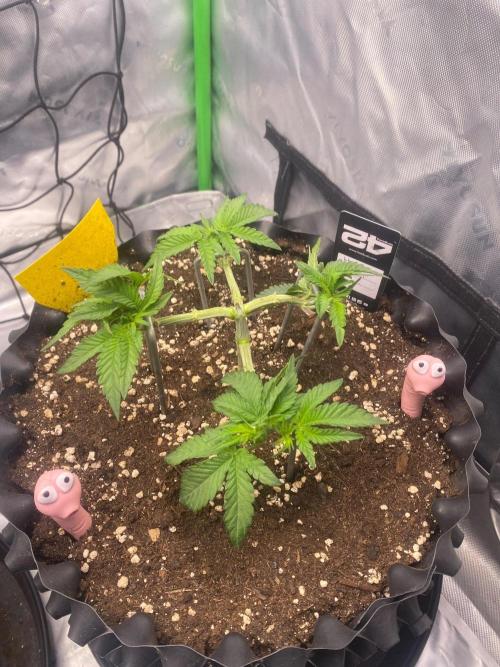
During training, I initially tied the plant down and spread the shoots apart to achieve a flatter and more even structure. Additionally, some lower or weakly developed shoots were removed so that the plant can focus its energy more on the remaining main and side shoots.
Thanks to the training, it has become noticeably wider, and the individual shoots are getting more space and light. Despite the somewhat slow start, fresh new growth is now visible, which hopefully indicates that it is slowly picking up.
Now it's time to give it some rest, keep observing, and see how it develops in the coming days.
10 likes
comments
Share
Used techniques
HST
Technique
Topping
Technique
5
Week 5. Vegetation
1mo ago
1/13
10 cm
Height
18 hrs
Light Schedule
26 °C
Day Air Temp
No Smell
Smell
60 %
Air Humidity
21 °C
Night Air Temp
0.2 set_lilers
Watering Volume
40 cm
Lamp Distance
Nutrients 5
Acti-Vera
2 mll
Alg-A-Mic
2 mll
Bio-Heaven
2 mll
Tobi420Grow Update – Honey Dip
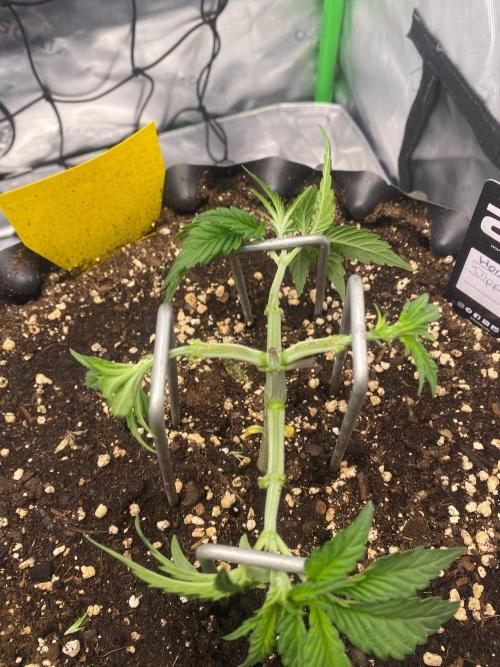
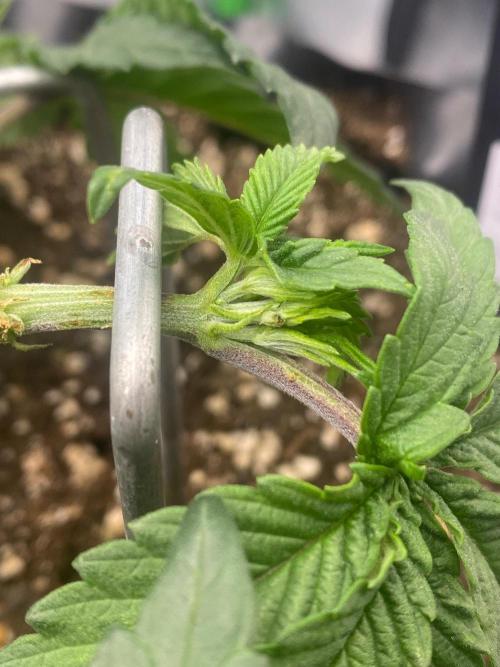
Since the last update, the Honey Dip has developed rather slowly. The growth is currently a bit lackluster, even though new growth is slowly showing on the shoots. The plant is still building its structure, but it’s progressing much slower than hoped.
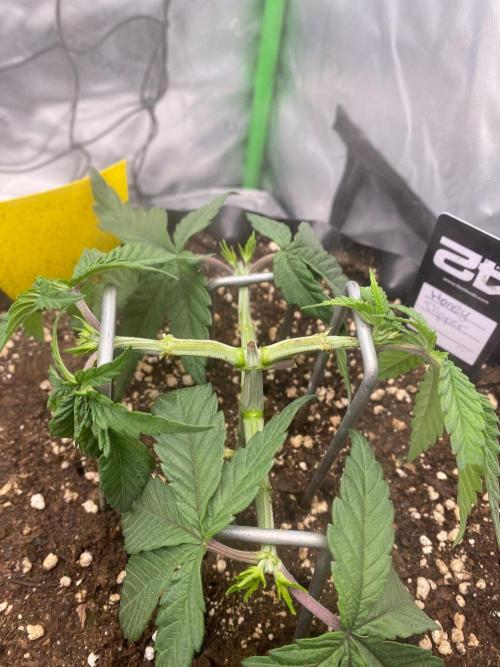
In two places, the planned topping has turned into more of a Fimming 😅. As a result, several new growth points have formed there instead of cleanly creating two main shoots.
Therefore, it will likely not be topped further. Instead, I will mainly work with LST from now on to guide the existing shoots outward and fill the area as evenly as possible.
Now it’s time to let it grow, observe, and see what the Honey Dip makes of the previous training measures.
7 likes
1 comment
Share
Used techniques
LST
Technique
Topping
Technique
FIMing
Technique
HST
Technique
6
Week 6. Vegetation
23d ago
1/14
17 cm
Height
18 hrs
Light Schedule
26 °C
Day Air Temp
No Smell
Smell
60 %
Air Humidity
21 °C
Night Air Temp
0.2 set_lilers
Watering Volume
40 cm
Lamp Distance
Nutrients 5
Acti-Vera
2 mll
Alg-A-Mic
2 mll
Bio-Heaven
2 mll
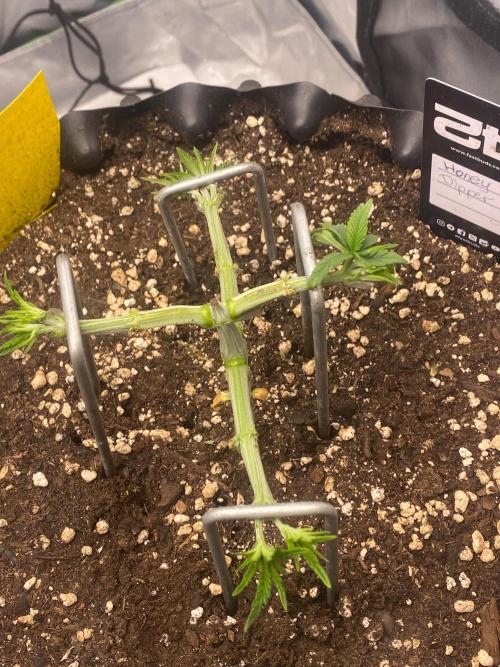
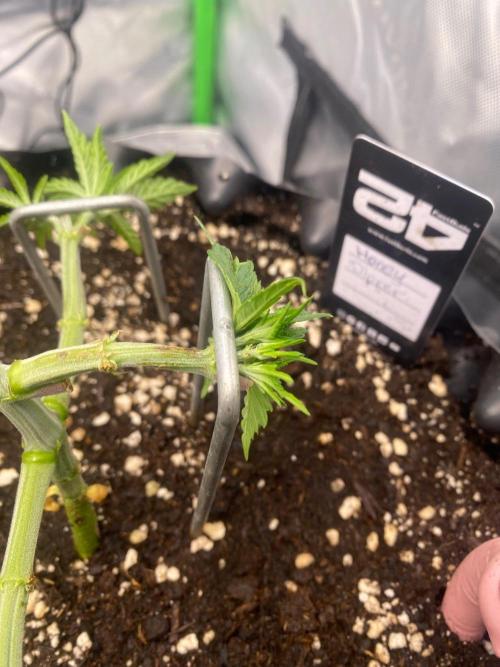
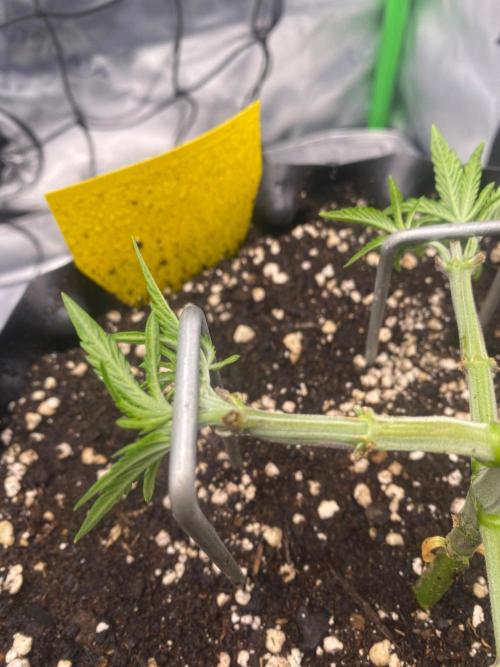
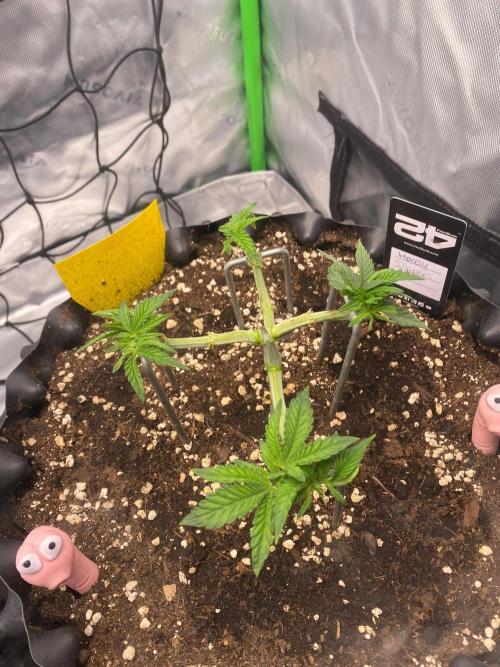
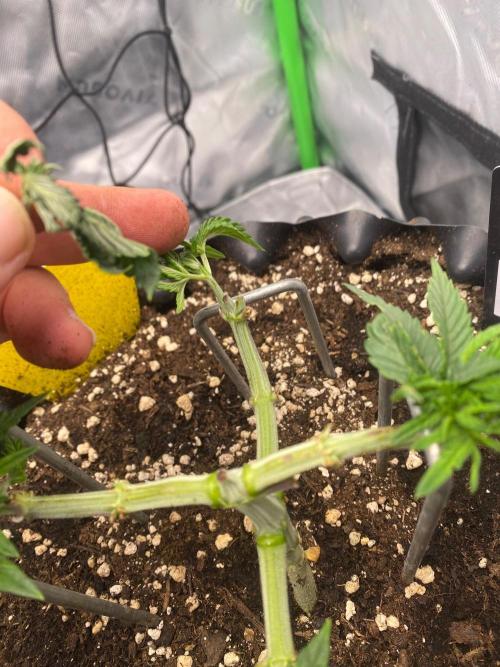
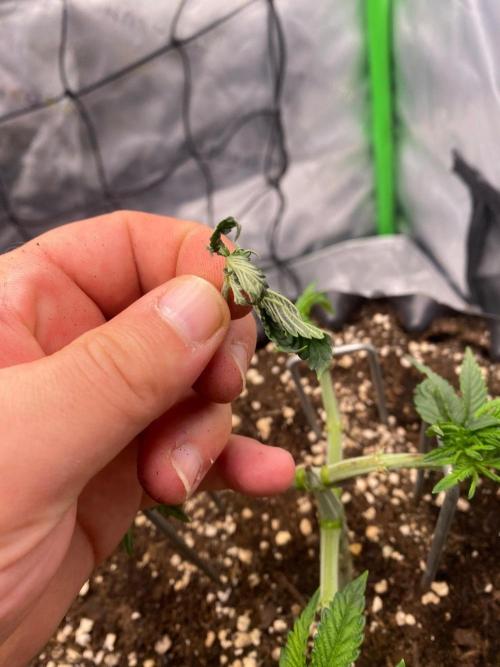
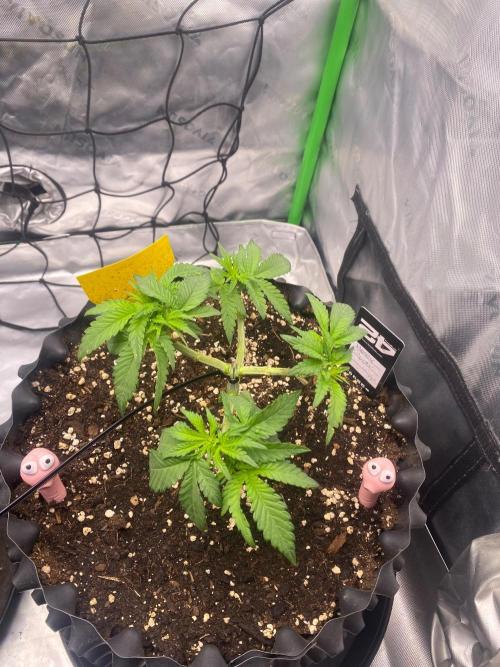
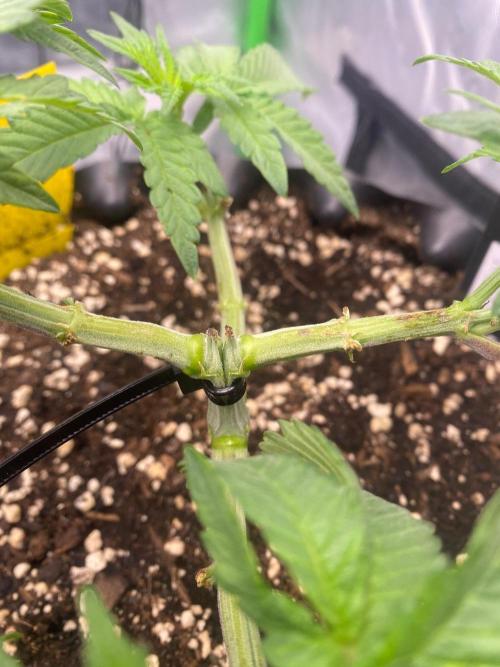
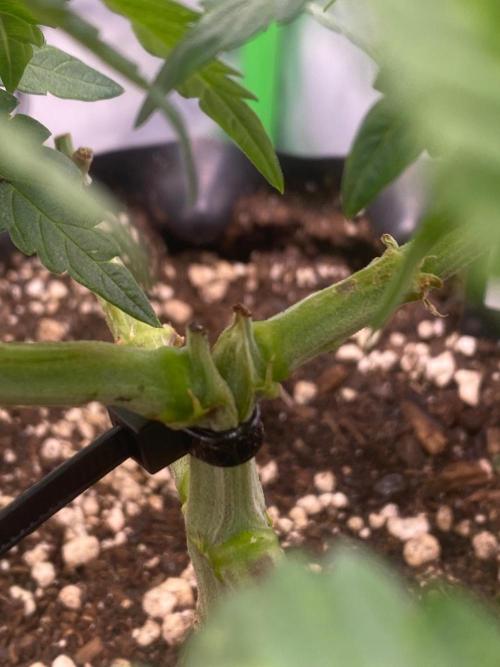
Tobi420Grow The week was unfortunately a bit more eventful than planned for the Honey Dipper. 😅
On Monday, a shoot probably broke off. However, I only discovered the whole thing on Tuesday when it was lying dead in the soil.
In the following course, it has slowly developed again. The new shoots show fresh growth, and the plant is starting to build some structure again despite the small setbacks. Overall, the growth is still rather restrained, but the new shoot tips look vital.
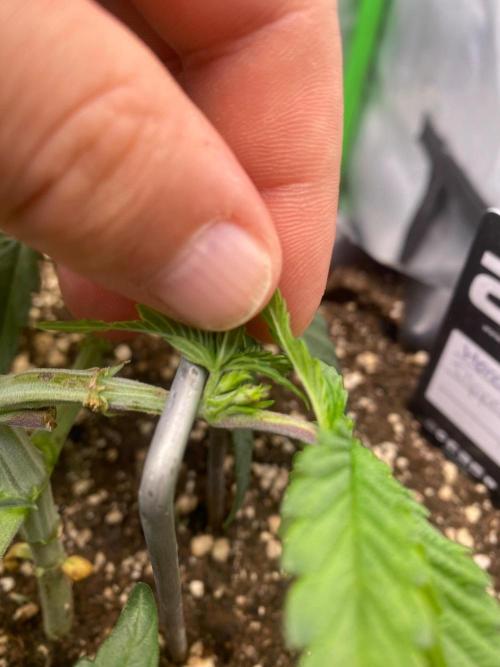
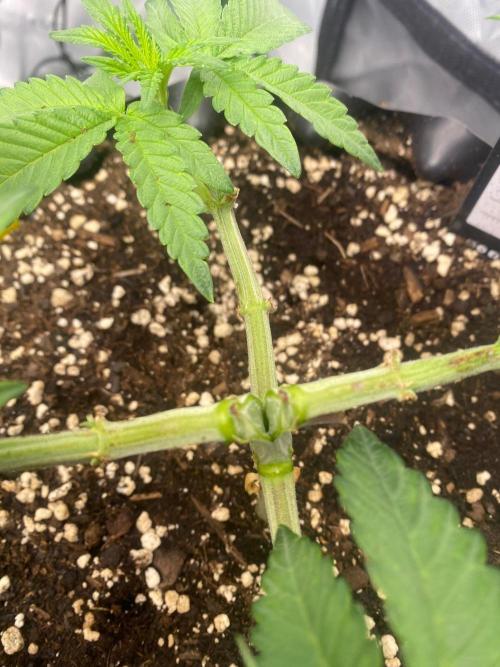
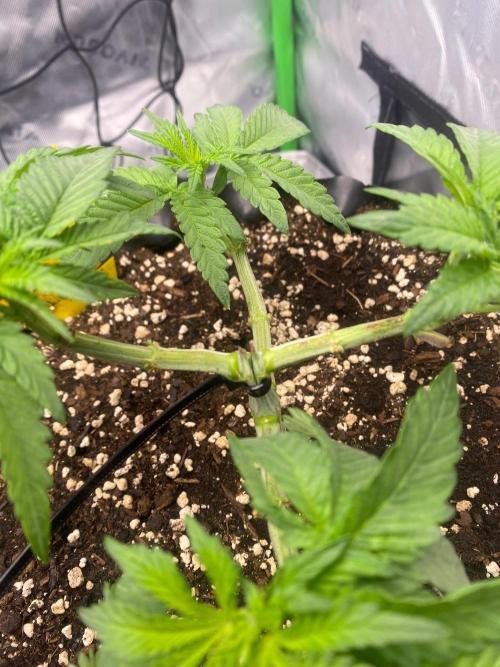
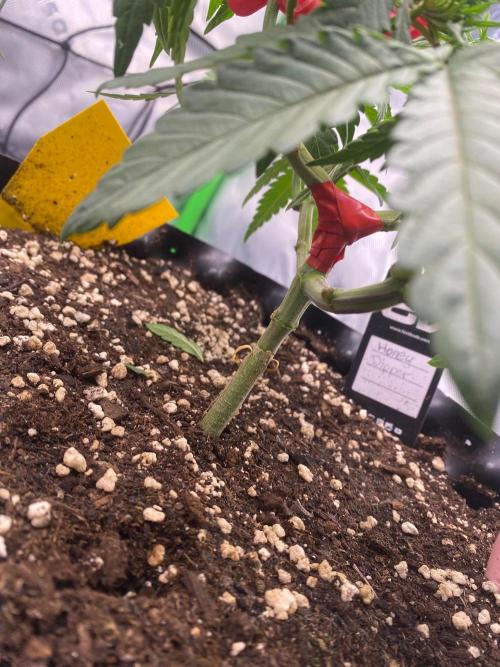
On Thursday, during training, the next incident occurred: while carefully reshaping the plant, the stem tore. 😬 Here too, the spot was immediately stabilized so that the plant can continue to be cared for.
In the meantime, new growth is clearly visible at several tips again. The Honey Dipper is definitely not making it easy for me this week, but it is continuing to fight through. 💪
For the next while, I will approach the training a bit more cautiously and give it time to fully recover from the injuries sustained.
6 likes
1 comment
Share
Used techniques
LST
Technique
HST
Technique
Topping
Technique
7
Week 7. Vegetation
16d ago
1/12
22 cm
Height
18 hrs
Light Schedule
26 °C
Day Air Temp
No Smell
Smell
58 %
Air Humidity
21 °C
Night Air Temp
0.2 set_lilers
Watering Volume
40 cm
Lamp Distance
Nutrients 5
Acti-Vera
2 mll
Alg-A-Mic
2 mll
Bio-Heaven
2 mll
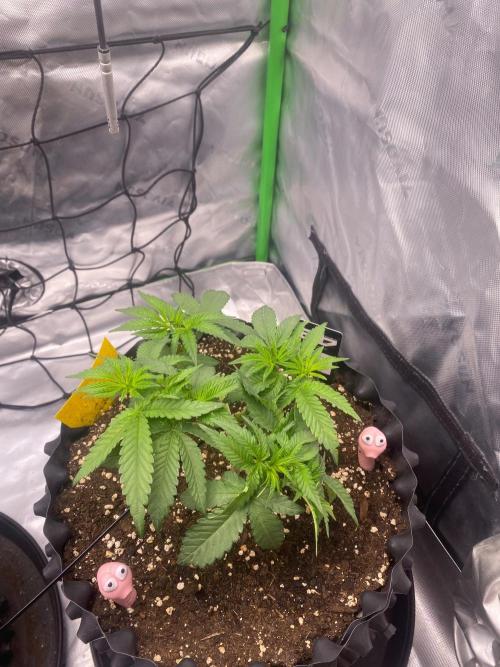
Tobi420Grow Honey Dipper – Growth Update & Plant Assessment
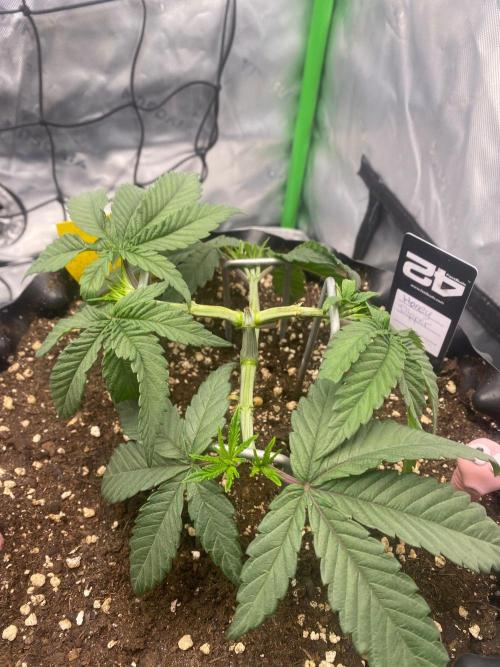
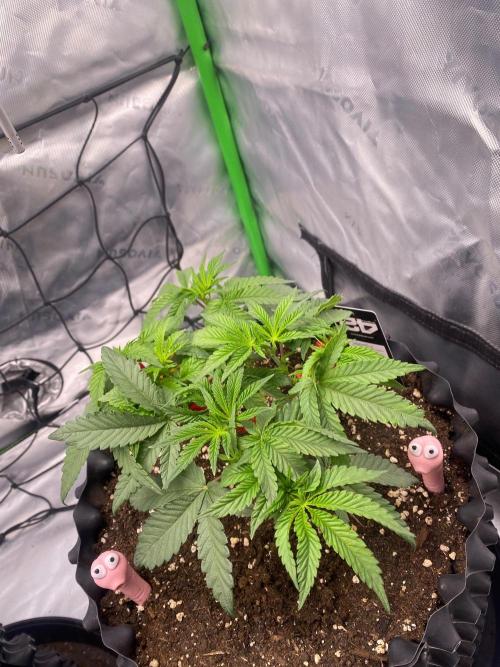
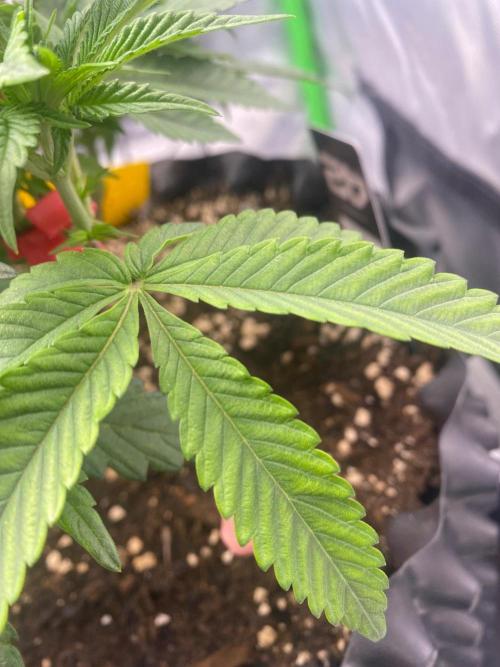
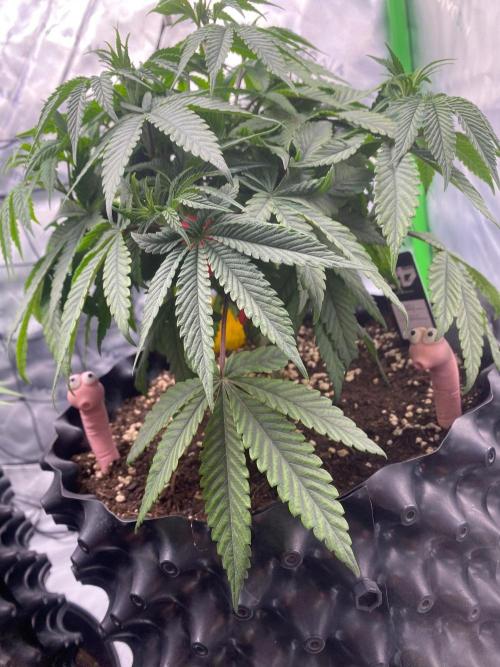
The Honey Dipper is developing well overall and shows a strong, bushy growth. The side shoots have developed nicely, and the plant is becoming increasingly compact and wider. The training has resulted in a beautiful, branched structure.
The leaf color is predominantly healthy green. However, some older and larger fan leaves show a slightly lighter coloration. The leaf position also appears slightly drooping or directed downwards in some places. This does not necessarily indicate a nutrient deficiency – water supply or nutrient availability could also play a role.
The new shoot tips look predominantly vigorous and continue to grow. Due to the dense canopy, there is relatively little light in the lower plant area. Therefore, I will keep an eye on the further development and ensure that the plant receives adequate air circulation.
My conclusion: The Honey Dipper shows a solid overall development with good branching and many new growth points. Some leaves show slight irregularities, which is why I will continue to monitor the development. Now it’s important to let the plant grow as stress-free as possible and not to intervene hastily with additional fertilizers.
Let’s continue with the Honey Dipper – step by step to a healthy, strong plant!
6 likes
comments
Share
8
Week 8. Flowering
9d ago
1/8
30 cm
Height
12 hrs
Light Schedule
26 °C
Day Air Temp
Normal
Smell
50 %
Air Humidity
21 °C
Night Air Temp
3.5 set_lilers
Watering Volume
40 cm
Lamp Distance
Tobi420Grow Honey Dipper – Recovered, trained, and ready for flowering!
The Honey Dipper has recovered well and is showing significant improvement. After going through quite a bit recently, she looks much more vibrant now and is forming new shoots and fresh growth. It's especially nice to see that the plant is continuing to develop and has gathered new strength despite the previous stress.
Defoliation & Plant Care
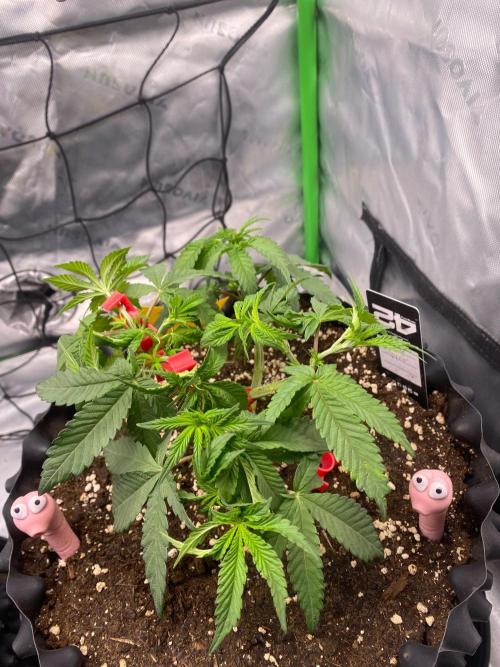
Just like with my Papaya Sour Spritz, I also performed some defoliation on the Honey Dipper and removed a few lower shoots. This has loosened the plant a bit and improved air circulation inside. I made sure not to remove too much at once so that she can continue to develop well.
LST Training with Clips
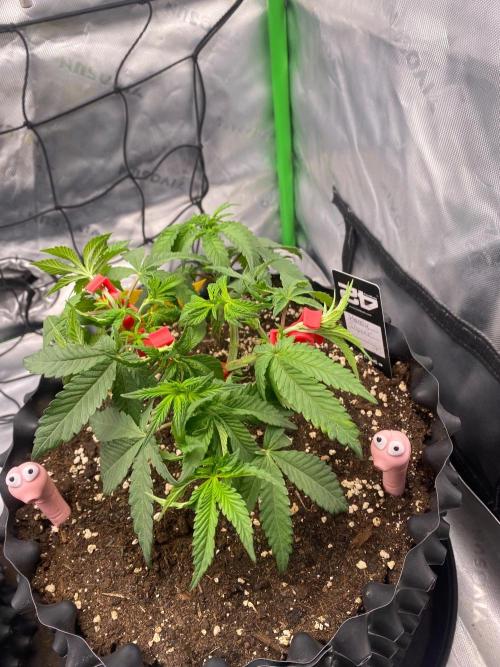
The LST clips were also used again on the Honey Dipper. I carefully bent the shoots outward and in the desired direction to create a more even canopy. This way, the individual shoot tips have more space, and the growth can spread better across the area.
Switching to Flowering
Today at 6:00 PM, the lighting for the Honey Dipper was also switched to 12/12. This means she is now entering the flowering phase. I'm curious to see how she stretches over the next few weeks and how the individual flower sites will develop.
Fertilization
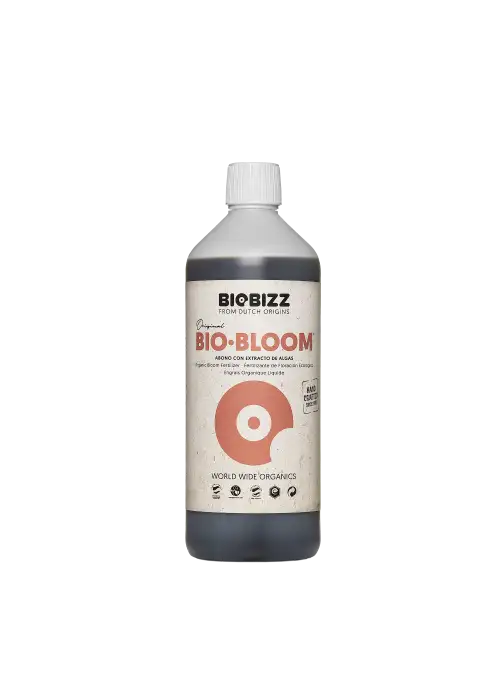
Unlike the Papaya Sour Spritz, I didn't add any additional nutrients to the Honey Dipper today. During the next watering, she will be fed according to the BioBizz feeding schedule.
11 likes
1 comment
Share
Used techniques
LST
Technique
Defoliation
Technique
12-12
Technique
9
Week 9. Flowering
2d ago
1/11
35 cm
Height
12 hrs
Light Schedule
24 °C
Day Air Temp
Normal
Smell
48 %
Air Humidity
17 °C
Night Air Temp
25 set_lilers
Pot Size
3.5 set_lilers
Watering Volume
40 cm
Lamp Distance
Nutrients 8
Acti-Vera
3 mll
Alg-A-Mic
2 mll
Bio-Bloom
4 mll
Tobi420Grow Heute ist die Honey Dipper bereits 14 Tage in der Blüte.
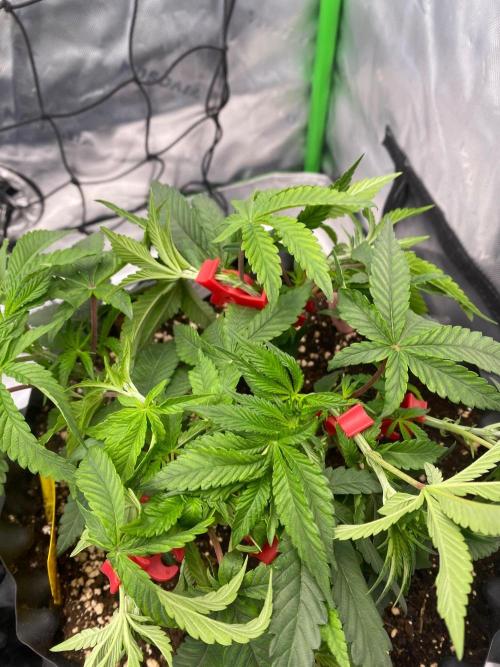
Die Entwicklung gefällt mir bisher sehr gut. Sie wächst schön buschig, hat zahlreiche Seitentriebe gebildet und entwickelt eine breite, gut verzweigte Krone. Durch das Training mit den roten Pflanzenclips konnte ich die Triebe besser verteilen und für ein gleichmäßigeres Blätterdach sorgen.
Die neuen Triebspitzen sind gut zu erkennen und die Pflanze wirkt insgesamt vital. Aktuell liegt die Luftfeuchtigkeit im Zelt bei 45–50 %. Ich behalte die weitere Entwicklung, den Stretch und die Blattfarbe im Auge.
Jetzt bin ich gespannt, wie sich die Honey Dipper in den kommenden Wochen weiterentwickelt und wie sich die ersten Blütenstände ausbilden