


FBuds x Biobizz 2.0








Indoor
Room Type
Topping
weeks 1
HST
weeks 2
24 liters
Pot Size
Start at 2 Week
G
Germination12h ago
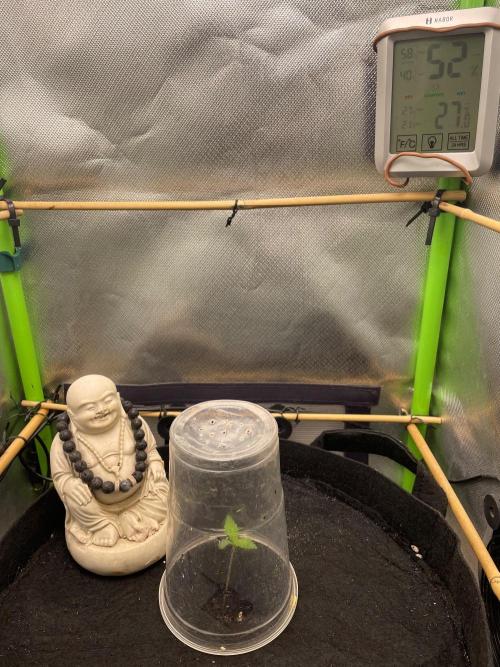
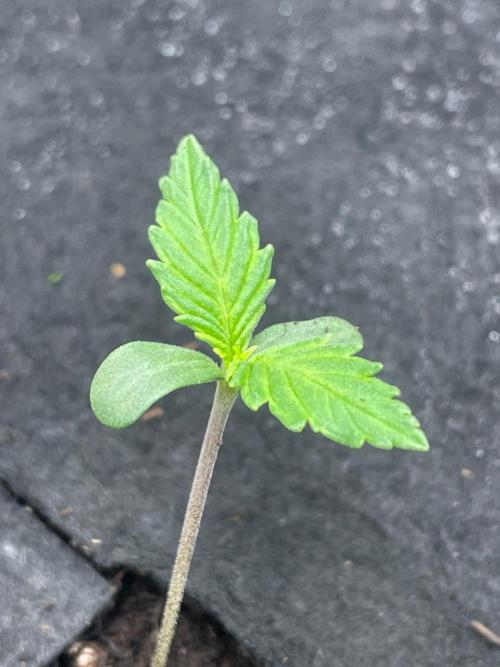
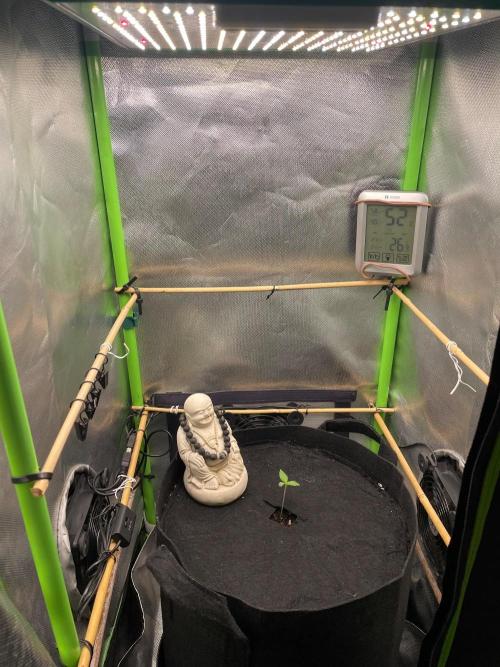
Turgor72 Store your seeds in a fridge, in their original packaging, inside a container😉.
Firstly I watered my soil with 10% of the soil volume. I placed the seed directly into the soil about 1 cm deep and place a humidity dome over it. In my conditions it always takes about 4 days for the seedling to push through, shed its seed hull and show the beginnings of true leaves.
Grow tip: Recycle your biobizz soil. Dump it out remove thick roots, keep all the finer roots and add back to your pot. Add a couple of handfuls of new soil to the top centre of your pot and start the seed germination in that. The recycled soil will be full of all the good microbes necessary for the grow and trace residue of the biobizz nutrients you used. If however you had issues with your previous grow, throw the soil onto your compost heap and use it elsewhere🤩
1 like
comments
Share
Used method
Directly In Substrate
Germination Method
1
Week 1. Vegetation12h ago
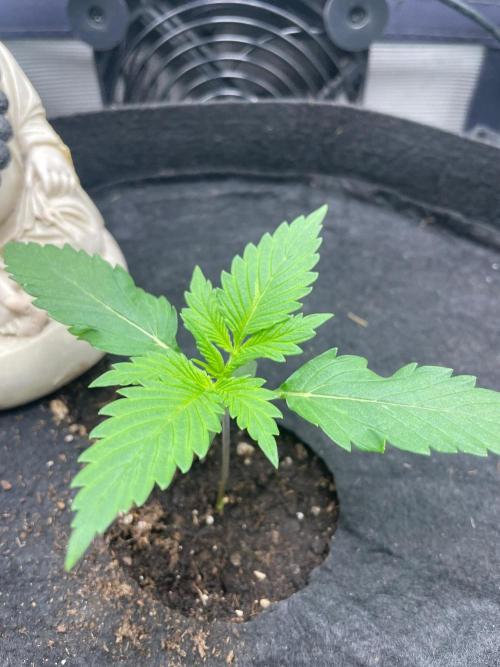
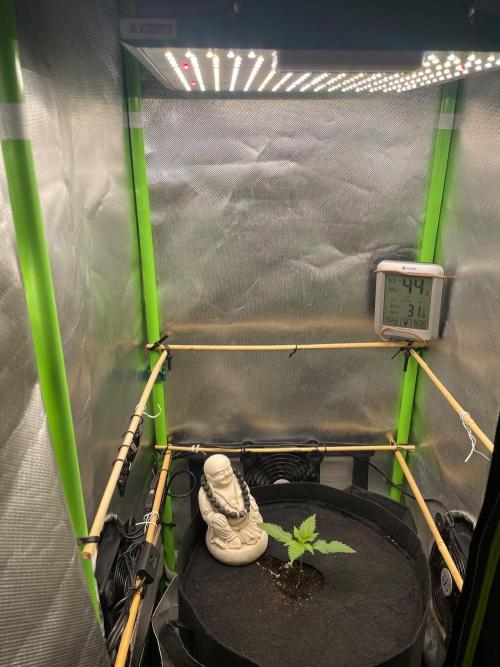
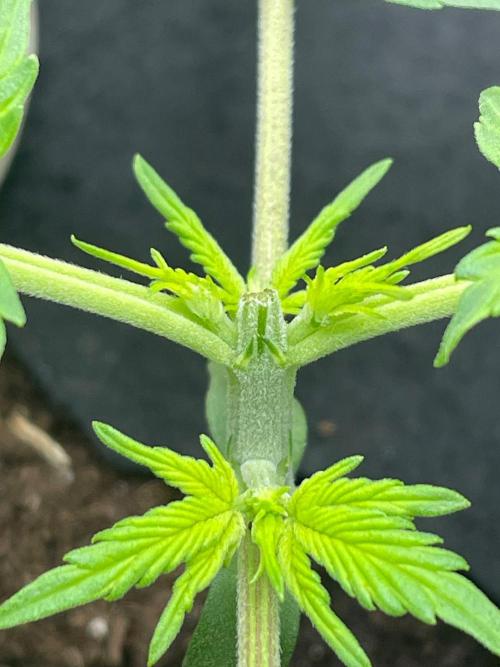
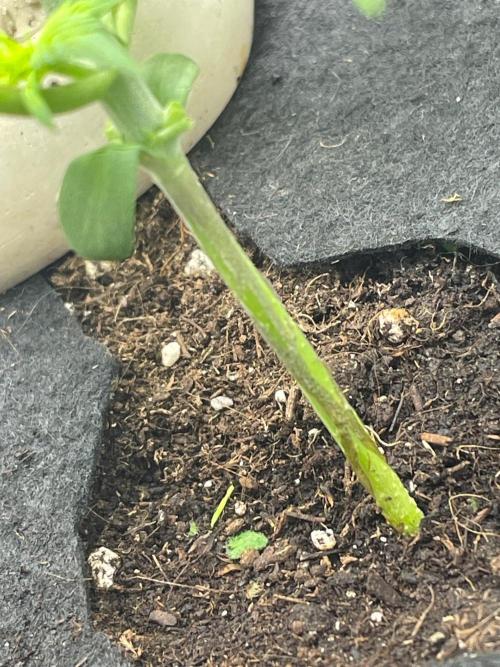
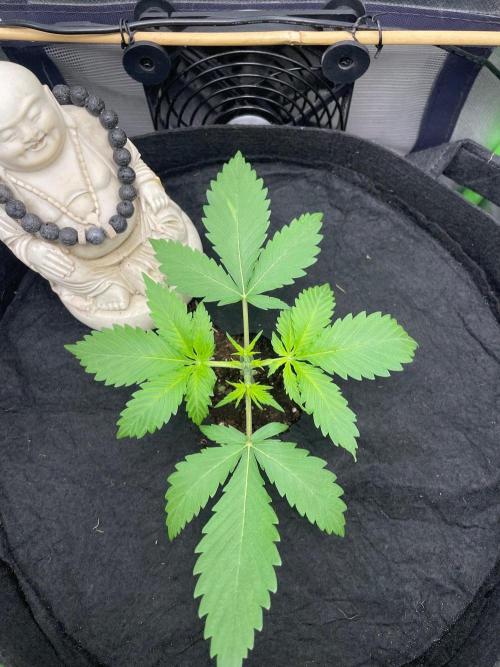
8 cm
Height
18 hrs
Light Schedule
31 °C
Day Air Temp
No Smell
Smell
45 %
Air Humidity
24 °C
Night Air Temp
24 liters
Pot Size
60 cm
Lamp Distance
Nutrients 1
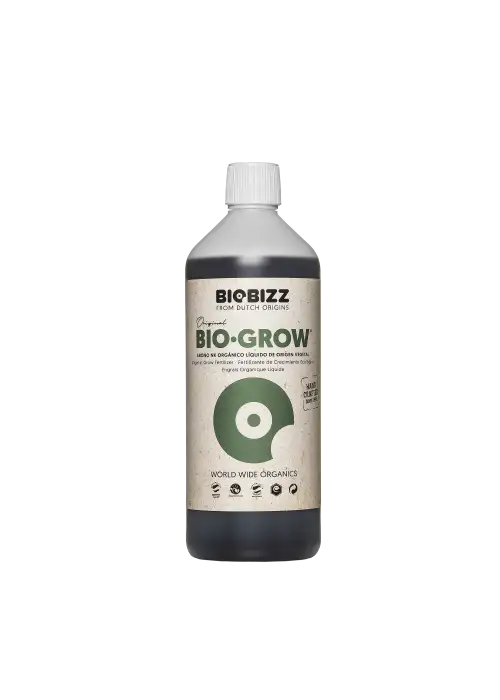
Bio-Grow
1 mll
Turgor72 Soil and its microbes love to work under cover.
I’ve tried living mulches, cardboard cover and chop and drop. However what works best for me is fabric, cut from a fabric pot. It doesn’t encourage bugs, you can water through it and it allows air to move through it freely.
I watered 5% of soil volume twice this week and one of those waterings included biogrow. I watered around the seedling to encourage lateral root growth.
I topped the plant on day 11, removing the 4th and 5th nodes and the 1st node below. This left nodes 2 and 3. I top to control plant height and this drastic assault on the plant works best for me. You are left with 4 tops all even in height, perfect symmetry with no leaves shaded out.
My hippy woo-woo tip when topping: eat what you top off, you and the plant will be connected and you will be more in tune to its needs🤩.
1 like
comments
Share
Used techniques
Topping
Technique
2
Week 2. Vegetation12h ago
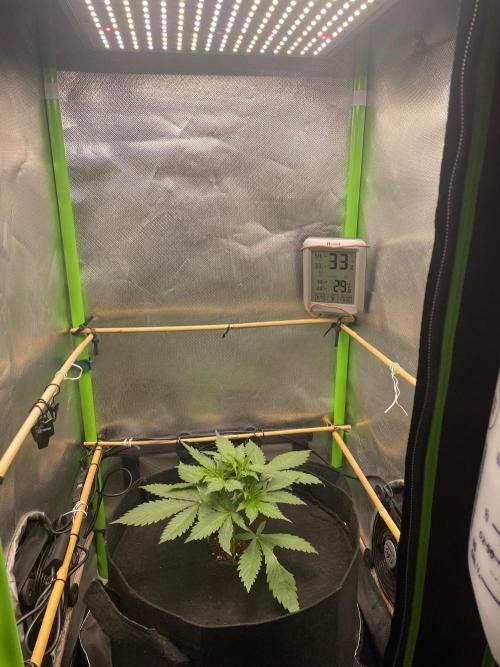
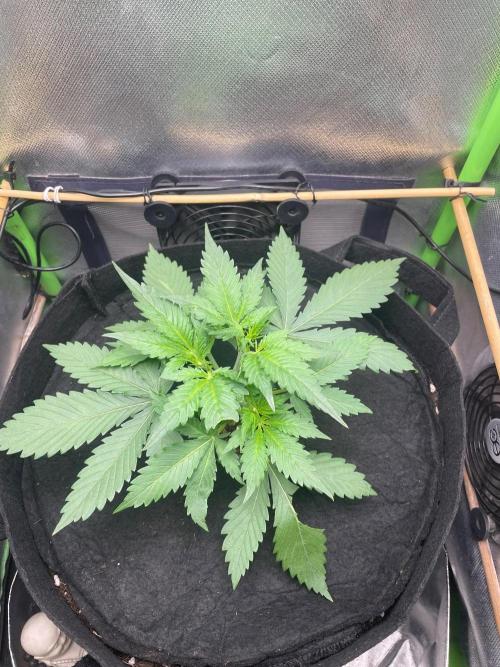
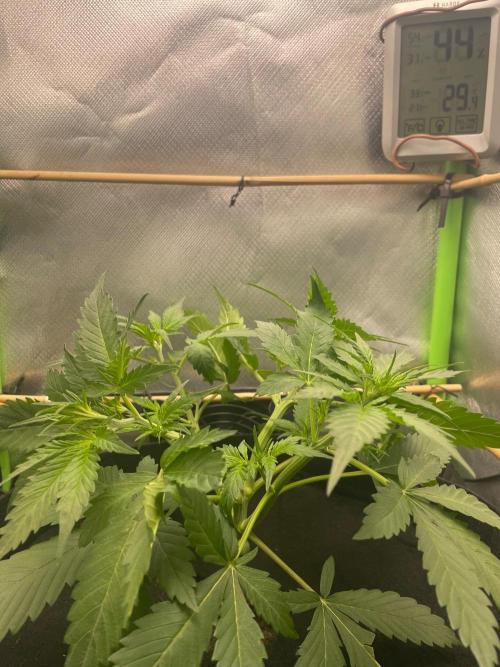
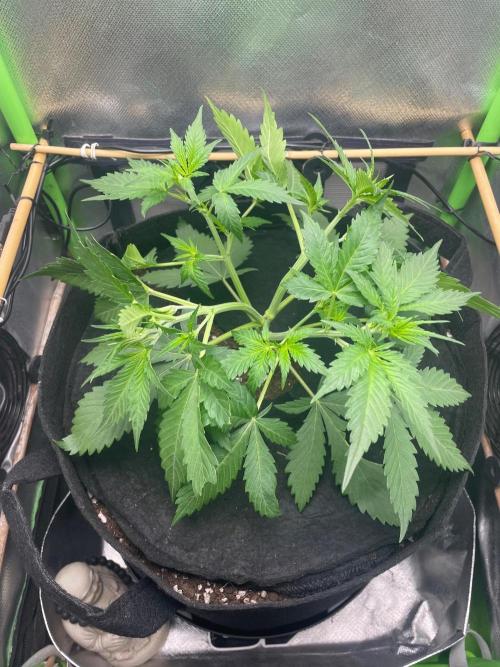
13 cm
Height
18 hrs
Light Schedule
33 °C
Day Air Temp
No Smell
Smell
45 %
Air Humidity
21 °C
Night Air Temp
24 liters
Pot Size
60 cm
Lamp Distance
Nutrients 1
Bio-Grow
1 mll
Turgor72 I have a self wicking saucer under the plant pot. In order to take full advantage of it, I need to encourage the roots down into the bottom 3rd of the fabric pot. To achieve this I have been alternating my 5% watering by watering from the top and using the self watering saucer at the bottom. It has worked and I filled the bottom reservoir for the first time on day 18, it holds about 3.5 litres.
I’ve tried making my own soils, ferments, teas and adding dry amendments with mixed results. What works for me is biobizz soil, plain water in the reservoir below and biobizz nutrient infused water added from above. However this week has been reservoir plain water only.
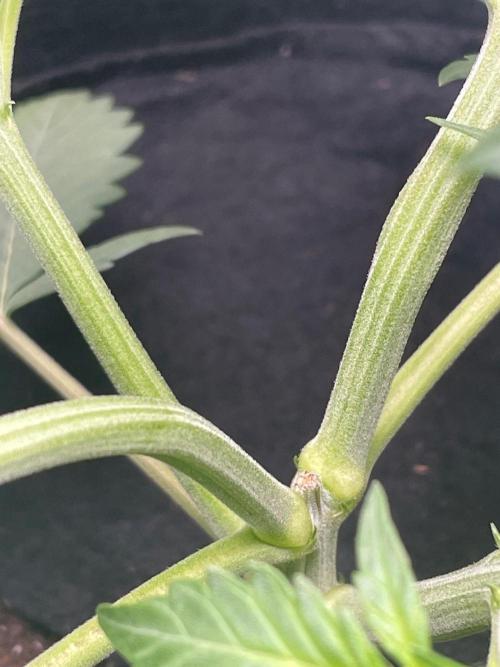
I pinched and internally damaged the two tallest stems just to keep a relatively flat canopy. Please note: don’t do this, super cropping your autoflower is unnecessary. The very next day it is all standing upright anyway. I did this out of boredom and a need to meddle😂. At this stage, day 19, I can see the 1st pistils so the plant will start its stretching.
Grow tip: once you see pistils leave the plant alone.
The job now is to observe what the leaves and petioles tell you. Listen👽
1 like
comments
Share
Used techniques
HST
Technique
Enjoying this diary? Follow for more updates!
Prefer the old Diary view?
Go back to the old Diary view