Turgor72 Store your seeds in a fridge, in their original packaging, inside a container😉.
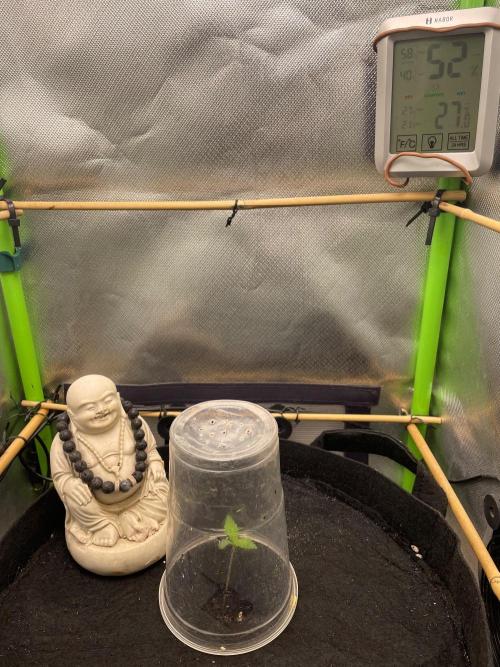
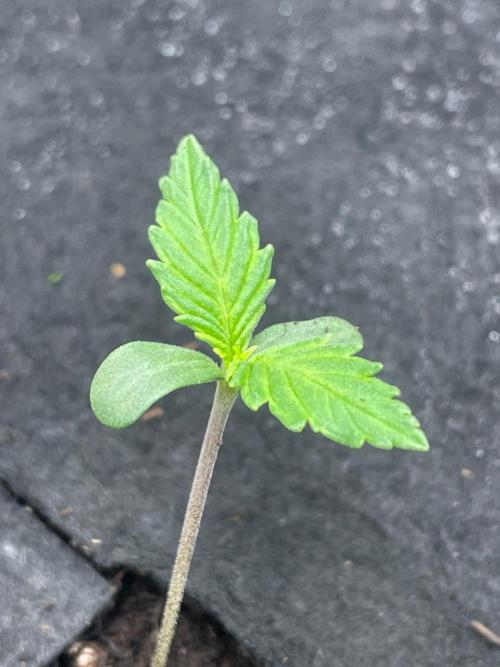
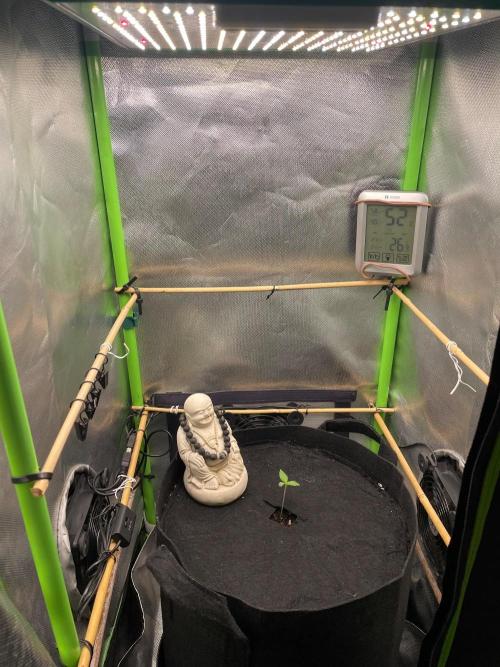
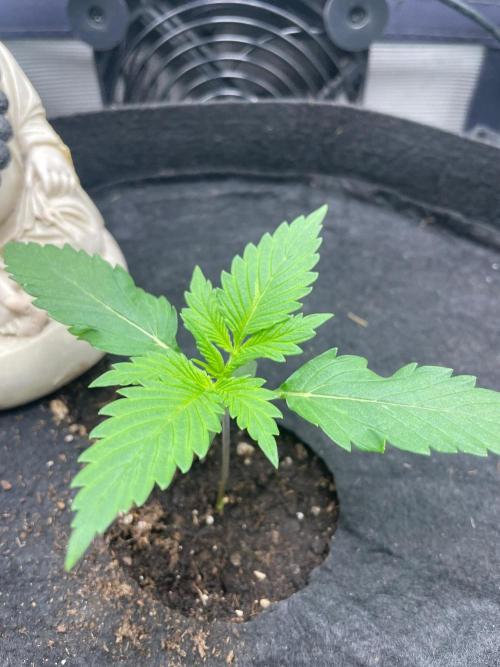
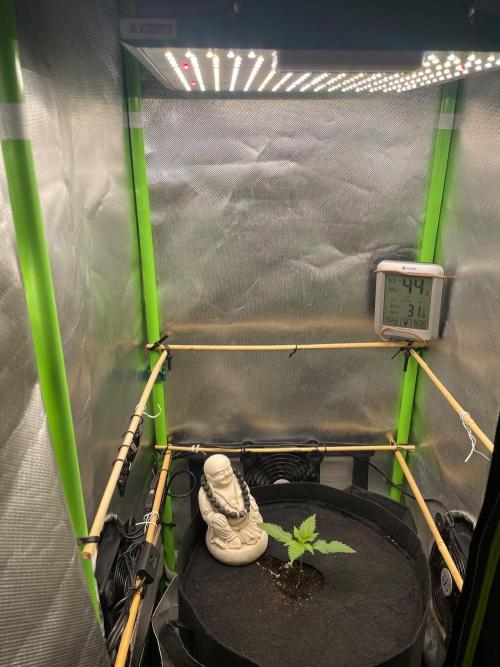
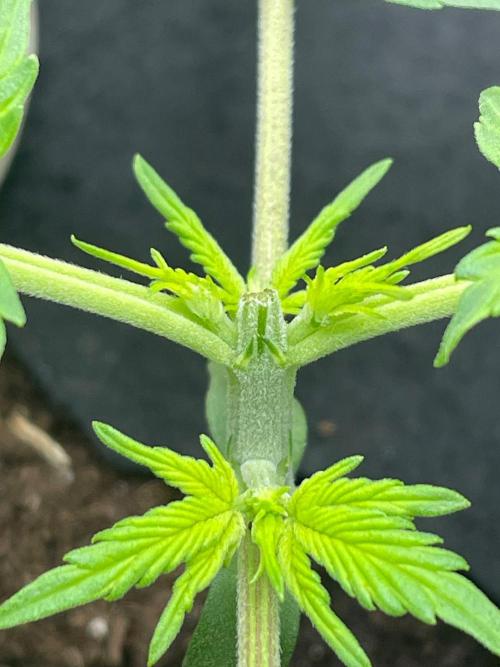
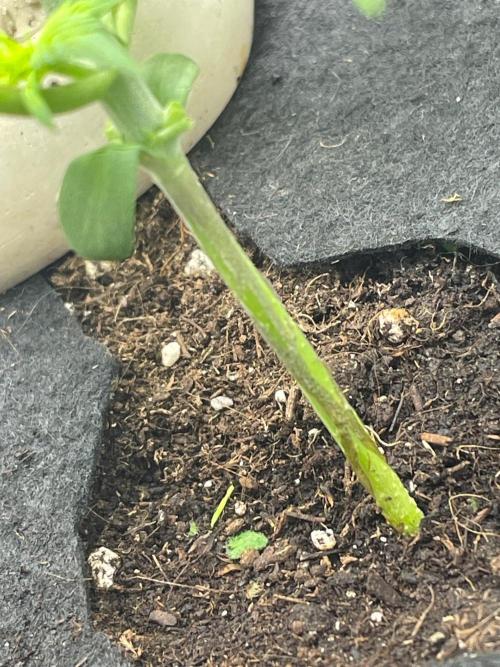
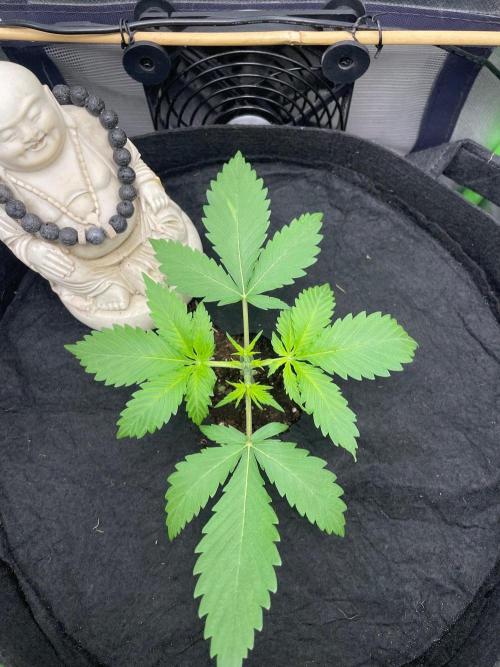
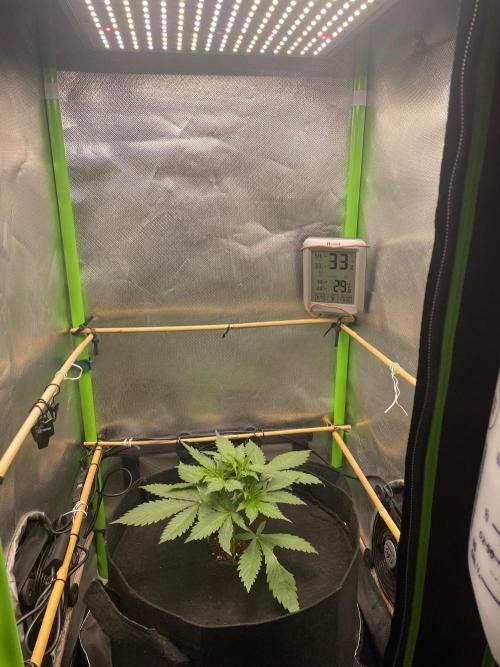
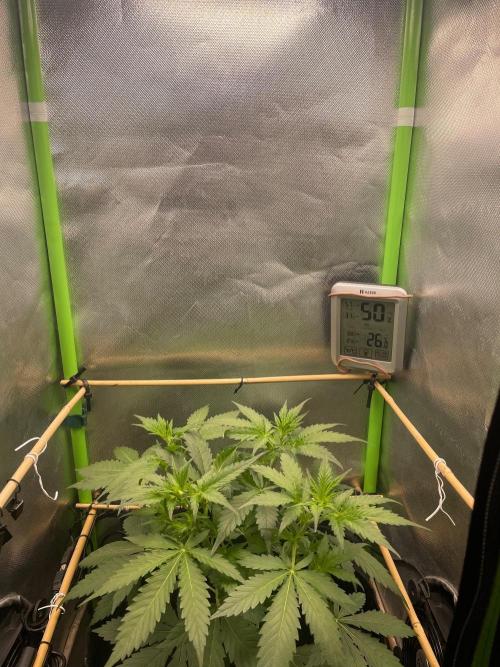
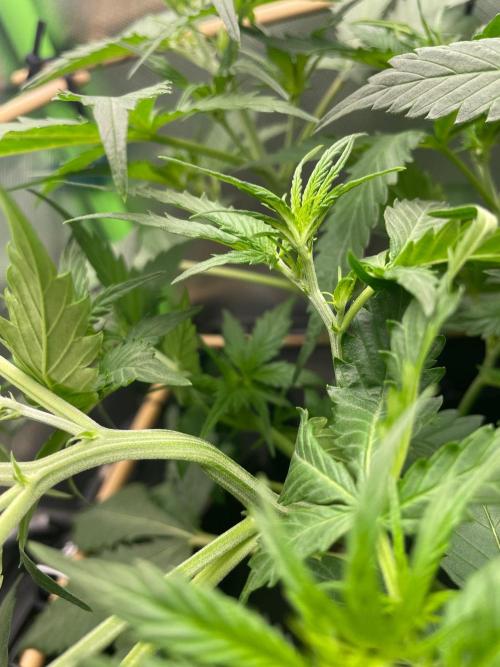
Firstly I watered my soil with 10% of the soil volume. I placed the seed directly into the soil about 1 cm deep and place a humidity dome over it. In my conditions it always takes about 4 days for the seedling to push through, shed its seed hull and show the beginnings of true leaves.
Grow tip: Recycle your biobizz soil. Dump it out remove thick roots, keep all the finer roots and add back to your pot. Add a couple of handfuls of new soil to the top centre of your pot and start the seed germination in that. The recycled soil will be full of all the good microbes necessary for the grow and trace residue of the biobizz nutrients you used. If however you had issues with your previous grow, throw the soil onto your compost heap and use it elsewhere🤩
2 likes
comments
Share
Used method
Directly In Substrate
Germination Method
1
Week 1. Vegetation
2mo ago
1/5
8 cm
Height
18 hrs
Light Schedule
31 °C
Day Air Temp
No Smell
Smell
45 %
Air Humidity
24 °C
Night Air Temp
24 liters
Pot Size
60 cm
Lamp Distance
Nutrients 1
Bio-Grow
1 mll
Turgor72 Soil and its microbes love to work under cover.
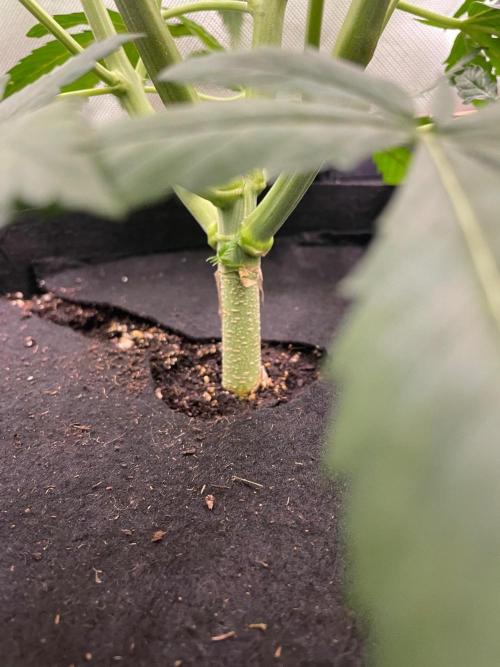
I’ve tried living mulches, cardboard cover and chop and drop. However what works best for me is fabric, cut from a fabric pot. It doesn’t encourage bugs, you can water through it and it allows air to move through it freely.
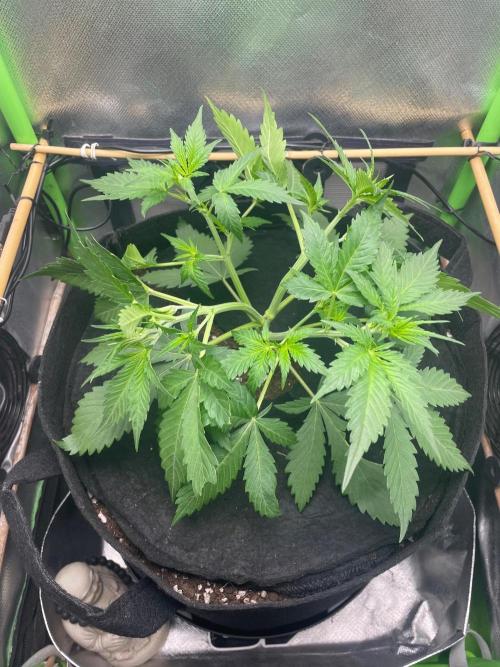
I watered 5% of soil volume twice this week and one of those waterings included biogrow. I watered around the seedling to encourage lateral root growth.
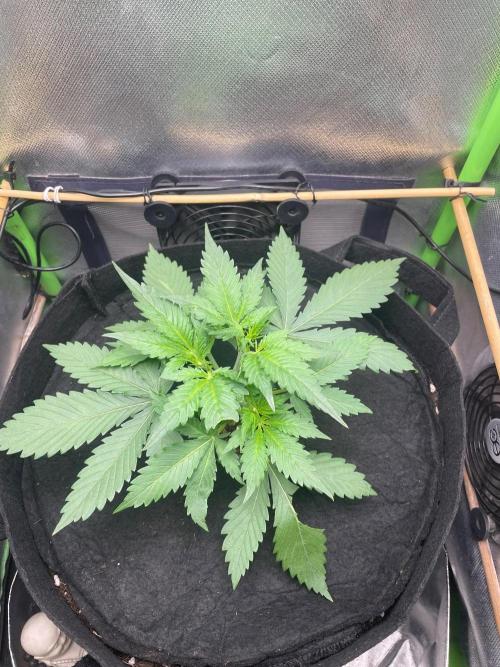
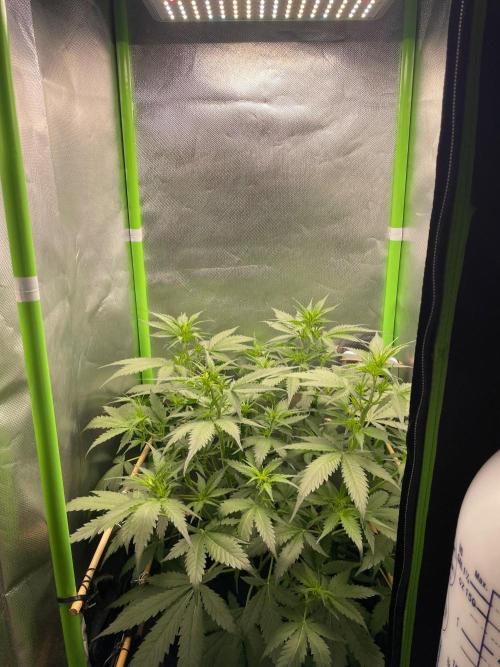
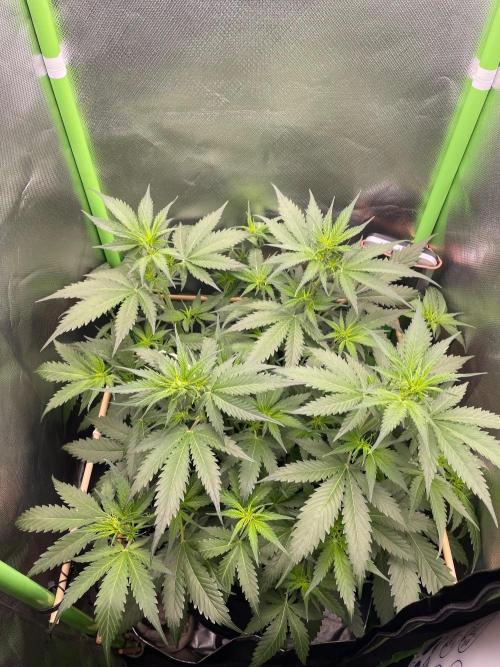
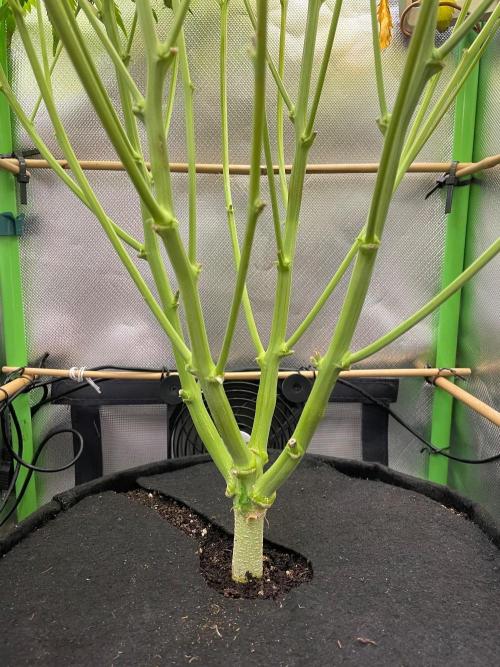
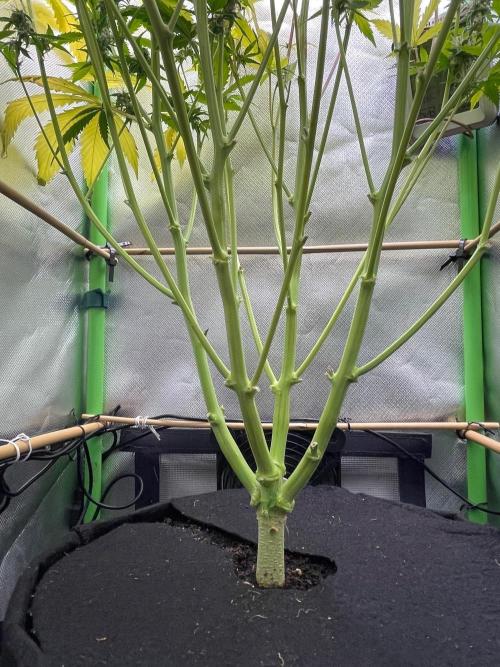
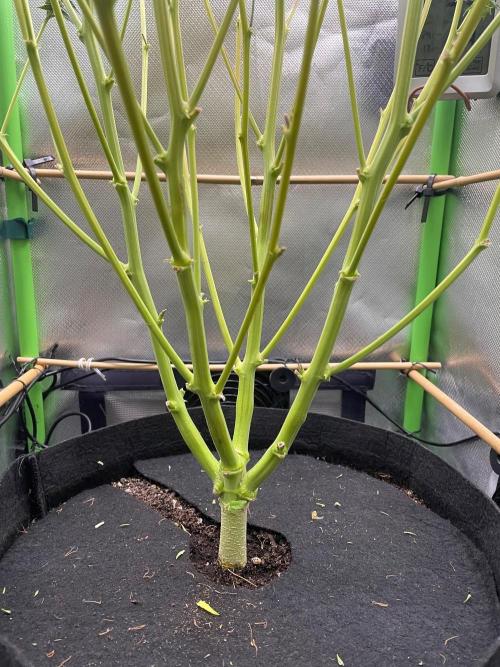
I topped the plant on day 11, removing the 4th and 5th nodes and the 1st node below. This left nodes 2 and 3. I top to control plant height and this drastic assault on the plant works best for me. You are left with 4 tops all even in height, perfect symmetry with no leaves shaded out.
My hippy woo-woo tip when topping: eat what you top off, you and the plant will be connected and you will be more in tune to its needs🤩.
2 likes
comments
Share
Used techniques
Topping
Technique
2
Week 2. Vegetation
2mo ago
1/5
13 cm
Height
18 hrs
Light Schedule
33 °C
Day Air Temp
No Smell
Smell
45 %
Air Humidity
21 °C
Night Air Temp
24 liters
Pot Size
60 cm
Lamp Distance
Nutrients 1
Bio-Grow
1 mll
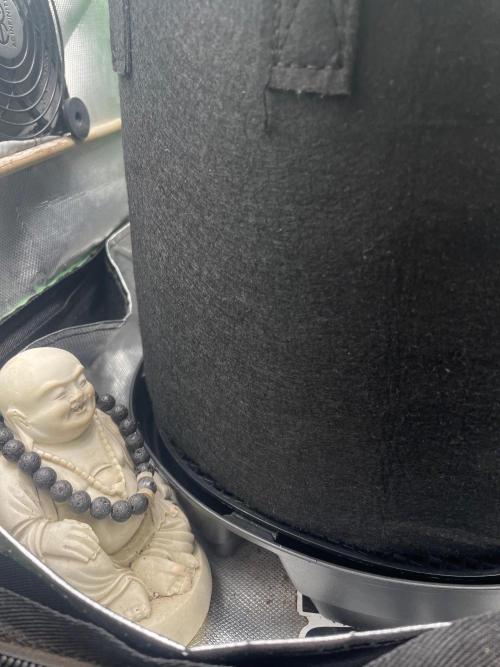
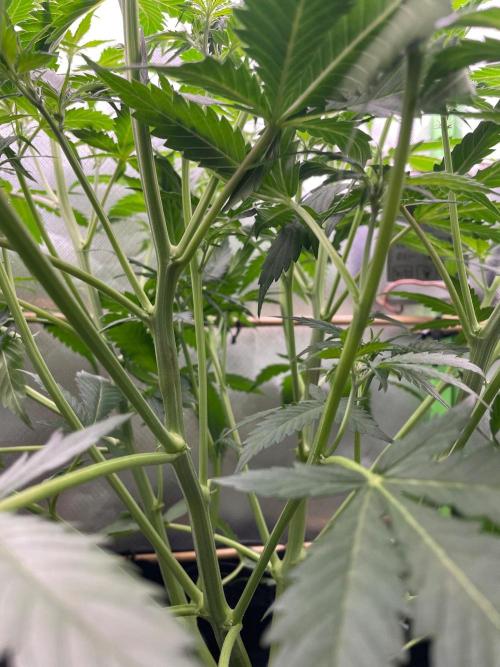
Turgor72 I have a self wicking saucer under the plant pot. In order to take full advantage of it, I need to encourage the roots down into the bottom 3rd of the fabric pot. To achieve this I have been alternating my 5% watering by watering from the top and using the self watering saucer at the bottom. It has worked and I filled the bottom reservoir for the first time on day 18, it holds about 3.5 litres.
I’ve tried making my own soils, ferments, teas and adding dry amendments with mixed results. What works for me is biobizz soil, plain water in the reservoir below and biobizz nutrient infused water added from above. However this week has been reservoir plain water only.
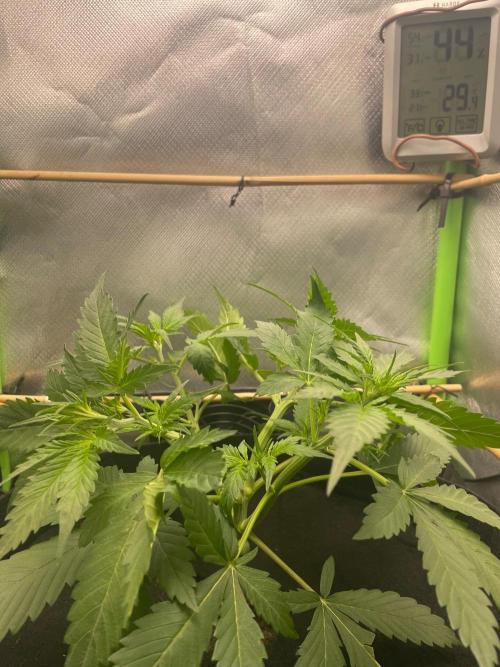
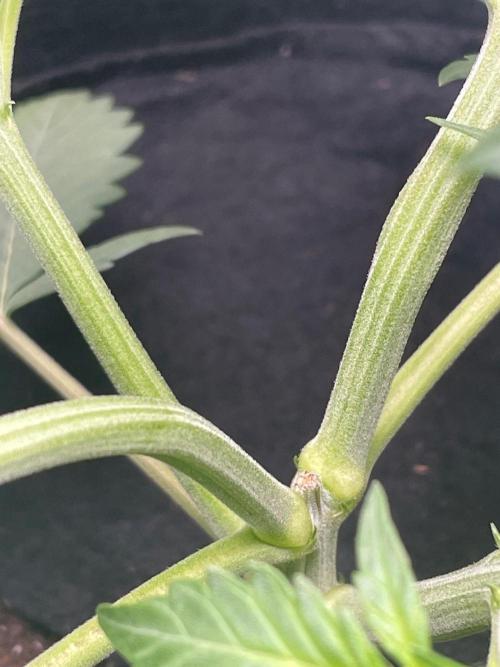
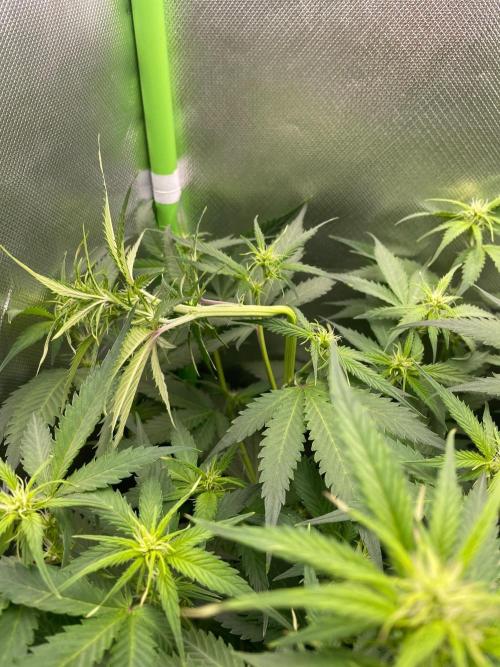
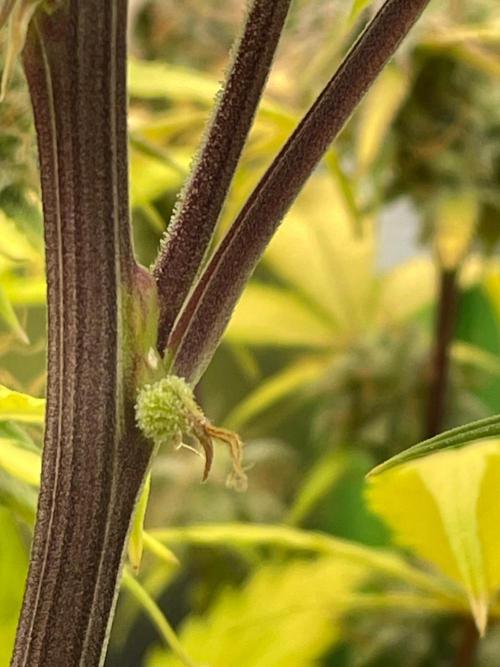
I pinched and internally damaged the two tallest stems just to keep a relatively flat canopy. Please note: don’t do this, super cropping your autoflower is unnecessary. The very next day it is all standing upright anyway. I did this out of boredom and a need to meddle😂. At this stage, day 19, I can see the 1st pistils so the plant will start its stretching.
Grow tip: once you see pistils leave the plant alone.
The job now is to observe what the leaves and petioles tell you. Listen👽
4 likes
1 comment
Share
Used techniques
HST
Technique
3
Week 3. Vegetation
2mo ago
1/4
25 cm
Height
18 hrs
Light Schedule
27 °C
Day Air Temp
No Smell
Smell
48 %
Air Humidity
21 °C
Night Air Temp
24 liters
Pot Size
60 cm
Lamp Distance
Nutrients 1
Bio-Grow
1 mll
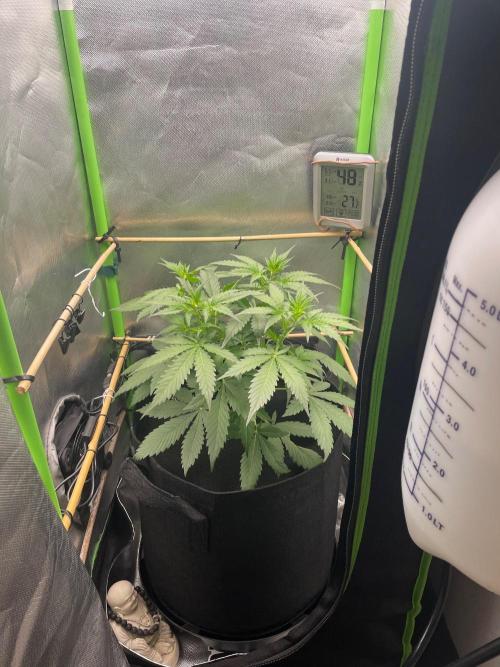
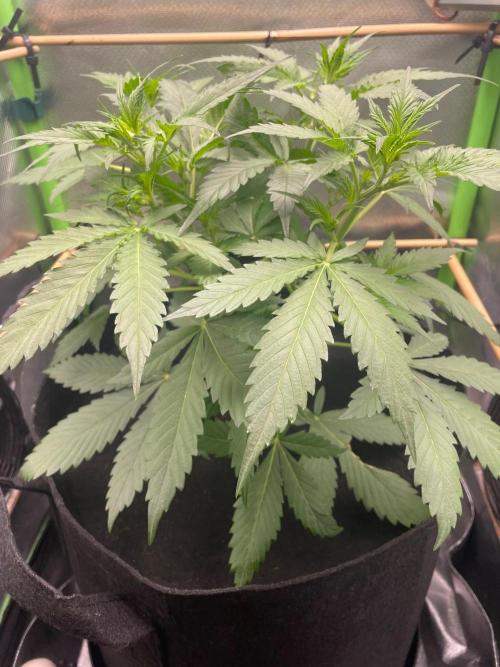
Turgor72 Day 21 and the plant is full of turgor. The plan at this point is to fill the reservoir below. Allow the reservoir to dry back for 24 hours. Top water a litre of water with biogrow added, at a rate of 1ml/l, and then refill the reservoir.
The plant leaves do have a slight blue hue to them. No clawing or burnt tips but in my experience, the blue hue indicates that nitrogen exists in abundance. So it might be just a top water with plain water. Open to suggestions on that one👍.
I have realised I haven’t shared DLI levels for this grow. I’m just using the Photone app autoflower chart, it seems to work for me. I’m currently at 27 DLI and climbing.
Grow tip: Get yourself a self wicking saucer, sit your fabric pot on top of the wicking Mat. Alternate between top watering and reservoir watering, 5% of soil volume, until your leaves span the diameter of your pot and then switch to filling the reservoir. My soil is 23 cm deep and is moist up to a height of 19 cm, that capillary action is real🤩.
6 likes
comments
Share
4
Week 4. Flowering
2mo ago
1/6
50 cm
Height
18 hrs
Light Schedule
27 °C
Day Air Temp
No Smell
Smell
65 %
Air Humidity
21 °C
Night Air Temp
24 liters
Pot Size
2 liters
Watering Volume
30 cm
Lamp Distance
Nutrients 2
Worm castings
0.25 mll
Bio-Grow
1 mll
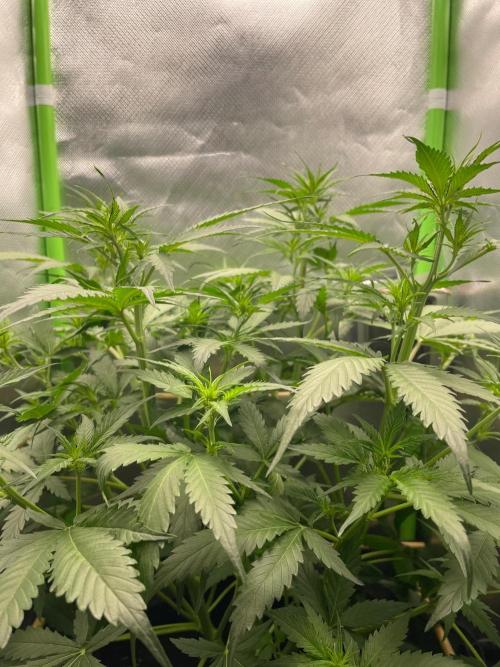
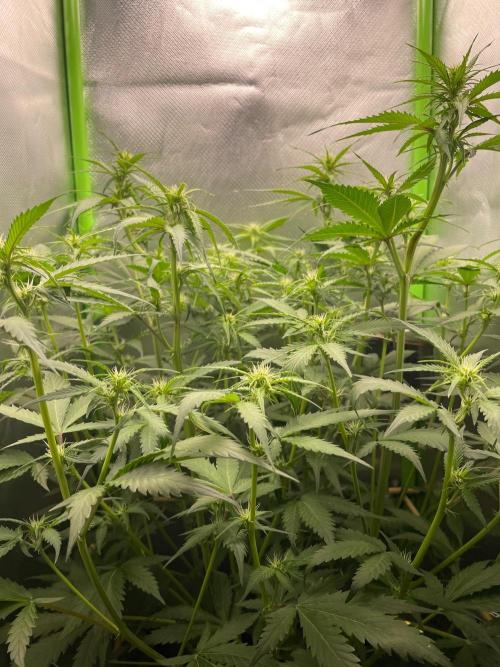
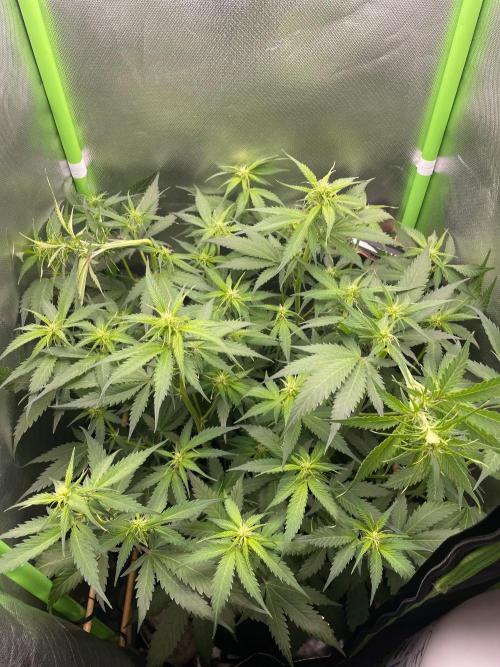
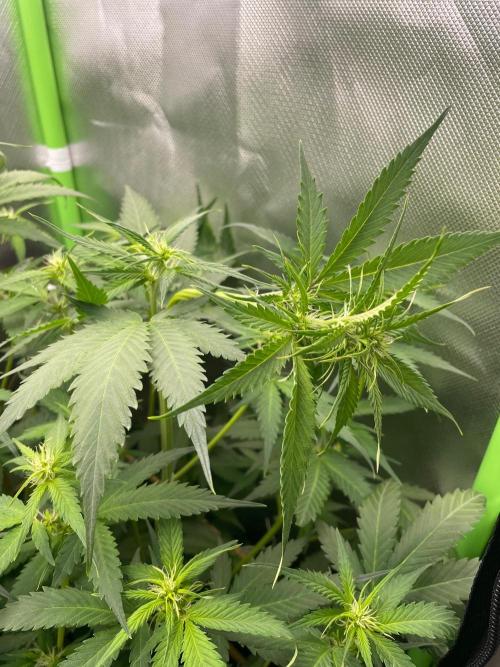
Turgor72 Day 28 and the plant is in full stretch mode. The plant showed sex on day 19 and on day 23 I noticed all the growth tips were frilly. It was at this point that the plant started stretching.
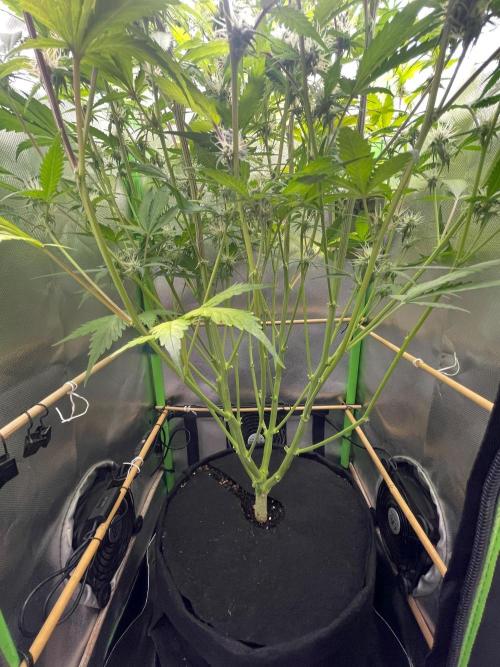
The tallest stems have been super cropped and large fan leaves in the top central area have been removed. In addition to this I have leaf tucked on a daily basis. All of these measures are my attempt at controlling overall height and to maintain an even canopy.
I added two handfuls of my worm castings to the top of my soil just under my fabric mulch layer and watered this in with 1.2 litres of biogrow infused water. I also fill the reservoir below with plain water when it runs dry.
The DLI currently sits at 31 and I will increase this to 40 over the coming week. Humidity is rapidly increasing as this plant increases in size in my small grow environment. I will simply increase the speed of the exhaust fan and remove big fan leaves low and central within the plant. This should keep the plant healthy.
This FastBuds CBD 1:1 plant is impressive. I have topped and super cropped this autoflower to control its height and it keeps, keeping on. Lovely secondary branching and perfect internode spacing.
Grow tip: top dress worm castings at a rate of no more than 2% of soil volume. This measure puts the craft into my biobizz bagged soil and nutrient grow. Allowing the FastBuds genetics to fully express its taste and effects and tying its uniqueness to my specific grow. My worm bin is only fed large roots, stems and leaves off plants from previous grows. I aim to provide my plant with macro and micro nutrients, hormones, enzymes and microbes specific to cannabis plant growth🤩.
7 likes
2 comments
Share
Used techniques
Defoliation
Technique
HST
Technique
Leaf tucking
Technique
5
Week 5. Flowering
2mo ago
1/8
70 cm
Height
18 hrs
Light Schedule
26 °C
Day Air Temp
Weak
Smell
68 %
Air Humidity
21 °C
Night Air Temp
24 liters
Pot Size
3 liters
Watering Volume
30 cm
Lamp Distance
Nutrients 3
Worm castings
1 mll
Bio-Grow
1 mll
Bio-Bloom
1 mll
Turgor72 The plant is still stretching. I have super cropped and defoliated this autoflower. I have starved it of water for 48hrs. I even snapped a branched, taped it for 24hrs and when I removed the tape it had healed itself. I am starting to remember why I started growing in just 4 litres of soil. These FastBuds autos thrive in large amounts of soil. Which is tricky when you are in a restricted grow space🤣.
The plant is also creating a high humidity environment ranging between 60% - 80% RH. Even with the exhaust fan running 24/7 on full speed. I will keep defoliating to create free air movement. The DLI is up to 40 and this is what I targeted, so at least that has gone as planned🤣.
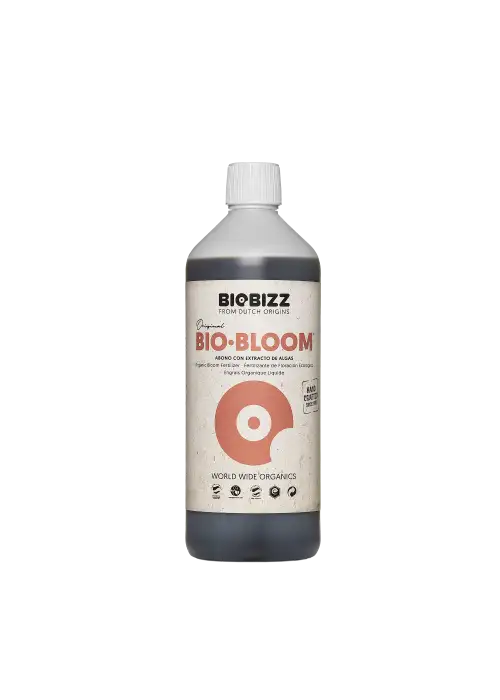
I understand that while biogrow cannot be used hydroponically because of how thick it is, bio bloom can be. So I think, for ease, I will just add biobloom to the reservoir below, at a rate of 1ml/l. I’ve always used both grow and bloom throughout, as recommended, so it will be interesting to see how bloom only performs.
The bud sites are visibly forming now, so the stretch should end during the next couple of days, which is good news. As I am wall to wall in the tent, with about 5cm more of headroom. With the buds sites forming a subtle smell is developing but nothing of real note yet.
4 likes
1 comment
Share
Used techniques
Defoliation
Technique
HST
Technique
6
Week 6. Flowering
1mo ago
1/9
80 cm
Height
18 hrs
Light Schedule
23 °C
Day Air Temp
Normal
Smell
64 %
Air Humidity
21 °C
Night Air Temp
20 liters
Pot Size
3.5 liters
Watering Volume
18 cm
Lamp Distance
Nutrients 2
Worm castings
1 mll
Bio-Bloom
2 mll
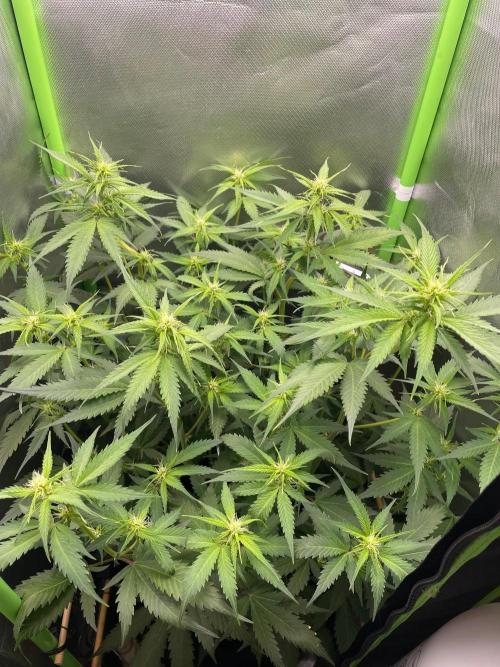
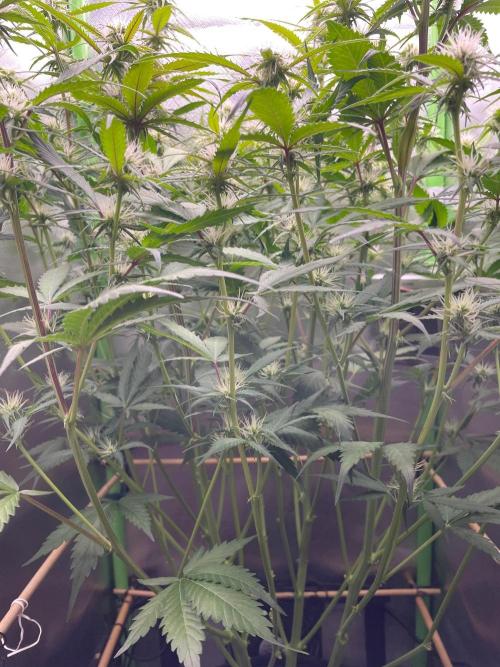
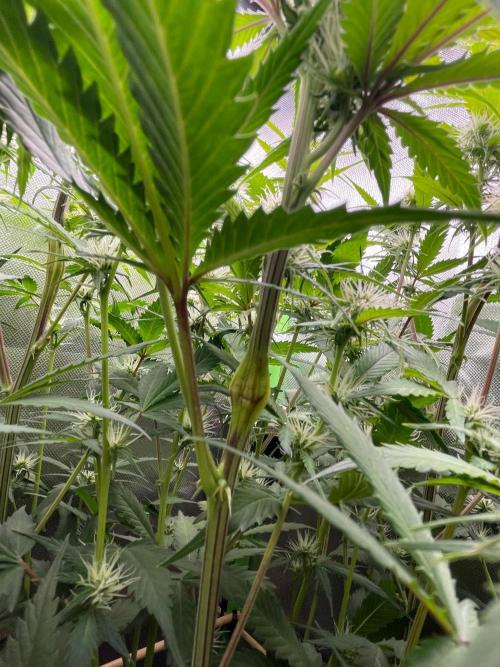
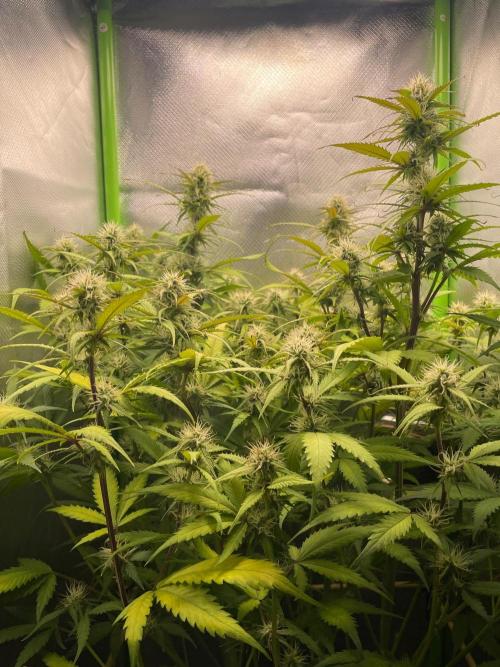
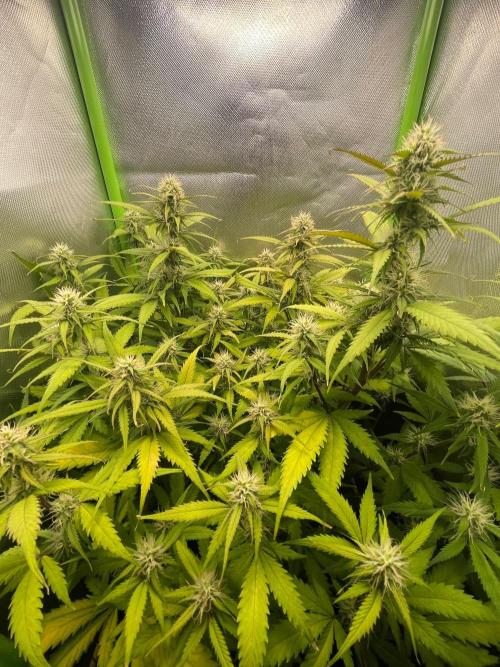
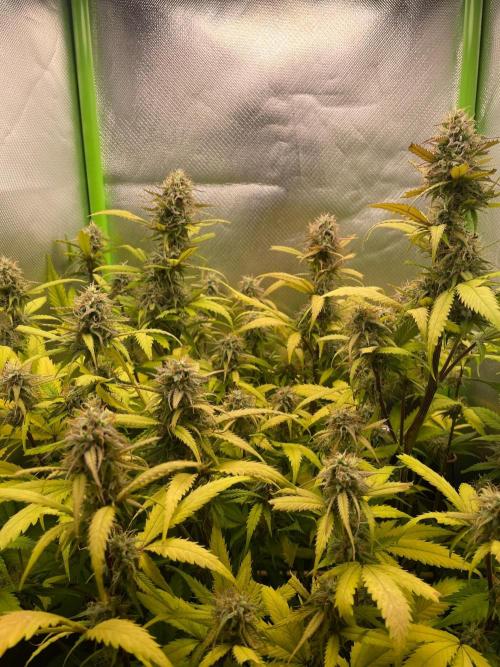
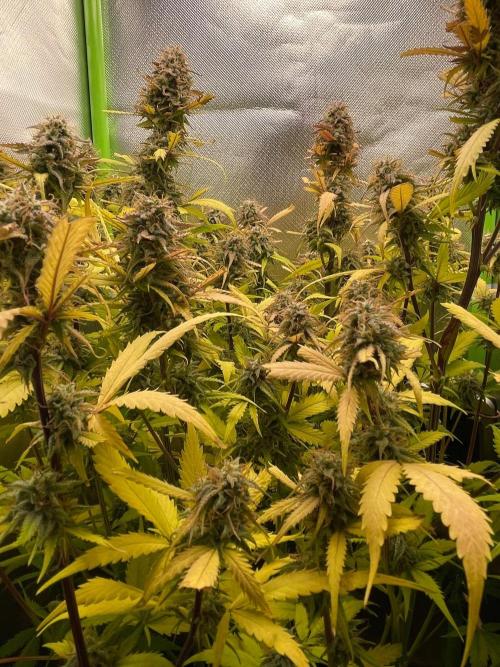
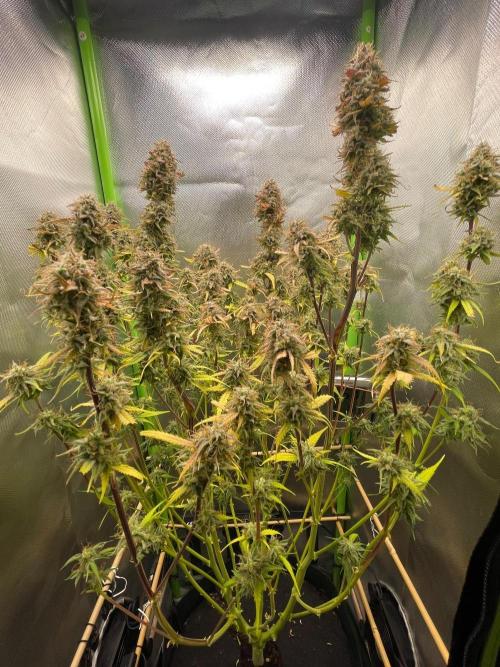
Turgor72 The plant has fully filled this small grow. I have defoliated the lower half of the plant and created a 40cm x 40cm x 40cm flowering canopy cube🙂. It consists of a good amount of stems with 6 bud sites to a stem.
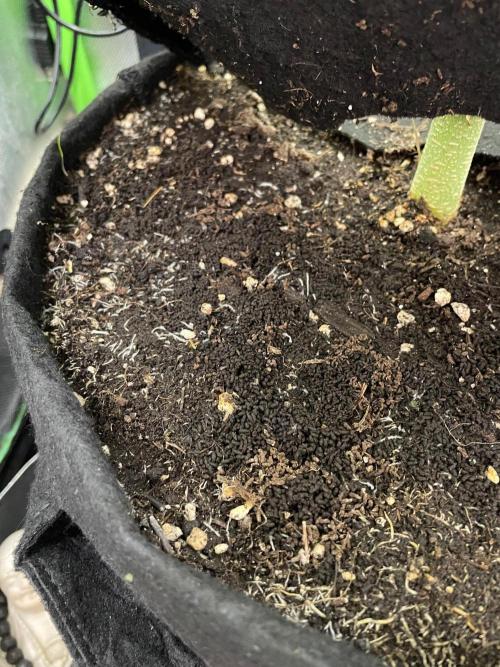
The soil beneath the fabric mulch is filled with worm castings and roots. The plant is drinking 3.5 litres of water a day. I am adding bio bloom at a rate of 2ml/l every other reservoir fill.
DLI is at 50, the relative humidity ranges between 68 - 58 and the temperature range is, lights on 24 - lights off 20 degrees Celsius. There is good air flow down below the canopy.
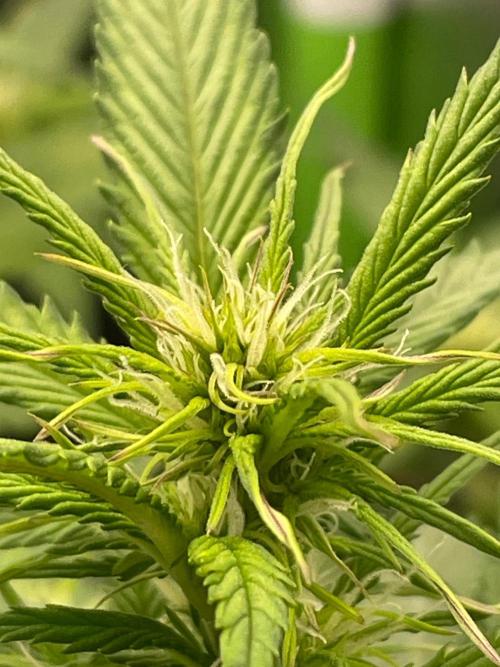
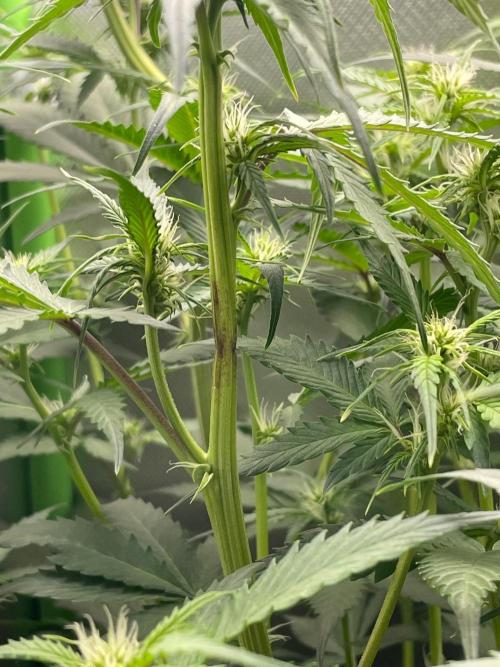
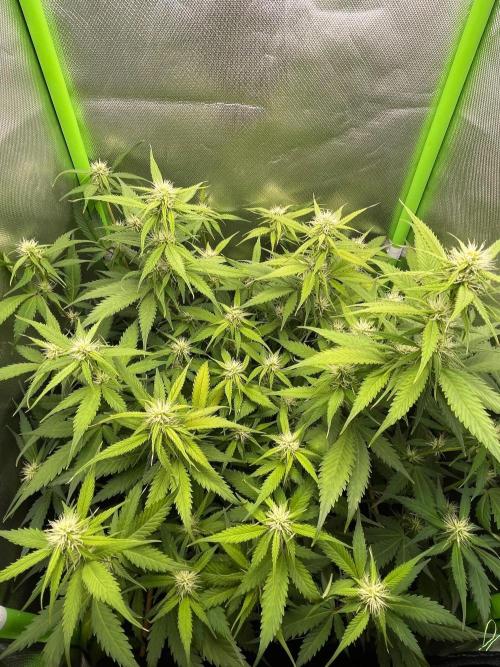
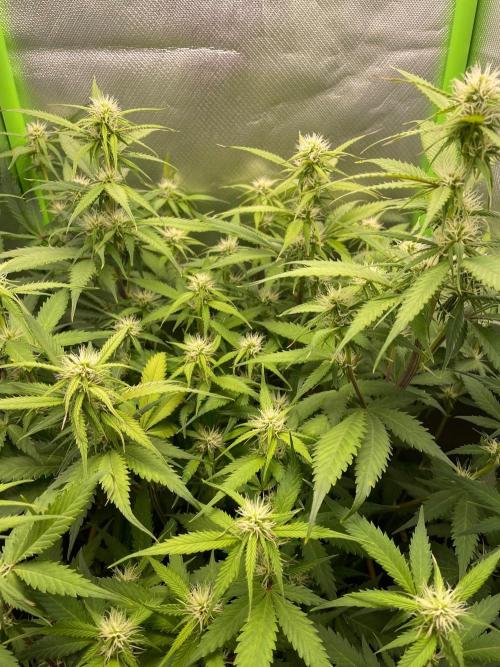
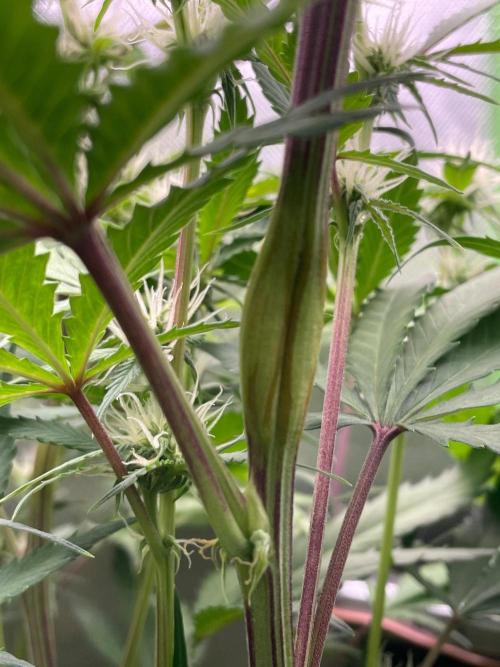
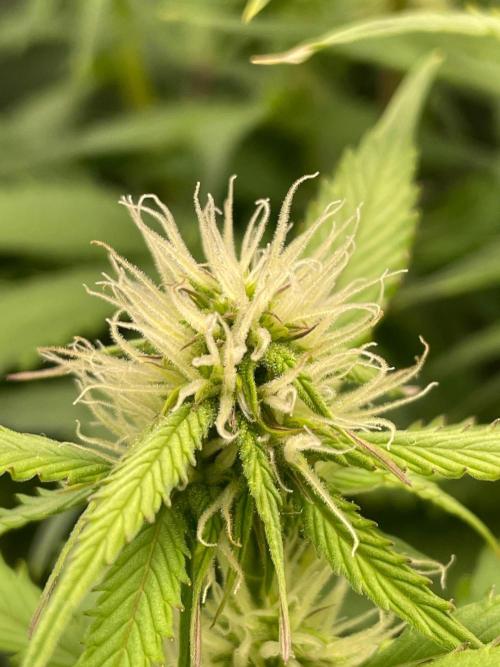
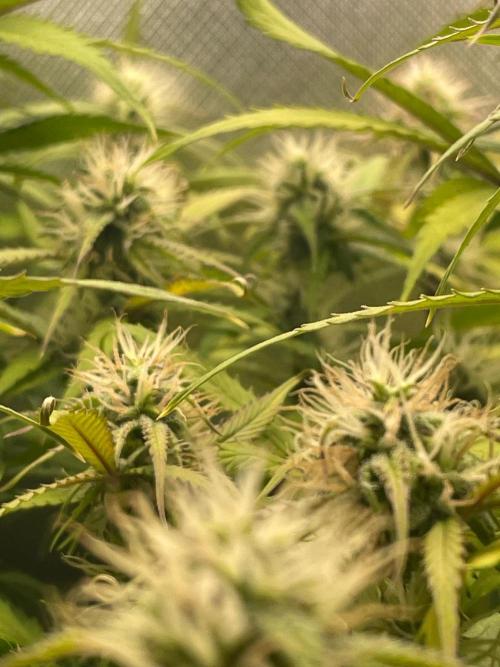
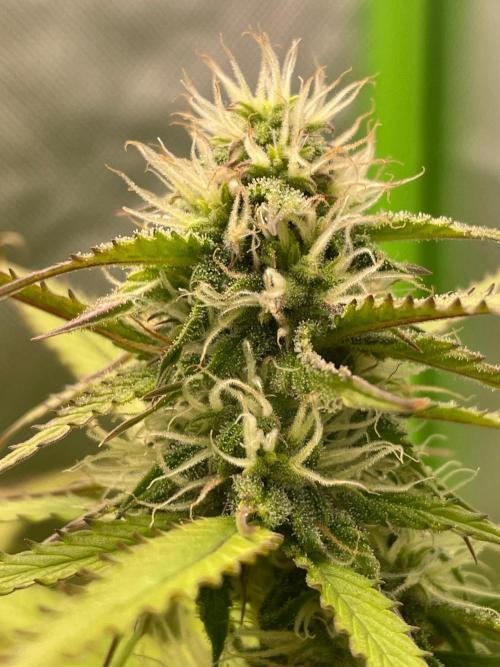
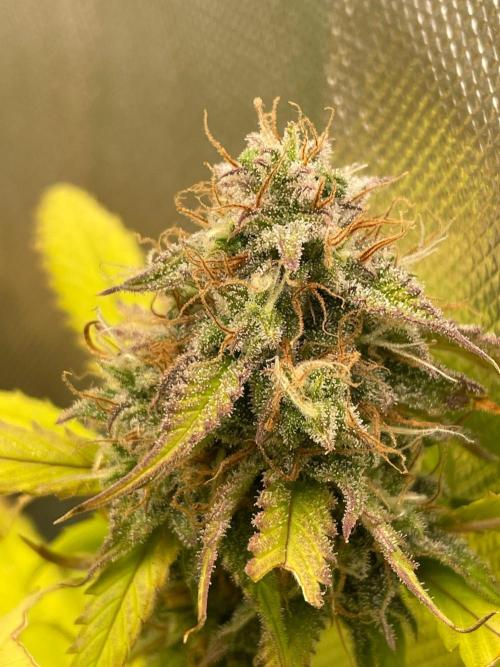
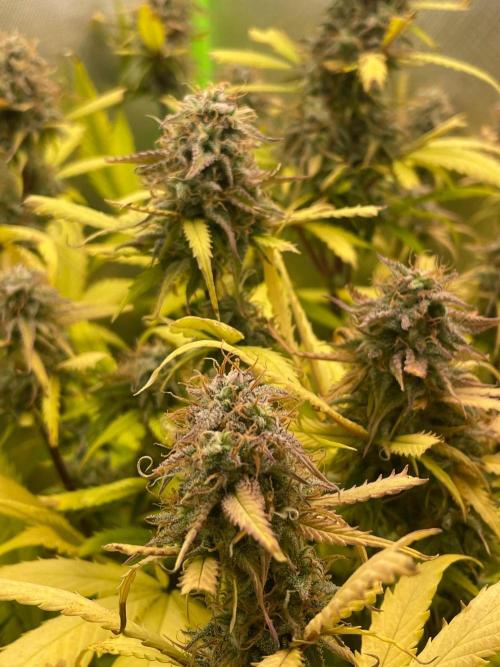
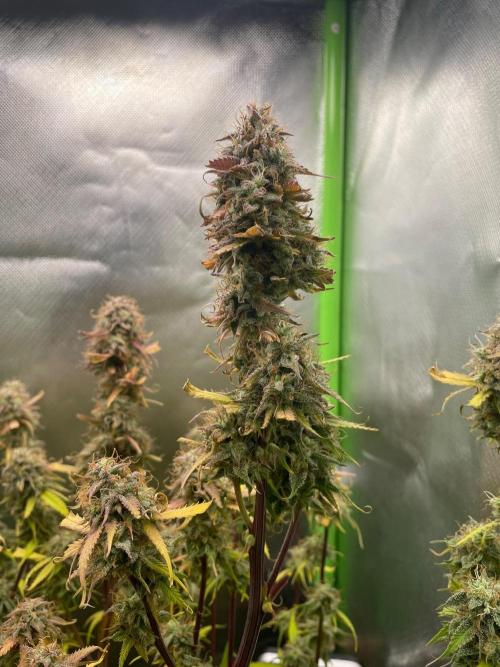
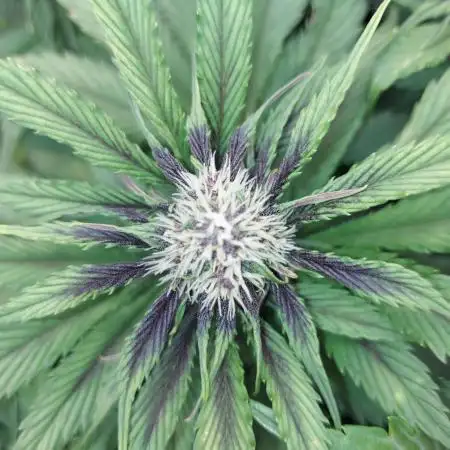
The plant has now started to stimulate the senses. The developing bud sites have that white fluffy hair look going on. These contrast nicely with the purple petioles. A tropical fruit fragrance fills the air, and the plant looks like medicine to me😍.
4 likes
comments
Share
Used techniques
Defoliation
Technique
7
Week 7. Flowering
1mo ago
1/5
84 cm
Height
18 hrs
Light Schedule
23 °C
Day Air Temp
Normal
Smell
64 %
Air Humidity
20 °C
Night Air Temp
20 liters
Pot Size
2.5 liters
Watering Volume
18 cm
Lamp Distance
Nutrients 3
Worm castings
1 mll
Bio-Bloom
2 mll
Bio-Grow
1 mll
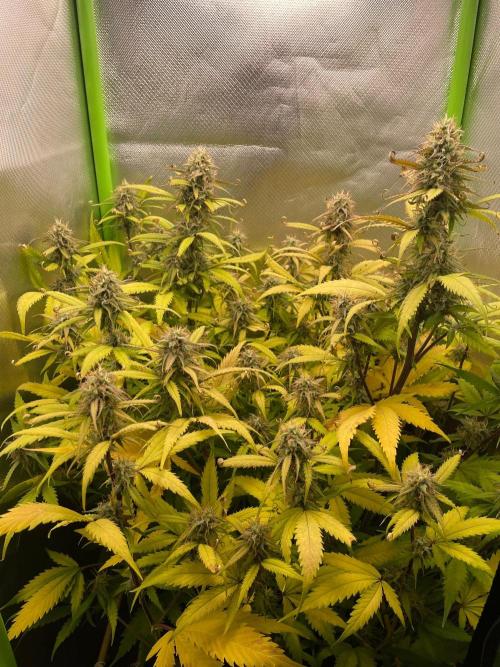
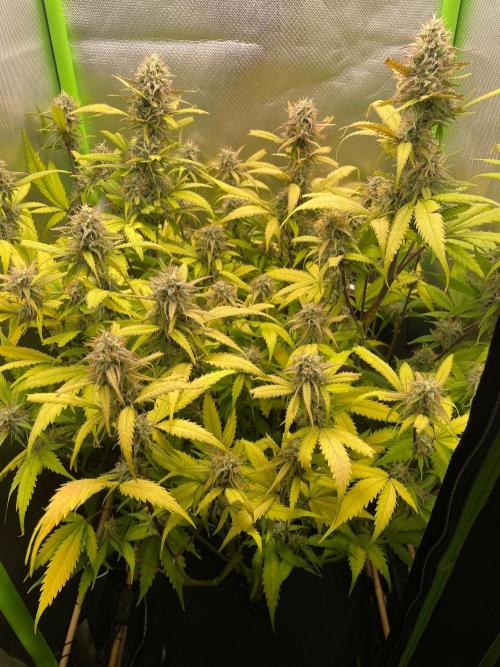
Turgor72 The plant is consuming less water now. The bud sites are beginning to take form and trichomes are developing.
The DLI has been reduced to 46 down from 50. The petioles were purpling at the top and I’m sure it was due to the intensity of light.
The relative humidity remains high and I am unable to bring this down. So I have maintained good air movement and exchange. The leaves are starting to pale, so hopefully I will be able to defoliate the dead/dying leaves. This will lower biomass and should help lower the RH, and improve air movement.
Through some trial and error, I think top watering a very small amount of water with both bio grow and bloom, whilst filling the reservoir below with plain water. Is the most effective way to support plant growth.
The plant smells floral with a mango leaning tropical fruit note. It’s day 48 and the plant is progressing nicely.
4 likes
2 comments
Share
8
Week 8. Flowering
1mo ago
1/9
84 cm
Height
18 hrs
Light Schedule
23 °C
Day Air Temp
Normal
Smell
68 %
Air Humidity
20 °C
Night Air Temp
20 liters
Pot Size
2 liters
Watering Volume
18 cm
Lamp Distance
Nutrients 3
Worm castings
1 mll
Bio-Bloom
3 mll
Bio-Grow
1 mll
Turgor72 I have been adding nutrients in a top watering once or twice a week. I fill the reservoir below with plain water after allowing it to sit empty for 24 hours. As the plants need for water continues to decline.
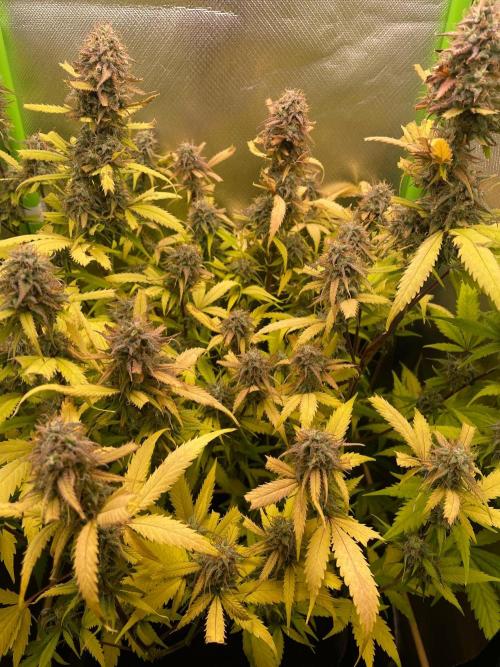
The plant has stacked bud sites nicely and over the next couple of weeks it should start to bulk up and swell those bracts. It is pulling hard from its leaves and I am constantly removing the spent leaves.
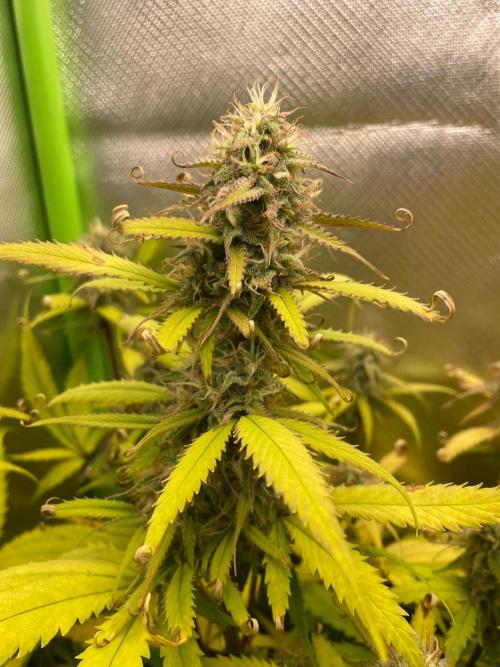
Trichome development is good and the stigma hairs are about 70% white and 30% ginger. Whilst the odour from this plant is a pleasant tropical fruit/ floral note, it is not particularly strong. In fact it would be more accurately described as mild.
Moving forward it will be plain water in the reservoir with 24 hour dry backs and removal of dead leaves.
likes
comments
Share
Used techniques
Defoliation
Technique
9
Week 9. Flowering
19d ago
1/12
86 cm
Height
18 hrs
Light Schedule
23 °C
Day Air Temp
Normal
Smell
68 %
Air Humidity
20 °C
Night Air Temp
20 liters
Pot Size
1 liters
Watering Volume
16 cm
Lamp Distance
Nutrients 2
Worm castings
1 mll
Bio-Bloom
2 mll
Turgor72 I am still applying biobizz bloom by way of a top water. I fill the bottom reservoir with plain water and allow the reservoir to sit empty for 24 hours before refilling.
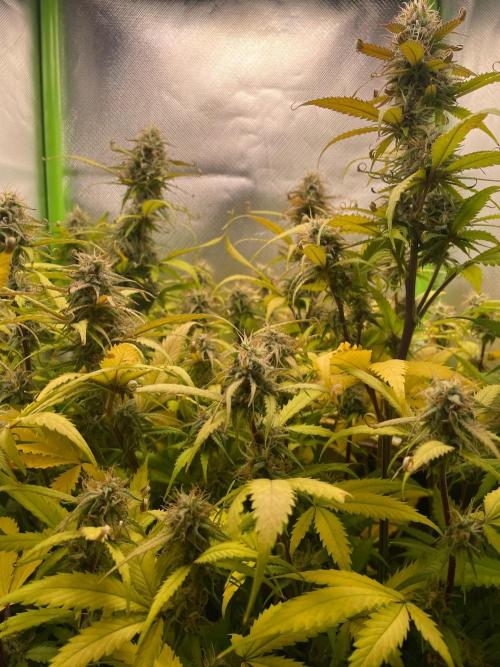
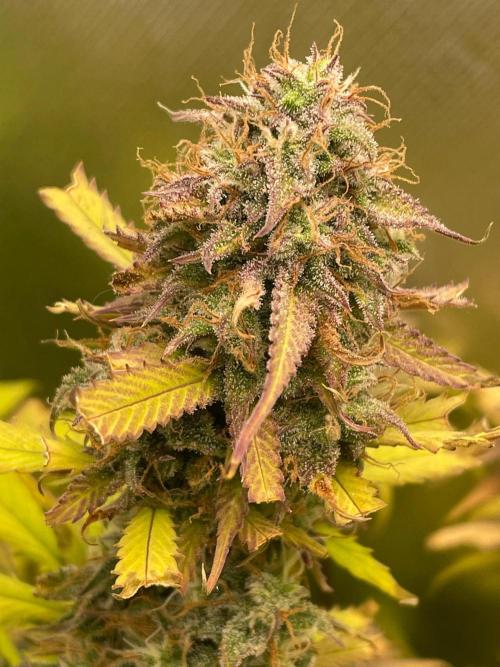
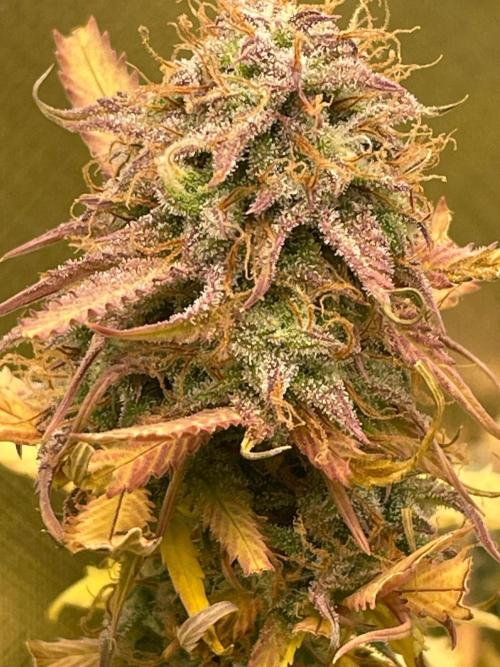
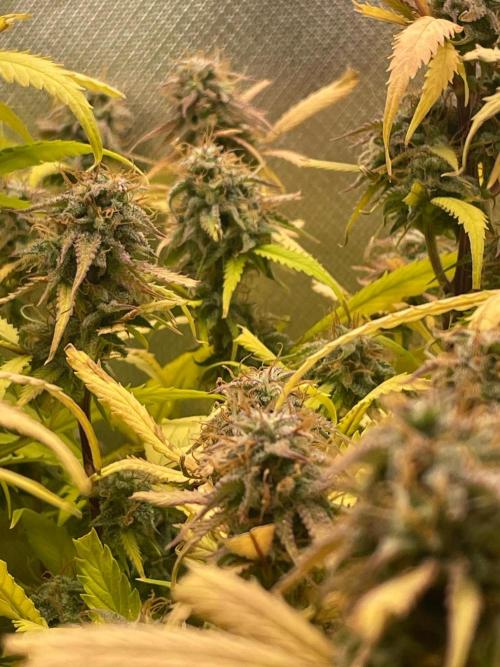
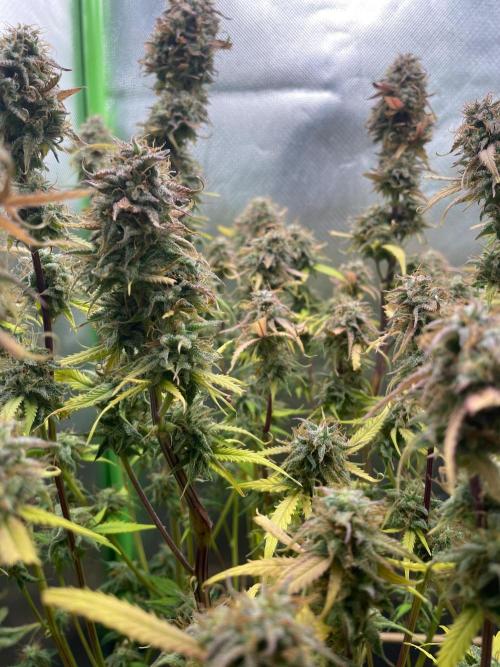
The plant is ripening its buds now. The buds are colourful and smell of ripe, fresh mango. The leaves have that autumnal look about them.
I have decreased the light level down to 40DLI to help the plant finish without any sudden growth spurts of white pistils.
FastBuds say 9-10 weeks and I can see why some might take this down at 9 weeks. I am going to go 10 weeks with this and then start checking trichomes and the bracts at the nodes just below bud sites. When those bracts start to pale yellow it’s a good indication that you have pushed as far as you can go.
This plant has been super easy to grow🤩.
5 likes
comments
Share
Used techniques
Defoliation
Technique
10
Week 10. Flowering
15d ago
1/10
86 cm
Height
18 hrs
Light Schedule
23 °C
Day Air Temp
Normal
Smell
65 %
Air Humidity
20 °C
Night Air Temp
20 liters
Pot Size
1 liters
Watering Volume
16 cm
Lamp Distance
Nutrients 2
Worm castings
1 mll
Bio-Bloom
2 mll
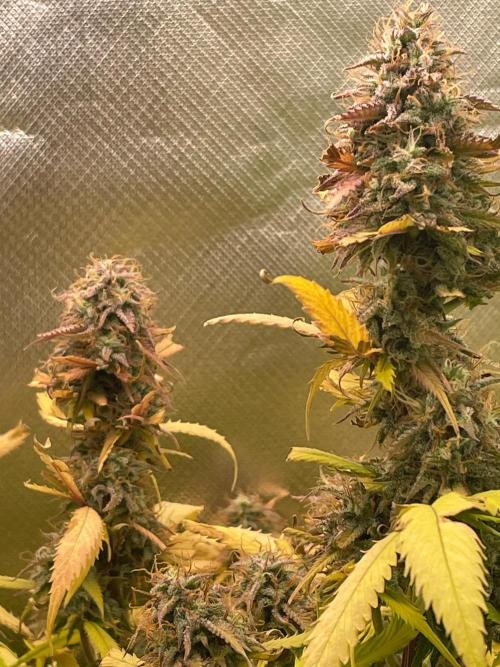
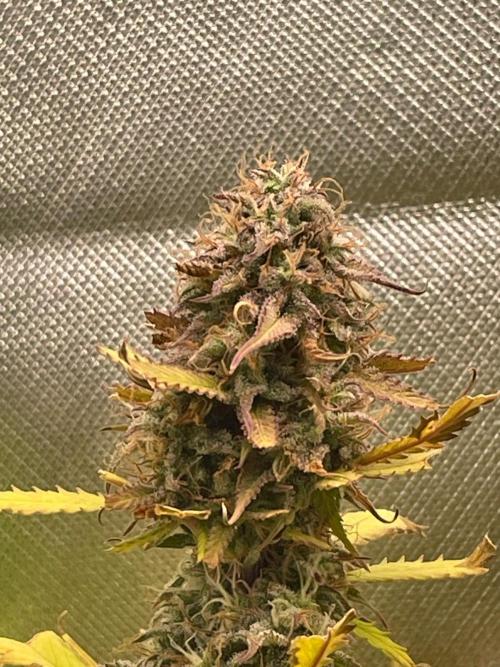
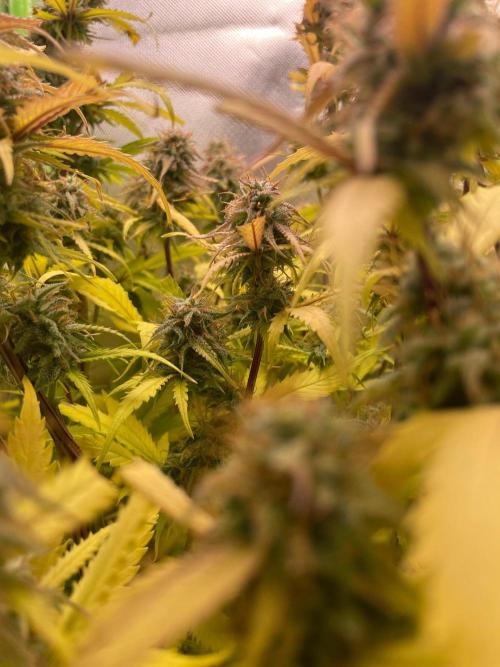
Turgor72 The plant has stopped drinking and has pulled from all of its fan leaves. I have removed all the leaves that had a petiole I could cut and left the rest. It will have its last 18 hours of light and will get chopped during the next dark cycle.
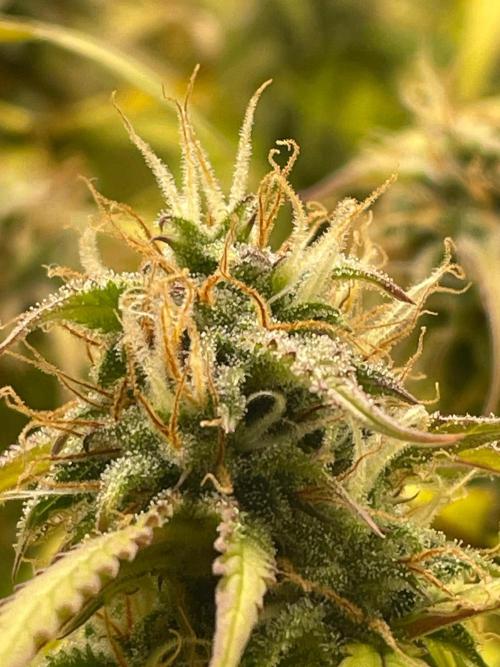
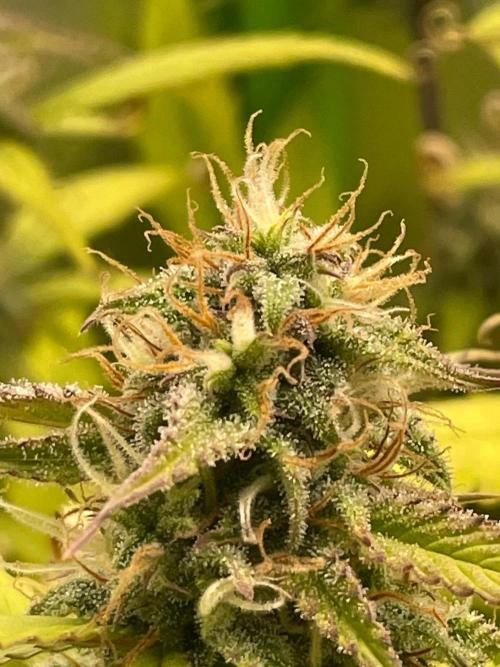
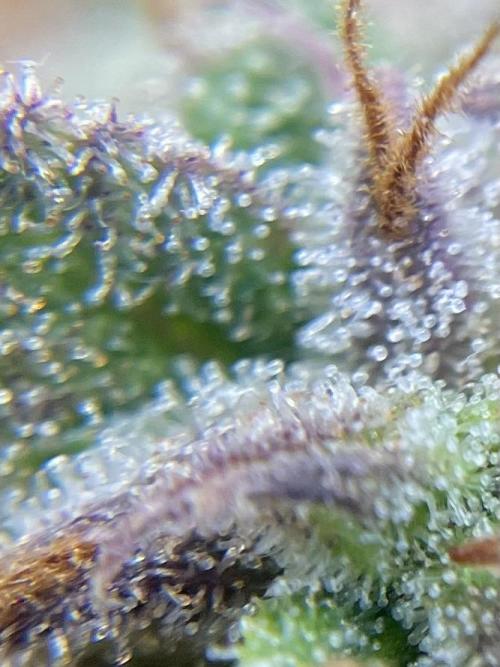
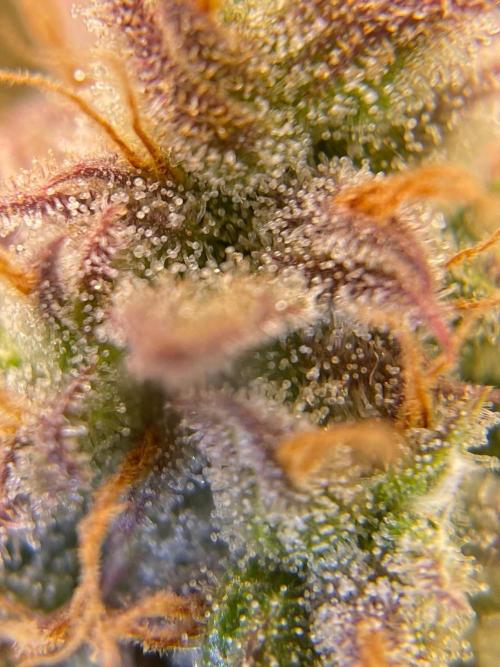
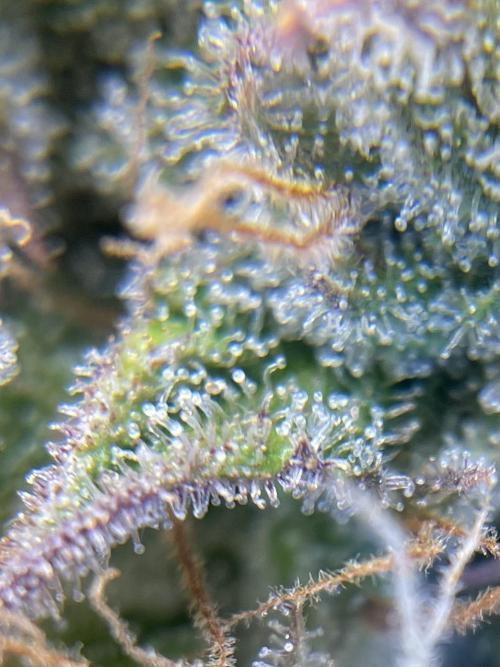
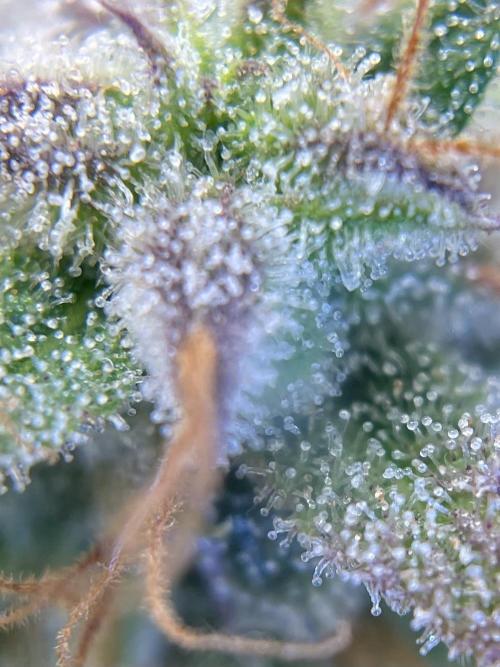
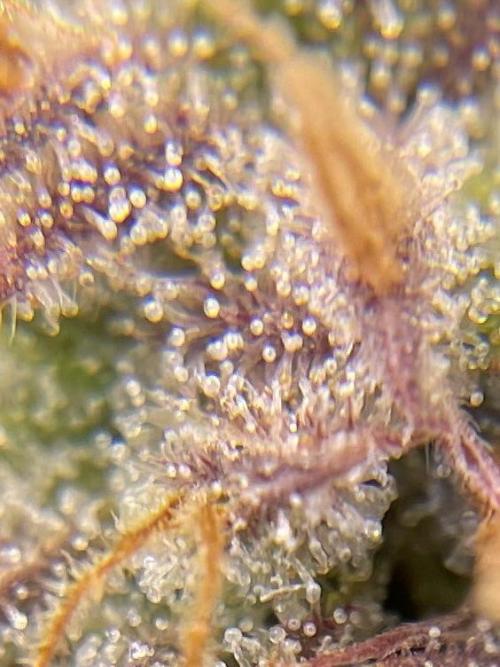
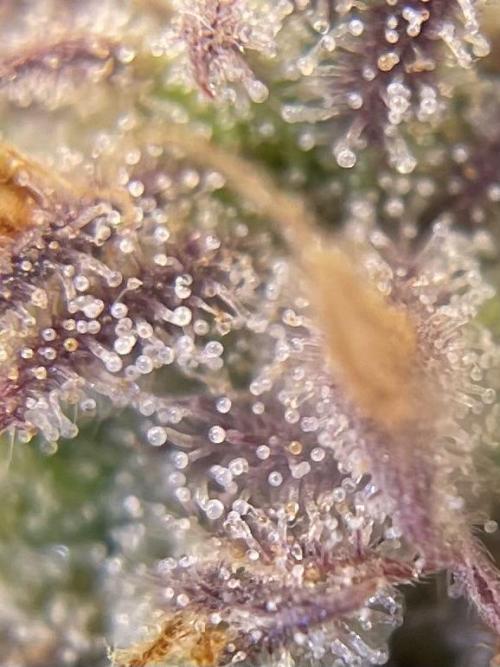
I have included images of the trichomes on the lowers, with their even mix of clear and cloudy, with the odd amber. I have also included images of the tops, with their mainly cloudy with some clear and some amber.
Take aways from this grow are self wicking bottom reservoir saucers for the win. It’s astonishing just how much these plants drink. If you have a vigorous healthy auto and yield is not a concern, top the plant. It’s the easiest and most effective way to control height and even out the canopy. All that LST and HST is just unnecessary work.
Harvest update to follow in a couple of weeks.