


Critical Mass CBD Auto #1









Perlite
Harvest Hero

Indoor
Room Type
Transplantation
weeks 2
LST
weeks 4
15 liters
Pot Size
Start at 4 Week
G
Germination1mo ago
Nutrients 3

Mykos
1.3 mll

Support 4-0-0
1.321 mll

Grow 0-1.5-4
0.264 mll
Aeromatics Let’s try this again, shall we?
With my recent failure on White Widow CBD Auto, I decided to move switch to Critical Mass CBD Auto, also from ILGM. Critical Mass CBD Auto was my highest yielding auto thus far (7 oz in 6.9 gallons), so I figured it would be a great, robust genetic to run as a 2-plant grow in my 2 x 4.
My goals are the same as my White Widow grow, keep it simple with a nice CBD grow. I’ll grow 20/4 for these to avoid light stress signals that may have pushed my last Critical Mass Auto to throw some pollen towards the end of the grow. Additionally, I will transplant these from their .5 gallon pots into their final 3.9 gallon homes around day 10 or 14, depending on their size.
For training, these gals are aggressive stretchers, so I will slowly guide them into individual canopies, and I will do my best to get some solid tops across the board.
For this grow journaling process, I will run 2 separate diaries. I like running a diary for each individual strain as well, especially for contests and to feature characteristics of each individual plant, as phenotypes may vary.
The diary comments will be labeled as in two separate parts: Individual Updates (Critical Mass CHB Auto #1, #2) and then Tent-Wide Updates.
Coco Planting Process:
For my coco, I was very pleased to have a much easier preparation process than my previous runs. Canna Professional Plus comes pre-washed and buffered, so I didn’t need to do a big rinse and buffer process for this round, which was very nice.
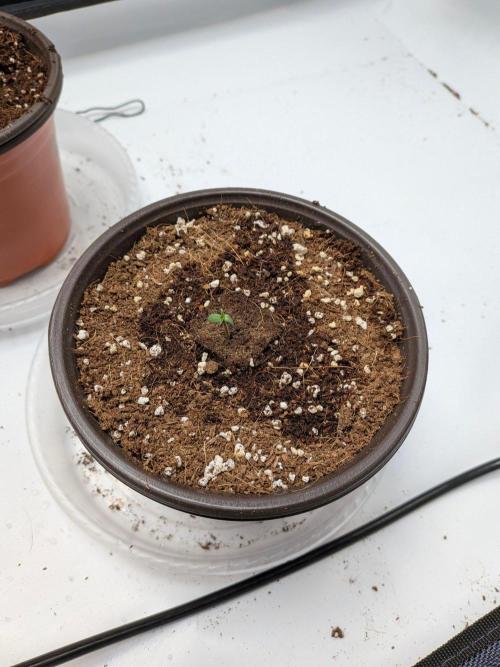
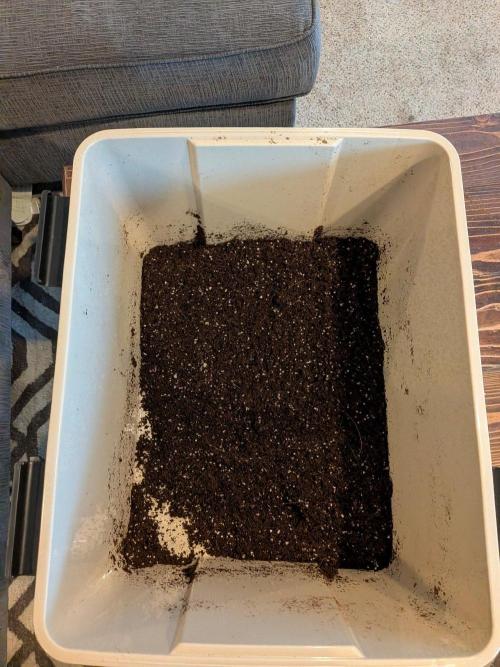
I mixed a ratio of 80/20 Canna Professional Plus with Harvest Hero Perlite and tossed it all together so it was fully integrated into one beautiful medium. I will say, the Canna Coco was absolutely beautiful… huge upgrade!!
To prepare the mixed medium for potting, I added around 500 ml of RO water and Ventana Plant Science solution to moisten up the coco a bit, but not overload or soak it too much. I wanted the coco to hold it’s shape but not let water drip when squeezed.
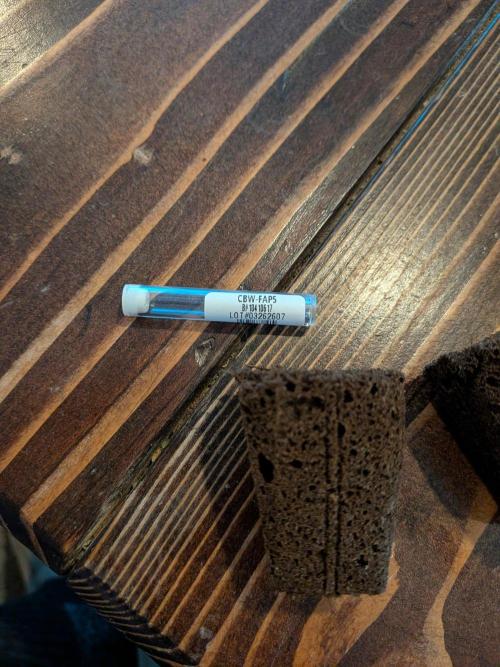
When it felt ready, I potted up my half liter pots, and I got ready to plant my Clementine Slush Seeds in Organiplugs!
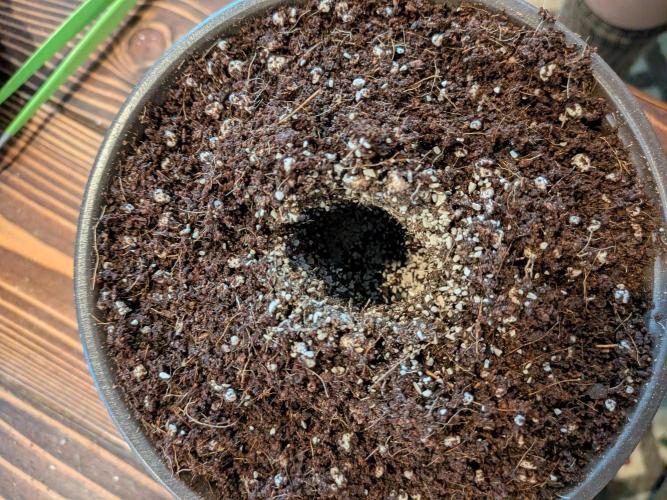
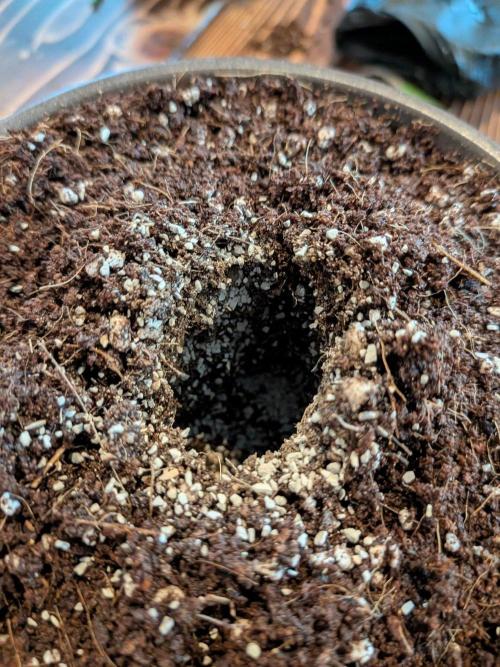
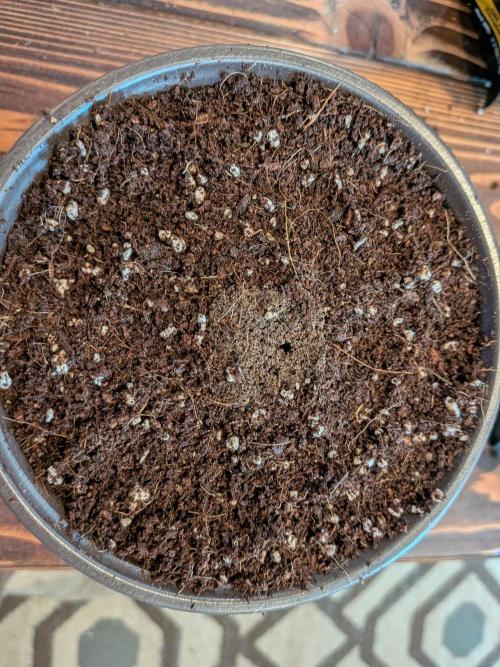
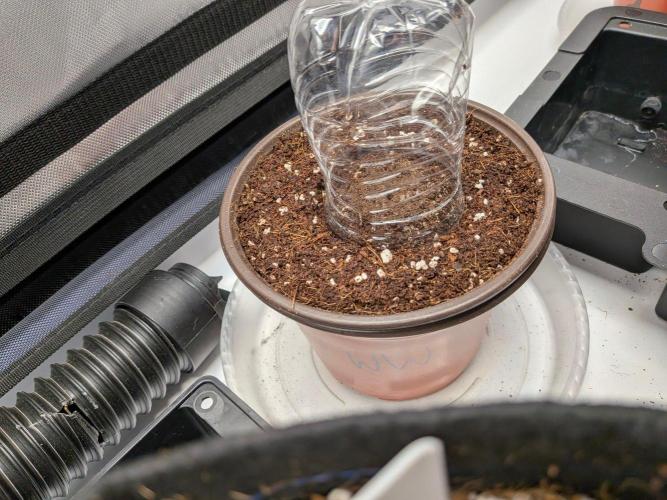
I planted the seeded Organiplugs directly into the prepared Coco and put them into the prepared tent with a half-bottle humidity dome, with the goal of limiting any exposure of the taproot to open oxygen/air. My idea behind this new method is to prevent any possible oxidation of the root, and allow the taproot to hit its growing environment as soon as it emerges from the Organiplug.
Plus, I get to sprinkle Xtreme Mykos in each planting hole before I put the Organiplugs into the coco, allowing for that extra root growth.
I will plan on transferring these into their final homes around day 10/12, depending on size and top root development!
Let’s hope for some monsters, and thanks for tuning in!
6 likes
comments
Share
Used method
Rockwool Cube
Germination Method
1
Week 1. Vegetation1mo ago



5.08 cm
Height
24 hrs
Light Schedule
27 °C
Day Air Temp
5.7
pH
No Smell
Smell
375 PPM
TDS
75 %
Air Humidity
1.89 liters
Pot Size
91.44 cm
Lamp Distance
Nutrients 2
Support 4-0-0
1.321 mll
Grow 0-1.5-4
0.264 mll
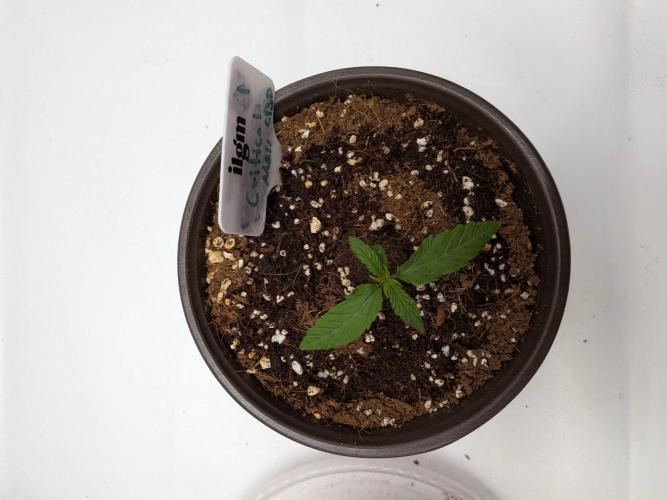
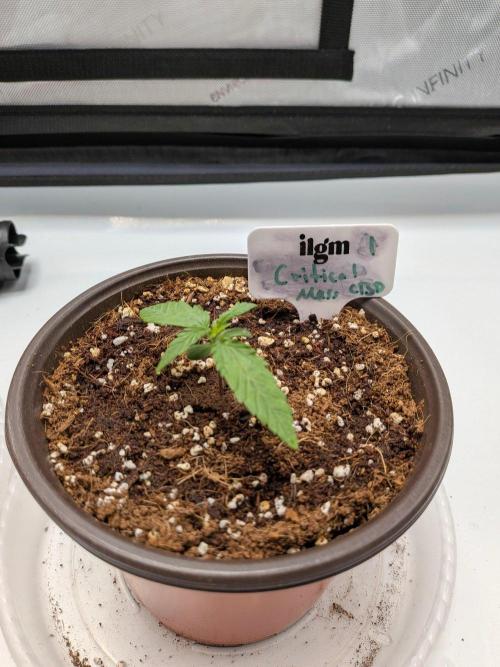
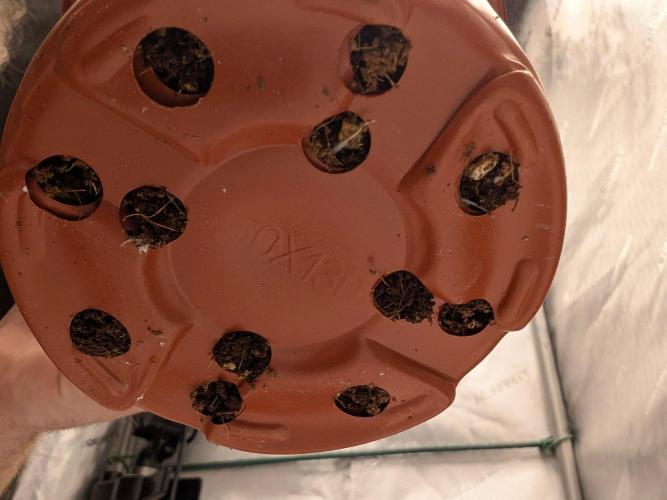
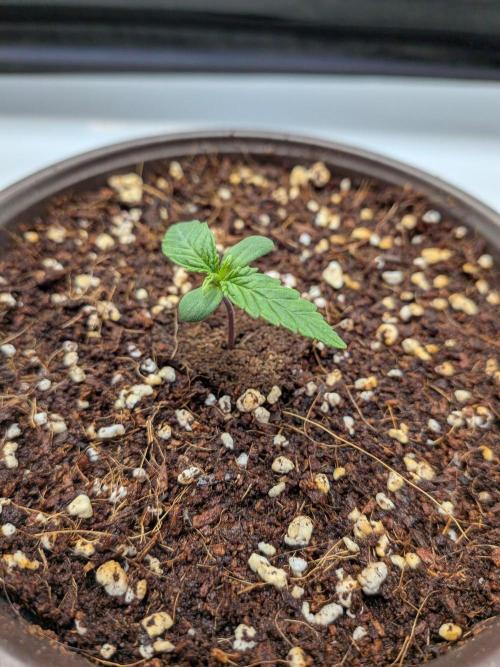
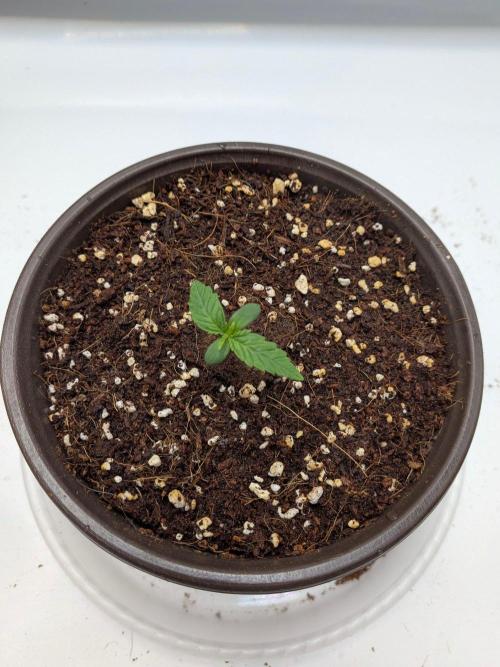
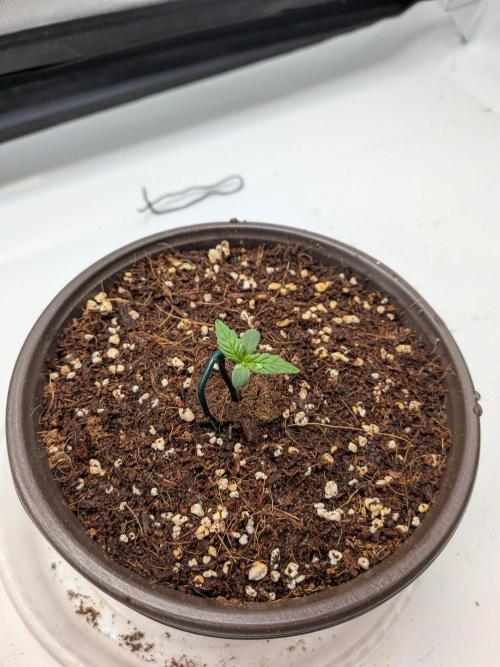
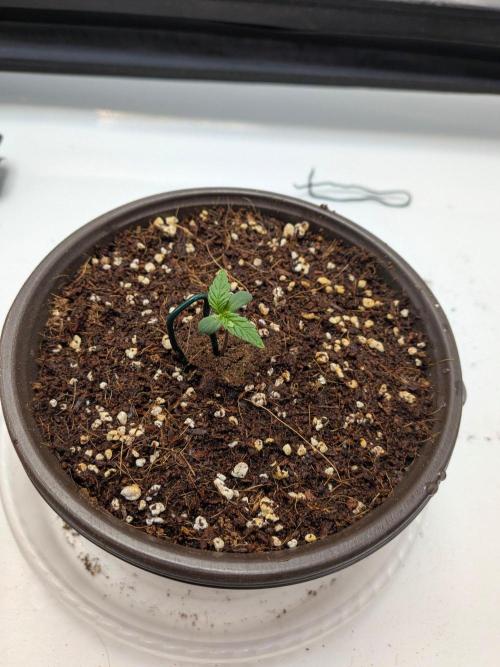
Aeromatics Week 1 has been pretty easy going, and a much better start than White Widow CBD Auto. It is already outpacing both of those in size, so I do think it was some old seeds we were dealing with from that batch.
I've been keeping the plug area nice and moist as we have been working towards developing some nice root structures in our .5 gallon pot. I am looking towards an end-of-week 2 transplants into out 3.9 gallon autopot, and for now, we are off to a good start!
At around 50 ml per day, I have been giving the following water recipie:
1 gallon RO water
5 ml Ventana Plant Science Support
1 ml Ventana Plant Science Grow
ec .75 PH 5.7
PPFD has been riding around 240, but I will slowly look to increase that over the coming weeks.
Additionally, I've been debating my light structure for this one. I think I am going to move to 20/4 after week 2, or maybe week 3 after the plants have settled into their transplant.
I'll keep debating, but for now, we are off to a good start!
8 likes
comments
Share
2
Week 2. Vegetation17d ago
12.7 cm
Height
24 hrs
Light Schedule
27 °C
Day Air Temp
5.7
pH
No Smell
Smell
375 PPM
TDS
70 %
Air Humidity
14.76 liters
Pot Size
91.44 cm
Lamp Distance
Nutrients 4

Mammoth P
0.264 mll
Support 4-0-0
1.321 mll
Grow 0-1.5-4
0.264 mll
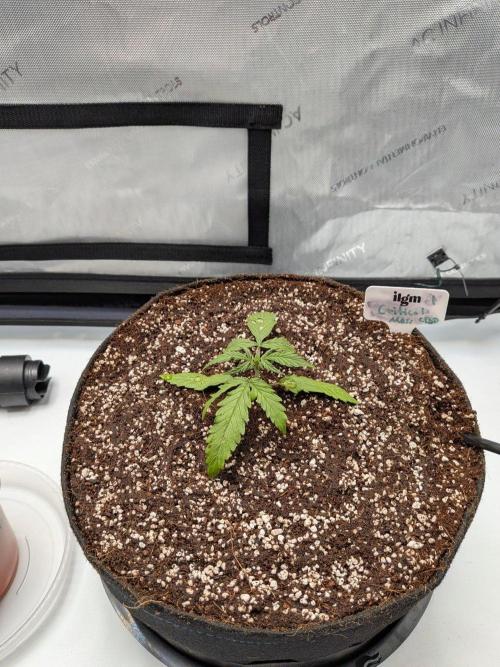
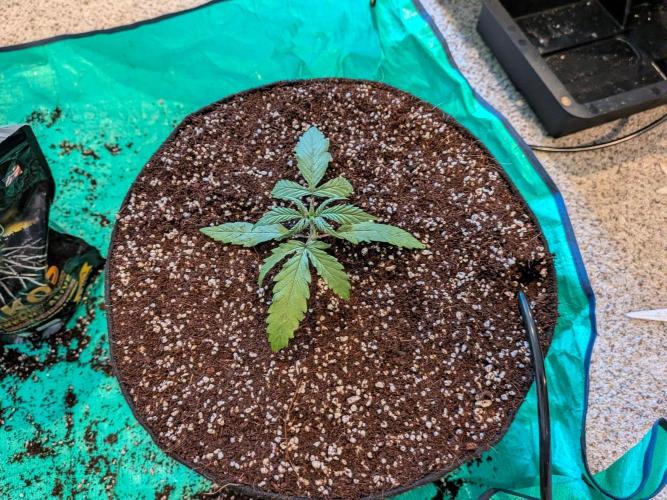
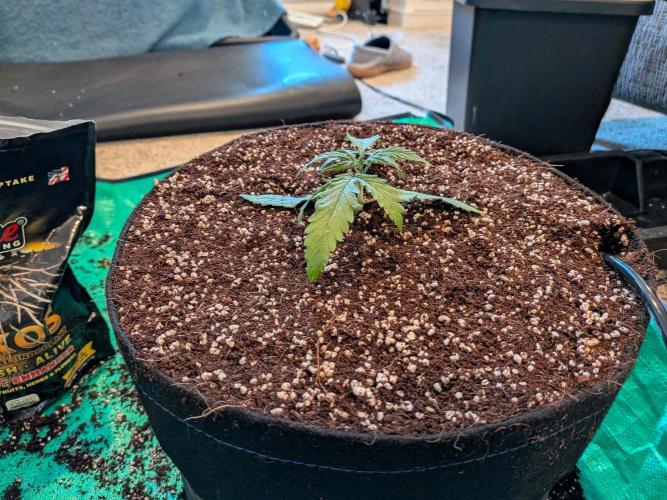
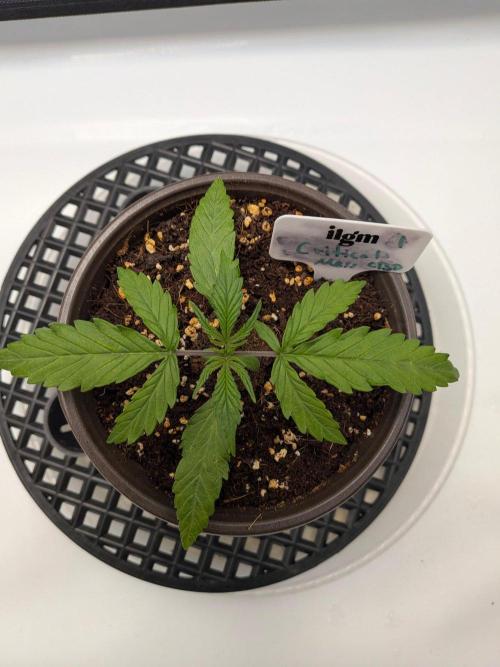
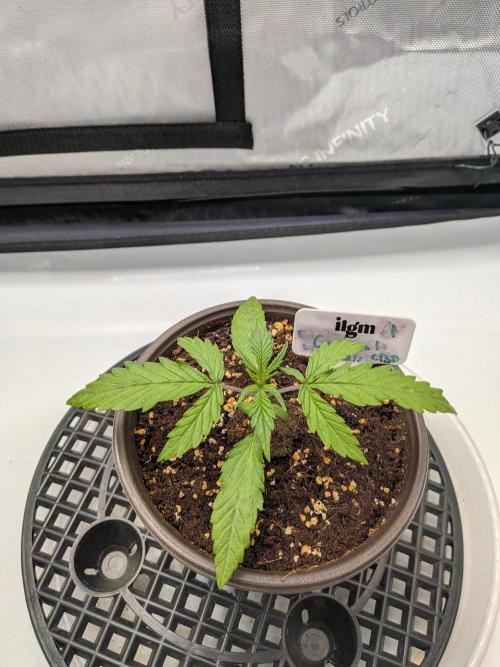
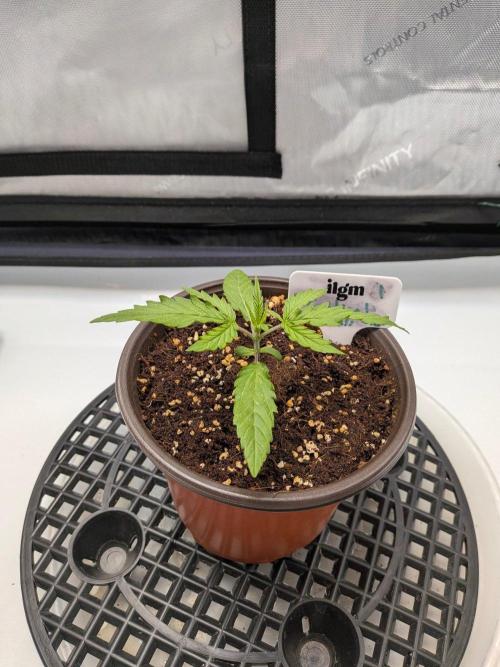
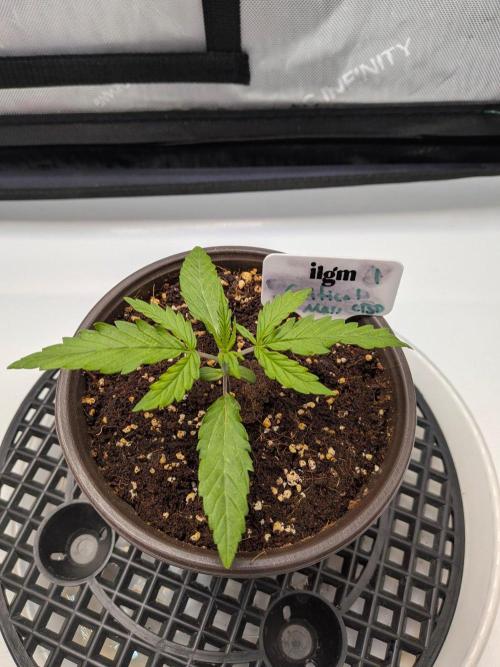
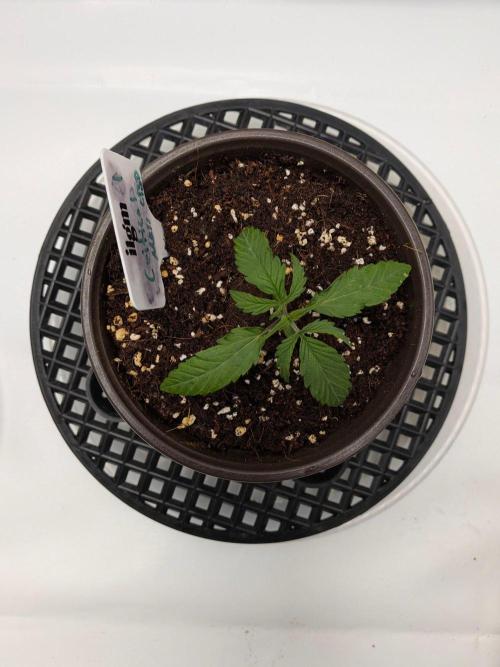
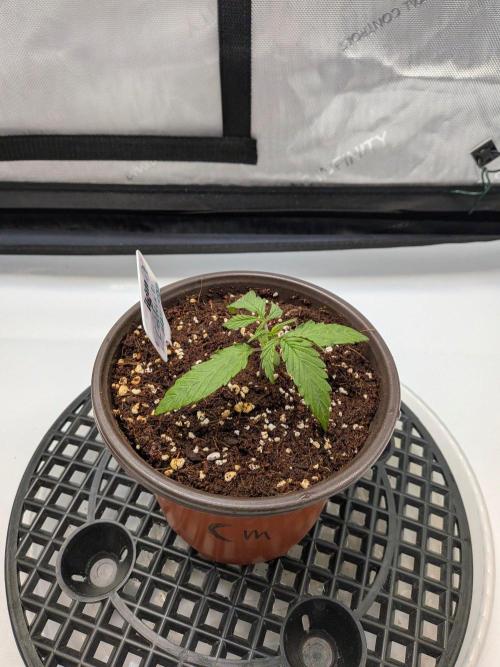
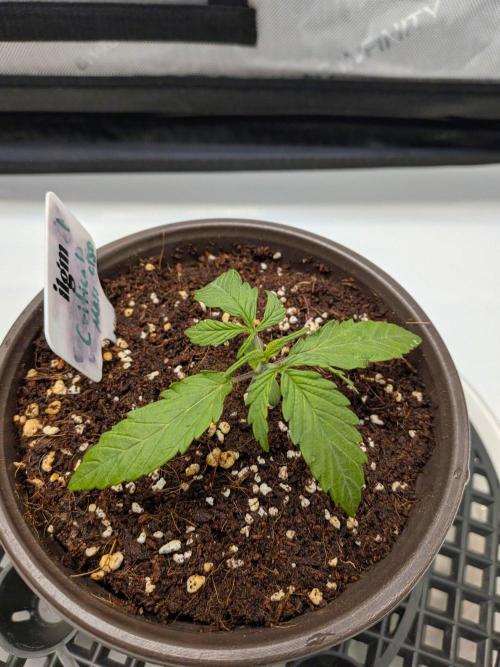
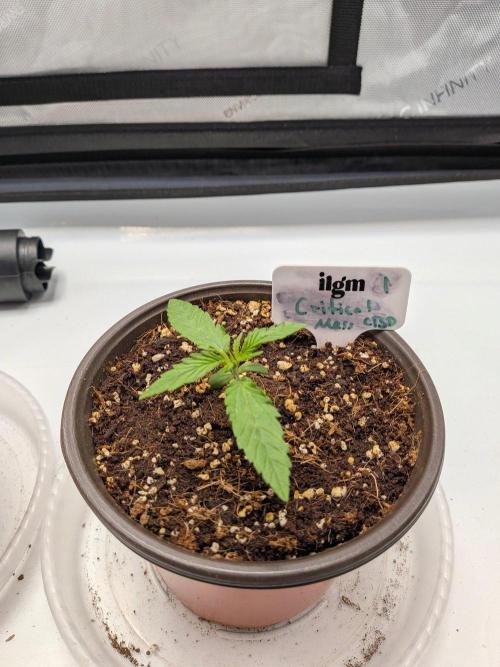
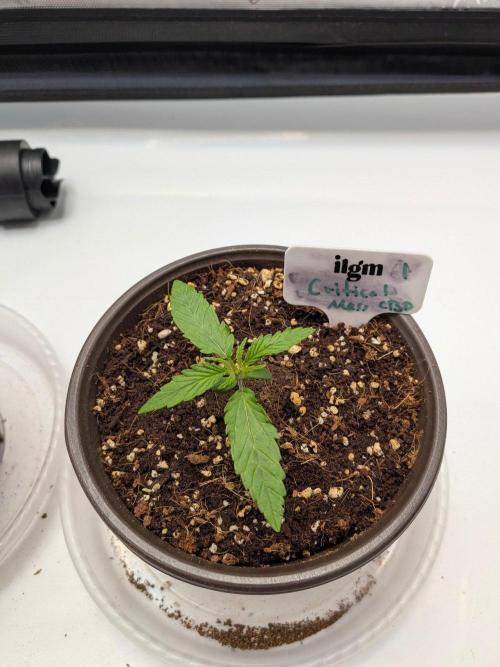
Aeromatics Critical Mass #1: She is developing great, with a bit of a thinner look compared to a thicker indica, but she is moving great through week 1 into week 2 and she was ready to transplant! I look forward to the airdome boom heading into week 3!
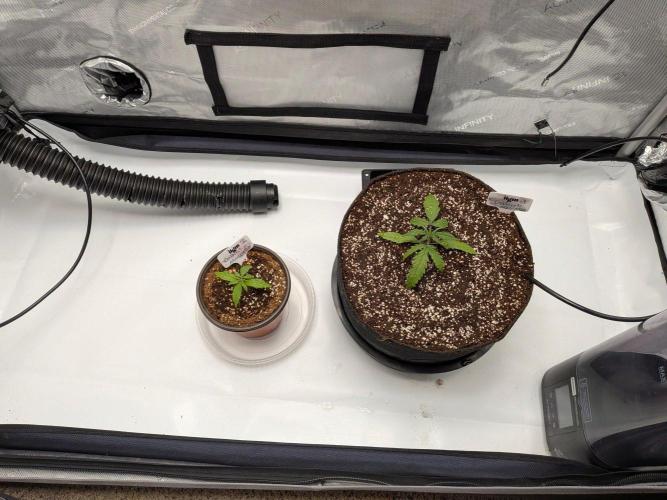
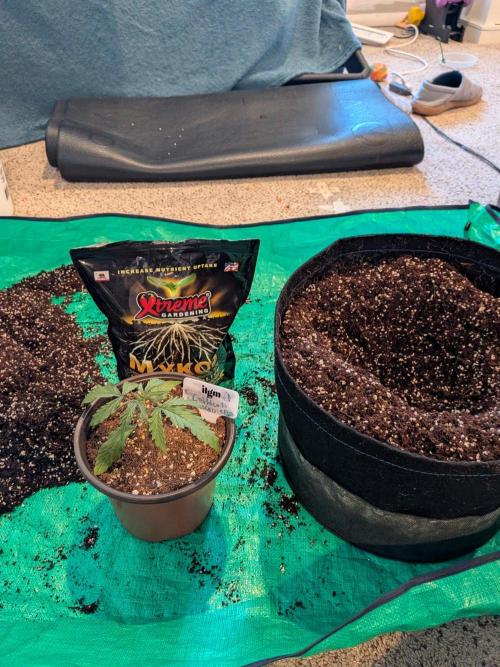
Tent-wide Updates: Transplant time has arrived!
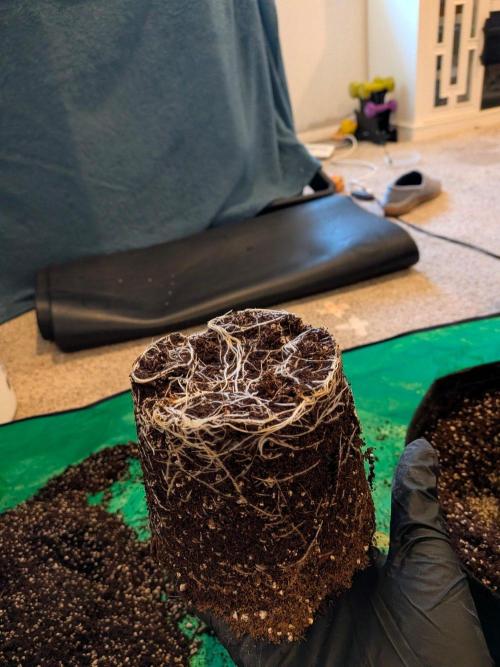
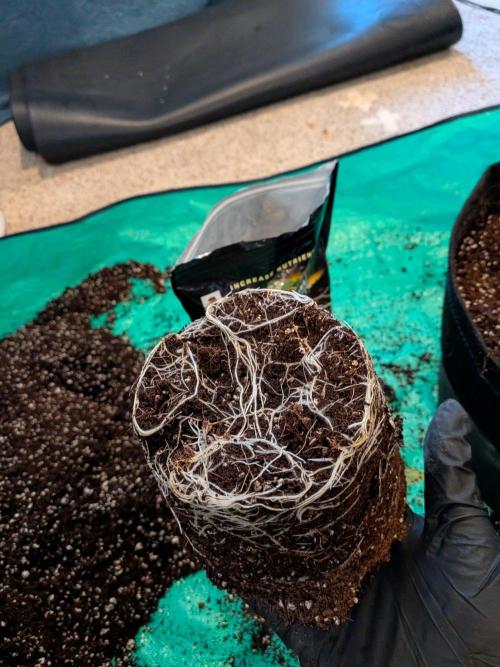
These gals have been rooting nicely in their .5 gallon pots heading from week 1 and 2, and I didn't want them to get too root bound before making their move into 3.9 gallon pots.
Heading into transplant, I bottom watered them to encourage that root development, and they each drank up a solid 500 to 750 ml throughout each water heading into transplant week.
The mix was a simple one:
1 Gallon RO Water
5 ml Ventana Plant Science Support
1 ml Ventana Plant Science Grow
.75 ec 5.7 PH
With transplant, we did our standard mix of 70/30 Canna Coco Professional Plus and Harvest Hero Perlite.
Once I mixed each batch, I moved aside about a 1.5 gallons and mixed in 2 tablespoons of Stash Base to enhance some of that Coco, giving it a nice boost for vegetation.
Additionally, I sprinkled Xtreme Mykos onto the root bundle and planting zone on each plant and then layered that Stash Base enhanced around the rootball and the top 1/3 layer of coco.
Once packed in, I watered her in with around 500 ml of water with a bit more Stash Base as well as Mammoth P Active Microbes to get them started, around the root ball and external area of the planting zone, and let her settle in before any thing else was adjusted, like airdomes or even thinking about autopot activation.
It's a big move, but she was ready!
Next steps are going to be working on getting the root zone ready for Autopot activation!
10 likes
comments
Share
Used techniques
Transplantation
Technique
3
Week 3. Vegetation10d ago




12.7 cm
Height
20 hrs
Light Schedule
27 °C
Day Air Temp
5.7
pH
No Smell
Smell
425 PPM
TDS
60 %
Air Humidity
14.76 liters
Pot Size
91.44 cm
Lamp Distance
Nutrients 3
Support 4-0-0
1.453 mll
Grow 0-1.5-4
0.396 mll

Structure (Silica)
0.132 mll
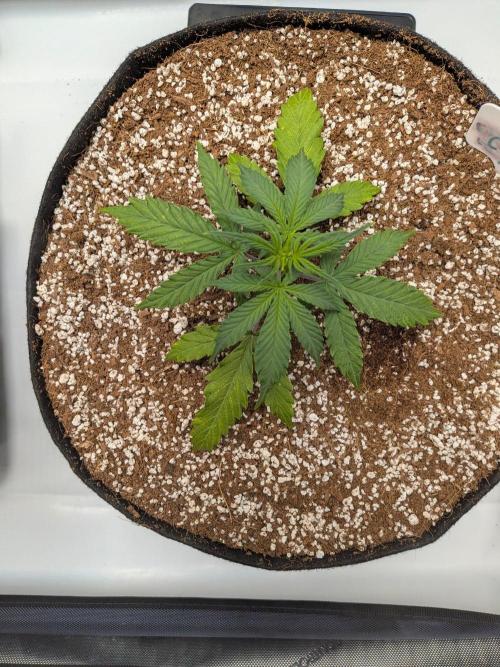
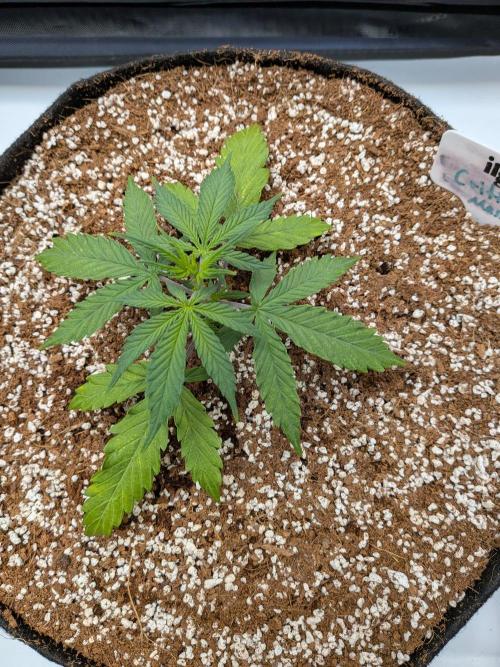
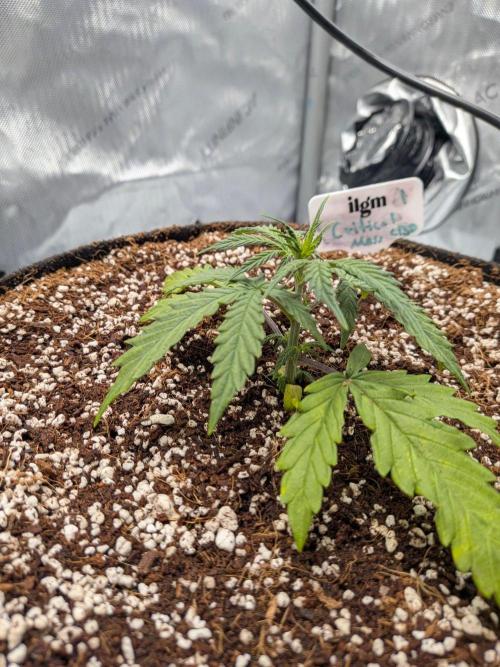
Aeromatics Critical Mass CBD #1: She took to our transplant well, but showed a bit of stress, as expected. I am alright with the stall since I am not super focused on a mega plant for this grow, and I am looking to minimize stress by just letting them adapt.
Tent-Wide Updates: Entering week three, we are focused on a hopefully swift recovery from the transplant into 3.9 gallon autopots. Both plants too to it well, with #1 looking the worse for ware across the two.
I top watered each plant with 500 ml of the following mixture:
1 Gallon RO Water
5.5 ml Ventana Plant Science Support
1.5 ml Ventana Plant Science Grow
.5 ml Ventana Plant Science Structure
Additionally, we made a big move in the hope to minimize stacked stress, the shift from 24/0 to 20/4 light schedule. I want to give these CBD plants a chance to relax a bit and since I don't need to push that 24 hour light cycle, I will let them take it easy for 4 hours a day.
I have also turned on my autodomes to around 6 hours a day, with incremental increases planned throughout the next few days t encourage root growth.
Outside of that, we are in a transition week before we hopefully turn our autopot reservoir on and hit the boom!
4 likes
comments
Share
4
Week 4. Vegetation8d ago





12.7 cm
Height
20 hrs
Light Schedule
24 °C
Day Air Temp
5.7
pH
No Smell
Smell
450 PPM
TDS
60 %
Air Humidity
14.76 liters
Pot Size
91.44 cm
Lamp Distance
Nutrients 3
Support 4-0-0
1.849 mll
Grow 0-1.5-4
0.528 mll
Structure (Silica)
0.132 mll
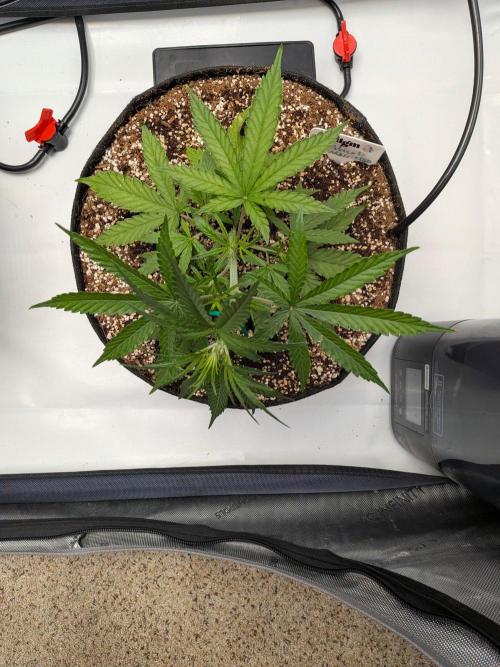
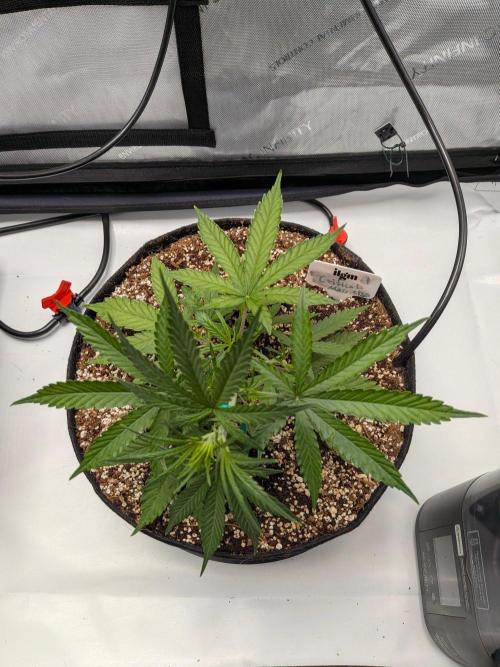
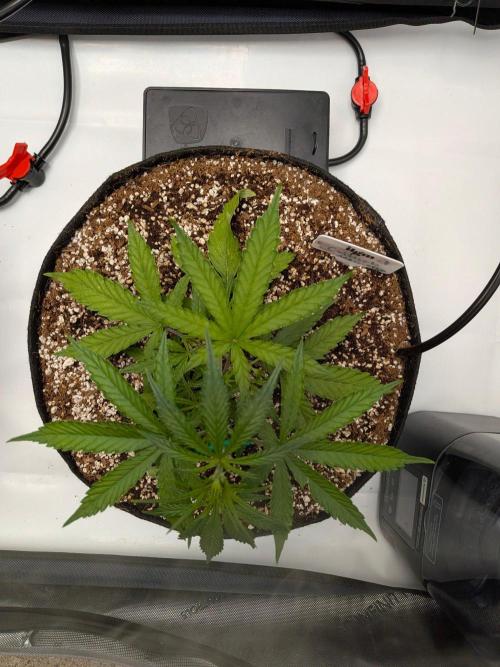
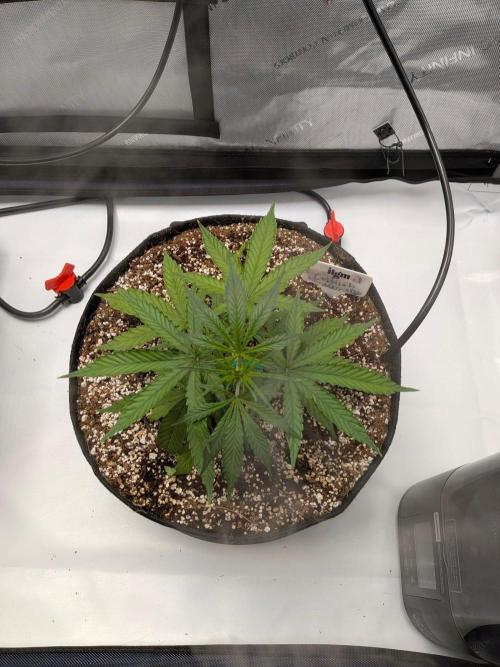
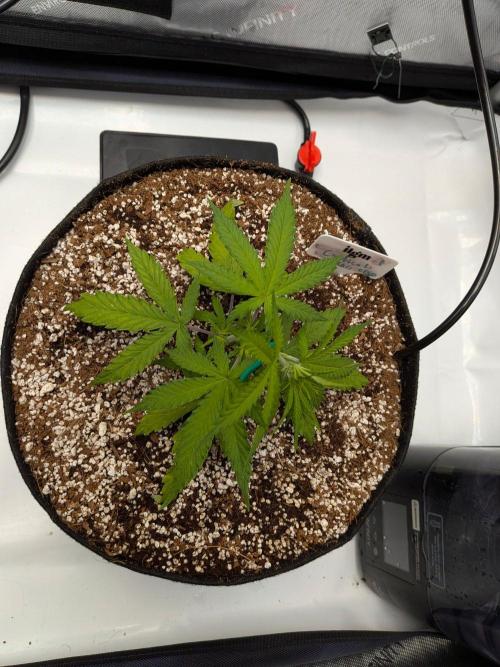
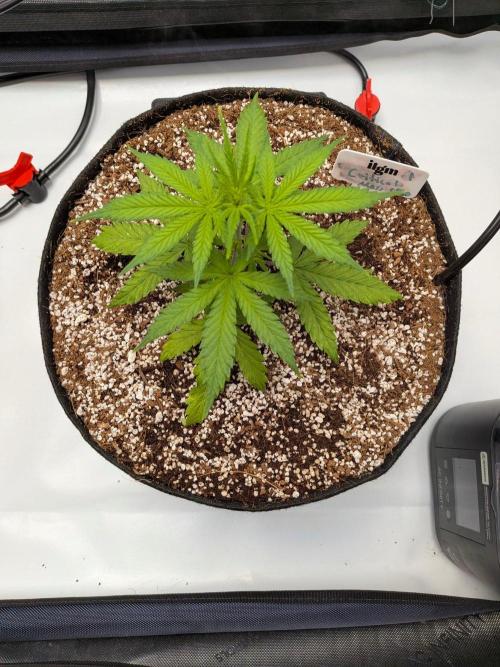
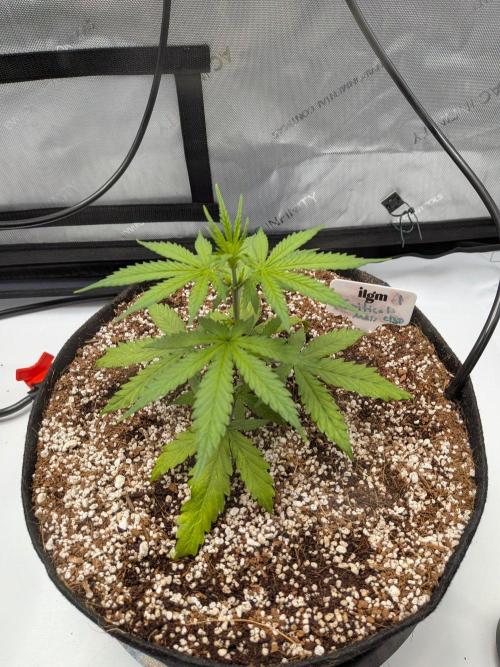
Aeromatics Critical Mass CBD Auto #1: She has big ol fan leaves! I'll continue to train her easily throughout the week to get some light on her side nodes.
Tent-Wide Update: Autopots Activated!
I tested her with a few 500 ml waters throughout the week to see if she would draw some from the reservoir, and she proved ready to go heading into day 22.
Thus, I activated the system in full!
I filled my reservoir with 3 gallons of a vegetation supportive mixture:
3 Gallons RO water
1.5 ml Ventana Plant Structure
6 ml Ventana Plant Science Grow
21 ml Ventana Plant Science Support
Both plants drank up well, but three gallons was a bit too much for 1 full, so I am going to shrink it down to 2 gallons moving forward.
I have my airdomes on in full for the 20 hours that the lights are on.
PPFD might be a bit high (380), so we will see if I want to drop it down to avoid stress.
All in all, I am happy and we are off for a big growth spurt!
7 likes
comments
Share
Used techniques
LST
Technique
Enjoying this diary? Follow for more updates!
Prefer the old Diary view?
Go back to the old Diary view