


Likes
2
Share


@High_Grade_Dadli
Follow
#1 first week in and she putting on some lovely blossoms....tied down a few of her branches (LST) and she is jus spreading her wings
#2 diet seemed to be a off so increase potassium looks like it balanced out..jus watching it to see....also lock off extended hours of light so she can start to get ready to go into flowering
Likes
22
Share


@Reyden
Follow
Siamo passati a 12h di luce due giorni fa e le ragazze sembrano stare bene.
Praticamente non ho fatto nessun allenamento a parte una piccola piegatura verso la seconda settimana ma poi ho tolto i picchetti perché ho visto che in altezza non dovevo preoccuparmi perché erano contenute…l’ultima miscela ho aggiunto jamaican bloom e bazooka bloom in dosi di 2ml/L e 1ml/L insieme a due foglie di aloe vera di cui ho tolto il gel e lasciato in acqua da un giorno insieme a un po’ di limone per gestire PH..vediamo come si allungheranno nelle prossime due settimane!

Likes
5
Share

@AlpenZilla
Follow
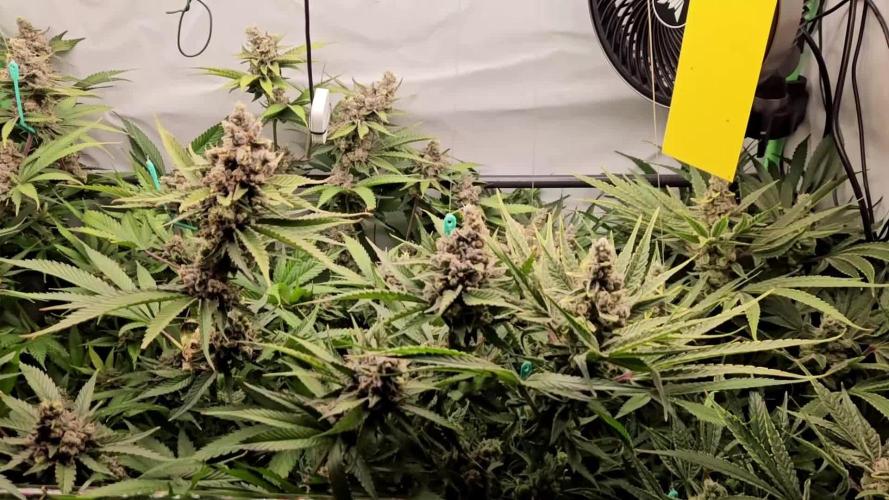
🗓️ Week 13 – Flower Week 9 ✅ (Final Phase & Flush)
🌿 General
The final phase has begun – all plants are now in flush using Flawless Finish, and visible fade-out is setting in.
Trichomes on Cherry MAC Muffin are mostly milky with the first signs of amber – the harvest window is opening 🌕✨
pH is stable at 6.2–6.3, and runoff EC is slowly decreasing as nutrient reserves are being properly depleted.
🍒 Cherry MAC Muffin – Status
➤ Initial runoff was high at 3.7 EC, likely due to salt release from the substrate
➤ Now stable at ~2.7 EC
➤ Still showing vigorous growth, with vivid colors and heavy resin production 💪❄️
➤ One more thorough flush planned next watering, then the final dry period begins.
Flush Setup
Using CalMag at EC 0.3 + Flawless Finish (2 ml/L)
Fade-out is clearly visible and progressing as planned.
🕒 Harvest is just a few days away!

Likes
19
Share


@Teydoee
Follow
This is my very first grow! I would love if anyone could feed me any tips or tricks to making this an easy and successful grow.


Likes
18
Share


@maneaura
Follow
The grow cycle was super, super easy. The summer was shitty as HELL. but it still produced really good buds. I don’t have a picture with flash but its sticky and shiny like a diamond!! The other plant sadly got attacked by spider mites so i had to kill it :/


Likes
37
Share


@Capo420
Follow
This past week has been a blast!
After getting these ladies nutrition straightened out, they are thriving!💚🌱💚
I gave defoliated wayyy more than what I see other growers traditionally doing. After the "3rd and final haircut" I defoliated two more times 😅
Thank you the GD community for the support and resources along the way 🙏
My only concern now is the tent actually becoming too crowded.😆. Other then that I am thinking it should be smooth sailing these next 6 weeks or so. 🏴☠️😎🏴☠️
Happy Growing!
💚💪🌱😎🌱💪💚

Likes
3
Share


@Ninjabuds
Follow
Northern Lights #10 is a total beast! It's easily one of my biggest plants, and those leaves are super dense. I can already tell it's going to be one of those squat, bushy plants. I'm really curious to see how much fruit it'll produce.
Last week was awesome! I finally got around to giving all my plants a little upgrade – I repotted them into some bigger homes. They're all looking so happy and healthy now, it's crazy. I can't wait to see how much they grow this year!

Likes
10
Share


@TheMedicatedFarmer
Follow
Starting off week 2 strong. The Patients are responding well. Started the week off 750ml water per Patient.
Day 19- Patient. 1 and 2 look strong and 3 is a week behind. It has rust spots on 2 leaves looks like from standing water. The plants look healthy adjusted the temp to 79 and raised the humidity to 66% The leaves felt a lil dry. Gave each plant 1 litre of water now. With steady increases. Still following Mr Canucks Water schedule. I am assuming I have to amend the soil 30 days from veg start.
Day 20 is actually day 14. Ok so I will make my adjustments based on Veg and Flower that makes things way easier then the total time. So I noticed leaf septoria on Patient 3 so I found a remedy of copper fungicide. So I made a mixture of neem oil and Copper. 1 tbsp per gallon. So we will see how it turns out. The increase in humidity has helped. Having a 4*8 tent and not filling it up with plants I have noticed is a waste. After this grow I will be filling it up.
Veg +9: The patients are going strong have them 1000ml of water and athe 5 gallon bucket went empty so I am filling it now to put it back in the aerator. The patient number 3 will be sprayed at lights out for the spotting again. Other than that a good end to week 2.
Veg +11: We will be tracking the Patients 1 and 2. Since they are next to each other in same day of growth. I adjusted the Humidity to 55. I ordered an inline box filter. The tent is in the garage and do not want any outside debris in the tent which I thought could be happening. I also vacuumed the tent as well.
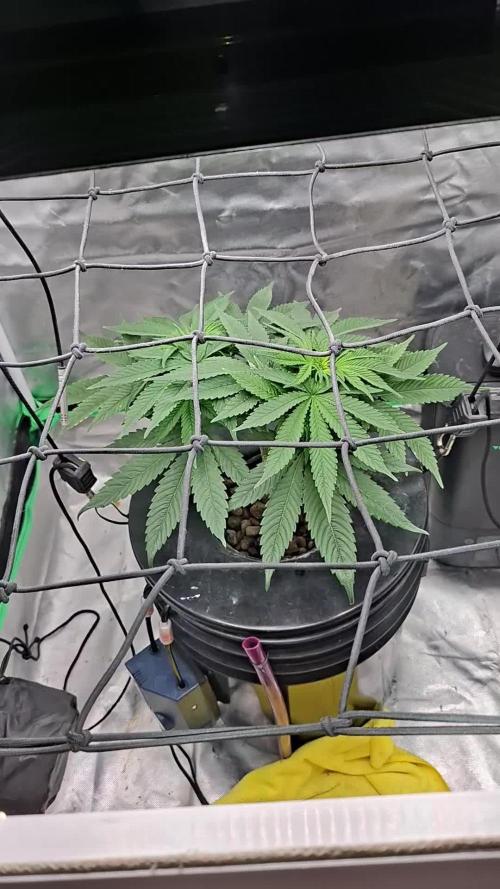
Veg +12. Added 1000ml of water today. Thinking of starting to LST to open up the plant a lil. There are quiet a few branches under there. So while writing this I have decided to LST the main branch.
Likes
23
Share


@adam_pawloski87
Follow
This week went real great , one has been getting flushed and the rest we will start flush Tomorrow! These ladies are doin so amazing! Hope you all enjoy !! Stay tuned for next week! Cheers an happy holidays!


Likes
Comments
Share

@Nillenium
Follow
Und weiter geht's,
Die Pflanze hat sich bis auf 70 CM gestreckt.
Ein paar weitere Blätter mussten entfernt werden, der Tank brauchte auch eine Reinigung und es gab noch mal ne Runde Bio Pk Dünger.
Erste leichte Mängel in Form von Rostflecken sind auch zu erkennen. (Ich werde erst mal beobachten ohne Panik zu schieben.)
Likes
11
Share


@Lahuertade_Bototo
Follow
🌱🌱🌱Continuamos este cultivo, con esta hermosa cepa de FastBuds, Girl Scout Cookies Auto, entrando en el periodo de crecimiento mas exuberante vegetativo.🌱🌱🌱
👨🍳👨🌾🏻 Nutrición y Bitácora 👨🌾🏻👨🍳
Día 15 se riega con una solución nutritiva NPK de 1 Litro con Plagron Power Roots (0.3 ml), Plagron Pure Zym (0.5 ml), Plagron Alga Grow (0.7 ml) y Plagron Sugar Royal (0.3).
Día 16, se mantiene saludable creciendo 👨🌾🏻, asimilando de muy buena manera el riego nutritivo del día 15
Día 17, sigue creciendo y creciendo y cada vez mas hermosa esta bella planta 😍
Día 18. Se ajusta el LST para bajar el apical. Se riega con una solución nutritiva NPK de 1 Litro con Plagron Power Roots (0.3 ml), Plagron Pure Zym (0.5 ml), Plagron Alga Grow (0.7 ml) y Plagron Sugar Royal (0.3). También se ve la producción de mas ramas bajas que comienzan a tomar fuerza como posibles colas principales y también se ve la aparición de los primeros pistilos, así que estamos prontos a comenzar la Pre Floración, pero aun le queda un buen tiempo en su etapa vegetativa de máximo crecimiento.
Día 19 sin novedades.
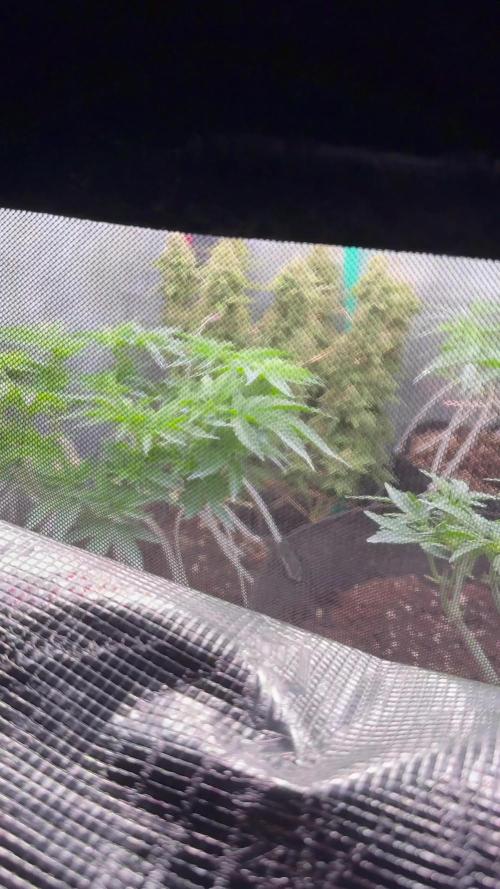
Día 20 se instala la malla para direccionar las ramas. Se realiza defoliación para mejorar la penetracion lumínica y se riega con 1 litro de solución NPK + Trichodermas.
Día 21 la malla mejora el uso del espacio, mejora considerablemente la penetracion lumínica y el crecimiento sigue de manera constante. La planta ya esta pidiendo mas alimentación y riegos, en 24 horas el sustrato se encuentra casi seco. Va de maravilla entrando a la cuarta semana 💪
🚀Equipamiento🚀
Indoor de 60x60x159 cm y una iluminación BlackCob F320, se activa solamente 1 modulo (160w) a 70cm para estimular su crecimiento, pero evitar estrés lumínico (en el día 21 se ajusta la iluminación a 55cm del canopy), se agrega un humidificador HUMIPRO para mantener estable entre 55 y 65 % la Humedad, intractor de 100mm, extractor de 100mm, filtro de carbon, ventilador "oscilofan", ventilador "clip fan", 2 termohigrometros y se agrega el día 20 una malla SCROG de kanovi
Acompáñenme para ver los resultados de este hermoso desafío, un saludo cultivadores 🔥🔥🔥

Likes
54
Share


@rhodes68
Follow
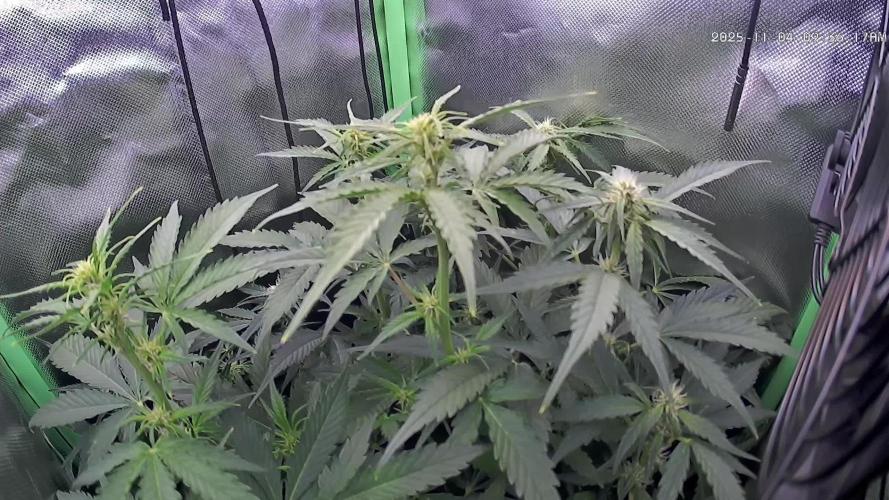
2/19 Week 8
Controlling the stretch somewhat by keeping strong blue light in the spectrum. Wont start flower under HPS again, will wait till stretch has finished.
The FFt-7 seem to respond most to this, the FFt-5 not as much but still slowed down.
Major day coming Saturday everyone back into one tent and that undergrowth is getting trimmed!
Driving me nuts
Wont need to worry so much over height at that point.
Adding that small amount of PK has really spurred a lot of bud growth, looks like the guys knew what he was talking about.
2/21 Could not wait so... Lower End Defoliation Day!
Cleaned them all up for their last day in Moya (veg tent) before moving to Enterprise (Flower tent) ... heh
Walking nuets up
2/22 in the new digs
Both the 600w HID and 150w LED are now in the tent = 750w
Everybody is on the Enterprise now.
2/23 white tips back dropping back down to 4ml/gal on the CT
2/25 Cutting back PK to 2ml/gal
Pics for Fast Buds on leaf oddity
Raised HID a couple of clicks getting some praying leaves underneath it.


Likes
13
Share


@gr3g4l
Follow
Sigo pulverizando cada dia un par o tres veces con agua destilada y regando a ojo las que voy viendo secas cada dos más o menos. No son ciencias exactas y unas demandan más o menos segun fenotipo , el sitio donde están dentro del armario, por el riego anterior por si fué excesivo o insuficiente, etc etc . La idea es regar cuando veo que lo necesitan. regar y dejar secar.
A mitad de semana las cambié a maceta de 5,5L téxtil y las pasé bajo los COB , 4 cri97 4000K y 5cri 97 2700K ,250W áprox.
En estos momentos aumento el riego a 500ml por planta cada dos dias áprox. según.
Armario de doble capa de DM con aislante y las medidas serian 76x76x180. El armario está fuera de casa por lo que tengo que luchar contra las inclemencias meteorológicas añadiendo un par o tres de calefactores de 80W. en momentos de mucho frio o aumentar caudal de extracción y tiempo de ventilador cuando hace mucho calor. Los calefactores van con sensor de temperatura graduado para que el sustrato se mantenga a 20- 22ºC áprox
Esta semana empiezo a regar con agua del grifo , de base 0.4 áprox. y 6´5 de PH.


