Likes
346
Share
@Canna96
Follow
Hey now! This week went pretty well, I did notice my EC of my runoff was getting pretty high on day 65, it got up to about 1.9, and my nutrient solution going in was at 1.6. I ended up mixing a bucket of my normal fertilizer, and hand watering all the places my drip ring wasn't really hitting, and i got the EC back down to about 1.7. I also got a tip from MrJones to setup some type of support for the colas. I ended up tying some 550 (parachute) cord across the top of my tent poles, then I ties little loops around the colas with the same soft cord. I then used wire ties to attach the loops to the 550 cord. I also am slowly reducing my EC, as I believe I only have a couple weeks left. I am also going to be switching from Liquid KoolBloom to Dry KoolBloom at some point later in week 10. If anyone has any experience on the correct timing of this switch to ripening formula, please hit me up! I am still struggling a bit with heat and humidity, and am considering buying another dehumidifier for my next grow. As always, Thank you to everyone for all of your encouragement, support and tips!! Blaze on!
Likes
156
Share
@StarLorr
Follow
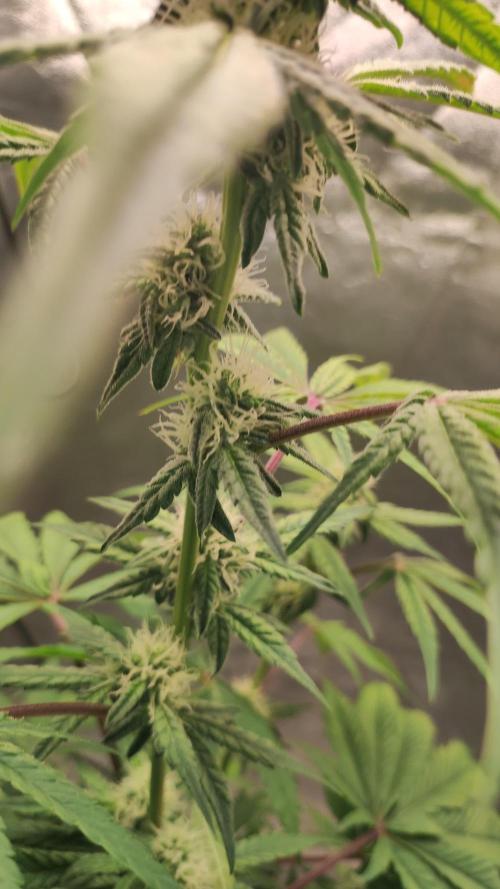
Helloing 👋🏻friends and visitors. Welclone to my Clone diary🙃 Both Clones are doing fantastic! Some leaves are changing colour from green to burgundish underneath and dark green on top. Some top buds have so much frost on them that I mistakenly thought it was mold😳😅 all is good though 😉 ______________________________ Feeding: Tue 12Dec: 3L each w/nuts pH'd 6.5 Fri 15Dec : 3L each w/nuts pH'd 6.5 Mon18Dec:2L each water only pH'd 6.5 _______________________________ Thanks for stopping by, likes and comments are appreciated 👊🏻😎 Keep on growin! Keep on tokin!!! 😙💨💨💨💨💨
Likes
Comments
Share
Likes
16
Share
@BLAZED
Follow
Week 8 (17-3 to 23-3) 17-3 Temps: 16.9 to 21.4 degrees Humidity: 57% to 70% 18-3 Temps: 16.6 to 21.1 degrees Humidity: 56% to 69% 19-3 Temps: 17.1 to 21.9 degrees Humidity: 54% to 64% Watering: 1100 ml. (Only Calcium added) 20-3 Temps: 17.7 to 23.1 degrees Humidity: 52% to 69% Watering: 1000 ml. 21-3 Temps: 18.1 to 22.8 degrees Humidity: 52% to 66% Watering: 1000 ml. 22-3 Temps: 18.8 to 23.2 degrees Humidity: 55% to 70% Set the strength of the light from 45% to 50% 23-3 Temps: 19 to 24.2 degrees Humidity: 57% to 71%
Likes
46
Share
Germination Report: Runtz vs. Runtz 🌿✨ Hey there, green thumbs and cannabis enthusiasts! 🌱🌟 I'm thrilled to share the exciting details of our Runtz vs. Runtz germination journey. Buckle up, because this ride is packed with fun, knowledge, and a touch of green magic! 🍃💫 The Germination Journey 🌱🚀 Our Runtz seeds were given the royal treatment from the get-go! We kicked things off with the Cannakan method, ensuring our precious seeds had the best start. Here's a step-by-step breakdown: Hydration Stage 💧: Seeds were soaked in water, embracing their first taste of life. This process lasted about 30 hours, allowing the seeds to absorb enough moisture to kickstart germination. Watching those little seeds swell up is always a magical moment! 🌟 Transition to Soil 🌿: After their water bath, the seeds were gently transferred to soil. This crucial step ensures they have the nutrients and environment they need to grow strong and healthy. Each seed was placed in a cozy, nutrient-rich bed, ready to sprout and thrive. Understanding Runtz Genetics 🌸🔥 Runtz is a legendary strain, celebrated for its powerful genetics and exceptional traits. Let's dive into what makes Runtz so special: Parentage 🌿: Runtz is the love child of two powerhouse strains: Gelato and Zkittlez. This dynamic duo contributes to Runtz's unique flavor profile and potent effects. Flavor and Aroma 🍭: Expect a delightful explosion of sweet, fruity flavors with a hint of candy-like goodness. The aroma is equally enchanting, filling your space with a tropical, sugary scent that's hard to resist. Effects 🌈: Runtz is known for its balanced high, offering both euphoria and relaxation. Perfect for those seeking a joyful, uplifting experience that melts into a soothing body calm. What to Expect 🌿✨ As our Runtz plants grow, here are a few things to watch for: Vigorous Growth 🚀: Thanks to its robust genetics, Runtz is a strong grower. Expect rapid development, especially in the early stages. Keep an eye on those green shoots as they stretch toward the light! Resin Production 💎: Runtz is a resin powerhouse, producing dense, trichome-covered buds. This not only enhances its potency but also contributes to its striking appearance. Balanced Structure 🌱: Look for a balanced structure with a mix of sturdy branches and lush foliage. This makes Runtz ideal for various growing techniques, whether you're a novice or a seasoned grower. The Joy of Growing Runtz 🌿❤️ The journey of growing Runtz is as enjoyable as the end product. Each day brings new growth, surprises, and the satisfaction of nurturing such a phenomenal strain. Whether you're growing for personal use or to share with friends, Runtz is sure to impress with its vibrant traits and rewarding yield. Stay tuned as we continue this exciting adventure! We'll keep you updated on the progress, sharing all the green goodness and joyful moments along the way. Happy growing, everyone! 🌿🌟💚 Germination method 🌱 @thecannakan Genetics Runtz F1 @zam.nesia Runtz auto @kannabiaglobal Nutrition @aptusholland 🌿 @aptus_world 🌎 @aptus_es 🌍 @aptusbrasil 🌱 @aptus_thailand 🌿 @aptus_portugal 🌳 @aptususa_official 🍀 @aptusplanttechnz 🌺 @aptusplanttechaus 🍃 Ambient controls🎮 @trolmaster.eu @trolmaster.eu.support @trolmaster.support @trolmaster.agro Soil @promix_growers_eur @promix_cannabis LED - @lumatekeu Watering- @autopot_usa @autopot_global Love and attention- @dogdoctorofficial #aptus #aptusplanttech #aptusgang #aptusfamily #aptustrueplantscience #inbalancewithnature #trolmaster #trolmastereurope #trolmastersecrets #Autopots #RuntzBattle #KannabiaVsZamnesia #GreenJoy As always thank you all for stopping by, for the love and for it all , this journey of mine wold just not be the same without you guys, the love and support is very much appreciated and i fell honored and so joyful with you all in my life 🙏 With true love comes happiness 💚🙏 Always believe in your self and always do things expecting nothing and with an open heart , be a giver and the universe will give back to you in ways you could not even imagine so 💚 More info and complete updates from all my adventures can be found ⬆️link in the profile description ⬆️ Friendly reminder all you see here is pure research and for educational purposes only 💚Growers Love To you All 💚
Likes
8
Share
@LoudLemon
Follow
She is officially on the 6th week now and here was how week 5 went! It was the most dramatic week so far, really started to fill out now and even the popcorn buds and starting to get some weight too. Now it’s just waiting for her to finish swelling then hopefully we will see her nearly ripened by end of next week! Smells fab! I can understand where the cookie idea comes from, my room smells like I have a warm batch of a variety of biscuits and cookies fresh out the oven cooling off!
Likes
30
Share
@3lementa1
Follow
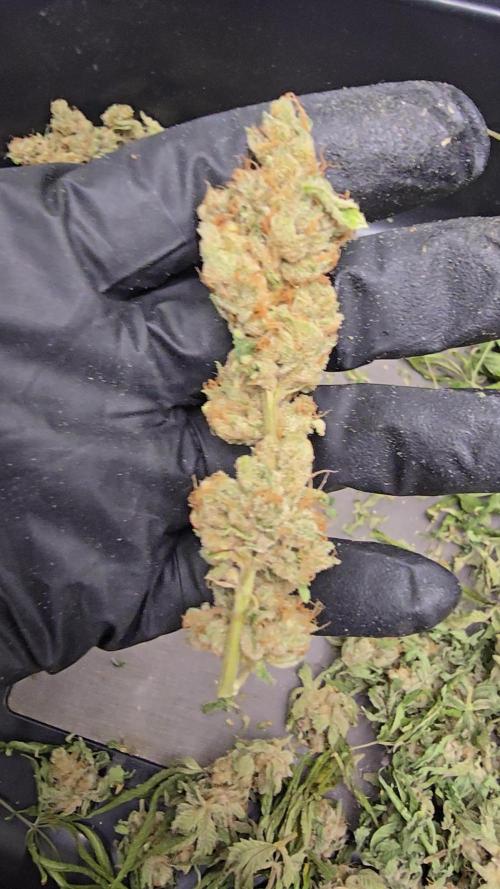
I cut them down the night before the open houses started. The White Widow looks really good. I put them in darkness for 72 hrs, then cut and hung the whole plant, then wet trimmed hung for 18 hrs/day and put in paper bags for about 6 hrs/day for 4 days with a fan oscillating close by. Then in bags for one day, now they've been dry trimmed and put in jars. 50g for the White Widow and it looks great. I can't wait to smoke some.
Likes
53
Share
@Roberts
Follow
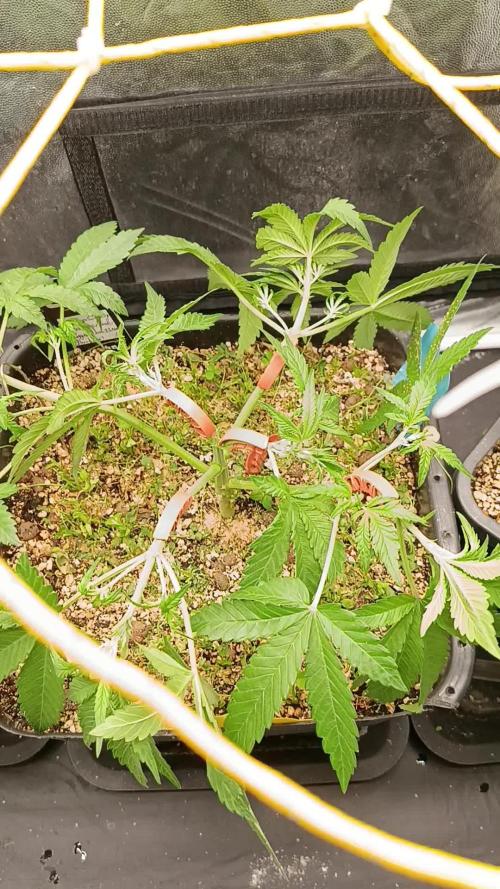
Merlin Mintz Autoflower is growing great. Unfortunately pest have gotten into the room. So treating her in neem oil this week. I want to get the room treated prior buds forming. I lollipopped the canopy, and defoliated her some. She likely won't be as pretty next week after treatments. But if it solves my issues I am okay with the outcome. Thank you Aeque Genetics, Spider Farmer, and Athena. 🤜🏻🤛🏻🌱🌱🌱 Thank you grow diaries community for the 👇likes👇, follows, comments, and subscriptions on my YouTube channel👇. ❄️🌱🍻 Happy Growing 🌱🌱🌱 https://youtube.com/channel/UCAhN7yRzWLpcaRHhMIQ7X4g
Likes
7
Share
@hooolian
Follow
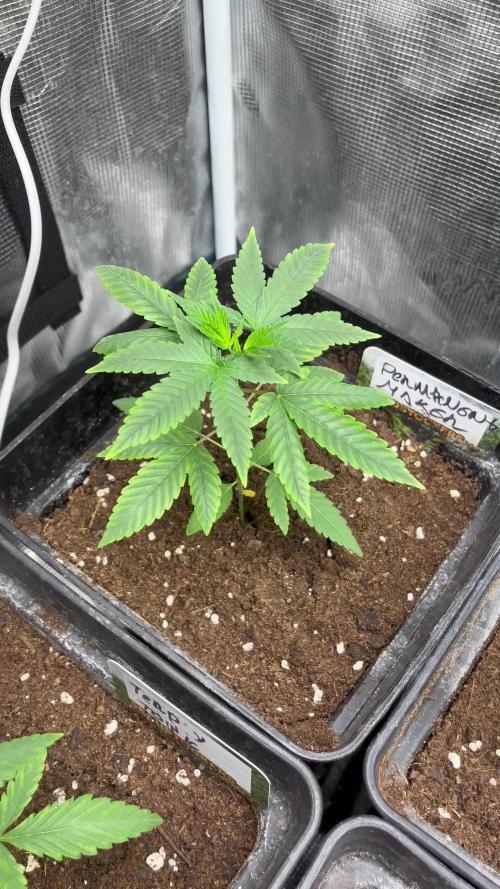
12/11/2021 - held in a glass of filtered water for 24 hours and then used the paper towel method for 48 hours. Seeds planted today in 6 litre pots to germinate before being moved to 15 litre pots on week 3 of veg. high humidity this week - 70% - and 100ml of filtered water every other day. 16/11/21 - all 9 have broken the soil and are stretching slightly to the light 20/11/21 root juice
Likes
11
Share
Possibly this is your last week with only water to eliminate excess mineral salts. The appearance of the buds is great, covered in resin and quite hard, almost like stone.Does anyone have any tips for making some live rosin?
Likes
12
Share
@Growfun
Follow
Everything seems to be going great. The Maverick had some leaf deformations but they went away. After 4 years of growing, this Maverick seems like it beast with all that foliage underneath I've never seen anything like that. I will be topping Maverick today. The blue dream looks awesome it's a slow grower and the leaves are very thin and fragile. Other than that it looks beautiful very nice and even growth. One more thing I wanted to mention is that I have a light with options for blue spectrum, red spectrum and/or both. I see everyone online say to use both blue/red from seed to harvest. Well I'm here to tell you that the blue light for veg works great plus it saves about 25 bucks a month in electric. So if you want to save money just use the blue light for veg I doubt it will make much of a difference putting on both. Plus that's what most manufacturers recommend. Peace!!!
Likes
14
Share
@nine666
Follow
These Autos have grown like crazy but i've made a rookie mistake!!! I've been using Plant Magic Soil Supreme along with their Old Timers Organic Nutes and the recommened feeding chart. Week 1 i just gave the plants water, on week 2 i gave them 2ml per liter of nutes and as recommended this week i have given them 3ml per liter. The next day after watering with 3ml per liter i noticed slight nute burn marks on the FastBuds BlackBerry so i've flushed the pot with PH nuteral water and it has seemed to stopped the burning. I've dropped the nutes back down to 2ml per liter and they seem much happier! I've been planning on LSTing the plants next week but when i watered the plants today on day 19 i have noticed little pistills as shown in the photos above so i may LST sooner. As ive said this is my first grow so does anyone have any advice when it comes to LSTing my plants? Happy Growing!
Likes
37
Share
Bonjour à tous les padawans et maîtres jedis Tout d'abord merci à greenhouse de me permettre de faire cette culture en m'offrant le feeding greenhouse et des graines Je rappelle que cultive simultanément 9 pots de 10 et 11 litres dans une box prévu pour 4 et que je n'utilise que le strict minimum du matériel nécessaire à une culture correcte au prix le plus bas possible MATÉRIEL CONFIGURATION Box 80×80×160 Lampe led Lampwin 300 watts ×2 Ventilateur à pince 15 watts Xiaomi Deerma humidificateurs 5L Hygrometre thermomètre Extracteur PROFAN 107 m3/h - 100 Prise programmable électronique ×2 1 pot carré noir 10 litres Green house feeding enhancer Green house feeding biobloom Green house feeding biogrow Substrat biobizz ligthmix Fil de fer et pince coupante Microscope Petite balance de précision CULTURE ÉTAPE PAR ÉTAPE J'ai tout dabord fais germé ma graine avec le easy start de Royal queen seed et je suis agréablement surpris car franchement le taux de réussite est très élevé (17 graines sur 19) simple d'utilisation et très efficace. Une fois la plantule sortie et d'une hauteur de 2 ou 3 centimètres je la prend délicatement et la place directement dans son pot définitif. Je préconise des pots allant entre 10 litres et 15 litres pour des autofloraisons cultivées en intérieur. Le pot aura été préalablement préparé (video dans diarie) avec 30 grammes d'engrais greenhouse feeding biobloom et 30 grammes de greenhouse feeding biogrow, soit l'équivalent de 3 grammes par litre de substrat. Je dépose donc la plantule dans son pot définitif je recouvre un peu de avec de la terre je tasse légèrement et j'arrose pour garder le substrat humide pas plus Je place ma lampe led 300watts à environ 90 centimètres de la plantule avec un cycle de lumière de 24/24 pendant une semaine. Au début de la semaine 2 le cycle de lumière passera en 20/4 grace a un programmateur car c'est pour moi le cycle de lumière qui offre le meilleur rendement pour une autofloraison. Jour1: léger arrosage Jour2: léger arrosage Jour3: la plantule commence à être plus vigoureuse mise en place de la ventilation pour augmenter sa masse racinaire et léger arrosage Jour4: arrosage avec un litre et demi d'eau ph6.3 à laquelle j'ai ajouté 0.9 gramme de greenhouse feeding enhancer (soit 0.6 gramme par litre d'eau) Jour5: aucune technique spéciale Jour6: aucune technique spéciale Semaine agréablement calme sans problème ni carence apparente Que la force soit avec vous !
Likes
1
Share
Se está viendo muy verde y saludable Tengo altas expectativas de esta nena... Tenemos que mudarnos a la tienda de cultivo espero poder seguir creciendo seguir Este calor está insoportable para todos!!!
Likes
7
Share
@starke
Follow
Day 85 - first day of Week 13 and she is going into darkness for 48 hours. Hasn't been watered since 2 days. Even though she looks the least done of all three, her trichomes are now a good 20-30% amber with the rest milky and some tiny bits of clear. I checked her buds on the calyx all around, from top buds to middle to bottom. She really shows a lot of heavily swolen calyxes, which I have never seen like that. I can now add that to the things I learned/experienced: calyxes swell a lot before the plant is finished. Let's see. My Girl Scout Cookies does not look like she even has calyxes. Funny individuals. Happy wedding cake day, almost 😍 Day 88 - out of darkness. She was in there for 2,5 days. Opening the drying tent she gave off a really strong smell of hash 😍wow. She has some nice looking buds and looks def. more done, but below her dress, she has some light fluffy buds. I have hung all of them now in the dry tent, after I removed some of the bigger fan leaves. One part of it, I think I want to low and slow dry in the fridge. I am interested in finding out about the difference in taste, when a more wholesome profile is retained. For anyone interested, I can highly recommend this forum and this article: https://www.420magazine.com/community/threads/drziggys-low-and-slow-drying-maximizing-your-harvest.366783 Another part I would like to use for fresh cut oil, also from here: https://www.420magazine.com/community/threads/fresh-harvest-infused-cannabis-oil.363371/ As with everything else, I was obsessing about the perfect dry room & conditions. I bought a small tent (40x40cm), a small oszillating fan hung over the buds/on top of the tent. Due to size limitations, I have the filter on the bottom with the duct leaving the tent at the bottom connecting to an exhaust fan. Inside the tent I have a humidity sensor from an Inkbird Humidity regulator. Connected to that is a mini-dehumidifer and a humidifier. I have set it to 20°C (68F) and 50-55% humidity. I'm excited to see how long my dry will last this time. My first grow was drying way too fast in the middle of the heat wave last year with 30% humidity. The overview added to the pictures, I started making over Christmas. It was when I noticed, that I'm a so impatient, and that something must be wrong, especially in the first weeks. I get so obsessive, that I tend to overcare. Which she showcases beautifully in this overview. I hope this will calm me down the next time. Oh my haha Let's see what the final dry weight is. My guess is about 25-35g. Any other guesses? Happy Wedding Cake day 😇
Likes
10
Share
Week 5 flowering for our ztrawberriez from fastbuds 420! The buds are starting to get fatter day by day, we continue with our food program. This week again we gave sugar shot, sticky fingers, bloom booster, silica, amino and master root all from xpert nutrients. All good at the moment 🤗