Likes
Comments
Share
За эту неделю сильно ничего не произошло, кроме как засохли 3 ветки которые надломал еще на середине веги, реанимировал, но не прижились до харва жаль, грамм 15 потерял точно( на этой недели очень много пестиков ещё белых и трихом как то ещё мало
Likes
25
Share
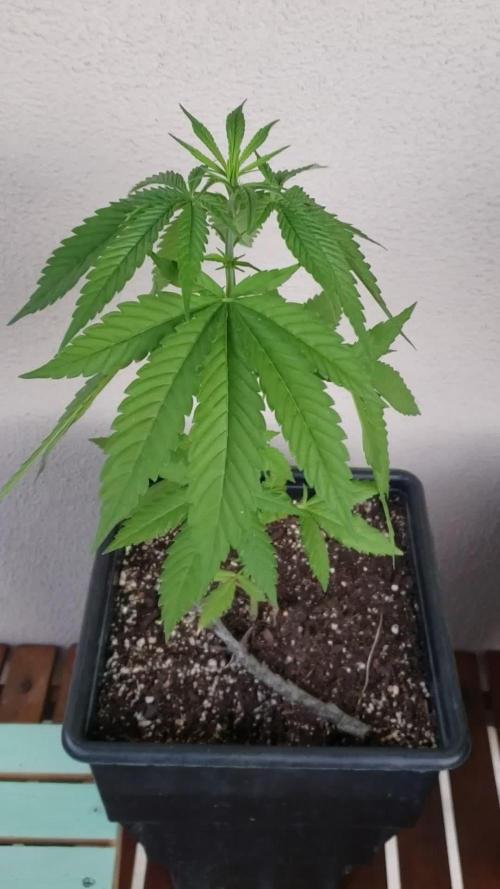
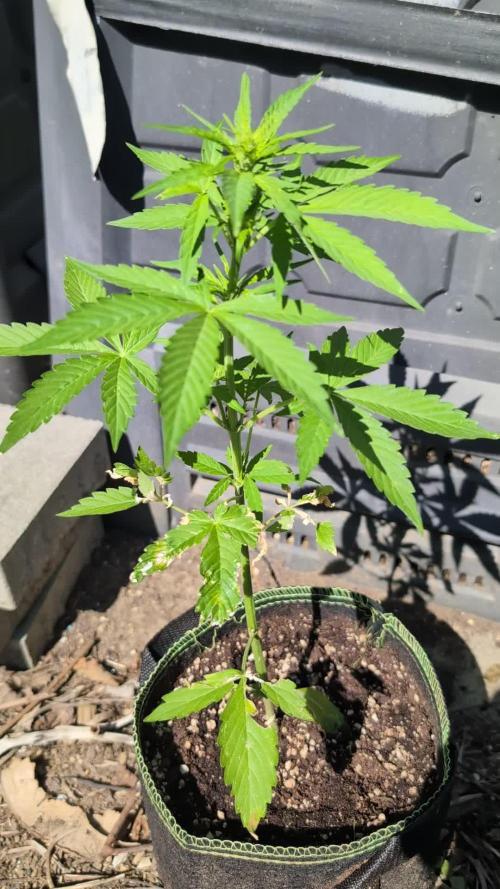
Bonjour à tous les padawans et les maîtres jedis Pour cette semaine 4 au jour 23 ma plante fais 17 centimètres et son sixième noeud apparaît je décide donc de pratiquer un LST sur ma plante. Pour ce j'utilise du fil de fer galvanisé que je plante directement dans le substrat en faisant attention de ne pas endommagé les racines car n'oublions pas que ce qui pousse dessus pousse aussi dessous. Jour 17 je pulvérise du une solution composé d'une cuillère à café de savon noir mou dilué dans un litre d'eau en prévention d'éventuels nuisibles. Je corrige mon LST suivant la pousse de ma plante ... Pour ma par c'est la manière dont je procède mais petit rappel de la technique du LST: Quand commencer à appliquer la technique LST De nombreux cultivateurs commencent la manipulation dés que les plantes possèdent entre 3 et 6 nœuds ou une paire de feuilles. Durant cette première étape de la croissance, le tronc encore flexible est pliable sans risque qu’il ne se casse, même si au fur et à mesure du développement de la plante il sera de plus en plus difficile de le plier. Nous pouvons continuer à guider la croissance des branches durant toute la culture, même durant la floraison, ce qui pour cette étape représente un grand avantage face à la taille, qui n’est pas du tout recommandé une fois que la formation des têtes commence, cela stressera en effet la plante, ce qui aura pour effet de retarder la récolte. Comment appliquer la technique de guidage LST Si nous sommes prudents, la flexibilité naturelle des fibres du cannabis permet de plier leur tronc et branches avec une relative facilitée, même durant la floraison des plantes. En utilisant une corde fine, nous pouvons accrocher la pointe de la plante à la base du pot par exemple ou à un tuteur que nous aurons planté dans le substrat. Nous plierons le tronc avec précaution et nous le fixerons avec la corde, à partir de là, nous pouvons augmenter progressivement la tension de la corde, chaque jour un peu plus, jusqu’à obtenir la position souhaitée. Soyez attentif à la réaction de la plante, essayez de ne pas appliquer trop de pression sur la corde et rappelez-vous que la flexibilité des branches peut varier d’une plante à l’autre. Pour obtenir de meilleurs résultats, il suffit de suivre quelques règles simples. Pour commencer, nous devons choisir une corde fine mais pas trop pour ne pas blesser les troncs au fur et à mesure qu’ils grandissent et qu’ils deviennent plus gros. Nous pouvons utiliser des crochets en plastique souple ou de n’importe quelle autre matière flexible pour éviter d’endommager les plantes. Spécialement en intérieur, utiliser des cordons en plastique de couleur (voir les diaries de @Silky) est très pratique pour voir facilement les accroches et faciliter le travail au milieu du réseau formés par les cordes, les tuteurs, les mailles ou les supports que nous aurons dans la culture. Bien entendu, en culture extérieure et surtout en guerilla nous ferons juste le contraire et nous utiliserons des matériaux de couleur qui n’attirent pas l’attention pour que notre jardin reste discret. Pour stresser les plantes au minimum, la mieux est de réaliser ces manipulations le soir ou juste après que les lampes en intérieur s’éteignent, ce qui leur permettra de se remettre durant la nuit. Normalement, le jour suivant nous pourrons observer comme les pointes des branches que nous avons pliées se dressent de nouveau vers le haut à la recherche d’une source de lumière. Je combine un pincage d'Apex au LST cela me permettra d'avoir une canopé plus homogène donc une meilleure pénétration lumineuse et par conséquent un meilleur rendement. Que la force soit avec vous💪
Likes
1
Share
Chapter 18: The end. Cannabonsai was really starting to run out of juice, the tips of her larger sugar leaves were starting to show the same likely Ca / P deficiency as her fans, so I knew it was time. Duckfoot probably could've stacked another week or two, but I'm using the tent to dry, and I do prefer effects on the zippier side - so they both got the chop. Since this was mostly an outdoor grow and they had recent issues with caterpillars, I decided to do a bud wash. One look at that water and no regrets. Removed the fan leaves and hung full branches up to dry in the 60% humidity tent, though averaging a little warmer than I'd like at around 70 degrees. After about a week the hay smell dissipated, the smaller buds were moisture testing around 11%, so I bucked the branches into six-inch chunks and then let them sweat in paper bags for a few more days, rotating and airing out every several hours...just like the Grove bags say to do. When each bag stabilized around 62% humidity, I trimmed everything. Final yield dry was 1.7 oz (48g) for Duckfoot, and 1.5 oz (43g) for Cannabonsai, with an additional ounce (31g) of dry trim. I already know I can do better on the next grow. :) Early flower already smokes wonderfully - good taste, no hay, extremely potent, I would be very happy getting this from a dispensary. It's all in Grove bags now, can't wait to see how it cures up.
Likes
1
Share
@Krissci
Follow
Day 2 - light LST to expose the nodes and even out the canopy.. Always looks messy but the results are consistent.
Likes
7
Share
@Organic_G
Follow
Musste sie aus taktischen Gründen ernten, wird 30 C+ die nächsten Woche. Und sie war bereits im harvest window zumal ich alleine mit der dem ganzen Cure fridge gefüllt habe, muss zeitlich versetzt ernten damit alle optimal trocknen können ( 16 C / 65 RH )
Likes
23
Share
March 12, Day 71 my Sea Of Green is now a Sea Of Buds 😄 Tomorrow I will collect the three plants closest to the poster that seem to be mature. Next week I will collect the last two gorillas (excluding the two plants with a photoperiod predominance) because they seem to need a little more time. March 13, Day 72: I wanted to make a video or a video to show you the defoliated plants ready to be cut, but when I removed them from the SOG they no longer had the support of the nearby plants and the branches could not support the weight of buds. I'm not complaining, in fact I didn't think I would get such a big harvest. For the same reason I only cut and put to dry two plants, I don't have enough space in my dryer that is only 50x50x120 Centimeters. However, I made a video with Harvest and a video with the new layout of the plants in my SOG. Now in my sea of buds there are three gorillas left, two cheese in advanced bloom and two photoperiodic gorillas and the margin there is a Cheese that has just started to bloom. I realized that I can make only one harvest page for each variety, I thought it was possible to create one for each plant, so I will edit the diary for the final harvest, when I will also collect the last three gorillas in my secret garden. Thanks to everyone for the views and likes 😉
Likes
10
Share
@Prilyfe13
Follow
05/02/2026 This better be the last week. I have her in the dark for the next two days. Hopefully she gives me some color. Or does that work with the light? Readings: pH: 5.74 EC: 604 cm TDS: 430 ppm Temp: 63.3° Readings after a small top off. pH: 5.88 EC: 590 cm TDS: 413 ppm Temp: 64.4° Readings Again: pH: 6.3 EC: 517 TDS: 405 Temp: 62.8° 05/03/2026 Readings: PH: 6.25 EC: 588 cm TDS: 418 ppm Temp: 67.1° So we can see that the warmer the water, the higher the concentration of salts. I just added an ice bottle, but it's still working it's magic. The pH seems to have leveled out too. As for the high concentration of salts, I'm gonna have to repeat flushing again. Well, in this case, I'm going to pull a gallon out and add another gallon and a half or so of plain pHed water. Reason being, I can't get the bottom of the bucket with my water pump. The roots are all in the way. So it's still loaded with nutrients. And now the water is below the roots. I've been doing my best to avoid topping off, but I think I just want to do the swap. Plain Filtered and pHed tap water readings: pH: 6.08 EC: 435 cm TDS: 307 ppm Temp: 65.7° I pHed a gallon of water. Pulled 3 gallons out of the bucket and put 3.5 gallons back in. Perfect top off especially for the last few days of flushing. I should probably check the trichomes. I haven't since I put her in the dark 2 days ago. Update: after taking a short trichome video, this lady is done. 05/04/2026 May the 4th be with you! Readings: pH: 6.43 EC: 597 cm TDS: 416 ppm Temp: 67.5°
Likes
22
Share
After 48 hours, these things are beast. I thought they needed more time, I couldn’t judge how long they were. I had to dig them out of the paper towel, learned that I need to use cheaper paper towels. 6 out of 6 germinated on my first grow. Let’s keep the same growth going. ******************************* 14 Hours After Potting ************** TEMPS The most recent video showing the domes is 14 hours after potting them. The temps have been very stable at 83F and 70% humidity. My ambient temp outside of the tent is 70F. AIR FLOW I’m currently only running a 6 inch fan above the light for circulation. I have not used the exhaust, I think the idea at this stage is to keep humidity high, any thoughts would be great. LIGHTNING I do have my TSW on max and lowered the height to 36 inches it was almost twice the height yesterday. I didn’t want to make the change so drastic and waited a bit before lowering the height. WATERING The top soil did feel a bit dry and a little moist under. Under the dome it still looks very moist. I sprayed the plastic domes, I’m using distilled ph’d water. I did some light watering on the soil but I’m not sure how much water I should be using . Now that I lowered the height soil should dry out quicker, any thoughts?
Likes
3
Share
A gorila passou e só deixou os caroços Aqui estão elas, pesadas e intermináveis. Água em abundância.
Likes
24
Share
During week 13 I stop giving any nutrients in order to FLUSH the plants. The 12 AK-47 plants from SERIOUS SEEDS are in their last week of flowering (=9th week) and have developed into huge little trees. The size of the colas is ASTOUNDING to me at this stage, bigger than anything I have seen on plants in 7 liter pots. Unfortunately I see first signs of bud-rot on some plants, therefore its time to soon harvest the plants. The humidity during the late stages of flowering has been much too high due to bad weather outside. The high humidity with the huge size of the buds are the perfect circumstances for bud-rot beginning to grow INSIDE the buds (it always starts at the stem and grows to the outside). I spot a yellow sugar leave on a top and pull it out, since I feel no resistance at all, I take a closer look and open up the bud carefully. I spot grey mold at the center of the bud growing out of the stem and want to start to cry...my worst fear has come true...BUD-ROT is inside my beautiful plants! The only thing to do now is to cut off any infected parts and finish the grow as quickly as possible. The SANlight Q5W-Gen.2 LED-lights are still in full-power mode and some plants now show signs of light-bleaching at the very top of the plants. This means the plants grow white new flowers instead of green ones. The plants look like they have small snow-caps on top of the plants...an AMAZING THING to see. This can be avoided by dimming the LEDs during the last week of flowering or by hanging the LEDs higher. The white parts of the bud have the same quality as the rest, therefore i dont mind a little light-bleaching. What makes my heart hurt is the parts with bud-rot. Since mold can cause cancer when burned and inhaled, it is of utmost importance to cut off any infected parts off the plants when they are harvested. This means I will get much less medicine that I hoped...😢 At least the quality will be GREAT, since the buds are glistening with trichomes now and they SMELL AMAZING. The aroma is heavy and thick and lightly sweet with hints of Sandalwood...simply DELICIOUS!
Likes
2
Share
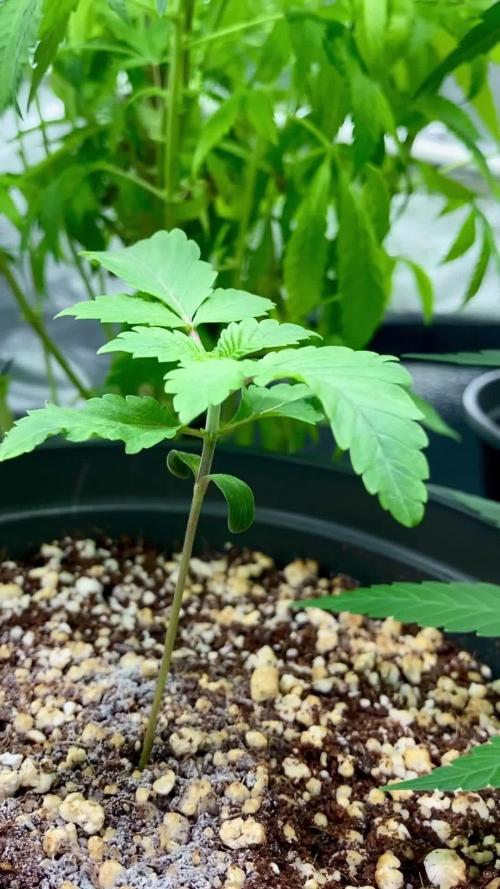
Introduced nutrients at quarter strength. Growth responded nicely.
Likes
66
Share
@DevilsBud
Follow
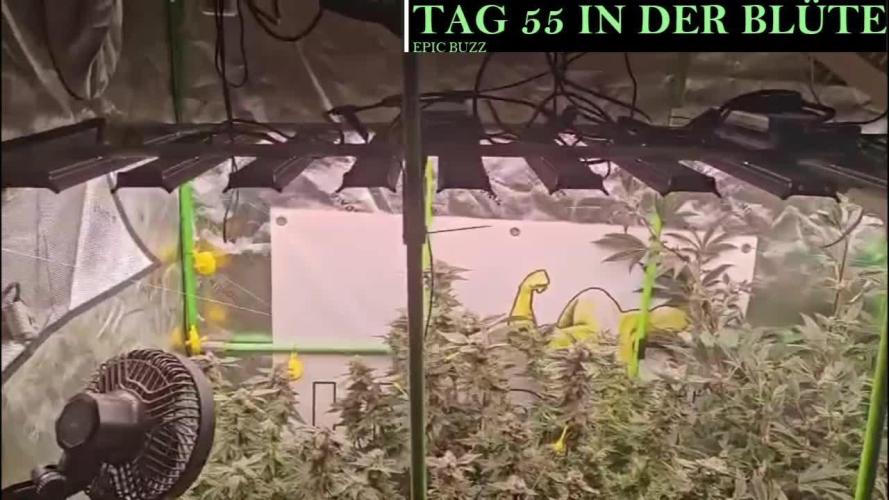
New week for the Chocobang 🎶🎶Look at chocolate salted buds stick in your bong and smoke it 🎶🎶 I think the Chocobang needs couple days more then the rest but it's going great there at a size that adding extra nutrients is waste and only making flushing take longer so starting to lower all nutrients and preparing for last week exited times Happy growings Growmies 🤜🏻 🤛🏻 visit www.marshydro.eu for your best gear and use the PROMO CODE: DEVILSBUD Some info about the Marshydro FC-4800 Superb Quality LED Chips: The whole light is composed of 1206 pcs Samsung lm301b and Osram 660nm chips. More than two times as many LEDs are used to drive the grow lights at low currents and to avoid overdrive. Quality is guaranteed and efficiency is up to 2.8 μmol/j. Even PAR Distribution and High PPFD Output: The multi-light bar design and the densely distributed light chips enable the LED grow lights to achieve the optimum PPFD required for plant growth over the entire effective coverage area. Specifically Designed Spectrum: To ensure even plant growth, blue and red light are enhanced on the basis of a full spectrum combination. Not only does this accelerate plant growth, but it also improves the yield and quality of the plants at the same time. Dimming Daisy Chain Function: The dimming function saves on electricity costs and enables brightness from 10% to 100% for the different stages of plant growth. A single master light can connect up to 30 lights in a daisy-chain system. Business LED Grow Light: The light's wavy heat sink dissipates heat quickly and the IP65 waterproof allows the light to operate in humid conditions. 180° collapsible feature for easier installation. All these features provide favorable assistance for commercial cultivation. And some tent info ●【Lock All Light Insid】MARS HYDRO Grow Tent Interior is made of diamond mylar. Non-toxic to the environment, no harm to plants. High-quality 1680D canvas being double stitched, (ALL OTHERS BRAND grow tent is 601D canvas) which is tear-proof for perfect light locking, No light leaks or rips at all. ●【Durability Grow Tent】Stable Metal corner adapters and poles are the trustful supporters of the tent. No rusting nor paint-falling. Quick easy tool-free installation. Carries strong heavy-duty SBS zippers, double layer lining to create a light-proof seal. ●【Easy Observation of your Plants】Special peeks window made by double layers of cloths. Observe the growing conditions of your plants without opening the tent and avoid disturbing plants. The peek window also serves to dissipate heat and ventilate air. ●【Removable Tray Keep Clean】The package includes a removable waterproof floor tray to hold soil and fallen leaves. The tray can be taken out easily to wash. Removable and water-proof makes cleaning easy. ●【Good Ventilation&Fast Assembly】 Circular double-sleeved vent holes with adjustable nylon strap for air circulation by exhaust fan, ducting, carbon filter, or reflector. Better allows proper light, heat, and airflow. Quick tool-free installation. Reinforced by a sturdy metal frame to ensure security and stability, supports up to 140lb. Perfectly safeguard your plants to thrive even in winter
Likes
4
Share
She liked training a lot, easy harvest and trim, cured excellently, grown without problems indoors. Enjoyable grow, I’ll be getting the next harvests up soon. cheers
Likes
19
Share
Likes
229
Share
Week 8 Hi everyone 😀 I am so delighted with this little grow. Finally upper growth slowed down and buds are getting structure and weight. Have adjusted nutrients and increased watering to approx. 2 liters every 2 days. The aroma inside this cabinet it's very strong. It's smells a little bit fruity. 2 kg active carbon filters doing the job perfectly and nothing is coming out. Will update progress of this week every couple days. 12/09 Day 51 Buds on 2 most developed girls are getting frosty and gaining weight. Due to extreme fast flowering time on this strain decided to start applying final nutrient - Green Sensation from Plagron. Today only 0.5ml per liter but will increase to 1ml on next watering. 14/09 Day 53 Girls got so bushy again and decided to apply selective defoliation and tied some branches to netting. Not easy task if you have only frontal access and can't remove pots out 😅 17/09 day 56 Its the end of week 8 Everything is going well, buds and leaves are covered with lovely frost now. Thankfully have no major issues accept the humidity which can't be dropped below 50%. Stay tuned for upcoming updates. Peace and love ✌️
Likes
3
Share
@CheeRz
Follow
The ladies are doing great and growing well. I'm really happy with the progress so far. They have now reached 60 cm. I plan to install the Scrog net within the next few days to allow them to grow wider.
Likes
7
Share
The stretch was in full swing this week 🌸 Both plants showed strong vertical growth, with the flowering transition now clearly underway. • Height approx. ~90 cm • Strong vertical expansion • Stretch phase fully active Light intensity was increased to ~850 PPFD ☀️ and the fixture had to be raised slightly as the plants continued growing closer to the light. Clear phenotypic differences became more pronounced: • Pheno #2 stretched significantly and developed very large fan leaves. Its structure is compact, with side branches growing close to the main stem, creating a dense canopy. To improve light penetration, around 4–6 large fan leaves were removed ✂️ • Pheno #1 continues to grow more evenly, with side branches spreading outward and staying closer in height to the main top. Leaf posture also differs between the phenotypes: • Pheno #2 shows strong praying, especially in the upper canopy ☀️ • Pheno #1 shows more moderate praying Water demand increased during the stretch phase: • ~4L per watering until runoff 💧 Feeding this week: • 1x Orgatrex • 1x Greenhouse Bio Enhancer • Otherwise water + BioBizz CalMag Environment remained stable: • ~25°C temperature • ~55% RH 🌡️ White pistils are now clearly visible across the plant, especially on Pheno #2, confirming the transition into early flower. Overall this week showed strong stretch, increasing flower formation, and very clear phenotypic differences between the two plants ?🔥