
Likes
Comments
Share


@CaliJ
Follow
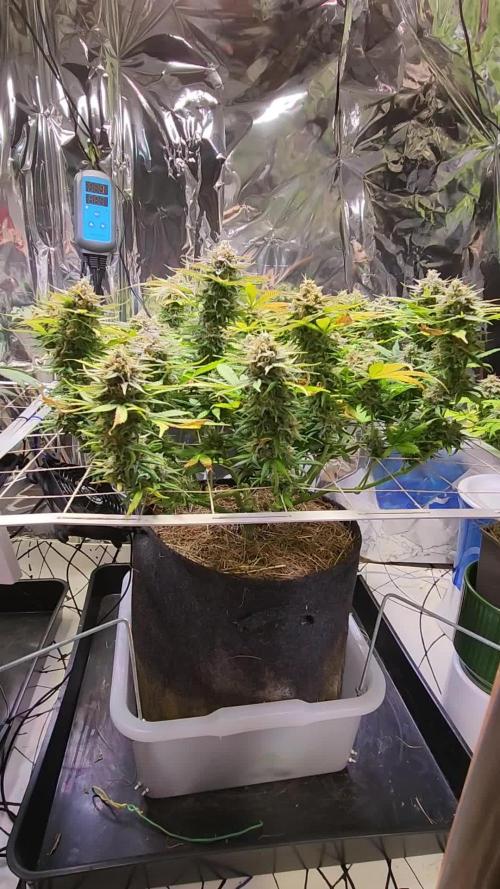
Day 49: last day of nutrition for the fast eddy, which seems to be almost ready already.
Stoppage of pk 13/14, day 49.
day 50: 2 week rinse for all.
⚠️ My led lamp is a Prima Klima - LED Shuttles 6 dimmable 240W, I am very satisfied with this lamp (check out my other diaries). which I recommend, but which unfortunately is not in the list proposed on growdiaries

Likes
5
Share


@MyStery21
Follow
Same as her sister, Compost tea for the first time, hope she gets better.

Likes
8
Share


@Wishar_Garden
Follow
Week 12 (27/06 - 03/07)
28/06
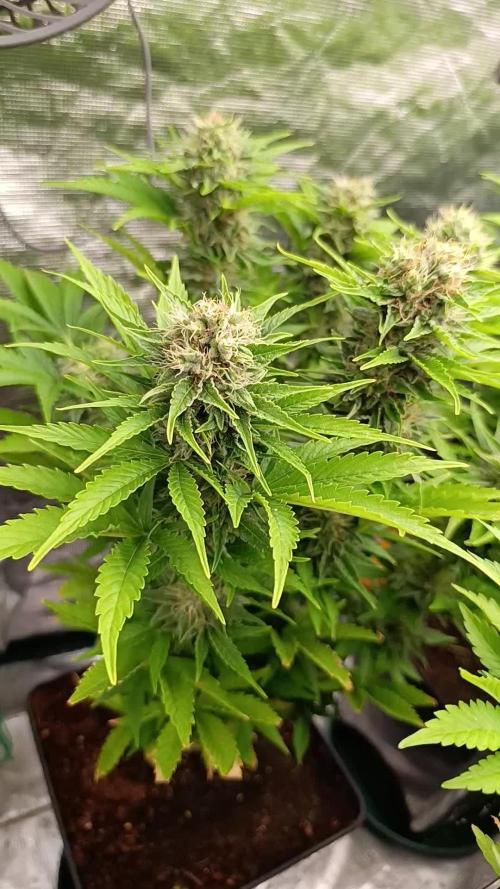
She really frosty, got this nice apricot smell to her as well
01/07
Tried taking couple pics of the trichomes
03/07
She got this fruity smell, one more week and she should be ready


Likes
7
Share

@420DeepGrow
Follow
📆 Semana 7
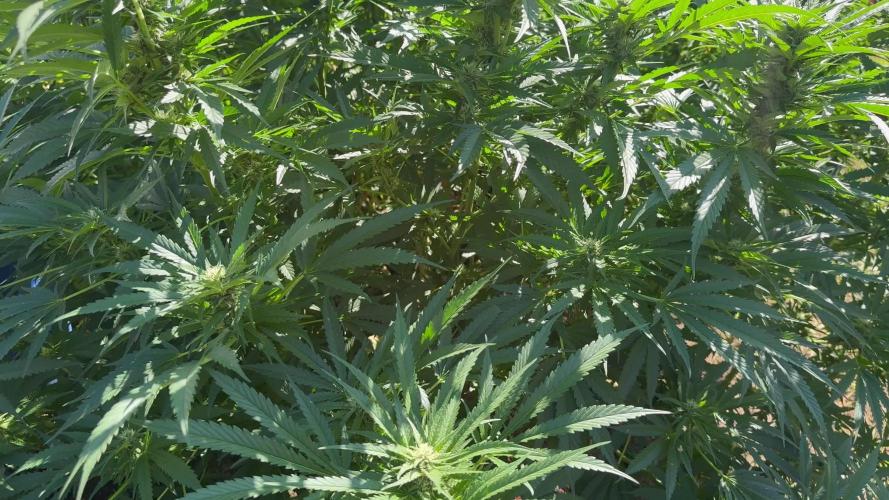
El engorde continúa con fuerza y los cogollos siguen hinchando y compactando, apilando cálices con más presión en todas las puntas. La resina se intensifica aún más y los tricomas comienzan a avanzar hacia tonos lechosos.
La absorción se mantiene estable y el metabolismo sigue limpio, permitiendo que la planta concentre su energía en densidad, peso y maduración. El aroma gana presencia, señal clara de que la fase final del desarrollo floral está en marcha.
Seguimos creciendo fuerte 💪!


Likes
60
Share


@BOMbolenath
Follow
The plant is developing well after pruning. its branches grew well. I removed the first node as they were small.

Likes
36
Share


@DogDoctorOfficial
Follow
We're now cruising through Week 4 of the veg stage, and let me tell you, things are looking positively delightful!
Last week, I decided to give my beloved Triton Biscotto Lime a little haircut, also known as topping, and boy, did she respond like a champ! The growth has been off the charts, and I couldn't be more thrilled. It's as if she shouted, "Thank you, dear gardener, for this stylish makeover!"
But why stop there? In my eagerness to sculpt this botanical masterpiece, I introduced some wires into the equation. Yes, you heard that right—wires! It's like giving your plants a mini-gym membership to train those branches and help direct their growth. Talk about a green fitness regime!
Now, imagine Triton Biscotto Lime flaunting her fabulous branches, all perfectly shaped and styled, like a botanical supermodel. She's the envy of the plant kingdom, strutting her stuff with grace and confidence. It's as if she's saying, "I'm wired for success!"
And let's not forget the joy it brings to everyone who lays eyes on her. Friends and family visit, and their jaws drop in awe. They ask, "How did you achieve such a magnificent shape?" I reply with a sly grin, "Well, my friend, it's all about the right wiring and training—a little horticultural secret I picked up along the way."
In conclusion, Week 4 of veg has been a sheer delight. Triton Biscotto Lime is flourishing with boundless energy and responding beautifully to the topping and wiring techniques. As I look upon this botanical masterpiece, I can't help but be filled with love and joy. It's like watching a captivating dance performance, where wires and training take center stage.
Remember, my fellow gardeners, sometimes all it takes is a little wire and training to create something truly extraordinary. Embrace the journey, have fun, and don't forget to share a good laugh along the way—because, as we all know, even plants appreciate a good wire-based joke!
Until next time, keep gardening and spreading the love!
As always thank you all for stopping by for the love and for it all, hope you all surrounded with love , health and blessing of all kinds <3 <3 <3
Genetics :
TRITON BISCOTTO LIME - @SeedstockersOfficial
All info and full product details can be find in can find @
https://aptus-holland.com/
https://seedstockers.com
https://autopot.co.uk/
https://lumatek-lighting.com/
#aptus #aptusplanttech #aptusgang #aptusfamily #aptustrueplantscience #inbalancewithnature #trueplantscience #growerslove #dogdoctoofficial
With true love comes happiness <3 <3 <3 Always believe in your self and always do things expecting nothing in return and with an open heart , be a giver and the universe will give back to you in ways you could not even imagine so <3 <3 <3
More info and updates @
https://growdiaries.com/grower/dogdoctor/official
https://instagram.com/dogdoctorofficial
https://youtube.com/channel/UCR7ta4DKLFMg2xxTMr2cpIg
<3 <3 <3 Growers love to you all <3 <3 <3
<3<3<3 have a bunch of other journey going on, fell free to stop by and say hi, don be shy <3<3<3
Strain info :
Triton Biscotto Lime Fem seeds
You are standing before a feminised weed seed that comes blessed from the cradle, as she’s born from the cross of two genetics that are all the craze in the current cannabis scene. On the one hand, Oreoz Mintz, one of the winning horses of the new generation of the Girl Scout Cookies family; on the other, Lemon Tree.
This is an epic parental lineage that results in a hybrid with a slight sativa dominance and dazzling qualities, with a short flowering of just 8 weeks and THC levels that can reach up to 22%, causing a very energetic and euphoric effect which is perfect for social events or if you’re looking for top creativity.
Triton Biscotto Lime is a feminised strain that’s very easy to grow indoors, although she reaches her maximum potential when grown outdoors bathed by the sun of warm climates like the Mediterranean. She loves light and an aerated substrate, which allows for good oxygenation of the roots and helps the plant absorb the maximum number of nutrients. In return you will get dense and compact marijuana buds in a neon green colour which are sprinkled with amber pistils and covered in a glaze of beautifully crystallised trichomes.
As her name suggests, her aroma and flavour are a subtle mix of earthy sweetness with a citrus touch, calling to mind a tasty cookie dessert with a lemon base and some hints of Diesel. A highly addictive flavour that you’ll be happy to taste free of any guilt for wanting to repeat the experience over and over again.
So if you’re looking for a feminised marijuana seed that represents the best of the current cannabis scene, with high-calibre properties that contribute to her excellent reputation, then Triton Biscotto Lime has arrived on the market to meet your expectations. Try her now and become hopelessly devoted to her
- Friendly reminder all you see here is pure research and for educational purposes only -

Likes
49
Share


@Hashy
Follow
This was my 1st photoperiod grow on growdiaries and I'm glad I tried these Fast flowering photoperiods for it. Big thanks to Heather and the Fastbuds team. I haven't managed to try the Tropicana Cookies auto yet so this photoperiod fast version was definitely a new adventure. She grew more squat and bushier then i was expecting and her shape really did remind me of pineapple express. To be honest she was great to grow. Because this grow was going so good I decided to switch back to photoperiods for the next few grows i just wish i had left her in veg for 1 more week.
Harvest GDG16
Wedding cheesecake FF=35g+20g larf
Tropicana Cookies FF=42g+10g larf
Gorilla Cookies FF=59g+5g larf
Total weight, decent buds=136g
Total weight larf=35g
Light power
Total= 200.43Kw
18hrs for 28 days = 504hrs
12hrs for 67 days = 804hrs
Total hours for lights= 1308hrs
200.43÷1308=0.153Kw/hr average.
Average 153w/hr
Total g/W=0.89g/W
Power used for grow=508.78Kw @0.30p =£152.63
Each gram cost £1.12 (not including larf).
The buds have been curing for nearly 2 weeks so I haven't had a sample yet. There will be more pictures added once I try the buds and write up a smoke review but for now I'll just leave a video of the grow.
Thanks to all who have viewed my diaries and a big thanks to all that posted likes and comments, it's much appreciated.
Likes
7
Share


@Jezbong
Follow
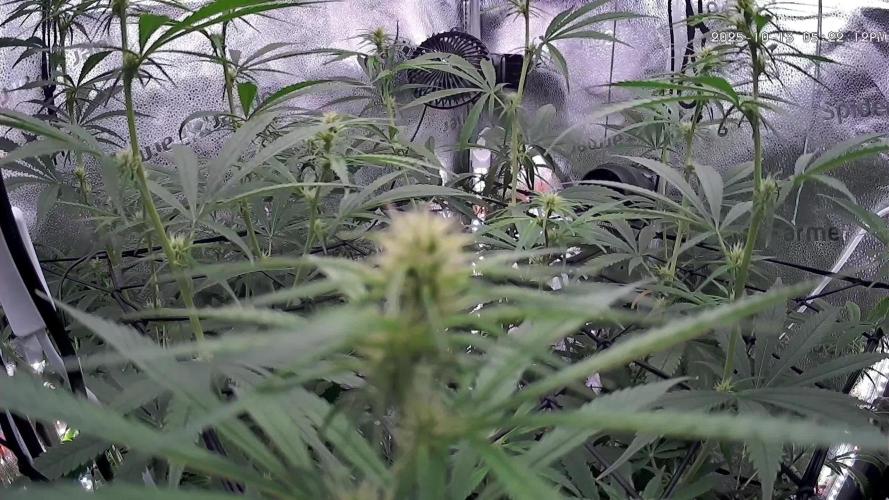
Bad start of the week or end of last week, not sure..
The middle cob led died so had to order some new lights.
Also having a lot of issue's with fungus gnats. The fly traps are packed :/
Update: Fugnus gnats are getting a big problem. Guess it is because of the pots. Hung some sticky traps and ordered nematodes.
Update; nematodes arrived and have been added to the pots. Also gave them another feeding.
New equipment has arrived so will probably install tomorrow
Update: new grow room installed! they seem to like their new home.


Likes
Comments
Share

@Dr_4NdY
Follow
Bended the main bud to the side so it wouldnt touch the light
Had to attach string to a lot of branches because they had bend down due to the weight
Did not lollipop at all - first run ever


Likes
12
Share


@starke
Follow
Week 15 of Ms. Hindu - Day 99 😍
The week started with trimming the dried stem that broke off and had been drying for 6 days now, see photo. The dry vs. wet difference had me shocked a bit, also my buds seem to be very fluffy, I don't mind, I'm beeming 😇 She has cured now for 2 days and the smell is amazing. We also tried a little each day now and she's brilliant and improving daily, so rewarding 😍
Day 100 - The chop
While preparing her for a last photo shoot in the morning light, I found a little spot of dark mould in the middle of her dense main cola 😱After processing the shock with a strong coffee and a little smoke (of her), I chopped her down. Not all of her, but everything except a little young bud, that still wants to grow. Some bugs fell out, a green little guy (see video) and all sorts of nature.
I decided to wash one part of her. Thx to Mrs_Larimar for the inspiration and https://www.docbudsbrix.com/bud-washing for the details. Lots of incredible info on reddit as well. I love science 😍The other half I will wet trim (also a first, the other bud was dry trimmed) and then let dry in the dry box as well.
What a day, pure rollercoaster but smiling and grateful. Thanks to this lovely place as well. 🙏
I will add the proper harvest details later and will update with dry weight in hopefully 7-10 days.
Likes
7
Share


@DisTentAint4Campin
Follow
Growing great I open my tent smells like dead fruit love it 😀 can't wait for these flowers to form and show the true character of this cultivar

Likes
20
Share

@Oldwied
Follow
Autumn is in the air, and harvest time shouldn't be far off.
But the trichome heads still need a little more time to fully mature.
Light Power: 92%
Day 108
Flower #57
Photoshooting


Likes
3
Share


@Seventease
Follow
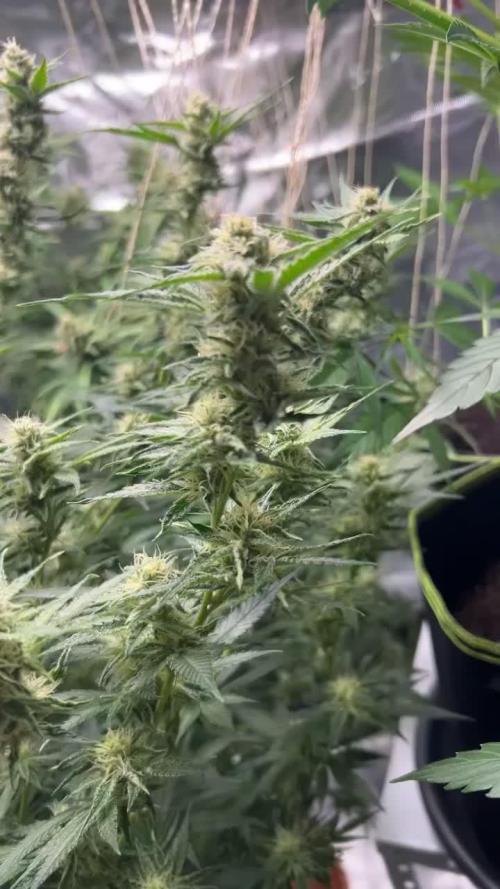
Buds growing nicely in size. Thrichomes forming on the sugar leaves. Looking nice and frosty!

Likes
13
Share


@Marquise_ao_Sul
Follow
Last week of flowering and will be cut !!! Very well formed by dense heads along the branches. I just cut one top of the plant and it gave very good results! I smell the fruit!
I have made some flush due to nutrients that i gave during flowering...💪
