Likes
Comments
Share


@6ix6ix6ix
Follow
07/09 - 3 days after breaking ground
On the second day had to remove the residue of the seed that was gluing the leaves together. Video attached
Turned the light to 50% and around 50cm from the plants.
All systems - check

Likes
15
Share

@Meisterwulle
Follow
Moin Moin,
Ihr Lieben die Woche verlief babamäßig, die Pflanzen machen sich top, den Buds kann man jeden Tag beim Wachsen zusehen. Auch die Pflanze draußen macht sich trotz dem Rotzwetter sehr gut! Zwar sehen die Buds jetzt nicht so dick aus wie im Zelt, aber sieht finde ich gesund aus und sehr dekorativ 👀😂
Nächste Woche soll’s mit dem Wetter auch besser werden, drücken wir die Daumen 👍🏻

Likes
9
Share


@SanderG
Follow
Not much resin yet, maybe next week.
A little bit of smell already, mostly veg/plant smell though. All in all, I think it's going pretty well.

Likes
28
Share


@Trickybis82
Follow
Will grow again for sure shout out to @420fastbuds for the strain what a all round great plant!!!!

Likes
9
Share


@TiRobotProds
Follow
Salut a tous, nous sommes à la 7ème semaine de floraison tout ce passe bien les tête on pris en densité c'est une semaine fraîche la température de la tente a diminuer mais sans incidents toujours dans la plage optimale. Je pense que 2 a 3 semaine suffiront pour que les bourgeons soit mûre pour pouvoir récolter cettte dame. J'ai commencé le flush de advanced nutrients en fin de semaine est l'odeur es agréablement bon a sentir elle à envahit toute l'appartement. Va bientôt faire le concours du mois sponsorisés par Ganja farmer seed. J'ai jeté un œil au trichomes celle-ci sont encore prématuré.


Likes
8
Share


@Kitties_and_Colas
Follow
Girls seem to be coming along nicely, color is uniform for the most part..I did notice a little cal-mag deficiency starting in the lower part of 2 plants, i bumped supplement up to 5ml/gal....

Likes
25
Share


@kizdog
Follow
So this week I saw some decent bud development! There are a couple of colas with tips a little too close to the light, but they aren't getting super high PAR measurements so I think they're good. I added PK 13/14 this week, so I wanted to see some interesting changes. Not as much as I thought, but some flowers are noticeably much fatter than a few days ago. Had an issue with the top layer of my coco getting dry which I realised to be from the 15L dehumidifier I had in there, right next to my pot 😳 So that's now on full power in the room outside of the tent. The heat can be a bit of an issue, reaching 27-28c briefly some days. There's been a couple of fluctuations in the humidity, from 55% RH to 70%, so I've straightened the ducting and tried to perfect my ventilation and environment as much as possible. I'm debating buying a co2 bag to help my plant deal with the heat and intense light. The trichomes are really starting to show, with the 60x magnifier I can see so many cool heads. It just seems that my buds aren't really filling out beneath the pistils, causing me to worry. This week there were so many photos that even after picking out my favourites I ended up with 111 of them! Also, it's worth noting that the nutrient amounts I have listed are in *ml/1.5l. Happy growing!
KIZDOG
Likes
14
Share


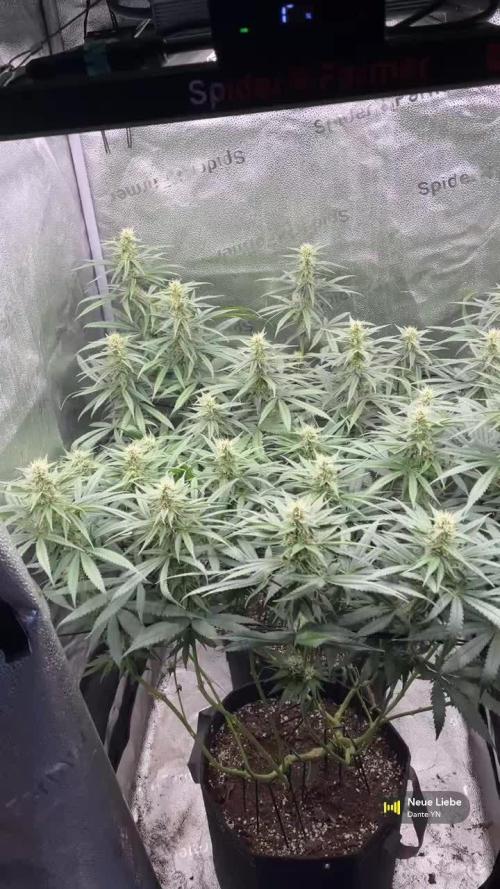
@ao_grows1978
Follow
Week 6 down and the OG Kush has been moved into the big girl tent to start her flower cycle. All 8 tops are fairly even and even throwing pitils. Leaves are getting a stronger, skunk aroma which has me very excited to smell the terps on the flower. Maintenance was minimal, just watering when light. Side note, I missed a day on pics...my bad 😊

Likes
13
Share


@GodZilla_Owner
Follow
I think the harvest is just around the corner here too. I'll give them another week at most, but I think they'll be ready to be cut down in the next few days.


Processing
Likes
18
Share


@Manic
Follow
Day 43 and I shut her lights off at noon, and I'mma let her b without light til 7 in the morning so her first day I'mma let her go 21 hours without light then she will be on a full 12-12 schedule. Gave her last feeding with quarter dose of ff nutes yesterday so she can have reserved nutes for her transformation, her next two feedings will be with regular distilled water with 6.5 pH. Will still maintain the LST for the next few weeks til her branches harden. Don't have any pics for day 43 cuz I want her cut off from any light. Day 44 will have pics and will see how they responded to flipping the lights schedule throughout this whole week. All and all they are doing great and I will prolly start to defoliate next week.
Likes
2
Share


@Nebuloso420
Follow
21.05.2026
What can I say?
The SuperLemonHaze x Pink Candy is really a vigorous, strong growing plant with a great smell.
With beautiful colors. Its a pleasure growing this plant. Fuck I Missed Out, but it turned out great. She
is stacking up now and the best time begins. Asking myself if I should lower nitrogen already,
which means in my case stop using Biobloom, which also means lowering P/K from this source.
22.05.2026
Gave her 2 liters of water today with only 2g of CompactorBloom on 2.5liters water wich gave me an EC of 1.6
CompactorBloom is a powder wich contains 0-0-60 and is applicated 1 time a week.
Hope my microorganism soil life dont gets fucked and at this moment I think it would have been better to split up the amount on two waterings.
I never watered with an EC over 0.9 before.
Decided to finish Nitrogen at this point because she only has about 2weeks left and its comes from organic sources only.
wont flush this run.

Likes
1
Share


@BucketHatJack
Follow
Pulled 48hrs of dark week 12-13 .. 1 plant might of even touched into week 14. Learned many things. Happy with results.
Likes
12
Share


@Jays_Not_Here_Man
Follow
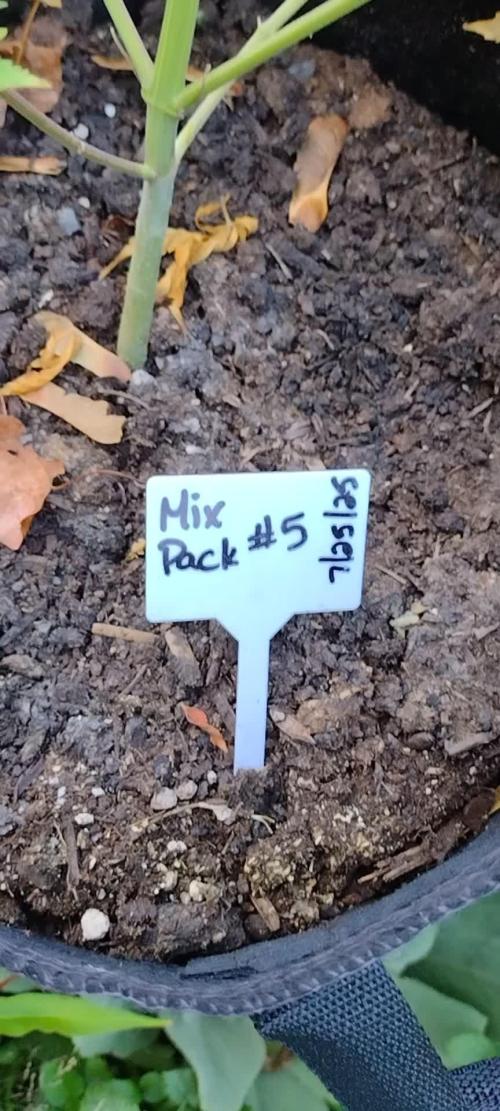
What’s up Growmie’s!? New grow, new genetics Truffle Treats by BeLeaf. It’s been busy, I’ve had a few grows going at the same time, and it’s getting hard to keep up, but this Grow deserves to be documented, if the pheno is there, they should be FROSTY ☃️
Started by soaking 4 beans in a glass of distillled water with a shot of hydrogen peroxide for about 6 hours. Once soaked, I planted directly into starter pots and placed humidity domes to increase the RH. Temps were set to about 78 degrees and RH was hovering near 75% or more. It took 36 hours after planting for me to see the first sprouts, and throughout the day they all popped up.

Likes
6
Share

@IndigoMist8
Follow
This grow is unfortunately finished. Due to health issues I was unable to keep up with feeding and IPM and she suffered severely because of it. Infestation and bud rot took over and she is currently quarantined, finishing off her life cycle. I am testing to see if I can get any seeds from my failure as this was a frosty, strong smelling strain which I wouldn't mind trying again.


Likes
2
Share


@koci263
Follow
growing chem pie was amazing from start to finish, he made beautiful buds covered in resin. Every day it was wonderful to go and see how it blooms.
during cultivation I came across two completely different phenotypes. One had rather more open but very firm buds, but the other was more like a crossbow and also firm buds.
During drying, a little mold appeared on one of the bud, but otherwise everything is fine. after a month of curing, the taste of the smoke was very pronounced.


Likes
19
Share


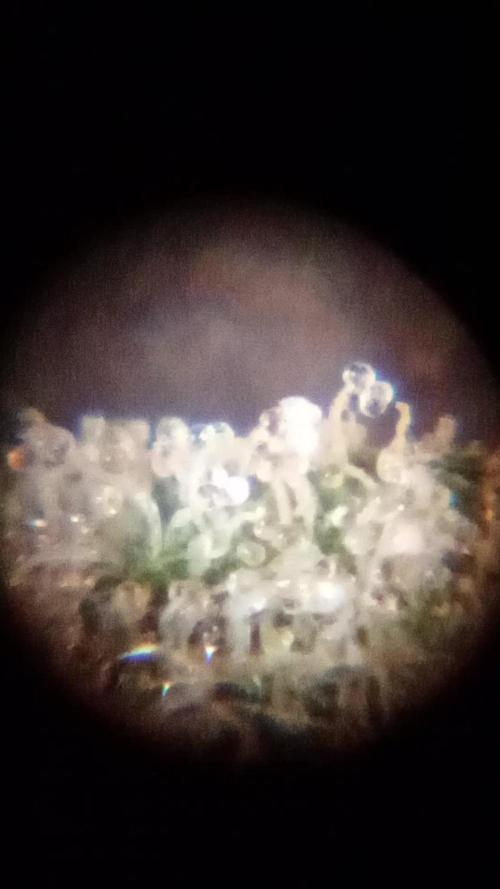
@Skinnytalls420
Follow
Day 68-16/02/22 I’ve harvested 6 of the 25 so far they are drying some more to come down over the next days all buds looking juicy and crystals everywhere!!!