
Likes
Comments
Share


@AustinRon
Follow
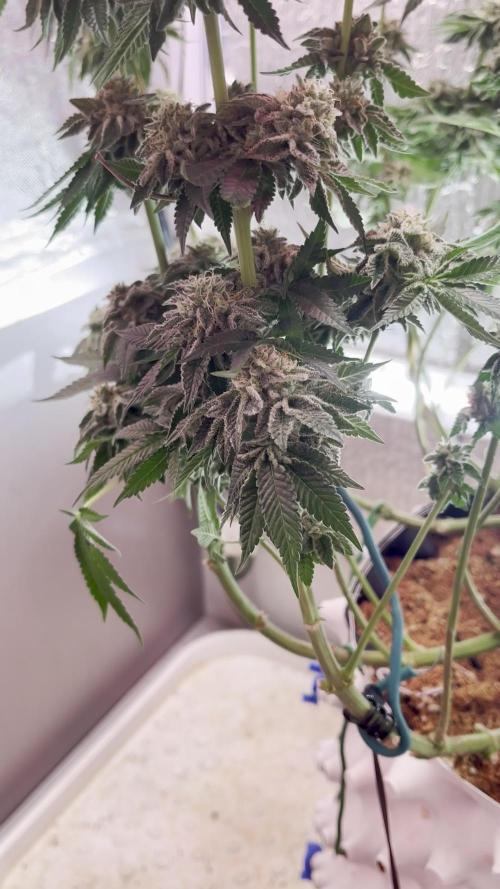
Week 10 - Flower Week 3
Ambassador Cartwright
Ambassador Cartwright by IRIE Genetics
Transition to Flower
Afterglow X Arise
(Clementine X Arise) X Arise
((Tangie X Lemon Skunk) X Arise) X Arise
______________________________________
Start of Week: Saturday 10 September 2022 AC3Q 57:F:3:1 to 17 September 2022
Summary:
Plant HeightBeginningOfWeek: [ 20, in]
Plant HeightEndOfWeek: [ 26, in] *TBD*
Temp: 74.8
RH: 70.7
VPD: 0.88 kPa # need to get into the 0.9 -> 1.1 Early Flower
Autofertigation - Enable
- [ ] Growtek RINGS Calibrated
- [ ] Growtek RINGS INSTALLED
- [ ] Growtek OPERATIONAL
LightSchedule: 12/12
amt: [ 1300, ml] #
period: [ 360, min]
frequency: [1, day]
times: { first: 2100, second: 0300 } # Auto Only!!! Otherwise 1.3 @ 2100
Environment:
EC Targets: #
rel.
|
abs (rel + source)
ECseedling:
[0.4, 0.5]
[ 0.7, 0.8]
ECearlyveg:
[ 1.1, 1.4]
[ 1.4, 1.7]
EClateveg:
[ 1.2. 1.5]
[ 1.7, 1.8]
ECearlybloom:
[ 1.1, 1.4]
[ 1.4, 1.7]
EClatebloom:
[ 1.3, 1.6]
[ 1.6, 1.9]
ECripen:
[ 0.8, 1.1]
[ 1.1, 1.4]
ECflush:
[ 0.0, 0.2]
Seedling Early Veg Late Veg Early Bloom Late Bloom Ripen Flush
400* – 500 1100 – 1400 1200 – 1500 1100 – 1400 1300 – 1600 800 - 1100 0 - 200
Fertigation Daily:
- {pid: 4, amt: 1300 ml, ec: 2.0, pHRange: [ 5.5, 6.5], time: 2130}
- {pid: 7, amt: 1300 ml, ec: 2.0, pHRange: [ 5.5, 6.5], time: 2130}
FertigationtheRootedLeafFullRatios: # Flower Week 3
Primer A: [ 10]
Primer B: [ 10]
CalMag Fuel: [ 6]
Silica Skin: [ 4]
Lush Green: [ 4 ]
Root Anchor [ 6]
Peak Bloom [ 4]
Resin Bloom [ 2]
Last Week of Foliar
FoliarMonday:
Solar Wind: [ 2.5, ml, 500, ml]
Silica Skin: [ 2.5, ml, 500, ml]
FoliarWednesday:
CalMag Fuel: [ 2.5, ml, 500, ml]
Lush Green: [ 0.63, ml, 500, ml]
FoliarFriday:
Solar Wind: [ 2.5, ml, 500, ml]
Peak Bloom: [ 0.63, ml, 500, ml] # Cease Begininning Flower Week 5
NEW WEEK
Week's Plan - (Added Veg week to allow SuperCropped Mains HEAL.)
- [ ] Install Growtek Fertigation w/ 8” Rings
- [ ] Run Feed Lines & Cut to Optimal Length
- [ ] Calibrate Feed
- [ ] Install Drain Lines, Cut to Optimal Length
- [ ] Notch Drain Tube end to eliminate vacuum against drain pan
_____
Sat 10 Sep 2022
AC3Q 57:F:3:1
# PM
- [x] As Below
Fertigation:
pid: 4, amt: [ 1300, ml], ec: 2.2
pid: 7, amt: [ 1300, ml], ec: 2.2
LightIntensity: [ 824, µMol/m2/s2]
LightDLI: [53.4, mol/m2/d]
Sun 11 Sep 2022 # AM IS 9PM Local TIme, the Night BEFORE.
AC3Q 58:F:3:2
NOTE:
- We’ve added a couple inches removing all restraints, and having flipped last week. As frequently observed, Both plants were clearly vibrant and vigorous after a nights sleep after restraint removal.
- Zymes/Bonners/Ascorbic Acid - Soil surface, container sides, and container bottom (exposed roots)
- [x] As Below
Fertigation:
pid: 4, amt: [ 1200, ml], ec: 2.4
pid: 7, amt: [ 1000, ml], ec: 2.4
# AM
- [x] Complete Previous Weeks GrowDiaries
- [x] As Below
Fertigation:
pid: 4, amt: [ 1200, ml], ec: 2.4
pid: 7, amt: [ 1200, ml], ec: 2.4
# PM - None
Mon 12 Sep 2022
AC3Q 59:F:3:3
# AM
- [x] As Below
Fertigation:
pid: 4, amt: [ 1200, ml], ec: 2.4
pid: 7, amt: [ 1200, ml], ec: 2.4
- [x] As Below
FoliarMonday:
Solar Wind: [ 2.5, ml, 500, ml]
Silica Skin: [ 2.5, ml, 500, ml]
Tuesday 13 Sep 2022
# AC3Q 60:F:3:4
# AM
- [x] As Below
Fertigation:
pid: 4, amt: [ 1200, ml], ec: 2.4
pid: 7, amt: [ 1200, ml], ec: 2.4
Wednedsay 14 Sep 2022
# AC3Q 61:F:3:5
#AM
- [x] As Below
Fertigation:
pid: 4, amt: [ 1300, ml], ec: 2.2
pid: 7, amt: [ 1300, ml], ec: 2.2
- [x] Apply as Below
FoliarWednesday:
CalMag Fuel: [ 2.5, ml, 500, ml]
Lush Green: [ 0.63, ml, 500, ml]
Thursday 15 September 2022
# AC3Q 62:F:3:6
# AM
- [x] As Below
Fertigation:
pid: 4, amt: [ 1200, ml], ec: 2.2
pid: 7, amt: [ 1200, ml], ec: 2.2
Friday 16 September 2022
# AC3Q 63:F:3:7
# AM
-
# PM
- [x] As Below
Fertigation:
pid: 4, amt: [ 1400, ml], ec: 2.4
pid: 7, amt: [ 1400, ml], ec: 2.4
_______
Saturday 17 AC3Q 64:F:4:1
CEASED FOLIAR Application: 2022-09-17T16:02:06-0500 #
- [X] Complete Week’s GrowDiaries


Processing
Likes
2
Share


@Valedor
Follow
Bien en la semana, germinaron bien las pequeñas y se están adaptando al sistema


Likes
34
Share


@Robbaus
Follow
Settimana buona, stanno andando bene, soprattutto 3 su 4, quella in alto a sinistra si è ingiallita parecchio, non sono riuscito a risolverla, però i fiori crescono, forse un pelo più indietro rispetto alle altre 3. Spero non influenzi di troppo la quantità e qualità del raccolto 🤞🏼🤞🏼

Likes
16
Share


@Bread_n_Buds
Follow
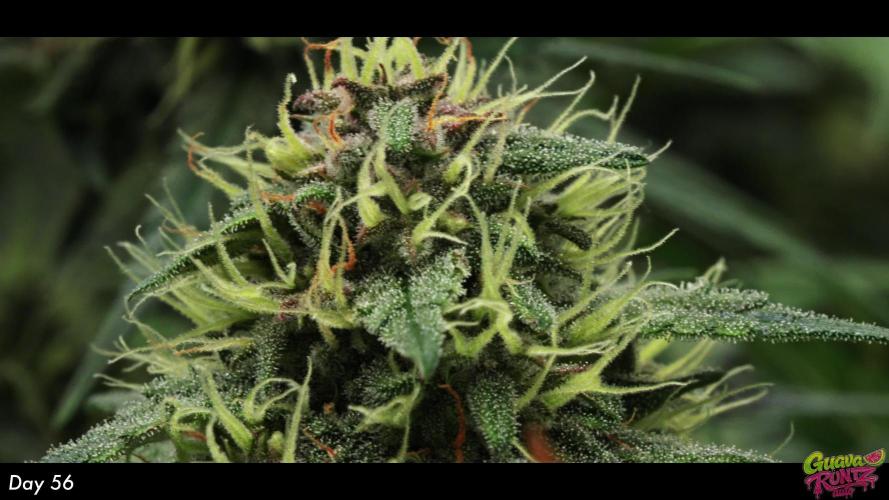
I like to take CBD especially in the form of oil but we thought of growing some CBD autoflowering both for medical use, for cooking etc. and to send to the most anticipated contest of the year in terms of autoflowering, the annual Barcelona autoflower world cup.
Our Green Cure F1 Hybrid Automatic seems to be just right for us, let's see if it throws fire.
Growing projects for autoflowering plants ----- As for autoflowering plants I really love preserving the Main Cola. So I will try to make the plants grow well or badly without affecting the main cola. Nowadays topping autoflowering plants is very accepted but it is not my favorite thing to transform a baby born to finish in 10 weeks into a baby that finishes in 14, I say at this point I do photoperiodic. But in times of people who only grow autoflowering everything is permitted for goodness sake if you want to do it, do it I won't be the one to stop you. Also because the results are excellent nothing to really discuss about anything except time.
All this to tell us that I recommend for example fimming on plants that tend to grow tall to give power to the lateral branches, LST as much as you want, I don't like too much spread out I need space. HST and splitting are with experience. These are my tips not the absolute truth please do not mistake me for a great wise holder of the truth I speak as I see it.
The first week went only with Power Roots 1 Ml/l and Pure Zym 1 ml/l from now on we will start with ALga Grow. The plants were transplanted shortly after germination because the biodegradable pots were very small. The soil is Plagron Pro Mix 100% organic renewed with 30% new soil and 20% Perlite added. (Pro mix has no perlite but is airy, we added it anyway)
Plagron nutrients are available at Zamnesia in convenient pack formats for all growing styles. I used this one with a simple search you can find the other products.
---- https://www.zamnesia.io/it/12119-plagron-top-grow-box-100-naturale.html
Try a seed of this strain that drives us crazy...
---- https://www.zamnesia.io/en/10672-zamnesia-seeds-green-cure-cbd-f1-automatic.html
Zamnesia Description // Zamnesia's breeding team has harnessed F1 genetics to bring you Green Cure CBD F1 Automatic. This autoflowering cultivar is easy to grow, accessible and reliable for all levels of experience. Ready in just 11 weeks, growers can expect impressive yields of tasty buds with a clear-headed effect that's ideal for meditative moments.
Growbox and Air System - Secret Jardin DS120w + fans + exhaust fans and filters DF16 kit ---- https://www.secretjardin.com
All the best that mother nature has to offer is at ----www.zamnesia.com
Collaboration request: I am available for collaborations with companies of lights and various growing equipment (please no seed and nut companies) I would like to renovate my 120x120 space that has slightly outdated lights and I would like to try some controllers. If you have any proposals available.

Likes
5
Share


@prebiancagrower
Follow
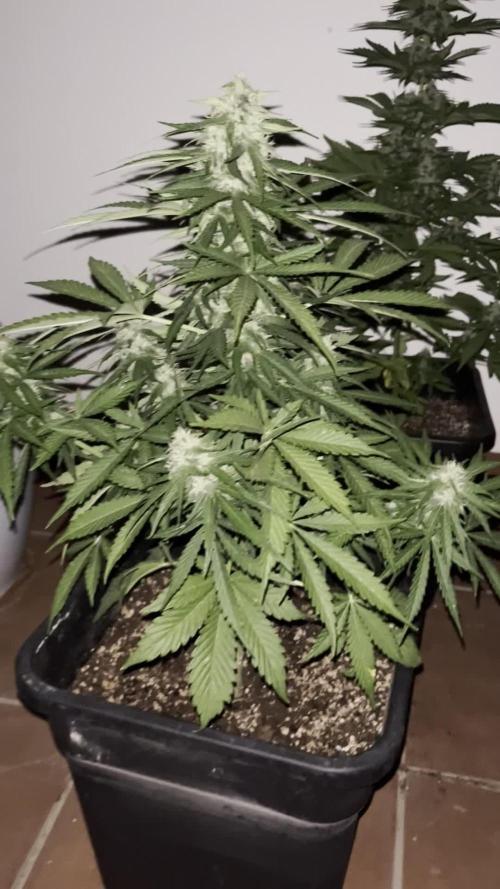
Hi People, how are you doing?
Week 8 here and my baby is perfect, big, strong, and smelling very sweet, I can't wait to harvest it!
Cheers people enjoy new years eve.
Processing
Likes
20
Share


@Mr_nugs_lover_David
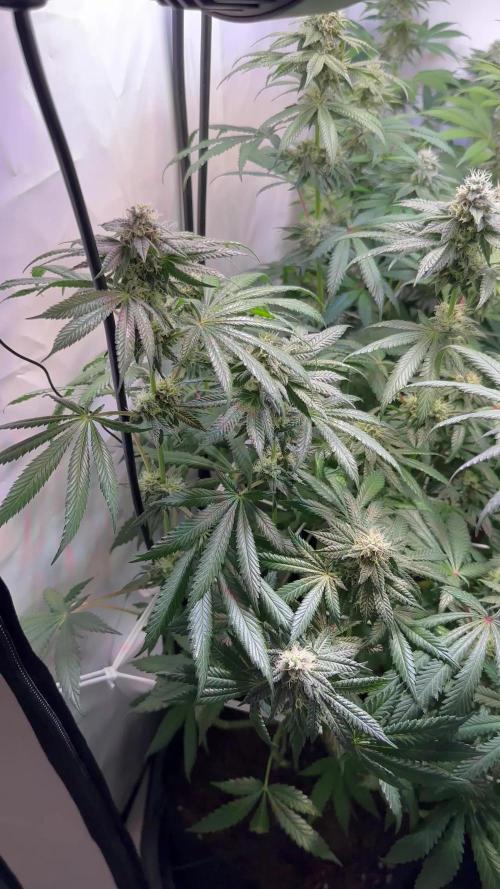
Follow
This lady is a beast, such a big bush full of flowers, very sweet aroma, I can't find the cherry notes yet but it's very very sweet, I love this strain, all of them have the same smell, and this pheno is just amazing, very strong and for what I can see very productive too 😍🌱❄️🍪

Likes
4
Share


@smoking_hills9
Follow
Last final defoliation done, now buds are fully exposed to the lights and the best part, harvest trim will be easier. Still it took me around 8 h altogether to defoliate all of them. Tones of buds and frost , amazing smells. Won't rush will give it a bit more to swell.

Processing
Likes
9
Share


@Goldenboy2020
Follow
Day 67 buds getting bigger and bigger. One plants is definitely can see nugs swelling and other starting to also. Prob has another two weeks I like a couch like high so wanna harvest little later.but have my jeweler loop to check teicroms. The smell is crazy a sweet and skunky smell.when you touch the nugs smell fruity sweet aroma.
Day 71 end of week 6. Everything seems to be going well. I know one plants will be ready before others just when is the questions. Got some good answers on grow questions so thinking at least a week. But I will keep checking trichromes. The look kind milky but not Ambers yet. Going to start flushing here on out.

Likes
84
Share


@Smokwiri
Follow
Wow, looking great, buds have taken shape and can start with filling up a bit. This Mars Hydro light is amazing, the buds are quite big for week 4.
Cant wait to see next weeks development.
The boosters name is Pro Bloom, most have new names in europe, same company, different names
Likes
9
Share

@DarbGrowDiaries
Follow
These plants smell amazing.
The buds still look small, but there are many many of them and I am only starting week 8 from germination.
The girl in the back in the 12L pot is probably going to finish first, but I will try to find a window to harvest all together when the time comes


Likes
4
Share


@Growedbypepper
Follow
Es una planta pequeña relativamente debido al espacio que puedo manejar siempre vota. Tener plantas de tamaño más pequeño o mediano pero con muy buena producción espero pueda secarla y pasarla a tarros pronto
Likes
4
Share

@Ribemarti
Follow
ASI TENEMOS ESTAS AUTOMATICAS DE GRANEL
QUE ESTAMOS PROBANDO Y HUELEN MUY BIEN
ESTOY REGANDO CADA PLANTA CON 3 LITROS CADA DIA, HACE 40 GRADOS EN LA TERRAZA
1600 EC PH 6,4
Likes
9
Share


@OrihimeDelta
Follow
Nothing notable this week. The ladybugs continue to have a grand time. LST is continuing well, and it’s looking nice and bushy!
Likes
9
Share


@Goltala
Follow
Week 3
Might have went a little over board with the training...
LST'D
FIMMED
SCROGGED
She seems to be showing signs of flowering already and that may be because she was in seedling for 2 weeks instead of just a few days or just 1 week so I may be behind 1 week in my diary... We shall see.
I love the green on her, tells me she is enjoying her nitrogen and isn't starved.
Likes
3
Share


@JeyGanesha
Follow
Quarta settimana di fioritura anche queste runz layer cake sta venendo very strong 😂🙏💪


Likes
19
Share

@J4kpvp
Follow
Hello:) great week again, they fatten up nicely. A few more weeks and we’re done:) adding nematodes was a real game changer this time around:)


