
Likes
Comments
Share


Likes
11
Share


@Krissci
Follow
Day 2 - LST and topping/mainlining where possible before flowering
Both plants have broad leaves blocking light to the canopy

Processing
Likes
12
Share


@HylianGrass
Follow
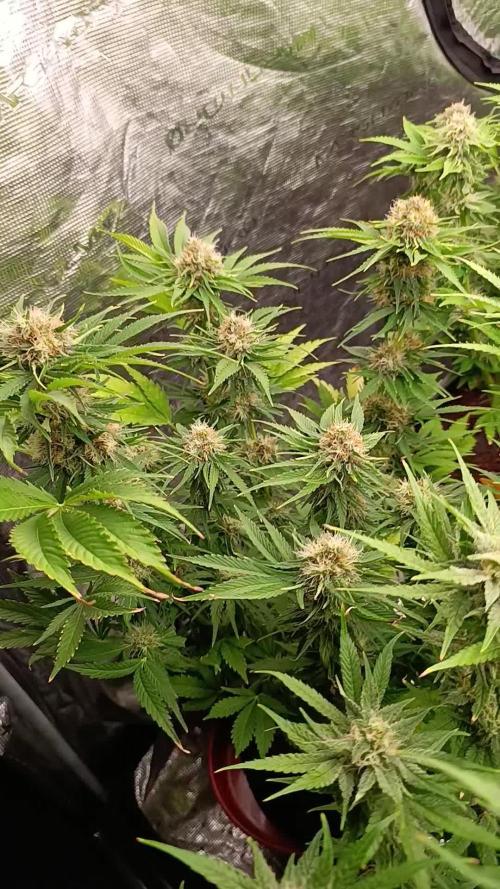
Starting week 11 the heat wave is gone and the conditions lately have been perfect! The bud are forming nicely and the smel is strong but my diy carbon filter does a great job! Sticking with the same nutes and ph around 5.8. One of the two is slower than the other but comming along just fine

Likes
4
Share


@Bimli92
Follow
harvest, flower length 64 days, total growth time 88 days. Now wait for it to dry.


Likes
10
Share


@valiotoro
Follow
Photoperiod buds 🤩
The smell is absolutely divine very fruity,sweet & tropical🍋🍊🍉🍌
Solid like a diamond 💎
Bay harbor butcher’s trim to show the density

Likes
9
Share


@Peace59
Follow
C est la fin pour la strawberry gorilla, elle a quelques trichromes ambrés. Elle sera récoltée demain à D86. Elle est petite mais les têtes ont l air très lourde et elle sent tes fort !
Il reste environ une semaine pour l orange sherbet. Elle a l air délicieuse avec des têtes très denses également. C est celle que j ai le plus hâte de goûter.
Il reste un peu plus d une semaine pour la gorilla cookies, Elle est énorme avec de grosses têtes !


Likes
13
Share


@Chubbs
Follow
420Fastbuds Week 7
FBT2103
The 2 of these girls have been on beast mode since they sprouted. They are staying somewhat on the smaller side but very minimal stretch between branches. The resin production for these are definitely on the higher side and sticky as all get out. Also gave them a good defoliation taking off some of the lower nodes and some bigger fan leafs.
Likes
20
Share


@CanadianFillmore
Follow
Flush week, straight water flush and I expect to chop and harvest this coming Sunday, maybe Saturday depending on trichomes and how dry the promix HP is. Overall I'm happy with this plants growth, she survived a heat stress issue and has developed lots of bud. While not huge buds, compared to my last grow of this strain, I'm still super pumped with this strain/plant. Updates will come after harvest and after drying for final weight total.


Likes
4
Share

@420DeepGrow
Follow
📆 Semana 7
El engorde continúa avanzando y los cogollos siguen compactando y ganando densidad. Los cálices se apilan con más presión y las puntas empiezan a mostrar un volumen más sólido.
La resina aumenta claramente, cubriendo flores y hojas cercanas mientras los tricomas avanzan hacia estados más lechosos. La asimilación se mantiene estable y el aroma gana intensidad.
Semana donde densidad, resina y peso empiezan a marcar el ritmo final del cultivo.
Seguimos creciendo fuerte 💪!
Likes
4
Share


@SuperGluedGrow
Follow
Got the guy separated and hopefully the other three are female so I can still flower two of them. Will be doing small pheno hunts with this strain in the future so ill be needing the seeds.
Likes
4
Share


@DrGreenbutterThumb
Follow
Entering the home stretch, it's all about Swells and Smells.
She looks better than the mother plant, lovely stench. And as for the branches in cubes I see seed development and hopefully as I go into harvest I can have pictures of almost ripe seeds.
Processing
Likes
12
Share


@BloodBath
Follow
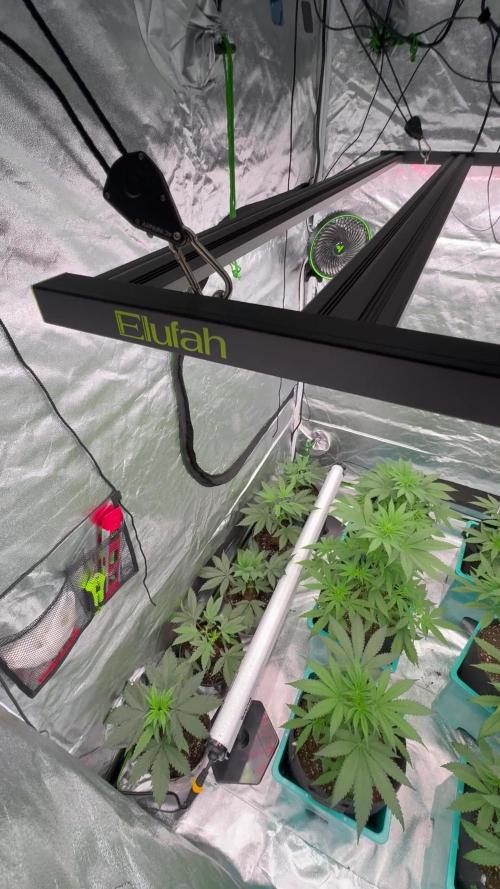
I know that it may seem like a lot of nutrients at first. It’s not. A lot of those mycorrhizae ingredients are mixed into my soil well before the germinated seed goes into the pot. I make my own mix of soil using some of those ingredients. I like to use the great white mykos because of its powders consistency. Makes it easy for a clean transport from germinated bean to its forever home. For watering, they have been given only plain RO water with a neutral ph. Just yesterday I gave them a little tiny mix of Medusa’s magic, Zeus juice, and Gaia mania. I have used Oregon’s only brand products for a while now and I absolutely love them and better yet, I understand them. They have responded super well already to their first drink of bottled nutes with a ph of 6.3 . I’m keeping a RH between 50 and 60%. I’m also keeping a temp during the day at around 78-81°f. Right now I’m not worried about a night time temp but I do run cooler lights for about 4 hrs every day, dropping to around 70-75°f. Eventually I will add my second light boosting me from 600w too 1200w. Also they will begin a 20-4 hr light cycle. I find these autos do amazing with a little rest for 4 hrs. Allows me to pull more resin and color in later stages of life by dropping the temp lower than usual with the lights off. So please if you will, stay tuned and I’ll have much more info and much better videos and pictures for you to all enjoy. Thanks for looking! ✌️🏻


Likes
11
Share


@adam_pawloski87
Follow
This week has been great! Germination on all 4 Pre 98 Bubbas and 2 Dirty Blondes was a success!! We planted them in there pots an through out the week we gave em each a very light spray down of pure water phd at 6.5 and by Friday they all popped out the soil Let’s go!!!!! Next week we will start light feed on nutrients , so y’all keep them eyes peeled for next updates an I appreciate y’all for following my grow !!😶🌫️💨💨💨🙏🏻💚💯🤙🏻


Likes
3
Share


@FrostyBudZGenetics
Follow
The germination i forgot to take pictures so i just have a video of the first 3 strains i started before the other seeds arrived.
I used the same metod for all of them
24h in the glass of water after that 48h in the cotton pads in the zip lock bag with 3 sprays of water on the cotton pads and 1 spray when inside the zip lock bag is closed untill 80% leaving a small gap for them to breath.
I decided to plant them after that in the final resting pot for this strain in a 5 gallon fabric pot.
I used the following media on the bottom of the fabric pot i used 10% of Goldlabel HydroCorn after filled up with Ecothirve coco (70% coco 30% perelite) and i made a hole for my potting soil where i used Advanced Nutrients coco cultivator (50% coco 30% perelite 20% pebbles) and i mixed on the media some Azos , Mykos and Great white shark The light schedule for the first 5 days was 24/0
Just water the plants on the 15/06 i think all my seedlings are stuned because my light is too strong for them and the light is dimed to 25%. And my light meter for lux is saying i have 8600Lux converted is 148 and my DLI on the meter from the phone is saying 150 so its 3x times more the recomended i just dont understand if this phone app is working correctly.
So i have decided to put one more seed directly on the soil beacuse they look the most stunned of them all on the 14/06 still didn t germinate i will keep the one is gonna grow stronger thats why there is the dome.
Update on the order from spider farmer from Ebay (Order the item on a thursday and the order was not updated on ebay on the following Monday so decided to contact them to understand when i am gonna receive my order i was told true ebay that my item as been shipped and i will receive an update within 1 hour to tell what time the item will be delivered. So never received any message giving me time slot delivery. Never received the item and at 21pm the tracking updeted on Ebay saying delivered so i contected them next day to be told that the courrier actually lost my order and that they will reshippe the order again but was told i need to wait 2 buiness days for the warehouse to processe my order beacuse they are busy what i replied that why should be me the costumer that needs to wait 5 or 6 more days for the order to arrive to me that they should send me the item on the same day and send me with one day delivery. The ansewer was they could not do it so i cancell the order asked for a refund and never more use their products appailing costumer service)