


Likes
Comments
Share


@Kayotic
Follow
*Day 79
*Week 6 of flower
* Watering a gallon of plain PH'd tap water every other day
* Love the smell!!
* Just waiting at this point
* I think she is bigger than the Blueberry Photo I did!!

Likes
30
Share


@Velk1
Follow
All the baby's are not so much baby's anymore 🌱🌿🌳 , they have all taken to there toppings ✂️ Without a flinch, I've been hand training them with lst and will start tieing them all down.
Looking forward to the Gold glue the ones on my other run look promising
The mbap's are flourishing , hopefully we see some monsters really like this strain can't wait to roll one up 😝

Processing
Likes
9
Share


@Gardenergrower
Follow
hola colegas ,7 semanas de floracion dese el cambio a 12/12, seguimos con el engorde de mis nenas ,hasta el momento siguen bien y hambrientas
Likes
4
Share

@ohcibi
Follow
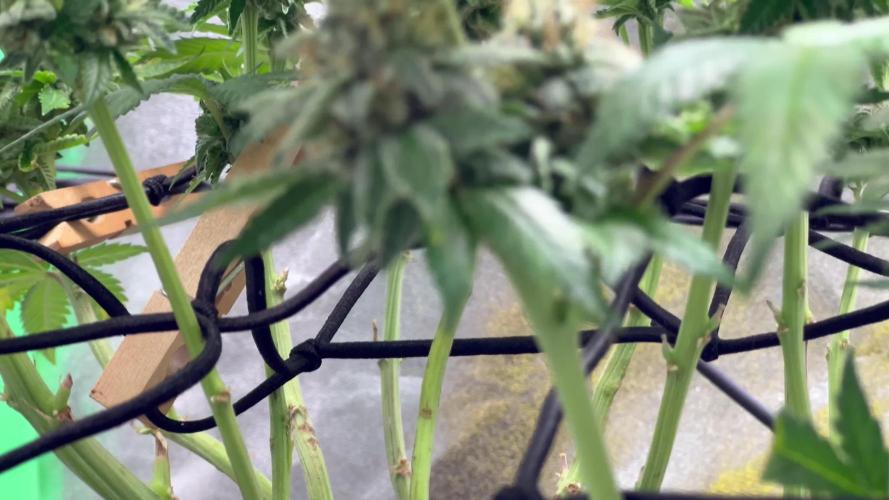
Please hit the like button in the diary and follow me for more updates.
Update July 26th
Final week started. Today was the last time I put fertilizer into the water. Next watering will be clean and then a few days later will be harvest time.
Gnats seem to be gone again. Maybe they’ll bounce back once but at this point their days are over anyway.
I’m already thinking about the next grow. Whether I’m doing another two diesels or maybe an autoflower. In any case stay tuned.

Likes
18
Share


@Changman
Follow
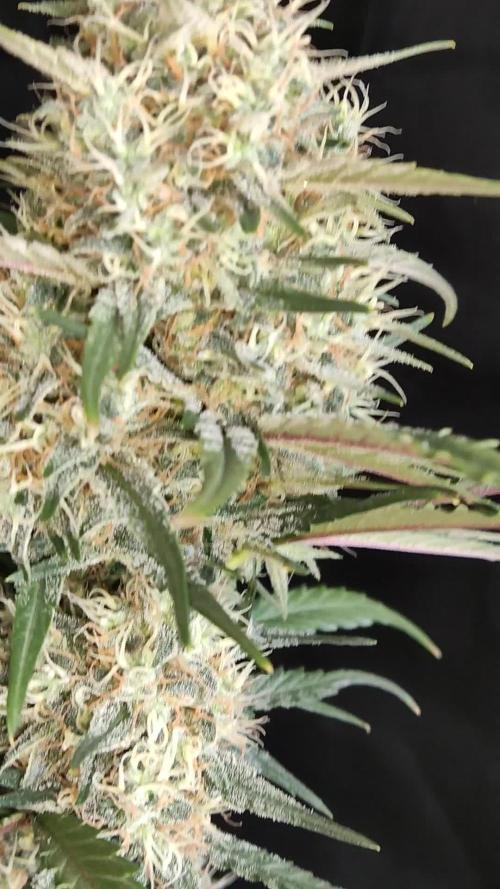
In the missing 4 weeks she has packed on in so many ways. We lost her "Brother" but shes become a rel lady. Her smell is strong and she looks



Processing
Likes
67
Share


@CommanderCannabis
Follow
Have got the pH cycling between 5.8 to 6.8 every 3 to 4 days. Started lowering the nutrients in preparation for harvesting in @ two weeks. Getting excited to get to the finish line. I smelled her today for the first time when I walked into the Batcave but the Grow Chamber is doing very good at controlling any huge odor. The humidity is stable in the low 40's as is the air temp which stays between 70-75 degrees. Added some Fugazi to Daphne's playlist. - recently i have seen articles about keeping pH constant. I will try this on my next grow.

Likes
7
Share


@Pjm70
Follow
Very beginning of week 10. She is gearing up for flower. She is stretching, but I keep pulling everything down. She has been 36 inches for a month. She is about 41 wide.
8/13 Her pot was on the dry side. Gave her 2 gallons of water. I'd say 10 percent run off. I use the ph strips. I bring water home from my job. Their water is the perfect PH according to the strips. I test her run off today. Looks like a low 6.
8/14 2 gallons of water with 8 tablespoons of fox farm Big Bloom and 1 teaspoon of recharge. I do like the foxfarm products. Some Big Bloom can make a sick plant healthy. Have to check, think she is ready to be fed.
8/16 per 2 gallons 4 ml Grow Big, 4 ml Tiger Bloom 1/2 teaspoon Open Sesame
8/18 4 Tablespoons Foxfarm Bigbloom and 1/2 teaspoon recharge. Per Gallon
1 day I will get a ph meter. First year spent enough. The plants look very healthy. Unless the strips are completely worthless, she looks to be in her happy place. She was fed very well the past week. I might do 1 more water then feed.
She is forming her sites. 8/13. Makes it easy to space the sites out. Also to know what to remove. Have to force myself to cut off what's not making it. Think flower.
Likes
19
Share


@A_Rolling_Stoner
Follow
Getting close to harvest, trychomes on 2 plants on perfect level.
other 3 may stay a few more days.


Likes
9
Share


@Tobecobe
Follow
Pretty easy first grow, with a lot learnt along the way for next time. I believe not defoliating enough and overfeeding the nitrogen in flower hurt the bud density in the end, but I'm more than happy with the returns and as its vape use, dense flower is less important to me.
Likes
28
Share


@GanjaGecko
Follow
In der Woche hat es wieder scheiße geregnet. Ich musste zwar nur einmal gießen, allerdings mussten nach der Woche ⅓ vom Mainbud und zwei Teile der sidebuds weg, weil sich dort schimmel bemerkbar gemacht hat. Kann man sicht viel machen wenn die Ladys der Witterung komplett ausgesetzt sind.
Ich hatte die Woche nur einmal gegossen. Zusätze waren 1g/L BioEnhancer von GreenHouseFeeding, 1ml/L PowerBuds, 0.3ml/L GreenSensation von Plagron und 0.8ml/L BioBloom von BioBizz. Das ganze auf einen ph-Wert von 6.8 gebracht. Jede Lady bekam unterschiedlich viel. Je nach Gewicht des jeweiligen Topfes.
Ich hoffe das sich das Wetter langsam an den Sommer anpasst und die restliche Zeit ohne schimmel verläuft und mit mehr Sonne als Regen🍀💚

Likes
2
Share

@nastyy
Follow
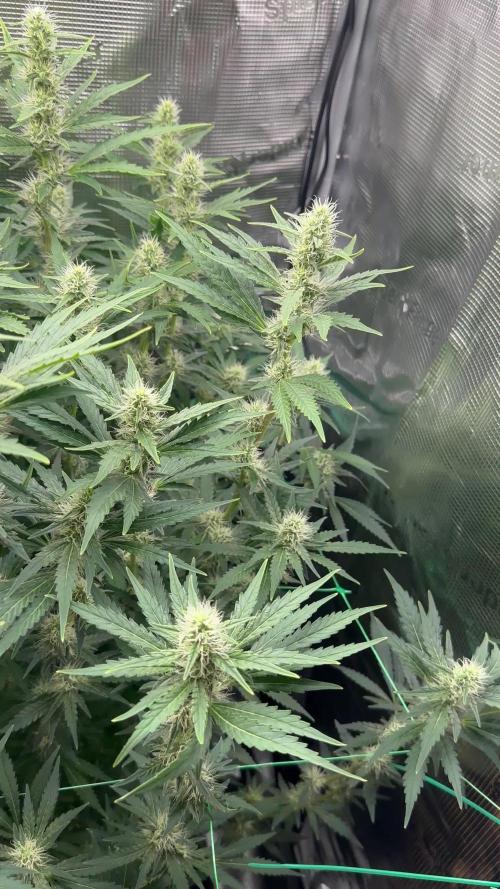
Last day of week 5 flower today. Like I said earlier, the cookies haze is a bit behind in flower. So counting that as last day of week 2
Just a little update for you guys


Likes
10
Share

@Chucky324
Follow
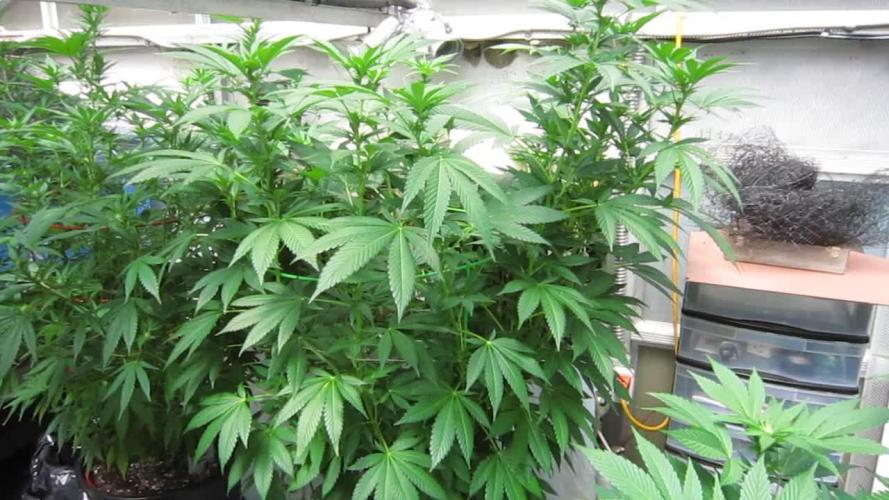
Hello This is the end of week 2 and the beginning of week 3 of flowering.
I don't know what happened?!? I made a diary entry last week and now it's not here?!?
Strange stuff is going on on this site. ⚡🔱
Anyway... The plant is doing good and growing fine.
I'm starting to see the flowers, and buds forming now.
I see a few thrips marks here and there, I'll keep and eye on that.
It gets put in the tent each night and put out each morning. It's 29*c in here today.
I'll run the same 3 comics that I put here last week, for those who follow, so you won't miss any.
OK. Have Fun.
Chuck.
Likes
27
Share


@Silverback_Guerilla
Follow
4/5:
Took 4 cuttings from the shortie
4/12:
All 4 are rooted and growing!
5/1:
Transplanted from 1gallon pots to 5 gallon pots.
5/3:
Decided to grow one of them in my tiny tent and the other 3 will go outdoors.
5/4:
Took 2 of them outdoors under the 270w and sunshine.
5/6:
Trained all of them today and fed some boomerang along with the kelp, molasses, big bloom, and silica. Foliar fed and took the last one outdoors.
The one in the tent is really flourishing!
5/7 - 5/17:
Excellent growth! The supplemental lights are making all the difference.👍
Did some more training on all of them early in the week.
The one in the closet is spreading out nicely and budding up pretty quickly...but what's very cool is that all 4 clones outdoors are flowering?!?!? I sure hope they go ahead and finish rather than starting to revegetate as the days continue to get longer.
Much rain for the past few days, but it let up long enough for me to install another 200w of waterproof 3000k LED lights a couple of feet above them. Very intense lighting, great bang for the buck. So now, I've got 350w of 3000k and 120w of 6500k in the outdoor garden. That's gonna have to do it, as I also am using 1400w in my indoor gardens, plus a/c..bills are getting ridiculous.
5/18 - 5/28:
The clone in the tent is still stacking up really well. I guess the ones outdoors are too, but next to the seedling plants, they seem puny. Many buds though...
Since they decided to flower early, I sprayed them all down with a product that is loaded with hormones and auxins and stuff that's supposed to retard vertical growth and promote branching. It's also supposed to speed arvest time by as much as a week. I hope they can finish before the summer solstice (June 21), otherwise they might try to reveg instead of finishing..
Hopefully it helps keep them from stretching so much that I'll have to supercrop them. Their mamma was a shortie, so they really shouldn't get too tall anyway.
I also foliar fed them several times this week with something called MicroLife Maximum Blooms, Pow! They love the stuff!
5/28 - 5/31:
I did some training on a two of the outdoor clones early in the week between rain showers, and foliar fed with Microlife maximum bloom formula. She was looking a little N deficient, so I assume the dry amendments have petered out. They were dry enough, so I top-fed her with another couple tablespoons of cavern culture and on the 31st. I gave them big bloom, tiger bloom, grow big, beastie bloomz, silica, endoboost, signal, humic acid, liquid kelp/fish emulsion, and liquid molasses. The indoor clone is looking awesome. I fed her heavily on the 30th.
It just feels so strange that I'll be harvesting outdoor photos in June!?!
That's it for week 8-
6/1 - 6/8:
Early in the week I gave them about a half gallon of water with liquid molasses, cal-mag, silica, and beastie bloomz only.
I foliar fed them a couple of times during the week, right at daybreak.
I fed them on Saturday, the 6th..about a gallon each..beastie bloomz, microlife maximum blooms, cal-mag, humic acid, grow big, big bloom, sweet & sticky, and signal.
They are looking very good..buds galore. The indoor clone got the same nutes, but on different days. She's also covered in buds, and they are beginning to fatten up.👍
6/9-7/4:
Busy with other gardens, so not many updates...
Indoor clone got to spend the last 2 weeks of her life in my closet under the quantum boards and UVB. I harvested and washed her buds on 6/28, let her hang dry and weighed and jarred her up on the 4th of July. She came in a 111g of cola and 45g of lower bud with only about 5g of larf. Nice!👍
She smells just like her mommy and has the same uber-dense buds. She was topped, so the buds aren't as mighty as the mamma's, but much more plentiful.👌
Outdoor clones:
I had a massive spider mite attack, and during the same week, I had a grasshopper invasion...I lost a few plants, one of which as a FFT1 clone.
I had just harvested my autos and my indoor clones from the closet, so I moved the remaining two clones in under the quantum boards. I treated them for spider mites several ways for several days and have given them much TLC. Hopefully their buds fatten up some more. They stanky, but they kinda slim...
7/11:
I harvested the last two clones tonight. So sticky!!! I washed them and hung them to dry.

Processing
Likes
4
Share


@el_cultivito
Follow
Topped Fendi 2, 3 & 4 this week.
Also defoliated the oldest leaves that were toasted.
Also set up an indoor garden in my living room with some storage shelves and moved these lil ladies in there.
Likes
5
Share


@Canabisseurs
Follow
Removed from proporgator and replanted into 1L bags. Feeding Calmag and root juice.

Likes
2
Share


@fabialien
Follow
Empezamos con Obg kush la hidratación, y al par de días hidratamos una semilla se Rainbowns, el dia 6 de Agosto 2024 se paso la rainbowns a servilleta a un lado de OBG Kush

Processing
Likes
Comments
Share


@Inception
Follow
Led light Niello CREE COB 600w - Biobizz All mix 50L - Biobizz grow 1mll - Biobizz haeven 3ml - Biobizz rootjuice 1ml - Tetra CO2 plus 0,2mll to be sprayed 2 times a day on the leaves, only with the light on - 22° more and less - day - 19° more and less - night
Fan always on - Fan heater to keep the temperature constant - Humidifier always active


Likes
43
Share


@Hawkbo
Follow
This started out as a pain in the ass to grow because I was expecting a light promised to me by a company I wont name that was never followed thru with and I ended up having to pay out of pocket for it. Luckily I was able to move one of my other fixtures from my other tent for bloom so they could finish up strong. This strain has potential to be great like this plant but also has the potential to end up like my first attempt at it so I gave it 9/10 stars. If every one came out like this one it would be a 11/10. Great daytime smoke, finished up relatively quickly considering its size. Only negatives were the smell isnt as strong as I thought it would be based off the end of flower but in the grand scheme of things is not a big deal it still smells it's just subtle. I cant help but wonder if it would have been even bigger and better if I had enough light to give it the first 6 weeks. The autopots were run from around week 4 to 7 until I disconnected and started hand feeding so I could use thicker nutes with the organics like the pbp and nirvana. 11021