
Likes
Comments
Share


@4chuk
Follow
Oct. 30 - Week 4 begins. I removed some of the lower fan leaves and branches.
Oct. 31 - Photo update.
Nov. 1 - Photo update. I am trying to water more frequently, doing so is much easier with some lower leaves and branches having been removed.
Nov. 3 - Photo update. It's growing pretty well, all things considered.

Likes
20
Share


@TeamQuality420
Follow
The notes will follow just trying to get all caught up !
Stay tuned 😉

Likes
6
Share


@justloveweed
Follow
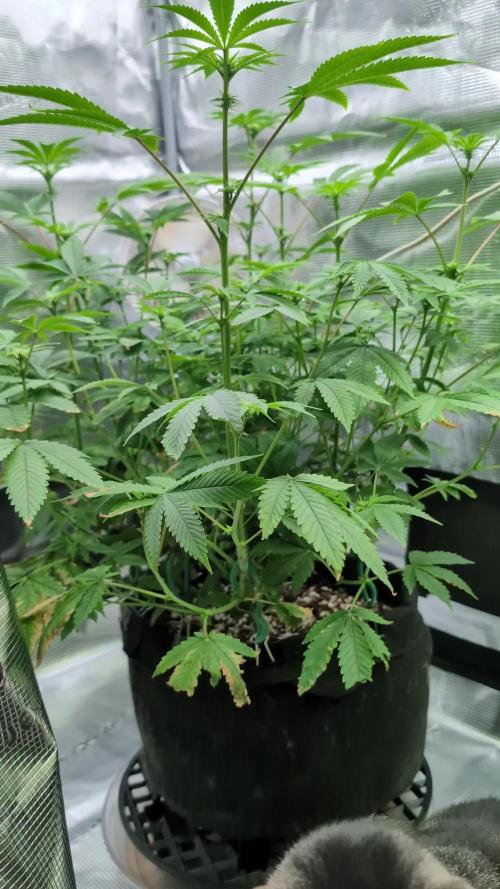
Hello guys.I m in 4th week with this beauty and she looks fine.I was expecting to get more height this week and I think that she flowers too early.I hope I m wrong 😟

Likes
11
Share


@RadDad
Follow
Everything is going well this week. Although two of the seedlings had trouble getting out of their seeds. One did manage to get out on its own but I had to help another one. Because of this two plants are a little bit behind.
Just feeding with a good dose of rain water I've upped the amount to about half a liter per day per plant.

Likes
34
Share


@Roberts
Follow
Blue Dream is on her final push of ripening. I have cut off her feed and she is just on ph water now. She smells great, but is smaller due to colder conditions with winter. My next update will likely be the harvest. Thank you Medic Grow, and Seedsman. 🤜🏻🤛🏻🌱🌱🌱
Thank you grow diaries community for the 👇likes👇, follows, comments, and subscriptions on my YouTube channel👇.
❄️🌱🍻 https://www.seedsman.com/?a_aid=Mrsour420.
This is my affiliate link to seedsman.
Thank you Happy Growing 🌱🌱🌱
https://youtube.com/channel/UCAhN7yRzWLpcaRHhMIQ7X4g.

Likes
1
Share

@UDUDUDUDU
Follow
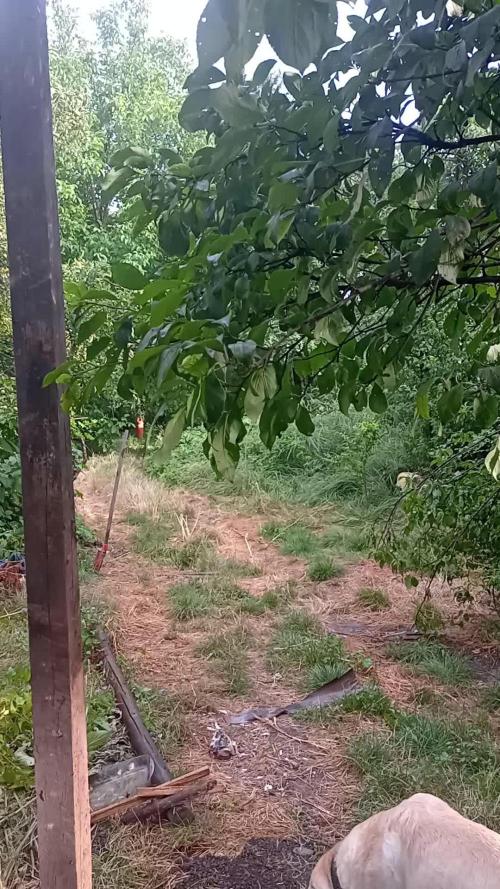
Still all natural outdoor grow'
I use seedsmafia beecuz all other seeds sources r way more expensive & can take up to 2 months to get here.
seedsmafia iz local in romania so seeds come in quick and at a good price.
at other shops I gotta pay 50€ for a seed. much happier with 2€ per seed :)
Likes
7
Share


@Canna96
Follow
Hey now, hope everyone is having a great weekend. Not much to report on the Bubble Runtz, , she popped above soil on day 3 and is now on day 7 and is working on her 2nd set of true leaves. I started prepping the Coco Coir by flushing down to .4 EC and then soaking in water with an EC of 2.0 with Cal Mag and a PH of 6.8. I will let it soak until the seedlings are ready to be transplanted hopefully by next weekend or shortly thereafter. The weather in my region is perfect for cultivating seedlings as it is fairly hot and humid and I only have the Spectrum X running at 30% so it is not putting out much heat and I also have a humidifier running in the tent on low which is maintaining a RH of around 68%.
I do have the AC Infinity fan kick on here and there just to keep some fresh air in the tent but no real issues with heat. This is my first run with Tastebudz genetics and super excited to try a cross of Bubble Gum and Runtz. I plan to build a mainline and flip as soon as all 5 mainlines are built, hopefully around week 7. This Medic Grow light is perfect for a 5X5, and the AC Infinity 8" exhaust does an excellent job of keeping the tent cool. I will set up an auto feeding system which consists of a reservoir, and some 1/2" tubing that is hooked to a submersible pump in the reservoir and set to feed for 1 minute every 6 hours through halo feeders connected to ball valves to adjust the flow. The runoff then flows via gravity to a 5 gallon bucket in the tent with a shallow pan condensate pump that pumps the runoff out of the tent when it gets above 3 inches to another reservoir. I have been growing fruit and vegetables for over 40 years and I have recently switched to high frequency fertigation in Coco Coir for my tomatoes as well, as I believe this growth medium combined with this technique is the safest, most environment friendly, and foolproof method of getting monster yields no matter what crop you are growing, and I have seen massive results in both cannabis and tomatoes. My goal is to have these ladies transplanted by around day 14-17, and have the first toppings done within 48 hours or so of transplant. I hope everyone has a safe and peaceful weekend.
Thanks for stopping by, Stay Safe and Blaze On!!! 💪
Website: https://medicgrow.com/
https://growdiaries.com/grower/medicgrowled


Likes
52
Share


@Santica_Garden
Follow
Everything is going really well, very happy with how these ladies are doing, even with the summer heat they are doing really well at high temperatures! 👍🏾🌱💚
Likes
73
Share

@Fatnastyz
Follow
Day 64 - Day 17 - 9/16
- 18" today
- 483 ppm @ 6.0 ph, gave 4000ml, runoff was 600 @ 6.0ph.
- Added Power buds, slf, and royal rush to this batch
Day 65 - Day 18 - 9/17
- 19"
- Gave a calmag flush today. 4000ml of RO and 2ml cal mag, 190ppm @ 6.1 ph. Runoff 550ppm @ 5.9ph.
Day 66 - Day 19 - 9/18
- 20" tall!
- 493 ppm @ 6.0 ph, Runoff after 4000ml is 617 ppm @ 5.8ph.
- Still stacking, guess I'll go back down on the ppm
Day 67 - Day 20 - 9/19
- 20.5"...only a half inch...whaaaat?!
- 422 ppm @ 6.0 ph. Gave 5 liters! yeah...a lot! Runoff 575ppm @ 5.8ph.
Day 68 - Day 21 - 9/20
- 21.5"....an inch! Whooo
- 411ppm @ 6.0ph, 3000ml, runoff 48 ppm @5.7 ph.
- Still needs lower...
Day 69 - Day 22 - 9/21
- 23"...yes!!!
- 409 ppm @ 6.1 ph. 4000ml, runoff 527ppm @ 5.8ph
- closer....still needs lower
- Week 4 starts today!!!
Day 70 - Day 23 - 9/22
- 24"
- 386 ppm @ 6.0 ph. 3000ml. Runoff 512 ppm @ 5.7 ph.
- Will still go lower tomorrow.
**So, the Terra is for nasty-ass dirt LOL, and its running hot in my coco, having a hard time getting it low enough for her. Seems she doesn't like above like 300ppm right now. Will keep lowering.
Need to start a bit of Green Sensation soon and she still need a defoil lol. She's pretty bushy. Will get to that hopefully Sunday.
August Midnights is being his typical adorable self! Always wanting to play! Love this kitty soooo much! He was meant to be our baby. A year ago, just 2 weeks into October, someone posted this little black kitty free to good home. I never even get posts from this group on my feed....but for some reason, there it was! Terrified, and in disbelief that someone would offer a free black kitten so close to Halloween, I knew he was meant for us! And...on top of that, he was actually born in August, so the name I wanted for my next kitty was PERFECT, then him being solid black....I had my perfect Swiftie Cat name! August Midnights. Can't believe he's a year old now. He just grew up so fast, crazy how time flies.


Likes
21
Share


@Dunk_Junk
Follow
Her flowers are forming nicely now.
Pistils JUST starting to change colour.
A few weeks left yet!


Likes
16
Share


@MadeInGermany
Follow
Info:
Unfortunately, I had to find out that my account is used for fake pages in social media.
I am only active here on growdiaries.
I am not on facebook instagram twitter etc All accounts except this one are fake.
Have fun with the update.
Hey everyone :-)
quick update today.
She was further trimmed with topping.
It was poured twice with 1 l each time.
Everything was cleaned and checked.
Stay healthy 🙏🏻
You can buy this Strain at
https://www.barneysfarm.com/blue-cheese-34
Type:
Blue Cheese
☝️🏼
Genetics:
Blueberry
X
Original Cheese
👍
Vega lamp:
2 x Todogrow Led
Quantum Board 100 W
💡
Bloom Lamp :
2 x Todogrow Led
Cxb 3590 COB 3500 K 205W
💡💡☝️🏼
Soil :
Bio Bizz Coco
☝️🏼
Fertilizer:
Green House Powder Feeding
☝️🏼🌱
Water:
Osmosis water mixed with normal water (24 hours stale that the chlorine evaporates) to 0.2 EC. Add Cal / Mag to 0.4 Ec Ph with Organic Ph - to 5.5 - 5.8


Likes
127
Share


@Tropicannibis_Todd
Follow
💩Holy Crap Growmies , we are outdoors and in the Ground and there Doing Great💩
👉It's been another full week 42 days from seed and she's doing great , very nice Growth, considering shes been up against the wind and rain 👈
No problems 😊 so far so good 👍And she's now in full on flowering 😁👈 weather been great , lots of sunshine 😎
I GOT MULTIPLE DIARIES ON THE GO 😱 please check them out 😎
👉THANKS FOR TAKING THE TIME TO GO OVER MY DIARIES 👈
👉NutriNPK NUTRIENTS USED FOR FEEDING 👈rain water to be used entire growth👈
👉www.nutrinpk.com right now get 10% off using SPRING2022 as the coupon code👈

Likes
12
Share


@Marijuanaisland
Follow
Desculpe não atualizar antes mais muito trabalho neste fim de ano adoro as cores da Red Hot tive ao total 3 Red Hot mais só fiz o diário de uma três feno tipos diferentes todos reds aromas diferentes em todos doce, pungente, frutas tropicais, owwwwww good Nice, a sweet zkitllez está muito bem também tive outras que não fiz o diário. Obrigado a todos

Likes
6
Share


@Fuego19Drippz17
Follow
I’m happy to be here at this point. Hoping In these few weeks these ladies start to thicken out. Sundae Batter is sticky sweet as hell. Bubbles smells so good, just stomping up my nostrils.


Likes
6
Share


@jaydee702
Follow
This strain is growing fast and flawless so far they are stretching alot more than expected and hope that stops soon running out of room after 4' tall wich is 5' tall from the tent floor was 2' only last week
Likes
48
Share


@pifflestikkz
Follow
Day 29
29/07/24 Monday
Nice feeding today with De-chlorinated tap water pH 6.
Gave her 300 ml and she had a small run off.
Recovered from topping now.
Showing new growth. Seems happy and healthy ✌️💚
Day 31
31/07/24 Wednesday
De-chlorinated tap water pH 6 with added Plagron Power Buds 5ml to 5L and same for Plagron PK13-14.
It advised to add these every irrigation, but because I'm using advanced nutrients I'll use these with just the water rotation. If I see nutrient burns I will remove some advanced nutrients additives and go from there.
Day 32
01/08/24 Thursday
Another feed today using de-chlorinated tap water pH 6, 1.5L
Day 35
04/08/24 Sunday
END OF WEEK 😁
De-chlorinated tap water pH 6 today with Plagron products.