
Likes
Comments
Share


@C_More_Budz
Follow
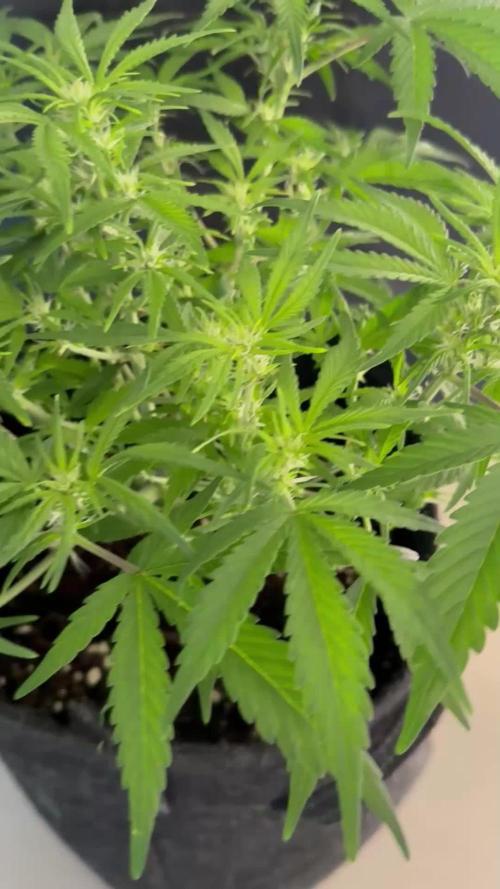
Bud sites are getting more dense and terps have ramped up a bit. The room smells like candy 🍬 when the door is open. But everything is on cruise control. 1 plant is showing a deficiency but is not affecting the growth at all. Gonna let them go for another 4 weeks then chop them down. All input is appreciated


Processing
Likes
21
Share


@Stick
Follow
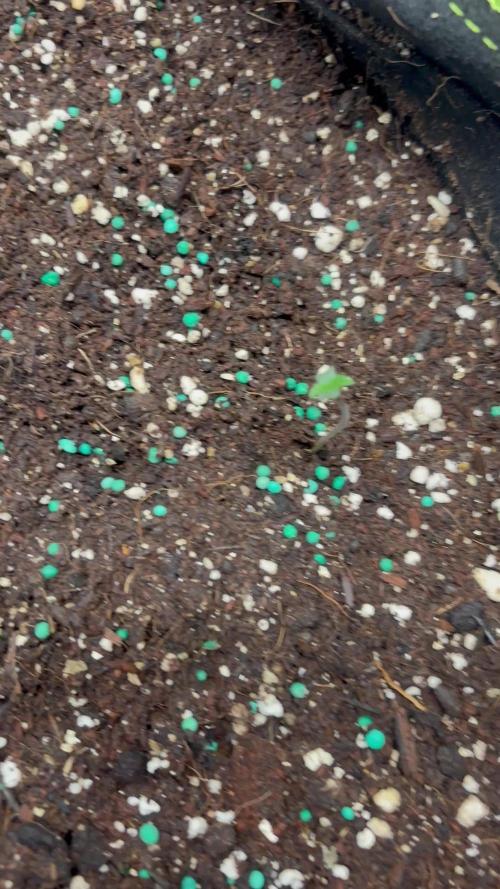
She's not stretching as fast as the other plants in the room so I had to raise her container in order for the canopy to access to the light. Very compact with tight nodes. Not sure how this is going to end/yield, but we'll see!

Likes
6
Share

@DE_BW
Follow
Day 37 marks the official start of flowering, with strong stretch, healthy pistil formation, and a fully stabilized canopy after completing all LST work. Feeding is set at 2-2-2.5 (Micro/Grow/Bloom), no additives yet, and root pressure looks excellent with visible post-watering guttation and vigorous growth. Environment is stable at 23.5°C and 50% RH, main light runs at 100% from 80 cm to allow stretch before lowering both lamps for full flowering intensity next week.

Processing
Likes
2
Share


@Greenbean15
Follow
Checked the two unsexed bagseeds again this week. I was correct, I had one male and one female.
I have moved all the younger flowering females into the larger 4x2 tent and moved the male plant and the older purple trainwreck plant into the smaller 3x2 tent.
I am hoping to isolate the male and minimize pollination of my girls. This is an end grow, I want both bud and seeds. My plan now is to minimize pollination through isolation and pruning. I want to pollinate a single branch on each of the females, this way I only have a few seeds from each plant and still have quality bud. The male has been trimmed back some already and the pollen sacs have not burst yet.
The older purple trainwreck plant is adding weight now to the buds and should be done in approximately 2-3 weeks depending on trichomes.
In the larger tent, the back left corner is Pineapple Express. It is the tallest plant in the tent. The front left plant is white widow. The middle front plant is also white widow. The middle back plant is a bagseed, I suspect berry white still for this plant. The far right plant is the younger purple trainwreck plant.
Currently feeding the younger plants every 5 days or every third watering depending on the plant. The older flowering PT plant will get its last feeding this week and will start a flush after that.
Happy growing 👩🌾🏼


Likes
12
Share


@Shinobi
Follow
Napriek počasiu vyzerajú ok..ešte sa chcem zbaviť malých popcornov,trochu defoliácie aby to šlo všetko do vrchu.mier


Likes
31
Share


@BigDaddyK
Follow
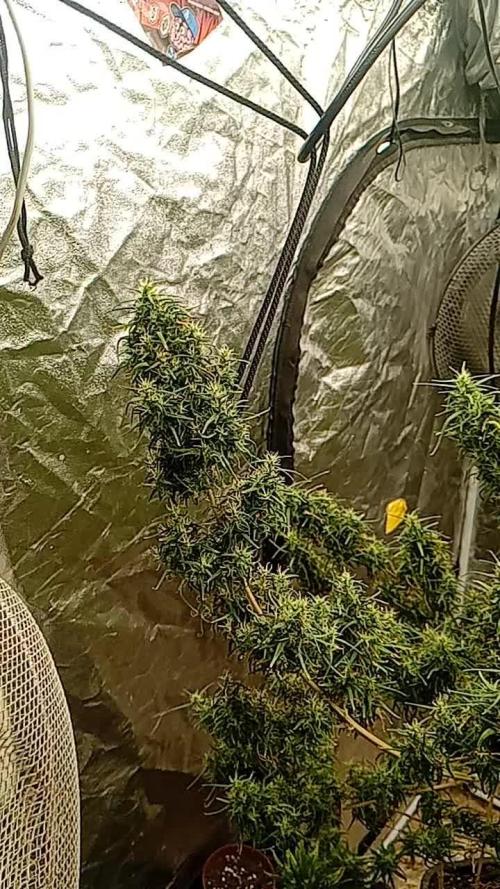
Gettiing very close......too close, im going to move these when i got some space.
Update - she under the cob , see video

Likes
5
Share


@Pechu420
Follow
Beginning of the second week of flowering. One has not yet shown its sex, it appears to be indica, but it is full of pre-flowers.
The largest is 47 cm, the smallest around 30.
09/10 - Now it's 58 cm, this sativa doesn't stop growing. The indica has not shown sex yet despite having pre-flowers everywhere. It doesn't seem stuck to me, as it continues branching, but the height hasn't changed almost anything.
10/10 She reached 65 cm. The others are 50 cm. The last plant that was missing to show the sex, came very late, it had all branched before showing the sex, unlike the others, and unfortunately it was a male, already dead. She just looked indica, but was a long sativa male.
Of the 5, 3 females (2 in organic soil, 1 being fertilized and the other in inert soil) 2 males dead
11/10 - It is 72 cm. It is colossal, I had to tie it up at the top, as I didn't have enough space to lift the bulb and it was starting to burn some of the tips of the leaves. It's better to have mild, temporary stress than heat and burning stress, which is worse in the long term. The others grow well, gaining weight, without problems with height.
Likes
17
Share


@HowtoBubatz
Follow
The Banana Purple Punch is looking fantastic as it enters its 7th week of flowering!
After checking the trichomes, it’s clear this plant needed a bit more time to mature compared to others, but the wait has been worth it.🌱
This week, I’ve started flushing to prepare for harvest. If all goes as planned, it’ll be ready to cut and hang by the week after next.
The buds are looking dense and frosty, and I’m excited to see the final result!😊
So far, everything is progressing beautifully, and I’m really happy with how this plant is finishing up.


Likes
17
Share


@EGPharouh
Follow
Week 8. They got their First flush. Look at those beauties. Better pictures by the end of the week.


Likes
5
Share


@Nune2021
Follow
happy Halloween 🎃 🎃🎃zusammen !! Die Pflanze macht sich gut aber ist nicht mehr viel in der hohe gewachsen und fängt schon an zu blühen sieht ganz lustig aus die topf combo !! die Pflanze ist vielleicht 25 cm groß also ein Zwerg
Likes
3
Share


@CalGonJim
Follow
6/9 12am MONDAY. They look great, went to 4mL per L of Con Grow looking great
6/10 9am. 1130pm loo
GC 🚨🚨 TOP REDSIGN. NODE 5 & 6 HAVE 2 EXTRA BUD SITES.... I USUALLY TOP AT 3 OR 4 AND THEN TRIM OFF NODE 1 DEPENDING ON MAIN STALK HEIGHT, EASIER TO WATER AND MAINTIAN. BUT I CUT OFF NODE 1 THRU 4 AND LEFT MAIN COLA. INVERTED TOP??? SHE IS GIVING ME IDAS.... I WILL TOP GOAT AND GROW AT NODE 5 & 6 GOAT 2 WILL BE TOPPED AT NODE 3 & 4.....🚨🚨⚡️⚡️
6/11 330am new air assist exit fan design prot


Likes
58
Share


@Natrona
Follow
Strawberry Cadillac – STRNG Seeds
W12F3 1/25-31
I fed on 1/24 but Cadillac#1 needs more frequent watering than the others. Watered ph6.4 on 1/26 with another gallon. She is the largest and dries out next to the heater.
1/27 TPS1 14ml/g
Silica Gold 3ml/g
1/27 73 6.5 ph & 935 ppm
1/27 66.3F, 6.6 ph & 1014 ppm
To balance out the feed solution, I blend some of one bucket into the other and then back to the first bucket. I do this a couple of times to even out the PPM and temperature.
Strawberry Cadillac #1 51” #2 52” each drinks 1.5 gal
Strawberry Trop Cherry #1 37” #2 57” #2 drinks 1.5 gal #1 only 1 gal
Straw-Lectric Lemonade #1 40” #2 50” both drink 1 gal.
Other than bud development, they should not stretch any more.
1/29 I did the final defoliation on all strawberry gals. video
1/30 TPS1 14ml/g
Silica Gold 3ml/g
65.6f 6.3 ph & 1110 ppm
66.3f, 6.3 ph & 1120 ppm These are after blending the buckets.
Important dates
11/9 Germination
11/25 Transplant to 1.5 gal,
12/1 Topped, Pinned and removed 2 large center leaves
12/5 Repositioned pins and removed lowest fan leaves
12/16 Topped 4 tops on each plant except Cadillac1 (first topping) and put manuka honey on the cut.
12/24 Transplant to 5 gal
12/27 Defoliate all
12/28 Flip to 12/12
1/05 Supercrop Cadillac #1 at the joint where I topped her.
1/11 !st flower week defoliation and lollipop for all the Strawberry collection.
1/16 More super cropping of Cadillac1 and 1st time Trop Cherry2.
1/29 I did the final defoliation on all strawberry gals.
Stay green, growers love 💚🌿
💫Natrona💫
Likes
3
Share


@Thegreenoracle420
Follow
On week 11 now. Soon harvest. Sorry in still lesrning this oage /diaries to make all correct

Likes
16
Share


@Archieballs
Follow
Missed last week so the measurements for their feeding was for 8 weeks this week they got PH water only 3 liters each. These girls are in their final stretch they will get one more feeding and then start the flush. They get fed or watered every 4 days as needed. Ultimate #3 which has been the dwarf since the beginning has wind burn from the fan had to readjust the fan and move the lights up so the other two don’t get fried. They are looking and smelling good and their buds are coming together nicely. As with the last batch of Ultimates they aren’t sticky yet they seem to wait to really develop that stickiness until just before harvest.


