


Likes
Comments
Share


@eldruida_lamota
Follow
Que hay familia, actualizo la séptima semana de floración, y es que estos clones por muy pequeños que se hayan quedado están dando unas flores increíbles con unos aromas espectaculares, yo espero que en 10/14 días estén listas pero eso nunca se dice , podría estimarse.
Los aromas son con un dulce muy remarcado.
Ya quito toda la alimentación y desde ya solo se alimentarán con agua, ya vamos viendo cómo maduran estas últimas semanas.
Poco más puedo decir, tengo algo de temperatura alta, sobre los 26/27 grados, sin contar eso lo demás va genial.
Buenos humos que paséis buena navidad 💨💨💨

Likes
1
Share

@Tropical_Grow
Follow
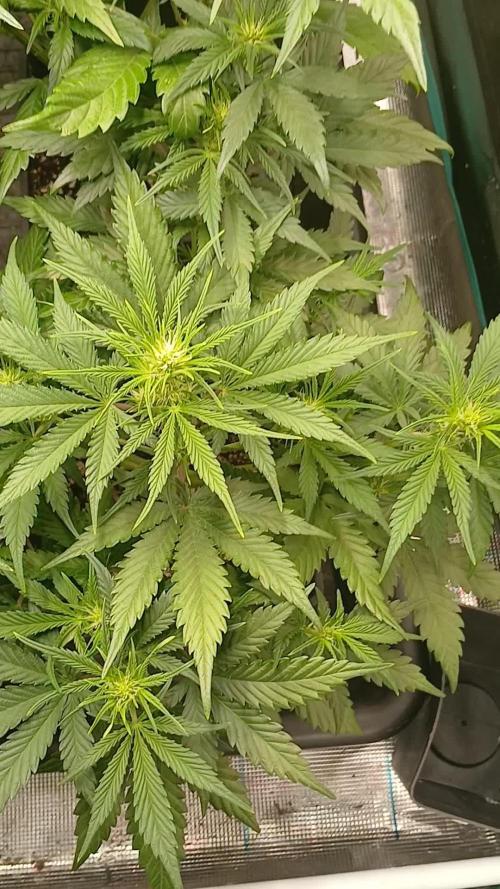
I've noticed the plants aren't getting enough space to grow. The space is full, but I'm losing quality. I'll pay closer attention to the PPFD (Plant Protection Factor) to get better results. Even if it means fewer plants, I'll end up with higher-quality buds. Quality is better than quantity.

Likes
2
Share

@47Plants
Follow
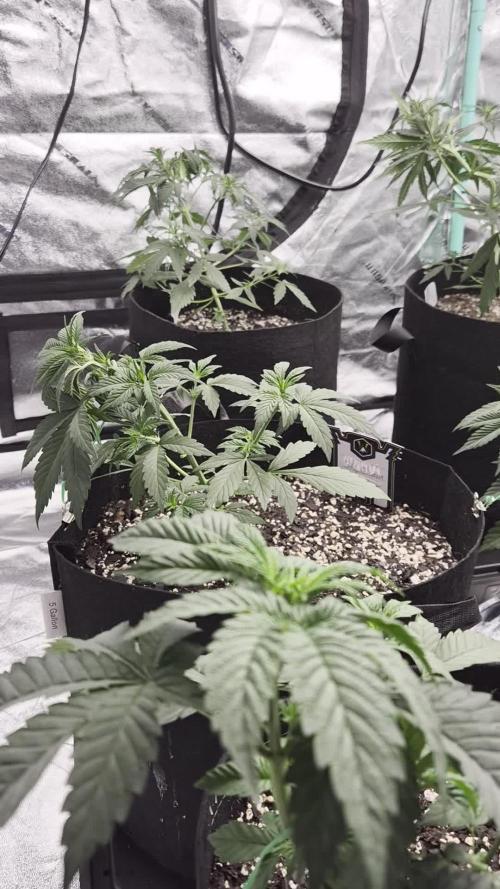
Started some lst and tucking letting the lower growth catch up so far so good wont be long before our first top dress! Some of these girls are gonna be monsters 👻 👽 hope everyone is having a happy Croptober 😊!!



Likes
35
Share


@Pietcandwcbucket
Follow
Only 2x struggling.. Ill give them this week to recover-then ill be using that space for the new critical orange punch auto & 3 watermelon zkittlez auto barney's farm.. Anyways all buckets water was replace with fresh h2o & nutes before 9AM.
Took off some branches & leaves.... Not to much!!
5/5 the 2 critical orange punch autos that are doing so well are both receiving liqui cannabiz local south african brand.. With a touch of... Not telling

Likes
5
Share

@Ninjabuds
Follow
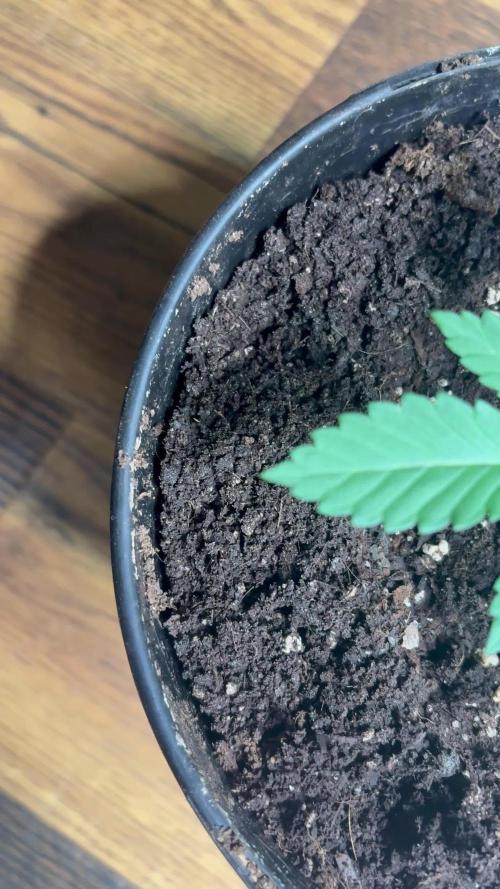
My papapayton is coming along nicely. It’s a strong plant from our the door. I think I transplanted my plants a little too early this time and caused a little stewed growth this past week. They grew a decent amount but I can tell I did some root damage and I over watered at trasplant. Even with all my mistakes the plants still look great and healthy. Every plant from fastbuds so far has had the best resistance to stress. I’m excited to see this one come along


Likes
13
Share


@russrahl
Follow
This girl is looking delicious! She’s not packing it on quite as much as the Obi-wan’s are, but they are so beautiful looking. Just covered in tricombs everywhere. She is starting to show signs of pk deficiency, older leaves are starting to yellow and we are now seeing the hairs starting to recede and some turning red. Probably be harvesting her first before the other 3 obi-wan girls as she looks to be slowing down faster...if that makes any sense...lol I’m not planning on doing a lengthy flush on her so I’m thinking we will wait till we see all cloudy tricombs and then give her a week or so flush till we start seeing about 20% amber. Well that’s it for this week! Cheers 💨

Likes
24
Share


@nanaboham
Follow
Humidity and temperature back under control for a while. Buds look a little lite so could be another month off. Will probably start flushing in 3/4weeks. Gonna add some overdrive too.

Likes
Comments
Share

@Count-Dooku
Follow
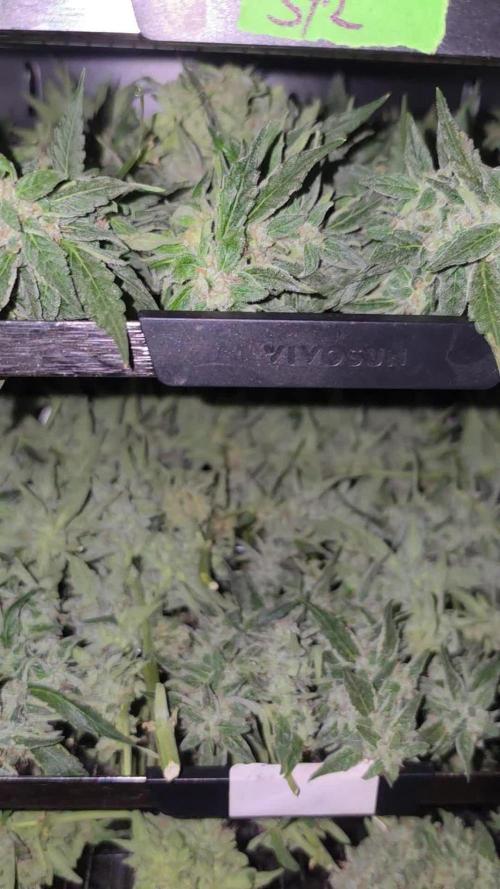
Really frosty, I already found a seed. We running autos this winter.

Likes
28
Share


@OrganicPower
Follow
Week 6 flower, half way there! Buds are starting to fill in now and getting some decent frost. A couple of tops are getting more light than others, and fattening a bit more and looking real nice. It looks like there is some purple starting to come out at the tops. Also spotted some discolouration on a few leaves closest to the light, so I turned the one light down to 60-75%, no need to push it at this point and burn her up! She will go as fast as the soil and environmental conditions will allow her to. Hand watered in Gaia Green Soluble Seaweed Extract 0-0-17, otherwise water drip is running on same schedule. Just using straight tap water that sits in a 30 gallon reservoir with a submergible water pump running 24/7 breaking surface and aerating water. Water comes out the tap @ 7ph and less than 15ppm. So I don’t do nothing to it, I drink it:) Thanks for the view 🤜 Have a great week!

Likes
3
Share


@HowtoBubatz
Follow
This week has been a mixed bag for my two plants. #1 is really taking off now, showing strong growth and picking up speed!🌱
It’s looking healthy and vigorous, which is great to see. Towards the end of the week, I also noticed the first signs of flowering—exciting!
Unfortunately, #2 is still struggling.😩
It has barely grown and remains very small compared to #1.
If it doesn’t start making progress soon, I might consider replacing it with another plant.
I’ll give it a little more time, but let’s see how things develop in the next week. Fingers crossed!🤞
Likes
1
Share


@Drtomb
Follow
Switching the nutes to the final stage of nutrients starting 4 days feom now. This will allow 2 weeks of the product, plus a week of straight water and flush, then a 2-3day dry cycle.
The Plant Prod MJ Finisher (4-31-37). Ill be running it beginning the weekend and will run them for 2 weeks
Likes
49
Share


@Roberts
Follow
FBT 2401 is sprouted and doing well. This was the second seed. I forgot to water the first seed, and it was too late by the time I got to it. This was my mistake. This seedling is doing good though. She has Athena blended line nutrition in the solution waiting for her. Noting else to report at the moment. Thank you Fast Buds. 🤜🏻🤛🏻🌱🌱🌱
Thank you grow diaries community for the 👇likes👇, follows, comments, and subscriptions on my YouTube channel👇. ❄️🌱🍻
Happy Growing 🌱🌱🌱
https://youtube.com/channel/UCAhN7yRzWLpcaRHhMIQ7X4g
If anyone needs to purchase fastbuds here is a link for my affiliate program
https://myfastbuds.com/?a_aid=60910eaff2419


Likes
5
Share


@JohnnyBlaz3
Follow
Yesssss there we go, that's what I like to see!!! They are very healthy and thriving now that I got the light figured out a bit better. I will start turning up the power next week, right now it's at 65%. Started giving flower nutrients. Will remove the driver from the tent in a couple weeks. Overall I'm very happy with the tent situation right now. Cool to see how the plants recover from topping and training!!!

Likes
13
Share

@ThatsmyGrow
Follow
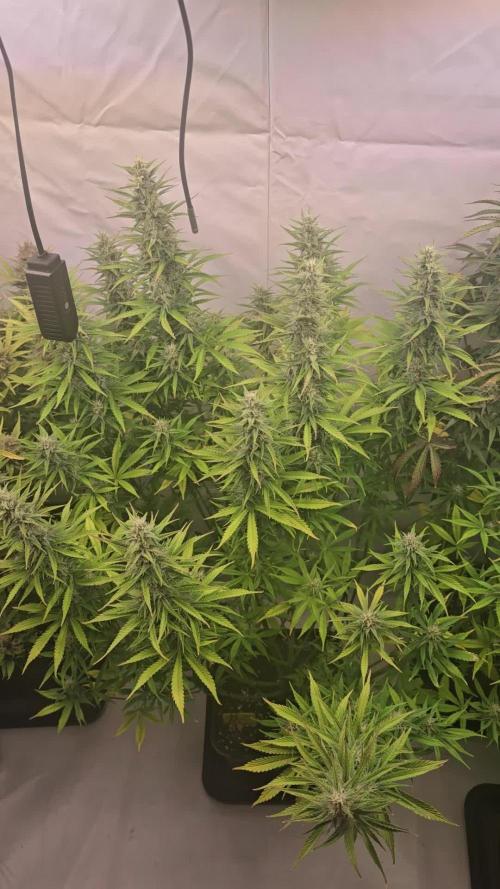
She's really absorbing a lot of nutrients, I can't keep up! But I made extra space for her, hopefully she'll get nice and fat.
Likes
22
Share


@Dankbudz84
Follow
Just started to give them full dose of cal mag, mammoth p and recharge. Their leaves got a dark green shiny, yellow tips and curling down, I think my ppms are too high and I will start flushing it out to 1500. I am growing in organic and only feeding cal mag, mammoth p, molasses, recharge and every other week a compost tea with living soil girl flower power full dose. Ph Is around 6.7 and giving it 6.5. Hopefully the next time they are read for a flush I’ll fix these.

Likes
3
Share

@psychonaut420
Follow
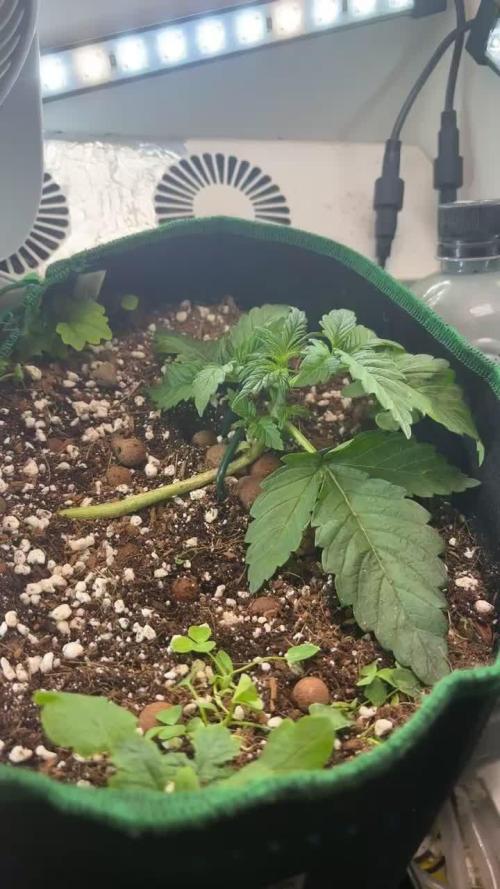
The start of week 3 veg I’ve been LSTing the plant I notice development drastically every 12hrs and now just starting to spot the development of side branches and a sturdier stem and fatter leaves and new node growth I am following shogun coco nutrient schedule week by week

Likes
17
Share


@CanadianFillmore
Follow
Week 4 begins for Mandarin dreams and Divine storm. Both ladies are looking happy and I increased their feed by 1 liter each.
Thank you Mars-Hydro for the TSW2000 light, very happy with the light performance so far.
Thanks for stopping by growfessors 👽 tune in next week for another episode of growfessor theatre!


Likes
1
Share


@Yisusondahood
Follow
Cada tres/cuatro días empecé a regar con 500 ml de agua, el domingo va a ser el primer día de comida q le voy a dar ferti de crecimiento. Ya empezó a crecer para arriba y a ramificar bien.
Apliqué hasta ahora en cada riego micorrizas de Namasté