


Likes
16
Share


@NMGDOC
Follow
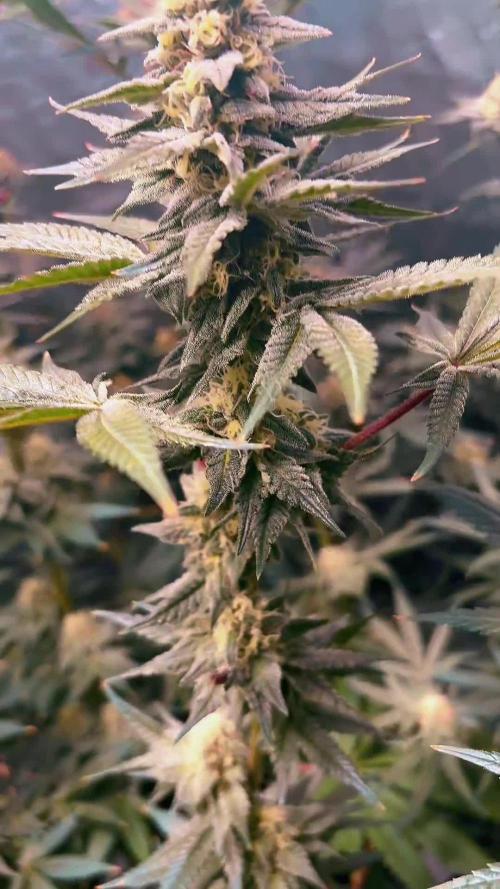
Semana del 1 al 7 de marzo.
Lo apunto aquí porque sino luego no sé ni en que semana vamos jaja 😂
Las primeras fotos y vídeo son del inicio de la semana. Hemos retrasado el cambio de una semana a otra, ya que por el lavado de raíces no las pudimos alimentar antes.
Luego cambiaremos el PH a 5,8-9 y el EC también lo aumentaremos.
Edito: al final no lo hemos aumentado porque respondían bien y estaban recuperándose.
Respecto a la semana anterior, se ven mucho mejor después del lavado de raíces. Algunas plantas están muy bajitas, así que la luz para las más bajas está a 65 cm.
Mañana o pasado aplicaré jabón potásico con aceite de neem a modo de prevención. La vez pasada, que era mi primera vez plantando, llegaron trips y al final resultó todo bien, pero si no llegan los bichos, mejor todavía

Likes
12
Share


@CURATI_DA_SOLO
Follow
Va molto bene dopo tutti i topping ricevuti ha reagito molto bene mi pare di vedere, e solo l'inizio e i tricomi si vedono addirittura sulle foglie grandi...e inutile!!!! FAST BUDS HA SEMPRE L'ASSO NELLA MANICA!!!
Genetica veramente forte e promettente....adesso speriamo solo meglio!!! Ringrazio tutti quanti per essere Passati da qui per vedere le mie figliocce!!!!

Likes
294
Share


@StarLorr
Follow
Welcome to my Ðivine ØĠ Ķush diary.
In this diary:
Seeds: sponsored by Ðivine Șeeds
Media: Promix HP
Nutrients: Advanced Nutrients, Diablo Nutrients, Gaia Green Power Bloom.
Light and Weather: Şun☀️and Mother Earth.🌎
___________________________
Feeding:
Tue 17Sep: 9L water not pH'd
Thu 19Sep: 4L Flawless Finish not pH'd
Fri 20Sep: 4L Flawless Finish not pH'd
Sat 21Sep:4L water not pH'd
___________________________
*please note that watering are from the top.....since i smashed the saucers with the weed wacker*🤦🏻♂️
______________________________
Amazing weather throughout the week! Again☀️Sunny 26°C 😎"Except for today Monday 23-Sep-24 as per cloudy☁️photoshoot🙃😄
______________________________
Did my flushing thing, it's happening😉
______________________________
Thanks for stopping by, likes and comments are appreciated!👊🏻😎
Keep on growin!
Keep on tokin!!!
😙💨💨💨💨💨


Likes
20
Share


@HisHope
Follow
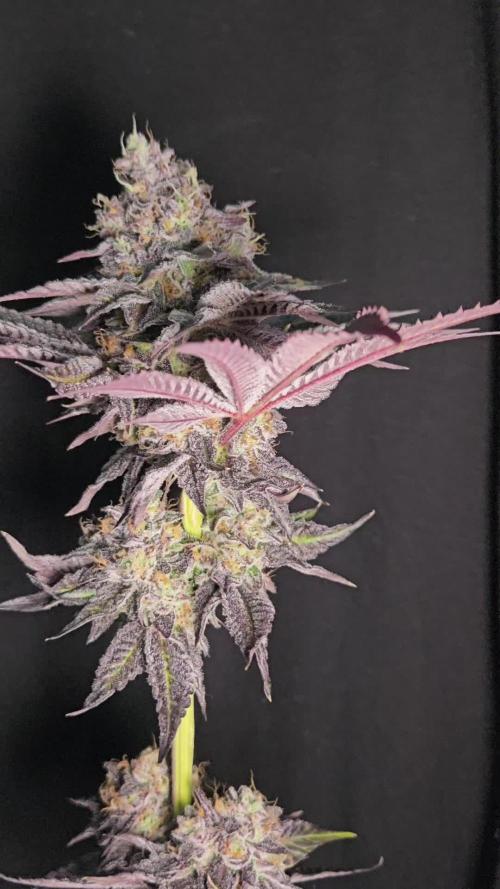
10/27 Week 5
PURPLE BUDS!
This was unexpected even as a mystery strain
Saw some unwanted bronzing on leaves, like its ever wanted, lets just say also unexpected.
Best we can see is PH variances as possible issue, so there is that again. Just began on the middle leaves not top or bottom.
So looking forward to the coco he is preparing, nice to know where you stand.
Will watch and wait as the foliar spray did not help for certain.
10/29 Problem does not seem to be advancing - Soil PH confirmed at 6.7 so no problem there.
10/30 Feeding time
Recharge 0.5 tsp - Kangaroots 5ml - CalMag 5ml - PH 6.5 for one gallon over 3 tbs top dressing Dr. Earth Flower Girl and one inch of mulch (50% coco/perlite)
Trimmed off the damaged leaves where I could so if anything new arises it will be plain.
See where it goes with the Flower Girl
New Pics!
My baby Krisabel is back!
Her color her bearing her presence is restored!
The change worked removed all dead zones since it stopped advancing, noticeable growth in just a couple of hours.
Happy day 😁
Likes
8
Share


@PatriciaGant
Follow
amazing genetik growing way too fast so she goes into flower right now keep her short and dense. all nutrients are in ger section, jes anoing i will do better diaries in future.

Processing
Likes
22
Share


@B4niTa
Follow
Day38 im make a last correction of lst and now girls will grow now to the end with any stress ;) im hope i will see a phats flowers on this branches :)


Likes
11
Share


@Telesforo
Follow
todo trranaquilo , semana 9 y ultima de fertilizacion ,
luego lavado de raices y a cosechar¡¡¡¡¡¡¡¡¡

Likes
3
Share

@Ninjabuds
Follow
It’s day 43 of flower! All of the plants look great! I’m going to start dialing back the light intensity slowly over the next couple weeks. Harvest time is getting close
Likes
34
Share


@Le_Duc_Du_Bud
Follow
Salut amis cultivateurs ✌️✂️🌿
Aujourd'hui je pose la nouvelle semaine 🗓️
Comment vous dire que je suis impressionnée ❗
Les plante ce développement a merveille voyait par vous même 🙏
Elles ont fortement grandi, je suis monter a 1.5L par plante, elle consomme la totalité des nutriments et me le montre très très bien 😍🤗
Merci Kannabia 🙏 encore des variétés merveilleuses 😊
J'espère que dame nature sera me récompense 🌿🍁
Pour plus d'informations par rapport à ces génétique, je vous laisse cliquer ici :
https://www.kannabia.com/fr

Likes
10
Share


@Murojuanna
Follow
Pulled the girls down today, on day 58.
Drying in 55% RH / 19c-21c - seems to be stable.

Likes
25
Share


@Sators
Follow
Day 43 does some bottom leaves trimming.
Day 46. Watering with 2.5L nutrients mix.
Likes
13
Share


@MrPott
Follow
She's looking really good so far and the smell she leaves on your hands after handling her, incredible! Her old fan leaves are dropping off and today is the last day I feed her nutes. It'll just be flushing from now on and checking in on the trichomes every once in a while.


Likes
10
Share


@Its_Fruz
Follow
Big bud stop 32 day
Overdrive start 33day
Terpinator 1 of 10 days 4ml/l all flowering phase


Likes
46
Share


@LittleBigTrees
Follow
Defoliated and trimmed lower fluff from The plant day 20 flower ,
Lots of air and light can now get to the plant and hopefully grow some nice buds
