


Likes
Comments
Share


@Palakadabra
Follow
We are entering the finish line, 1 more weeks of flushing and harvest 🔥😎
N 80
P 113
K 224
Ca 50
Mg 95
S 100
Fe 1,2
👌

Likes
6
Share

@Letterschminge
Follow
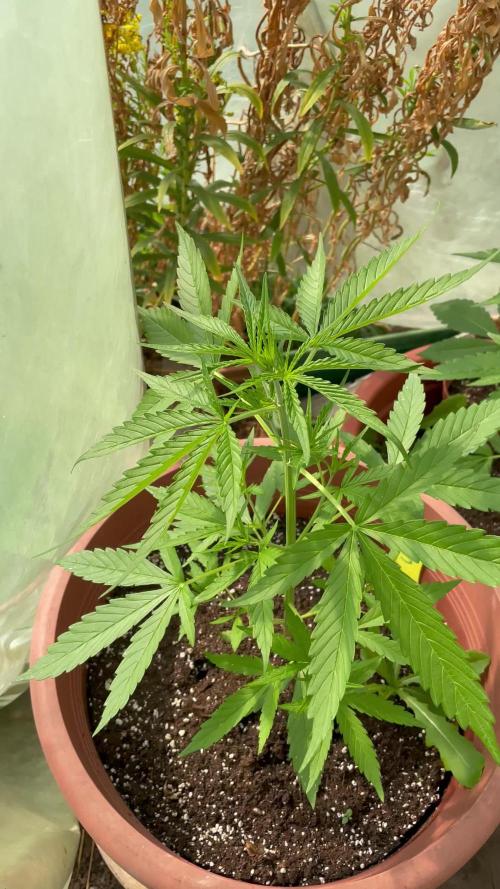
Also, die Pflänzchen entfalten sich, sie gedeihen prima, außer Wasser mit dem optimalen pH-Wert setzen wir nicht ein, da wir ja Automatics mit einer möglichst kurzen Zeit bis zur Ernte ausgewählt haben. Also schauen wir mal, wie es wird. Vielleicht beten wir zu Ganja🙏, dem allmächtigen Grasgott. Vielleicht vollziehen wir auch ein mystisches Opferritual um einige der besten Buds unserer letztjährigen Ernte darzureichen um ihm dem Allmächtigen zu huldigen🛐🙏🐒🙈🙊🙉. Wie sieht’s aus, hat irgendjemand damit Erfahrung? Klingt das erfolgsversprechend oder ist das alles nur Hokuspokus? Ich mein Schaden kannst bestimmt nicht denk ich mal… Hoffe ich mal… Glaube ich mal 😅


Likes
23
Share


@MadeInGermany
Follow
Hey guys :-)
Unfortunately I had so much to do with the flowers that I hardly had time for the veggie update last week :-)
I trained the ladies with LST and topping.
I will do that for a while because you still have time until there is space in the bloom tent 😅.
They were watered twice a week with 1-1.2 l each time (see table above for nutrients).
Tomorrow they will be treated again with nematodes against tripse because I saw some in the vegi room 😡.
Otherwise everything was cleaned and checked.
Have fun with the update 💚
👇🏼👇🏼👇🏼👇🏼👇🏼👇🏼👇🏼👇🏼👇🏼👇🏼👇🏼👇🏼
You can buy this Nutrients at :
https://greenbuzzliquids.com/en/shop/
With the discount code: Made_in_Germany you get a discount of 15% on all products from an order value of 100 euros.
👇🏼👇🏼👇🏼👇🏼👇🏼👇🏼👇🏼👇🏼👇🏼👇🏼👇🏼👇🏼
You can buy this strain at :
https://www.thegratefulseeds.com/shop/feminized-seeds/limited-edition/blue-javaz/
Water 💧 💧💧
Osmosis water mixed with normal water (24 hours stale that the chlorine evaporates) to 0.2 EC. Add Cal / Mag to 0.4 Ec Ph with Organic Ph - to 5.8 - 6.4
MadeInGermany

Likes
23
Share


@GrowSmith
Follow
Very tropical taste with a hint of plumb
Will constantly update during the enjoyment of the flower


Likes
18
Share


@FrostRailz
Follow
I love the deep green leaves on her , slowly dropping temps to bring out her deep beautiful purple/black, all is well!

Processing
Likes
73
Share


@Fibro_Witch
Follow
Blue Shark is looking fab! Still a darker green than everyone else.
There are 2 videos this week, one where I explain how my plan for a tomato roof using materials I already had didn't work out, and the 2nd being about the rogue who grew in my pea bed (whom I affectionately call "Rogue One") who has been raised almost exclusively on my homemade compost.
I had people who were concerned last year when I made my own compost tea from the compost in my pile. People were concerned about bacteria, nutrient profile, etc. I feel like a lot of people get really regimented in their feeding, and they sort of forget that these are plants and they can adapt. They take what they need if it's available.
I moved away from using mineral salts this year because you have to be careful with so many of these fertilizers so that you don't burn the plant, you have to flush it so you don't get a harsh smoke, mineral salts causing lockout, etc.
If you stick with products that are natural you don't really have to worry about nute burn. You don't have to flush for an extended period of time before harvest. You don't have salts building up in the soil that are detrimental that you have to periodically flush and then add beneficial microbes back in.
There is another way.


Likes
4
Share


@Ourweedfarmuk1
Follow
Hi guys I missed a week so we are at week 9 now. Last week she was abit finicky but nothing to worry about. I have the same feed as in week 7 in week 8. This week she has perked right up and starting to stack weight on the buds now.
The heavy pruning and defoliation really helped as these tops are all setup for big buds and no larf. Seems daunting at first but when you see the results you get from the pruning are amazing. Great airflow and light penetration to all bud sites.
We are starting to get a little purpling on a leaf or too and looks as if the buds will be purple somewhat.
I’m gonna keep her fed and happy we will be back next update.
Take care guys & thank you for watching this grow diary
Big love to the guys at Fastbuds 💚
Lemon Pie = Amazing strain

Likes
Comments
Share


@german_growing
Follow
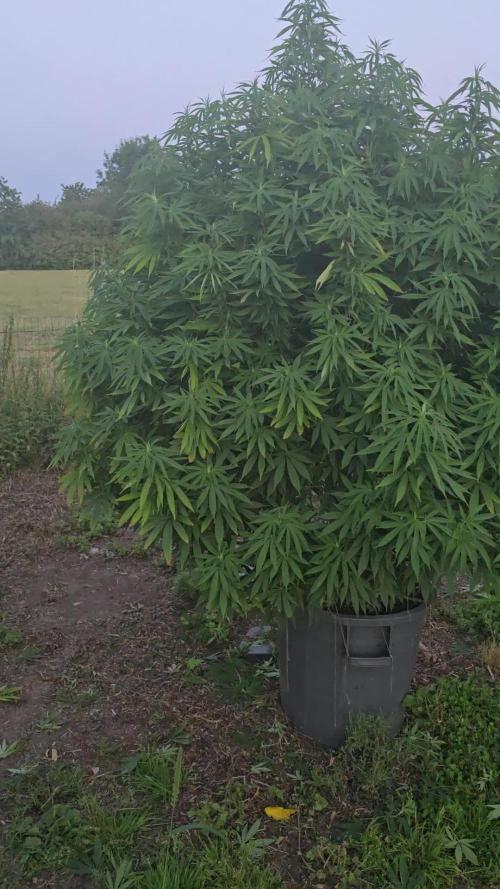
Really nonflexibal cells - breaks very easylie when low stress trained with Bud Clips
But she recovered every stem break and growing healthy and vigorously
Likes
3
Share


@Farmerbry71
Follow
Day 28 very heavy plant big structures large bud with a very sweet smell starting healthy and showing no stress with the increasing heat wave we are having
Likes
25
Share


@Mr_Weeds_Autos
Follow
On Day 15 we checked on the ladies and seemed to respond very well to their first feeding of nutrients. When I to check on the on Day 16 the ladies seemed thirsty so they where given 250 ml of water with a 6.0 ph along with a misting, the plants then received another feeding on Day 18 but this time we went up on the nutrients slightly, I then again watered them on Day 20 and they were given the normal 250 ml of water with a 6.0 ph along with a misting. I did notice that the AK-49 strain is a lot smaller than the last time I grew it at this stage of life. Which I thought was weird so I started seeing what was different. I've come to the conclusion that it's how many plants are in the grow space using the light, meaning I need more light for this many plants. I also think that AK-49 #1 & #4 could have been overwatered which goes to show that every plant no matter the strain can have different needs. So I'll be letting them dry out and show signs that they need by being slightly droopy. Well till next time folks Happy growing and Enhance Your Life ......

Likes
4
Share


@Nookandplant42o
Follow
Alright Robust in the original shape of a Christmas tree, its thick leaves and well-resined flowers the pistil phase starts to turn orange the trichomes we can go further to have milky with amber, and enjoy its performance until the end its smell is very strong it is sweet .


Likes
33
Share


@Roberts
Follow
Cali crasher has been growing strong. It looks like she wants more calcium. So I gave her a booster in solution. I will see if it continues now after it has been trained good for the week. She is growing great under the Hortibloom Solux 350. Thank you Hortibloom, and Doctors Choice. 🤜🏻🤛🏻🌱🌱🌱
Thank you grow diaries community for the 👇likes👇, follows, comments, and subscriptions on my YouTube channel👇. ❄️🌱🍻
Happy Growing 🌱🌱🌱
https://youtube.com/channel/UCAhN7yRzWLpcaRHhMIQ7X4g

Processing
Likes
11
Share


@PowerofNature96
Follow
Welcome to the fifth week of flowering ... The smell is strong enough. The tops are getting hard and filled with resin, the pistils are getting dark and some violet shades are noticed. Unfortunately for the hydroponic system my water pump broke when it was still in veg and as soon as I inserted the bloom the air pump broke too. I could not replace either of them and therefore the results in hydro are not abundant but the smell is very good. With the help of ga3 I produced some male flowers only on the Cranberry and therefore some seeds on the smaller flowers ... Happy growing to all

Likes
85
Share


@Tropicannibis_Todd
Follow
Start of day 77 ...... Dec 25 Start of week 11 ........ 51 DAYS INTO FLOWERING
( MERRY CHRISTMAS 🎅 🎄)
( SMELLING GREAT ) !!!!!!!
Check out the full grow video on latest weekly update
Super Exceptional Growth Daily
Still adjusting LST when needed and leaf tucking.......
Water Only when needed but its drinking more every otherday and adjusting lights when needed......
Rain Water Only .......
( DAY 26 AND BOTH NL 1 & NL 2 SHOWED PREFLOWERS )
( DAY 49 AND RESIN PRODUCTION HAS STARTED )
( DAY 57 , EQUIPMENT FAILURE , main FAN , over heated😡 tripped breaker , reset light timers , lost a DAY, REPLACED new Main Fan 😁 back up running 👌)
( DAY 70 DID ITS FINAL FLUSHING TODAY TO GET RID OF ANY BUILDUP )
( DAY 77 AND IT SHOWS A SLIGHT DEFICIENCIE MAYBE A CAL/MAG GETTING CLOSE TO END OF LIFE ) IM ALSO DOING VERY LITTLE, SLIGHT DEFOLIATION
( DAY 81 AND ALL IS GOOD , THERE FATTING UP )
DAY 81 .....NL 1 SHOWS CLEAR TO CLOUDY RESIN HEADS , STILL AWAY TO GO .......
DAY 81 .....NL 2 SHOWS MOSTLY CLOUDY RESIN HEADS , JUST WAITING ON SOME AMBER , GETTING CLOSE ......
I hope you enjoy my growlog...


Likes
46
Share


@PureMedicin
Follow
Buds starting to get really fat and frosty. One of the blueberries have a distinct smell of sweet berries. Too bad its an auto or i would have monster cropped it (clone). Looks like i will get a descent and potent yield.
