The Grow Awards 2026 🏆 


Likes
4
Share


@Minuteman_Organics
Follow
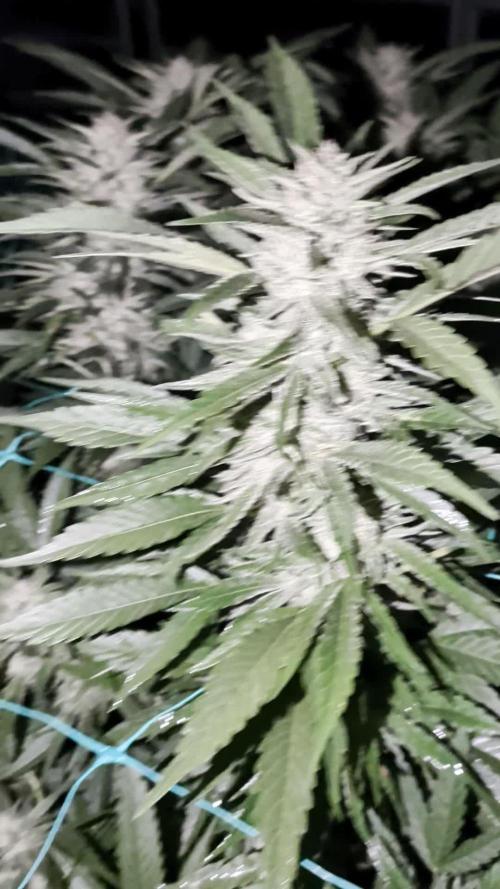
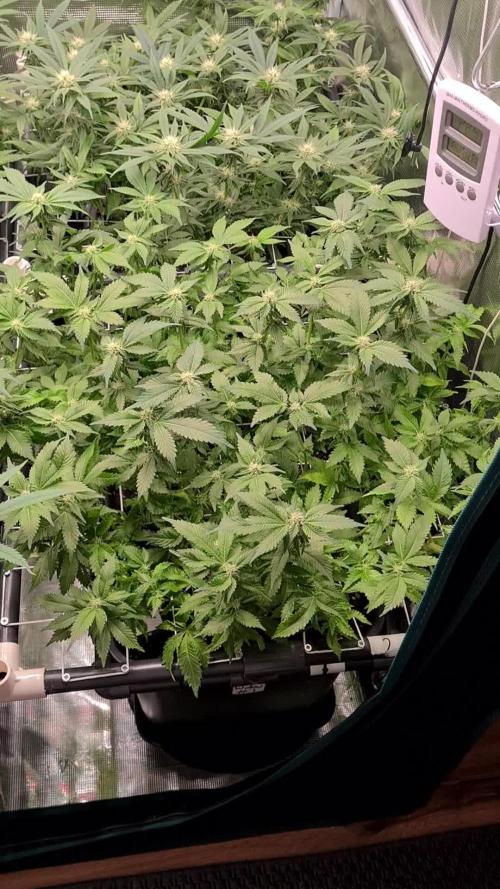
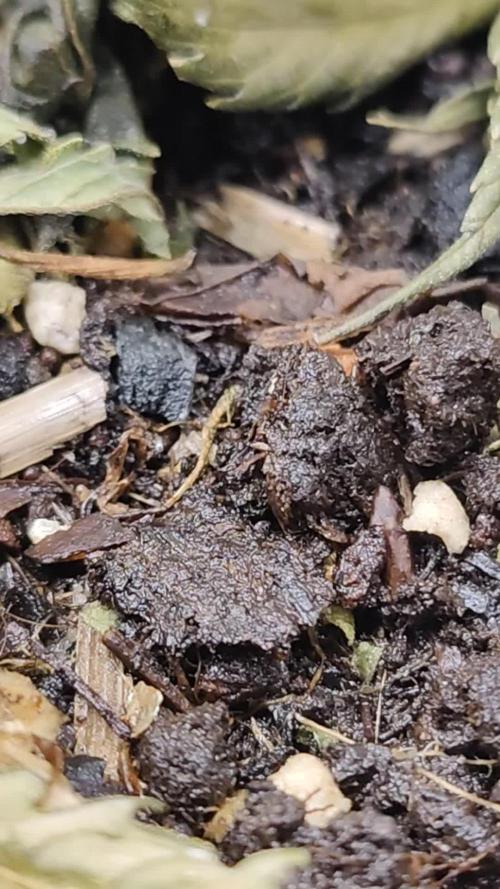
Great. Week. No signs of mold or pests. Seeing plenty of lady bugs still and this is now almost a month after I first released them. Seeing some dragon flies and assassin bugs too. Niceeee
Plants are doing super well. No deficiencies with plenty of swell occuring. More in some than others. The zkittles phenos that flowered early are almost ready. Maybe one more week or less.
Likes
13
Share


@BLAZED
Follow
Week 12 (14-4 to 20-4)
14-4
Temps: 20.5 to 24.5 degrees
Humidity: 52% to 65%
Watering: Both 1000 ml. EC: 0.4
Did a big defoliation today.
Leaves removed #1: 180gr #2: 199gr
15-4
Temps: 20.1 to 26.1 degrees
Humidity: 57% to 64%
Watering: Both 1000 ml. EC: 1.5
16-4
Temps: 20.4 to 25 degrees
Humidity: 57% to 64%
Watering #1: 1000 ml. EC: 0.4
17-4
Temps: 19 to 24.1 degrees
Humidity: 55% to 63%
18-4
Temps: 19.4 to 24.4 degrees
Humidity: 53% to 60%
Watering: Both 1000 ml. EC: 0.4
19-4
Temps: 18.4 to 23.5 degrees
Humidity: 54% to 64%
Watering: Both 1000 ml. EC: 0.4
20-4
Temps: 18.5 to 24.3 degrees
Humidity: 54% to 62%
Watering #1: 1000 ml. EC: 0.4
The light is at 60% strength with a distance of 45 cm.
Defoliated the #1 a bit, she is quite a bushy plant.
I raised both plants a bit so the canopy of the 4 plants inside the tent is nice and even.
Likes
6
Share


@cwgrows
Follow
Absolutely ridiculous growth coming from Lois on the right. Megan struggled her whole life and I couldn't figure out the issue so I took her out of the hydroton and found she was massively tangled. I freed her and transplanted to soil in my room to give her another shot at life!
Likes
48
Share


@AsNoriu
Follow
Day 36. Big week .
New light was added and rhythm changed to 12/12.
Pot was top uped with 3 handfulls of BioBizz Worm Castings. 1.5 g of Biosys and 1.5 g of Great White were added too.
After training she got 2l of water, slowest drinker at the moment.
Girl got small defoliation, when you bent main top, one fan leaf is always staying in everyone's way, so he had to go. Think to do big clearing on day 14-18 of flower.
Got first wave of LST, main top was lowered, couple leaves and one shoot were repositioned and secured too..
Genererally stem is thick, needed two places to tie, to make any movement, side shoots are developing evenly too, all thanks to :
TS1000 by Mars Hydro, great light, did perfect job during veg period, now i added one more for better coverage of long tent. Think in tent 1x1m i could manage to flower all 3 without any ad ons ....
Great small light for amazing price.
Day 40. Girl develops nice and even, good colour and i am happy with her.
Day 42. New training day, first time took so many away, girl lost 10-15 leaves, most were huge, no bottom clearing still.
2.5 liters of 6.3 water went in.
Happy Growing !!!
Likes
6
Share


@Lovemabud
Follow
The plant got very little care this week as I was away for work.
I installed a automated drip system 2 wewks prior and it had been working a treat...until I leave that is as I suspect after the first one or two scheduled waters the timer flipped out and reset itself🤬 I have no idea why. Eitherway the plant got no water at all for 4 days., about 1.1 litres to be precise, well under 1 days requirement .
As I have a remote cam setup I could see what was going on, I could see the plant suffering from underwatering but I could do nothing about it. And as this like all my grows are stealth grows because of the kids and wife I couldn't exactly have mates drop by to do🤣 Super painful it was to watch anyhow, captured for my suffering in the video. All ended well after a feed and everything is back on track. Maybe the plant thrived from the brief period of underwatering as the growth was crazy immediately after.
As far as temps were concerned this week, there were 2 hot days where internal tent temperatures would've reached 30+ and cold nights just over zero. Honestly I've given up monitoring as there's nothing I can do about the heat when growing in a tin garden shed and when cold the bar heaters easily increase the temp by close to 15c from what it is outside. Good news is the cold days out numbered the warm and helped alot especially with the lack of watering. Thank you gunja gods 🙏
A beast this thing has become! Way bigger than I hoped for, way bigger than I need but I'll accept it's offerings eitherway when the time is right.
Likes
14
Share


@ClydeGrows
Follow
Very sad looking little friend... Young leaves do look better, but she's gonna stay looking like this because the damage was done! Underwatered and underfed for over a week over new years' plus the tiny metal pot, can't be good for a lil bean just trying to make it in the world. Even the plant of the same cultivar next to it (as you can see in video- but is my housemate's baby so no diary) is still recovering from the same fate. Will spend some time checking out other people's grows of the same bean to see if she's particularly finicky or if we've been particularly neglectful 😂 still fun though!
Likes
26
Share


@GrowGuy97
Follow
Harvested on day 66, overall very happy with how these ladies turned out & will definitely be growing them again! Wish all 3 could have put off buds like 1 of them did but the other 2 had some small issues & I feel like that’s why the didn’t produce as well! Will be updating soon with more pictures of dry weight & smoke report! Thank you to everyone for following & happy growing friends🙏🏼✌️🏼🌱
Likes
31
Share


@Kim_Jong_High
Follow
12/11/20 - Was slightly worried I had flipped too early, but the screen is filling out nicely!
Likes
6
Share


@gr3g4l
Follow
esta semana le añadí al riego algo de TopMass silicio , la semana anterior se hizo de forma foliar pero la misma noche llovió y posiblemente de nada sirvió así que esta semana se lo añadí al riego. 1ml/l y el Ph me subió a 9,5 Ph.
De no ser algo habitual en cada riego el sustrato lo equilibra y las plantas no lo notan mucho. Por norma general suelo regar entre 6,5 y 7,5 de Ph.
Al ver las picaduras de trips no me quedó otra que empezar con los preventivos, prevenir antes que curar.
Likes
14
Share


@madlangs
Follow
All going well. This was there final weekly treat. Plain water from now on.
29.1.24
feed 1.5L each
4ml/L Bio heaven
4ml/L Acti Vera
4ml/L topmax
4ml/L Bio bloom
Bactrex 6 spoons
Recharge 4 spoons
Ph6.2
Ec 1.2
Likes
4
Share


@WeedbayGarden
Follow
31.3 F50
2L of water for each plant. Last two weeks of flowering starting, happy happy :)
3.4 F53
1L of water for each plant, seems like the plants are starting to drink less and less. Which is totally okay by me, no need for water every 2 days. Other than that I lowered lights like 5cm since there isn't that much flowering time left, might as well "blast" em with the whole 70 watts lol.
5.4 F55
Lots of small creepy crawlers in the pots. Took a video of predator mite strolling around the fabric pot!
Likes
Comments
Share


@Uneasy
Follow
I pre-cut a plant. The plant, whose leaves turned yellow, turned yellow due to heat and flushing. Last 3-4 days left. Other 2 pots need at least 10 days
Likes
8
Share


@HighOhioAn
Follow
She is starting to get her paid. Her buds are nice and dense some of the biggest buds I’ve ever Had on a plant all consistent on all the branches bunch of tops. Gotta love that Fast buds genetics🔥💯
Likes
54
Share


@Ganjagrandaddy
Follow
Day 50 flowering. This lady continues to push out new pistils and has about 10 days at least to go. The bud rot has stayed off her thankfully but it is still very moist in the uk so need to keep vigilant. Her buds are solid snd oozing thc out to the touch. She is toppling in places due to her bud weights and i am re arranging a lot now. The Dragon force has done her justice with trich production going mad this week. lets see how she finished up. beautiful girl
Likes
22
Share


@Aeromax
Follow
12/4 :
Most of them are getting out the soil. Pink Gasolines are the slowest to pop off. 💪
Had to manage the pot space in the dome so there's currently 2 seedlings per pot.
16/4
I have now moved all the plants into a bigger 120x60 tent. Also a friend loaned me an old 600w LED fixture (Horticoled XMAX6 V4) until i get my Migro Array 4 240w
There's now a humidifier in the box and they are in bigger pots now 💪
Likes
2
Share


@Unpluggy
Follow
Partially harvested to Test the ripening of the remaining Buds.
Awesome looking and crazy strong smell.
The purple with light Green Looks awesome
Likes
2
Share


@burnercorona
Follow
Awesome week. Both plants are doing great. One is definitely praying to her Blue God lol.


