Likes
Comments
Share
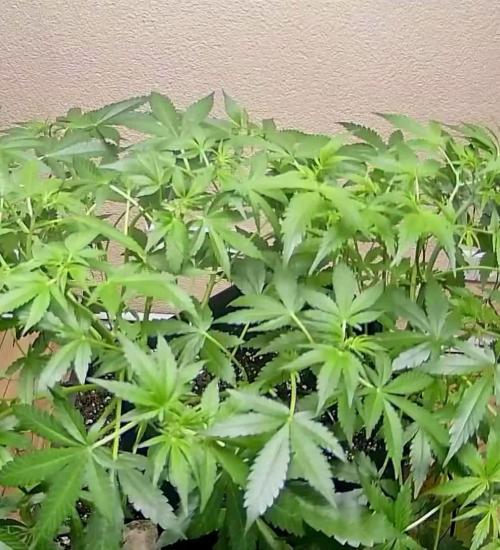
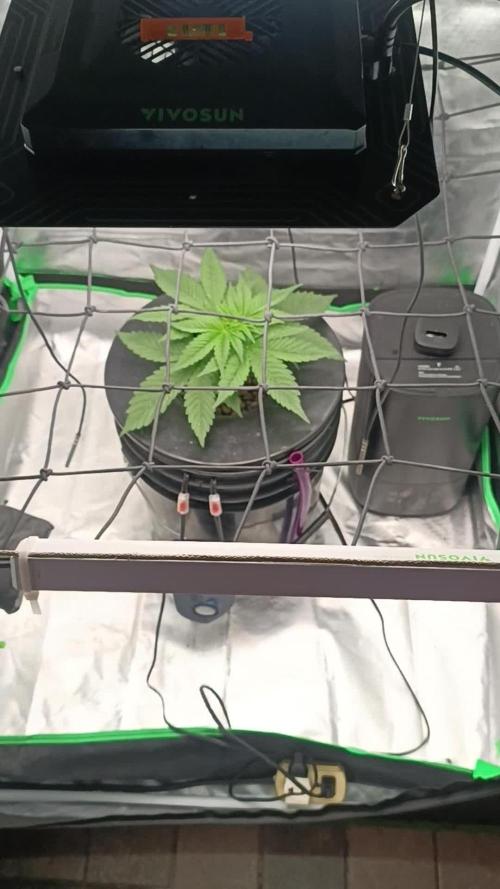
So. After 12 weeks I realise the problem. They are not auto. They are turning amazing now
Likes
4
Share
Definitely would’ve been better had I not moved but nonetheless it was a great run overall, super frosty and sticky with not very dense buds which made for a difficult trim but I didn’t mind.
Likes
4
Share
Hoy después de 10 días sin colgar nada las plantas presentan un ptipo de carencia debido al suelo debíl de inicio. Trasplantados a tiestos de tela reforzando el mantillo. En estos días he dejado un plazo más largo antes de volver a preparar el te de compost. Hoy recibirán su riego de té y esta mañana han sido rociadas.. La verdad que el efecto de positivo de rociar las plantas de buena mañana las deja bien tiesas y vigorosas. Antes de este riego recibió una tirada de agua sola y la siguiente fue de SST basado en brotes de soja germinados un técnica que aporta muchas vitaminas y enzimas a las plantas. El compost tea de esta semana le he agregado : Tierra de cultivo 100g Hummus de lombriz 200g Guano de murciélago 80g Cola de caballo 2.5g Spirulina 7g Hidrolizado de kelp 20g Ácidos fulvico 2ml Melaza 76ml Mezcla para 15 litros. A ver como le sienta.. Me siguen recomendando que le de algún aporte con productos pero sigo buscando el modo de hacerlo por mi mismo.. Si alguien cultiva así a base de tea estaría interesado en compartir conocimientos
Likes
6
Share
Likes
8
Share
@Cowboy
Follow
The smell of this plan is really starting to come around now it was really weak for a long time but now I'm getting a sweet sweet smell got a little worried but not doing good just took a little time maybe I'm just too impatient everybody's plants look great y'all have a good one
Likes
6
Share
Se nos fue un poco de altura pero intentaremos arreglar el error farmers... al final quedo simplemente en podas apicales y de momento ramas muy finas. Iremos comentando el proceso Farmers!🍁
Processing
Likes
23
Share
Plant is growing strong, good growth this week. Did a seaweed foliar spray earlier in the week. Thinking about one more week of veg then flipping this plant to 12/12 and start the flower. Thanks for looking.
Likes
56
Share
Hello everyone, weed brothers! these beautiful buds get bigger and bigger and their nutrition line is quite stable! their growth is going really well!
Likes
121
Share
📅 Week 11 | 🗓️ Day 71–77 Day 77 – 3-4 week of flower 🌸 Lemon Cherry Runtz 🍋🍒 🔸Lemon Cherry Runtz is really kicking into gear this week. Buds are swelling up nicely, calyxes are plump, and the white pistils are shooting out like little antennas in every direction. Resin production is in full swing – the tops are already frosty, sparkling under the light, and the colas are stacking beautifully along the main stems. 🔸Leaves are looking strong and healthy – deep green with some subtle purple hues showing on the edges. No clawing, no deficiencies, and no signs of overfeeding, maybe she could use a little more nutrition.. Sugar leaves are already coated with trichomes, which is always a good sign that the plant is cruising in the right direction. 🔸This week I kept it simple: only water. I also cranked the SANlight up to 100% to push temps up a bit, and it worked out great. Daytime VPD now sits right around 1.4–1.6 kPa, which is the sweet spot. Climate is steady, airflow keeps everything dry, and the buds are staying fresh and compact. 📈 Current Conditions (Day 77) 🌡️ Day = 24.7 °C 🌡️ Night = 18 °C 💨 Humidity = 56.1 % 🌬️ VPD = 1.4 – 1.6 kPa 🔦 PPFD = ~1000 µmol (12/12) 🛠️ Setup (unchanged) 💡 2 x SANlight Evo 4-120 @100% ⛺ 120 x 120 x 180 Spiderfarmer tent 🍯 Pots: 18L fabric pots 🌱 Soil: Bio-Bizz Light Mix 💊 Nutrients: BIO Tabs 🌱 “Easy, organic, only-water method. Save 15% with GDBT420. biotabs.nl/en/shop/”
Likes
44
Share
@Kanndera
Follow
Приветствую тебя в моем дневнике! Это мой первый гроурепорт и первое выращивание. И я буду очень рад, если проходящий мимо гораздо более опытный товарищ, даст свой совет, рекомендацию или просто комментарий. Ведь тогда мои шансы на успех вырастут. Спасибо заранее. Исходные данные: Придумал чем занять себя на самоизоляции, тем более что давно хотел за это взяться и выращивать самому, но нужен был толчок к этому. Быстренько набросал схемы, почитал форумы и приступил к делу. Собрал свой гроубокс, размеры: 200 см высота, ширина 100 см, глубина 70 см. Прекрасно понимаю, что мои условия не идеальны, но я исходил из того, чтобы собрать это самостоятельно и в короткие сроки, плюс я живу в небольшом городе и некоторые вещи нужно заказывать с доставкой. Гроубокс стоит на неотапливаемой лоджии. Вентиляция идет прямо на улицу. Пока на улице прохладно внутри стоит инфракрасный обогреватель с терморегулятором от теплого пола. Вдув воздуха в бокс пока пассивный. На выдув стоит вентилятор Вентс 125 с регулировкой оборотов. Электронный таймер для лампы, первую неделю стоит режим освещения в 24 часа. Есть гигрометр и увлажнитель на 4 литра. Лампа собрана из 3-х LED прожекторов 6400К, плюс 6 фитоламп и 4 бытовые LED лампы. 4 уровня освещения включаются сверху. Вентилятор направлен на обогреватель, чтобы равномерно распределять тепло. Горшок Airpot на 15 литров. Грунт: 65 земля + 20 кокоса +15 перлита. Вода из под крана 7.1 pH, 138 ppm. У отстоенной воды 37 ppm. Семечка заложена в горшок 3 апреля. 4 апреля сделал пролив горшка водой 1 литра: Отстоенная вода + Восток ЭМ-1 (1мл) + Фитоспорин (0,5 мл)+ Эпин Экстра (0,1 мл). 6 апреля посадил в горшок рядом семечку Авто АК47 (от Семяныча). 8 апреля был пролив водой с Восток ЭМ-1 (1мл). 11 апреля сделал свой CalMag на основе: сульфата магния и нитрата кальция. Пролил раствором с CalMag 2 мл + 1,5 мл янтарной кислоты + 0,1 мл циркона. Думаю буду теперь постоянно проливать с водой, под корень и по листу с CalMag 2 мл. Информация не вся, позже еще добавлю, если будут вопросы по условиям выращивания.
Likes
13
Share
Great week,.. put some real size on and can honestly see the buds growing daily, check and feed in a morning and at night and can visibly see a difference,.. ones gone purple ones stayed green but both look healthy, really happy so far, roll on next week 👌
Likes
51
Share
Cant wait till flush to see em purp OUT OR BLACK OUT 💜🖤🎩🌈🍬
Likes
17
Share
Day 43 : Watering with co2 tab / 5L. Also added food again because i think they need it. Increased ppm to 850. Maybe the next one will be pure water. Ventilation works all the time when lights are on. Temp and humi are stable and this is good for the girls. Patience is the key always. Also removed some burned leaves from all ladies. Edit (Day 47) : Watering with co2 tab every 5L. I watered with juices again at 850ppm because i felt that they need it. Only DsD drank pure water because of burns. NL stopped also vertical growth, started to fatten her buts. :D Her main cola will be huge.
Likes
8
Share
Likes
3
Share
Almost there. Low stress worked pretty well There you see my outdoor mimosa x orange punch on the right :)
Likes
283
Share
D4 - YES! We have lift-off!!! Today both seeds poked up. BOOM! Yesterday, I also put in my new humidifier in the tent, and man, this little thing is a BEAST. The amount of water vapor it is able to push out is insane. I use an Inkbird controller to... ummm... control the humidifier so that the humidity in the tent is 80% plus/minus 5%. I'm planning on running this high humidity for the first week or so and then dropping it down. D5 - I adjusted the light to 80 cm (about 31") above the canopy, resulting in 300 μmol/m2/s at canopy level. A bit high as I usually keep it around 250, but it should be alright, I think. D6 - The left girl, #1, seems to have died. Her leaves never fully emerged from the seed, and now she is entirely wilted, laying on the soil. So yeah, she is a gonner, I think. No idea what happened since she looked okay yesterday, and the other girl is already 5 cm (2") tall. Strange, but there's a first for everything, I guess. I already have a new seed soaking in water to be planted tomorrow. She'll then be six days after the other girl, and while probably noticeable at first, I don't expect any real problems during the grow. Hopefully, it'll germinate, but if not, c'est la vie. D7 - After soaking the seed for 24 hours, I rolled it in myco, and planted it in the first pot. However, I removed and replaced some soil in the center of the pot before planting, just in case something was wrong with the soil. Fingers crossed that this one will germinate just fine. On the other hand, the second girl is doing her thing just fine. I removed her humidity dome, though, as the RH in the tent should be high enough. D11 - End of the first week of veg and the third seedling popped up. BOOM! Now let's hope this girl survives, considering that the first girl in that pot died. On the other hand, the second girl is thriving; already 9 cm tall and 6 cm wide. Her first set of true leaves is slightly twisted but not too severely, and the second set looks fine. She is a bit leggy, so I added a couple of toothpicks for support. I have been asked in DM why I have Avocados on top of the soil. The reason is simply for feeding my worms and encouraging breeding. Happy worms = happy soil = happy plants. For anyone interested in learning more about Avocado Tek: https://youtu.be/JFRtNU6W9i8?t=400
Likes
4
Share
@Borberad
Follow
Woch 5 So langsam könnte wirklich mal ein Zelt frei werden. Tag 35 Umzug
Likes
11
Share
This lady looks absolutely gorgeous, looks like she needed that transplant!, so this lady hss been Transplanted at day 39 since she was planted and I've prepared the 15L pot with the complete biotabs organic line, I've applied 25G of startrex for every 5L of soil, then I sprinkled a couple of grams of mycotrex on the planting hole and after the Transplant was completed I added 3 biotabs slow release tabs and after that just immediately watered with 1G of bactrex per liter of water and also 1ml per liter of orgatrex
Processing
Likes
33
Share
She showed minor discoloration so I added very very little nute from GHE line of course AFTER checking and adjusting ph level first :)