The Grow Awards 2026 🏆 


Likes
11
Share
@SintrexGrow
Follow
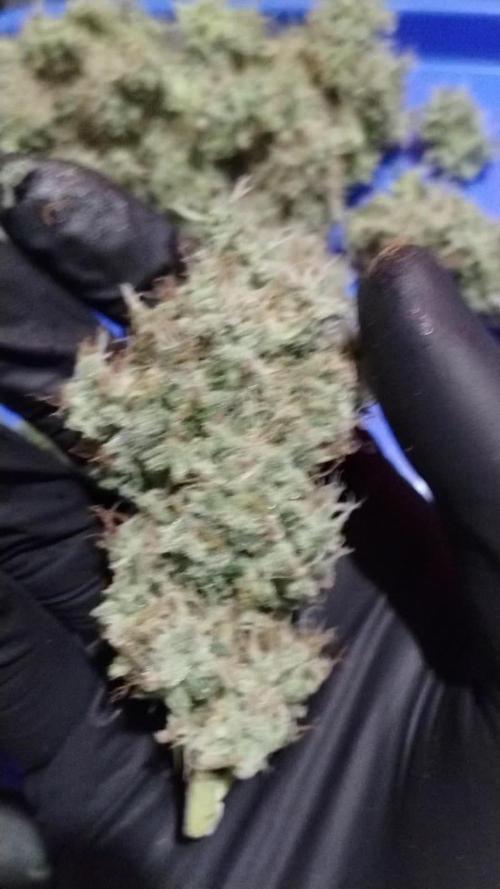
The plant is going for the dark period.
The smell of the plant is amazing and the buds are very big.
Looking foward to start harvest day

Likes
1
Share
@Vincentmad
Follow
End of week 3, last week we removed bottom node and this week removed last node from bottom tpp, heavy lollipoping for pre veg for 2/3 weeks then flip to 12/12
Likes
7
Share
@FlavoursUk
Follow
So, very first run with the new set up which I'm excited for. Currently just getting the environment dialled in. Running a RDWC system, along with LEDs, the recipe for success.
Running some great genetics from seed stockers (purple punch).
Will be back with an update soon, for now enjoy the pictures and videos I upload. FlavoursUK
Day 6. Girls doing well. Roots hit the water so expecting some nice growth now. pH fluxing between 5.9/6.0 which is good as that's where I want it, especially for veg. Cant wait to see what I can do with this. Stay tuned.
Likes
3
Share


Likes
3
Share
@jonnyblaze
Follow
The girls are looking healthy. Both Banana Purple Punch autos are yellow on the outer leafes and I don't know why. Maybe someone can help.
Peace, Johnny ✌️


Likes
1
Share
@Olduffybastard88
Follow
Look how much these beauty's stretch as they went into flower over the moon with the size of these plants


Likes
3
Share
@CaptonianMoneymaker
Follow
Some plants are still flipping over to flower myb 2 weeks behind the dist Bloomer


Likes
69
Share
@AsNoriu
Follow
Day 82. Last week for them, next weekend they are down. Was expecting them to be developed a lot better, but this grow went with hiccups too ...
Looks like they stuck in the development a bit. My friend left light dimmed down twice for few days each time ... Gnats ... And we are here ...
Still colas fat, Gelato not so smelly, Wedding Cake is a lot stinker.
Happy Growing !!!

Likes
12
Share
@nerdz
Follow
Day 43 to 49 Thursday
Day 43
800ppm @ 6.1
Day 44
Autopots flooded my tent. Thank god for perlite!
800ppm @ 6.1 again yay
D47
Final defoliation done. I may pluck a few here and there but we're pretty much on autopilot now 😁
My goal is 800grams on this run. I think I can get it. AVT4 is huge.
Man I love this shit!!!!

Processing
Likes
12
Share


Likes
3
Share
@BioGrowBayer
Follow
Diese Woche verlief größtenteils planmäßig und ohne größere Zwischenfälle. Leider habe ich ein paar Thripse entdeckt, was mich dazu veranlasst hat, sofort zu handeln. Ich habe die betroffenen Pflanzen mit Neemöl behandelt, um einem größeren Befall vorzubeugen.
Die Pflanzen zeigen weiterhin ein gesundes Wachstum, reagieren gut auf die Pflege und entwickeln sich wie erwartet.
Maßnahmen der Woche:
Sichtkontrolle auf Schädlinge (Thripse entdeckt)
Behandlung mit Neemöl
Reguläre Pflege und Gießen wie gehabt
Ausblick:
Ich werde die Pflanzen in den kommenden Tagen weiter genau beobachten, insbesondere im Hinblick auf die Wirkung der Neemölbehandlung. Falls nötig, folgt eine Nachbehandlung. Ansonsten läuft alles weiterhin nach Plan.


Likes
134
Share
@Herbalize
Follow
Hello Folks 😎
8th week of flowering,it's time to flush these girls !!!
40 liters of water per plant, with ajusted ph ( 6.2 ) and the senescence has begun 👌
I managed to reduce the daytime temperature to 23 ° C and much cooler at night 15/16 ° c
They are beautiful, the smell is powerful, and these buds are dense like rock !!
I plan to harvest between 63 and 70 days, it depends on the maturation of trichomes ( already almost all milky )
Follow, like and comment if you enjoy it
I also have a second diary with 2 Moby Dick
Peace Love & Weed 😍👊

