Likes
Comments
Share


@guitarrasrockeras
Follow
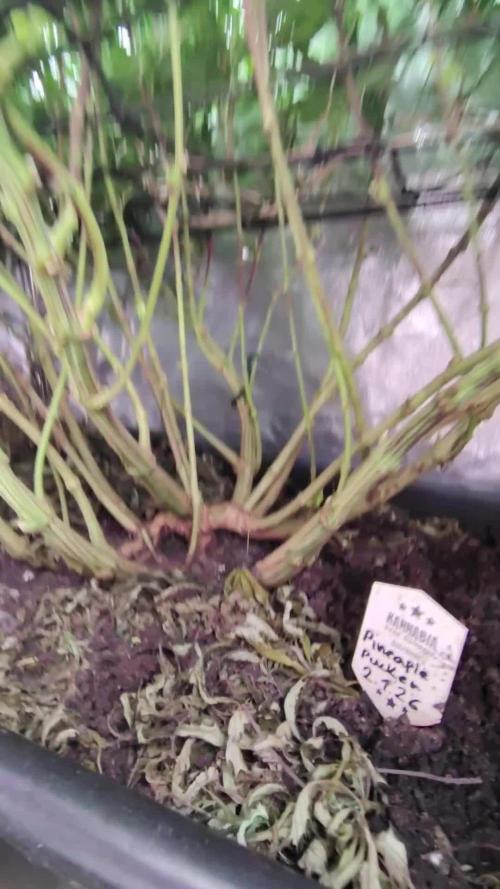
bueno durante la mitad semana (18 días de su germinación) hacemos su trasplante a una maceta de 5 litros integrando a la maceta Micorrizas Wonderland de la cual se nota mucho el cambio al llegar a la tercera semana de vegetación como se puede ver en las fotos y videos. se nota como va agarrando fuerza. Otros de los fertilizantes agregados es solo tek grow (grotex) usando las medidas indicadas en en el envase. con esto seguimos avanzando nuestro proceso.
Slds

Likes
70
Share


@Santica_Garden
Follow
So this is how things are looking for the Dark Phoenix at the end of Week 8 of Flower. I have uploaded a video for you guys with all the information you need, any questions just ask away 👍🏾🌱💚

Likes
3
Share

@Milky_way
Follow
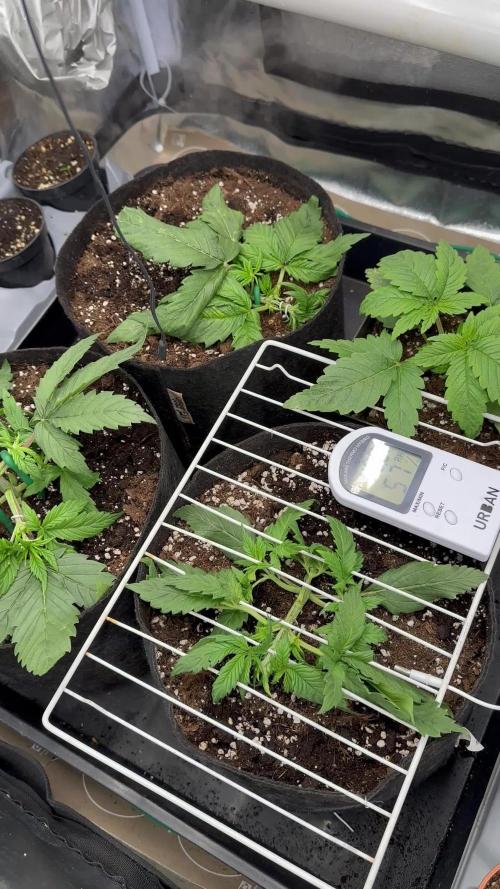
Start 🚀 3 week, 1 topping for 1 Apple Strudel. Nutrients npk+
Start LST 🥅


Likes
165
Share


@Tropicannibis_Todd
Follow
💩Holy Crap Growmies We Are Back💩
So what do you say we have some fun 👈 We got some EXOTIC SEEDS 👉 👻👻👻MONSTERMASH👻👻👻 😛
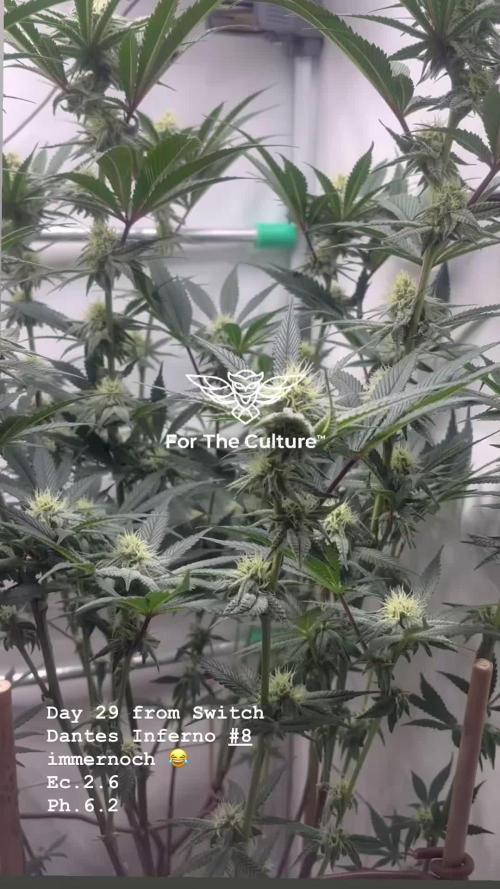
Well my friends we are just at the 35 day mark and as you can see shes doing great 👈
👉 So now i felt i need to start training her over to maximize her growth by doing some LST 👈 Just noticed she's starting to preflower 😛 Hedgehogs incoming 👈
Lights being readjusted and chart updated .........👍
👉I used NutriNPK for nutrients for my grows and welcome anyone to give them a try .👈
👉 www.nutrinpk.com 👈
NutriNPK Cal MAG 14-0-14
NutriNPK Grow 28-14-14
NutriNPK Bloom 8-20-30
NutriNPK Bloom Booster 0-52-34
I GOT MULTIPLE DIARIES ON THE GO 😱 please check them out 😎
👉THANKS FOR TAKING THE TIME TO GO OVER MY DIARIES 👈

Likes
7
Share

@S3phwea
Follow
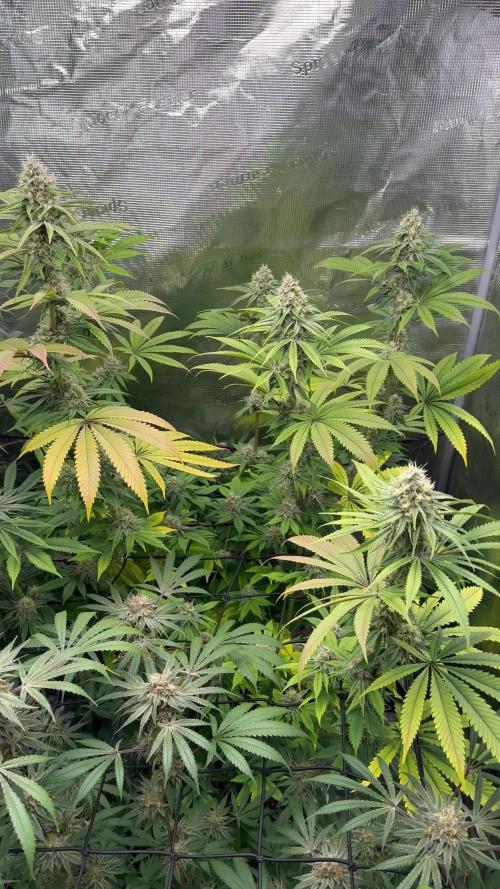
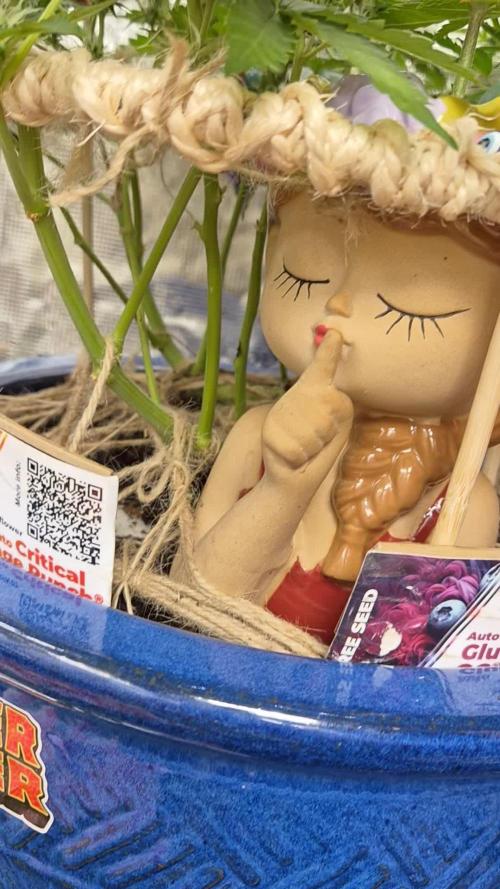
Plant therapy had been amazing. Winter is my hardest time of the year. I actually usually use a supplementary light during the winter to help with my mood and I wonder if being around the LEDs has any similar positive effects. I know the nuturing and process of growing has been a great practice of patience and almost meditative for me. Plants are friends. I believe the plants are well. I have a microscope to keep my eyes on trichomes maturity. I hope they all end around the same time. I would like to chop/dry them together in the tent. Thanks for everyone who has come on this journey with me so far.



Processing
Likes
21
Share


@RussianGrower
Follow
Hello, friends, I Welcome you again from Russia. Comes week 5 photoperiod Bubblelicious. I planned to make clones of this plant, but unfortunately the whole place is occupied by other projects, and temporarily I have to give up this idea, but I will continue to grow this plant, later on, I still make clones, and while I tear off the vegetative leaves and give free growth.

Likes
18
Share


@HippyHemulen
Follow
Girl is looking healthy and i transfered moss pellet when i saw root coming at bottom in 11L pot with Biobizz All-mix and about 5-10% coco with clay pebble drainage at bottom. Used mychorizza too in transplant hole to help roots growing at start. Pretty sunny days with little bit rain almost every day but little bit too cold this week. 13-15C at days and few night dropped 4C otherwise 8-10C.
Day 1: Started counting veg at 24.5.
Day 4: Transfered moss pellet in 11L pot.

Likes
19
Share


@Ganjagrandaddy
Follow
Day 40 ( 3 in flower) : I think it is safe to say that the flowering has kicked into full gear now and her stretch is on. Been a few issues sorting the dosage of the Mega crop with the Los soul in particular. Balancing the NPK with additional silica and calmag had me worries I had been hitting them too strong but in fact the power of the 900w Led lights being too close and intense had been clawing the bigger plants at the edges and not the mc.
# 1 is going for gold and looking very healthy and happy. she is spreading g out nicely and will be a nice yield I think.
#2 looks like she's hating something in her soil/coco and has some obvious damage from it. she is still growing skyward but is a lot smaller than the rest in the room.
#3 Growing nicely and getting ready for a good defol this week. They are good to train and now big enough to be held to the pot edges with wire. This next week will see an increase in their Mc dosage by .5g. Her flowers are coming along nicely too all over the stems, roll on bud building. Green days all


Likes
4
Share


@thefrozenking
Follow
another great week, have some definition coming in.
getting some yellow popping up. soil ph runoff is 6.0
Likes
26
Share


@dataTwiiix
Follow
01/07/21: 3ème semaine de floraison. Les premiers boutons de buds se développe à leurs aises pour ma première expérience avec des graines non auto. Je suis conquis.
01/13: la troisième semaine de floraison se termine très bien :D

Processing
Likes
3
Share


@Ogbangbang2981
Follow
I harvested my pollen sacks plant looks healthy at this point I dont feed till harvest just water every 3-4 days. think o got 21 more days to go b4 harvest but until then I'm just checking out my trichomes so that I dont harvest to late .....one love and dont forget weed is love so share the love with those you know .......

Likes
19
Share


@pifflestikkz
Follow
Day 51
20/08/24 Tuesday
Feed today using de-chlorinated tap water pH 6. With Plagron PK13-14 and power buds.
Noticing the stretch stop, and now packing out there bud sites 💪💚
Strong structure, Xmas tree 🎄 shape. All natural growth no training.
Day 54
23/08/24 Friday
Watering only today using de-chlorinated tap water pH 6,
I'm watering in 350ml no run off. 400ml I'm seeing tiny run off.
Day 56
25/08/24 Sunday
Water today using de-chlorinated tap water pH 6. Added bud candy and rhino skin 1ml per litre.

Likes
7
Share


@420Germany
Follow
Start of ML + LST
The Green Poison Auto XL goes strong.
I feel like its the stronger one but we might see maybe the other one will over take.
Likes
61
Share


@Cannibalgardens
Follow
Well as the strain that was completely making my grow room stink I'm glad she is down finally . Anyone looking for some stinky buds and a girl who can give you nice compact buds and a good amount look no further .I'm going to run these girls again sometime soon as they were just so dam good at taking what ever I threw at them ..They had no nutrient burn or lockout issues , they lived high humidity and never showed stress . They could go with out water for an extended time and recover no problem . The team that did these girls really made a winner here I would recommend this one to anyone out there looking for easy to grow plants with a good return .. cheers canna family check me out on instagram @cannibal19888
Likes
2
Share

@eldruida_lamota
Follow
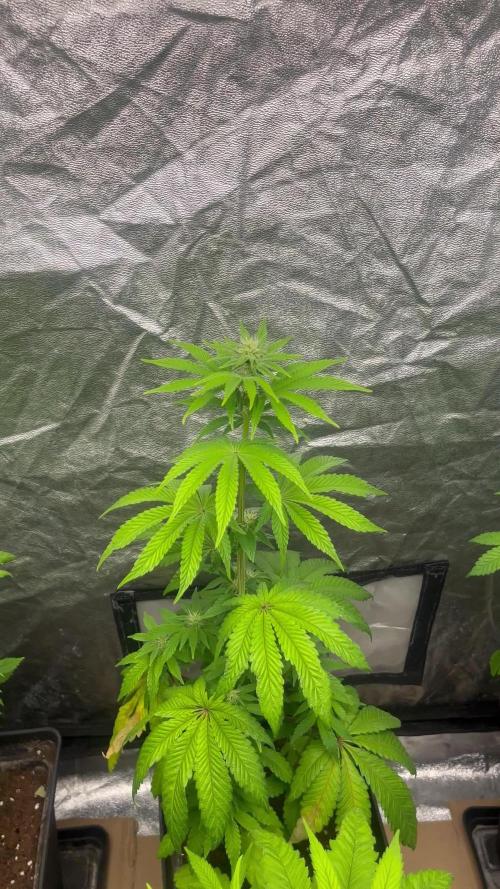
Que pasa familia, vamos con la tercera semana de floración de estas Barcelona Puff feminizadas de Seedstockers.
Vamos al lío ,se trasplantaron en macetas de 7 litros definitivamente.
El ph se controla en 6.0 , la temperatura la tenemos entre 24/20 grados y la humedad ronda el 50%.
El ciclo de floración puse 12h de luz, el foco está al 80% de potencia.
De momento van creciendo a buen ritmo y tienen un buen color, estaban muy bien enraizadas al realizarle el trasplante se notaba la abundancia radicular.
Comentar de nuevo el estrés hídrico a sido superado de momento todo bien.
Agradecer a Agrobeta por el envío del kit gold series para la temporada 🙏.
- os dejo por aquí un CÓDIGO: Eldruida
Descuento para la tienda de MARS HYDRO.
https://www.mars-hydro.com
Hasta aquí todo, Buenos humos 💨💨💨