The Grow Awards 2026 🏆 


Processing
Likes
8
Share
@weed_gastro
Follow
unstoppable :p
Day 29: on the video, the 2 on the right side are the Ayahuasca Purps, the other ones are Peyote critical.
getting real bushy, need to defoliate soon
day 32: they got their first feeding, I only use a minimal amount of blooming nutrients.
day 33: plucked some leaves , cuz there was no airflow at all, also installed a new ventilator.
day 36: had to pluck some leaves again


Processing
Likes
22
Share
@eldruida_lamota
Follow
De nuevo familia traigo la cuarta semana de floración de estas critical a granel, que me regaló grow barato.
Aunque sean a granel tampoco vamos a desecharlas, ya que aun así podemos conseguir muy buenas flores.
Este cultivo va fenómeno también. Ya empiezan a desprender su aroma tan característico, buen porte predominante indica 55/65 días están.
.
La humedad esta al 45% la temperatura está entre 21/25 grados , y como siempre el ph , ya que es de lo más importante,está en 5,8/6,0.
.
AgroBeta:
1 ml x L Flowering black line , vía radicular.
0,2 ml x L Beta shark, vía radicular.
0.5 gr x L mega PK , vía radicular.
0,8 ml x L Terminator, vía radicular.
0,5 gr x L Engordacogollos, vía radicular.
0,3 ml x L Tucán , vía radicular.
0,1 ml x L Betazyme, vía radicular.
0,3 ml x L Tricoma, vía radicular.
0,05 ml x L Gold Joker, vía radicular.
0,2 ml x L Silver, vía radicular.
.
Hasta aquí todo familia 🕸️ , un saludo y buenos humos fumetillas💨💨💨.

Likes
1
Share
@Osavv_OTGUK
Follow
You can really start to see the buds forming. I was still on preflower nutrients on cruise control until the buds get more dense still no smell
Likes
13
Share
@GanjaFarmar
Follow
To be honest overall this strain done good so as the others. Reflecting back on how i started with just a tent and light, and slowly buying the fans and filters whiles the plants were growing.
But i did want these plants to grow naturally without topping and Low Stress Training. I regret not removing the lower branches becuase i did get alot of small airy buds down there. But it was all trial and error. All i done was remove some fan leaves when good to do so every now and then. Not on a mad level tho, i did have alot of sugar leaves which i will be making some stuff with!
At veg the plants had deficiencies due to out of date Biobizz bottles. But that got sorted with the magic of Algimac and Calmag.
Overall
Next time I will definitely train the plants and maybe top a few.
Final Yield:
Plant #1 21.88 Grams
Plant #2 33.36 Grams
Plant #3 56.06 Grams
Which yield exactly 110 grams! Ounces come out very fat with these light buds
Not bad for the conditions they were brought up in, and with no training!
Thanks for everyone who has followed this diary throught out the journey! I hope this diary will help people out.
And thank you to Seedstockers for very cheap and quality seeds.
And special thanks for the GrowDiaries Team for providing the best platform for growing journals! I couldnt explain how much this Diary helped me. Its like a dream come true finding a site like this! And if you do see this message, i would love to see a Iphone app coming soon!
Kind Regards!
One love!

Likes
46
Share
@GanjaReaper
Follow
Day 67:
Increase in flower size phrase has been finished now they about to go into the mature phrase.
I will eighter flower them for 1 or 2 weeks depending on how it goes.
Might only give them water with enzymen,regulator and humic for now on, that Is basicly flushing ( ec 0.7 ).
or Ill just slightly feed them( ec 1.4-1.6) for a few times before I start flushing them( ec 0.7).
Again I took the pictures before doing work on them ( watering and defoliation), so they look a little sad.
I did notice that many of them got burned tips, indicating that they get more nutrients then needed.
It does make sence since In this week and weeks to come, they need less nutrients and having a harder time taking it.
Yet they do drink everything in 1.5-2 days, so they still do like to get nutes.
Thats all for this week.

Likes
29
Share
@Ukfarmer420
Follow
Hi guys
So here is my 10 plant auto run from fastbuds 420 genetics. I will update weekly on this one. So I'm going to be using 3 gal fabric pots filled with biobizz lightmix soil.
I will be putting into solo cups after the 18 hour soak then transferring them to there for ever pots. Im looking forward to this run and trying to get 20oz + dry and cured out of this 4x4 tent grow.
Part 2 of germination in operation in solo cups with root juice. Hopefully 10 out of 10 pop.

Processing
Likes
26
Share
@eldruida_lamota
Follow
Que pasa familia, hemos vuelto para actualizar las skunk que ya tenemos cosechadas.
Que gran genética, y muy típica entre fumadores de hierba, un crecimiento más indico pero floración lenta bastante lenta, en teoría se supone que es Sativa, 17% thc en la tas con un tamaño medio pequeño pero flores mi compactas y dulces, un cultivo ni fácil ni difícil, sin más, bastante neutral para los cambios climáticos algo sensible con el aspecto alimentación.
La recomendaría en verdad, sobre todo para aquellos amantes del dulce.
Nos vemos en próximos proyectos fumetillas


Likes
19
Share
@eldruida_lamota
Follow
Vamos familia septima semana de floración de estás apollo black cherry de SeedStockers.
Que ganas tengo de ver el progreso de esta variedad, las plantas están sanas, se ven con buen color.
Ya estamos entrando en la recta final.
La cantidad de agua cada 48h entre riegos.
Esta semana añadimos nutrientes de la gama Agrobeta.
Las plantas están bastante bien subió algo la temperatura esta semana pero por el momento no les afectó, a ver si consigo bajar un poco la temperatura estas próximas semanas y acabamos todo bien..
Estas próximas semanas veremos como avanzan y como engordan las flores.
Mars hydro:
Code discount: EL420
https://www.mars-hydro.com/
Agrobeta:
https://www.agrobeta.com/agrobetatiendaonline/36-abonos-canamo
Hasta aquí todo, Buenos humos 💨💨
Likes
64
Share
@MadeInGermany
Follow
Hey everyone 🤗
It's getting full of buds 😍.
When you open the tent, an extreme smell of Blue Gelato wafts through the room 😍.
They develop super fast, look beautiful and hardly stop :-).
Next week I'll go down a bit with the Ec.
I wish you a lot fun with the update, stay healthy and let it grow 🌱👌
You can buy this Strain at :
https://www.barneysfarm.com
Strain :
Blue gelato 41 clone from mother (Barney's Farm)
☝️
Genetics:
Blueberry x Thin Mint Girl Scout Cookies x Sunset Sherbert
👍
Vega lamp:
2 x
Todogrow LED HLG Quantum Board 100 W ( 200 W )
💡
Flower lamp:
2x Todogrow LED CXB3590 205 W = ( 410 W )
💡 ☝️
Soil : Canna Terra Professional +
☝️
Fertilizer:
Canna Terra Vega , Canna Terra Flores , Rizotonic, Cannazym, CANNA Boost, Pk 13/14, Canna Cal / Mag, Canna Ph - Grow, Canna Ph-Bloom
☝️🌱
Water:
Osmosis water mixed with normal water (24 hours stale that the chlorine evaporates) to 0.2 EG. Add Cal / Mag to 0.4 Ec Ph with Ph - to 6.0 - 6.3
💦 💧
Likes
6
Share
@jaydee702
Follow
Girls are in full bloom and staring to ripen .next week ill start just water flushing before harvsting after week 8 is over they are rock solid nugs makes it a long 2 weeks left lol

Likes
Comments
Share
@PCZECHGROW
Follow
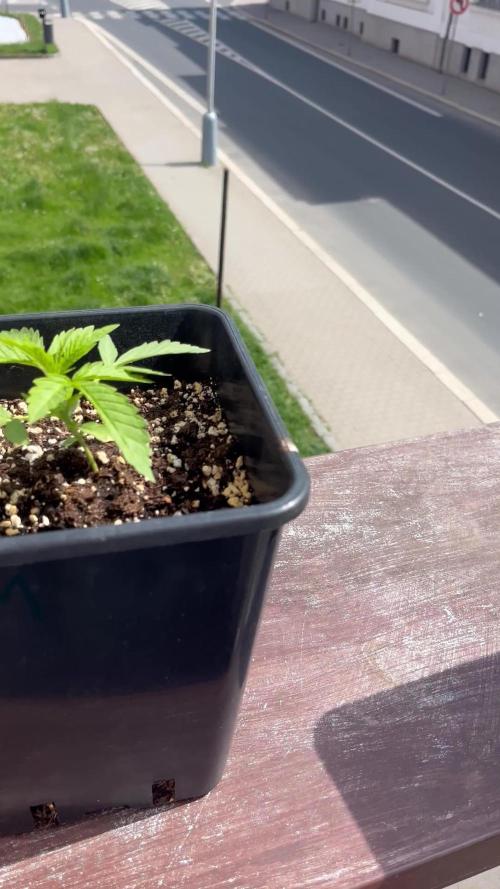
🌱 Day 22 – Vegetative Stage
Plants are 22 days old from sprout. Overall growth is stable and healthy, with no visible deficiencies or stress. Leaf color is good and new growth is developing normally.
One plant was topped on day 22. So far no negative reaction, and growth is starting to redirect into side branches. The remaining plants were left untouched and will be used as a comparison to observe differences in structure and development.
The substrate is holding moisture well, watering is on point, and the plants are responding positively. No training yet on the others, LST planned soon once the stems thicken a bit more.
Goal is a calm, stress-free veg and controlled plant structure going forward.

Likes
4
Share
@jojopfoh
Follow
Theese buds are just exploding. They are getting very thisck, dense and so very frosty. It is taking almost a gallon of water each day.
It is really linking the highter temps

Likes
25
Share
@Ganjeiro420
Follow
Eai comunidade GD, sejam todos bem vindos a mais uma semana dessa bela menina.
Essa semana tive alguns problemas com falta de nutrientes, as folhas deram uma amarelada, agora corrigi na rega e acredito que daqui uns 3 dias já teremos a melhora.
Os botões estão crescendo bastante e o cheiro está incrível, não vejo a hora de experimentar essa maravilha!!!🍌✅


Likes
132
Share
@SwissKush
Follow
Tag 50 (43 tage aus der erde)
- alles gut
- video
- 2250ml wasser
Tag 51 (44 tage aus der erde)
- alles gut
Tag 52 (45 tage aus der erde)
- 2250 ml water
- alles gut
Tag 53 (46 tage aus der erde)
- alles gut
Tag 54 (47 tage aus der erde)
- 2250ml wasser
- alles gut
- blumen wachsen
Tag 55 (48 tage aus der erde)
- alles gut
- blumen wachsen
- um 180 Grad drehen
Tag 56 (49 tage aus der erde)
- 2250ml wasser
- blumen waschen
- alles gut
Likes
327
Share
@FoTwenny
Follow
9/1 Update:
Welcome back to my garden! Thanks for following me on this 16 strain photoperiod SOG grow adventure!
If you're just joining us. We have 18 photoperiod seedlings in the tent. 16 of them will go into 12"X12" square pots in a 4x4 sea of green. I plan to top once just above the third node. I will also allow the 2 shoots from the second node to grow with the top two to form 4 main colas.
The Gorilla x Cookies sprouted 8/26! STILL nothing from Jenny Kush.
Weak-sauce!
The garden is happy and healthy! I am going to transplant this upcoming weekend into 6" x 6" square pots so they have room to stretch their legs and build a nice foundation before going into bloom. With Jenny seemingly out if the running, we have 17 seedlings and 2 of them are regular seeds. Hopefully at least one of the two will be female. I am going to say both will be little ladies! If we have an extra female she will veg a bit longer to go on the other side of the 4'x8' bloom tent. That's all I have to report today!
Thanks for stopping by my garden!
Please check out my other diaries & give me a follow!
Happy growing my friends! ☺️🌱
Peace, ☮️
Love, 💚
and Frosty Nugs! ❄️🌲
- Fo' Twenny


Likes
10
Share
@Smog2012
Follow
From today I started washing with clean water without fertilizers. Hopefully purple will become even sharper.
It smells strong, but it dissolves easily with a carbon filter.
Without any problems, it grew very well.