


Likes
Comments
Share


@Sauce_XL
Follow
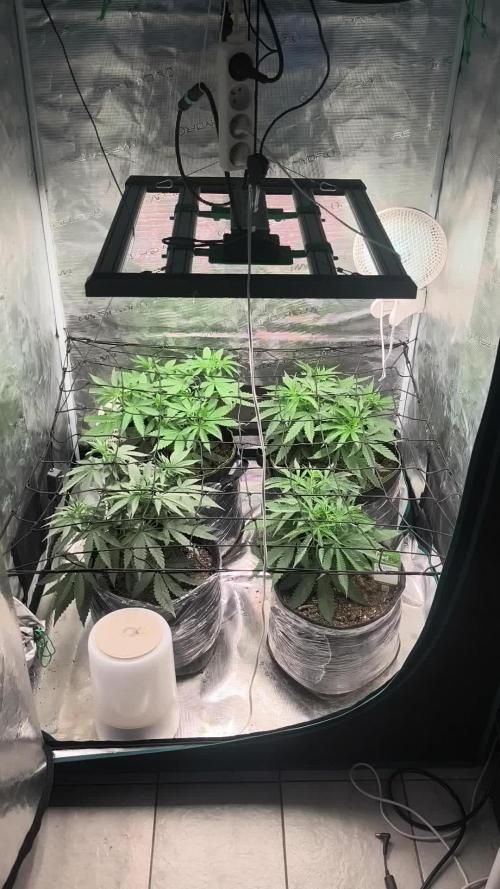
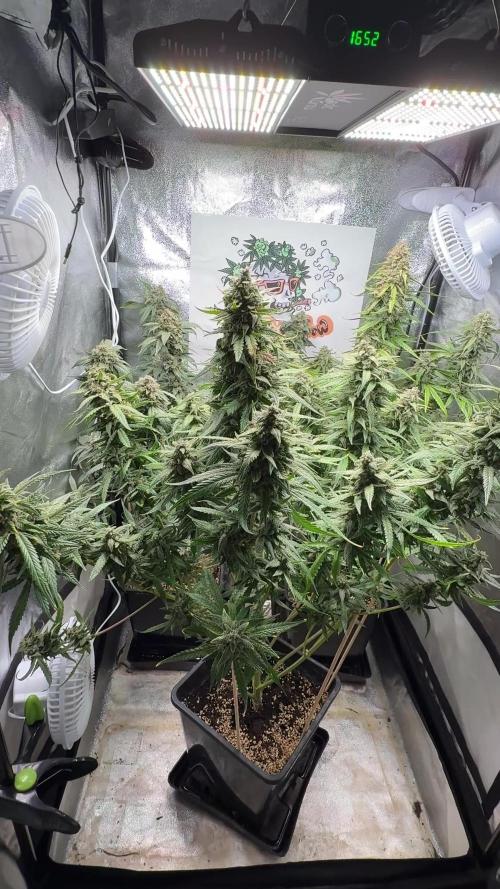
2.3.2024: More of the same. "Plants" are getting bushier. 2 Nodes with the 3rd coming through. Look healthy. Top soil is dry but a few millimeters below is still moist. Once the 3rd node fully develops i'm considering topping but we'll see. Definitely can tell the Crystal Meth has a different structure then the Emerald Fire OG. I'll add pics at some point today.
2.4.2024: Watered 32oz at 6.3ph. No run off.
2.5.2024: No water today. Plant is still super moist. Temp hovers around 77-79 and RH has been struggling to stay at or above 60%, even with the humidifier on and the inline fan speed at 2. I've increased the humidity output with the goal of getting it to the 60%-65% range. Leaves are getting bigger and everything is nice and green. Just raised light to 14 inches from soil and increased power to 50%
2.6.2024: Moving along nicely. Plant is filling out better then the FastBuds see right next to it. Nodes are well spaced when compared to its tent mate. Perhaps thats just the difference in genetics? Raised the light again to 16 inches from soil with the hope of inducing some vertical growth.
2.7.2024: No change to current state. I couldn't help myself so i clipped the single leaves on the bottom of the plant. Probably a big mistake but it'll be a learning lesson if it comes back to bite me. Not much change in vertical growth so i'm thinking about raising the light an inch or two to see if that will help them stretch. Watered 64oz of 6.3ph. Small bit of run off, ph also at 6.3.
2.8.2024: Day 20 from seed. At the moment, the very small haircut i gave the plant didn't seem to have any adverse affect. Lamp at 14 inches from top of the plant, still at 50% power(75watts). Plant doing very well.
2.9.2025: Day 21, end of week 3. Plant is perfect. No issues whatsoever.



Likes
5
Share

@Black_Widow
Follow
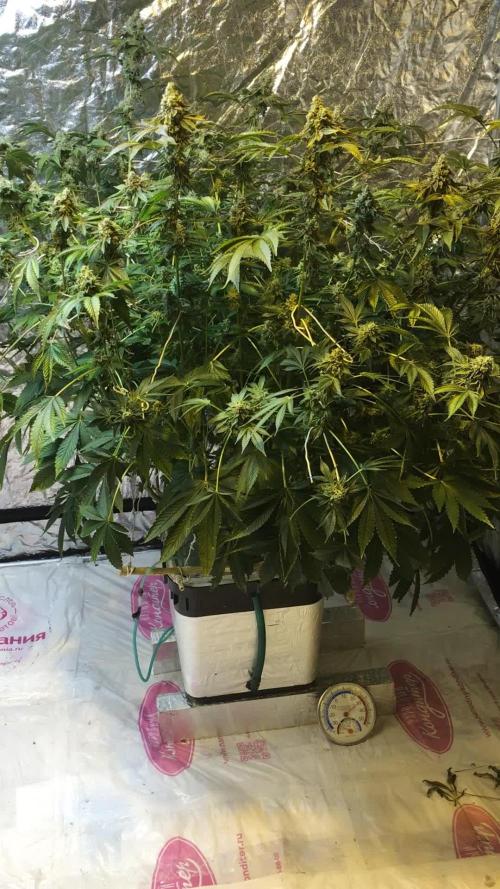
Привет садоводы и огородники !!!
Началась новая неделя и через пару дней поставлю ее на чистую воду

Likes
51
Share


@KingSalomonsWeed
Follow
17.11. Day 43 Blüte 8
Hallo.
Sie ist jetzt die Größte im Zelt.
20.11. HST in diesem Fall habe ich ihre Makkaroni dicken Äste und Stamm zusammen gedrückt bis es Kracht und splittert.
21.11. Invasion der Thirpse Teil 4..
Die Antwort: Arnold Pyrolitenegger.
22.11. noch 51 Tage Blüte...(oh shit)
23.11. Pyrolytenegger. UND was ne Genetik. Der Stamm ist dick wie eine Maispflanze.


Likes
43
Share

@GrowerMario
Follow
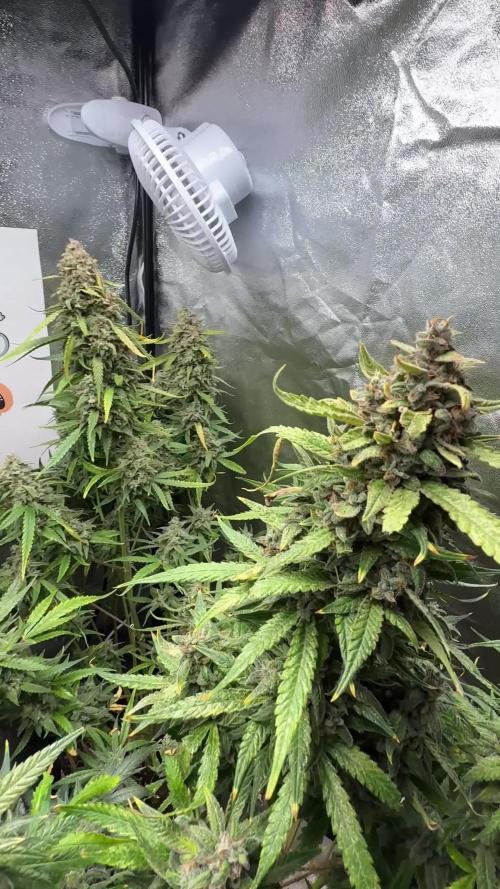
Thanks to @MedicGrow and @Fast_Buds rastlinu ešte čaká dôkladný curing a potom to príde ?

Likes
10
Share

@UnitedStrainsGermany
Follow
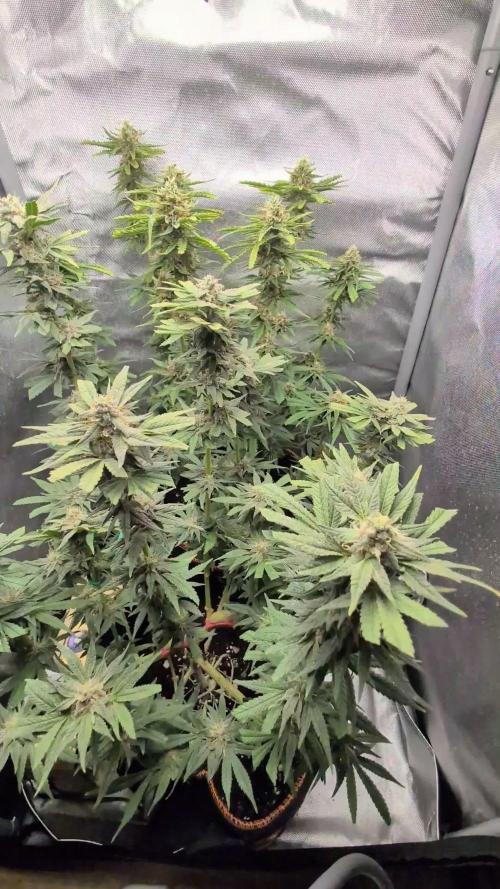
Die Tripse sind verschwunden aber ich habe die Pflanzen strapaziert die letzten 2/3 Wochen erholen und nichts mehr tun außer buds zu dicken. Ich habe es kühl und feucht gehalten und mit Gegenmitteln alles organisch bzw nicht schädlich oder keine Chemie aber dennoch ist es nichts für mich denke das nächste Mal direkt weg den die Arbeit ist zuviel vor allem wenn's wie bei mir dann immer auch zusätzlich juckt dennoch R.I.P Tripse

Likes
4
Share


@weed_gastro
Follow
day 42: LOTTA leaves, had to defoliate 2-3 times.
they started to show their first pistils a couple days before the Ayahuascas, hope I can do a harvest before May,(the Peyotes) but it seems really tricky..unfortunately I need to leave them for a week in April. I'm pretty scared to leave them alone at the end of flowering...
Day 43: do you think the leaves on 2 plants might be too dark green? Thanks!
day 46: defoliating


Likes
14
Share


@PREPPYPUNK
Follow
..MAJOR TRAGEDY , EMERGENCY SITUATION FOR PLANT. ACCIDENTLY PULLED FIRST INCH OR 2 OFF OF MAIN KOLA. I DONT KNOW IF THE WHOLE THINGS GOING TO DIE OR IF I SHOULD DO SOMETHING BESIDES FEEL LIKE A MORON? IM GOING TO FEEL , WELL ANOTHER LESSON LEARNED BUT WHAT SHOULD I DO NOW?

Likes
162
Share


@Lukush
Follow
Day 4 of week 2 in veg 🎉🎉
She looking good and happy 😎✌️🌱🌱
Chanced hear pot with a 4 liter...
Still so happy cant wait to se hear scrogging 🤣😎✌️
Hope yall enjoy have a good one growmies ❤️🌼

Likes
19
Share


@adam_pawloski87
Follow
This week went real great, 2 ogreberrys and Bruce banner got trimmed up an jarred ! We chopped the 3 other Ogreberrys on Sunday the 14th , they will hang out to dry for 14 days ! Stay tuned for next update! More trimming an weight an overall photos! Cheers to y’all 😶🌫️💨💨💨💨

Likes
33
Share
@GrowerMario
Follow
Blížime sa do konca , už budem flushovat . Všetko šľape ako má a teším sa na skvelú úrodu vďaka svetlam od @MedicGrow
Likes
30
Share


@XperencdGmanXG
Follow
This girl is stacking so nicely for someone who got very little grow time outdoors before the onset of flower. 2nd generation of shogun I have grown but never smoked, so I still don't know if its any good. LoL Something tells me this one is going to be something special. Lets see.
Likes
29
Share


@BioGrowKing
Follow
Die Woche ist sehr gut verlaufen ich dachte eigentlich sie stirbt aber sie hat sich sehr gut erholt nach dem ich die Nematoden hinzugefügt habe man kann es gut erkennen da wo ich getoppt hab kommen und zwei weitere Köpfe und die neuen Blätter die wachsen sind wieder schön grün und saftig
Sie ist nun auch in der zweiten Blüte Woche beziehungsweise der elfte Tag dann schauen wir mal wie es weitergeht.
Likes
5
Share


@alafmalaf
Follow
The plants would have been growing well if I were there to figure out what was wrong with them but I was on the first week of a 2 week vacation so my gf didn't know what to do with them and I could only try to give tips from afar. I assumed they would all die.
Likes
30
Share


@BC_Green
Follow
It has been another amazing week of the plants growing. I have been watching as the Fruity Freak leaves become progressively more fern-like, and ornamental as a result!
Based on my Banizzle grows, I knew I needed to understand plant nutrients in a more meaningful way if I wanted these plants to thrive. So, I decided to get a soil test (see Ref. 1 below on how to perform a test) to understand what nutrients my plants needed. The report I received advised that I needed to add 200 lbs/acre of nitrogen, 150 lbs/acre of phosphorus, and 190 lbs/acre of potassium (see picture labeled Pic.1 (FYI you can't see these images unless you login to growdiaries)).
I then researched what to do with my results (Ref. 2 helped), and I figured out that my nutrient needs of 200-150-190 fall close to a 2-1-2 ratio. I then looked at different types of organic fertilizers (see Ref. 3 and Ref. 4) and considered that I already had a 3-10-5 fertilizer (Vermibloom) on hand. I discovered Dr Earth’s Alfalfa Meal is 2-1-2 and includes beneficial bacteria and mycorrhizae (to promote healthy plant growth and disease resistance). However, I knew I would be low on nitrogen if I only used those two fertilizers. Therefore, I decided to buy some blood meal (12-0-0). I also liked that blood meal is more fast acting while the other two are more moderate.
I hunted around for a solid fertilizer calculator and found an amazing tool from the University of Georgia Extension (Ref. 5). I entered all three fertilizers into the calculator, and it kicked out the exact amount of each fertilizer I needed to apply to 1 square foot (see Pic. 2). As I am using 10-gallon fabric pots (that can hold 1.5 cubic feet, but I put stone on the bottom and there’s space left at the top) I decided to use the one square foot application rate as I can always add more later, but I can’t take it away.
Not only did I want to understand the nutrients I needed, but I also wanted to understand the structure of the soil (as it was not included in my test results). North Dakota State University has a nice page that discusses this (Ref. 6), and I performed a soil ribbon test (see Video 1) based on this information. I determined my soil to be medium textured (which is great), but I have seen occasional water pooling on the surface, suggesting that it may be more of a medium-fine. This means adding peat moss, coco coir, or other amendments might improve drainage (and plant hydration) and allow for roots to grow more easily. In the long run, I plan to use compost to enhance the soil structure and nutrients.
I filled the bottom of my 10-gallon fabric pots with a ½” of pea stone to allow for drainage (Pic. 3). I then partially filled two 5-gallon buckets with topsoil from near where I will plant (but not in an area the roots will reach). I used a digital scale to measure the amount of fertilizers recommended by the calculator (Pic. 4, 5, and 6) and added it to one of the 5-gallon buckets (see Pic. 7). I mixed the fertilizers into the soil as evenly as possible (Pic. 8 and 9). I then poured a two-inch layer of non-fertilized soil, then peat moss, and then fertilized soil (in a roughly 2:1:1 ratio) and blended them together. I repeated this until the pot was full (getting additional soil as needed), and then I repeated the process for the other three pots.
I set the filled fabric pots in my garage (Pic. 10) for two days to allow any upset bugs to flee into my garage instead of my house. I then moved the pots (wrapping them in a contractor garbage bag to prevent making a mess) into the room with the grow light. I placed a board on top of the fabric pots to insulate the plants (in their smaller pots) from the cold soil (Pic. 11). Once the soil in the fabric pots reaches room temperature, I will transplant.
(Ref. 1) This video shows the method I used to take a soil sample. I didn’t have a field to test, so I took four samples from the area where I will eventually plant outdoors and blended them together. I then mailed my soil sample off to the lab, and about a week later, I received an email with a PDF of my results (included with my pictures this week).
https://www.youtube.com/watch?v=N9AwxmFxBwg&t=8s
(Ref. 2) This video from the University of Minnesota Extension (many universities have agriculture extensions that can assist you with soil testing and growing information for your area) discusses what to do with your soil testing results:
https://youtu.be/HYrkcfE62Pg
(Ref. 3) This is a nice article that discusses organic fertilizer solutions:
https://www.grow-it-organically.com/npk-fertilizer.html
(Ref. 4) This article lists the NPK values of many organic fertilizer solutions:
https://www.epicgardening.com/organic-fertilizers/
(Ref. 5) Many websites tout a fertilizer calculator…but this one is hands down the best I have found. If you scroll down to the bottom, you can enter any fertilizer type you want (and the cost, if you want). It will give you the exact blend of multiple fertilizers to solve your nutrient deficiencies (I included a snapshot of the solution I used in my pictures).
https://aesl.ces.uga.edu/soil/fertcalc/
(Ref. 6) This is an excellent article that discusses how to evaluate your soil:
https://www.ndsu.edu/agriculture/extension/publications/evaluating-preparing-and-amending-lawn-and-garden-soil
Processing
Likes
3
Share


Likes
21
Share


@Greencrypto
Follow
I have changed tent to a bigger one 120x120x200 and upgraded my carbon filter and fan to a spider farmer 6” intelligent which seems all great happy with plants looking healthy I have another mare hydro ts1000 to also go in tent which will be going in around a week 😁👍 thanks to all
Processing
Likes
4
Share


@Autounderground0513
Follow
Time for her to go to the dark room. She has finally finished up her growth it was my first time growing this strain I will do much better next time up. Now it is harvesting and curing then testing to see how she taste. Didn't get much out of her but the best things come in small packages.I will keep GD updated on the curing and how much did I come out with hope I have better luck next time on the size I really learn alot from the GD family.
