
Likes
Comments
Share


@KannaGrowing
Follow
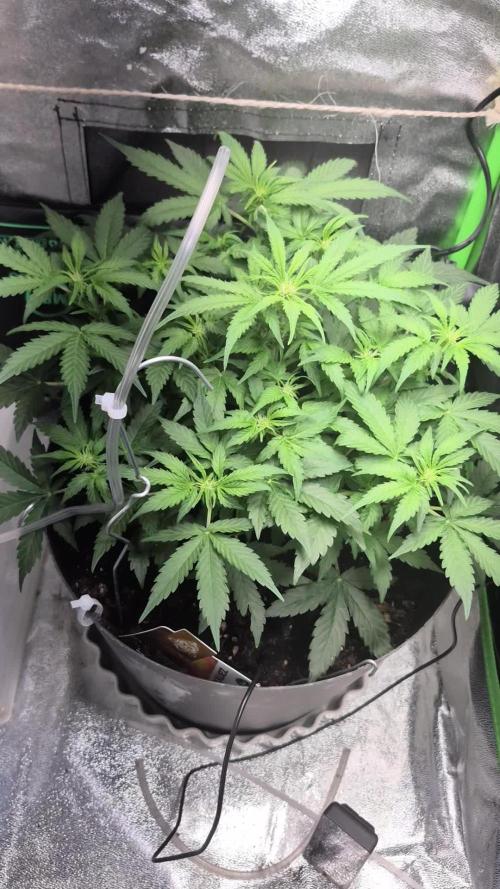
Toca cambiar las lamparas que hemos estado utilizando durante el periodo vegetativo, con un espectro lumínico más azul (entre 5000ºK y 6500ºK), por unas mixtas de 2500ºK.
Más adelante las cambiaremos por las definitivas 2000ºK.
Es importante decir que realizar fotos o videos bajos lamparas de floración, no ofrece un buen resultado... Así que a partir de este momento voy a utilizar un filtro corrector en las imágenes que muestro.
Sigo regando cada tres días, alternando entre agua+Bio Rhizotonic+Bio Vega y riegos solo con agua.
Llevo un diario de cultivo en una libreta y los principales cambios en una pizarra.

Likes
Comments
Share

@alex93
Follow
This week, I'm pretty happy for now. The addition of Cal-mag and the increase in light are going great. There is also a slight defoliation. The canopy is very present, the heads are quite similar in height, I am very happy even if I think there will be a few weeks more than what Zamnesia has announced for this variety...

Likes
Comments
Share


@Steviegrows
Follow
Unfortunately, the plants have numerous leaves which look unhealthy (discolored, droopy, crispy/decayed). I removed the 3-4 worst looking leaves from each plant every other day, although I know that can be harmful to autos. Started adding in "Sensi Cal" this week to hopefully rebound from potential mineral deficiencies. Still using Recharge microbes once a week. Nutrients are now being administered accurately and at 1/4 the recommended level.
Despite the unhealthy state of the plants, the pre-flowering bud sites look pretty good to me. I'm happy to see healthy looking pistils.
Needless to say, I'm very eager to get these girls back on track and looking vibrant and verdant ASAP.

Processing
Likes
51
Share


@Silverback_Guerilla
Follow
1/18:
Got my new 10t Dabpress...bout to get sticky up in here...
Built another DIY Co2 maker and put it in the bottom of the tiny tent with the other Co2 makers...that air is exhausted into the closet, so any CO2 not utilized in the tent has another chance at being used before being exhausted from the building.
Seems like the new UVB bulb is intense enough to stress the plants.👍
1/19:
Fed today. Added humic acid. Took some photos and video...ooh la la...😍
1/20:
Took photos of the ladies in the tiny tent....yowsa!

Likes
Comments
Share


@Robom069
Follow
Day 47/48
introducing the 12/12 on high power leds on the ladies
lookin good so far
the black domians nmow oin the right and the acid dough on the left
i think both lamps work very similar

Likes
57
Share


@Roberts
Follow
Pablo Escobar is still making progress. She had the two neem oil treatments. Hopefully I broke whatever pest is bothering them. Still no sign of what it is. Even under 100x magnification. I might of got it. If not I will get a Insecticide soap of some kind. She is still growing after the treatment stress. I need to resolve it prior flowering is all I know. Until next week..... thank you Spider Farmer, and Divine Seeds. 🤜🏻🤛🏻🌱🌱🌱
Thank you grow diaries community for the 👇likes👇, follows, comments, and subscriptions on my YouTube channel👇.
❄️🌱🍻 Happy Growing 🌱🌱🌱
https://youtube.com/channel/UCAhN7yRzWLpcaRHhMIQ7X4g

Likes
31
Share


@Endriu
Follow
Hello Bros&Sis! Ciao!😊
this time I've decided to made a video update, from the start of the week to the finish, we're gonna see some BIG differences! (The longest is from the end)
About the ladies:
Girls in coco
Royal AK- she's drinking every single drop op solution and has literally exploded! I'm really happy about her training (top/lst/hst). A very strong strain.
OG Kush- I don't get this girl, she's definitely not an heavy drinker.
Speedy Chile FF- when I re-potted her into 6lt pot, some of my Bros hoped for a Baobab, what do you think?😂 (has some mutations, has a growth of 3 leaves and then 2 branches have joined together and the other has grown normally)
Ladies in Soil:
UK Cheese auto- I've broke a branch due to heavy crop. Lesson learned.
Pink Doc CBD auto- she's growing good, finally! The only thing I'm worried about is that she will not grow so much, because switch is near.
Candy Kush Express- A really nice lady, not too tall, good side branches and she take everything with no care less (one of the most "broken" in the tent)
Special Kush#1- She likes her new pot, but there's something wrong (see leaves) maybe related to VPD or RU?
I've used different techniques on this ladies, but the one I like the most is cropping the branches and the main stems and also broke the branches where meets the stems, to give'em more power, and more "space" for nutrients transports in sight of bloom!
That's all mate, we will see soon for the next update! Ciao!😙
(hey @Growdiaries if you want to use my video, feel free to do it, but please, don't change the music, it's already on YT and for CC use)


Likes
153
Share


@PigBearMan
Follow
High,
the Canna Professional Plus soil had mourning mosquitoes in it (second time I have the same problem with Canna soil).
I "fight" them with Culinex pills (B.t.i.) and neem oil - works pretty good. They are almost gone.👍
I peg the leaves down, so that more light can penetrate the sprouts.
EC is 1,2 with Canna Terra Vega (first and last time in veg phase).
They will get another shower with neem oil the day I send them into flowering.
Stay green. 💪


Likes
58
Share


@Coopmc
Follow
Starting week 4 for seeds bearing plant week 5 start for the Pollen maker Balls starting to open and female flowers are ready!!
Pollen !!!
SVT, SubLIMEinaL, Peyote Gorilla and Royal Gorilla in with SVT pollen doner
Likes
2
Share


@High_Grade_Dadli
Follow
Buds size growth on #1 is good for the stage she's at will breed a branch or two later down....
Growth on #2 is just great..if u been following u will see exactly what am talking about or u can take a stroll 🔙
Likes
22
Share


@Top_Banana
Follow
Huge stretch this week. She has bushed out quite alot. Never expected this much growth with the light schedule. Multiple bud sites appearing and she's showing no signs of stress. 🤞


Likes
12
Share


@Herbz_Unkraut
Follow
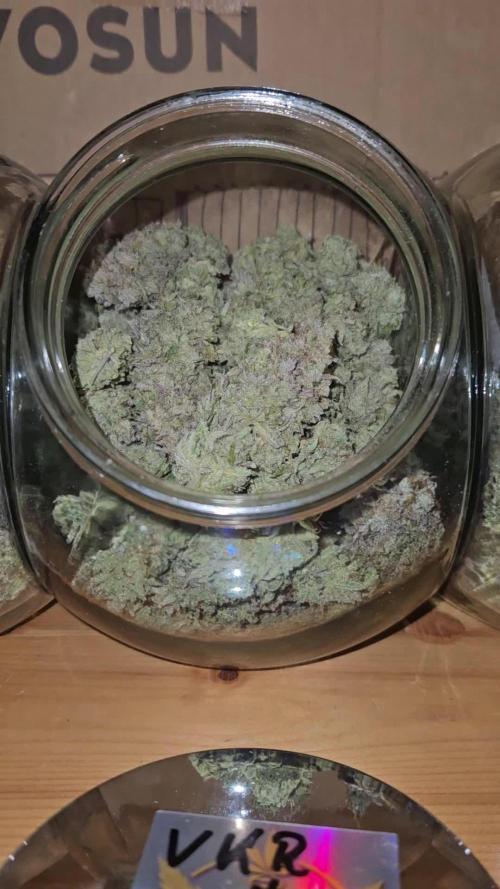
very strong resin production, a heavy hitter, nighttime stuff!
a real great strain, highly recommended!
you can certainly smell the grape with a creamy touch!
ps. one of the plants was a mutant, it was very weak, had almost no resin on it and absolutely no scent at all....but it had alot of potency and a awesome yield!
Likes
28
Share


@Trickybis82
Follow
Hello growmies,
Quick update the girls are doing fine and are loving life at present everything is going well and they are starting to really bud up.
Not alot more to add at this time. :)
Adios amigo


Likes
3
Share


@Farad9650
Follow
Just fed dilute 900 ppm general hydroponics flowering stage from the feed chart at 12 days into flower