
Likes
Comments
Share


@Roberts
Follow
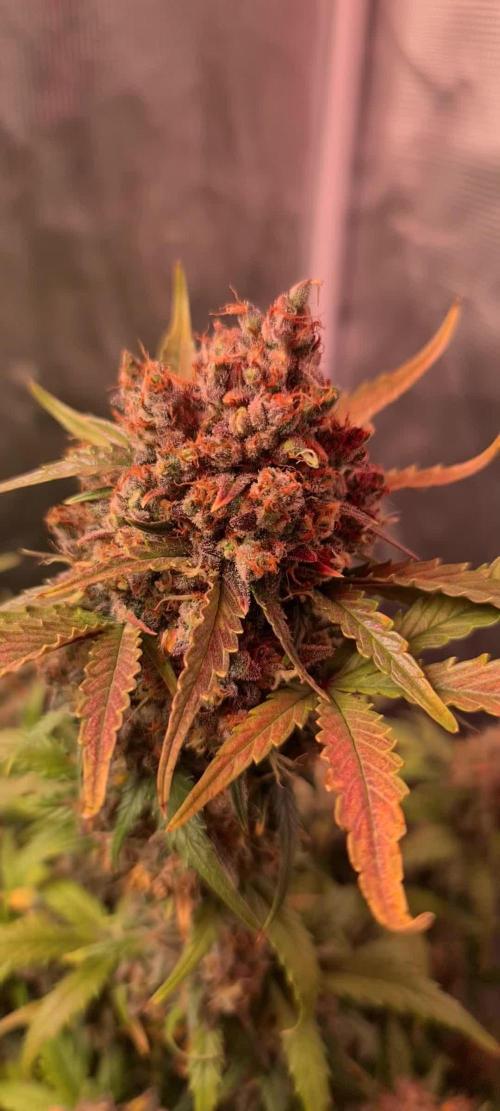
Baked Bomb autoflower grew really well. I had a issue getting a seed going, then some ph issues in vegging. Beside that she just thrived. Big dense colas with a cherry vanilla fruity smell. Loaded with trichromes as well. Can't wait to give her a try. Thank you Bomb seeds, and Spider Farmer. 🤜🏻🤛🏻🌱❄️🌱
Thank you grow diaries community for the 👇likes👇, follows, comments, and subscriptions on my YouTube channel👇. ❄️🌱🍻
Happy Growing 🌱🌱🌱
https://youtube.com/channel/UCAhN7yRzWLpcaRHhMIQ7X4g

Likes
11
Share


@Microsun
Follow
Alright, the time is here, I’ve started the harvest but I don’t want to press the harvest button until I have all my info correct, but I’ll show some photos from my baby, we started a slow 6.0 flush about 2 weeks ago and finishing flush about 4 days ago. She was already fading but I had some problems since I fed her without thinking after having some drinks witch is obviously a very rookie move. But as I’m still learning it’s just another oof under the bridge, she was fading and I got some nice looking tricombs and I’m happy with the smell and size for her life cycle, I’m aiming for a slow dry and cure but my space is limited in my appointment and grow room so I have a drying tent set up but conditions could be hard to handle since the season change. Cheers. (And yes I didn’t wanna flush my auto but I figured it was the safest route.)

Likes
52
Share


@Santica_Garden
Follow
Hi Guys, Grow Diaries for whatever reason won't allow me to upload my complete harvest video which is a real bummer because I mainly do the videos for my YouTube channel but decided to also include them on grow diaries to give other growers who might be considering growing the same strain in the future. Helps give people an idea of what to expect when they grow it.
But honestly I can't be bothered to re-edit it to fit to Grow Diaries setting which I don't even know what they are.... Didn't think they had any! Maybe it's the length of my video..... 🤔! I don't know, but I like to give growers a good description of the strain and smoke review.
I hate it when I go to others peoples pages to have a look at a strain I'm thinking of growing and them not having hardly any pictures that properly show you the growth stages of the plants.... Really annoying. Which is why I chose to properly document mine to give you guys or try to give you guys the best view of my grows..... If that makes any sense 😅
https://youtu.be/iYNiI75Vvkg
That's the link for my channel guys, the complete King's Juice harvest review is there.
Really sorry I couldn't provide a better aspect to the Harvest guys, but at least I know for next time and I will be prepared. 👍🏾

Likes
Comments
Share


Likes
1
Share

@Ninjabuds
Follow
Growace.com aircube only discount code NINJABUDS
ELUFAH / Amazon discount NINJABUDS
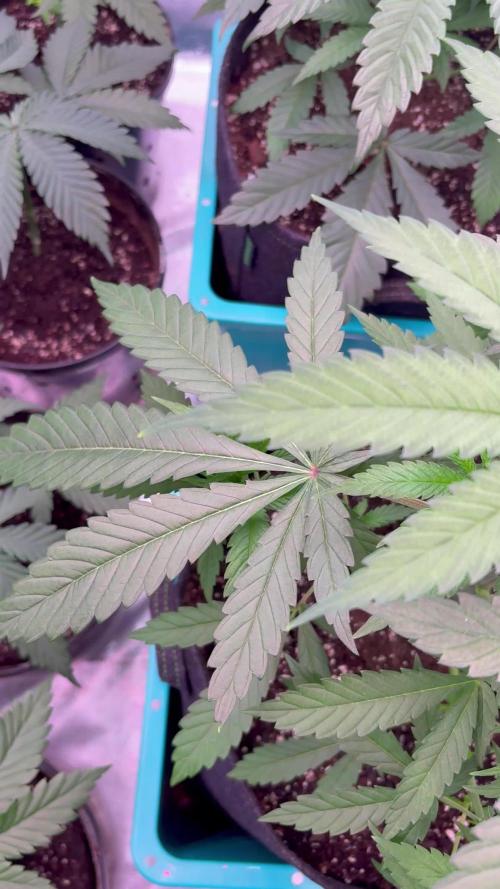
The plants are very close to being large enough to start useing the watering system to water them
Truffle Jordan is starting off strong. I hope it turns out as dank as some of the pics I see of Beleaf genetics

Likes
Comments
Share

@HuskyHouse
Follow
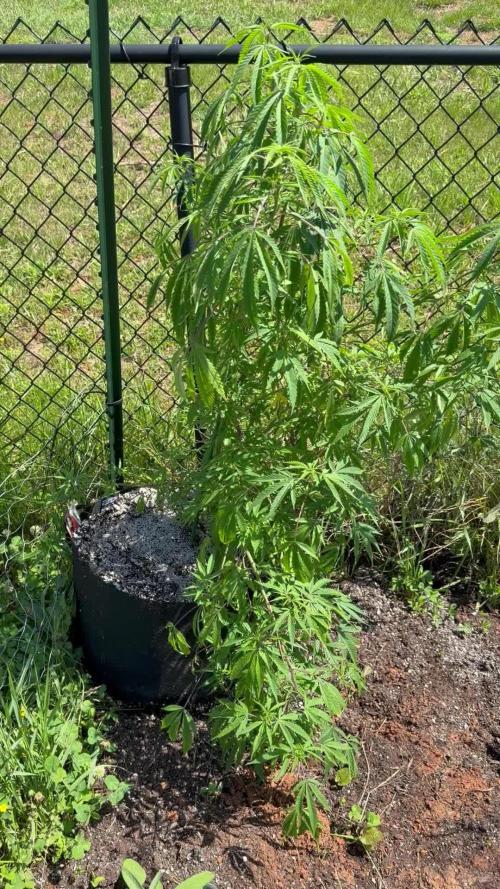
She is doing well, had a storm the second day and was tilting after her transplant so I propped her up with a stick. I will transplant her again to a 15 gallon in a few weeks.

Likes
35
Share


@nonick123
Follow
Día 108 (16/09) Tras el flush las plantas muestran tímidamente nuevos pistilos blancos! 😍
Hoy no es necesario regar!
Día 109 (17/09) Me he encontrado a OnionOG #1 y a Purple Punsh completamente sedientas! Con las hojas caídas!
Riego con 1,25 litros de H2O a cada una de ellas (el resto no necesitan riego)
Día 110 (18/09) Riego con 500 ml H2O
Las plantas con el bloqueo empiezan a mostrar nuevos pistilos, sobre todo en las partes inferiores
Día 111 (19/09) Riego con 250 / 500 ml H2O
Se vuelven a formar pistilos blancos en todas las plantas que han sufrido el bloqueo! 😍💥
OnionOG #1 va como un cohete formando y apilando flores 💪 🚀 😍
Día 112 (20/09) Día lluvioso. Riego ligero 250 ml H2O
Día 113 (21/09) Otro día lluvioso. Riego ligero con 250 ml
Día 114 (22/09) Detecto algunas moscas blancas apoderándose de las plantas y decido hacer una aplicación foliar de piretrinas (Spruzit a 15 ml / l)
Riego con 1 Litro de Té Floración de Lurpe Solutions. Preparación: 24 horas con bomba de aire (oxigenación) con ingredientes:
Healthy Harvest 8 ml/L + Insect Frass 16 ml/L + Kelp Hidrolizado 0,3 g/L
💦Nutrients by Lurpe Solutions - www.lurpenaturalsolutions.com
🌱Substrate PRO-MIX HP BACILLUS + MYCORRHIZAE - www.pthorticulture.com/en/products/pro-mix-hp-biostimulant-plus-mycorrhizae

Processing
Likes
10
Share


@CanadianFillmore
Follow
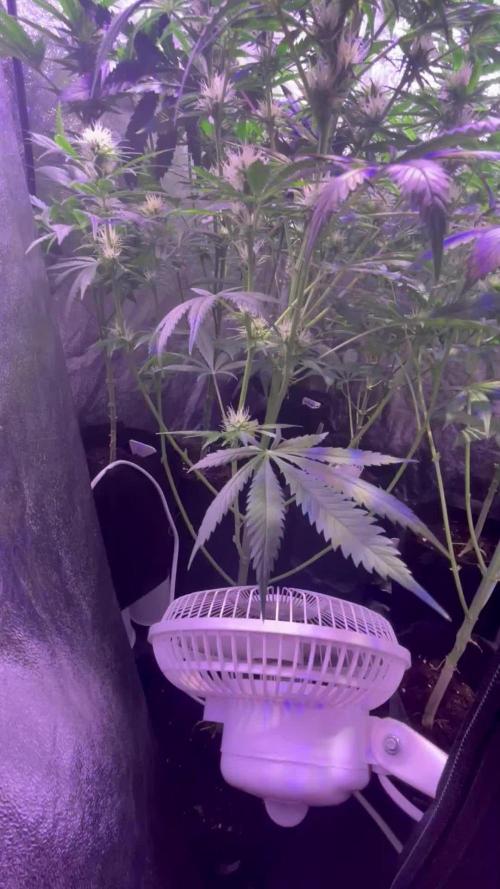
Week 6 of the green crack bender continues. This lady looks healthy and happy, buds sites are bulking up and getting frosty!
Thanks for stopping by, tune in next week for another episode of growfessor theatre. 👽🌳🔥

Likes
1
Share

@JorgeNitales420
Follow
Week 5 of flower
Buds started to pack up in size, they started to smell like good shi
Tested the runoff a couple days ago and it eas around 4 EC, way to fkn much. Don't know if uptake did his job or this plants are so fkn resilient to hold 4 EC with no burned tip or another symptom
Anyways, watered with 600ppm till 20-30% of the runoff to control this, but since they dont have any symptom am not gonna do a hard flush

Likes
7
Share


@420DeepGrow
Follow
📆 Semana 6
La Alien Moonrocks sigue en plena forma:
los cogollos se están desarrollando con fuerza y empiezan a coger una estructura redondeada y densa, con una capa de resina que no deja de aumentar.
En cuanto a nutrición, sigo con XpertNutrients y esta semana he continuado aplicando Sticky Fingers, que ya está dejando huella: se nota una mayor explosión de tricomas y un incremento claro en la intensidad aromática. La planta está respondiendo muy bien, sin signos de saturación ni estrés.
La iluminación de los Adlite sigue siendo clave, permitiendo una distribución homogénea de luz que está ayudando a formar cogollos compactos incluso en zonas medias.
Clima controlado: 22-25 °C de temperatura y humedad en torno al 55%, pero con buena circulación de aire para prevenir cualquier problema.
Los aromas comienzan a intensificarse, con notas dulces y un fondo terroso que promete una flor final muy sabrosa. Los tricomas están en su mayoría lechosos, sin señales de ámbar aún, así que seguimos en plena fase de engorde.
Una genética con presencia, y cada vez más pegajosa.
¡Seguimos creciendo fuerte! 💪


Likes
15
Share


@Dunk_Junk
Follow
Closer to the end than the beginning now!
I'm thinking another couple of weeks, lets keep an eye on the pistils and see when they all turn colour.

Likes
14
Share

@Dunk_Junk
Follow
Wow... She's really entered flowering this week!
I've had to bend over her main cola so is could receive light as opposed to growing above it 😂 😕
Also she's been stretching like crazy. I have backbuilt quite a few bud sites. We will see in the coming weeks how effective this has been.

Processing
Likes
17
Share


@Colin087
Follow
So they all look good 👍 I was thinking i was getting to mush nitrogen in the plants thats in flower so I lowered the nutrients in today's feed for all of them that mite have been a mistake to play around with the nutrients I think from now on im just going to keep doing what im doing and thats full nutrients every two days they are takeing an extra litre of water now so 2 litres each every two days and im not getting mush run off at all they could take 3 litres if I wanted to but they seem very happy at the minute whit two buds are starting to get bigger I have added 2ml per liter of notorious bloom that looks to be doing a good job the ones thats not in flower are getting very big I think they are going to turn out very nice when they hit flower stage the small one is also growing fast now whit the full nutrients I gave it few days ago


Likes
14
Share


@SUMAN
Follow
I'm in the fade waiting for 30% amber it's taking forever tho, no amber as of yet on any plant also the barneys farm runtz muffin strain hermed on me...😮💨also put the runtz muffin in 3days of darkness Friday chopped today Tuesday Sept 5

Likes
13
Share

@420DeepGrow
Follow
Desde el inicio mostró un crecimiento vigoroso, con una estructura fuerte y hojas de un verde intenso. Durante la floración, los cogollos se formaron densos, con una capa gruesa de resina y un aroma especial.
La cosecha fue abundante y de excelente calidad, con flores compactas y pegajosas. El perfil de terpenos es realmente delicioso, y la potencia no se queda atrás. Sin duda, una variedad que repetiré.
¡FastBuds lo ha vuelto a hacer con esta impresionante genética!


