The Grow Awards 2026 🏆 


Likes
Comments
Share


Likes
19
Share
@Deepgrow
Follow
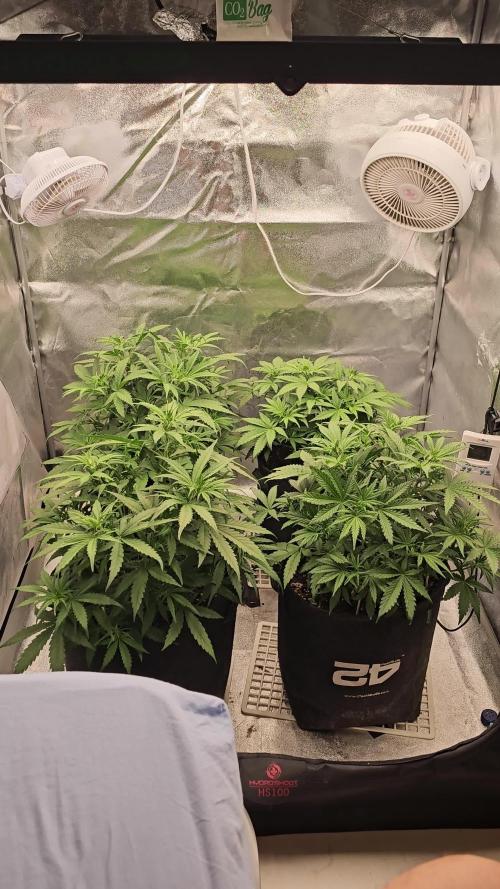
Esta semana agregue una pastilla de easy 2 grow x 15l de agua y los siguientes riegos con agua. He ido haciendo cropping y moldeando un poco las plantas. Por fin noto mejoria desde que desequilibre el PH.
Arranco el Autopot para las Hulkberry. Las gelato van con riego a mano, no tengo mas autopot. Un vaso de agua de plastico cada 3 dias.

Likes
18
Share
@lino06000
Follow
la petite n'en finit plus de grossir elle a une odeur très forte et deviens toute blanche que du bonheur
11/10 la belle et a l'eau depuis 3 arrosages les tricholomes ont bientôt atteint leur summum de ce que j envois au microscope et si je m en refaire au livre de Jorge Cervantes .les dernières photos sont prises avec flash au naturelles ont vois plus de 85 a 90 pourcent de poil ambre

Likes
10
Share
@Pggrower
Follow
The flowering process isn't it beautiful. I love this stage doesn't matter how the plant turned out in training or in this case the panic moments when they get too tall. 😅 because you start seeing the results of the work that was done. They are all doing well.
Processing
Likes
10
Share
@CrackinBeans
Follow
If you come across something Im doing wrong or some faults or got any tips or useful tricks. Feel free to let me know. I can use all the info and pointers. Fyi this is my first op if you cant tell by the plant conditions lmfao


Likes
2
Share
@Mr_nugs_lover_David
Follow
She grew up nicely very healthy and strong and she produced a decent amount of organic clean cannabis, It's great and just what I work for because I'm a patient that needs to grow his weed and doing it making sure I grow them naturally and organically. The result is a very fruity and and tropical aroma, the purple color makes her even more beautiful. It's just a dream man, I love it, I just love to grow this strain, the 4 plants I grew had the same aroma very tropical and fruity, super sweet.

Likes
12
Share
@cookingwithninja
Follow
day 14 added 1/2tbsp magnesium sulfate in 5gal water along with regular flower water amendments. 1gal of water per day average, bridal and thunder can take more water. Ph 6.8 today
day 15 I will defoliate in a few days :) day 15 video, you see some stem action
day 16 video
day 17 I added (4x20w daisy-chained)80w of poop purple ancient leds Keep adding soluble PK, organic booster etc. I see the stacks relax on defoliation for a few days, maybe tomorrow morning (skip day21) I feel like I will be able to chop week 6-7 as my last grow, push hard fast-continue everything is great, soon bridal and thunder will require 1gal water per day. I would like to see even more mass. I'm extremely happy, starting to see frost
day18. BIG UPDATE many short vids of final defoliation(ahead of "day 21"). Wild amendments appeared! Any recommendations for a lawnmower? Bridalparty stretched over an inch overnight, led touch diode burn on 1 spot. Raised lights slightly, Added new amendments into water. Bridal wants to drink more than 1gal per day, So I will be using almost 5gal-ish water per day not denying the plant needs-watering. I am very happy! defoliation took about 4h today.

Likes
27
Share
@Roberts
Follow
Pineapple Express is flowering and lsd looks to be right behind it. Starting to really take off now. Like and follow I will do the same. Thanks everyone. Can check out my you tube channel as well.

Likes
5
Share
@CzAlmighty
Follow
Hello growers,💚
beautiful and strong plant .No problematic flower.🦍🦍🦍 Hnojení jednou týdně . Občasné pro oddělení půdy .

Likes
19
Share
@A_Rolling_Stoner
Follow
For my first grow, I am very very happy and am looking on for the next one.


Processing
Likes
16
Share
@TrickOrTrip
Follow
The grow path is going good i think . This random unknown strain is a mystery ! She doesn't want a lot nutrients . This plant is easy to grow ! Guys if you have some advices about this grow i am open to listen all ! Thanks a lot !! Better grow coming


Likes
5
Share
@Herbie
Follow
Mrs Banner aka Bruce banner #3 aka the Triangle grow, is Budding away nicely.
I've given her, her last feed of nutrients so she will be on just water now until harvest.
I've been concerned shes a little on the small size but just as the name suggests she starting to "Hulk up."
I'm hopefull of a harvest in about two weeks, but with a few grows under my belt, I know that
1) two weeks may turn into six
2) patience wins the grow game
Likes
1
Share
@Kern420
Follow
Die Woche über haben sich die Blüten weiter entwickelt. Die Trichome wurden mehr und man fängt an erste Terpene zu riechen.
Wir haben Donnerstag (BT 21) stark entlaubt und schauen jetzt wie die Pflanzen wachsen.
Wir gießen weiterhin durchschnittlich alle 4 Tage 1,5 L


Likes
3
Share
@crystal_garden_0
Follow
Great week, plants are ready to be harvested. End of week 9, flushing done. Incredible smell and really nice structure