
Likes
Comments
Share


@Filiaes
Follow
09.06
After some research I think the lightly burn on the leaf tips came from to much light and not from nutrient burn. Anyway, I like how they developed the last week so I guess it wasn't super bad to reduce my scheme. I am now 4 weeks before harvest, I plan to flush the last week, so there is 3 weeks left of nutrients. For this week I will give them some boost with canna pk 13/14 and will remove hesi phospor for the scheme for this week. Tank was cleaned as always and new water with nutrients is prepared for the next week of bloom.


Likes
31
Share


@DudeGrowsWeed
Follow
Diesel Automatic is growing and growing. She is still showing the odd color pattern on the leaves, I'm not super concerned yet, but I asked @James from RQS to take a look, waiting on his expert opinion.

Likes
14
Share


@dekss
Follow
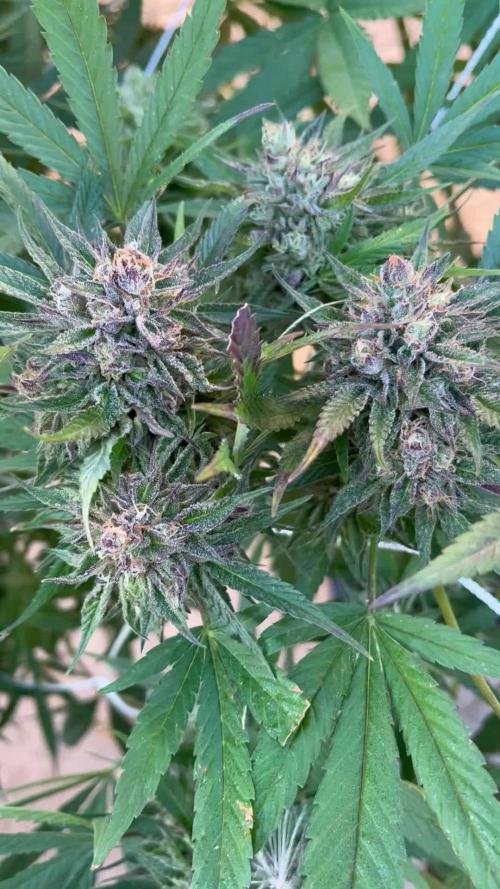
8 semana
la mejor parece ser que la cortare en la 9vena como dice el fabricante
la planta se ve tapada en escarcha❄️❄️❄️
hay otras 2 que ya entraron a floración(a una le di 0.04 de monster bloom)
las lollipop van mejor pero no creo que las deje si corto las otras antes

Likes
28
Share


@GodZilla_Owner
Follow
I was on vacation for 9 days, unfortunately I discovered some budrot on the S.A.D. despite the dehumidifier and air conditioning. It is probably also due to the fact that the flowers are extremely compact and hard. It is of course on the side facing away from the fan. It shows once again how important good air circulation is.
Apart from that, it has not been fertilized for a week and has only been watered with tap water. The plants have not had any water for 5 days and are on the verge of drying out.
The harvest will take place in the next few days. I will report further.
Processing
Likes
6
Share


@ladyjane
Follow
8/10 - In prep for flower I've got some Compost Tea brewing with a little Terp Tea Bloom by Roots Organics. .Also did a little selective defoliation
8/11 - Flipped the ladies to flower today! And all is good in the 8x4.
8/12 - Watered all the ladies with the Compost/Terp Tea. Also did some more defoliation and added some mosquito bits for added pest prevention.

Likes
3
Share

@IndigoMist8
Follow
First feeding and topped with mushroom compost. She is starting to fill out.

Likes
19
Share


@Zonnetje
Follow
Looking good!
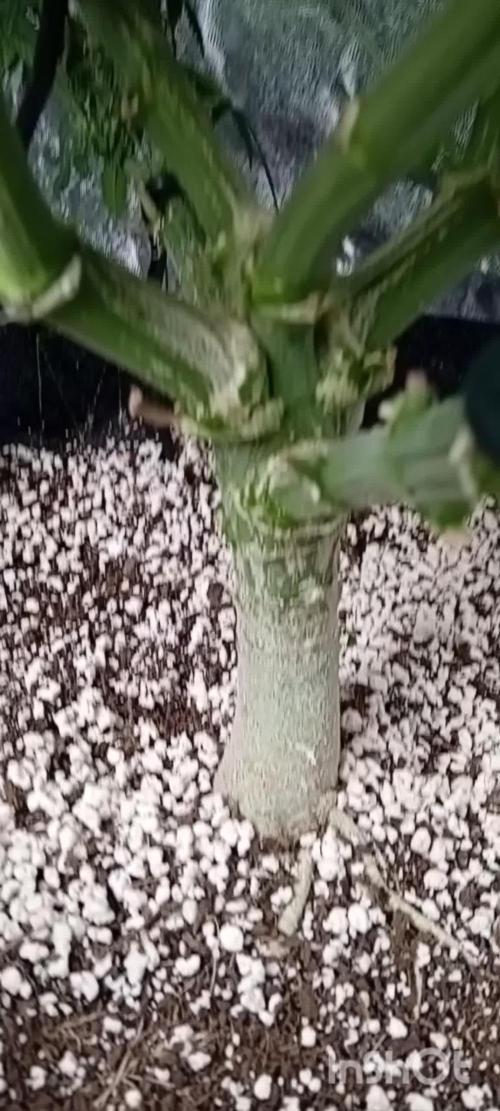
Grew 14 cm in 1 week so an average of 2 cm a day.
Curious how high she will get haha

Likes
5
Share


Likes
61
Share


@Esoteric_growing
Follow
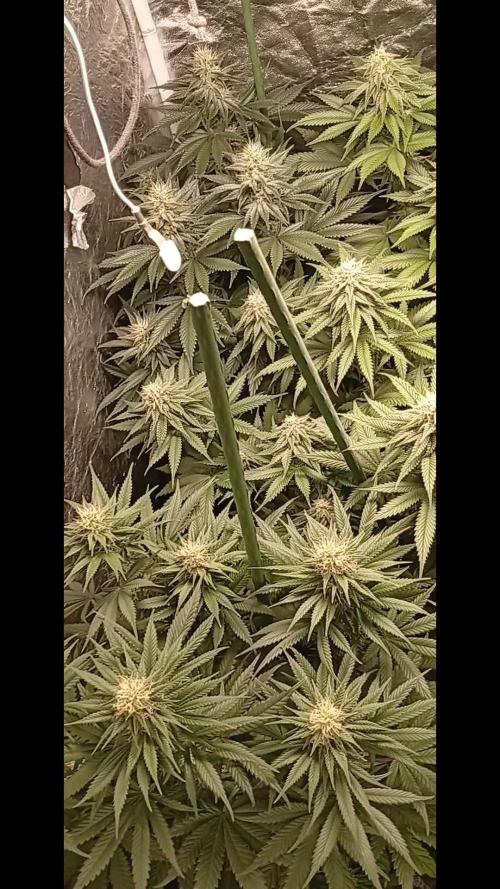
Couldn’t be happier, pictures and video speaks a thousand words. Absolutely top tier cannabis, people that I have shown and smoked actually thought it was from Cali packs. Top work barneys top work👍

Likes
41
Share


@HollowSource
Follow
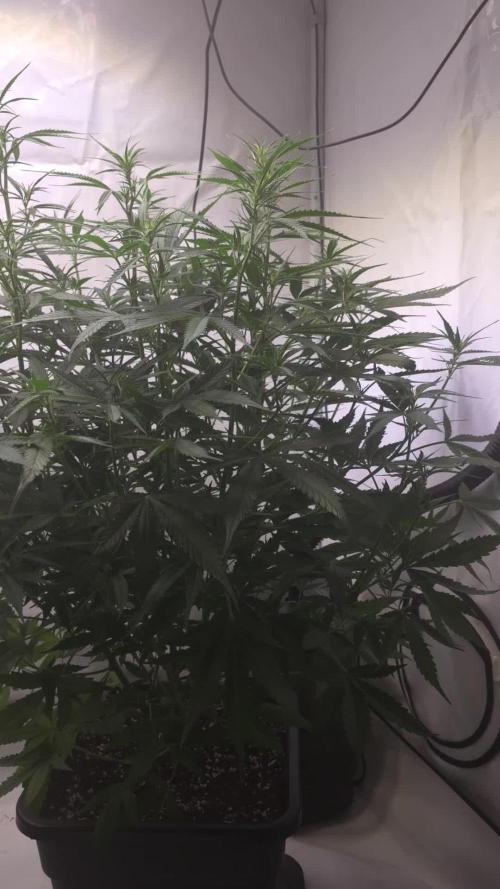
I love this lady. She smells insane. It won't be long till there's more room is the tent for her to spread out some. Will likely tie her up at that point. She is just huge. A little while to go for her yet. It can't come quick enough.
Likes
Comments
Share


Likes
69
Share


@nonick123
Follow
Día 66 (05/08) Cerrado por vacaciones
Día 67 (06/08) Mi amigo viene a casa a hacer un riego con 1 Litro de H2O pH 6,5
Día 68 (07/08) Cerrado por vacaciones
Día 69 (08/08) Vuelta de vacaciones! A ver como están después de 5 días sin verlas... 😱
Riego con 1 litro de H2O pH 6,5
Añado 3 cm de sustrato nuevo porque se ha compactado y se ven las raíces! 😢
Día 70 (09/08) Riego 500 ml H2O pH 6,55
Eliminación de algunas ramas bajas
Día 71 (10/08) Riego 500 ml H2O pH 6,55
Sesión de fotos semanal!
Día 72 (11/08) Riego con 1 Litro de Té Vegetativo de Lurpe Solutions. Preparación: 24 horas con bomba de aire (oxigenación) con ingredientes:
Green Sunrise 8 ml/L + Insect Frass 16 ml/L + Hummus Lombriz 8 ml/L + Melaza 1 ml/L + Kelp Hidrolizado 0,25 g/L
Aplicación foliar Kelp hidrolizado de Lurpe Solutions a 0,25 ml/l
💦Nutrients by Lurpe Solutions - www.lurpenaturalsolutions.com
🌱Substrate PRO-MIX HP BACILLUS + MYCORRHIZAE - www.pthorticulture.com/en/products/pro-mix-hp-biostimulant-plus-mycorrhizae
Likes
12
Share

@ThatsmyGrow
Follow
🌸 Week 6 – Gorilla Cookies Auto Pheno Hunt
Another week is in the books and the differences between the phenos are becoming impossible to ignore now 👀🔥
Stretch has been very different across the plants and some phenos are clearly showing completely different growth patterns despite running under the same conditions. It’s getting easier every week to identify which phenos stay compact and bushy and which ones want to reach for the sky.
📈 Current observations:
Pheno #3 and #4 have stretched aggressively and are now above 70 cm
Pheno #5 took the lead and is currently sitting at around 101 cm 👀🔥
Pheno #1 and #6 are still in early flower / preflower and developing noticeably slower
Plant architecture is becoming very clear now — some phenos are growing dense and bushy while others are showing strong vertical growth
At this stage I already have clear favorites:
⭐ Pheno #4 and #5 are currently standing out the most for me in terms of structure, vigor, and overall development. But the real decision will come once the flowers fully build up.
🍃 Maintenance & development:
Canopy management continues and I’m still removing leaves only where necessary to improve light penetration and keep flower sites exposed.
📊 Current environment:
Temperature stable around 26°C
Relative humidity sitting around 67–70%
VPD target remains unchanged and is being monitored continuously
Light intensity continues to increase gradually as flowering progresses
The next weeks should become really exciting — structure is one thing, but now the buds will decide who becomes the real winner of this pheno hunt 🌸🔥
💬 Which pheno would you bet on at this point?
Likes
11
Share


@CocoLogic
Follow
Sept 27th: (F41)
Fertigation once a day with NEW recipe (1300 EC 6.1 PH) watered until 10-20% run-off
Sept 28th: (F42)
Fertigation once a day with same recipe (1300 EC 6.1 PH) watered until 10-20% run-off
Sept 29th: (F43)
Fertigation once a day with NEW recipe (1300 EC 6.1 PH) watered until 10-20% run-off
Sept 30th: (F44)
Fertigation once a day with same recipe (1300 EC 6.1 PH) watered until 10-20% run-off
Oct 1st: (F45)
Fertigation once a day with same recipe (1300 EC 6.1 PH) watered until 10-20% run-off
Oct 2nd: (F46)
Fertigation once a day with same recipe (1300 EC 6.1 PH) watered until 10-20% run-off
Oct 3rd: (F47)
Fertigation once a day with same recipe (1300 EC 6.1 PH) watered until 10-20% run-off
Note: The TUT bud are getting quite heavy :) Some branches are bending, will have to tight some of those :)


Likes
16
Share


@Oldwied
Follow
I am super happy with the harvest.
Unfortunately, the grow was not a brilliant performance. But MimosaEvo is always a great choice.
Likes
10
Share


@Elpicor
Follow
the weather forecast says 2 weeks of rain, it will be a challenge to keep the humidity low in the house and of course in the growbox.
Likes
33
Share

@Northern_Ent
Follow
Sep 13: took a second round of buds. Have now taken off 2 kg of wet buds with 1 kg fresh frozen and 1 kg done as ice water hash. This is equivalent to 500 g dry bids already taken off of this plant with another big chunk still to go.
Very nice hard buds off of this plant.
Sep 19: the remaining lower buds turned purple last night and look great. Will harvest the rest of it tomorrow morning.


Likes
3
Share


@MotasKush
Follow
Ripper seeds limited edition, strain Sunset Sherbet x Purple Punch. Happy healthy plants. One week in flowering time... . Grow Your Own! Peace growers!

Likes
19
Share


@GermGrowFox
Follow
29. März.
7 Tag sind nun rum seit dem ich die Samen zum keimen gelegt habe.
Alle drei Pflanzen sind nun aus der Erde geschlüpft. Die erste Spargelt ein bisschen.
Die living Soil sieht Mega eklig aus, wie als würde die Erde schimmeln. Zum Glück wissen wir es besser :)
31. März
Jaaaaaaapp. Es wird Spargel.