The Grow Awards 2026 🏆 


Likes
Comments
Share


@Earthsower
Follow
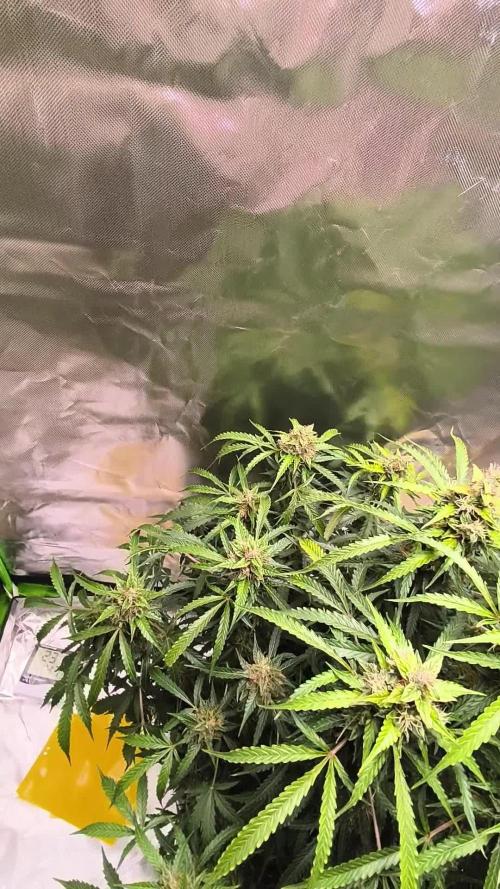
She is in the last stage of the vegetation and she looks good the meristem is thick and the auxiliary shoots have begun to form it’s canopy. N13 kush has many five fingered leaves and she now stands at 36cm
Likes
2
Share


@Liberty420blaz
Follow
Enter week 7
Trichomes are all Milky
Last time nutes on Saturday 14 feb. Waiting for amber trichomes to start flawless finish and start flushing.
Removed +100 small leaves from the inside center of the canopy to prevent mold and improve air circulation. It was way to bushy inside, had to save 3 small side branches that were growing inside the canopy, applied lst to get them to the sides.
Likes
21
Share


@cheetah844
Follow
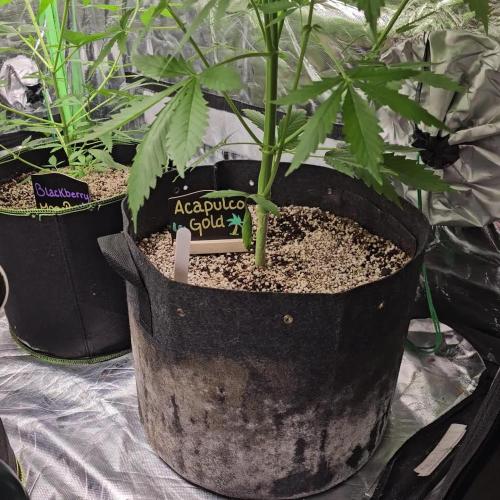
She's staying nice and short. I can't wait to smell her flowers, I know it's a long ways out if she does bless me with them. I swear I can almost smell them now 😋😁
Likes
13
Share


@TrueNorth
Follow
Okay growmies here we are at the end of our cream cookies by fast buds. It was such a pleasure to grow, i learned so so so much this run that will help me through the rest of my adventures. The beginning was tough as i am new i over watered and did not ph the water and what i mistake. But its okay i learned. She bounced back like nothing and produced these awesome buds and beautiful smoke for me. Watching her change colour and grow was amazing. It was topped and lst, she reacted amazing to it and grew more and more. Fast buds has not let me down. I cant wait to grow her again and see what happens next time!
I washed the trim and made bubble hash with it!
Pressed some of the flower to make some rosen!!!
Likes
27
Share


@GrowInger420
Follow
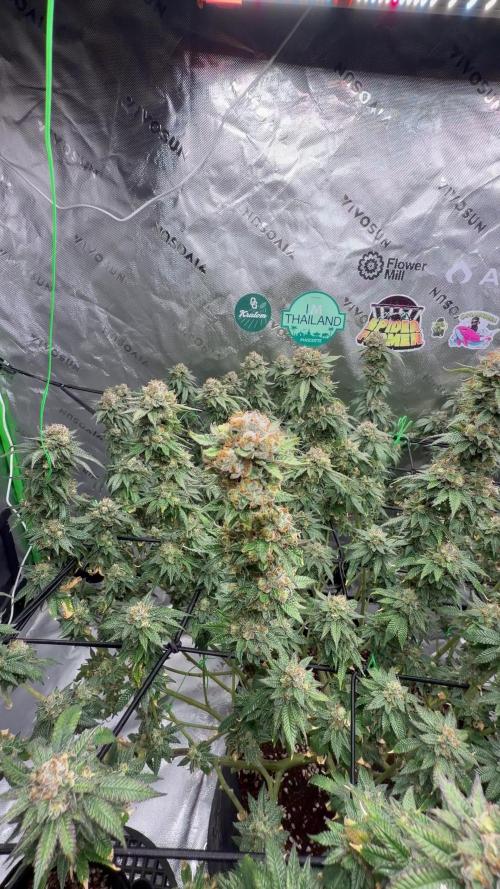
Habe sie diese woche in ein scrog netz eingeflochten, sie kommen sehr schön
Likes
2
Share


@Saintvicious
Follow
Looks like a lot of top sights. Afraid stretching too much. Hopefully it fills in.
Likes
26
Share


@AsNoriu
Follow
Day 36. Morning. Girls are stretching, some are above 50 cm, others still can't beat even 20. Will regroup pots a bit to expose smallest girls.
Pure phed water.
No hermie signs and thats good ;))
All girls very healthy, thinking to give silica next watering.
Day 40. What an Idiot I am ;))))))
Girls just blasted away. All my hopes for one huge cola - gone.
Girls just grow, they are bushy, but leaves cover each other and sweat. I decided to do defoliation on day 15-18 of flower, but ...
All girls are different !!! Some just building preflowers, some are on day 10 of flower, some still in veg !!!
If you check any my diary, 2-3 days is max and all leaves are regrowing, so i can't defoliate in rounds by maturity, neighbours will cover defoliated one. And i can't do all in one go, some will be totally in wrong day for such stress.
Time for new strategy ...
Just i don't know which, what and when ;))))
Day 41. Job done. Slaughtered them last night. Looks ok at the end of day, let's see how many hermie i woke up ;))))
Likes
13
Share


@Crazy_Doofus
Follow
20/01 The top was too heavy and hanging sideways. Upper half is cut, leave the rest for another week
22/01 she smells like cookies in my brain, after 2 days in a jar + humid-pack.
I upgraded my pipe... looking for extra parts...
24/01 Lower part is cut. Still trying her out day 4 ... Well, I feel baked that's for sure and it's not faked
My pipe smells like I baked somethin in it 😅
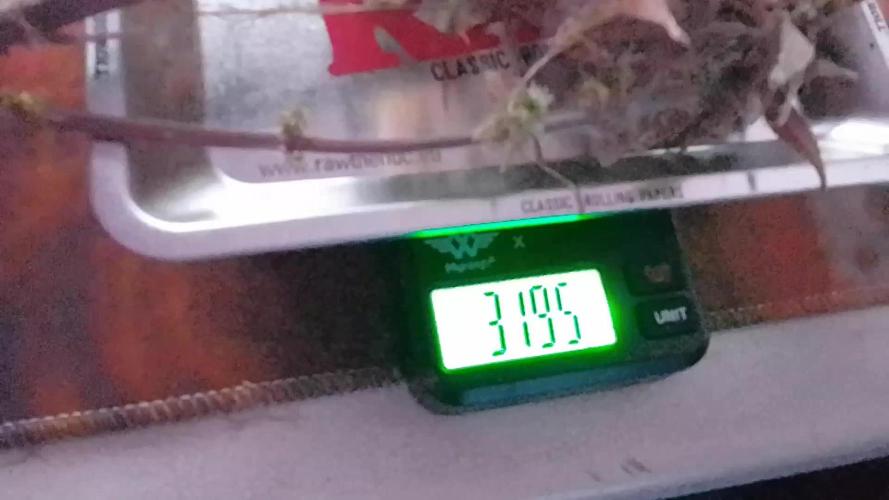
Small harvest, 15-ish gram dry
Likes
14
Share


@Crazy_Doofus
Follow
Small plant, but fat top, so 20-ish grams it looks like 👍 can't wait!! ♥️
Likes
14
Share


@Kirsten
Follow
Ok so this week, I'm a little concerned at the height and structure. We all know the typical Christmas 🎄 tree shape. Well, I have an inverted, or upside down Christmas tree shape.
I'm going to need to stake the base, as its very top heavy, and I'm concerned that it will topple and snap the stalk.
Also, I cannot LST the plant as necessary due to the top heavy nature, as well as the extremely thick main stem which will easily snap if I were to train her.
The plant is also suffering from light stress. The leaves are folding up, and down. The leaves haven't darkened up either but this may just be the strain.
I have lowered the intensity of the lighting a few times, but due to being un-trainable, the plant will keep growing into the light.
I'm having a headache trying to figure out what to do with her, so if you have any ideas please let me know in the comments!
Anyway here's what I did this week.
14.7.25:
I watered with 2ltrs of dechlorinated water PH'd to 6.4, containing the following nutrients;
💜 2ml Ecothrive Trace
💜 1/4 TSP Ecothrive Biosys
PH: 6.4
PPM: 365
15.7.25:
I watered with 2ltrs of dechlorinated water PH'd to 6.6 with;
💜 1/2 TSP Mega Crop Part B
💜 1/4 TSP Ecothrive Biosys
PH: 6.6
PPM: 746
18.7.25:
I top dressed with the following organic dry amendments;
As a base for the dry amendments I used:
🧡 Worm Castings - 2 Cups
🧡 Coco - 2 Cups
🧡 Perlite - 1 Cup
Dry Amendments:
💚 Ecothrive Life Cycle 1TBS
💚 Ecothrive Bloom 1 TBS
💚 Ecothrive Charge 1TBS
💚 Diatomaceous Earth 1TBS
I watered with 2ltrs of dechlorinated water PH'd to 6.4 with 2ml Ecothrive Trace.
PH:6.4
PPM: 340.
Thanks for stopping by this week and if you have any ideas let me know in the comments section below 💚😊🍃✌️🌱🙏
Likes
120
Share


@CBD_Sweden
Follow
Hi all the happy people here in GrowDiaries.
This is my second cultivation ever and it will be fun to try a bigger space than my closet grows
First, I'm just going to say I'm done with the construction of my new growroom.
I put some pictures on the construction here in week one.
The room is 2.14 meters by 1.7 meters and has a ceiling height of 2 meters.
It provides a floor area of 3.6 square meters.
I use a 54 Watt Lightwawe T5 for germination and 2 Pcs 400 Watt HPS lamps.
I have a channel fan that replaces the room air about 40 times an hour to get a comfortable theme in the room, the air enters a fresh air intake from the outside.
The air is purified through a carbon filter to then leave the room to the rest of the basement.
Then I use that heat to heat the rest of the basement.
I will use 8 pcs 15 liter Autopots to grow with and a 100 liter water tank that supplies the pots of water and nutrition.
I will grow completely organically in soil and will watercure my buds to get the best possible medicine for me.
But there are no cultivation rooms to be displayed here, so I continue with what is most important.
Today I have put my seeds in my moisture dome and hope the seeds have germinated within a few days.
I am very excited to see how the new growroom will work and how this CBD Fast Eddy plant from Royal queen seeds will turn out.
CBD Fast Eddy Automatic is combining Cheese x Juanita la Lagrimosa x Ruderalis, Fast Eddy is a rapid growing, flavourful, and CBD-rich auto strain that goes from seed to harvest in 8-9 weeks, produce generous yields, and induce a clear, mellow, and most importantly, functional high.
THC: 9%
CBD: High
Yield Indoor : 400 - 450 gr/m2
Yield Outdoor: 80 - 130 gr/plant
Height Indoor: 60 - 100 cm
Height Outdoor: 80 - 120 cm
Flowering: 6 - 7 weeks
Harvest month: 8-9 weeks after sprouting
Genetic Background: Cheese x Juanita la Lagrimosa x Ruderalis
Type: Sa 50% In 40% Ru 10%
Effect: Clear, Painrelief
Climate: Mild
..............................................................................................................................................................................................................................................................................................................................................
Update 2017-08-15. Both seeds have germinated and planted in small pots inside the humidity dome.
I'm so glad it worked so well and now it's just hoping they'll start growing and become 2 big healthy girls :)
...............................................................................................................................................................................................................................................................................................................................................
Update 2017-08-16. I have mixed my own soil today. Its 40% sieved peat harrow H2-H4 0-30 mm, 45% sieved peat harrow H4-H6 0-30 mm. 5% sand and 10% of compost soil. And i use 15% of perlite and mix it all together.
...............................................................................................................................................................................................................................................................................................................................................
Update 2017-08-20. These girls are much slower to germinate and to start growing than the other 6 girls I started at the same time.
One of the germinated seeds split in half, so I had to take a new seed and germinate it. It took 2 days.
It was just a smal taproots after germination with this strain as opposed to my Fastbuds cbd.
But I hope everything goes well from now and that they live up to their name, Fast Eddy.
................................................................................................................................................................................................................................................................................................................................................
Update 2017-08-21. New pics.
................................................................................................................................................................................................................................................................................................................................................
2017-08-22. Nr1 dident make it and died. Started germinate a new seed to get another Nr1.
..............................................................................................................................................................................................................................................................................................
2017-08-27. Nr 1 is in a small pot in humidity dome and i hope shes going to break the surface soon. Nr 2 is slow but doing fine.
---------------------------------------------------------------------------------------------------------------------------------------------------------------------------------------
2017-08-28. Nr2 is transplanted in 15 liter autopot.
---------------------------------------------------------------------------------------------------------------------------------------------------------------------
2017-08-29. New movie of the girls Nr2. Its no water for 3 days now so the roots develop more and match the plant above the soil. The temp controlled fan is awesome, its easy to set what temp you like to have in the room. Right now its 28 celcius. And humidity is 56%.
-----------------------------------------------------------------------------------------------------------------------------------------------------------------------------------------------
2017-08-29.
Hello to you who read my diary, I just want to say that I am pleased that you have chosen to check in with me and in my diary.
I just want to say that I do this for myself and for a steady flow of my medicine.
Everything you read and see in my diary is 100% honest and I will never distort or beautify anything here.
I document my crops so that I can learn from my mistakes and also to look back at those different crops.
I try to update with pictures every day and with text if something special has happened in the garden.
This is my strainhunt for the best medicine and the beginning of my journey with cannabis and the cultivation of it.
-----------------------------------------------------------------------------------------------------------------------------------------------------------------------
2017-08-30. Cleaned the room this morning, just vacuuming and cleaning with chlorine solution. Im testing the fan to control temp and humidity, it works great.
Added a movie. Everything is looking great right now.
------------------------------------------------------------------------------------------------------------------------------------------------------------------------
2017-08-31. 3 New pics.
------------------------------------------------------------------------------------------------------------------------
2017-09-01. New pics and a video of the grow room from today.
----------------------------------------------------------------------------------------------------------------------
2017-09-04. Week 2 starts now, new pics.
--------------------------------------------------------------------------
2017-09-05. KL 08.00. Cleaned the room this morning, just vacuuming and cleaning with chlorine solution.
KL 12.00. The girl got 2 liters of water with nutes in it, added a video.
-------------------------------------------------------------------------------------
2017-09-06. KL 08.00. The girls woke up after their beauty sleep, the leaves are always a bit down after 6 h of darkness, but they will stretch now when the HPS lamp starts.
Everything looks good and I keep trying to tuck the leaves so they get the maximum amount of light where needed. Added pics and video.
--------------------------------------------------------------------------------------------------------------------------------------------------------------------------------------------
2017-09-07. Day 17 from sprouting. I have never tested PH in my grows, when growing organic in soil iv learned that it adapt PH by it self. But im curious by nature so i had to test.
Kl 10.00 Tested PH in the soil, it was 6.9 and tested my tap water and it was 6.8. Added video of the girl.
Kl 22.30. New pics.
-----------------------------------------------------------------------------------------------------------
2017-09-08 KL 08.00. Good morning, added new video.
2017-09-08. Kl 23.50. Gave every girl 3 liters of water and nutes, added new video.
-----------------------------------------------------------------------------------------
2017-09-09. Kl 21.00. Defoliated a lot and added pics.
------------------------------------------------------------------------------------
2017-09-10. Kl 08.00. Last day of week 2. New video.
2017-09-10. Kl 23.00. 3 new videos.
--------------------------------------------------------------------------------------------------
Likes
44
Share


@Buffynuffy
Follow
I’m actually Super happy they sprouted on the 1st it just makes keeping track of what day your on so much smoother l think, but I think one was having a hard time getting the shell
Off so I helped just I tiny bit!
Processing
Likes
9
Share


@Jcannaf
Follow
Starting flush soon on first plant second plant is still a week and a half behind and has a while to go
Moved into larger tent 2x2x4 plants now have an extra foot from lightThen they did before.
Likes
14
Share


@Jamiebigs10
Follow
If you are looking for yield then green gelato is most certainly the one you're looking for.
If controlled right you can easy get 10oz per plant on these!
Likes
9
Share


@Fyno_TH
Follow
🌸 Flowering Week 7 — Frost Incoming! ❄️🔥
Short update this week — but the Queen is really starting to shine. Buds are swelling fast, stacking beautifully, and the first layer of frost is officially here. Trichomes are popping everywhere under the light ✨🌿
Aroma also kicked up a level… sweet, citrusy and loud every time I open the tent.
She’s drinking well, holding strong, and no signs of stress at all.
If she keeps building like this, the last few weeks are going to be crazy
Likes
43
Share


@TheCannaProphet
Follow
~ FastBuds PAPAYA SHERBET Photoperiod~
Well here we go on another journey together through 'Canna-land' and this one's kinda special... forget that, it's VERY special because this is FastBuds newest surprise for the community, a FEMINIZED PHOTOPERIOD STRAIN!🤯
I was fortunate enough to score these seeds, of which only 1000 were available and can't wait to see what this strain can do! This Papaya Sherbet, according to FastBuds, is a hybrid with a 9-10 weeks flowering period. For a more detailed and accurate description of this strain the following from FastBuds says it best:
"Combining the massive stature of Papaya (Oni Selection) with the strength and resilience of one of our best keeper cuts (Sunset Sherbet), this strain develops into a big, expansive bush adorned with numerous bud sites that later transform into a generous harvest of medium-sized buds. Papaya Sherbet flowers deliver a signature flavor of premium cannabis with subtle citrus undertones that emerge upon inhaling. During growth, her aroma makes for a sweet yet pleasantly bitter fragrance, giving you an idea of what the smoke will taste like. Notably stress-resistant, Papaya Sherbet is a great choice for growers working in challenging environments. She is very forgiving and rebounds quickly from any adversity, allowing growers the freedom to experiment with confidence that she will take everything like a champion she is. This strain embodies resilience, flavor, and abundant yields in every grow cycle."
Sounds like an epic strain and I personally cannot wait for this lady to strut her stuff!😍
________________________________________________________________________________________________________________________________________________________________________________________________________________________________________________________________________________________________________________________
The Setup:
This is going to be an outdoor grow, but I have started the Papaya Sherbet photoperiod indoors as our weather is still a bit too chilly to put a newly sprouted seedling outside (nighttime temp's dipping regularly into the 40's℉).
The plan is simple... let her grow inside under a 19/5 light schedule until the nighttime temperatures are in the mid 50's℉, which shouldn't be long. After which, she'll be moved outside and transplanted into the soil which I have already setup and inoculated with beneficial microbes from BioTabs and slow release dry amendments from Gaia Green. Once she's established herself outside she'll be given periodic top dressings of Gaia Green 4-4-4 and 2-8-4 along with worm castings and Compost Tea's. Her grow area is approx. 5'x5' and I have posts and a trellis net set up already for when she gets bigger to aid in training her. Let the fun begin!🤪💚
________________________________________________________________________________________________________________________________________________________________________________________________________________________________________________________________________________________________________________________
Weekly Updates:
8/19- Week 2 of flower is here for the FastBuds Papaya Sherbet photoperiod and she is looking fantastic!
Our weather has finally cooled down and the daylight has dropped to just over 13 hours now.
8/21- My daily watering campaign continues with me giving the Papaya Sherbet 5-8 gallons of well water from the garden hose.
8/23- Luckily, with it's wide node spacing, there's not a lot to do with the Papaya Sherbet at this point except to keep her watered! She has not required any thinning out and has had only a few lower leaves turn yellow, which I promptly remove. Overall, this lady is a dream to grow, requiring little to no effort or maintenance!
8/25- There's the second week of flower on the books for the FastBuds Papaya Sherbet photoperiod and I have great expectations for how this fine looking lady is going to turn out, as she has exceeded all my expectations so far!
Thank you for checking out my diary, your positive comments and support make it all worthwhile! 💚Growers Love!💚😎🙏


