Likes
Comments
Share
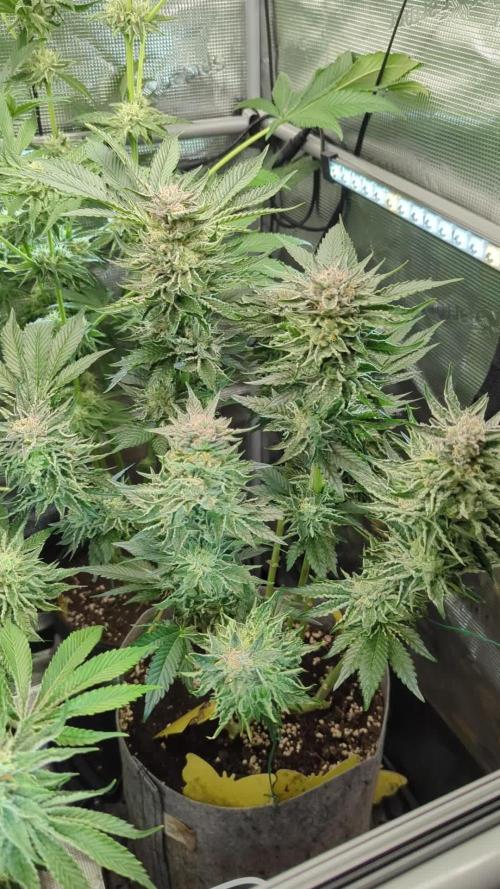
War 10 Tage im Urlaub. Eine Woche wechselhaft, 3 Tage heiß. Sie sind gut gewachsen. Blue mystic: habe eine getoppt und eine gefimmt. Die getoppte skywalker schießt in die Höhe und muss bald wieder getoppt werden. Fat banana ist sehr stark im wuchs. Bald werd ich die mal entlauben.Es läuft gut. Bis nächste Woche ✌️
Likes
30
Share
@BC_Green
Follow
It has been another amazing week of the plants growing. I have been watching as the Fruity Freak leaves become progressively more fern-like, and ornamental as a result! Based on my Banizzle grows, I knew I needed to understand plant nutrients in a more meaningful way if I wanted these plants to thrive. So, I decided to get a soil test (see Ref. 1 below on how to perform a test) to understand what nutrients my plants needed. The report I received advised that I needed to add 200 lbs/acre of nitrogen, 150 lbs/acre of phosphorus, and 190 lbs/acre of potassium (see picture labeled Pic.1 (FYI you can't see these images unless you login to growdiaries)). I then researched what to do with my results (Ref. 2 helped), and I figured out that my nutrient needs of 200-150-190 fall close to a 2-1-2 ratio. I then looked at different types of organic fertilizers (see Ref. 3 and Ref. 4) and considered that I already had a 3-10-5 fertilizer (Vermibloom) on hand. I discovered Dr Earth’s Alfalfa Meal is 2-1-2 and includes beneficial bacteria and mycorrhizae (to promote healthy plant growth and disease resistance). However, I knew I would be low on nitrogen if I only used those two fertilizers. Therefore, I decided to buy some blood meal (12-0-0). I also liked that blood meal is more fast acting while the other two are more moderate. I hunted around for a solid fertilizer calculator and found an amazing tool from the University of Georgia Extension (Ref. 5). I entered all three fertilizers into the calculator, and it kicked out the exact amount of each fertilizer I needed to apply to 1 square foot (see Pic. 2). As I am using 10-gallon fabric pots (that can hold 1.5 cubic feet, but I put stone on the bottom and there’s space left at the top) I decided to use the one square foot application rate as I can always add more later, but I can’t take it away. Not only did I want to understand the nutrients I needed, but I also wanted to understand the structure of the soil (as it was not included in my test results). North Dakota State University has a nice page that discusses this (Ref. 6), and I performed a soil ribbon test (see Video 1) based on this information. I determined my soil to be medium textured (which is great), but I have seen occasional water pooling on the surface, suggesting that it may be more of a medium-fine. This means adding peat moss, coco coir, or other amendments might improve drainage (and plant hydration) and allow for roots to grow more easily. In the long run, I plan to use compost to enhance the soil structure and nutrients. I filled the bottom of my 10-gallon fabric pots with a ½” of pea stone to allow for drainage (Pic. 3). I then partially filled two 5-gallon buckets with topsoil from near where I will plant (but not in an area the roots will reach). I used a digital scale to measure the amount of fertilizers recommended by the calculator (Pic. 4, 5, and 6) and added it to one of the 5-gallon buckets (see Pic. 7). I mixed the fertilizers into the soil as evenly as possible (Pic. 8 and 9). I then poured a two-inch layer of non-fertilized soil, then peat moss, and then fertilized soil (in a roughly 2:1:1 ratio) and blended them together. I repeated this until the pot was full (getting additional soil as needed), and then I repeated the process for the other three pots. I set the filled fabric pots in my garage (Pic. 10) for two days to allow any upset bugs to flee into my garage instead of my house. I then moved the pots (wrapping them in a contractor garbage bag to prevent making a mess) into the room with the grow light. I placed a board on top of the fabric pots to insulate the plants (in their smaller pots) from the cold soil (Pic. 11). Once the soil in the fabric pots reaches room temperature, I will transplant. (Ref. 1) This video shows the method I used to take a soil sample. I didn’t have a field to test, so I took four samples from the area where I will eventually plant outdoors and blended them together. I then mailed my soil sample off to the lab, and about a week later, I received an email with a PDF of my results (included with my pictures this week). https://www.youtube.com/watch?v=N9AwxmFxBwg&t=8s (Ref. 2) This video from the University of Minnesota Extension (many universities have agriculture extensions that can assist you with soil testing and growing information for your area) discusses what to do with your soil testing results: https://youtu.be/HYrkcfE62Pg (Ref. 3) This is a nice article that discusses organic fertilizer solutions: https://www.grow-it-organically.com/npk-fertilizer.html (Ref. 4) This article lists the NPK values of many organic fertilizer solutions: https://www.epicgardening.com/organic-fertilizers/ (Ref. 5) Many websites tout a fertilizer calculator…but this one is hands down the best I have found. If you scroll down to the bottom, you can enter any fertilizer type you want (and the cost, if you want). It will give you the exact blend of multiple fertilizers to solve your nutrient deficiencies (I included a snapshot of the solution I used in my pictures). https://aesl.ces.uga.edu/soil/fertcalc/ (Ref. 6) This is an excellent article that discusses how to evaluate your soil: https://www.ndsu.edu/agriculture/extension/publications/evaluating-preparing-and-amending-lawn-and-garden-soil
Likes
10
Share
@MG2009
Follow
11/24/2020 Seeing pre-flowers nice healthy new growth maybe add some h2o2 to clean up roots some, some brown algae? Maybe. Going to lower water level to 8 liters let roots stretch more an fill out bottom of bucket, also a serious defoliating is needed, But it can wait till next week. Her clone mom was harvested at day #50 in flower, not fully ripe and it's still pretty potent stuff, I think I can go to 63 days and still get an energetic high, mom still had, 30% clear trichomes with no amber at 50 days. So I will harvest 1-2 cuttings to keep them going as everyone that tried it liked the results, but this one should finish faster with Hydro, so we will see how it goes.
Likes
3
Share
@NyBushDr
Follow
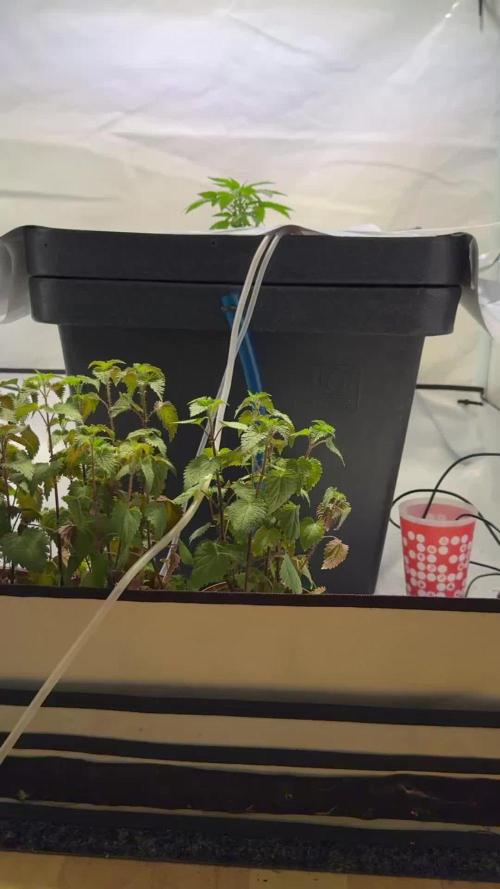
Sorry on vacation so a couple of pics from the cam and a time lapse is all I can give you! See you for a detailed update next week as we get close to flip :)
Likes
2
Share
Plantas super faciles de cultivar y muy resistente a Botryitis (las 3 Radical Juice fueron las unicas que no tuvieron ni el mas minimo sintoma a pesar de que 6ta y 7ma semana de floración fueron dias de muchisima humedad ambiente). Hare la reseña final cuando este secos los cogollos. El olor en verde recuerda un poco a Tangilope, Clementine, NYC Diesel.
Processing
Likes
15
Share
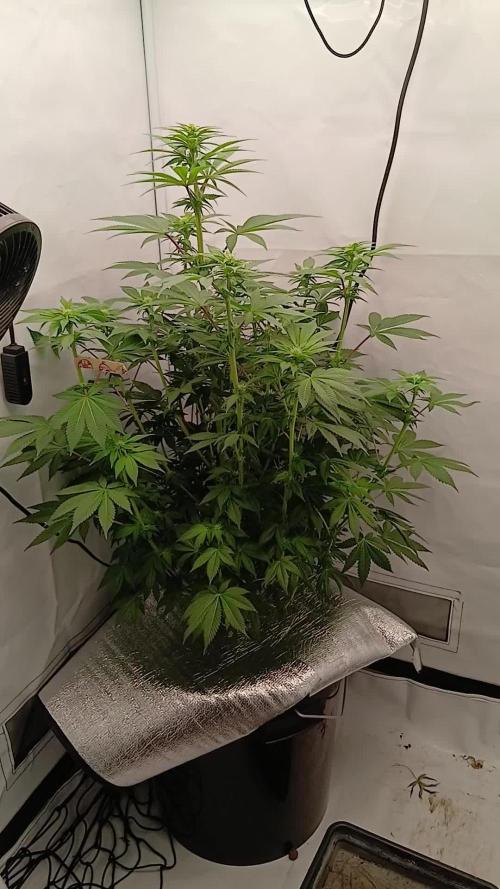
I'm doing terrible. The plant hasnt done anything bad it's all healthy (super strong stock) it's all me. Trying to prolong its veg and restricting its height. But the other plants have caught up so switching to flower next week the week after ones a clone so it's already. But ones only 6 weeks. In the video I posted there is my white widow I'm confused why its stock it so tiny
Likes
9
Share
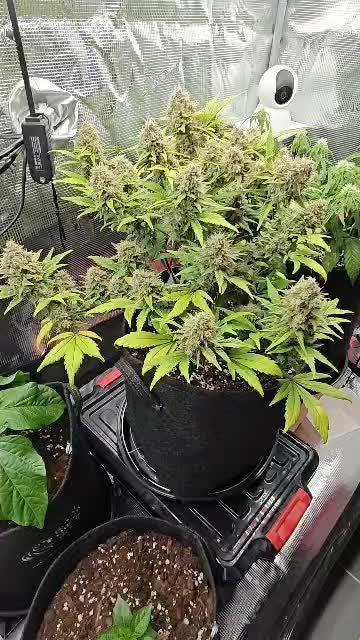
I exceeded all of my expectations!!! Imagined I would get around 80g of bud when finished. During drying I lowered my weight expectations to 40-50g just by looking at the buds. So you can imagine the look on my face when the final weigh-in came up to 104g!!!! Buds not super dense but not fluffy either. Really happy considering it's my first grow and using only organic, slow release (cheap-ish) fertilisers as most of my budget went to the set-up. Looking forward to keep improving!!!! In two weeks I will update with a smoke report!!!
Likes
5
Share
@BombBuds
Follow
Also die schauen Mega aus und die buds schwellen jetzt auch schön an und die Pflanzen an sich sind super. ABER Die scheiß Viecher gehen nicht weg! Jetzt sind die Trauermahlen endlich weg und auf einmal sind thripse da. Zwar nicht allzu viele aber sie sind da….. Daher werd ich nächsten grow als Substrat einen großen Teil cocos benutzen. Das soll steril sein und die Viecher mögen es nicht! Abgesehen davon soll man damit auch bessere Erträge reinholen können und die terpen gehakte sind anscheinend auch höher. Die terps sind krass! Sowas hätte ich nicht erwartet. Bin sehr erstaunt das riecht richtig nach 10/10 topshelf! Hut ab an Lit farms Ab jetzt werden ein bisschen weniger Nährstoffe gegeben und ab nächster Woche die Wassermenge leicht reduziert.
Processing
Likes
28
Share
Day 22 and 23: Going easy breezy so far!! I released some ladybugs in my tents on these Chocolate Mint OG's 21st day. So far so good lol. Last night when I watered I gave a little real growers recharge to help with the recent transplant (it definitely gave them a boost!) Its mid summer here in MI and 84+ temps 😬 keeping the house and tents cool has been a challenge to say the least. Thankfully all my plants are in Veg and seem to like the heat. Except the Choc Mint.they are showing mild heat stress on the top fan leaves(at least that's my guess) Tent temps have been around 86 down to 84 daytime. I lowered them so they are 24" from the lights 🤞 hopefully that helps. Other than that, no problems. And some generally happy plants! The recharge and soil combo burned them a very little bit as well. Day 25&26 Nothing too eventful. I watered #2 on day 25. With some real growers recharge. The stuff is awesome! No nutrients needed if you have good soil! Day 26: snip 2 fan leaves from #2(the topped one) she was getting a little bushy. And tucked the other fans under to promote some lower branch growth. #1 I'm letting roll totally natural unless I clean up lower canopy to prevent pests. Day 27: Plants are doing great! #1 is really getting tall and # 2 is staying short and squat because of the training. We are letting #1 go naturally. Today's update is we added some LST wire to #2 to pull down her lowest branches My equipment and gear: 2x4 vivosun Es300 lighting Vivosun oscillating tent fan Honeywell Hurricane fan 6" exhaust outside 15,000 BTU air conditioner 8,500 BTU in tent air conditioning Some sick ass Genetics 😁
Likes
6
Share
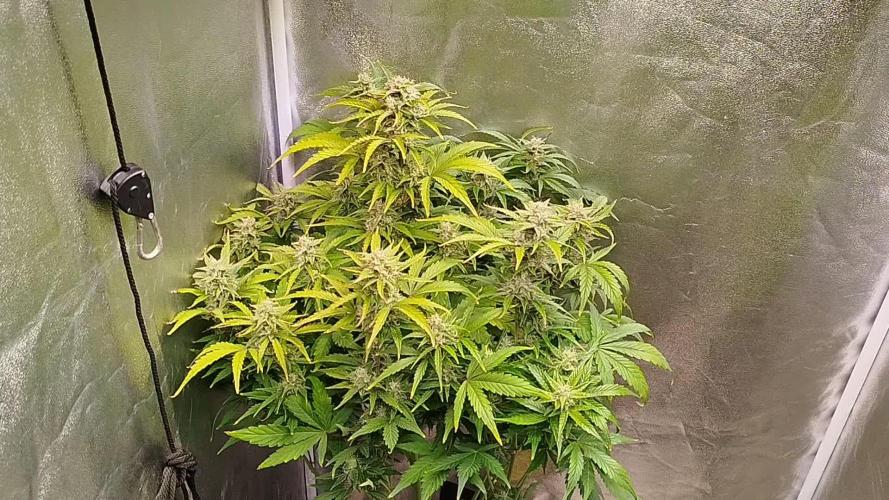
Week 5 for our Fast Version B from super sativa seeds club. She has a very nice pine tree shape! Looking amazing at the moment, cant wait to flower the lady and compare with version A. This week we gave some orgatrex and applied some more top dressing with worm Castings
Likes
13
Share
🍓🍌🍧🍨 NEXT YEAR WII RUNIN HER AGAIN IN FULL SUN CUZ SHE NEED ALOT OF SUN ☀️
Likes
53
Share
@xbrico
Follow
Day 43/Flower Day 15 - Stretch, stretch and more stretch. Literally have all my headspace taken up and that’s using flat LED Bars! It’s not for want of light, these things HAVE to be getting a DLI over 45 now if not near 50 (I need to do a test)!!! Defs going to invest in 2 Royal Blue LED Bars for next grow. As soon as I bend over/tie down one set of big pushers, another pair start up that were not being shaded/shadowed by the previous set. Worried too with the stretch being as severe, the yield will suffer! As noted in comments, will be venting the building the grow tent is in better very soon but when I can get that done is another thing!!! Looks like I am going to have to pull my extraction out of the tent and run a blow through the carbon filter and get some more ratchet hangers to give me an extra 9"!!! Has to be Heat/Humidity and then the feed from the lights giving them what they need. Luckily, I am due to be receiving a 6" AC Infinity Setup tomorrow so may be the way to set it up just for the last 8 weeks of the grow. Also had 2 brand new RAM 7" Oscillating fans pack up within a few hours of each other...not 4 weeks old and they're done! The Sweet Cherry Pie defs not setting buds as quick as the Red-Hot Cookies...they look a few days to a week behind. This also probably means the last of growing different strains in the same tent! I don't have the space/means to set up a drying tent and need to use the grow space for that so need them to finish the same time. Both these are supposed to be a same week finisher but with the slower budset, I don't know - I could over-ripen the RHC or take the SCP when a bit under. Basically, that's it though. Nothing more to report other than things I have to engineer to get around! From the looks of it, I'll have no room to get my UVB tube in when the time comes but, dunno...we'll see. Have upped the Bloom Nutes now to be higher than the base to fuel the initial flower set. Have a bit of lower leaf fall off from lack of light/plants using the reserves and probs going to have to do a bit of a defoliate by the end of the week to settle humidity and have them top buds concentrated on. Apart from that, Happy Growing all!!! 💪
Likes
17
Share
It's been a bit of a rocky week for all the plants, things popping up all over the shop but I'm putting it down to being a noob. Light distances/intensity issues and plenty of upcurling leaves from being a proper wally with my nutes. Royal Bluematic #1 - She's had a bad case of Light Burn and it's explained below. I've also noticed this one 'moults' the most and I have quite a handfull of dead/deficient leaves per watering where the other 2 plants in the wardrobe barely drop, but I am at a loss with her (other than changing light height and intensity), I've kept her on her nute schedule as I don't beleive nutes are to blame. She's had it hard from the beginning so it could be that....a bit of a bride of Frankenstein hahaha, she's rather stumpy and very bushy with the main cola being quite chunky, again like the Royal Jack my Royal Blue is airy and whispy pistil node sites but plenty of them...why so long to thicc? the other Royal Blue is coming on rather awesomely....hence more pictures of her...sorry #1. I also had to do an autopsy on a branch, I kept wondering why it was looking so buggered and it was due to it being bent right over at somepoint snapping the branch quite high up making it hard to notice, sliced it off and squeezed the end of the branch together, closing it up and keeping it tight. Royal Bluematic #2 - Well....I'm in lurrrve, she's coming on fine, my lil shorty, budding up with thickness and fat cola, plenty of nodes and very sticky and smelly....Really not a lot long left on her I think? Trichs are not so cloudy yet so maybe a couple more weeks. I have gone and really messed up, the last of her main fan leafs on the cola has crisped and curled upwards which I think was due to being moved to the middle of the grow box and suffered PAR intensity overdose!! I've now moved her back to the side and hope for the best...Not a lot else to say for this one, I'll let the pictures do the talking. If you can see on the pictures, the leaves that face the middle of the LED are bleached and weathered. I've hightened the light and gave the LED rig a jig and got some more efficiency out of it in terms of height and PAR intensity, I'm still needing to purchase a PAR meter but I have learn't that this 600w does kick out some and if there's a plant directly below it then that's some light blasting down on the poor plant. With my next grow I'm only dealing with 2 plants so the light share will be much better and make much better use of said PAR :) As for the feed I've notched Guanokalong Bloom up to 0.3ml but keeping CalMag and Rootbastic the same now throughout the grow. I'm keeping the pH at 6.3 as they seem to like it. I'm hoping this week we'll start to see fatter buds and better leaves. Today's album played to them was 'Leftfield - Rhythm & Stealth'