


Likes
Comments
Share


@Sadom
Follow
08.08.: Blütetag 1
Heute habe ich nur noch die Triebe unter das Netz gebogen, damit alle ungefähr auf einer Höhe sind. Da der Platz nun sehr gut durch beide Pflanzen ausgefüllt ist, ist der Moment gekommen die Blüte einzuleiten. Die PBB hat schon so viele Stempel, sodass es so aussieht, als wäre sie schon in der Blüte. Daher denke ich, dass die PBB nicht lange für die Blüte brauchen wird. Wir werden es sehen.
12.08.: Blütetag 5
In den letzten Tagen seit Umstellen des Lichtzyklus und Einleiten der Blüte, sind beide Pflanzen ein gutes Stück über das Netz hinaus gewachsen. Aktuell gibt es nicht viel zutun. Leider sind einige Thripse auf den Pflanzen, aber ich habe bereits Raubmilben ausgebracht. Hoffentlich können sie die Thripse etwas in Schach halten. Außerdem habe ich die Bewässerungsdauer auf 20min, wenn das Licht angeht und nach 6h Beleuchtungsdauer, gestellt. Falls das nicht ausreichen sollte kann ich immer noch händisch nachgießen oder die Bewässerung anpassen. Den Beleuchtungsrhythmus habe ich so gewählt, dass abends um 10 Uhr das Licht angeht und morgens um 10 Uhr aus, damit die Lampe nicht während den heißen Sonnenstunden brennt.
13.08.: Blütetag 6
Die Stretchphase ist bei beiden Pflanzen noch voll im Gange. Aktuell wachsen sie durchschnittlich ca. 6cm am Tag. Ich bin gespannt, bei welcher Höhe sie ihren Stretch beenden. Das nächste Update gibts dann in Blütewoche 2.




Likes
96
Share


@PapaNugs
Follow
These girls are doing well still. Responded well to their training and recovered from their topping. All is well but haven't watered in a week. They just don't need it!

Likes
49
Share


@Roberts
Follow
I thought I had major issues, and stunned this plant during growth. Apparently this plant is a very short strain. I didn't mess it up as bad as I thought. I did have issue with the grow. Bud smells very intriguing, and looks potent. I don't have much else to report, but am curious to how it smokes. Thank you Fast Buds, Athena, and Medic Grow. 🤜🏻🤛🏻🌱🌱🌱
Thank you grow diaries community for the 👇likes👇, follows, comments, and subscriptions on my YouTube channel👇. ❄️🌱🍻
Happy Growing 🌱🌱🌱
https://youtube.com/channel/UCAhN7yRzWLpcaRHhMIQ7X4g
If anyone needs to purchase fastbuds here is a link for my affiliate program
https://myfastbuds.com/?a_aid=60910eaff2419
Likes
8
Share


@BlazingAngel420
Follow
I have noticed quite a lot going on in this little 4x4 tent. I am a bit upset with the burnt tips on every purple lemonade. I got CAL-MAG to strengthen the cell walls and prevent any future burns, but I was a bit late for that and the damage was done. Although there are burnt tips I'm still happy with how far along they have come and you don't learn if you don't experience it first hand. Happy growings my fellow weedlings 🌱 🌳🌸🤓🖖.

Processing
Likes
47
Share


@KilgoreTrout
Follow
Everything is going great. The dative plant in the center of the scrog is stretching a lot. Buds coming in hard and heavy. Especially the purple kush which looks amazing.


Likes
39
Share


@King_Geedorah
Follow
I can only say that the rate of growth im getting is amazing. Out of all three of the purple punch seems to have the most potent smell I am not sure if it's just the genetics or if it's what I'm feeding but we will see once the other start to develop. Touching the purple punch stem leaves a strong smell on the fingers and giving the bud small pinch smells strongly of grape chapstick. Stay tuned 😜
Likes
5
Share


@Naujas
Follow
the girl got a lot of heat sun and rain this week :D everything looks good she is already starting to bloom :).
Likes
Comments
Share

@Growfather1
Follow
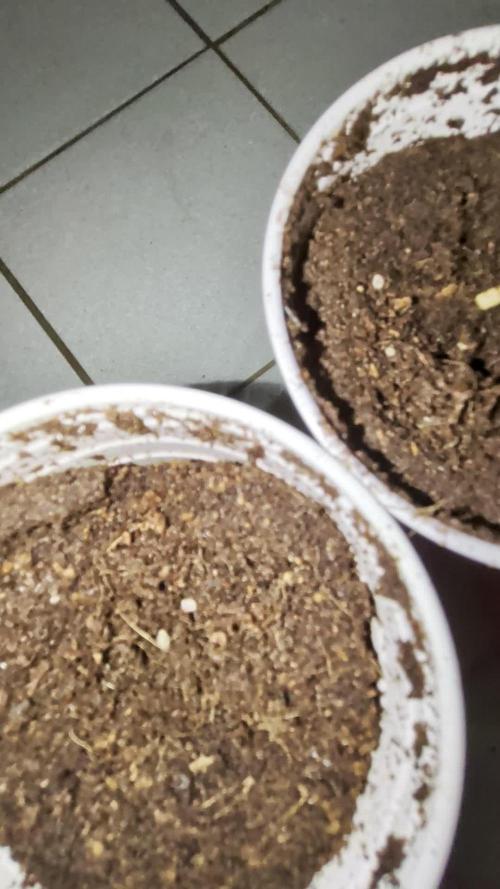
Hello everyone.
Welcome to the first diary for this grow. I've germinated five Amnesia Haze seeds, and all of them have sprouted.
The reason I'm keeping two separate diaries for this grow is that three plants will be switched to flower after a four-week veg period in 15-liter pots.
The other two plants will get seven weeks of veg in 21-liter Air-pots before switching to flower, so it's better to keep the progress separate.
Thank you for stopping by and have yourself a great weekend.
Best regards,
Growfather.

Likes
5
Share

@PurpleBeen
Follow
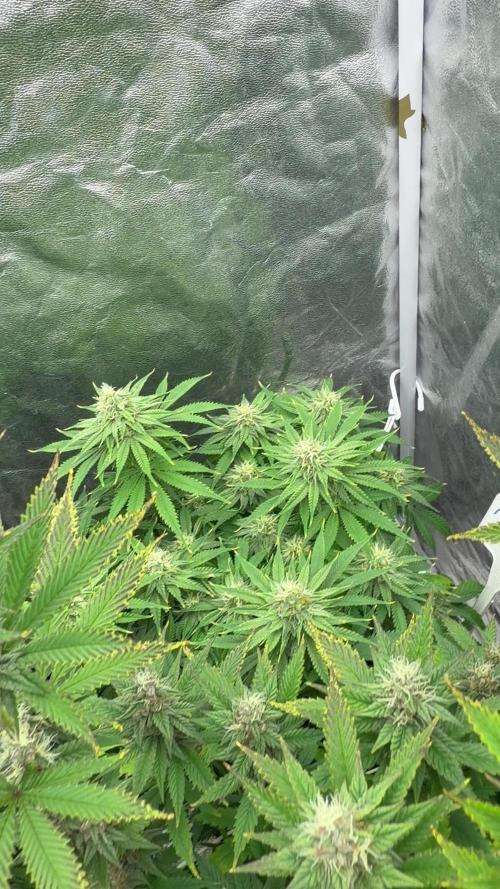
Week 5 / flowering
Everything is looking good. The nutrient burn/overfeeding issue seems to be behind me, although a few marks are still visible and don’t seem to be spreading. I’ll gradually start increasing the feed again. Runoff is reading 500 ppm. The buds are stacking up nicely, and the trichome development is looking great as well.
Repotting : 23/04/2026
12/12 swtich:15/05/2026
Middle: Strawberry Lemonade 16-20l x2
Background : Amnesia Lemon :11l x2
Front : Cherry Mc Muffin 7l / Oreoz : 11l
Topping : 01/05/2026
Light : 50-60cm / 100% dimmer
24-26 degrees / 30-40 % hygro
22-24 degrees
Watering is light at this stage — around 1l5;2,5l;3l depend pot size ( 1. watering humic ; 2. if plants show excess signs(1) if not, 3. watering with fertilizers flower )700-1000 ppm calmag 1/2 watering

Likes
19
Share


@adam_pawloski87
Follow
Let’s Go!! Today is day 31 from seed an these lil baby girls are shooting pistols an showing female productions!! Over the past couple weeks these girls been feasting up an building nice thick structures,building themselves up to get ready for pre flower pretty soon !! Everything is going just how we want it, everything is working properly, our air temp an humidity is stayin on point around 70-75 degrees trough the day and a humidity of 55 - 62% ! Always great! I hope you all enjoy an y’all have an amazing productive day! Peace , love an positive vibes to y’all Cheers 😶🌫️💨💨💨💨🤙🏻Keep them eyes peeled for next week !!🤘🏻🔥💯

Processing
Likes
5
Share


@Darkshaman
Follow
This week is been great. I started with high ppm on the 2nd week for the nutrient kick , now just a low dose of growth enhancer. Good roots system. Topped them just 1 time and cleaning them from useless leafs.
Using reverse osmosis water (15ppm)


Likes
4
Share

@GREENPHOENIX6262
Follow
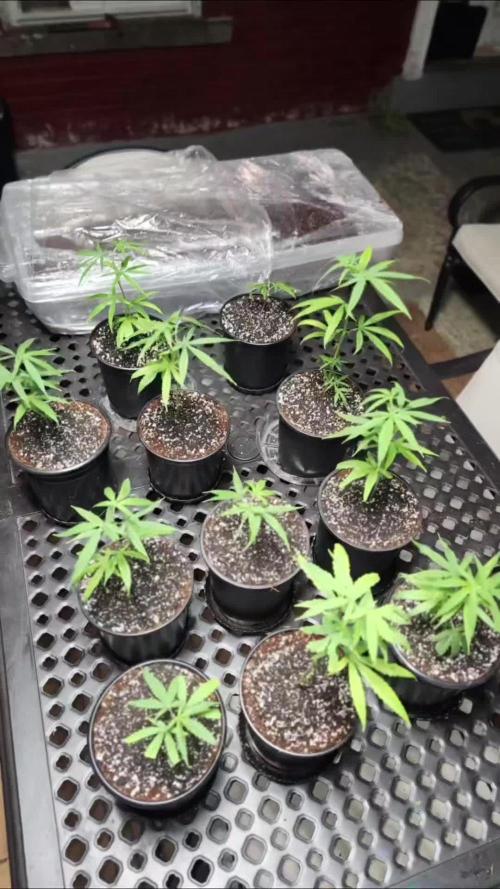
Week of 09/22 - Prepped through the week for clone transplants and B clones - Transplanted clean into 1 gallon pots (Set of 10 A clones in a 4x4 tent. B clones rooting in 17 gallon tote - prepping for 1 gallon transplant in 2 weeks. Mother has been in flower and moved into 4x4 tent on 09/24


Likes
41
Share


@FrostyGardens
Follow
11/17/18
Beginning of week 4 of flower. Day 21-22 of flower. So far I am pretty happy with my results. O think I identified one sativa leaning phenotype, one indica, and also that grows slower then the rest. Although not entirely sure if its the environment that created these differences. As they further develop I may get some clues to this regard.
Black Magic soil seems to work great with no issues of burning or deficiencies whatsoever. Are far as smell its not very noticeable unless the plants are disturbed or pruned.
Decided to discontinue the Aerated teas. Im sure the ladies have plenty or microbes in the soil. The rest of this grow they will only be feed 3-12-12 bloom fert untill its time to start the flush.
Buds should really start to develop in the coming weeks so stay tuned. Also im already planning my next run which will be 10X different strains including this one. Another 5-6 weeks on this one. Shout out to ilovegrowingmarijuana.com for these beans.
11/24/18
End of week 4 and the buds are looking amazing. Nice and frosty already. Noticed slight yellowing on the tallest girl. I suspect my LED was a little too close. Increased distance.Other then that smooth sailing. The next 2 weeks they should really begin to develop and put on weight. Cant wait to see what these 4 beauties produce!

Likes
18
Share


@Chubbs
Follow
420FASTBUDS
FBT2106 WEEK 6
The two of these are growing very interesting. One is stacking and bushing up quite nicely and the other almost completely opposite. There's alot more stretch on the one and very weird flower formation. I'll let it grow and see what happens but not sure really what to expect. Very pretty color purple on the one but temps have been super cold this past week as we've had a blizzard come through so I put a oil heater in the tent as it was getting way to cold and had me worried. Happy Growing
Likes
52
Share


@Any_Zenin
Follow
Tag 92: Blütetag 56, man sieht bereits die ersten Bernsteinfarbenen Trichome ich bin gespannt wenn die Pflanzen erntereif sind. Lichtintensität 90%.
Tag 93: Alle Pflanzen gegossen 15% Topfvolumen = 2,7L NL. Wasser PH 6.5 + 1.2ml/L CalMag + 0.25gr/L Bittersalz.
Tag 94: Die letzten Tage waren die Temperaturen leider sehr hoch aber ab morgen soll es zum Glück ein bisschen kühler werden. Heute habe ich alle Pflanzen kurz kontrolliert und sonst nur in ruhe gelassen. Lichtintensität 80%.
Tag 95: Alle Pflanzen in ruhe gelassen.
Tag 96: Ich lasse die Töpfe austrocknen und gieße nicht mehr bis ich Ernte, Lichtintensität 70%.
Tag 97: Die Pflanzen sehen gut aus und es werden immer mehr Trichome Bernsteinfarben, die nächsten Tage werde ich intensiver beobachten wie weit die Pflanzen gereift sind.
Tag 98: Heute habe ich meine beiden Cannatrol, TrimBins, Arbeitsfläche und Scheren für die Ernte vorbereitet.

Likes
Comments
Share


@Nickeluring
Follow
It is currently very hot here and the plants are suffering. I´ve upped the silicone dose to help dealing with the heat. We start to see some great bud formations.

Likes
5
Share

@smoking_hills9
Follow
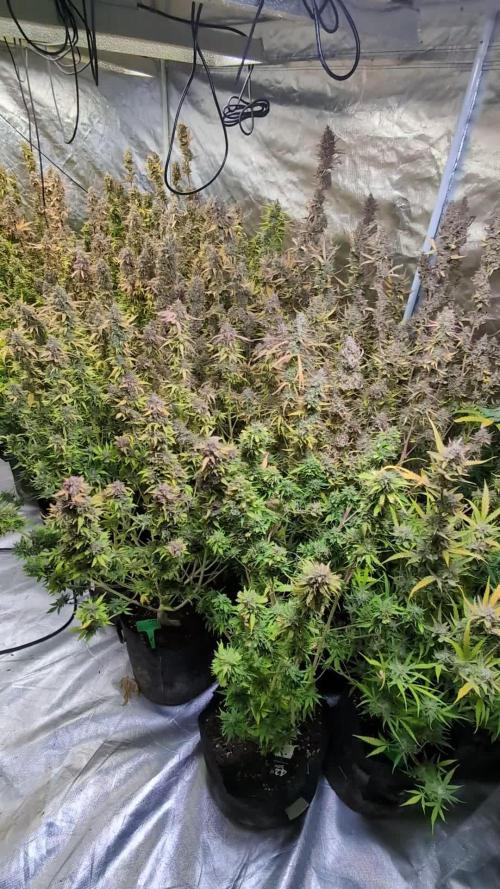
Some beautiful plants especially 1 and 2. Sweet skittles smell. Happy with outcome.

Likes
63
Share


@Krisis
Follow
08/29/24. Going into week 9 flower
Day 65 out of the stated 71
Supposed to be 6 days left, but I’m thinking probably 2 weeks more.
I’ll be checking trichs again today. Last I checked, a few milky.
Nothing to report really. Giving nothing but water from here and decreasing light intensity to about 55%
Will update if anything changes.


