The Grow Awards 2026 🏆 


Likes
Comments
Share


@gr3g4l
Follow
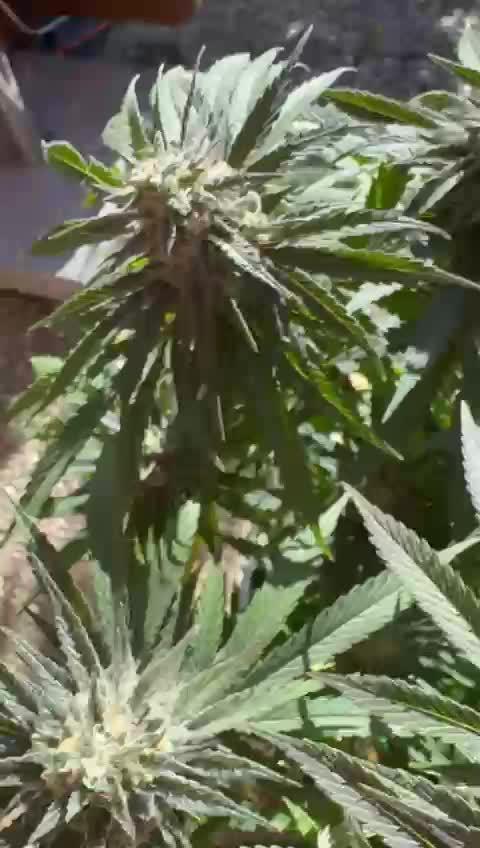
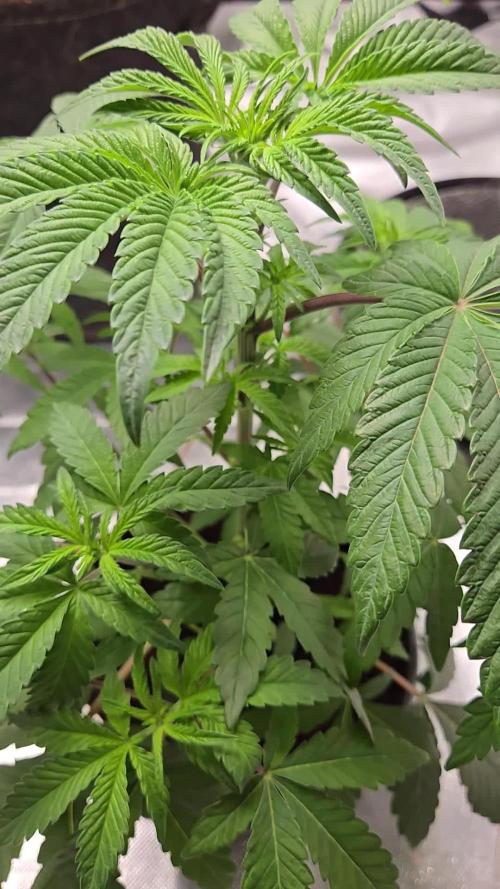
Estas dos últimas semanas están creciendo notablemente y ya tocaba hacer algo. Esta segunda semana de flora tocó ir preparando la estructura para poder más adelante atar todas las ramas sin mucha dificultad. También se le añadió un tutor central para mantener la planta bién recta y aguante bién en un futuro el cogollo apical.
a dia 60 diria que dejaron de crecer en altura como lo venian haciendo estos últimos dias, esta semana no llegaremos a los 20 ctms de más. Sin embargo se han ido ensanchando algo más, las ramas bajeras miden ya lo suyo.
Observamos también el inicio de la formación del cogollo sin ninguna duda.
con 63 dias Nº1 - 156 ctms. y la Nº4 133 ctms. de altura.
de nuevo volvimos aplicar via foliar el Plant Vitaly Plus 50ml/L. por última vez.
Likes
118
Share


@SwissKush
Follow
Day 50 - she is a monster!
a. this plant is very large, and is producing many bud sites
b. she is drinking 4L of water a day, the most ive ever had a plant drink
c. the stem on her is the largest ive grown, already larger than Bruce Banner trunk
d. DWC is at 6.1-6.3 PH. Very good conditions, the flowers are exploding
Day 51 - HUGE
a. I cannot believe how large this plant actually is
b. flowering all over the place, many locations
c. i start to notice a little leaf tip burn, time to change out DWC totally, and put 1/2 strength full flower blend
d. water from DWC was blood red/brown, the root system is very healthy
e. I tied back all the large branches, making room for everything
Day 52 - she enjoyed the LST
a. Her flowers are growing so fast
b. She is drinking 4-5L a day of nutrients, at full flower blend during feeding @ 6.2 PH
c. I like to gradually increase the nutrients after a mineral water flush mid way through the grow.
Day 53 - drank 5L - 700ppm
a. she is eating very well, and growing all over
b. the buds are becoming fatter and fatter
c. she has been increased up to full flower blend, looking great!
Day 53 - drank 5L again
a. she is growing so fast, and huge
b. the buds are becoming very long and getting thick
Day 55 - buds are growing
a. her buds are so hard, becoming larger every day
b. she is drinking 5L a day
Day 56 - buds everywhere
a. this plant is growing towers for buds
b. have to use constant LST tying back everything
Likes
17
Share


@Shugz_Nugz
Follow
Mouth watering flavour, clean smoke, and it only gets better ! Barley a week into the cure and I'm already craving more of this strain
Updated True Wattage, and fixed square footage of tent
harvest was easy, could of gotten more yeil but she flowered early from some LST, would let this girl grow naturally in the future
Buds turned out nice and chunky lots of sugar leaves just packed with sticky trichs
She pressed out alright, could try a again but .4 return on 3.5 grams of bud gives 14-15% return on the first press of this strain
none the less this girl puts out some wicked flavors can't wait till shes fully cured in a month :)
Likes
Comments
Share


@Darsilius
Follow
Next week of flowering
Some of girs are preparing for the final ferts
I add more grams and katana dragon force to the tank and now U will see thje magic of SHOGUN !
😁
Likes
26
Share


@pifflestikkz
Follow
Day 93
01/10/24 Tuesday
De-chlorinated tap water pH 6 only today.
Day 95
03/10/24 Thursday
De-chlorinated tap water pH 6 only today.
Day 96
04/10/24 Friday
De-chlorinated tap water pH 6 only today.
Picture and video update 😎
Day 98
06/10/24 Sunday (End of week)
De-chlorinated tap water with Plagron PK13-14 to just help with nutrients.
Likes
29
Share


@Ukfarmer420
Follow
Hi guys
So here is my 10 plant auto run from fastbuds 420 genetics. I will update weekly on this one. So I'm going to be using 3 gal fabric pots filled with biobizz lightmix soil.
I will be putting into solo cups after the 18 hour soak then transferring them to there for ever pots. Im looking forward to this run and trying to get 20oz + dry and cured out of this 4x4 tent grow.
Part 2 of germination in operation in solo cups with root juice. Hopefully 10 out of 10 pop.
Processing
Likes
14
Share


@ChefSpliff
Follow
Have some Hurkle regular seeds i got my hands on. I germinated them and they sprouted. Pictures are a real testament to genetics, and pheno types. all planted same day other the same circumstance and rotation in hot spots. all diff sizes and leaves are a different health. This grow is an experiment the weakest one will stay in the tent and go 12/12 after its first set of true leaves to see quality. the 2 bigger ones will be for an outdoor balcony grow on the lake. Direct sunlight from 6am-2pm. Right now they are in the tent for another week until the temperature is a little more consistent outside. then i will transplant.
Likes
20
Share


@MrGrowDiarie
Follow
Day 35
The leaves are broad with multiple leaflets (likely 5 to 7 on the larger leaves), characteristic of a strong growth phase. The stem is upright and sturdy, and there is active new growth visible at the nodes, with bright green young shoots developing.
💦💦💦Watering💦💦💦
Woche 5
18.10.2025 – Watering 0 ml
19.10.2025 – Watering 0 ml
20.10.2025 – Watering 0 ml
21.10.2025 – Watering 0 ml
22.10.2025 – Watering 0 ml
23.10.2025 – Watering 0 ml
24.10.2025 – Watering 0 ml
Likes
32
Share


@LapsekiliTayfur
Follow
Day in and exit fan 15 min off 15 min on Van is full on
Night in and exit fan 30 min off 15 min on Van is off
Lst tranings return
Nutrients started 0.5gr/1L at day 21 400ML Per Pot
Day 24 Grow powder 0.75gr/1L Short Flowering 0.5gr/1L 400ML Per Pot
Day 26 Grow Powder 1.5gr/1L Short Flowering 1gr/1L 600ML Per Pot
Day 28 Grow Powder 1.5gr/1L Short Flowering 1gr/1L 600ML Per Pot
Likes
6
Share


@Tezza2
Follow
This week has been fun still no problems with the grow no deficiencies this has been a easy grow like always for me.i need to do a defoliation on the plants today sometime
Likes
2
Share


@jojopfoh
Follow
The stretch is finally over and now she is starting to stack. The bud formation is beautiful and there are so many bud sites. The colas are ging to be huge
Likes
6
Share


@DisTentAint4Campin
Follow
Well she was a squaty plant don't know how she harmed happened to couple other strains but ohwell shit happens still amazing smoke just gotta break it up caveman
Likes
Comments
Share


@zombikush81
Follow
Friends Growth Period about 9 Weeks, Blossoming 10 Weeks, Plant With Great Christmas Tree Structure. As far as nutrition is never said, it's never enough or more, he wants, for the rest any mold problem .... Very sweet aroma requires filter in the cultivating chamber.
Likes
67
Share


@AsNoriu
Follow
Day 22. Last 3 girls got final house. 20 liters pots for those late runners. They look sad, but maybe big house and other girls will encourage them to kick in.
I took last NL away and now humidity and lightning are a lot better. Will drop lights down in few days, but not a lot ... 16 girls again in one room ;))))
I changed names of diaries, because I will try to finish them indoors ...
Happy Growing !!!
Likes
46
Share


@Rollex420
Follow
- 17-05-21 (Day 1)
// //
- 18-05-21 (Day 2)
three of the girls got out of the soil correctly!😊
while the Runtz sprout is the only one that still remains in its seed despite she already opened it for 2/3 day now..🤔
its root seems to struggle to grow or pierce the soil ..
I'm helping her by keeping the humidity higher since I put this bag, we'll see what happens 🤷♂️🏻
..Any advice will be welcome 🙏🏻
as always have a nice day and happy growing to everyone! 😊☮️💚
19-05-21 (Day 3)
..Unfortunately the Runtz Muffin is dead, was unable to come to life like her little sisters.
After three days, i tried to help her removing her seed husk.. but there was nothing to do 😢
So here is a new start!! 😊
I put this Lemon Tree “Freebie” seed to germinate aaand to replace the poor Runtz Muffin. 😕🙌🏻
We'll see how it goes this time.. 🤞🏻🍀
Sending positive vibes for you and your garden ☮️💚
20-05-21 (Day 4)
All the girls are doing great and continuing their grow.
The Lemon Tree is doing great too with its germination, that in just six hours the seed has opened!
Now I’ll wait that the sprout grow a tiny root of (1,5/2cm) at least, to pass it into the soil.
Happy grow fam. Stay smoky 😙💨
21-05-21 (Day 5)
With today the girls are in their fifth day of growth. 🙌🏻
Bio-heaven (amino-acids) added to the recipe (1ml/1L)
As you know after the death of Runtz Muffin, I have been germinating the Lemon Tree for two days now, today is the third day for her after an excellent germination, I have transferred it from the paper towel to the soil to make it grow.
Let’s see how she will grow, Despite being a week behind, I hope she grows strong, healthy and fast🤞🏻
Have a good weekend, lift up and relax. Peace ☮️ 💚
22-05-21 (Day 6)
The Lemon tree is officially out of the soil, ready to grow! 🙌🏻💚
The other girls are fine, they are on their sixth day of life and they love the environment where they are growing up.
..Plus they are always listening to music (Lo-Fi) 24/7 ☺️
I hope they like it.. 🤷♂️🏻😆
That's all for today. Have a good weekend gromies!! 🧑🏻🌾👩🌾🏻☮️💚
23-05-21 (Day 7)
Today last day of the first week for the girls and first day of life for the Lemon Tree!
The nourishment for them is always the same, except for the Lemon Tree which for the moment I am just spraying water to irrigate it.
..In this round I expect great things!
Happy growing to everyone! ☮️💚
Likes
11
Share


@goeser
Follow
17.09.18 | was 4 weeks away, traveling, but my plant (regilar seed) grow well and started to flower.
190cm tall and with flowers. Took my lady ro another spot with more sun and i will start to add blooming fertilizer too
Likes
14
Share


@Chimken
Follow
This time I am growing Sativa strain that is Mexican Airlines from FastBuds and some cool hybrid Wedding Cheesecake from the same breeder.
I started with 7 seeds.
Mexican Airlines: 4 out of 5 germinated successfully.
Wedding Cheesecake: 2 out of 2 germinated successfully.
Currently I have 6 sprouts. Will keep 3 strongest of the first week of vegetation stage.


